HERE’S 2 EASY WAYS TO CUT PLEXIGLASS AND CLEAR ACRYLIC SHEETS FOR YOUR FURNITURE AND DIY PROJECTS | YOUTUBE VIDEO COMING THIS WEEKEND!
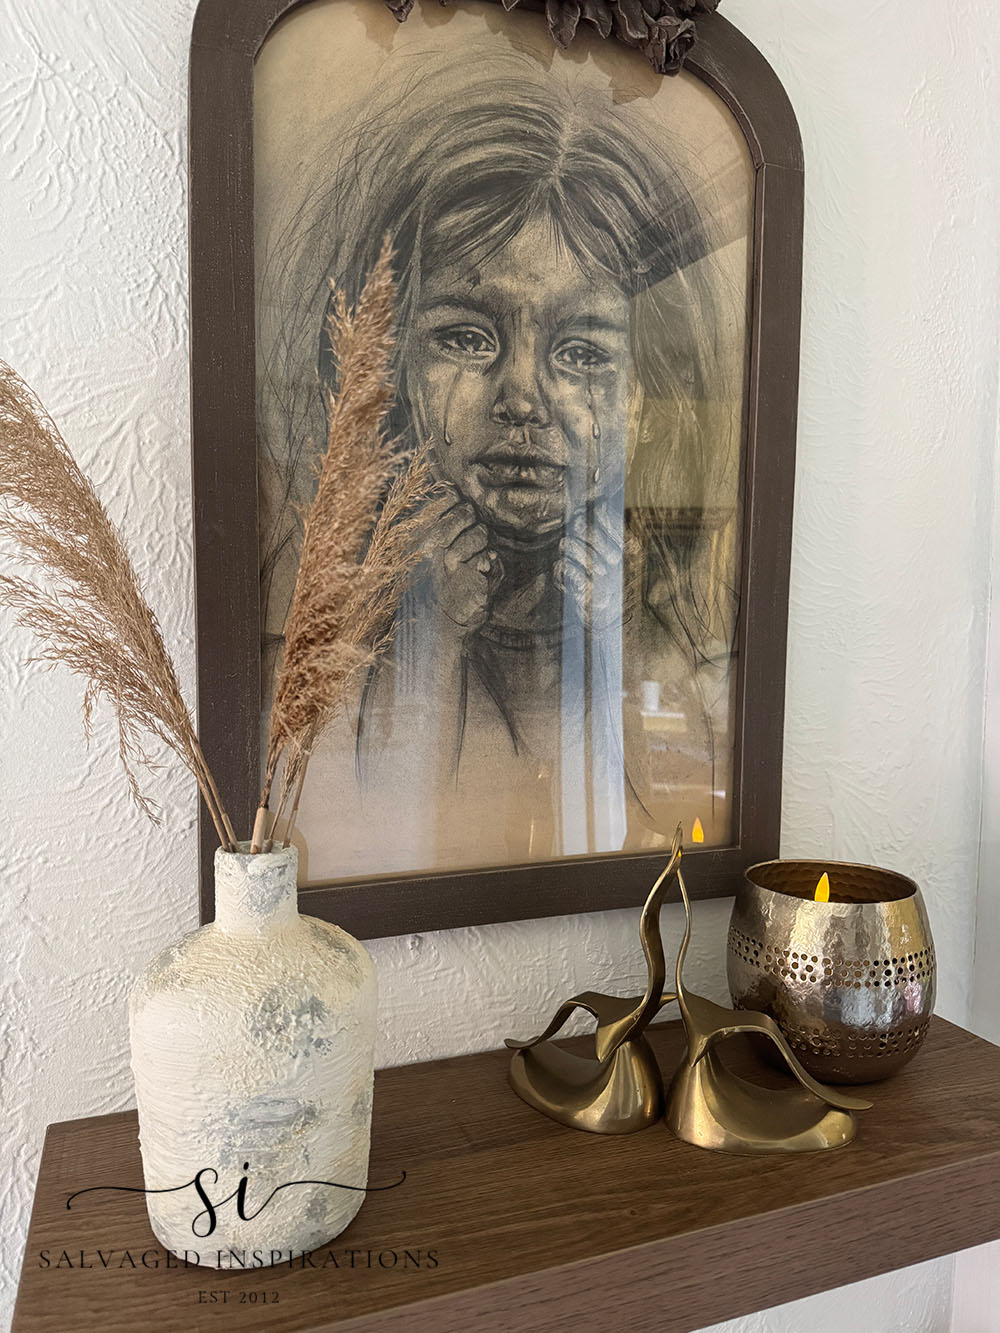
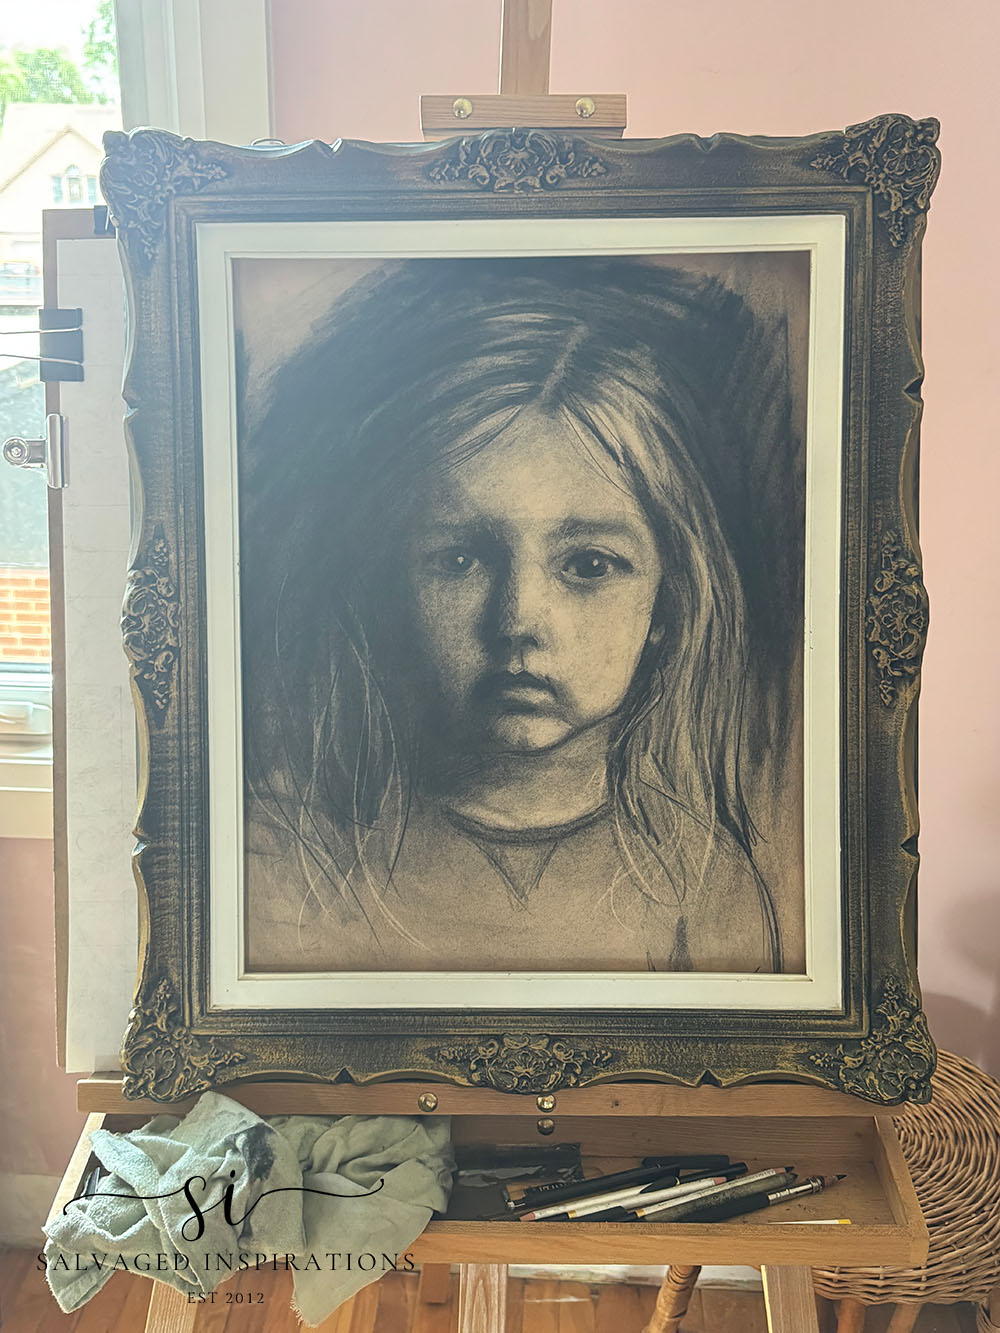
Hi, beautiful friends, thanks for dropping by! Today, I’m sharing a great alternative to replacing broken or missing glass for your furniture makeovers and DIY projects using two easy ways to cut Plexiglass. Instead of demonstrating this step-by-step tutorial on a furniture makeover, I’m sharing how I cut plexiglass and clear acrylic sheets for my DIY art project – my charcoal drawing!
If you’ve been around the #siblog for some years, you may recall me saying I’ve always loved to draw. Graphite has always been my go-to and years ago I shared these drawings I posted on Flickr.
Lately, I’ve been stepping outside my comfort zone and experimenting with charcoal, watercolors, and ink.
What’s funny is that after more than 14 years of sharing furniture makeovers here on Salvaged Inspirations, I have no problem showing you my latest painted furniture projects. Yet sharing my personal drawings/artwork feels – well, a little uncomfortable. Probably because I’m still learning and know I have so much more to improve on. But hey, I’m always encouraging you to step outside your comfort zone and try new things, so it only seems fair that I take my own advice.
So here it goes…
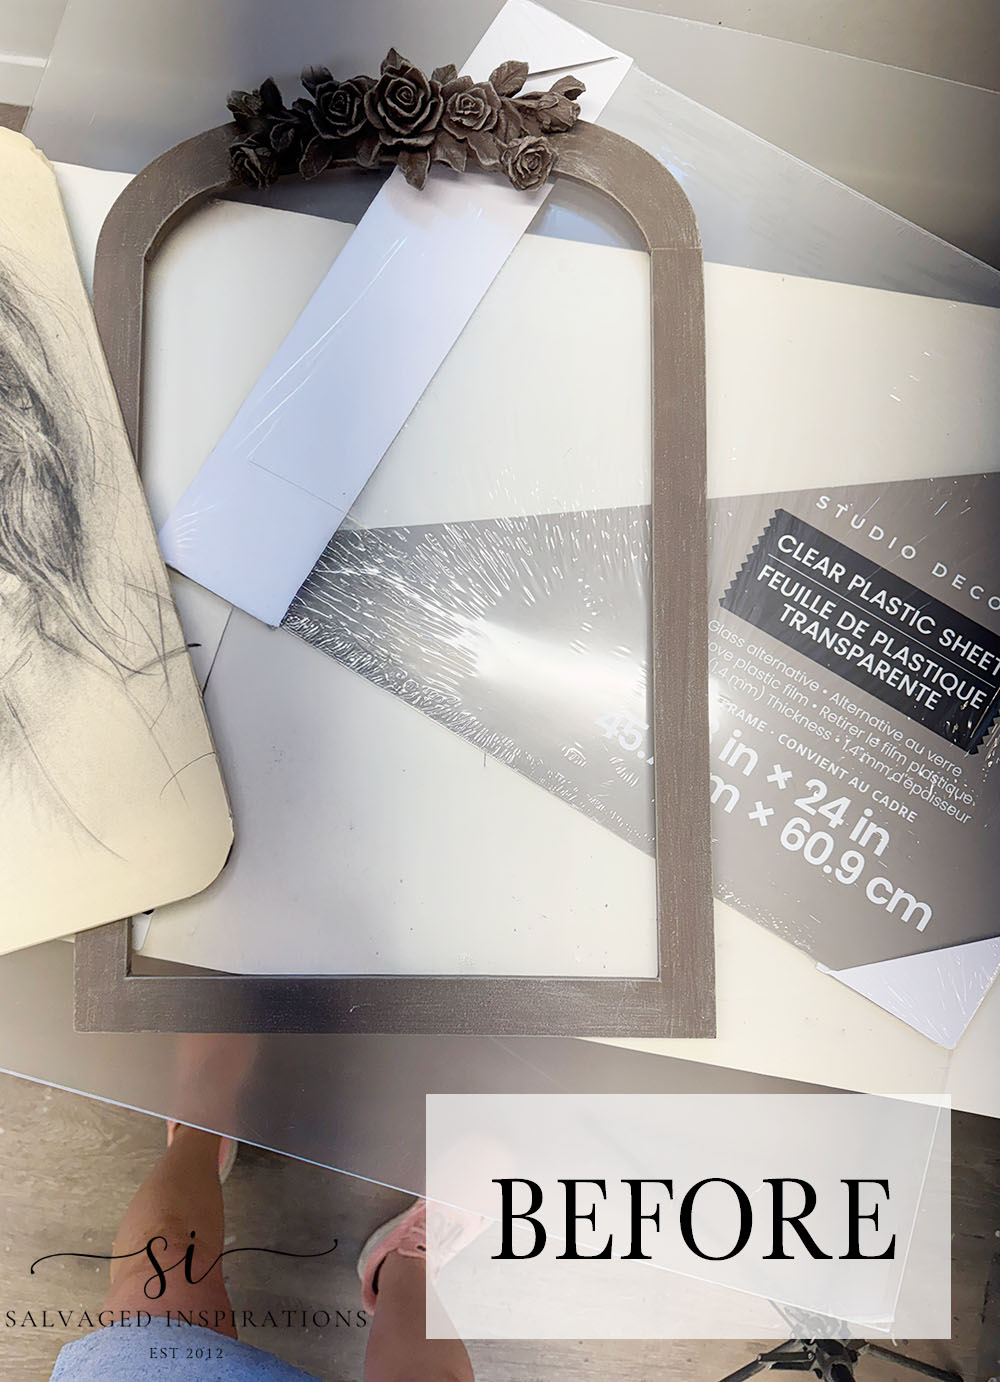
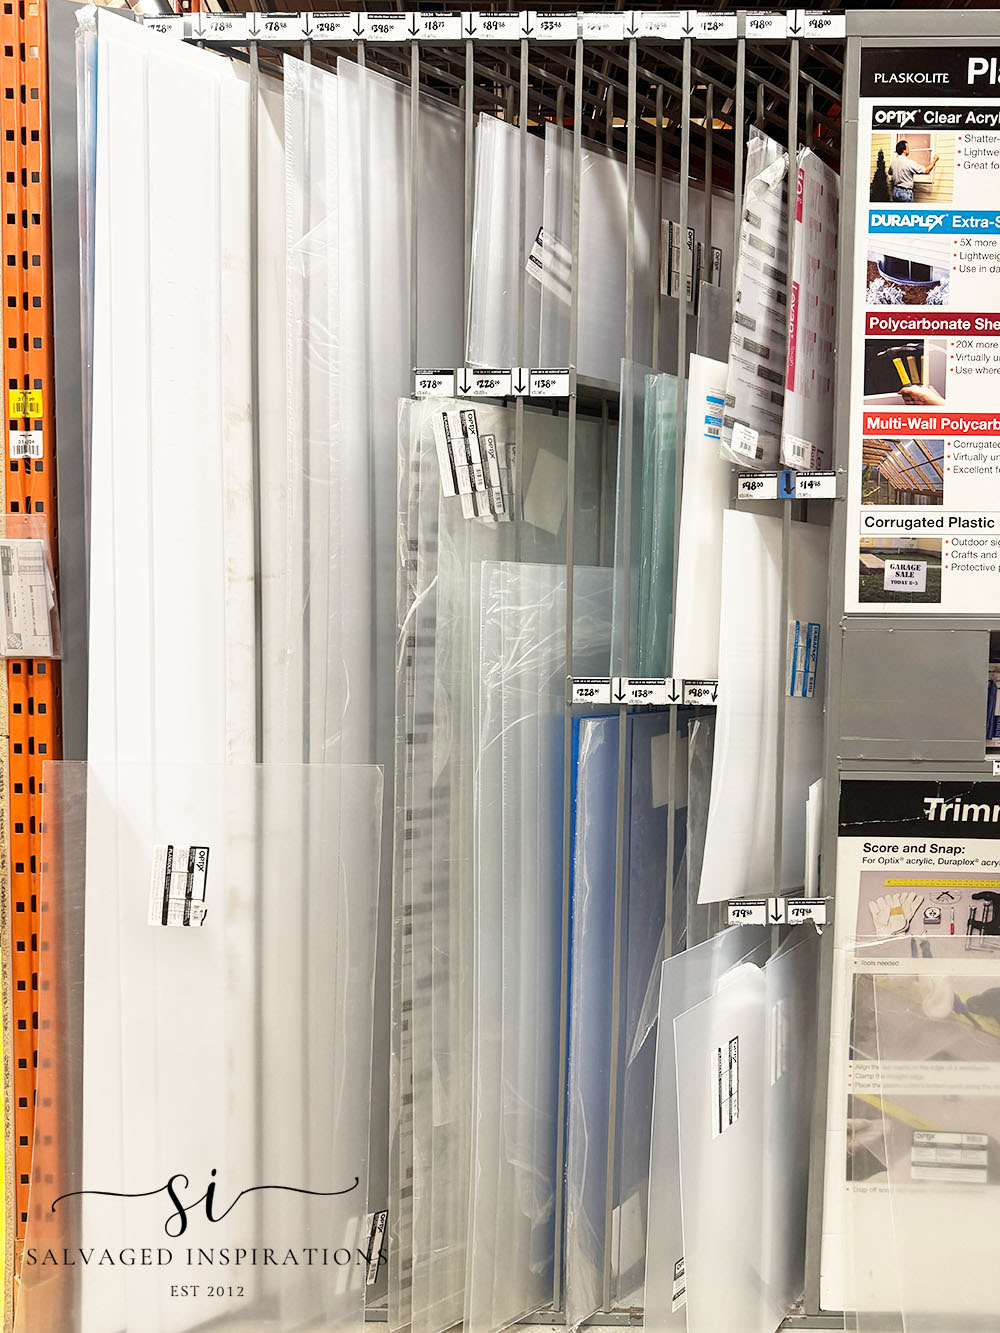
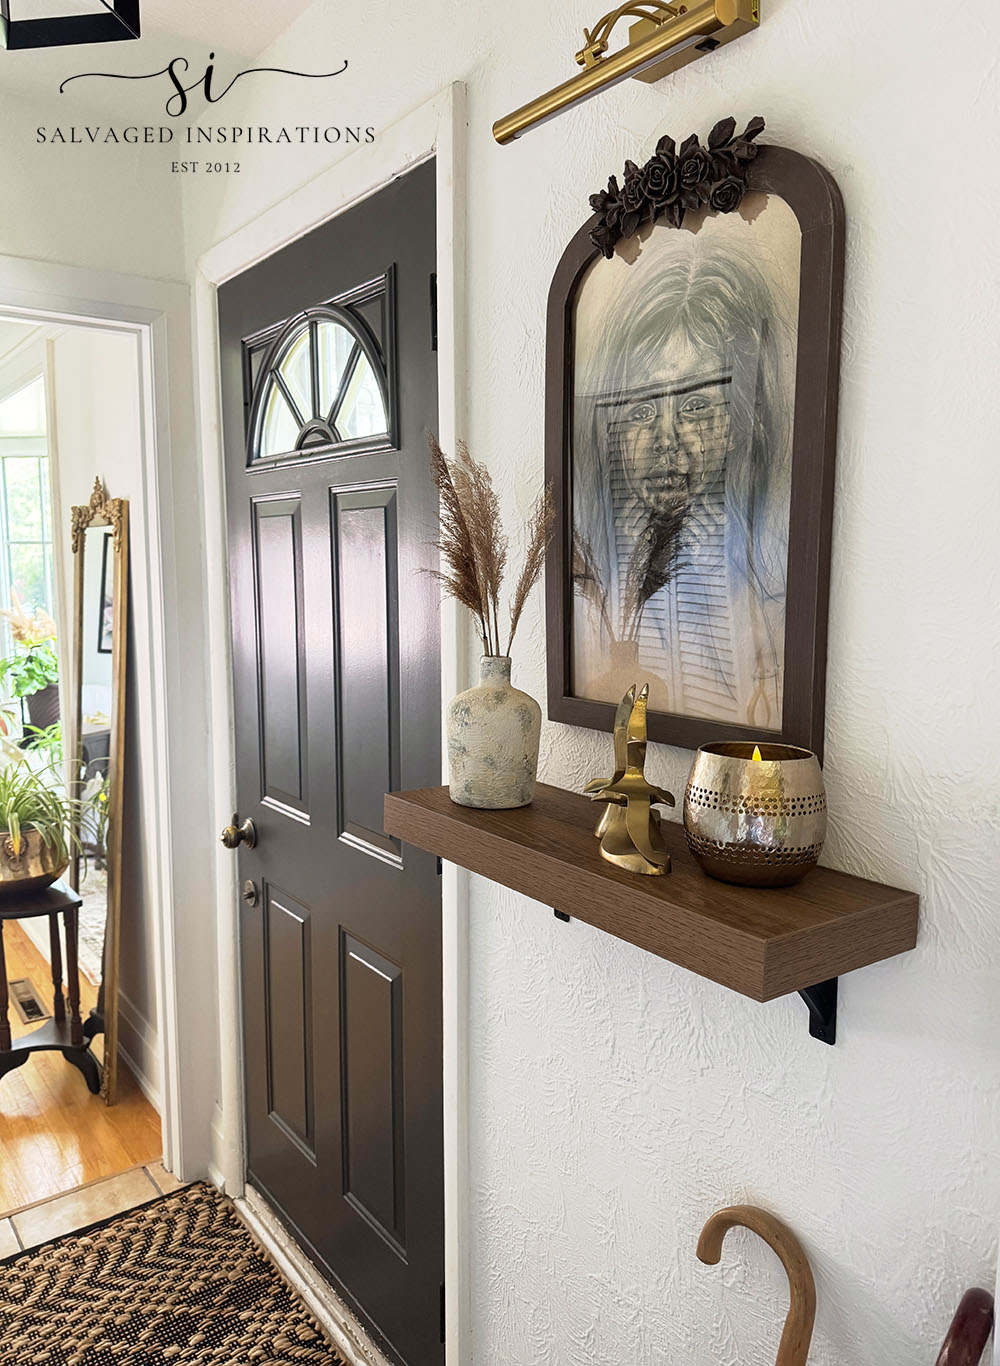
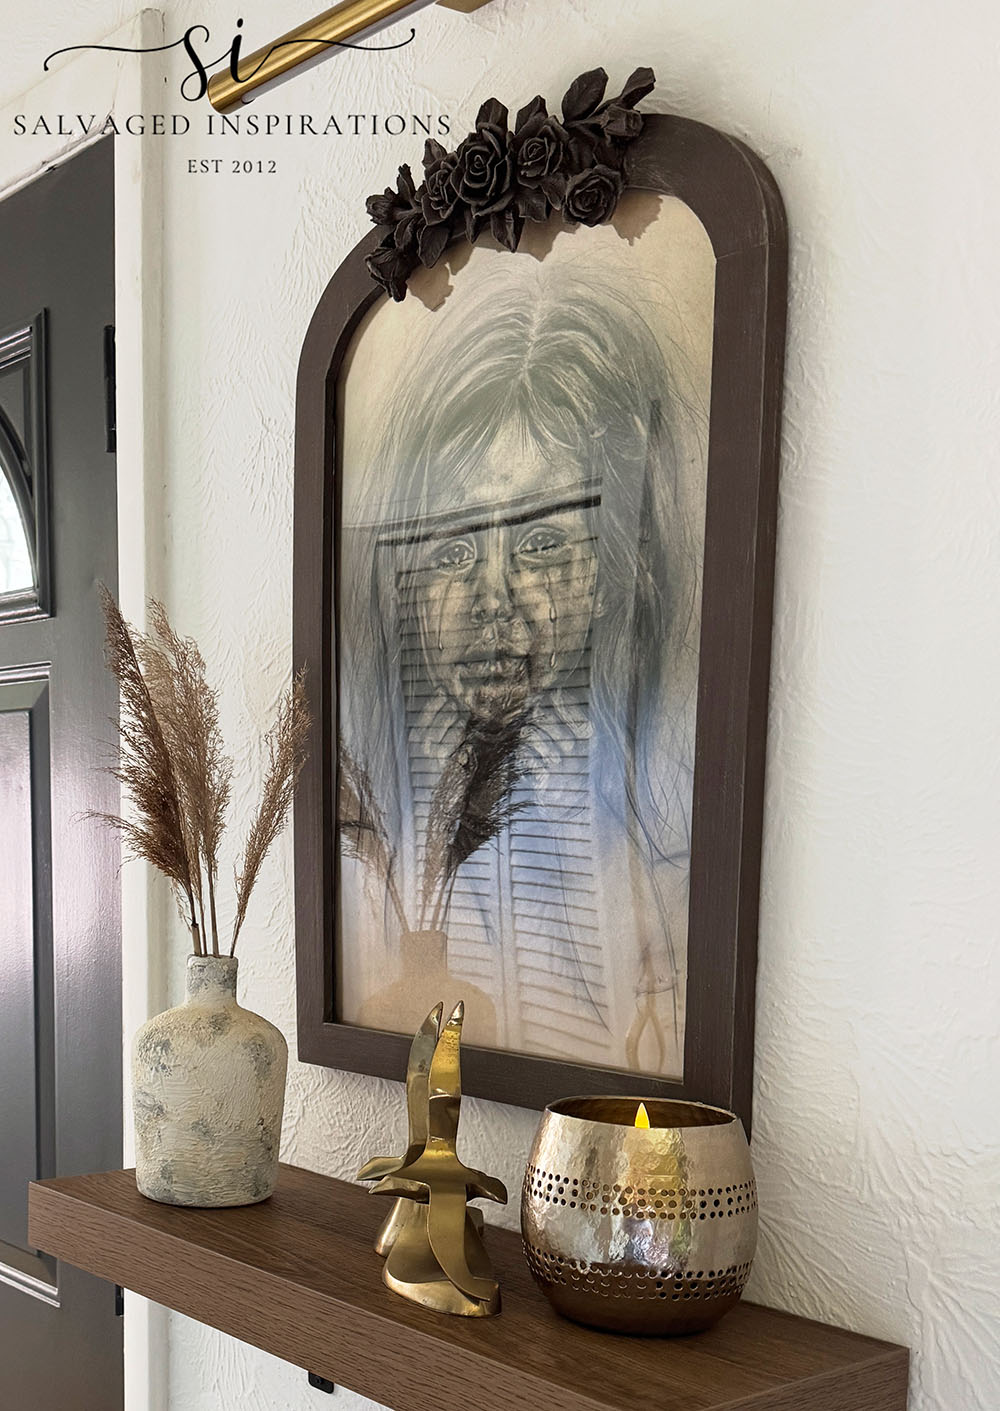
In the past, I’ve used clear acrylic as an alternative to traditional glass because it’s lighter, safer, and so much easier to work with. It’s also great when you have a custom frame size, as I did with this piece of art below. The best part? Learning how to cut plexiglass is much easier than you might think. Today I’m sharing the easiest diy methods along with a few tips to help you get clean, professional-looking results every time.
*As an Amazon Associate, I earn from qualifying purchases. There are affiliate links in this post to other companies/products I use and love as well. You will never be charged extra when you purchase through these affiliate links. If you purchase from my links – A BIG thank you for supporting me and the #siblog! To see my full disclaimer, click here.
Here are the basic supplies I started with. This is the custom frame I wanted to fit with plexiglass. You can see the full diy frame tutorial here. The acrylic sheets I bought from Home Depot and Michael’s, and my drawing that had already been cut to size.
THIS POST IS SPONSORED/CONTAINS AFFILIATE LINKS TO PRODUCTS I USE. YOU CAN SEE MY FULL DISCLOSURE HERE.
YOUTUBE TUTORIAL COMING
I’ll have the full step-by-step YouTube video tutorial published for you this weekend. Our #siyoutubefamily is already a community of 58.8K, so don’t forget to subscribe if you haven’t yet. You’re the BEST, and I SO appreciate your support! 🙂
THE SCORE AND SNAP TECHNIQUE
HOW TO CUT PLEXIGLASS *STRAIGHT* WITH A BOX CUTTER
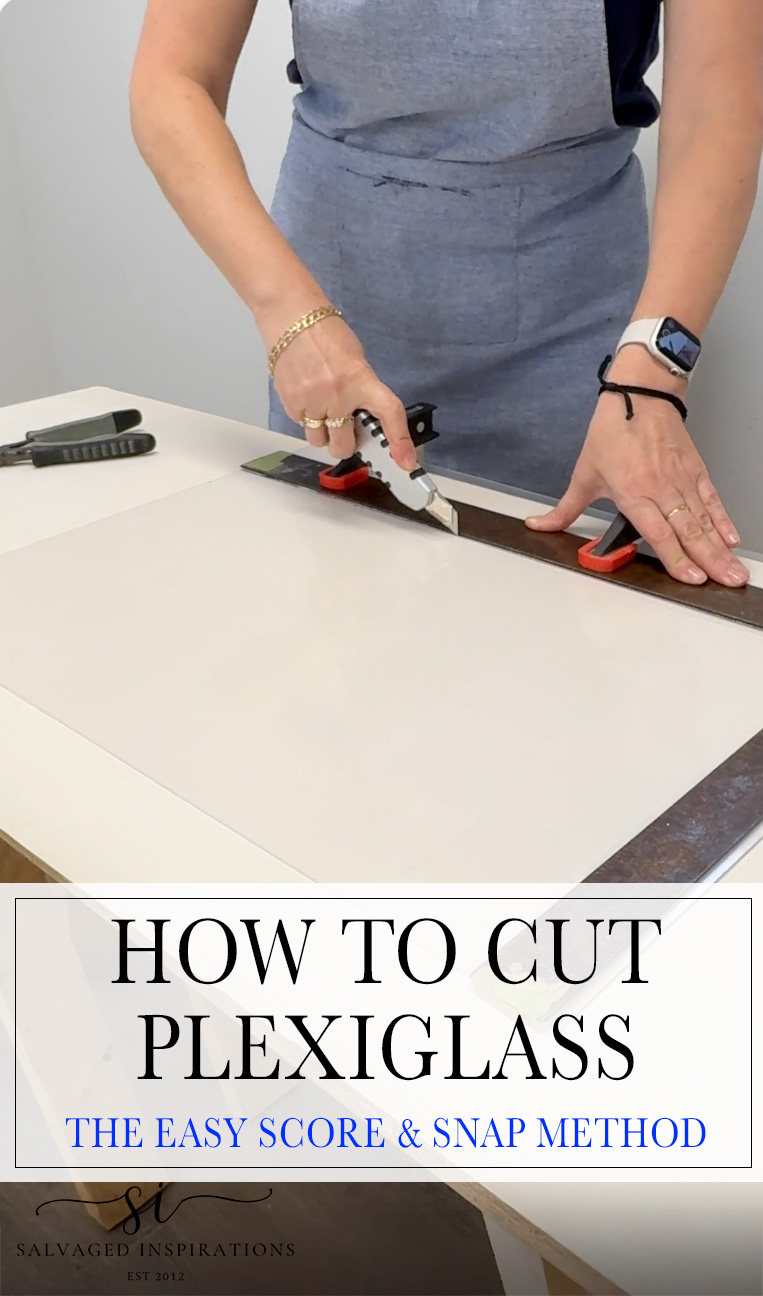
The first and probably easiest method is the score-and-snap technique. This method works beautifully on thinner sheets of plexiglass and requires very few tools.
Start by leaving the protective film on both sides of the plexiglass. That film is your friend and helps prevent scratches while you’re working. Measure and mark your cutting line carefully using a ruler or straight edge. Using an acrylic scoring tool or even a sharp utility knife, score along the line several times. Don’t try to cut all the way through in one pass. Instead, apply steady pressure and let the tool gradually create a groove. I went over it about 10x as I’ll demo in this weekend’s YouTube video.
Once you’ve made a deep enough score line, position the sheet so the scored line sits directly on the edge of your work surface. Hold the larger section firmly and apply downward pressure to the overhanging piece. With a quick, firm motion, the plexiglass should snap cleanly along the scored line. The first time you do it, it feels almost like magic!
This method is inexpensive, fast and perfect for smaller projects such as replacing glass in picture frames, making inserts for cabinet doors or creating simple decorative pieces.
The downside is that it works best on thinner material and straight cuts only. If you’re dealing with thicker sheets or curved cuts, you’ll want to move on to one of the next methods.
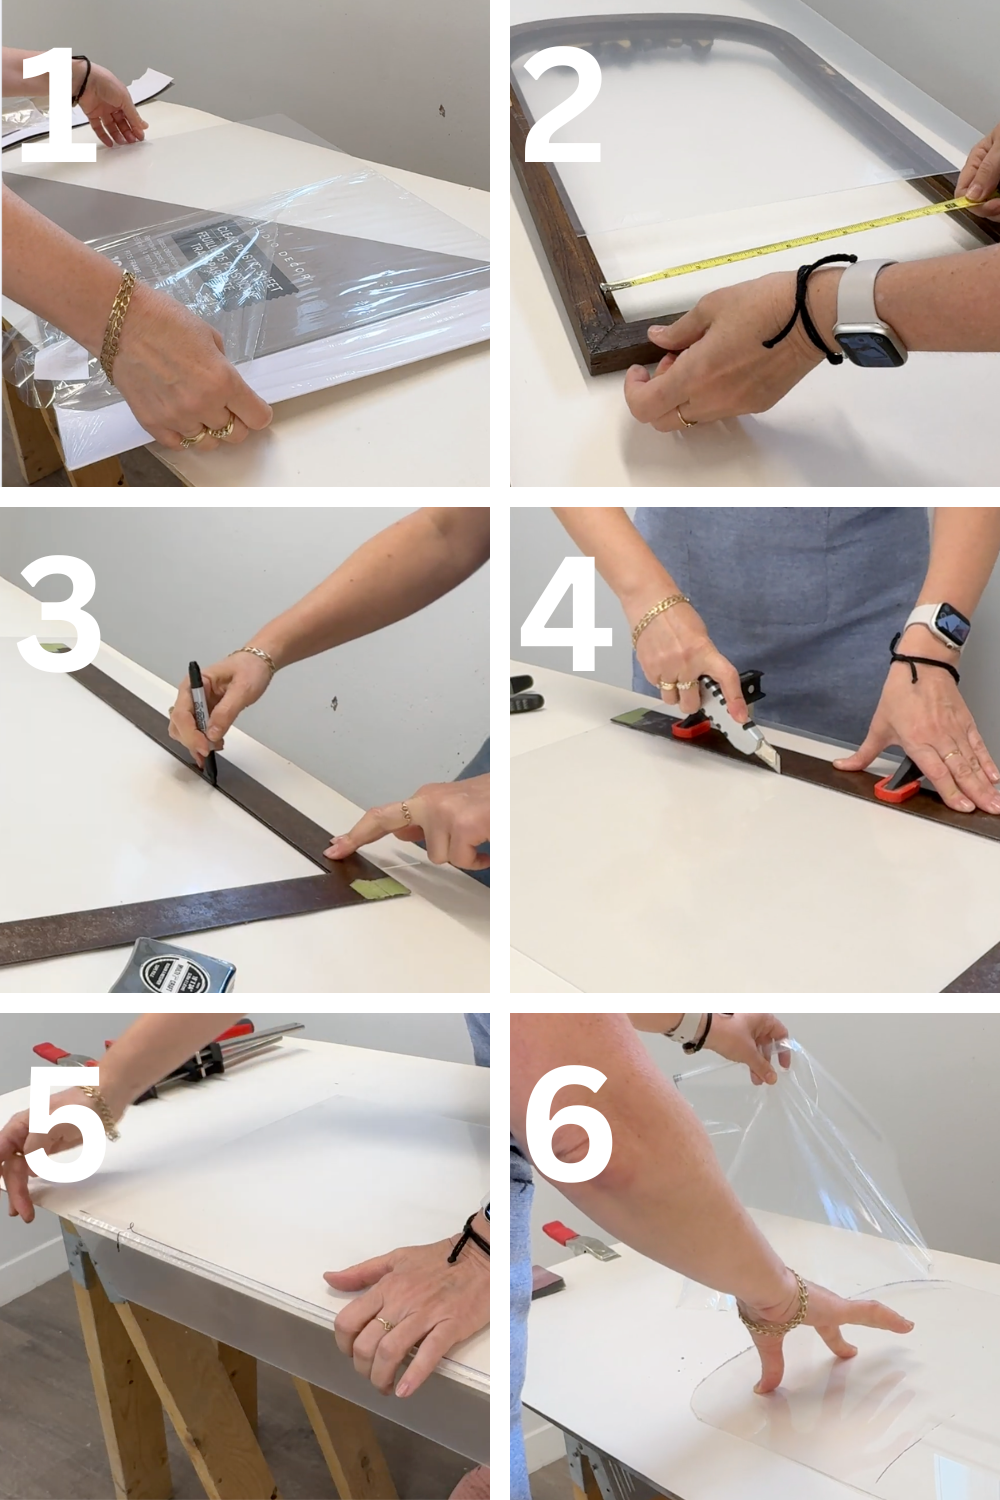
- Leave the protective film on both sides of the plexiglass to prevent scratches.
- Measure and mark your cut line using a ruler or straight edge.
- Score the line with a box cutter using firm, even pressure.
- Repeat the scoring process 8–10 times until a deep groove forms.
- Position the scored line along the edge of your work surface.
- Apply firm downward pressure to snap the plexiglass cleanly along the score line.
- Remove the protective film on both sides and install
PIN AND SHARE 🤗
THE CUTTING BLADE METHOD
HOW TO CUT PLEXIGLASS *CURVED* WITH A CUTTING TOOL
The second easy way to cut plexiglass is with a tool with a cutting blade, for example, a jigsaw, Dremel tool, or an Ocillating Tool like I used below. This is an easier method when working with thicker material or curved lines because it creates clean, straight cuts quickly and accurately.
The secret here isn’t really the saw itself. It’s the blade.
You’ll want to use a fine-tooth blade designed for plastics, laminates or non-ferrous materials. A blade with more teeth creates smoother cuts and reduces the risk of chipping.
Again, leave the protective film attached to both sides of the sheet during cutting. Measure and mark your line, support the material properly and move the saw steadily through the cut without forcing it. Too much speed or pressure creates heat, and too much heat can melt the edges of the acrylic rather than cutting it cleanly. Slow and steady wins this race.
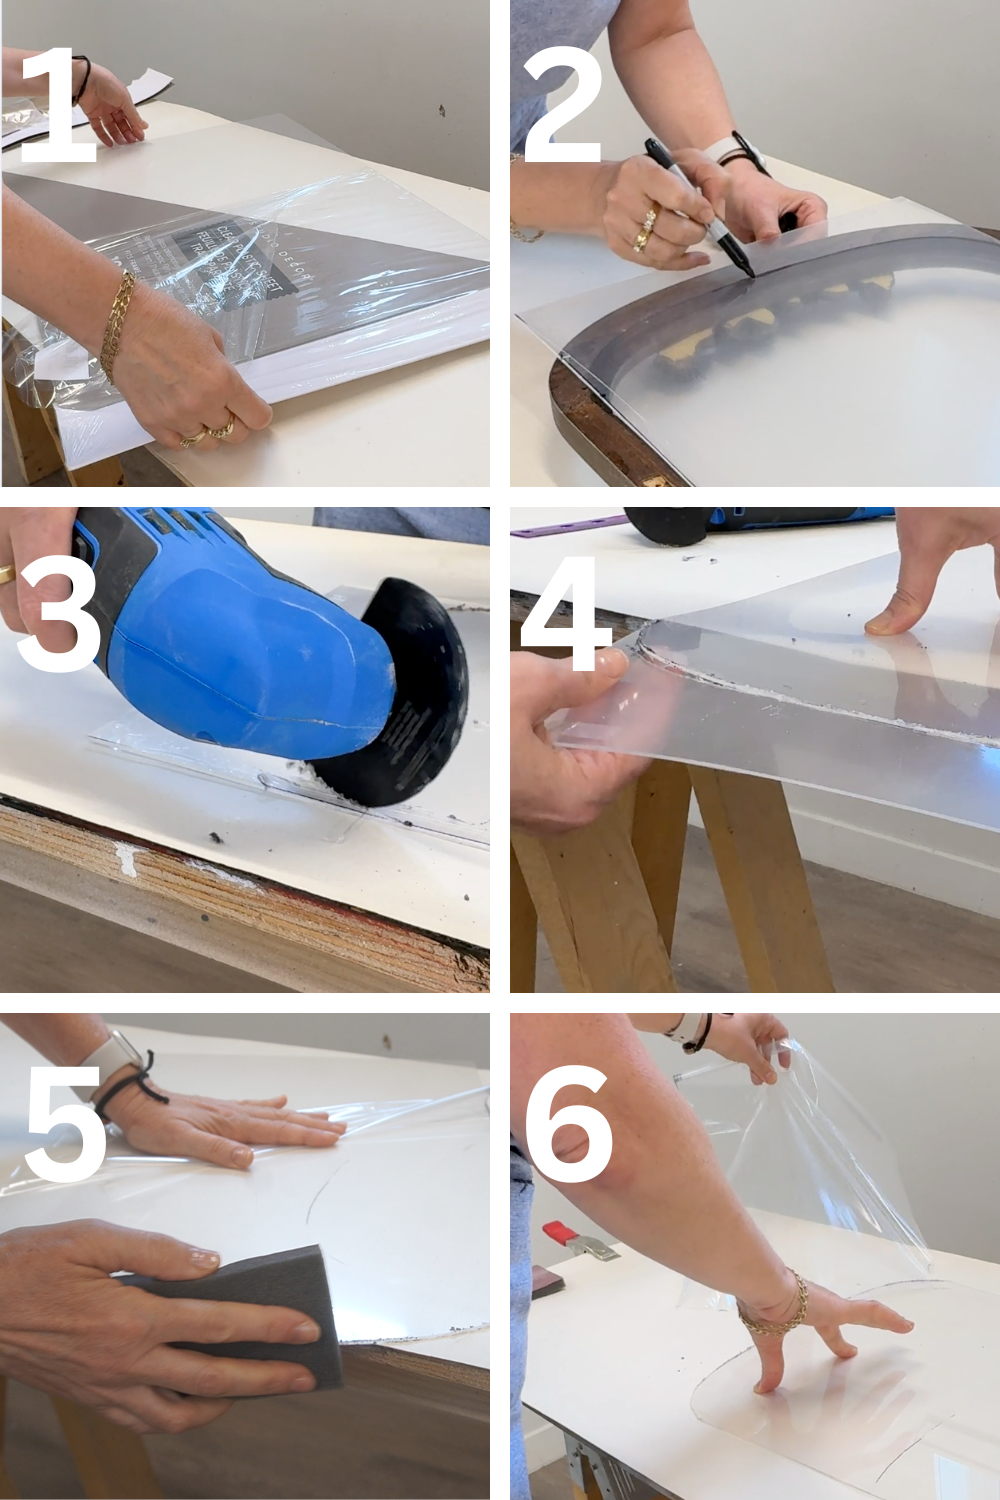
- Leave the protective film on both sides of the plexiglass to prevent scratches.
- Mark your curved line using a Sharpie or marker.
- Follow the curve with an oscillating tool or a Dremel tool with a fine-tooth blade. Use even pressure.
- Repeat the scoring process 2-3 times until a deep groove forms.
- Position the scored line along the edge of your work surface.
- Apply firm downward pressure to snap the plexiglass cleanly along the score line and sand rough edges.
- Remove the protective film on both sides and install.
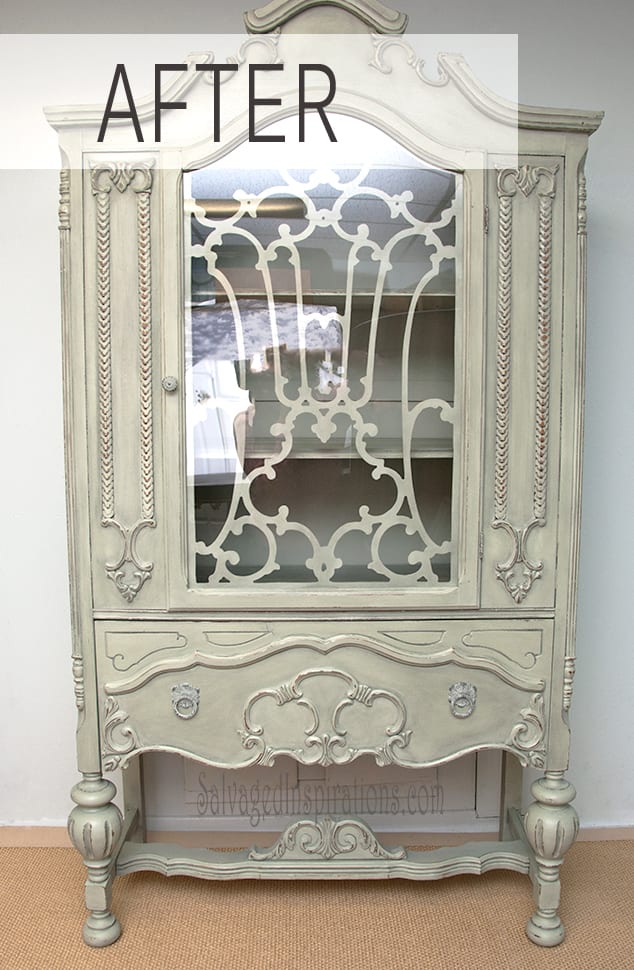
Can you imagine a vintage china cabinet with crystal-clear plexiglass inserts instead of fragile glass panels? You don’t have to because that’s exactly what I did with this very FIRST curbshopped cabinet I found back in 2013! You can check out the before here. It was missing the entire glass front and I replaced it with Plexiglass. Can you tell?
If you’ve been intimidated by the idea of cutting plexiglass, hopefully this changes your mind.
Whether you choose the score-and-snap method for quick straight cuts, a blade tool for larger sheets or a jigsaw for creative shapes and designs, the process is much easier than most people expect. Once you try it for yourself, you’ll probably start seeing opportunities to use plexiglass everywhere.


Well I think you should focus on your drawing. They are absolutely beautiful!
awww, thank you Vickie! I really enjoy it and would love to make more time for it.💙 Thanks for the encouragement! XOXO
My goodness, Denise – your artwork is beautiful! You should definitely graduate to charcoal paper! I don’t know anything about charcoal drawing, but these are amazing. And it’s so good to know about the Plexiglass – it looks fantastic. I wonder if there is a non-glare version…? Thanks for sharing – I’m so impressed by your talents!
Hi Marcia and thank youuuuu! And, yes I’d like to use my lovely charcoal pad that I bought and I LOVE your idea of a non glare verion. I’m going to look that up! Have a great week my friend. XOXO