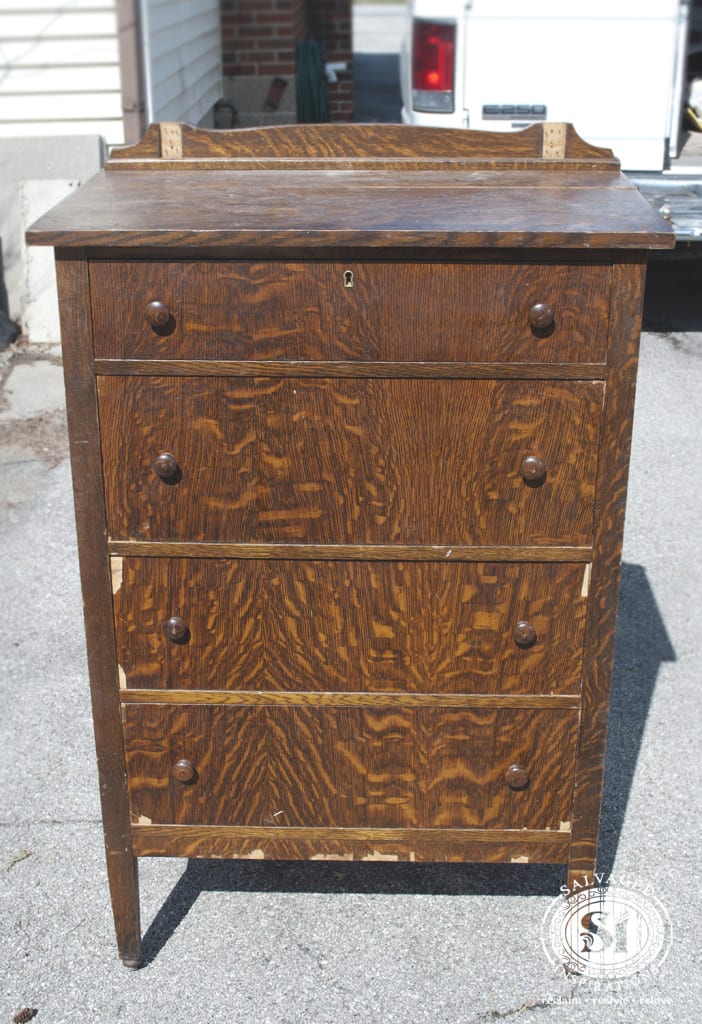
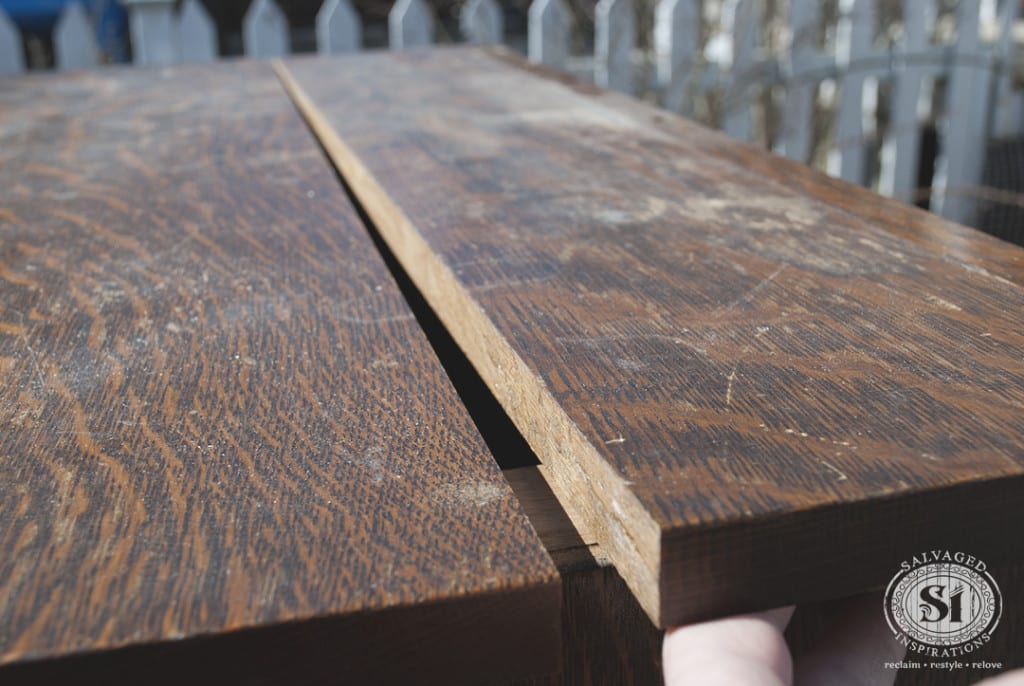
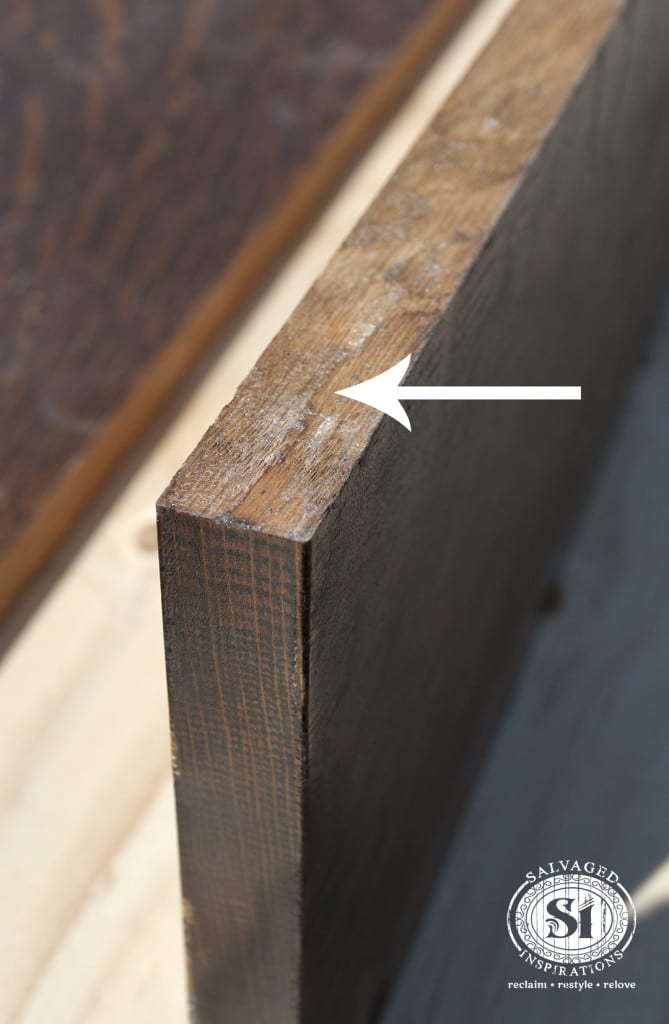
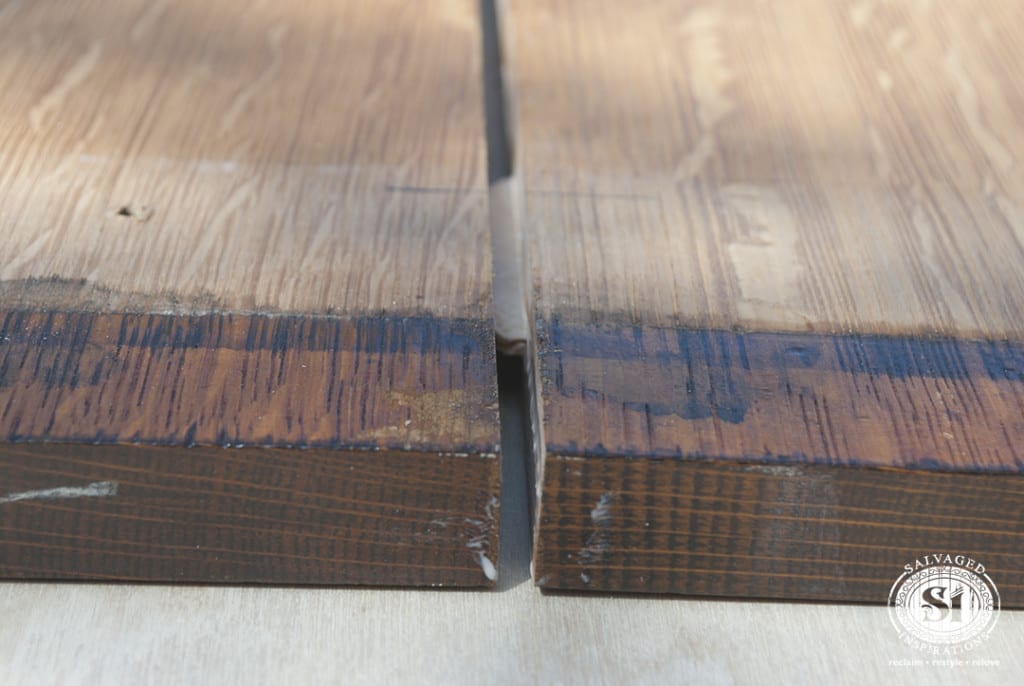
When I purchased this old dresser from an antique dealer on the Danforth, I didn’t realize the entire top was in two pieces. For whatever reason, the joined boards were still in tact, but had come apart from one another.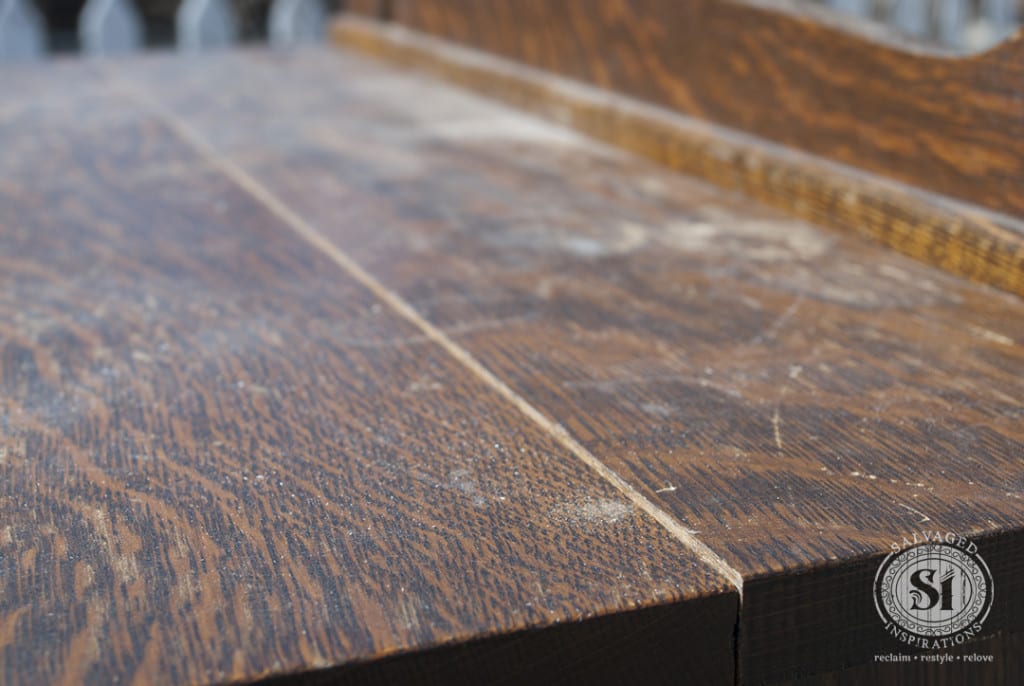
M-M-M: “How do you plan on joining the boards Babe?”
Me: “Wood glue, clamps …and call it a day.”
For the record, a glue-up with clamps works perfectly fine. Edge gluing boards is a basic woodworking skill that can help with so many different projects!
But lucky for me, M-M-M is always willing to help. I took this opportunity to learn a few new repair skills. He showed me three different ways boards can be edge glued, joined and repaired. And best of all, the top will be double reinforced and will last for another 100 years.
I have the sweetest man!
This post has a lot of pics, so let’s get right into it.
Before using any of these glue-up methods, the wood boards are removed from the dresser. To do this, we unscrewed the boards from the top and underneath the unit.
We kept the original screws to secure the top back on once it was repaired.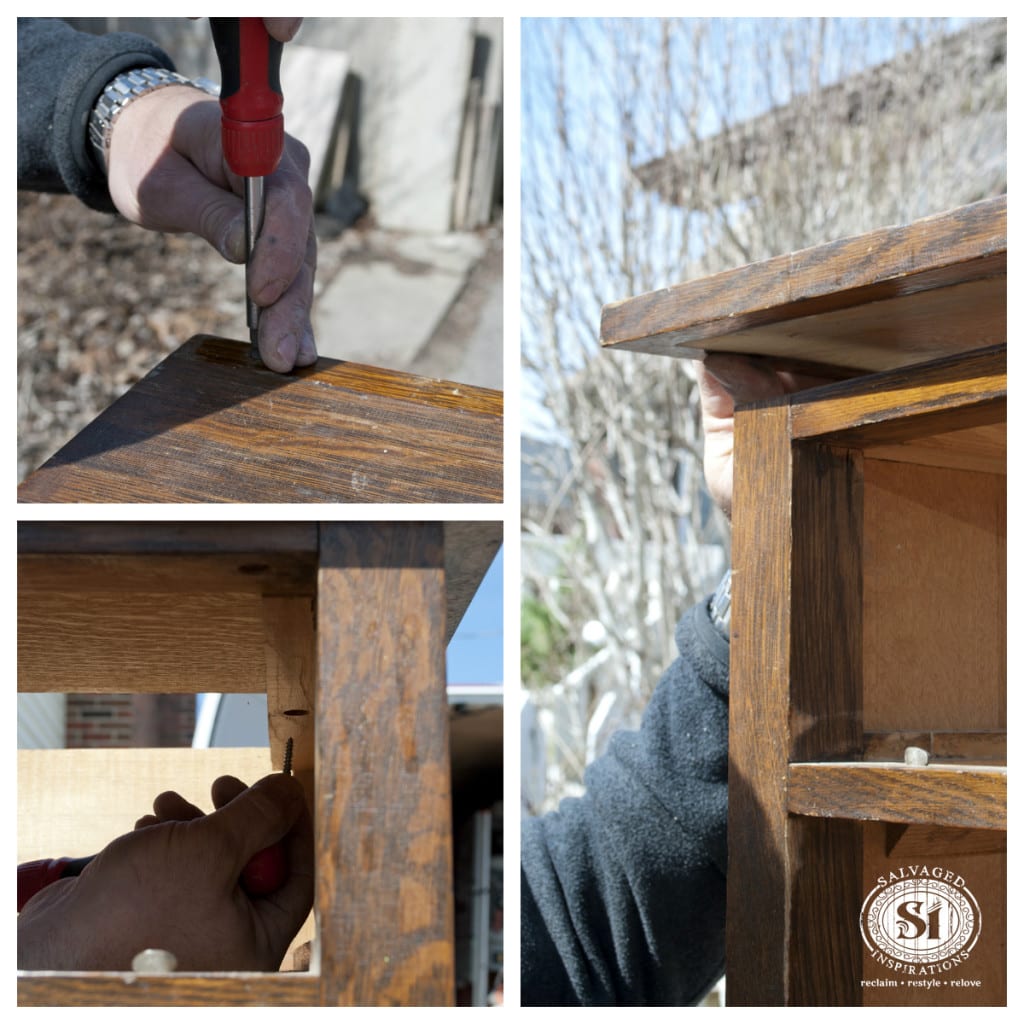 Method #1 – Basic Wood Glue & Clamps
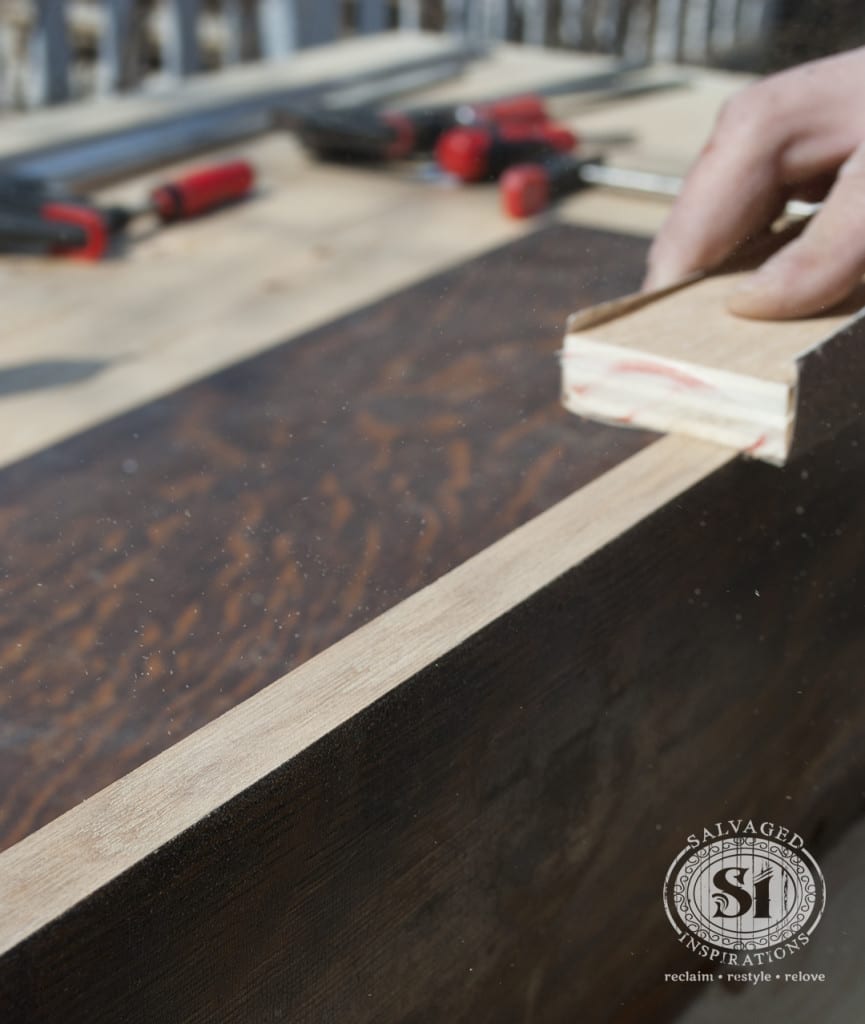
For a basic glue-up, begin by sanding all the old glue off to ensure an even clean surface for the new glue to adhere to.
Use a sanding block to ensure a straight sanded edge.
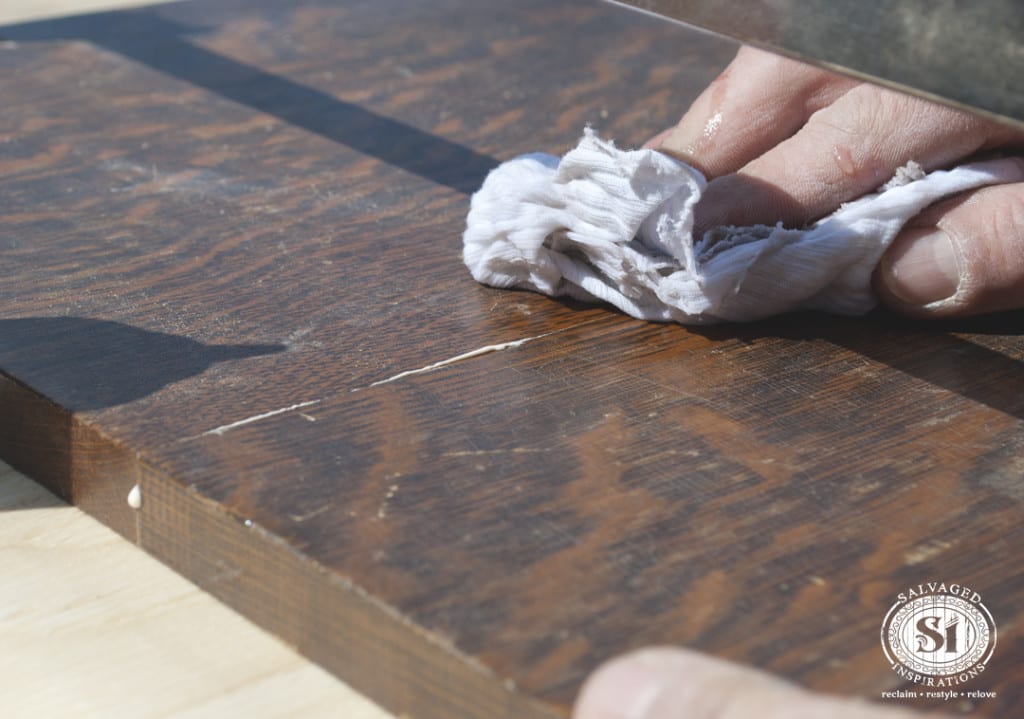
Once both sides are sanded and clean, add a generous bead of wood glue to cover the entire edge to be joined.
Tip: If the glue is squeezing out once you join the boards, this indicates you have a good glue joint!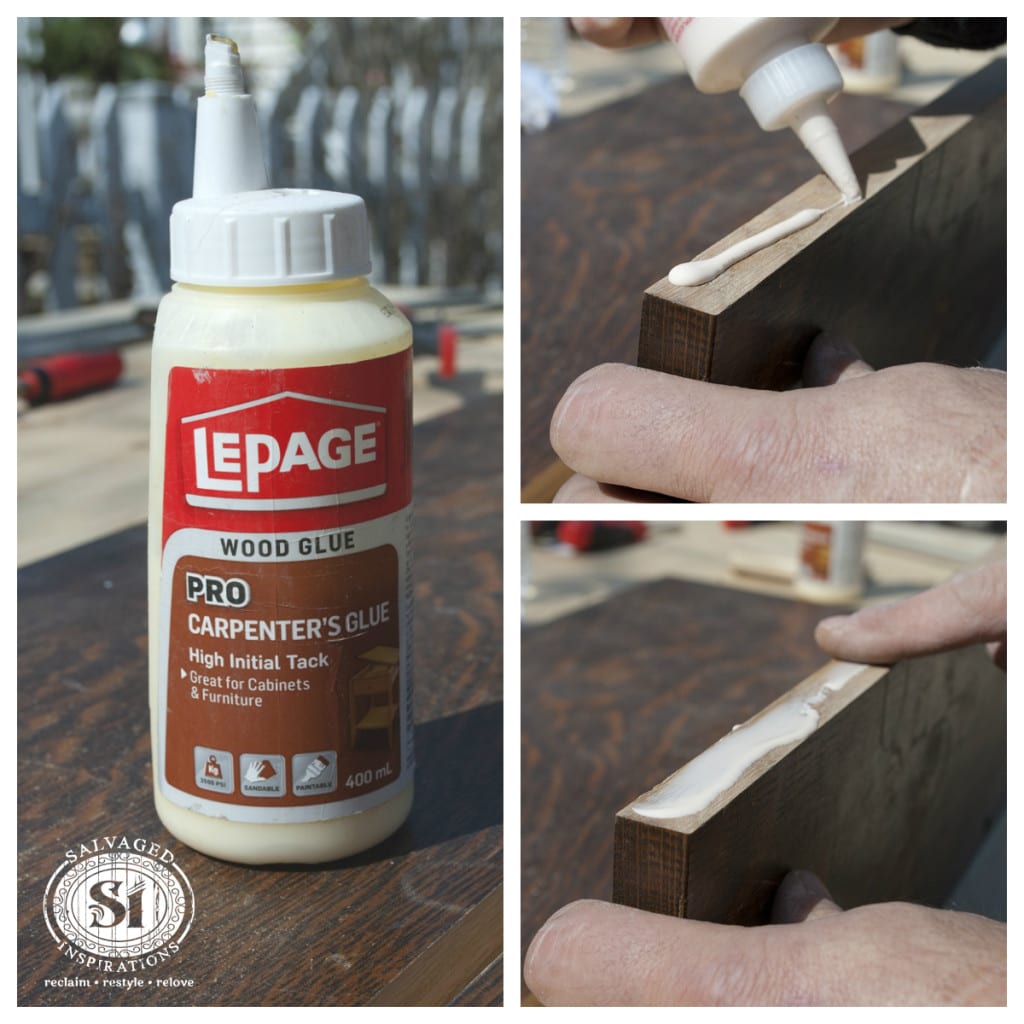 Join the two boards so they are flush, square and aligned 100% … then clamp into place.
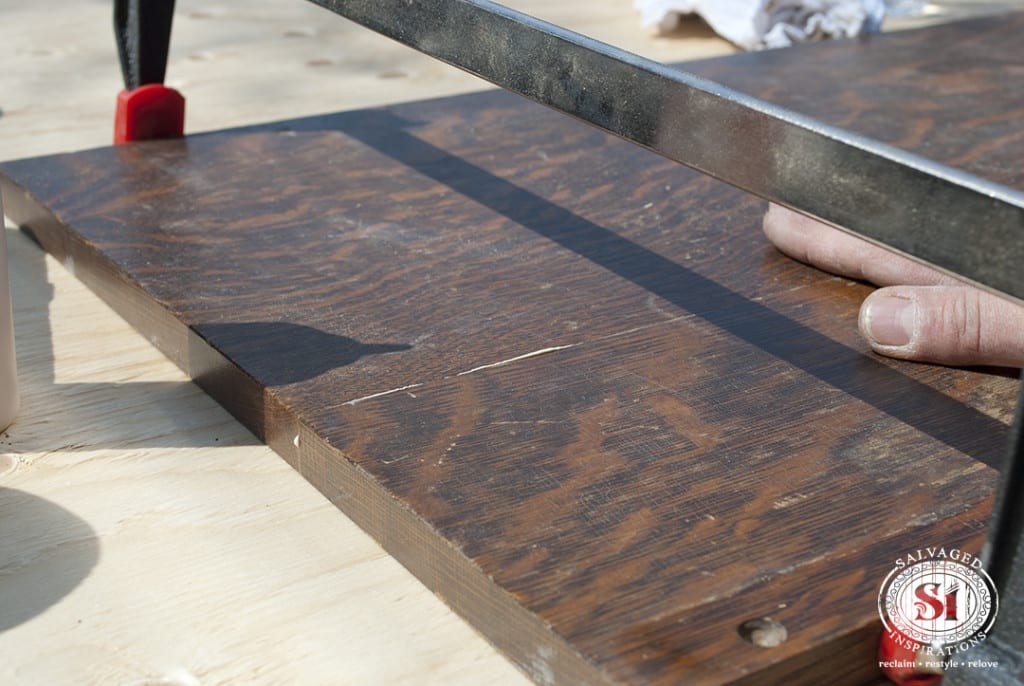
Wipe away any excess wood glue and wait until the glue is 100% dry before removing clamps.
Method #2 – Makeshift Kreg Tool + Glue-Up
For extra reinforcement, you can join boards with a glue-up and screwing them together. This method is super easy with a Kreg Jig tool… but unfortunately I don’t have one. It helps create professional looking pocket screw joints on any angle. There are so many uses for it when repairing or building furniture!
This is the Kreg Jig on my wish list!
We didn’t use this method on my dresser top, but it’s definitely a super secure fix when joined with glue and clamps as in method #1.
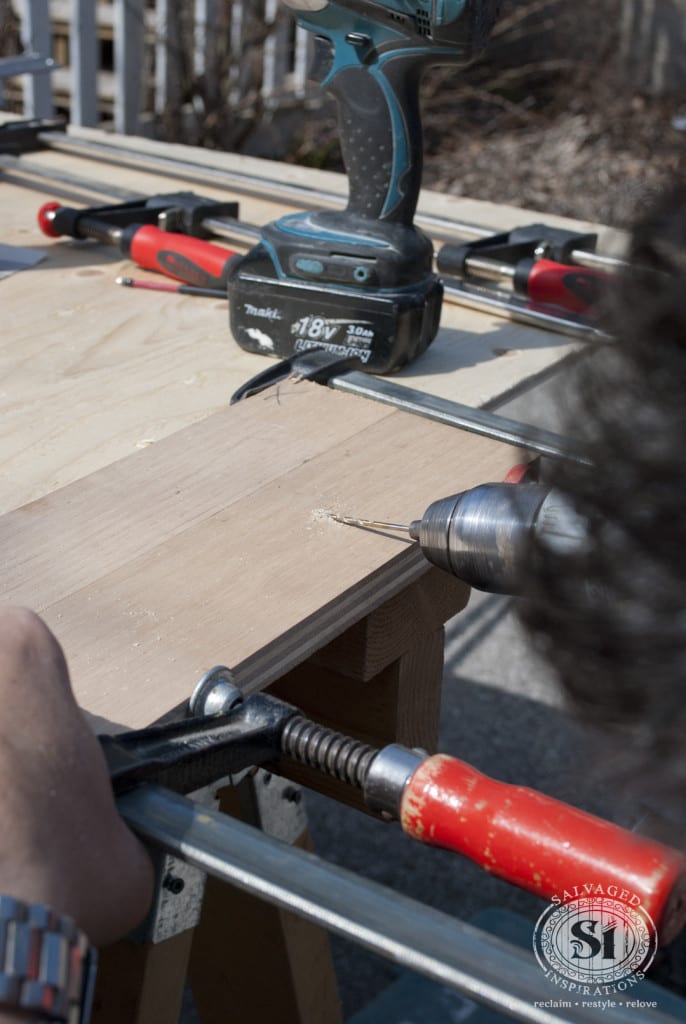
To show me how it’s done, M-M-M used two demo pieces of wood. Honestly, without a Kreg Jig I wouldn’t advise trying this unless you know what you’re doing. M-M-M has 18+ years experience and he’s has the skill to do this by hand. I know I would have made a mess of it!
For those of you braver than me, start by drilling a pilot hole and angle it down almost flush to the boards. The key is to get a long finishing screw into the two boards on an angle. Then the screws securely hold the two pieces together.
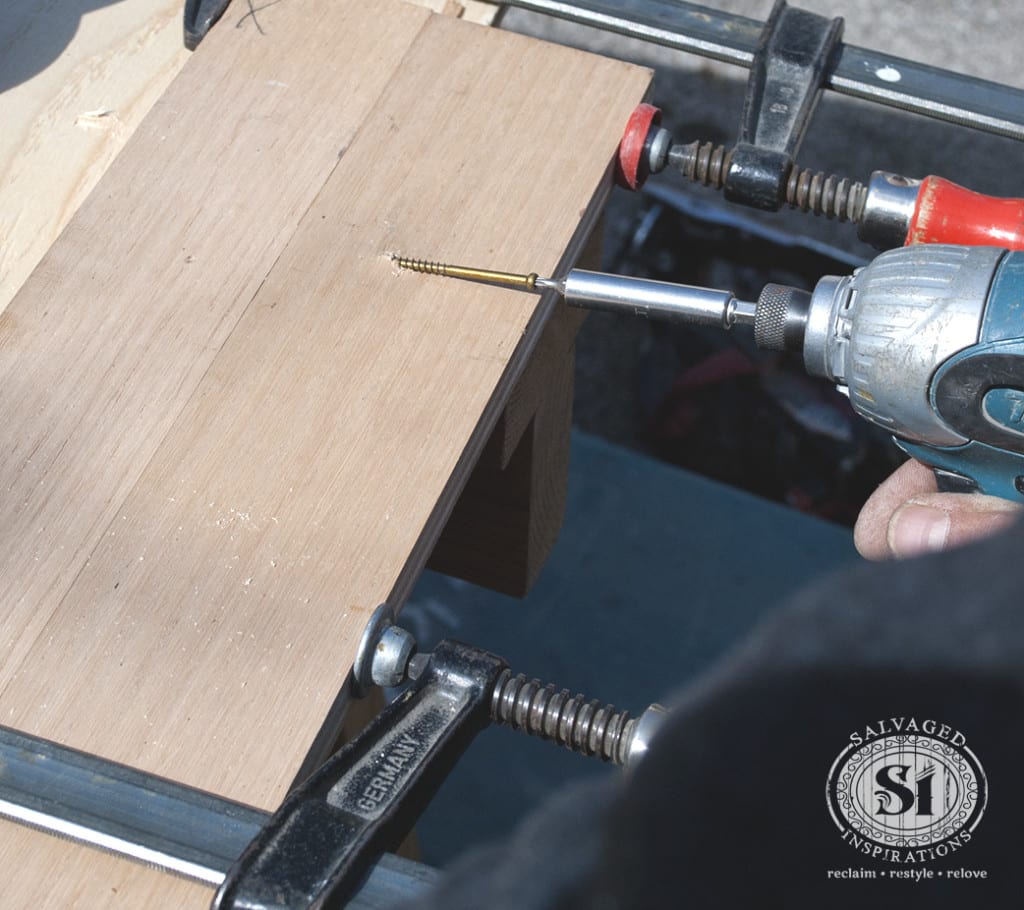
Once the screw is in, a tap with the hammer will recess the screw head. A little wood filler will hide the hole. M-M-M makes this look effortless doesn’t he?
Method #3 – Biscuit Joiner + Glue-Up
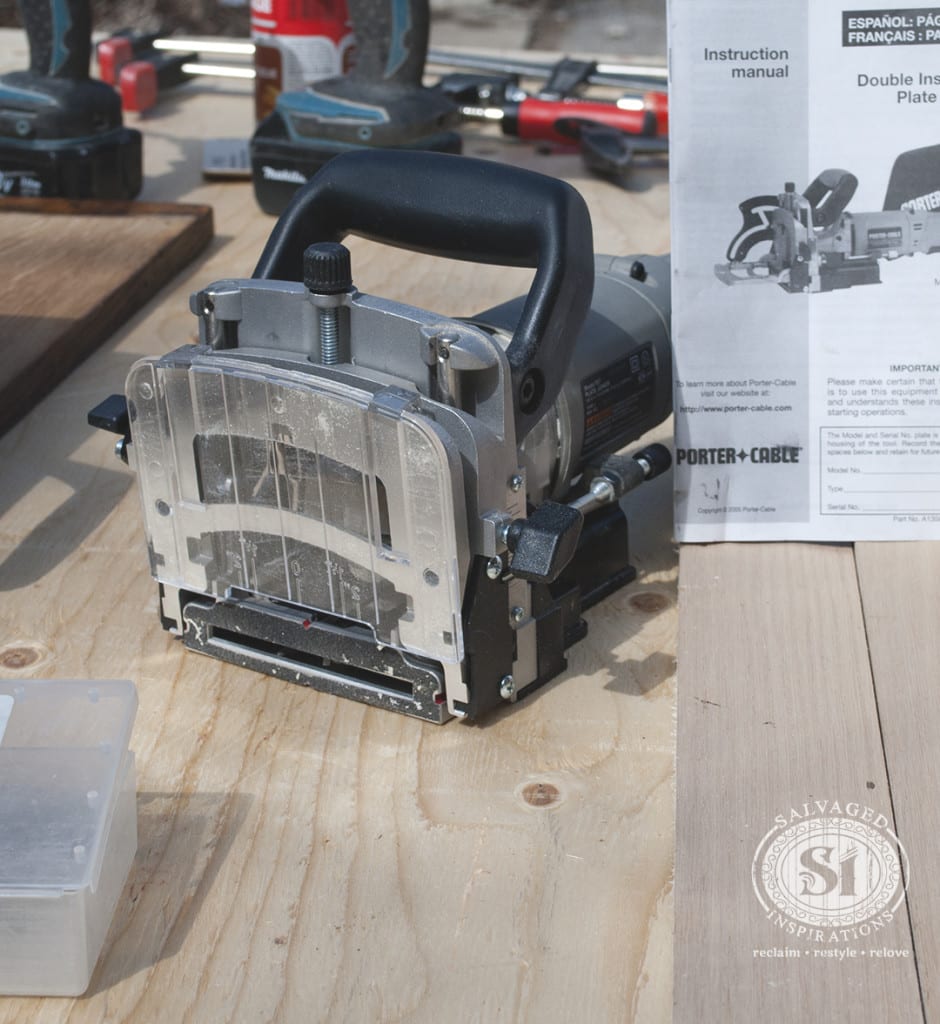
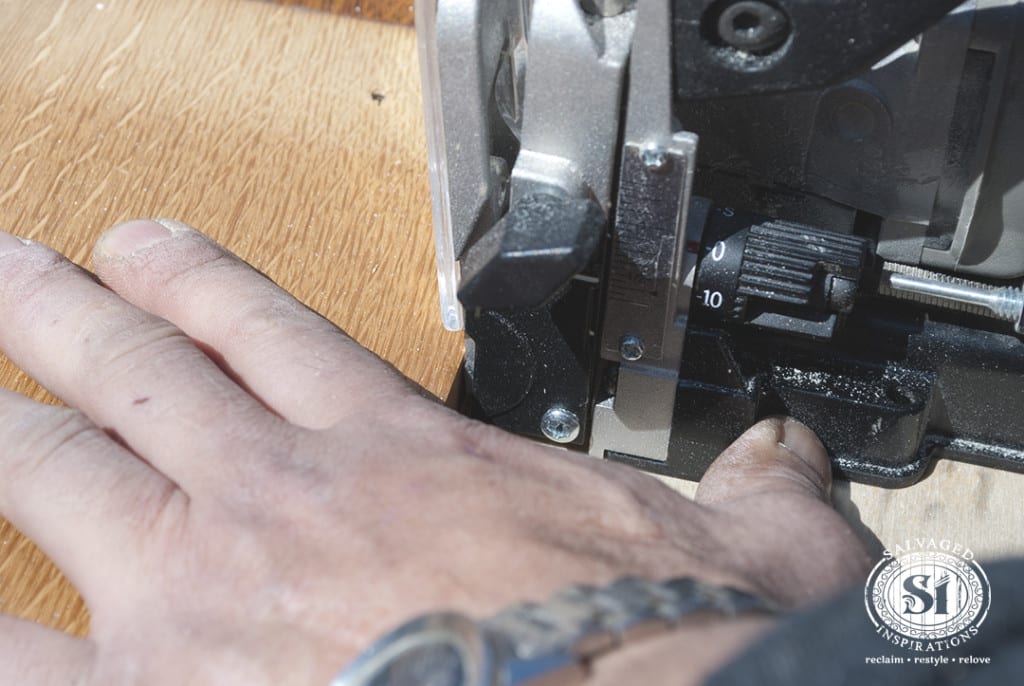
For this method a Plate Joiner tool is required. A Plate Joiner or Biscuit Joiner is a woodworking tool used to join two pieces of wood together.
A small circular saw blade cuts a slit or ‘mouth’ into two pieces of wood. Then a biscuit is inserted to reinforce and join the two pieces together.
Accompanied with a glue-up, the biscuits keep the boards flush and in place. A super secure fix!
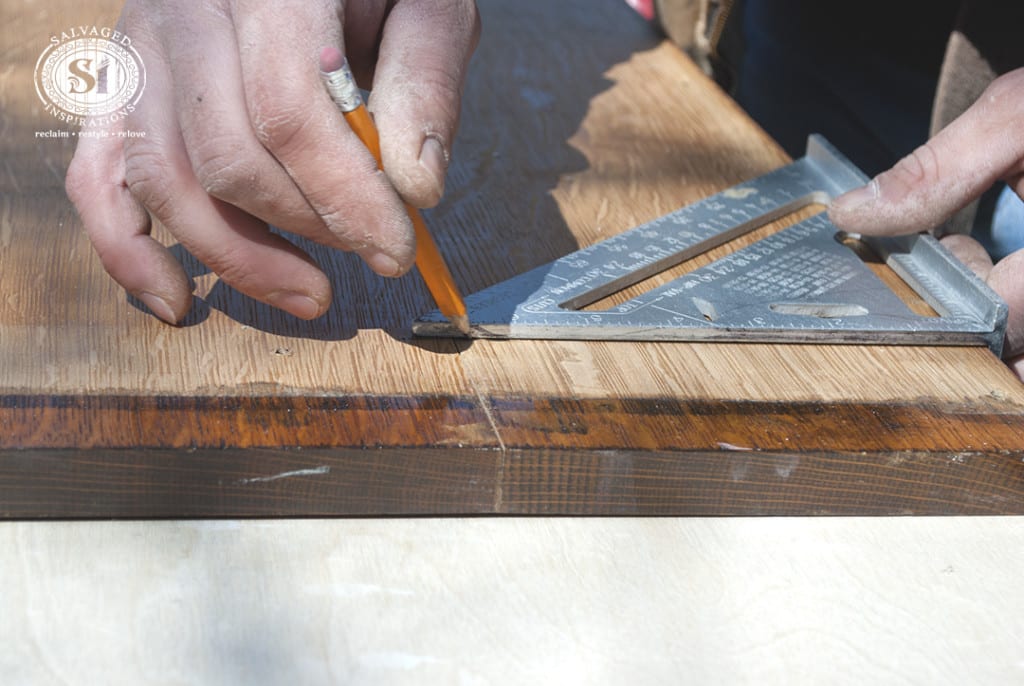
Measure equal spacing on both boards to be joined. We used three joint biscuits so one was centered and the other two were 3 inches off each side. Be sure to measure both boards carefully because the joints need to fit together perfectly!
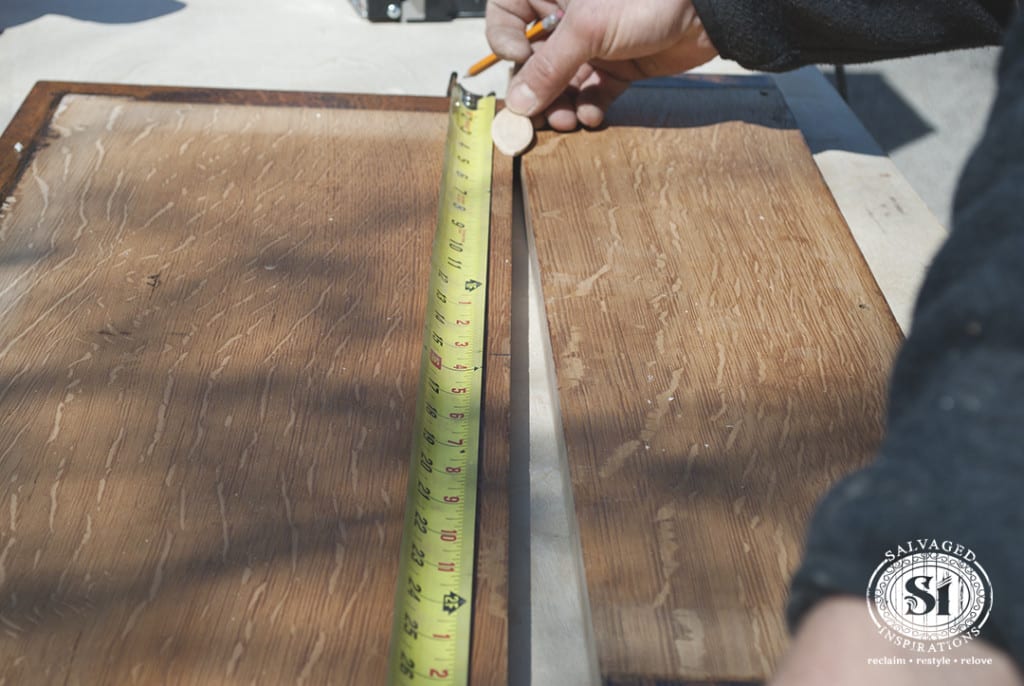

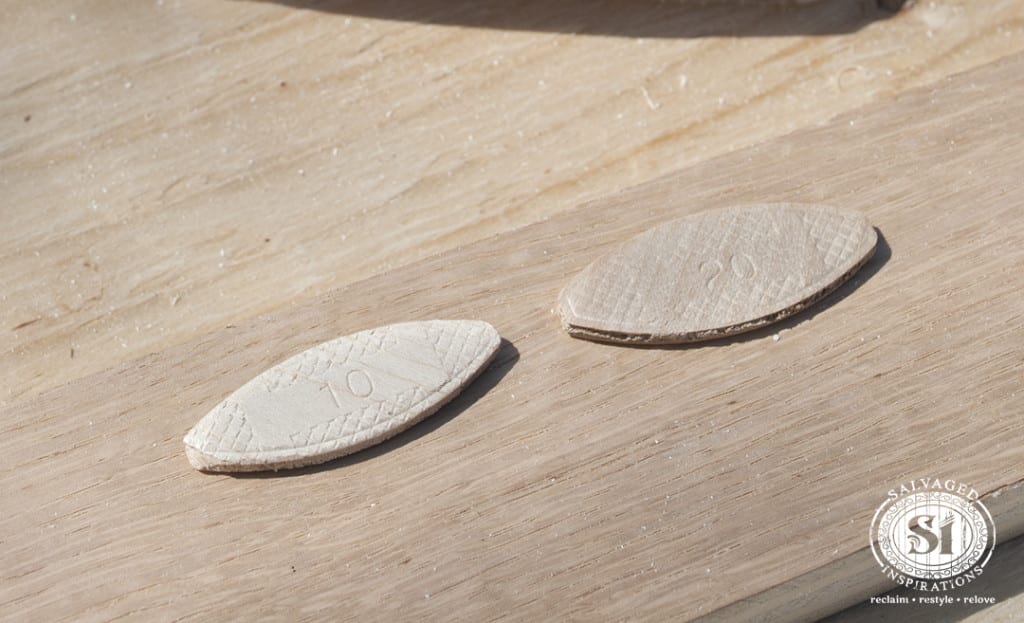
You can purchase different sized biscuits depending on the size of your project.
Use the Plate Joiner tool to make a mouth to insert the biscuits on both boards. An alternative if you don’t have a biscuit joiner; drill holes and use wood dowels to join.
Add wood glue into all the slots, then install the biscuits on both boards. Repeat for all and then join both boards adding more wood glue along the entire seam for extra strength.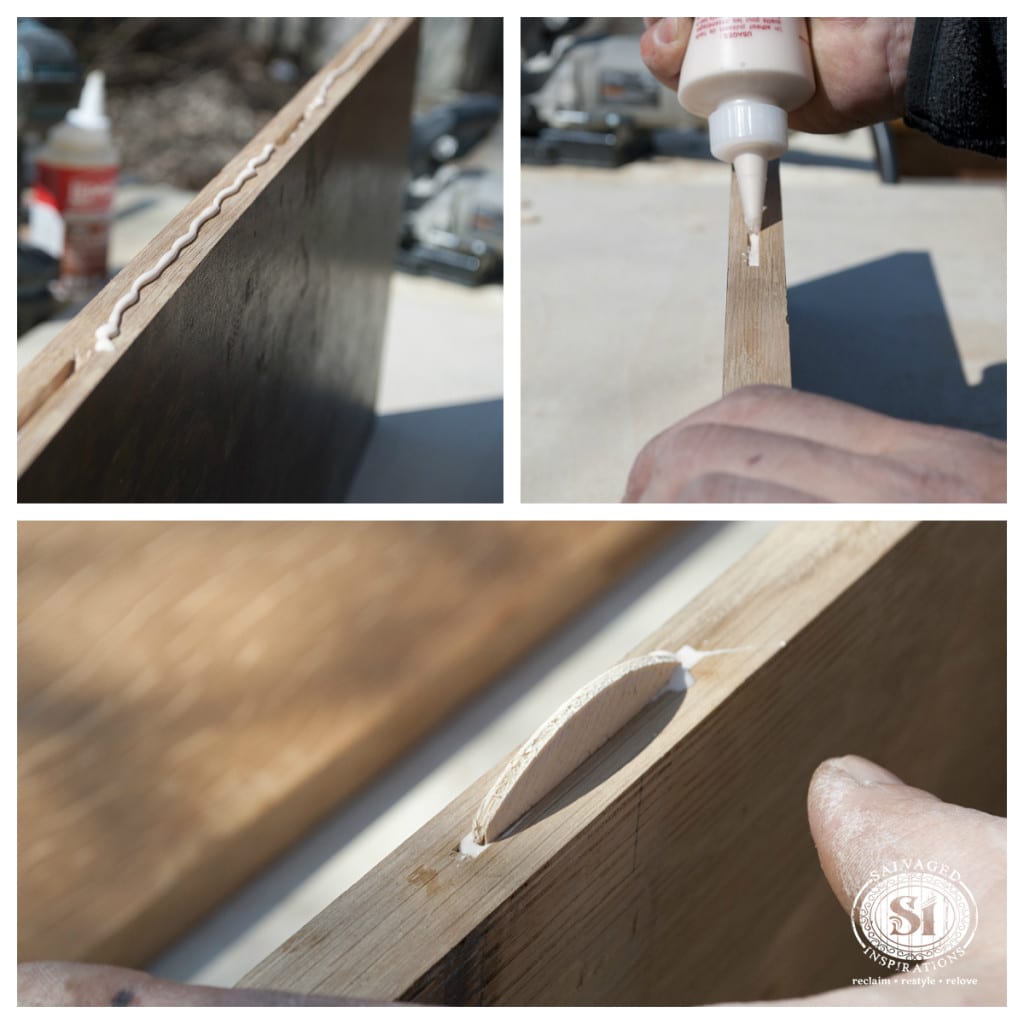 Here’s how one slides into the other effortlessly.
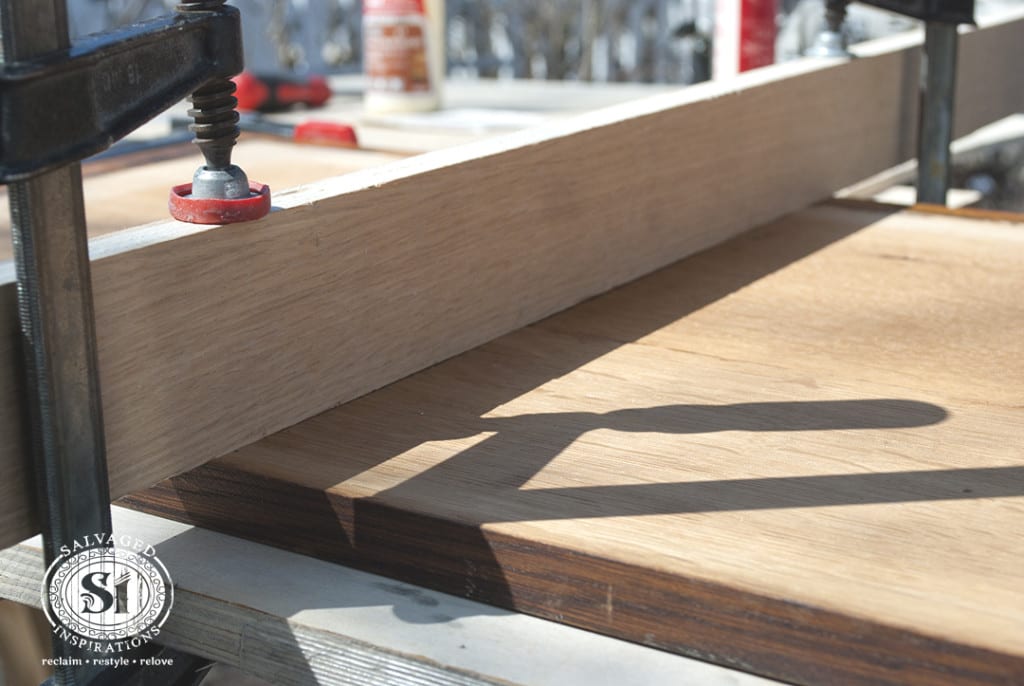
Once the boards are lined up perfectly, use your clamps to hold them in place while the glue dries.
For all of the above methods, if you notice a slight bowing or buckling in the wood, use a straight edged board or cauls. Clamp a straight board on to the glued-up boards to make sure they’re perfectly flat. Sandwiching the boards together will help keep them flush.
Viola… now it’s super secure and ready for a my Bondo and wood filler repairs. I’m ready to paint…right after I take off these bunny ears!

If you made it to the end of this post, congrats! I have exciting news for you…. another GIVEAWAY!
Many of you loved the Holy Guacamole Dresser so I’ve teamed up with Dixie Belle Paints to give you a chance to try these chalky paints for FREE.
Be sure to drop in on Monday for this dresser reveal and a chance to win!
Have you ever had to join a dresser top? Feel free to chime in or just say hi!
Enjoy your day!
Denise
_____________________________

The wooden clamp method worked well on my curved dresser top. I simply tapped along the straight edge to tighten the clamps. So easy, thank you from Australia!
I’m so glad and thanks for sharing this Elloise! Much appreciated!
Hi Denise,
I’m new to your posts and found you by googling “chalk paint”! 20 years as an interior designer but I am always looking for new ideas and new challenges! Just started rehabbing my daughter’s room and the chalk paint seemed a good way to go as the furniture pieces have a lot of shine and carvings. So far, so good! The cabinets are done – next – the drawers and then the waxing! Your tips and tricks are great! And I love your use of color! And I especially love the movement to “recycle, re-use and repurpose”!! There are no throw-aways – just items that need some loving!
So happy you dropped in Rosanne! Love meeting like minded creatives who are inspired to repurpose!
In our furniture business, my husband uses the biscuits to join the boards and the Kreg to attach the boards to the bases.
I know…so easy with these tools right! I need to buy me a Kreg Jig for sure! 😉
I was wondering if you would use a biscuit joiner :))))) Beautiful chest of drawers. Can’t wait to see more! :)))
haha…you’re a step ahead Christina. I should recruit you to write these blog posts…lol. 😉
Wow. That’s an amazing fix. I’ve passed up on a few pieces with broken tops because I didn’t know how to repair them. Next time I won’t be afraid to try. Thanks for all the wonderful information.
In an ideal world, all our pieces would be in tact wouldn’t they..lol. Glad this will come in handy for you Monique.
I want an MMM please! Dammit, I have walked away from so many pieces that were gorgeous but had this same issue. In fact, I have one right now that has this issue and I use it as a painting table because I don’t know how to fix it. Maybe I will give method 1 a try… it cant hurt, can it (and it looks like the most simple method!)?
Great job, as usual, Denise!
Sorry Carole, M-M-M is not up for grabs…lol. 😉 Seriously though, if the boards are in tact, the first glue-up method is really easy to do if you have clamps!