HERE’S HOW TO DECOUPAGE WITH NAPKINS TO CREATE BEAUTIFUL (AND INEXPENSIVE) FALL PUMPKIN DECOR!
Hi, creative friends, and welcome back… and if you’re new here, a big warm WELCOME! Have you started decorating for the autumn season? We’re one week away from officially welcoming fall, so today I’m sharing a super easy home decor project – How To Decoupage Pumpkins with Napkins.
✨ Stick around till the end for the “Related Posts – Fall Series” for MORE gorgeous fall makeovers!
*As an Amazon Associate, I earn from qualifying purchases. There are affiliate links in this post to other companies/products I use and love as well. You will never be charged extra when you purchase through these affiliate links. If you purchase from my links – A BIG thank you for supporting me and the #siblog! To see my full disclaimer, click here.
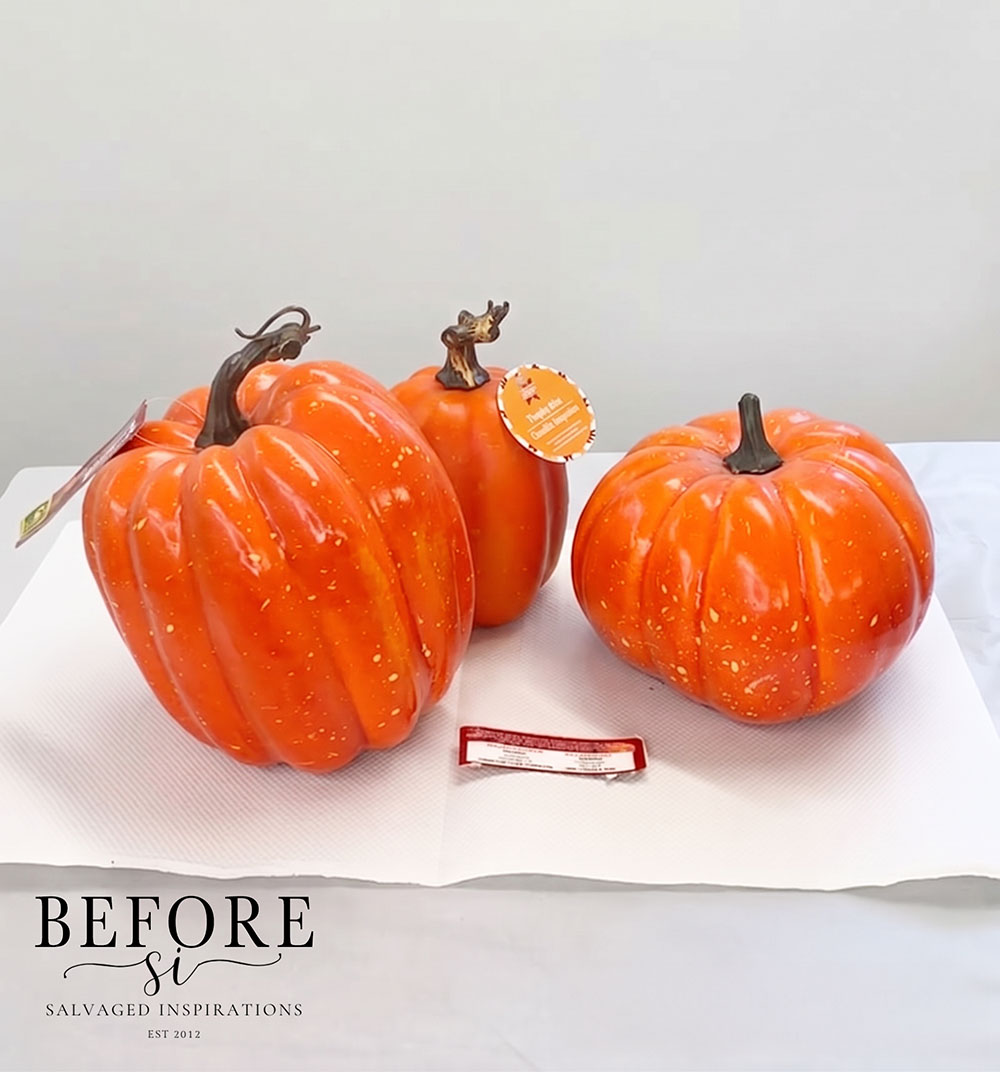
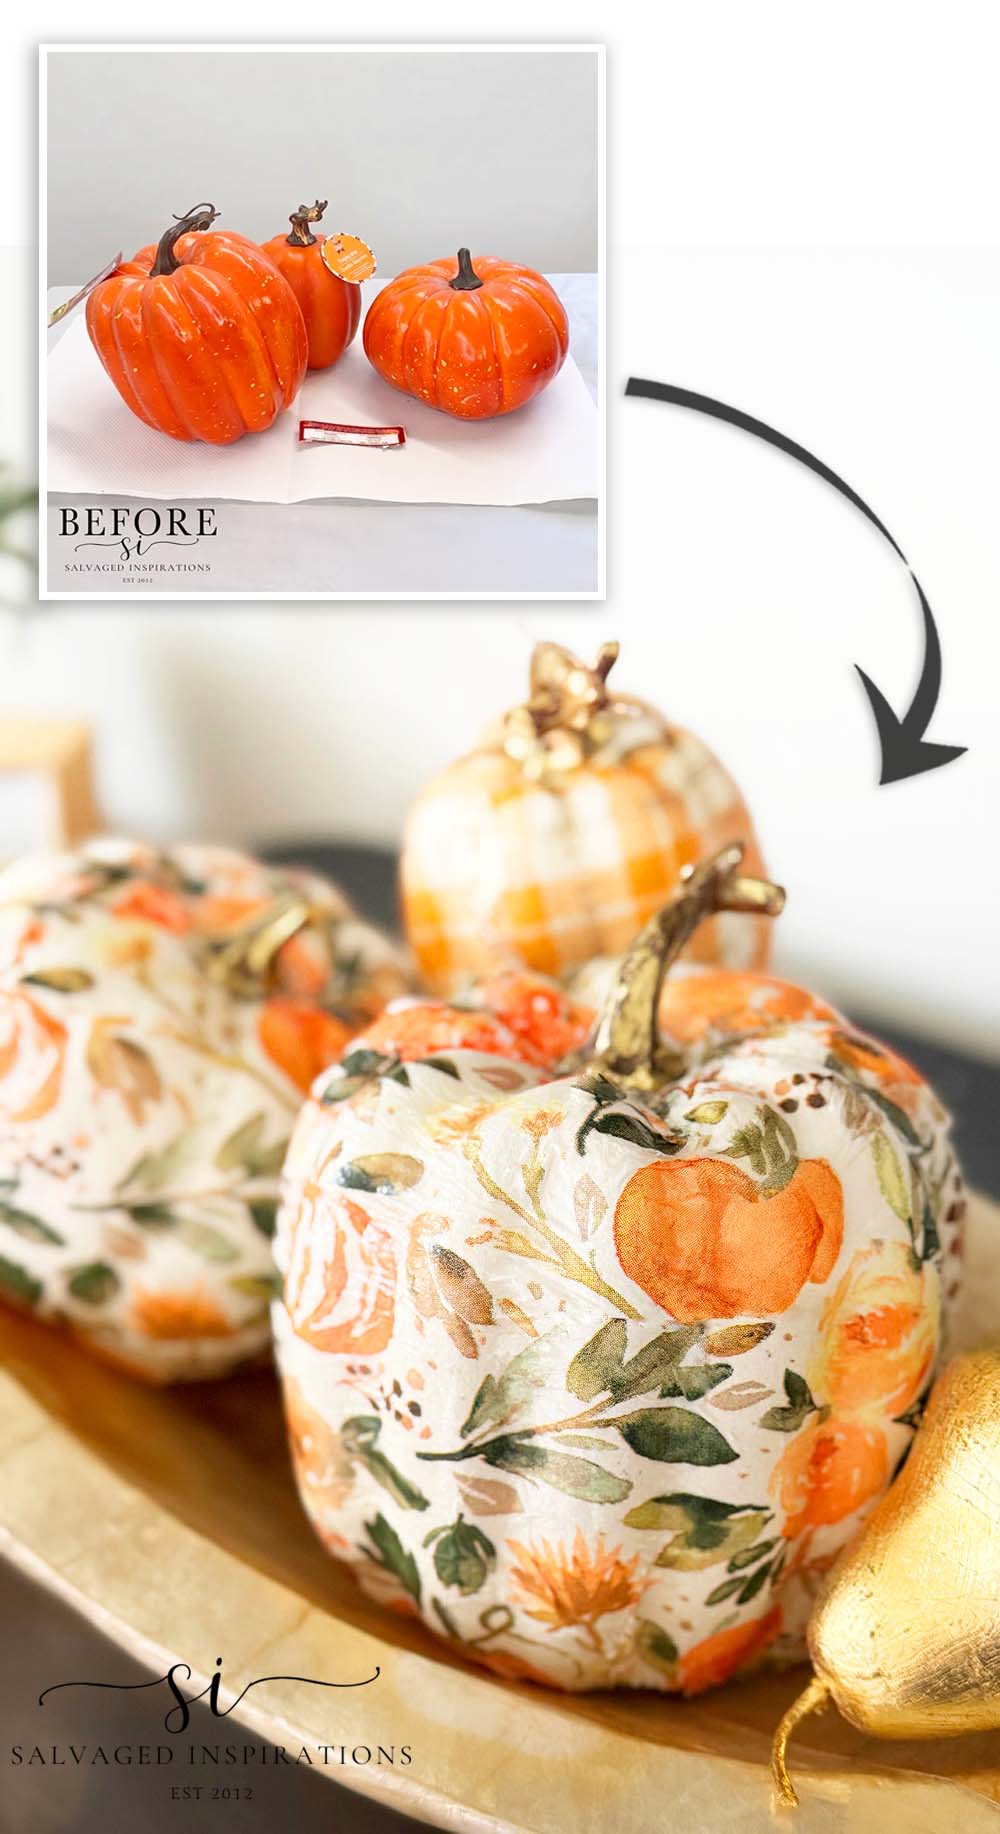
Here’s what I started with – some dollar store pumpkins. I bought 3 pumpkins in various shapes and sizes.
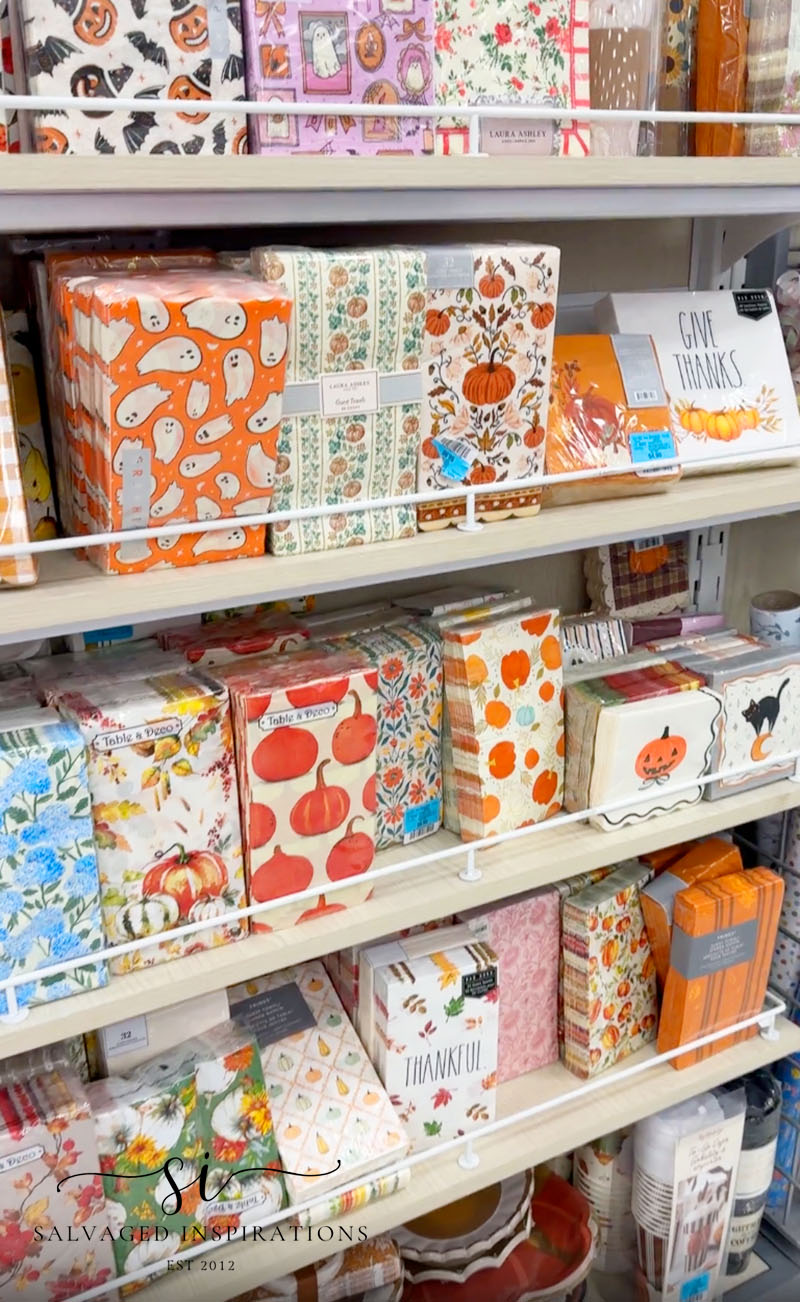
Then I went shopping for some inexpensive fall napkins. There’s such a fun variety, and I found a beautiful pattern that’s an appropriate size for the plastic pumpkins I purchased.
THIS POST IS SPONSORED/CONTAINS AFFILIATE LINKS TO PRODUCTS I USE. YOU CAN SEE MY FULL DISCLOSURE HERE.
SOURCE LIST
Plastic Pumpkins – SALVAGED
Seasonal Fall Napkins
Scissors
Chip Brush
Magnolia Chalk Mineral Paint
Mod Podge
Gold Marker For Stems
HOW TO MAKE NAPKIN DECOUPAGE PUMPKINS
Here’s how it all came together…
DOLLAR STORE PUMPKINS
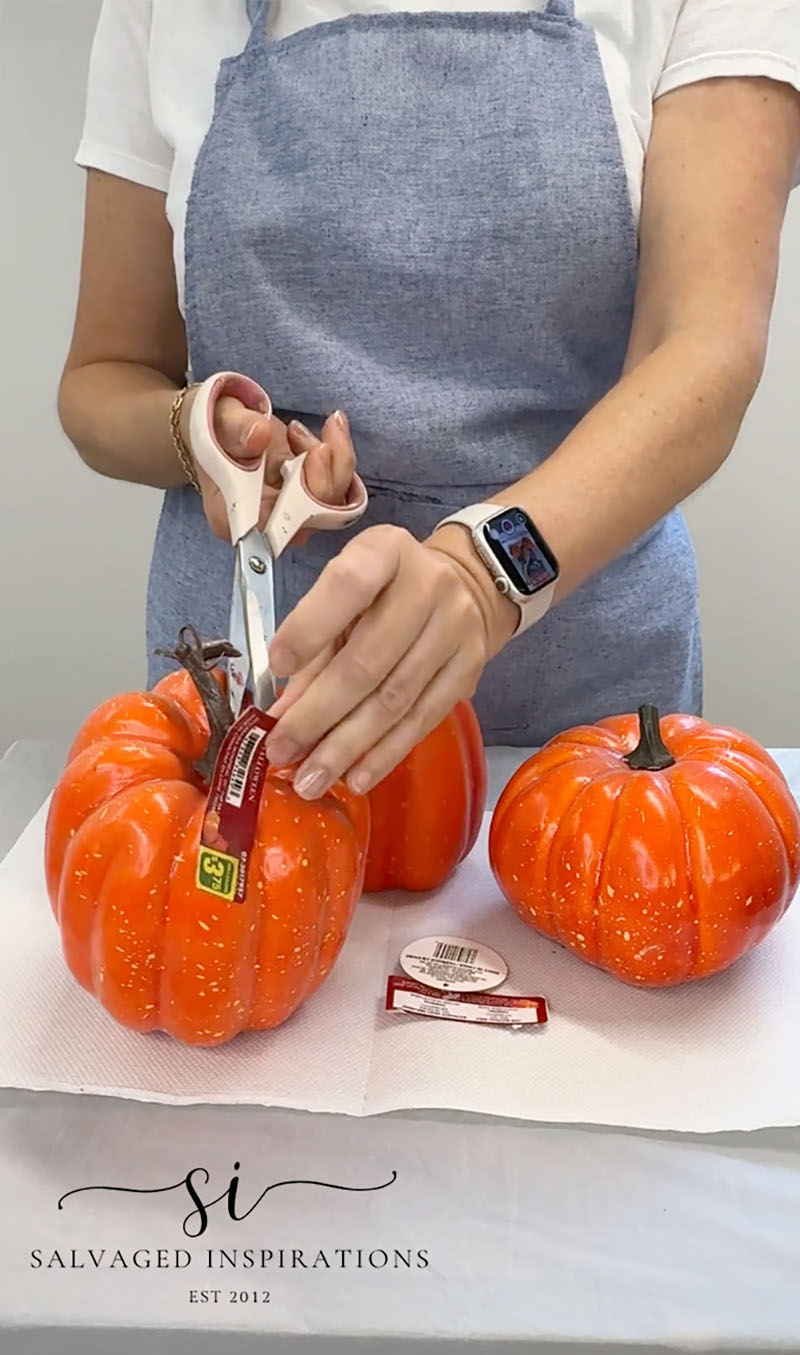
I started by removing the tags off these inexpensive dollar store pumpkins. I can usually find them for between $2-$3, or, if I’m lucky, $0.99 at the thrift store!
PAINT BASE COAT ON PUMPKINS
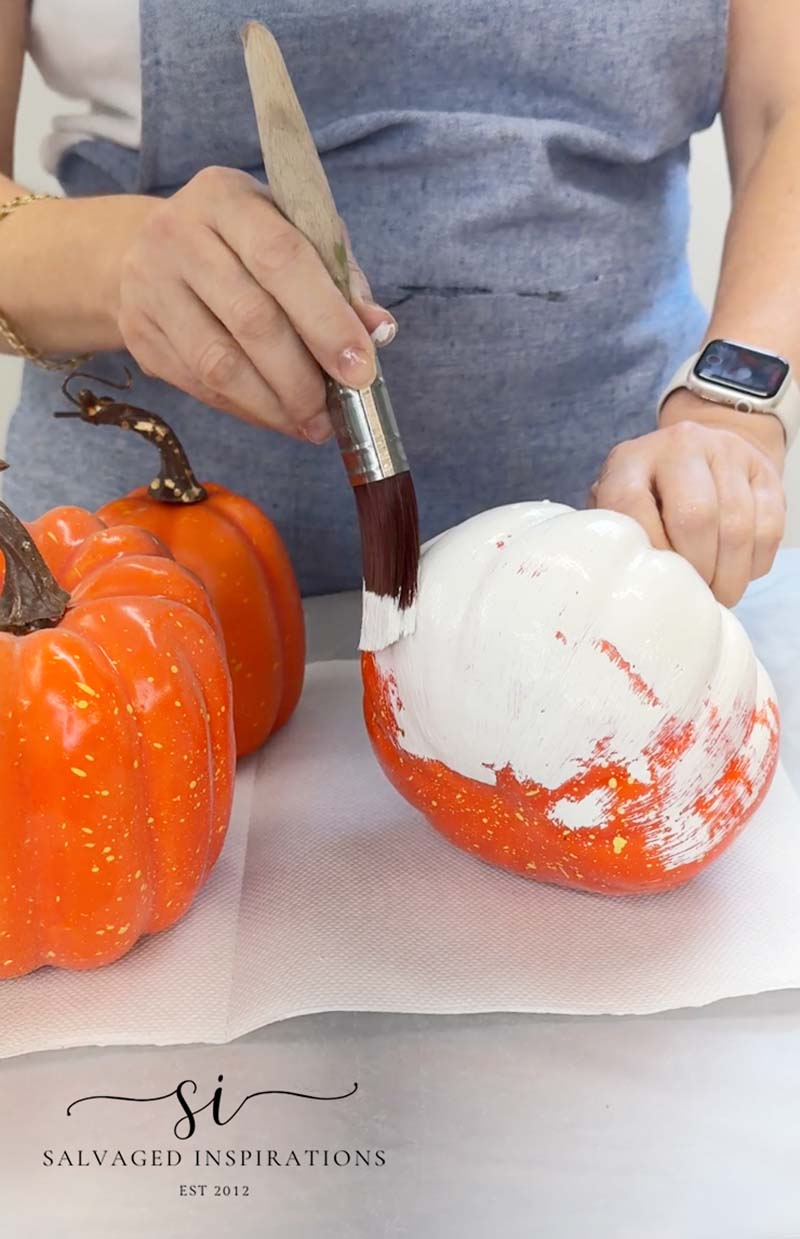
To prepare the pumpkins for the seasonal napkin design, I painted them with two coats of Magnolia Off White Creamy Chalk Paint for full coverage. I chose this creamy off-white because it complements the background of my napkin design, but you can use any color you like.
If your napkin has a darker background, simply choose a coordinating darker shade.
And feel free to use whatever paint you already have on hand—latex, spray paint, mineral paint, or acrylic craft paint will all create a great base coat.
NAPKIN DECOUPAGE STEP BY STEP
Now for the fun part – let’s make these generic orange pumpkins look amazing!
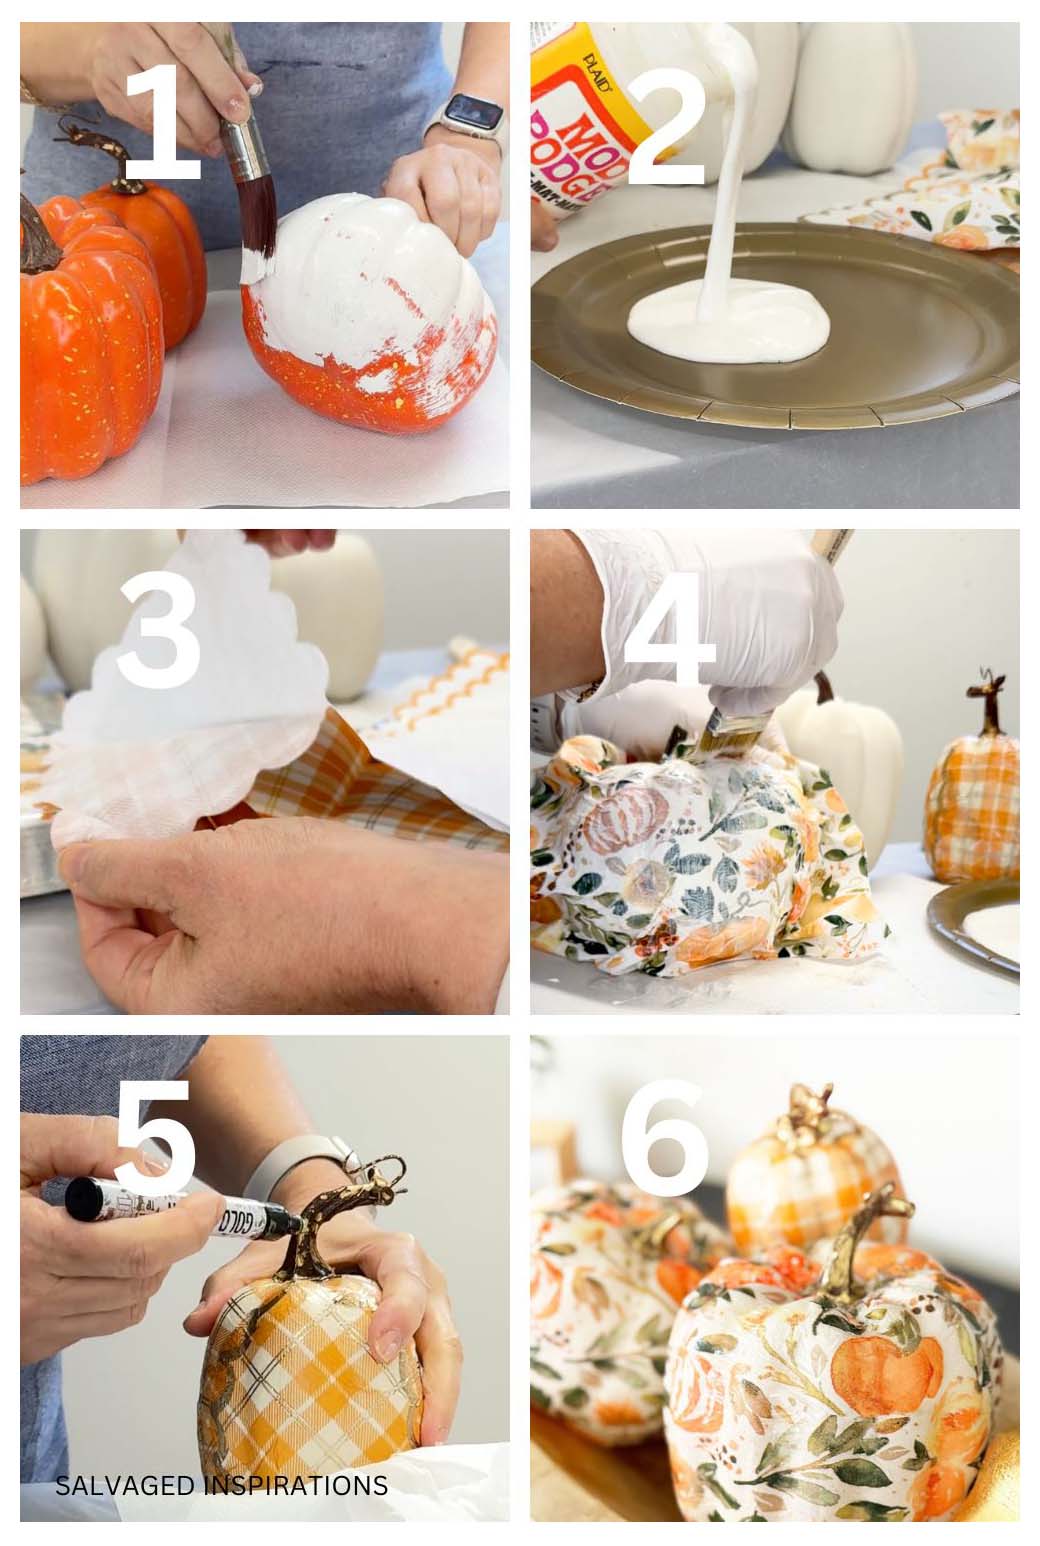
Here’s the EASY 6-step process –
- Give your pumpkins a basecoat that complements the background of your napkins. Let dry.
- Pour some Mod Podge onto a plate and, using an inexpensive chip brush, brush the medium onto your pumpkin.
- Remove the backing on your 2-ply napkin. We only want the top printed design.
- Lay the napkin design on the pumpkin and smooth out with crumpled plastic, then brush on another layer of Mod Podge. Repeat.
- Let everything dry and highlight with a gold marker pen, adding extra details. (optional)
- Stage, style and enjoy!
PIN AND SHARE 🤗
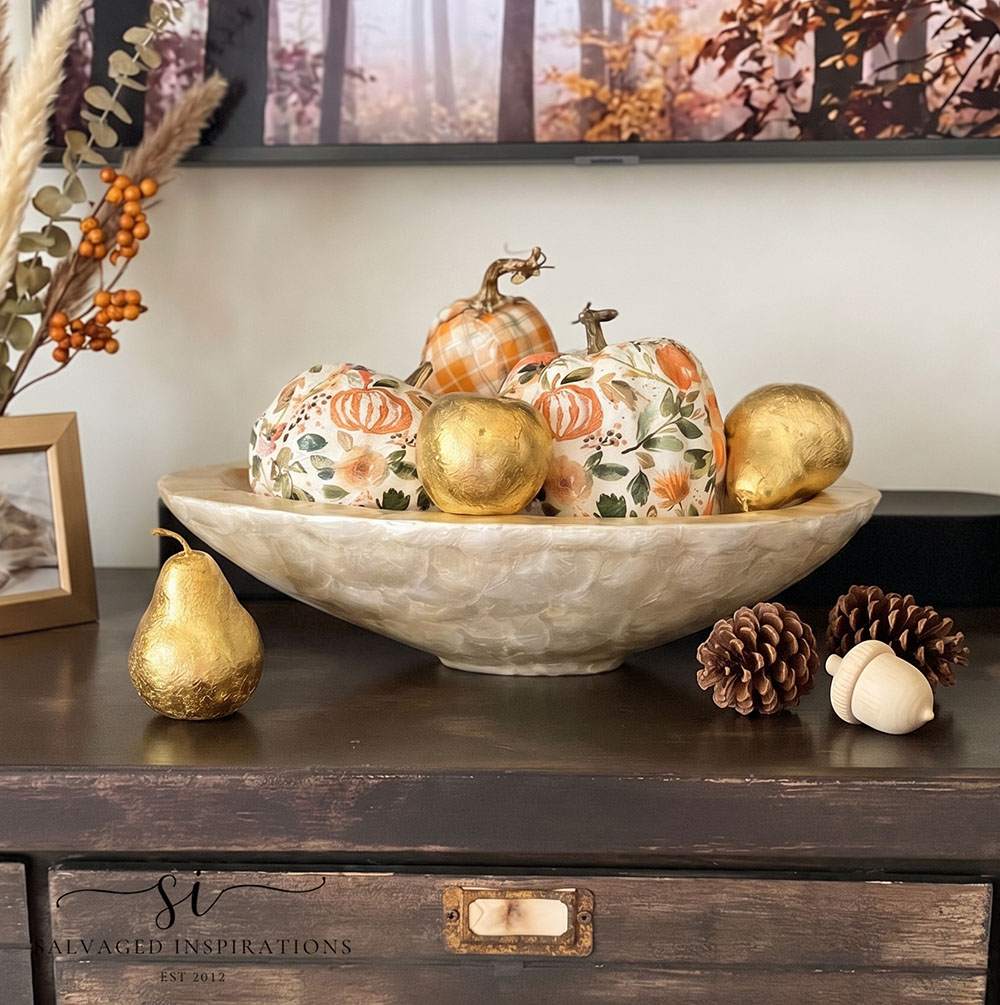
THE BIG REVEAL
Here’s the finished look! What do you think!?
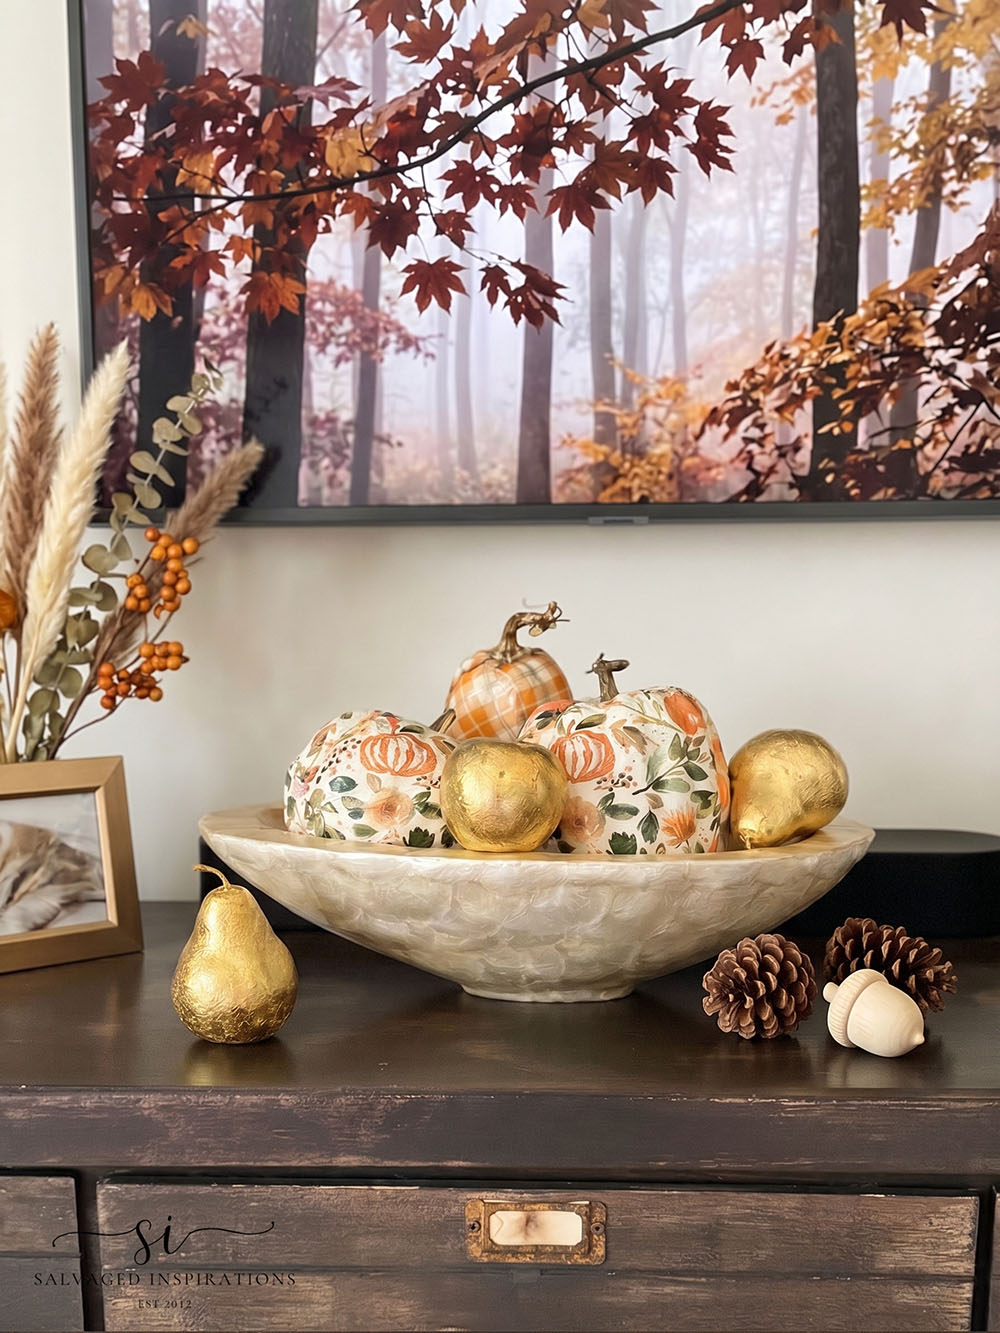
I’ve styled them under my TV for now. They look amazing paired with the gold leaf fruit I did back in 2024.
Also, do you use, or have you used, this Creative ART Gallery on YouTube? I’m a little addicted, lol. I’m having fun changing my TV screen into art and switching it up daily. Some of it also comes with 3-6 hours of relaxing background music.
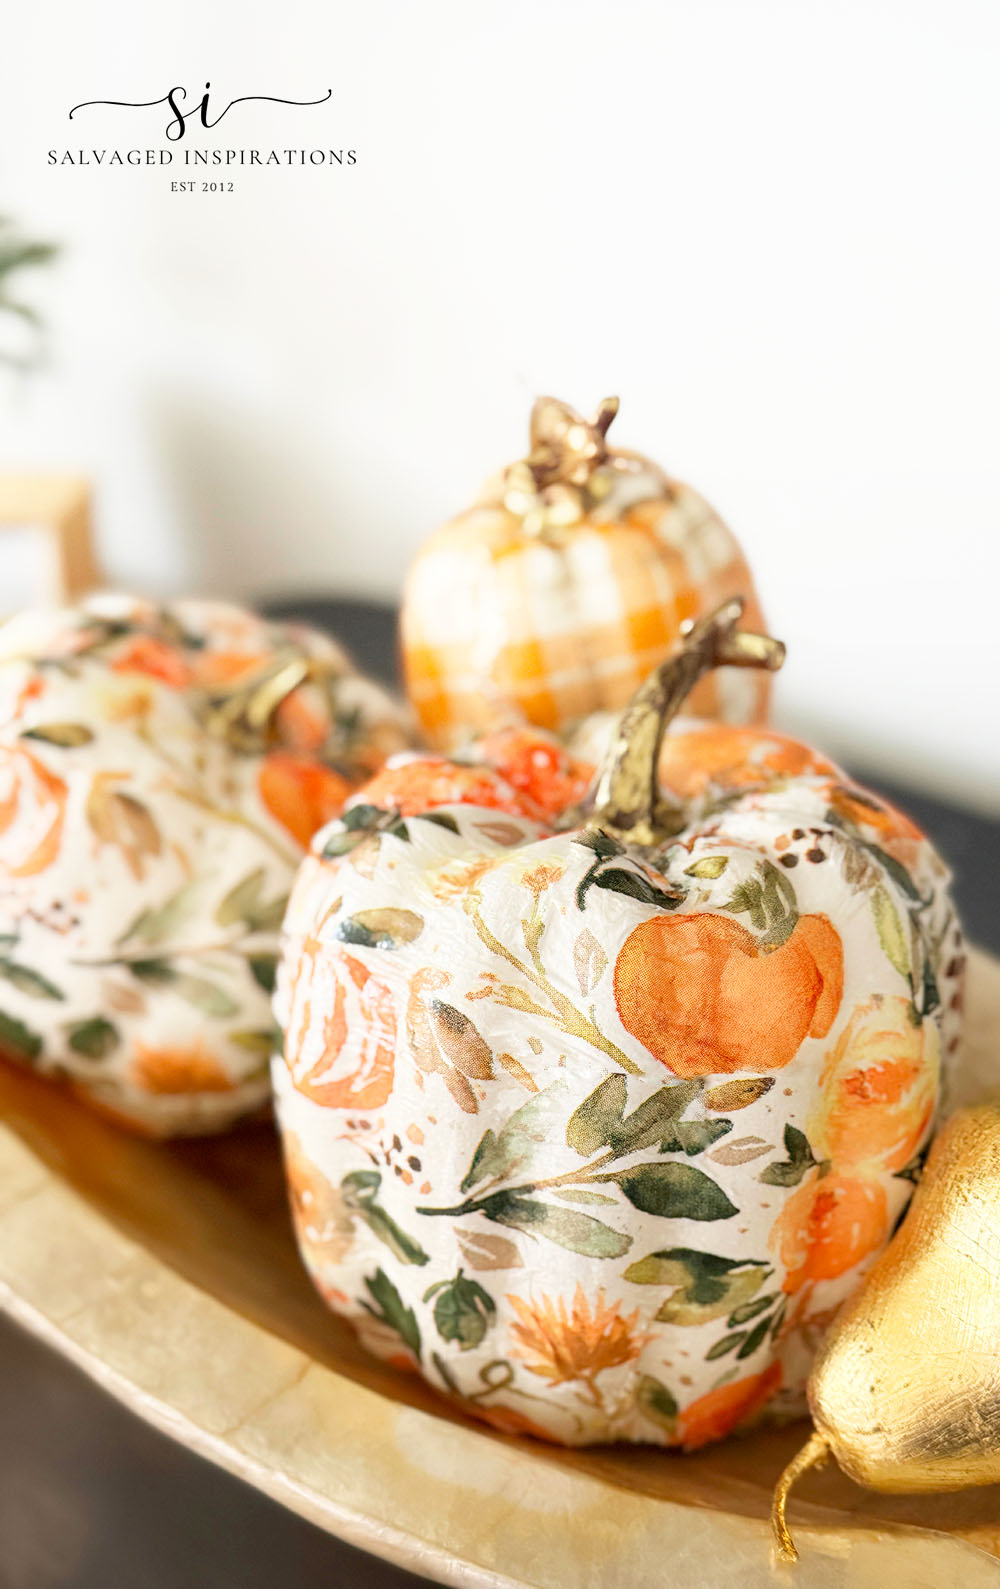
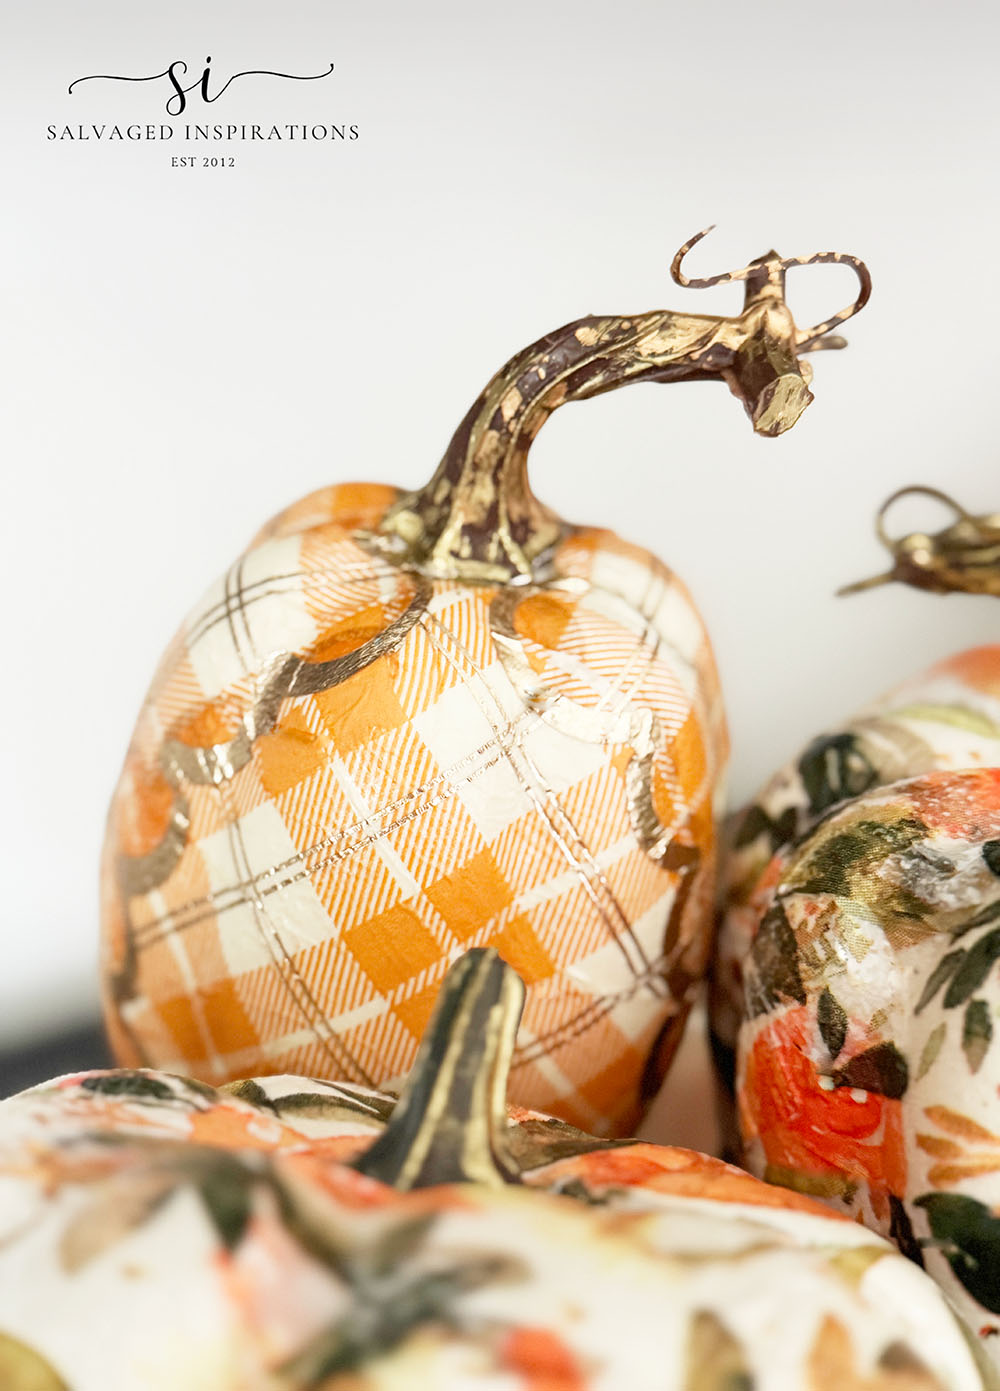
Here’s a closer look.
They are so darn adorable, and using the Gold Marker added glam to the plastic stems, and it took all of 20 seconds!
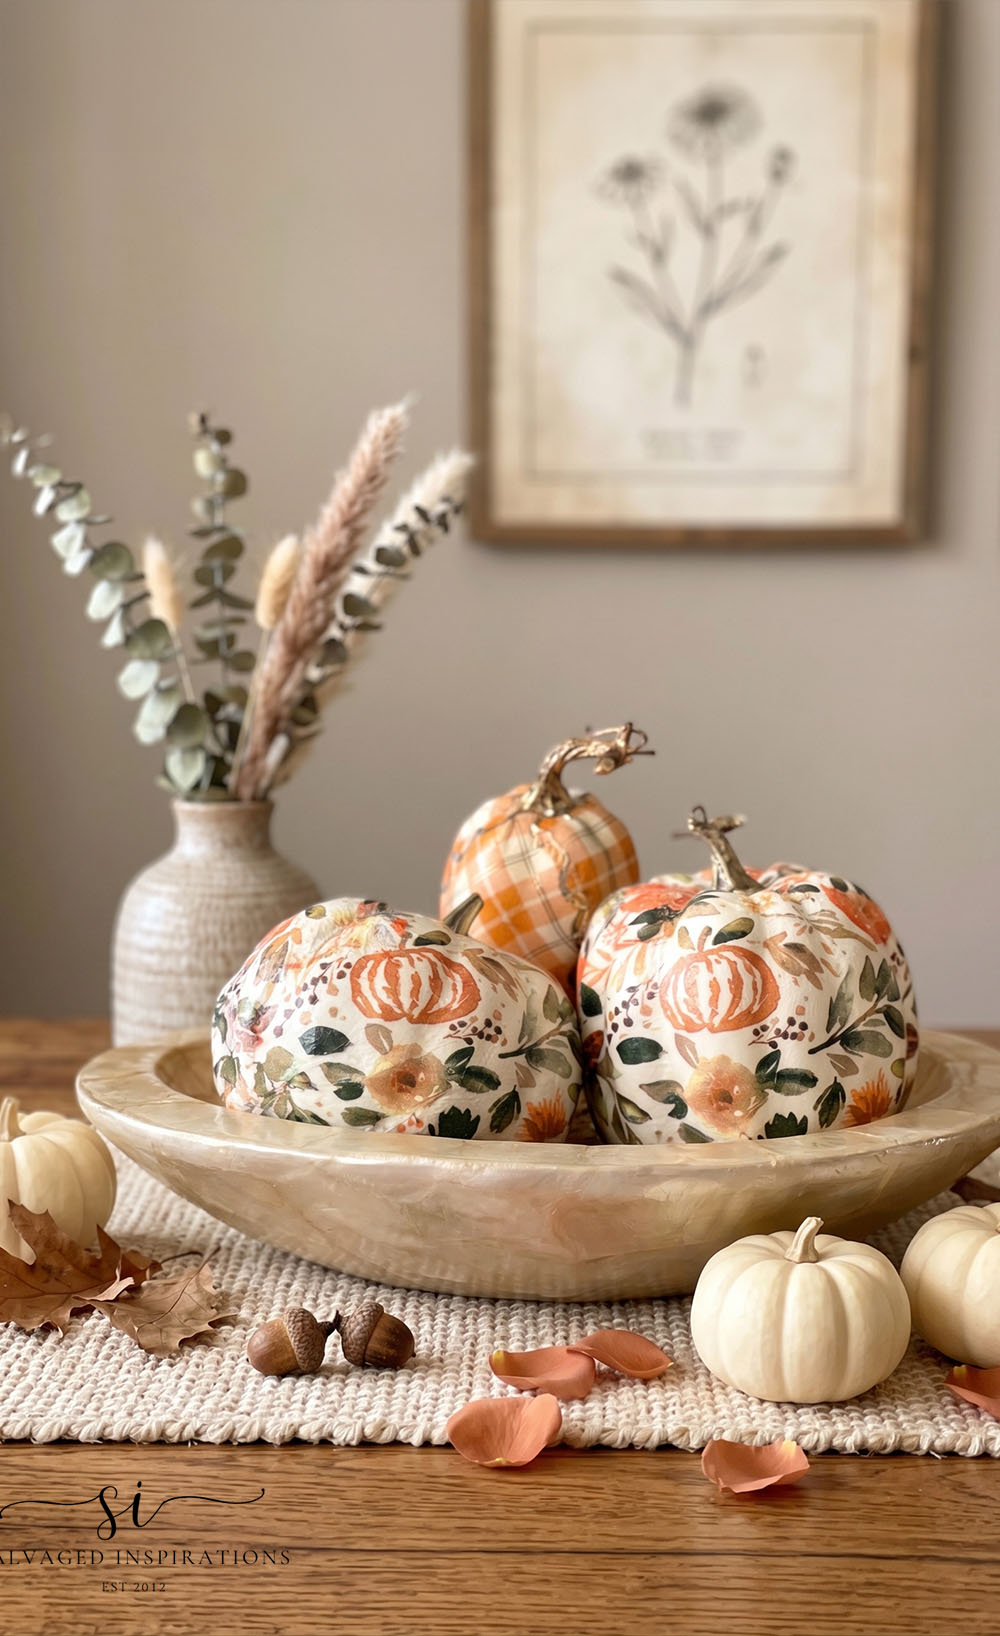
And just for fun, I prompted AI to generate these pumpkins on a table setting. Here’s what it generated.
Super cute on a kitchen table. I think these decoupage pumpkins would look good styled in any room.
MORE IDEAS TO STYLE YOUR PUMPKINS
Mantel Display
Group three pumpkins in varying sizes around candlesticks, dried leaves, and seasonal garland. Odd numbers always look more natural and intentional—and they’ll look gorgeous mixed with all those warm fall textures.
Entryway Table
Place a large decoupage pumpkin on a wooden tray with a small lantern and a sprinkling of acorns. It’s such a simple way to create a warm and welcoming first impression for your guests!
Dining Table Centerpiece
Cluster several pumpkins down the center of your table and tuck in some tapered candles and greenery. Don’t be afraid to mix patterns like florals, checks, and botanicals for a fun, layered look.
Tiered Tray
How cute would mini decoupage pumpkins look on a tiered tray?! Mix them with little gourds, pinecones, and a few tiny fall signs for an easy seasonal display.
Porch Display
These faux decoupage pumpkins would also look beautiful on a covered porch. Pair them with colourful mums, lanterns, a wooden fall sign, and a seasonal wreath for loads of festive fall curb appeal!
Here’s another look at these decoupage napkin pumpkins before and after. I hope it’s inspired you and given you some new ideas for your Fall projects!
FINAL THOUGHTS
Decoupage pumpkins are one of those quick crafts that look super impressive but are actually easy and beginner-friendly! All you need is a little patience and the right steps. Once you try this DIY, you’ll want to decoupage everything in sight. 😉
Thank you so much for being here and for following along. If you have a question or want to say hello, I’d love to hear from you in the comments below — you always brighten my day!
Happy creating, sweet friends! 💙
Happy creating!
Denise xo
RELATED POSTS:
HOW TO GOLD LEAF PUMPKINS
HOW TO PAINT METAL FURNITURE
CASHMERE PUMPKINS MAKEOVER
FALL PAINT RECIPES | FREE DOWNLOAD
HOW TO TURN WOOD INTO FAUX IRON
PIN AND SHARE!
 Hello again... I'm so happy you dropped by! Let's keep in touch! Follow me on social media or sign up for a dose of furniture painting inspiration and diy tutorials. :)
Leave a Reply