HOW TO TURN AN OLD WOOD TRAY INTO A HEAVY-DUTY LOOKING IRON TRAY | YOUTUBE VIDEO
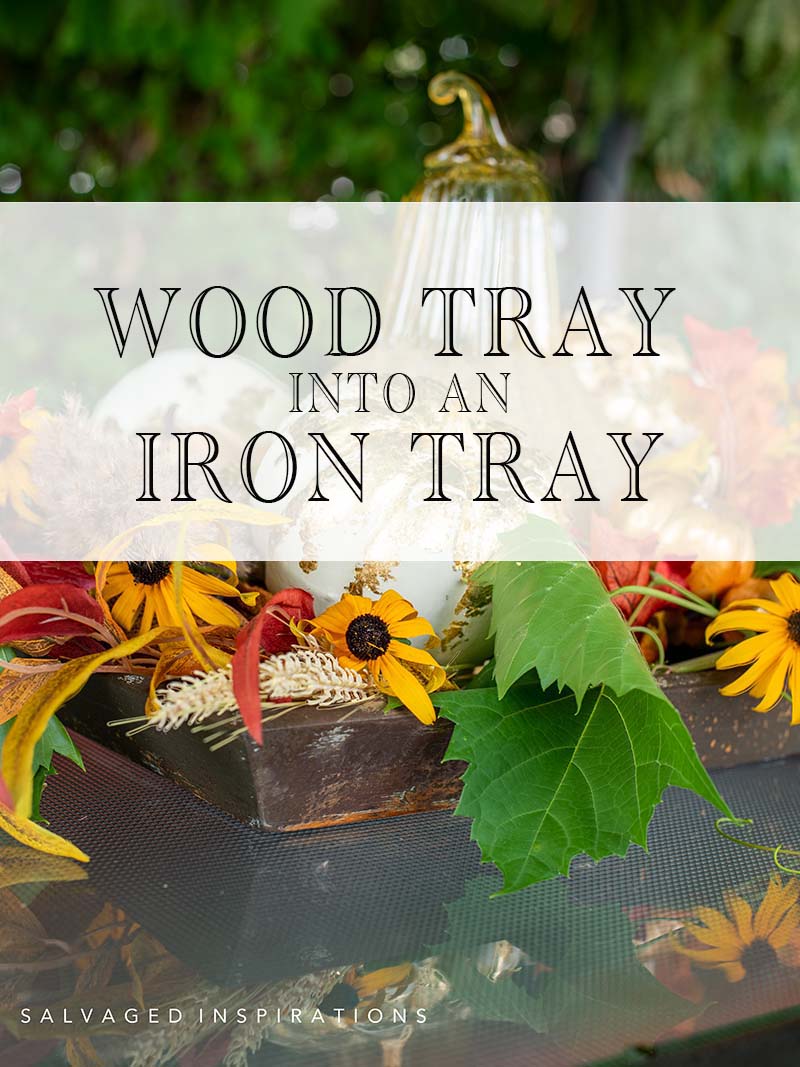 Hi creative SI Family! It’s Trash to Treasure Tuesday my friends and I’m sharing a trashed wood tray makeover. This wood tray is going to magically turn into an iron tray using this easy paint technique. I’m also sharing an update on my patio gazebo. When I posted my painted chandelier post back in May, Many of you were curious about what it was going to look like all grown in with greenery so I can’t wait for you to see it!
I’m also sharing…
- How to Mix Your TSP or TSP Substitute
- How To Speed Up Your Projects Dry Time
- How To Create Texture w a Cheap Brush
- How To Turn Wood Into Metal!
- And my T2T Crews Before and Afters at the end of today’s post
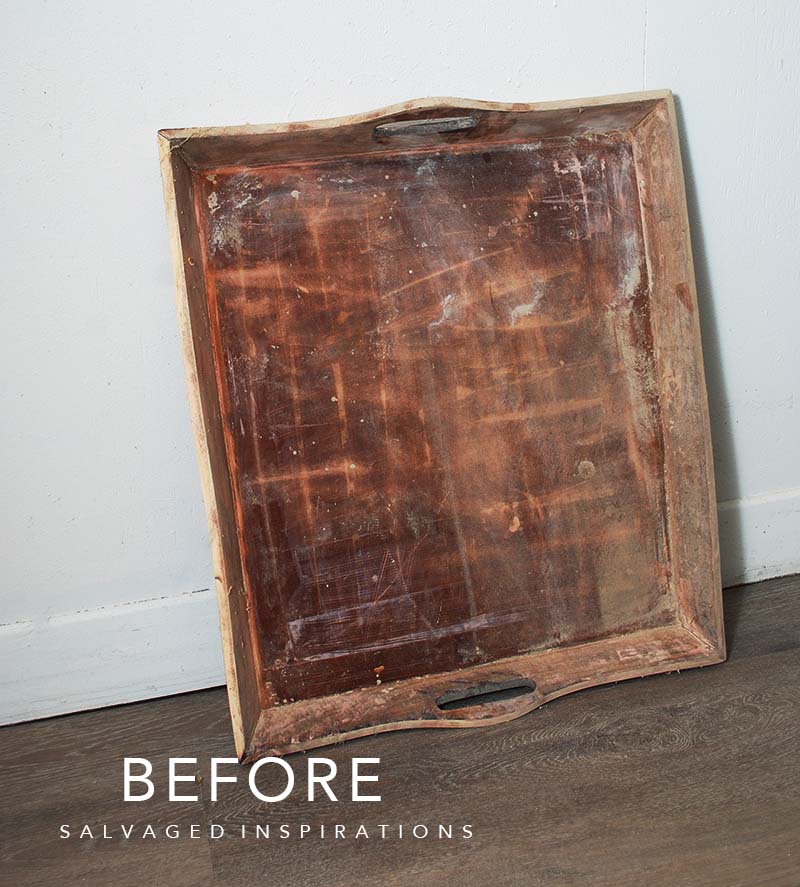
Here’s the wood tray I started with. I don’t remember where I found it but my original idea was to sand it down to bare wood and then wood burn a pattern into it. I started sanding it but moved on to another project and forgot about it.
Before I get into the how-to details here’s a sneak peek of the NEW look! What do you think? It really looks like rusting iron right!?!
THIS POST IS SPONSORED/CONTAINS AFFILIATE LINKS TO PRODUCTS I USE. YOU CAN SEE MY FULL DISCLOSURE HERE.
SOURCE LIST
Wood Tray – SALVAGED
White Lightning
Scrubby Soap
Green Patina Spray
Iron Patina Paint
Chip Brush
Manatee Chalk Mineral Paint
HOW TO MAKE WOOD LOOK LIKE IRON
These faux metal patinas are REALLY easy to do with the right products.
Here’s how it all came together…
PREP | CLEAN
I removed this tray from the floor of my sanding room and gave it a really good cleaning with this TSP substitute. Just as I do with my furniture, I like using it in a spray bottle and wiping it down with a large sponge. For this 32oz spray bottle, I add 1 tablespoon of White Lightening (or TSP) and mix. Super easy because I don’t need to remix with every new project. This spray bottle cleans several projects until I mix up a new batch.

PAINT BASE COLOR
For the base color, I chose a light gray – Manatee Gray Chalk Mineral Paint and painted one quick coat all over the tray.
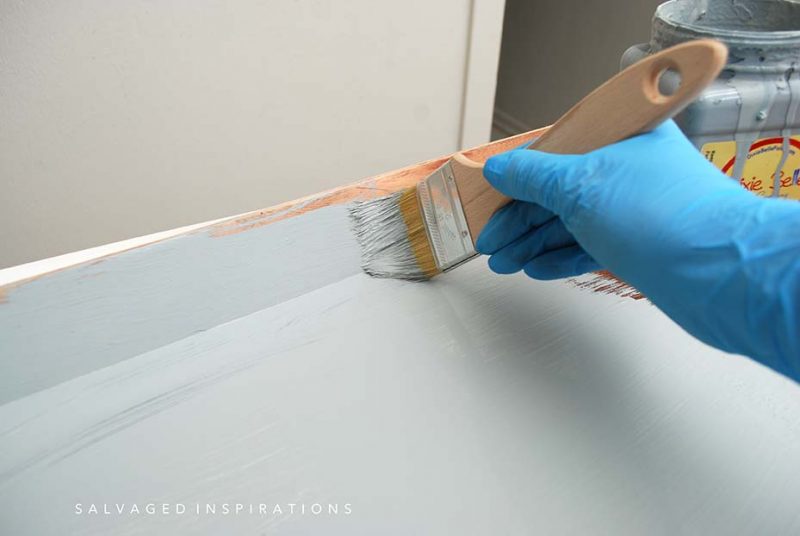
TIP – To speed up dry time, I like using a blow dryer or heat gun. I learned this little trick when I was teaching at the Ontario California Redesign With Prima and Dixie Belle Conference back in 2019. We had limited time for each class so heat guns were provided for faster dry time. The trick is to keep the hot air moving. If you hold it in one spot for too long it could bubble or peel your paint. But if you move the heat over your project, it REALLY speeds up dry time dramatically!

1ST COAT OF IRON PATINA
Once my Manatee Gray was dry I painted one coat of this Iron Patina Paint. I used a criss-cross motion with this chip brush to create a little texture. Chip brushes are amazing for adding texture by using a crisscross stroke or dabbing the bristles up and down. Then using the heat gun, dried the first coat of iron patina 100%.
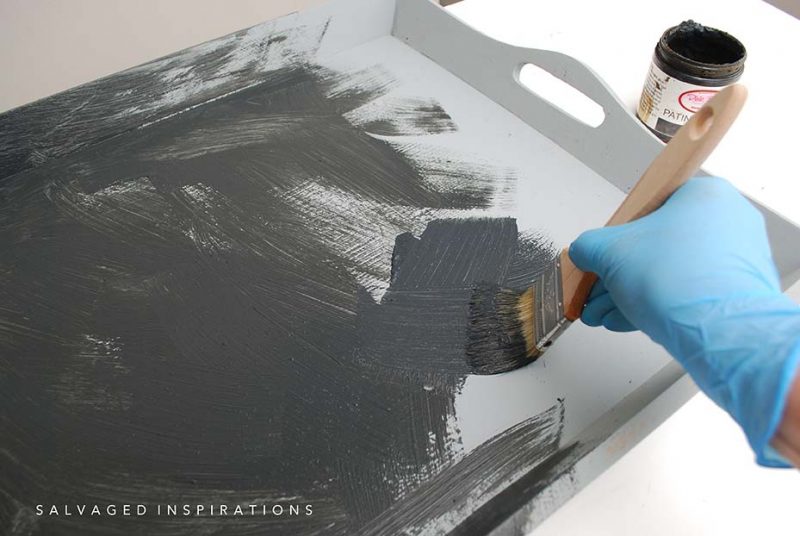
2nd COAT OF IRON PATINA
Using the same chip brush I painted a second coat of iron patina paint. You can see the texture in the paint! While the paint was still wet, I moved on to the next step.

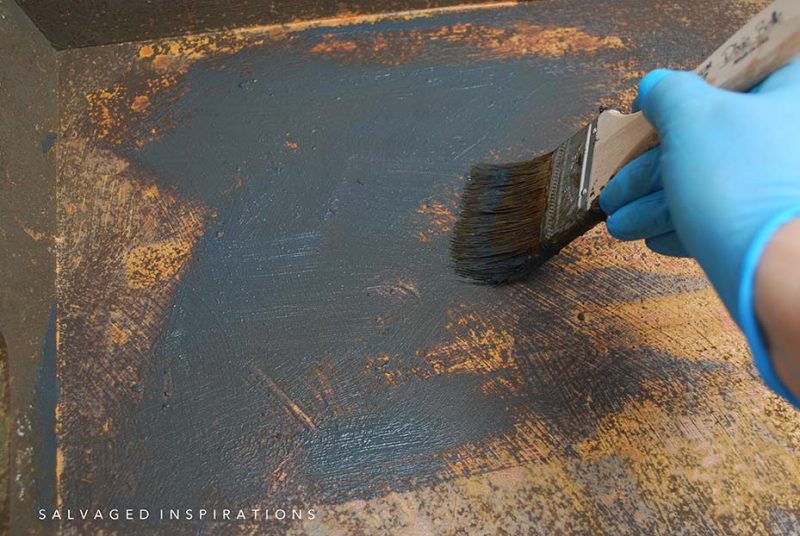
SPRAY PATINA
While the iron paint is still wet I sprayed it with this Green Patina Spray. This spray activates the patina/rusting process. Once it’s sprayed, all you have to do is wait between 2-6 hours and let the magic happen!d

Here’s what it looked like after six hours. Pretty amazing right?! But a little too much rust patina for my liking. I brushed the spray into the paint while it was wet (and I shouldn’t have!) which I’m sharing on the Youtube Video below. It’s best to spray it on and let it be.
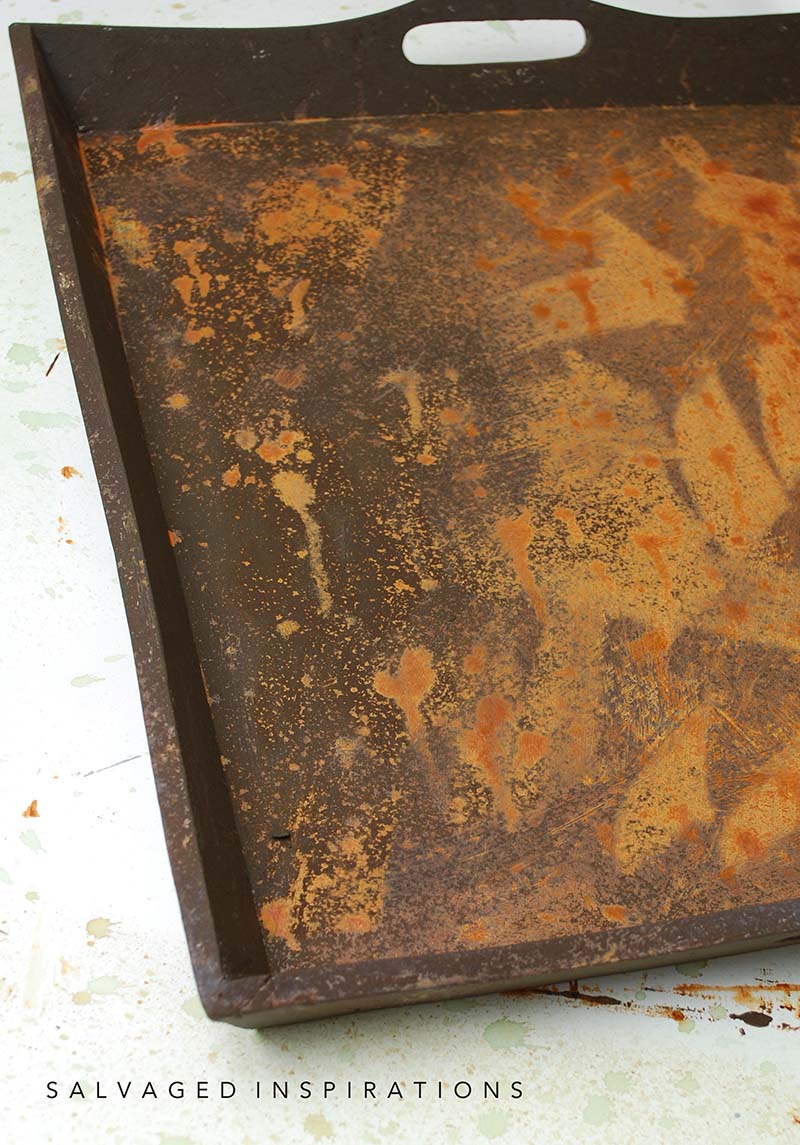
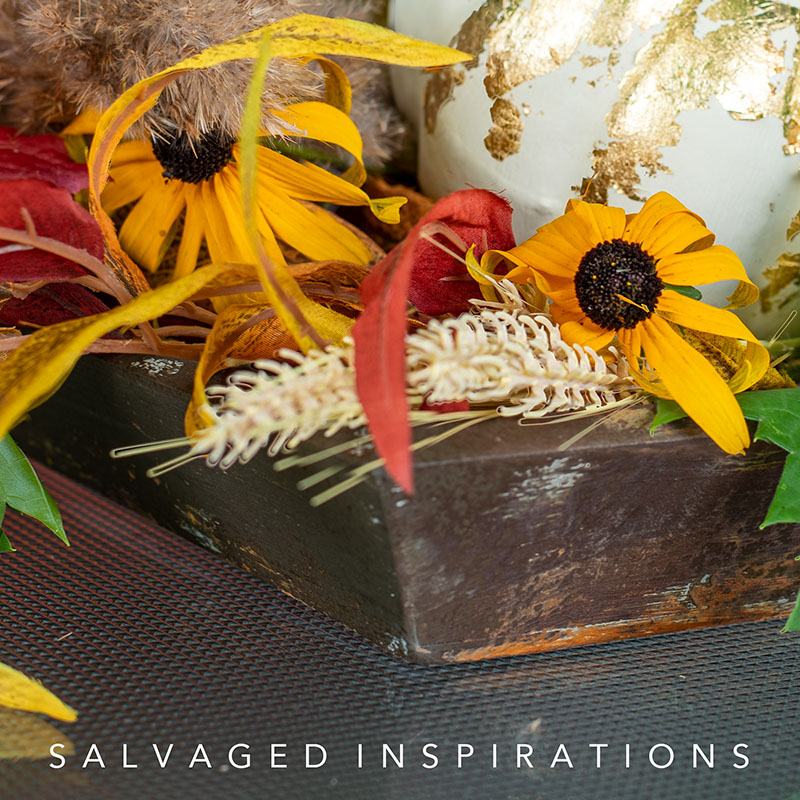
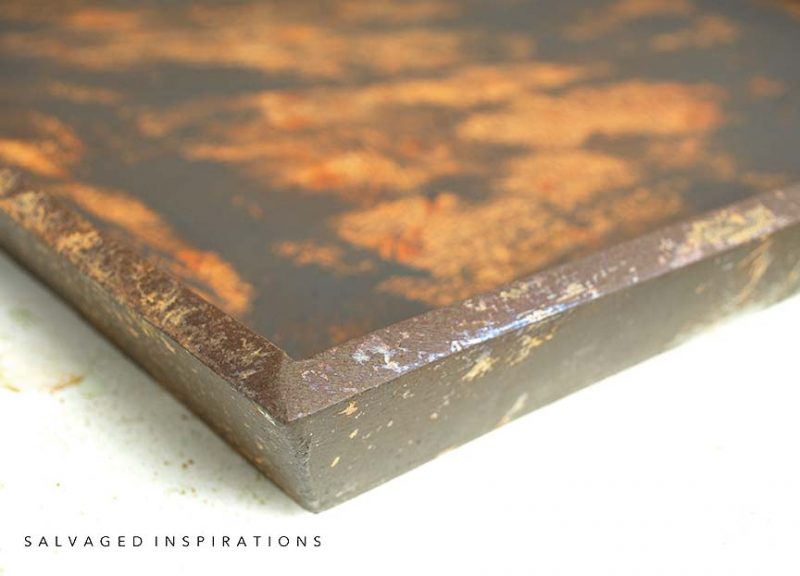
To tone down the rust, I added some extra iron paint and here’s the finished look! Check out the corner. It really looks like heavy metal or a cast iron! It even looks like the corner was welded together!
TOPCOAT
Since this tray is going to be used outdoors, I’m waiting to seal it with Gator Hide. YES GATOR HIDE IS BACK! I can’t wait to get my hands on more! This will seal this iron patina for outdoor use because Gator Hide is not only water resistant, it’s waterproof. Perfect for outdoor projects. You may remember I top coated my kitchen table with Gator hide, and it’s been 2 years and it’s still super durable, with no scratches and so easy to clean!
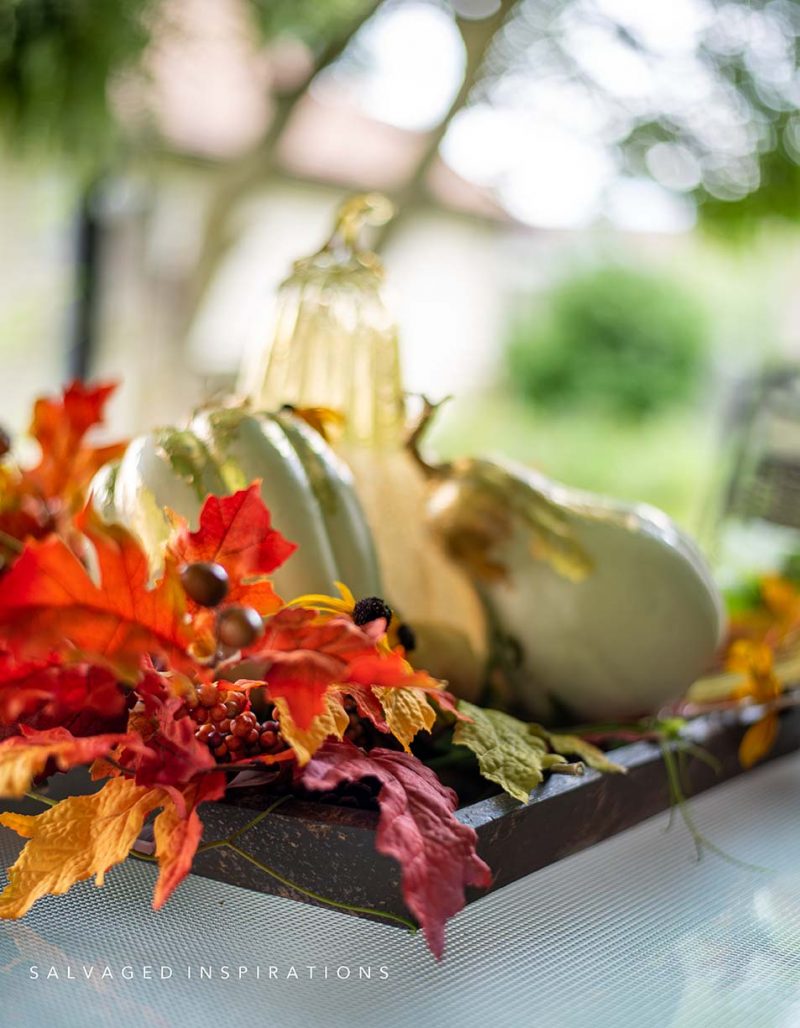
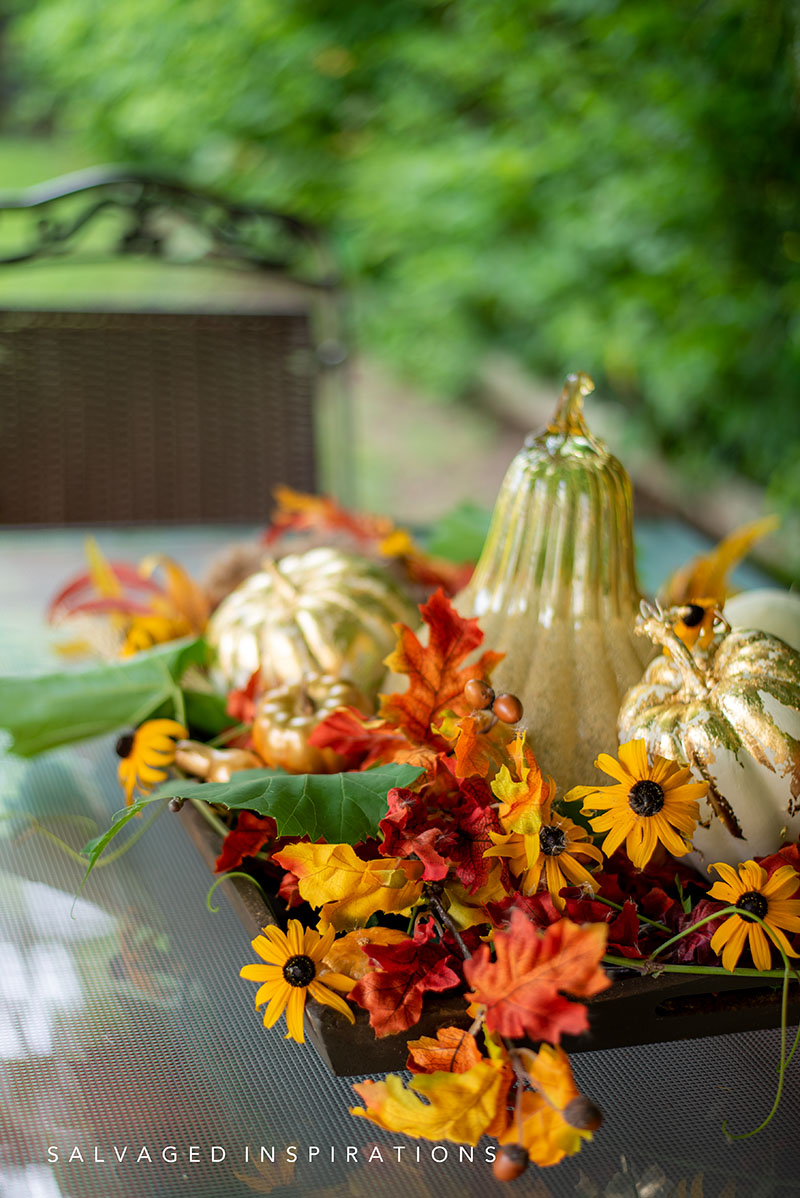
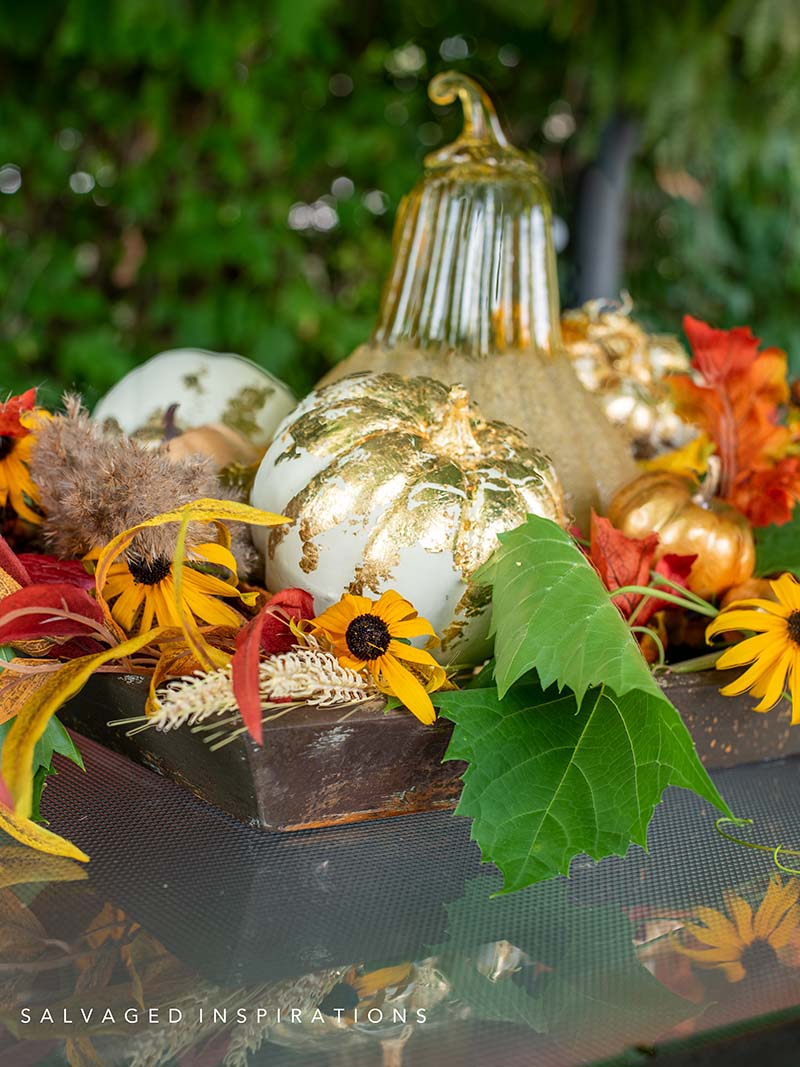
STYLE YOUR TRAY
I styled this tray with Fall Foliage. I know we are still in the hot summer months and many areas are in a heat wave. But in blog land, it’s nice to stay a few months ahead of schedule so we can spark some ideas for upcoming seasons. I purchased a few faux fall foliage branches from my local dollar store and used these gold gilded pumpkins I made last year. I think it looks super cute!
Here’s the finished look!
YOUTUBE TUTORIAL
Here’s a step-by-step tutorial on Youtube. If you have any problems viewing below, feel free to watch it on my Youtube Channel HERE. Our #siyoutubefamily has hit 14.8K so don’t forget to subscribe if you haven’t done so already! So exciting, thank YOU! 🙂
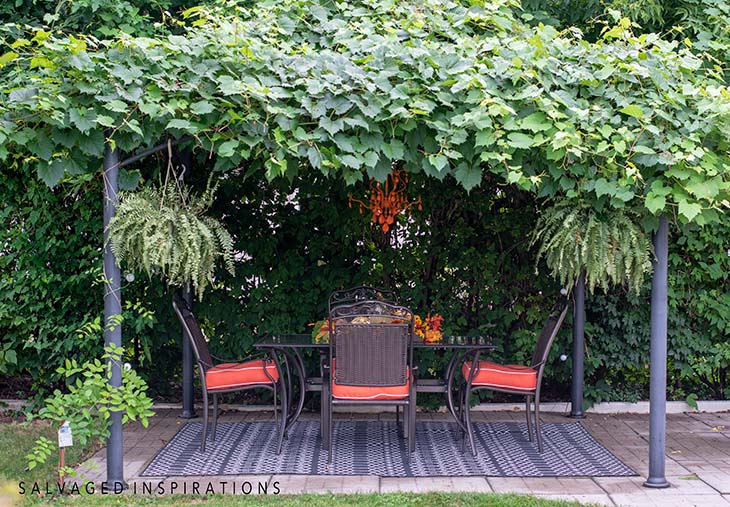
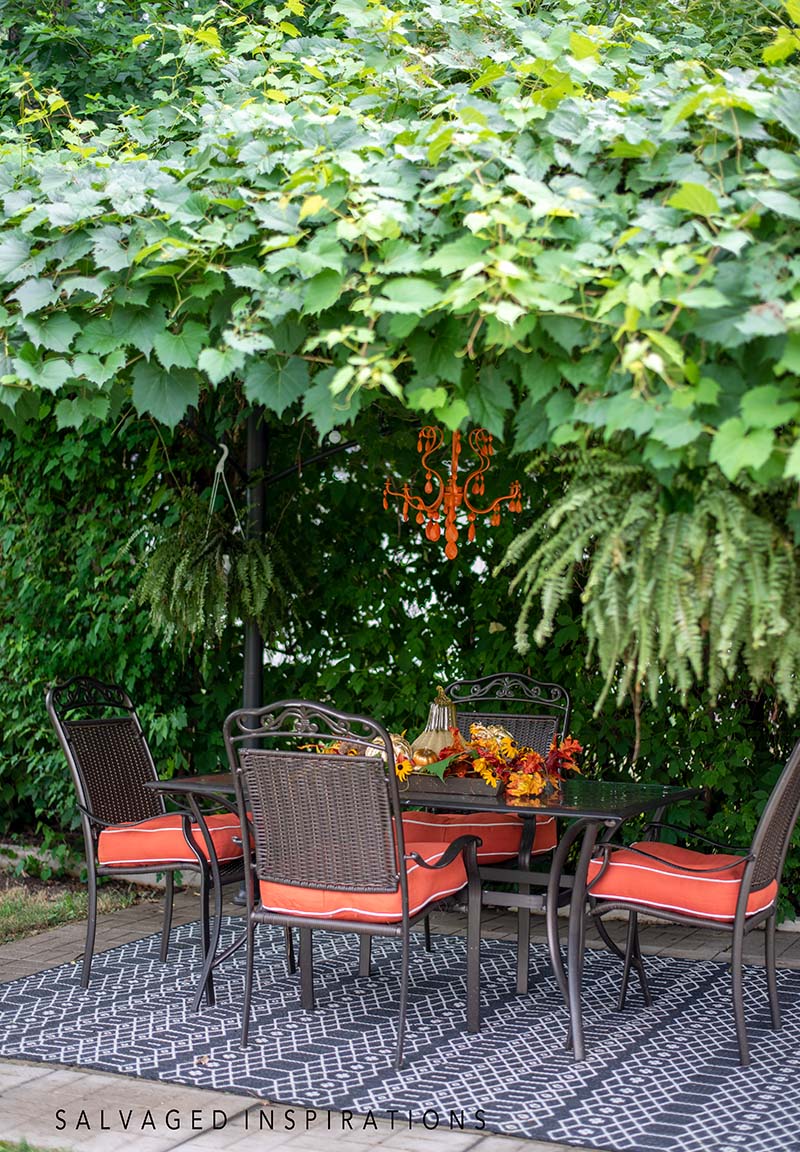
And as promised, here’s the update on my backyard gazebo canopy tent without the tent. Here’s what it looked like at the beginning of the season when I first painted the chandelier.
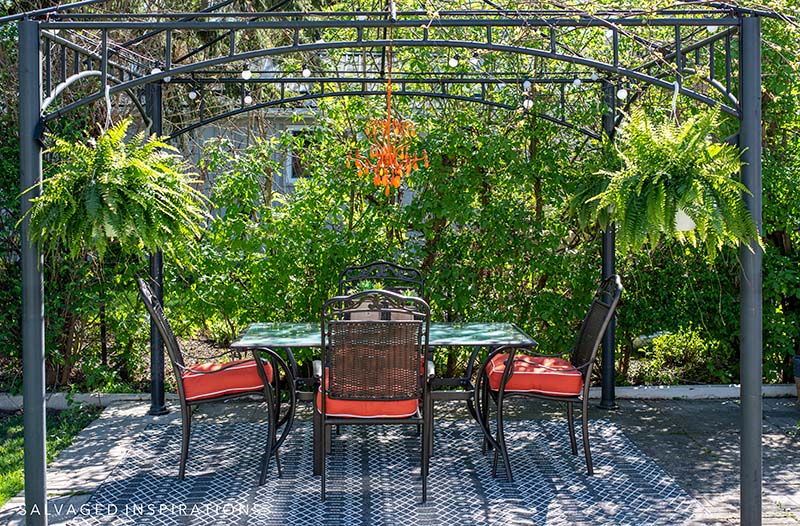
And here’s what the gazebo frame looks like all grown in. Ontario is wine country and our vines grow beautifully here. I’m not sure if I’m going to get edible grapes or not but I’m hoping. I also planted a wisteria at the beginning of the season. I believe it takes a couple of years for Wisteria to mature but I can’t wait to see if I’m going to get any of those gorgeous flowers next spring.
AND NOW FOR SOME TRASH TO TREASURE FUN!
You’re going to LOVE what my creative team of Trash To Treasure ladies do! Below are their BEFORE photos. Visit the links below to see the amazing AFTERS and learn how they did it! I’m heading over to take a peek as well! x
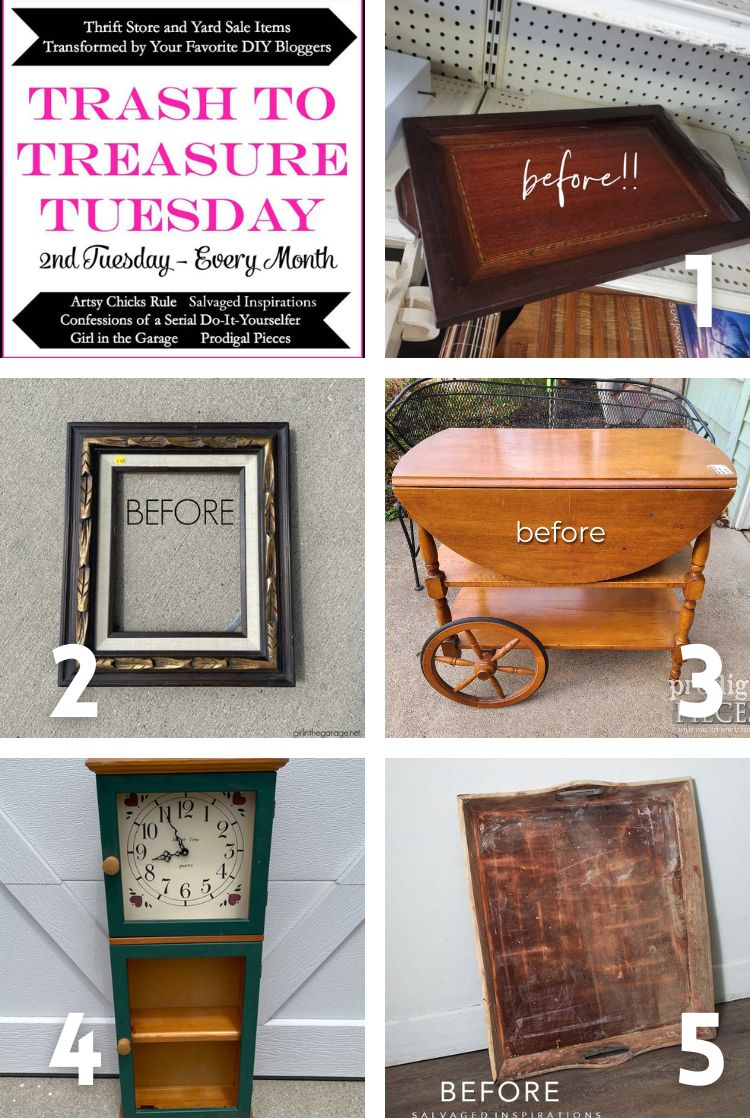
1. ARTSY CHICKS RULE
2. GIRL IN THE GARAGE
3. PRODIGAL PIECES
4. CONFESSIONS OF A SERIAL DIYER
5. SALVAGED INSPIRATIONS (HAPPY YOU’RE HERE!)
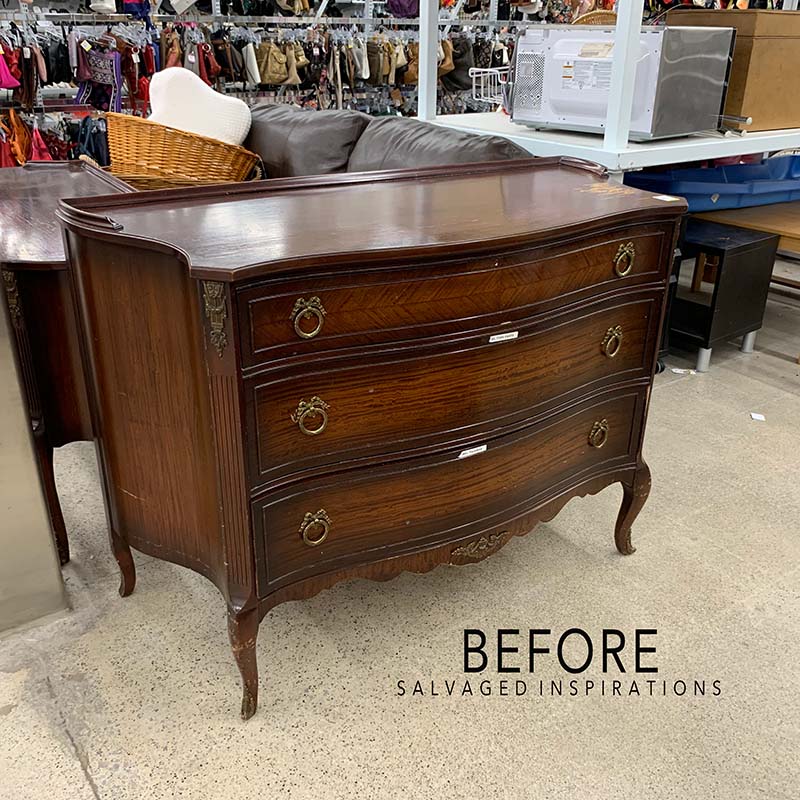
I’ll be back next Tuesday with this beauty. It’s the matching piece to this Royal Damask Painted Vintage Desk I did a few months back. I can’t wait to start this gorgeous piece and see where it takes me. Hope you have a fabulous week and see you then!
LET ME KNOW WHAT YOU THINK OF THIS FAUX IRON TRAY MAKEOVER. FEEL FREE TO ASK ANY QUESTIONS YOU MAY HAVE… I ALWAYS LOVE HEARING FROM YOU. IT MAKES MY DAY! 🙂
Happy furniture painting friends!
Denise x
RELATED POSTS::
HOW TO – GOLD LEAF PUMPKINS
EASY PAINTED OUTDOOR CHANDELIER
BUTLER’S TRAY TABLE MAKEOVER
DIY SALVAGED WOOD TRAY RISER
HOW TO FIX THE DREADED DRIED PAINT DRIP!
PIN AND SHARE!


Such a cool update, Denise! And your gazebo – wow! It looks like such a special place to relax. xo
Thanks my friend! I love the way the gazebo all grew in as well!
Well that is super cool, love it!! 🙂
Thanks Nancy! XOXO
Denise, everything you do is magazine worthy!! You’re the #1 person on blogs and YouTube. Constantly amazed at your talent. I watched your video at the top and just love the blue flowers on the piece you did showing us how to slap paint and avoid brush marks! Please tell us where to get the blue floral design. Thanks!!
Hi Beverly! Thanks for the kind encouraging words, much appreciated. And here’s the link to the Blue Floral Table w Transfer. The link to the transfer is included. 🙂
Thanks for sharing Denise, it really looks like metal! And I can’t wait to see what you do with that beautiful dresser!
Thanks Nicki! XOXO
ADORABLE 🥰 Tray 👏🏼👏🏼♥️❗️Thank You FOR Sharing 👍🏼😊 G-d♥️Bless
Thank you Cheri!🤗
That’s really cool!
Thanks Lizzy! XOXO
This totally looks like iron!! It is really cool now! And your eating area is so enchanting…I’d be eating all my meals out there lol! XOXO
Thanks my friend! And ya, it’s fun having meals out there or just sitting and relaxing!🤗
Wow, that’s fabulous! I’ve been thinking about making a wall hanging but w couldn’t figure out how to work with metal. I can cut luan, then do this technique. Oh, the vistas you’ve opened! Thanks!
Thanks, Nancy! And ya, this technique would make amazing iron wall hangings – and they would be easy to hand without all the weight of real iron/metal!
Hi Denise. What a creative way to make a wooden tray fall ready. I love the rusted/aged metal look. Your gazebo is gorgeous all grown in. Reminds me of something from The Secret Garden (my favorite book as a young girl).
Thank you, Monique! And I loved The Secret Garden too!!!
Hi Denise! I love the rusty Christy look but I have never used the DB products. I try my best to create a faux rust with paint. The tray looks great! Your patio looks so relaxing and beautiful. I can see a few of your friends having lunch or tea out there.
Hi Cheryl!!! Yaaa, Christy always looks gorgeous whether she’s rusty or not!😂🤣🤣. I’m just teasing… SPELLCHECK gets us ALL! hehe I’ve created faux rust with paint as well and you definitely have more control that way. These DB Patina products are SUPER EASY though…but they kind of do their own thing.
Ooh…I love me some patina! Gorgeous job, Denise.
Thanks my friend! XOXO Have a beautiful week!