I’m glad you’re joining me for “this-is-my-1st time-ever-trying-this-stuff” blog post.
Luckily, after an enormous spicy Thai meal, hot chocolate, and Tim Horton donuts (this added-up to some bad indigestion), M-M-M still took the time to show me how to apply Edge Banding to furniture … just one more reason why I love him!
I had no idea what the proper name for this stuff was until yesterday. If you’ve never heard of Edge Banding it’s literally a band of material which is made out of wood, wood veneer, acrylic, melamine or PCV.
Edge Banding is used to cover ugly edges; for example exposed plywood, MDF or particle board.
By adhering the Edge Banding to an exposed edge, it gives the illusion of a solid material. For furniture decor and repair, it comes in cherry, oak, bubinga, ash, walnut and maple to name a few. If applied properly, these veneer edges look authentic when re-staining or repairing a stained piece. With an exact match, it will look like a quality piece of solid wood furniture. For a painted finish, any sand-able edge banding will work.
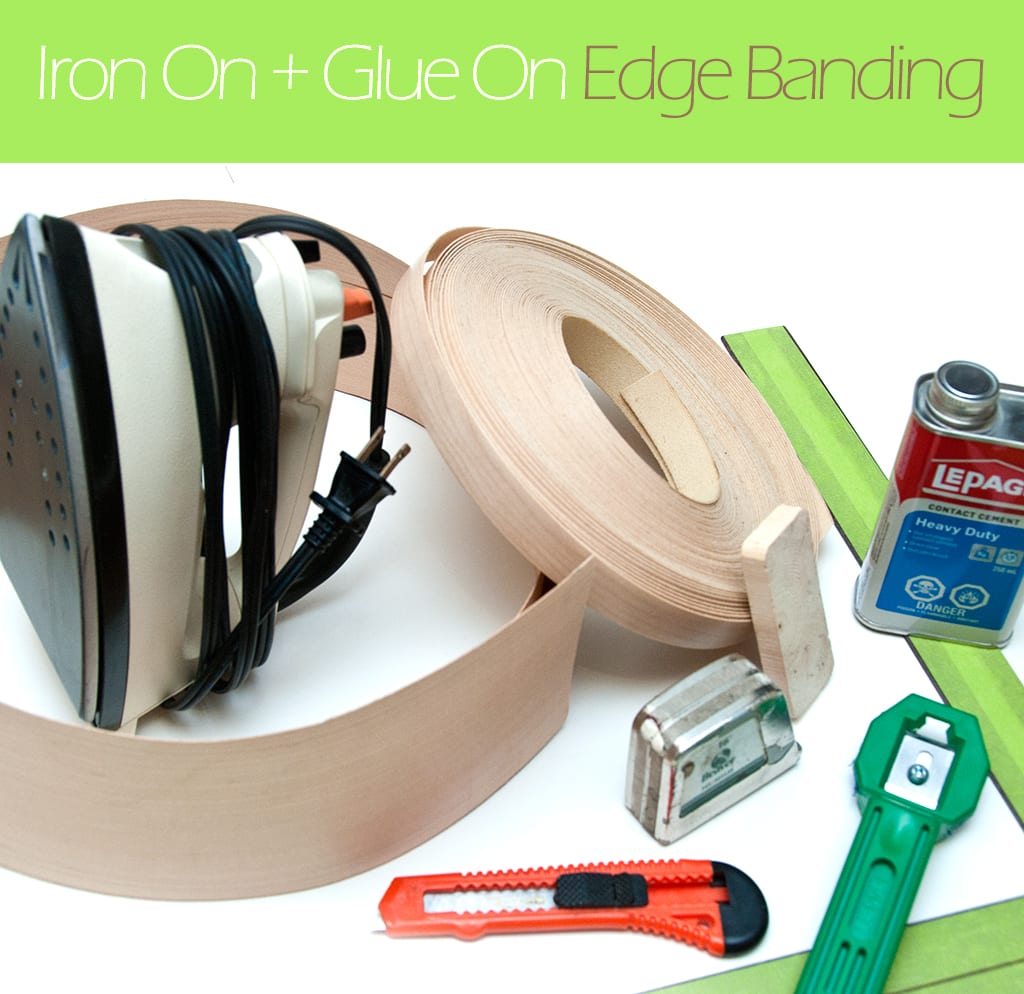
Supplies I Used
Edge Banding | Straight Edge Ruler | Clothes Iron or Contact Cement Glue | Measuring Tape | Exact-o-Knife | Sand Paper and Sand Block | Edge Trimmer
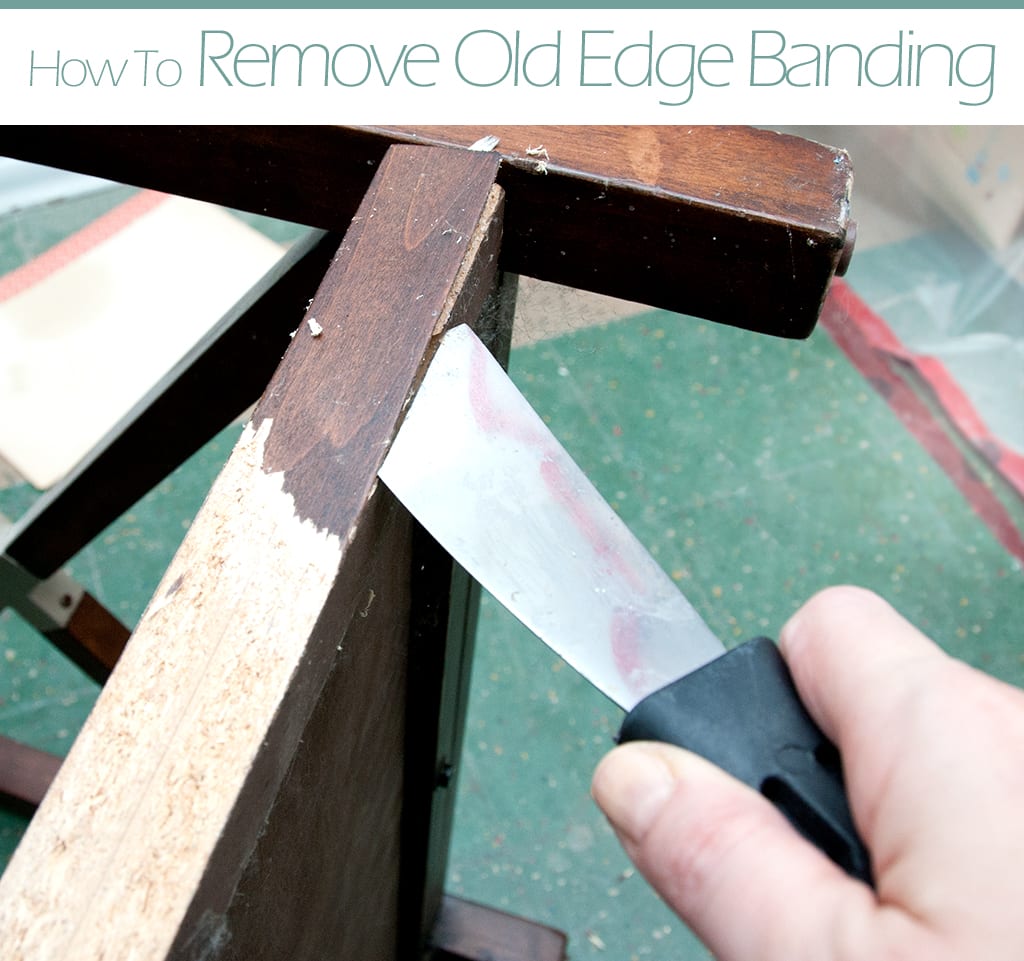
How to Remove Old Edge Banding
1. I removed the old edging banding material with a putty knife; then wiped down and slightly sanded the surface. This step provides a clean surface so the new edge can be applied smoothly.
If you’re having difficulty removing the old Edging, you can soften it up by applying heat from a blow dryer or a clothing iron. Using the corner of a putty knife to lift the edge also works really well.
How to Apply Edge Banding
2. Edge banding comes in different materials and widths. You can choose it with an adhesive backing that’s activated by the heat of a clothing iron (Iron ON) or plain Edge Banding which you apply with a heavy duty adhesive such as contact cement (Glue ON). For my curb-shopped designer table, I used a sand-able plain edge banding which requires gluing. Love this stuff because it comes in a thick roll that’s simple to cut to size and it can easily be stained or painted!
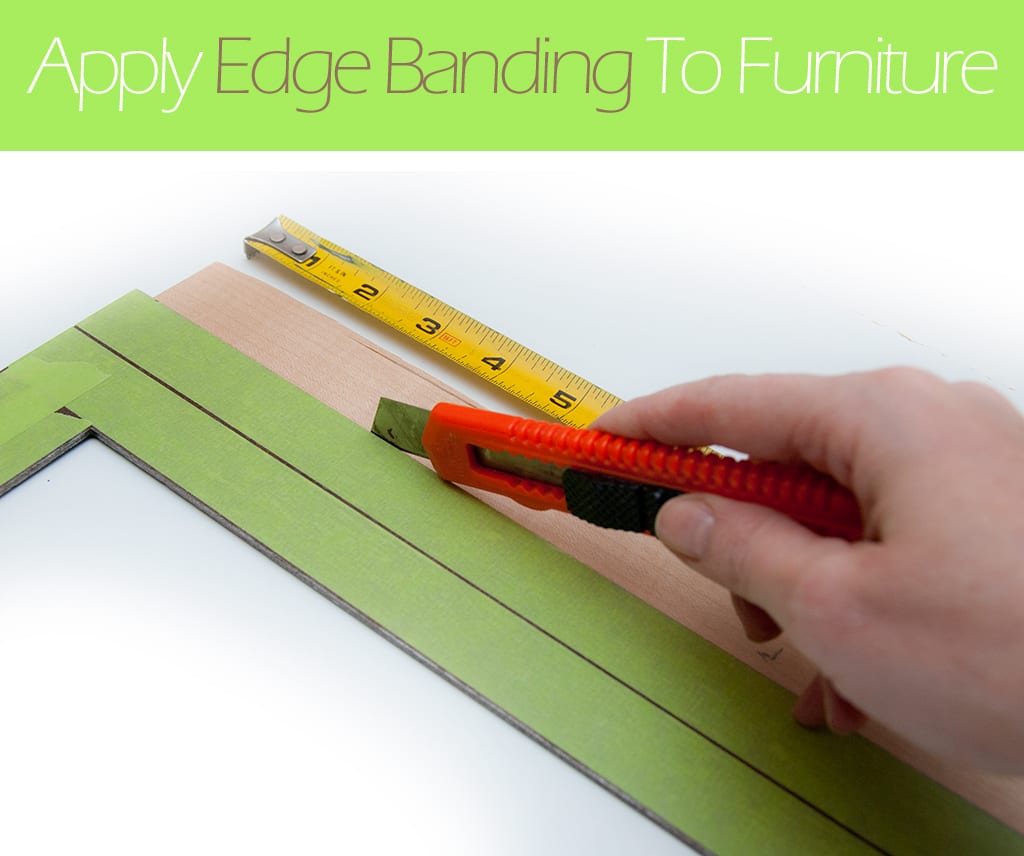
I measured the length and width I needed to replace the old veneer banding. When cutting the new edge material, I made sure to add an additional 1/4 inch to my exact measurement. This additional 1/8 of an inch on either side provides a comfort zone when gluing it on. Very helpful because it relieved some stress when gluing it on… I didn’t feel it needed to be glued “perfectly”. It also helped me when trimming the excess banding flush with the furniture.
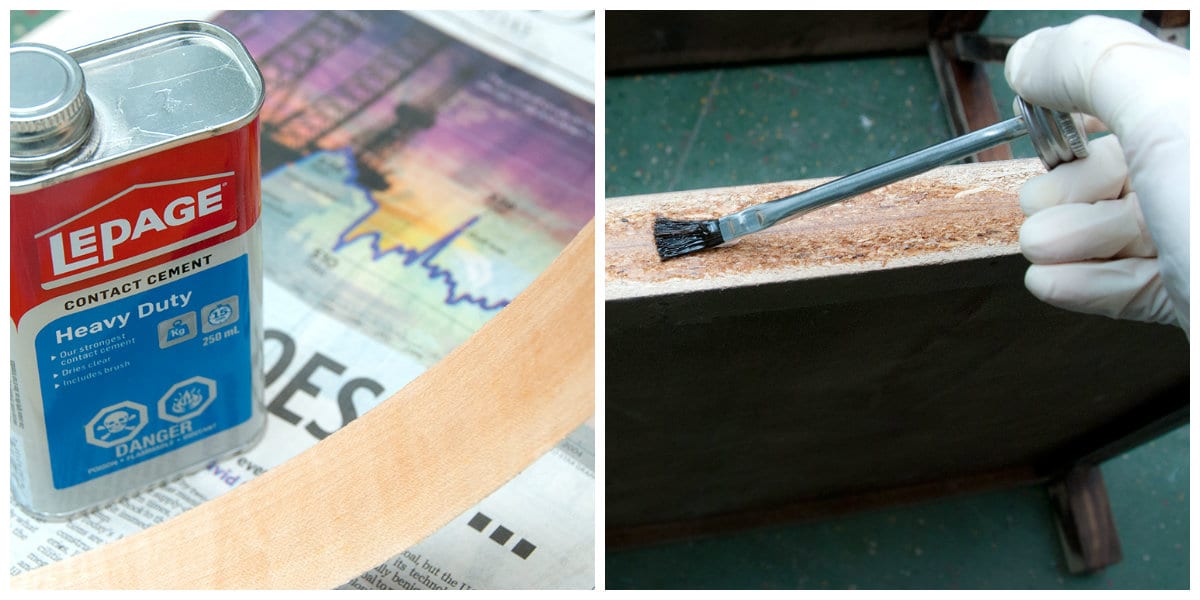
3. To glue on my edge banding, I made sure both the tables raw edge and banding where TOTALLY covered with a layer of this stinky stuff. When using contact cement or any other heavy duty adhesive, it’s a good idea to read the directions, wear gloves, and work in a ventilated area. Caution: Getting high off the fumes may cause fingers to be permanently Siamese twined together.
I starting adhering at one end and made sure my starting point was aligned correctly. Pressing it down, I slowly followed through to the other end. All my fingers are still independent of each other.
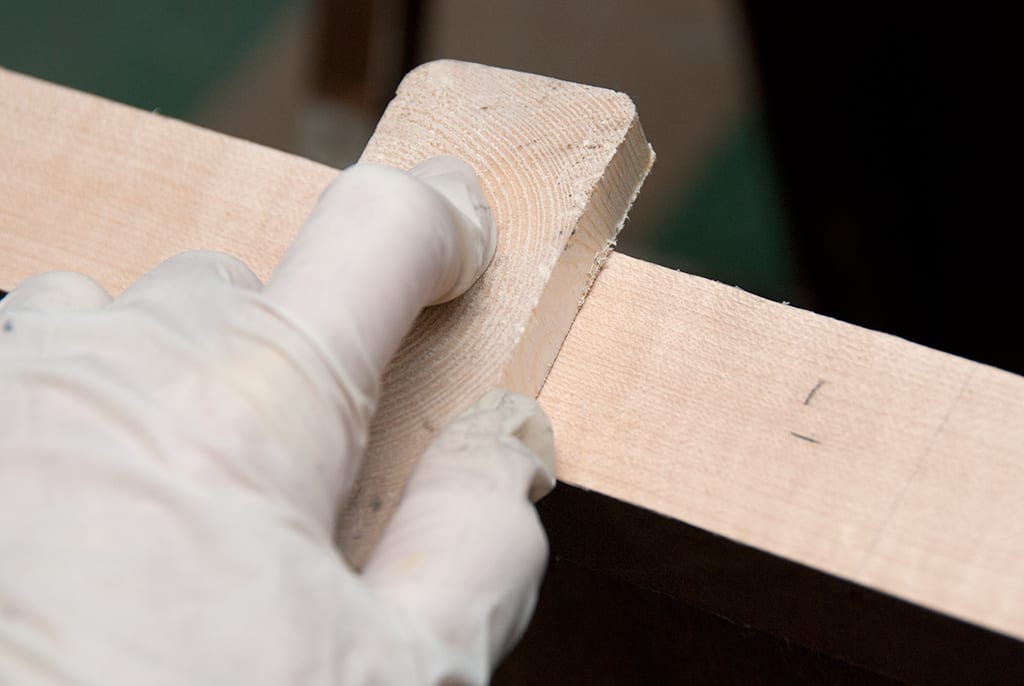
4. Once it was in place, I used a wood block to press down firmly. A roller would also work great. This is the step which will make the difference of a quality banding job or a not-so-great one. Removing any air and pressing and evening out the adhesive will ensure the edge banding will hold for many years.
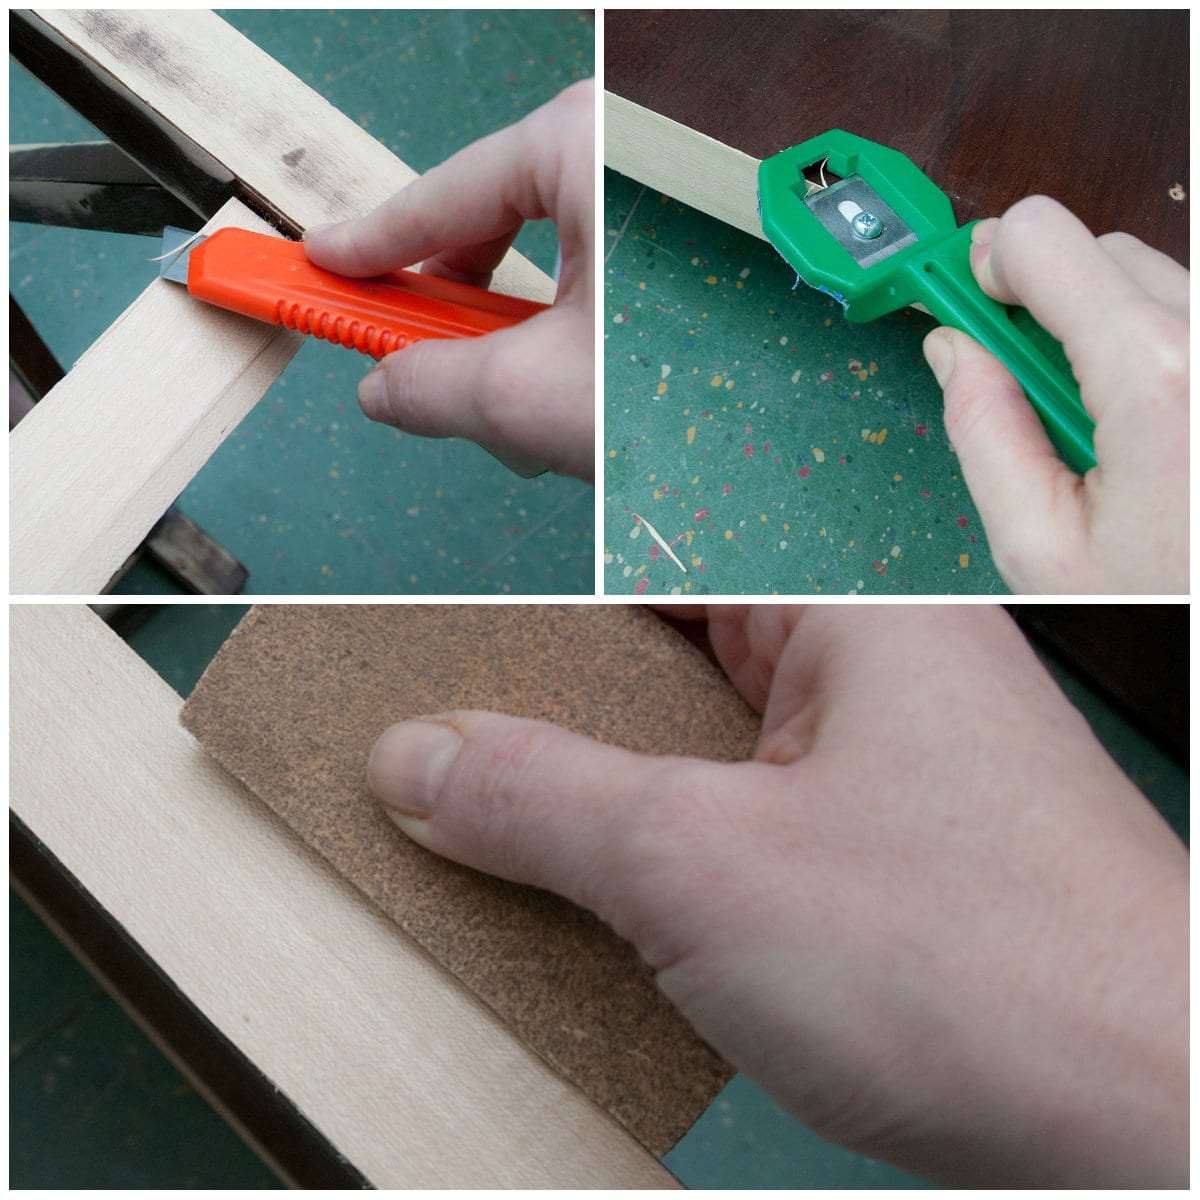
5. I cut off the excess banding with my exacto-knife and edge trimmer. I then sanded with 100 grit sandpaper to make sure all my edges were smooth and flush. Tip – When using an exacto-knife, hold and cut at a 45° angle. When using an edge trimmer, hold steady and close to the edge while apply pressure.
Ready for paint and primer!
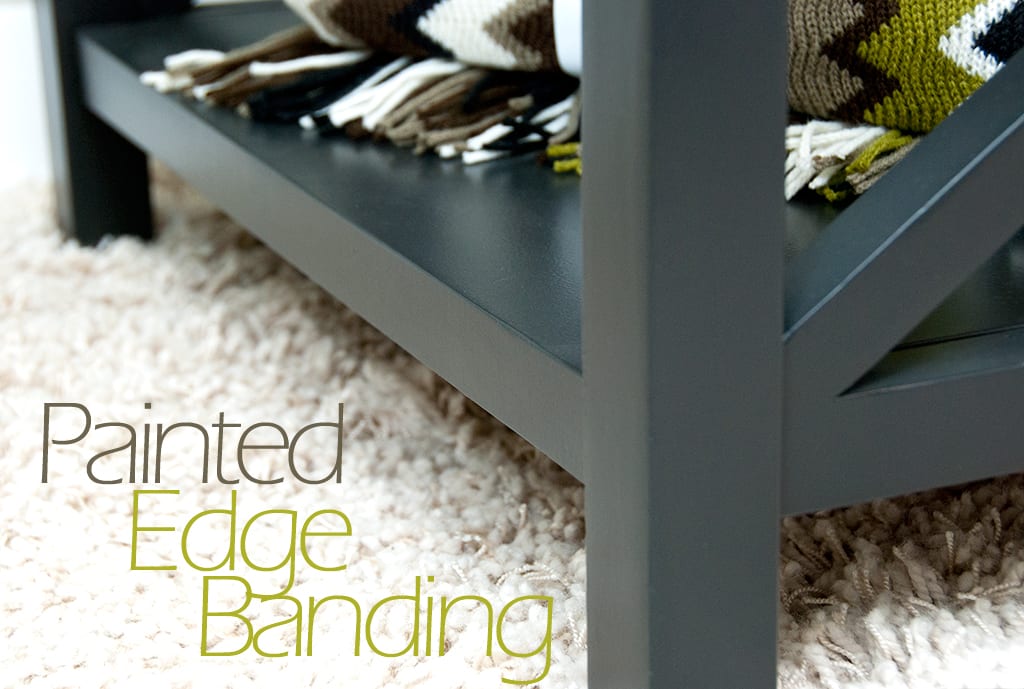
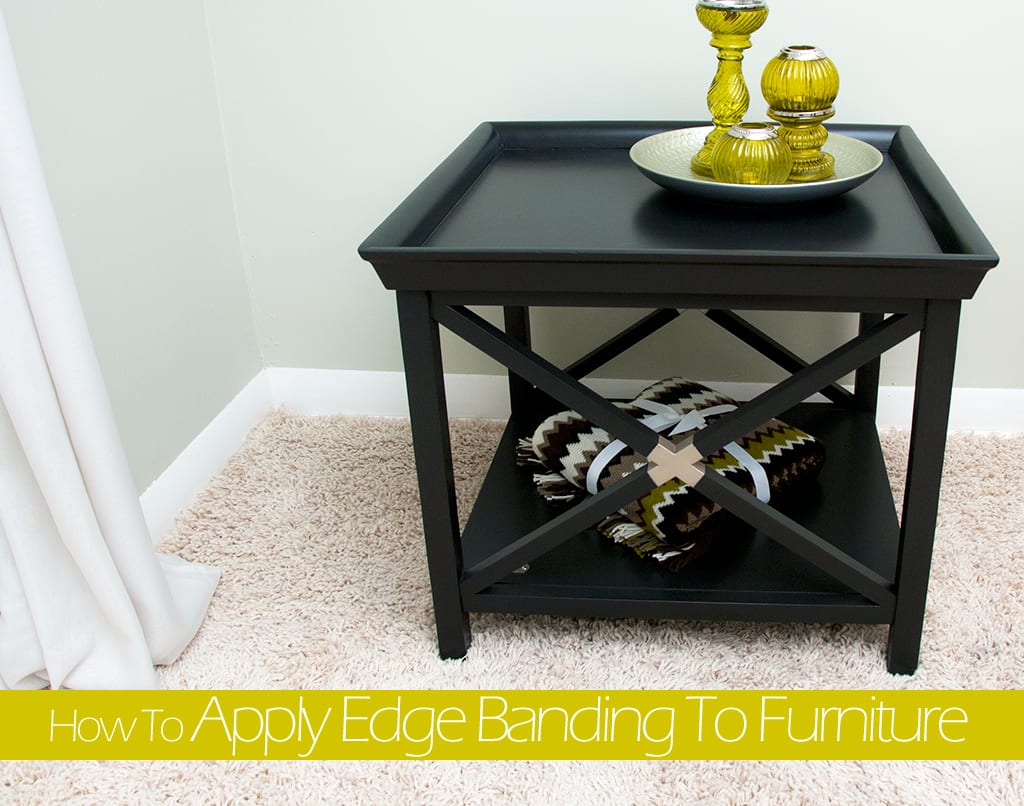
I like the new sophisticated look this table has now that all the edges are finished and painted in black. I really like the edge banding I used. It was easy to work with and can be cut to ANY width/length and can be painted OR stained ANY color! Very convenient to have around for multiple furniture repairs.
Hope you’re having a fabulous day and feel free to leave a comment or question below… I’d love to hear from you! Oh…and what’s your thoughts on my new “staging” shag carpet… yes the “ShAG” has made it’s come back!
Denise



Very nice tools we required , so how to buy thes tools, we are from India
Vincent, my apologies. I wouldn’t know where to buy these supplies in India. However, you may be able to order them online.
I just hate autocorrect!!!! And it won’t turn off permanently. I can make enough mistakes on my own! Tutee indeed. “Tute” instead!
Pleasure. Glad you’ve found the post helpful MJ… and thanks for the laugh! The auto-correct on my iPhone drives me crazy and I CAN permanently turn it off… but I don’t… where the logic there? LOL
Thanks for the great tutee. Not knowing about edge banding, I’ve left behind more than one piece with the potential for greatness! Not again, thanks to you.
awesome collections! i like them. thanks for sharing.
This is marvelous… love the look. Can this product be purchased at places like Home Depot or Lowes?
Hi Blondie! Yes, rolls of veneer edgebanding (iron on or glue on) can be purchased for around $6-7 at Home Depot or Lowes.
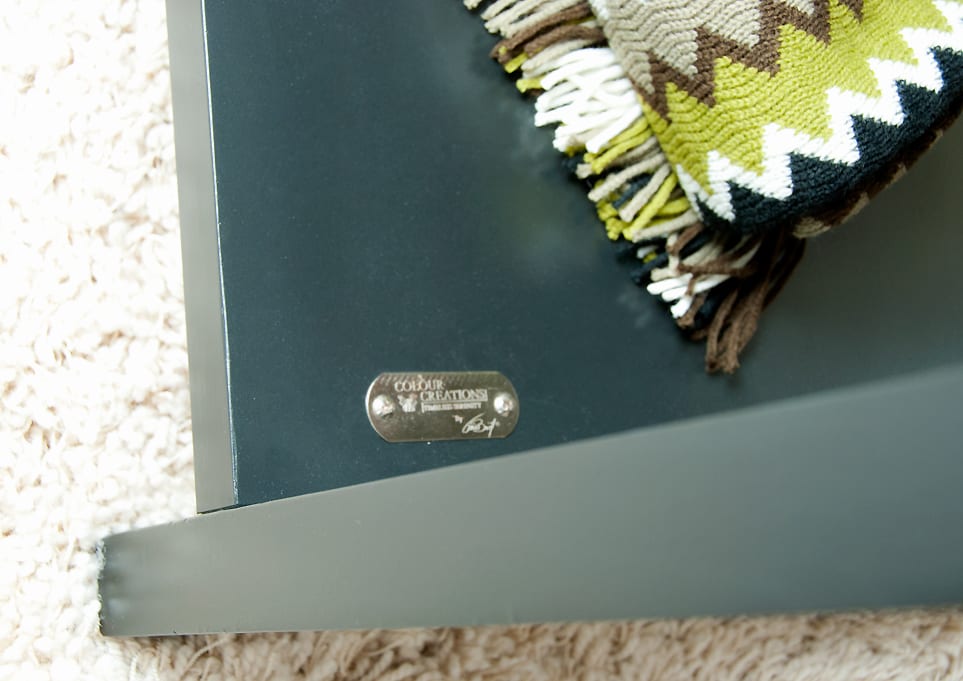
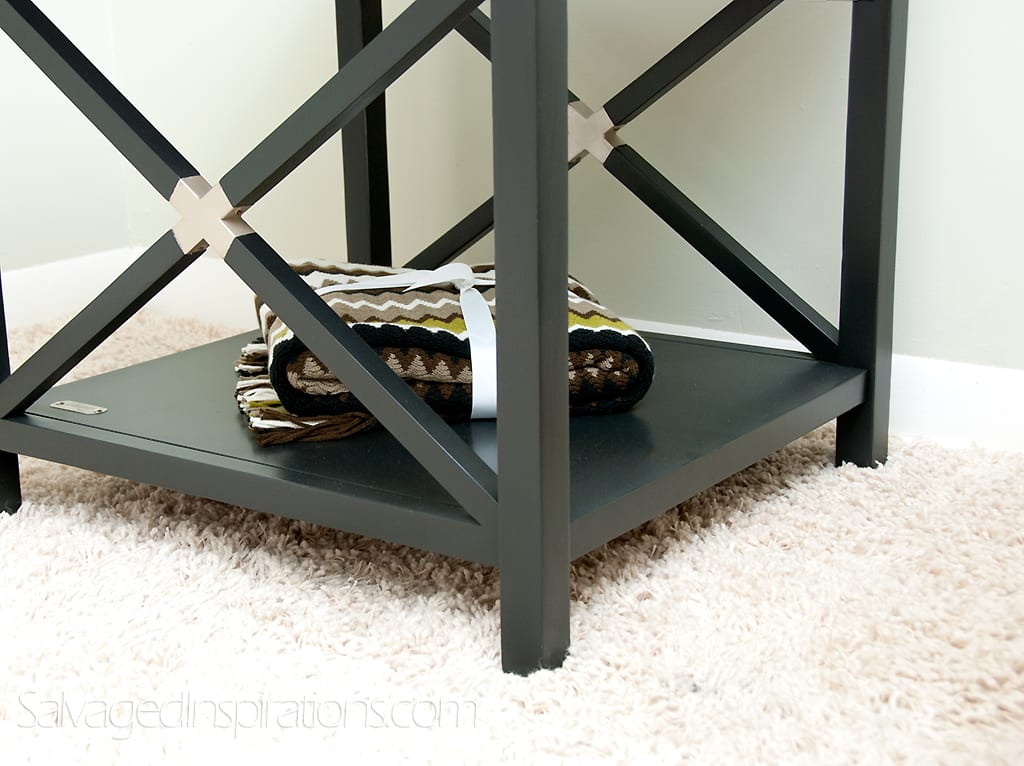
I mean to ask what that little silver tag was?
It’s the makers/designers signature tag. I’ve been trying to read the signature but I can’t make it out.
Denise, you might want to try taking a picture of the tag, giving it some brightness and contrast and making it black and white and see what it shows.
Adela, my apologies… I’m not sure what “tag” you’re referring to?
What an amazing transformation. I’ve used edge banding in the past. Many, many moons ago before the internet, I used to wander my local Lowe’s and find new products and try to use them. This stuff is amazing. I love this table. I have X accent furniture in my house and this would fit right in.
Great tutorial….A stunning piece of perfection once again! Love the shag 🙂
Thanks Judy… Shag… another great example where I never should have said never again…LOL!