HOW TO TURN INEXPENSIVE DOLLAR STORE FRAMES AND FAUX GREENERY INTO GORGEOUS 3D-INSPIRED WALL ART!
 This may be one of the easiest and fastest DIY projects I’ve ever shared with you! I’ve used dollar store supplies to create this DIY Dollar Store Art but you can easily do this with what you have at home! Super simple but I LOVE how it all came together. I hope it inspires some crafty ideas for you as well. These will be perfect for staging and styling my painted furniture!
It’s also Trash To Treasure Tuesday where I share my bestie blogging friends’ makeovers. I’ll be sharing their links below and can’t wait to see what they’ve transformed this month as well.
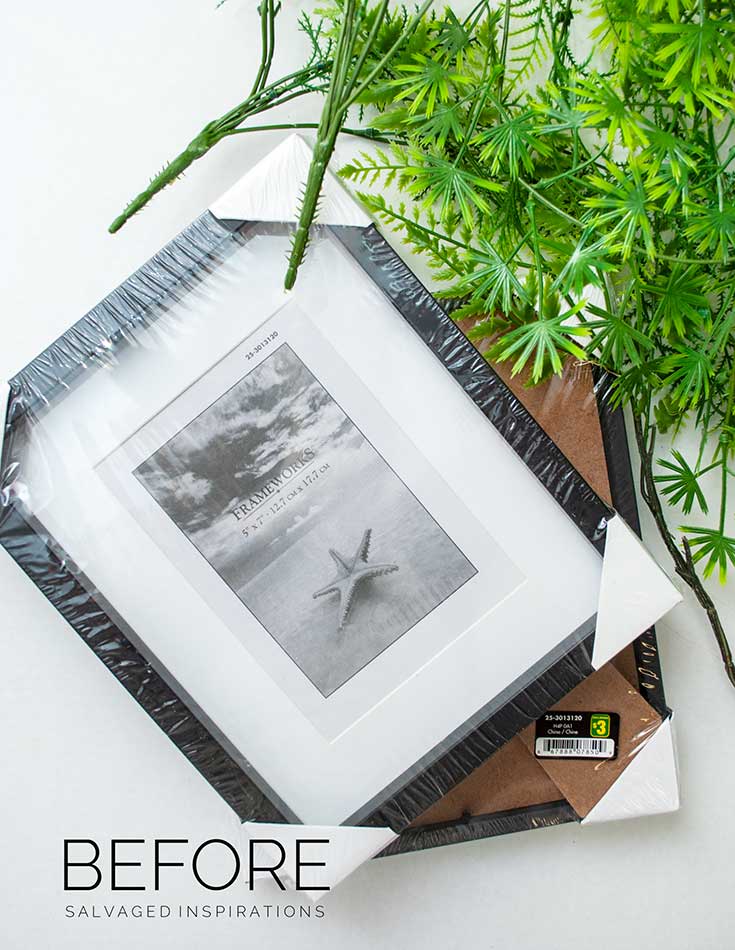
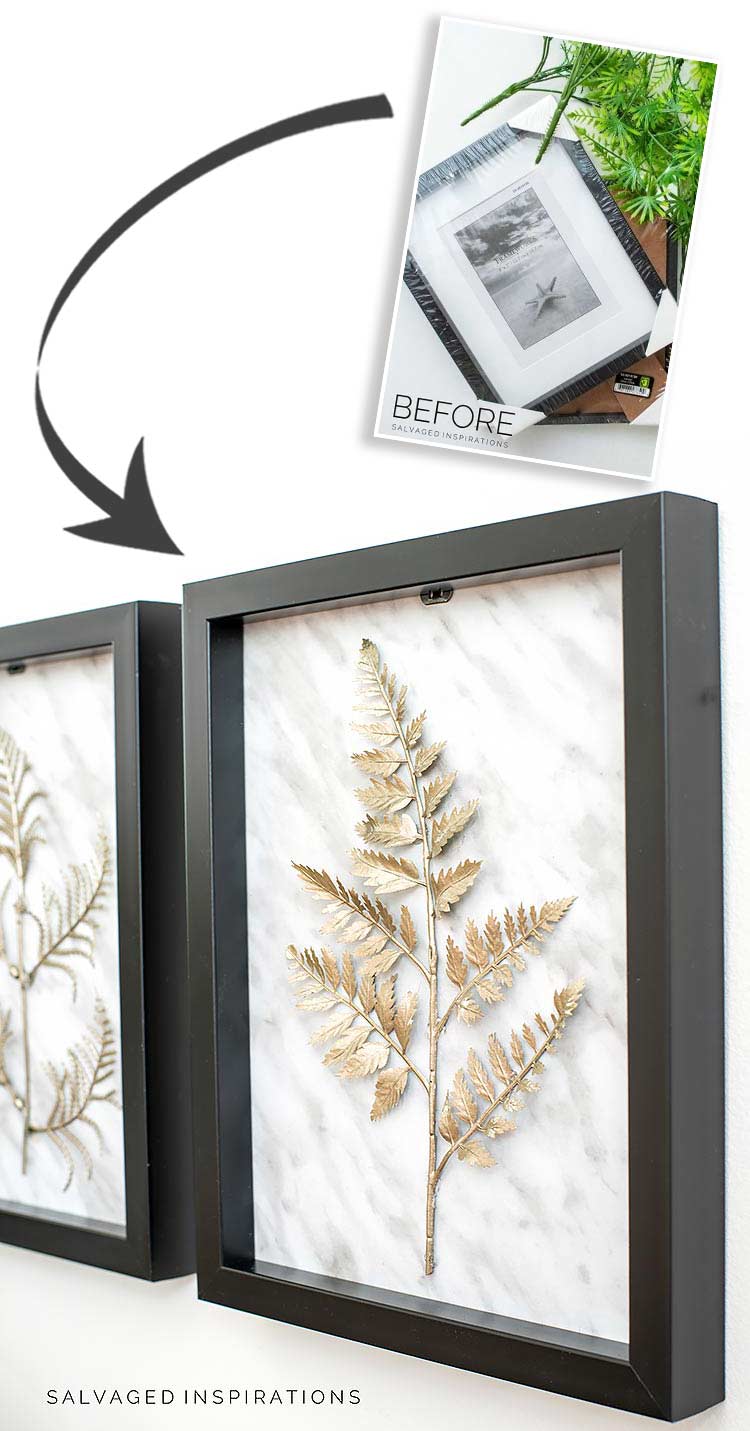
Here are the dollar store frames I started with. Have you noticed the dollar store doesn’t have anything priced at a dollar anymore? 😆 The faux greenery are bits I’ve had laying around for years but they originally came from the dollar store as well.
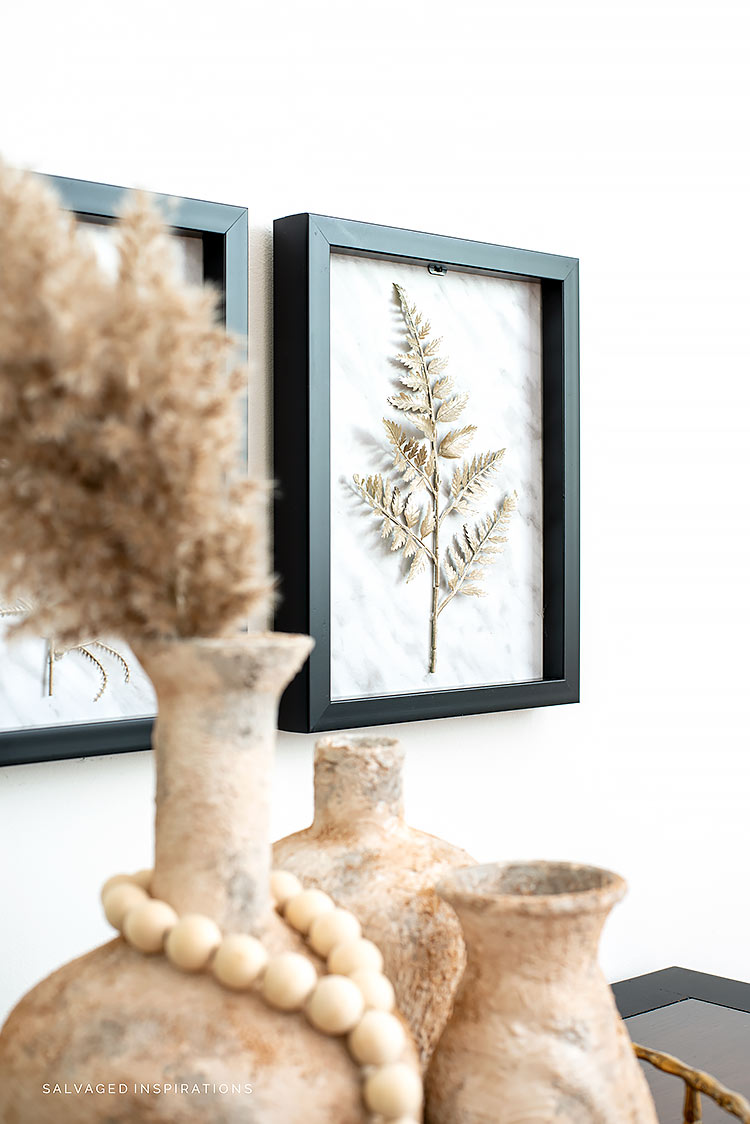
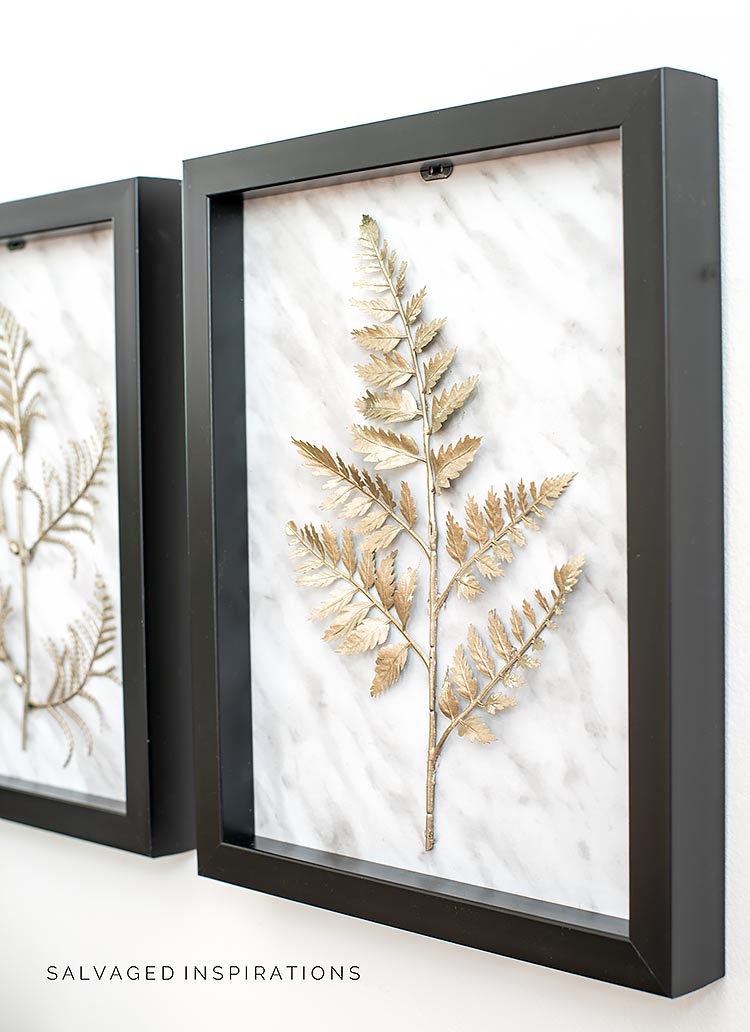
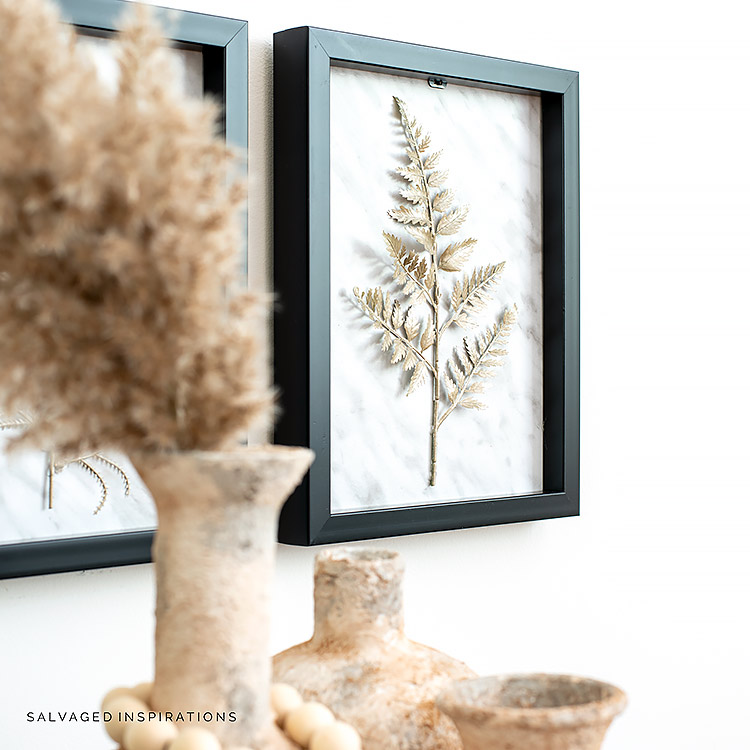
Here’s the new look… 3D wall art!

What do you think, aren’t they cute? The total cost is less than $4 each!

THIS POST IS SPONSORED/CONTAINS AFFILIATE LINKS TO PRODUCTS I USE. YOU CAN SEE MY FULL DISCLOSURE HERE.
SOURCE LIST
Dollar Store Frames
Faux Greenery
Marble Contact Paper
Hot Glue Gun
Utility Craft Knife
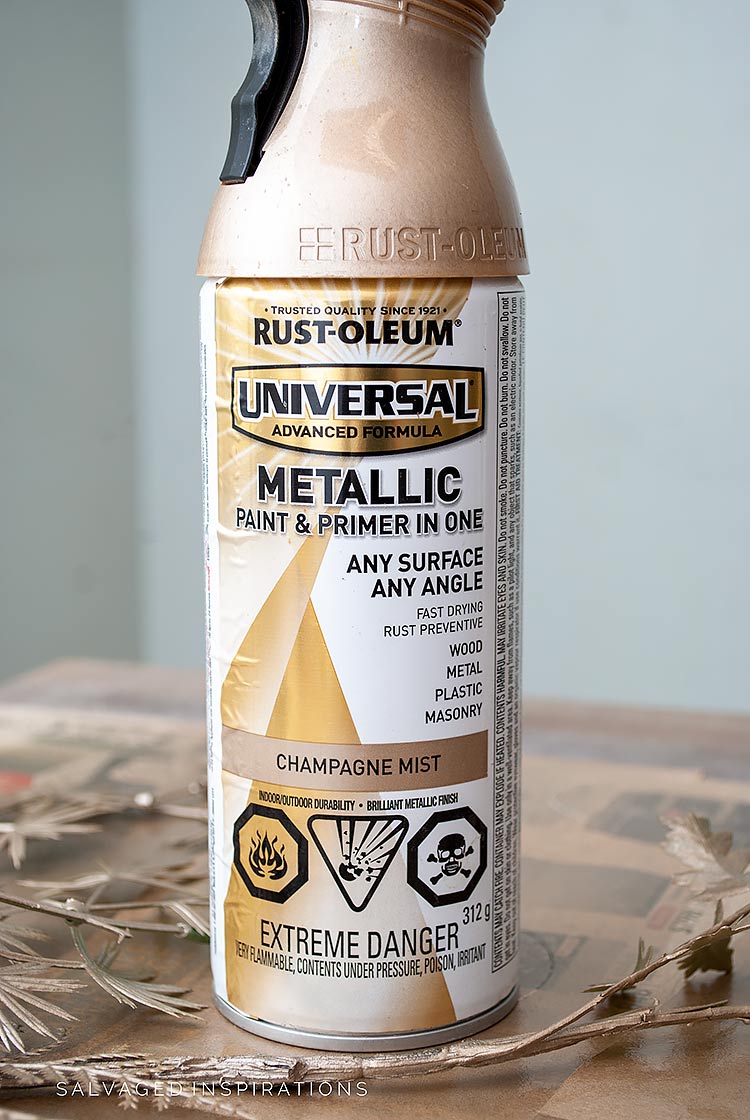
Gold Spray Paint
DOLLAR STORE DIY WALL ART
This entire project can be put together in about 15 minutes minus the dry time for the spray paint. There are also SO many possibilities in what you can put in these frames. Dried flowers or greenery, baby shoes, branches, shells, any kind of momentos really. If you can glue it down and you like the looks of it, it can work!
TAKE APART FRAME
I started by removing the backs and matting from the dollar store frames.
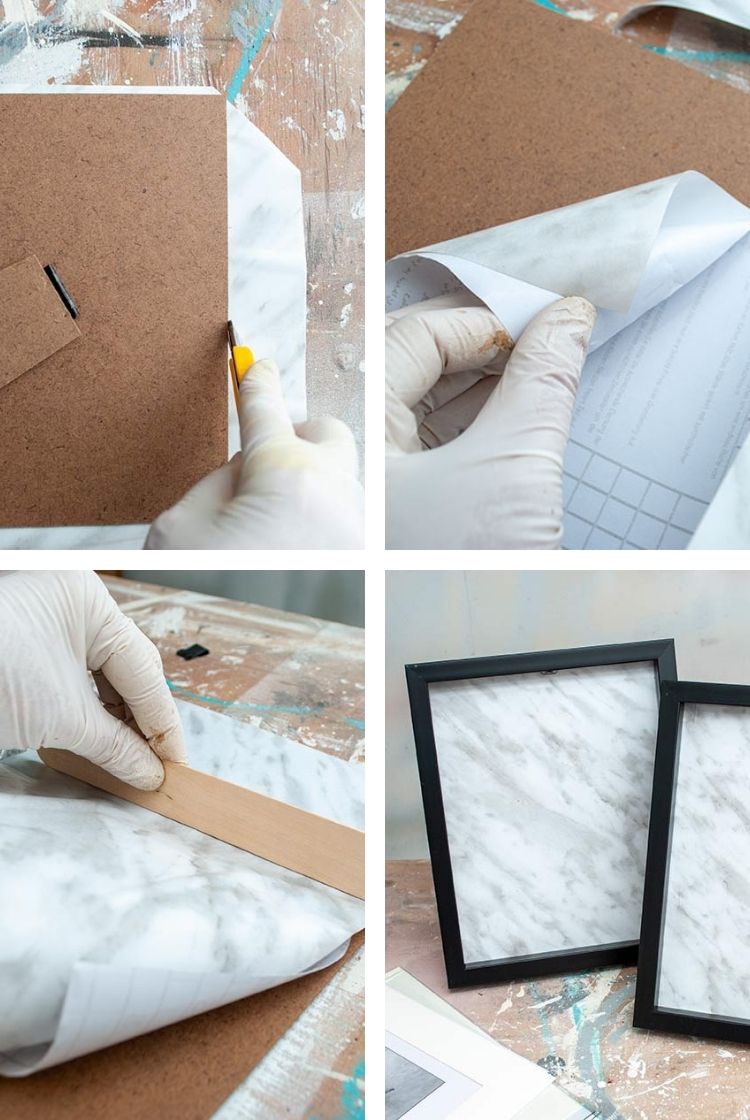
ADD MARBLE CONTACT PAPER
Any paper backing will work for this project but I decided on some leftover marble contact paper I had from this marble table makeover I did back in September of 2019.
No measuring was required. I laid the cardboard backing of the frame onto the contact paper and cut around it using a utility craft knife. I peeled off the contact paper and positioned the top perfectly on the corners. Then using a craft stick I smoothed it out as I was adhering it so there were no bubbles or creases.
SPRAY PAINT GREENERY
To create the gold greenery I used metallic paint and primer in this Champagne Mist. Two coats were required and I let it dry for about an hour between each coat.
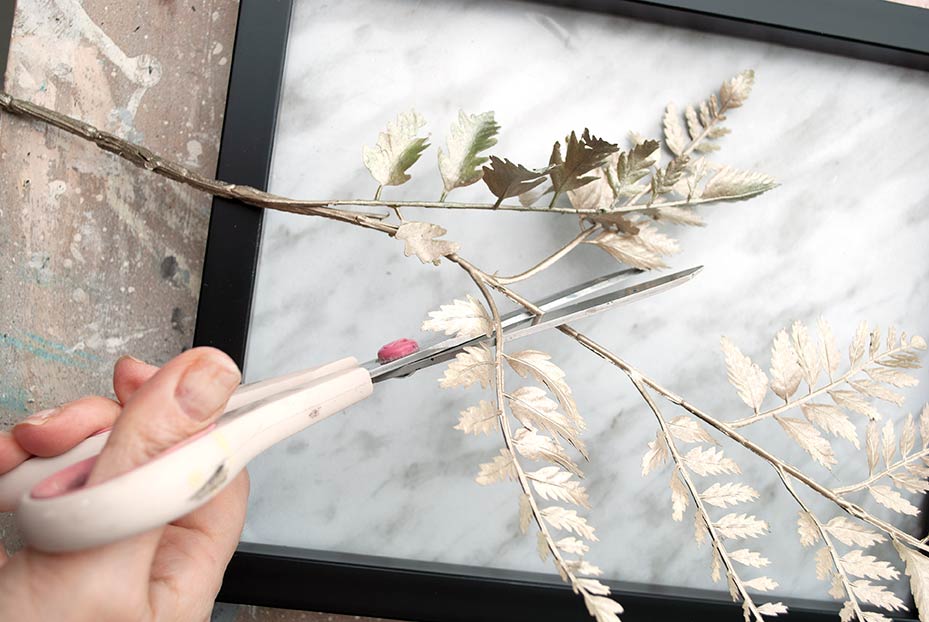
CUT TO SIZE
Once it was dry, I cut the ferns to fit inside the frame.
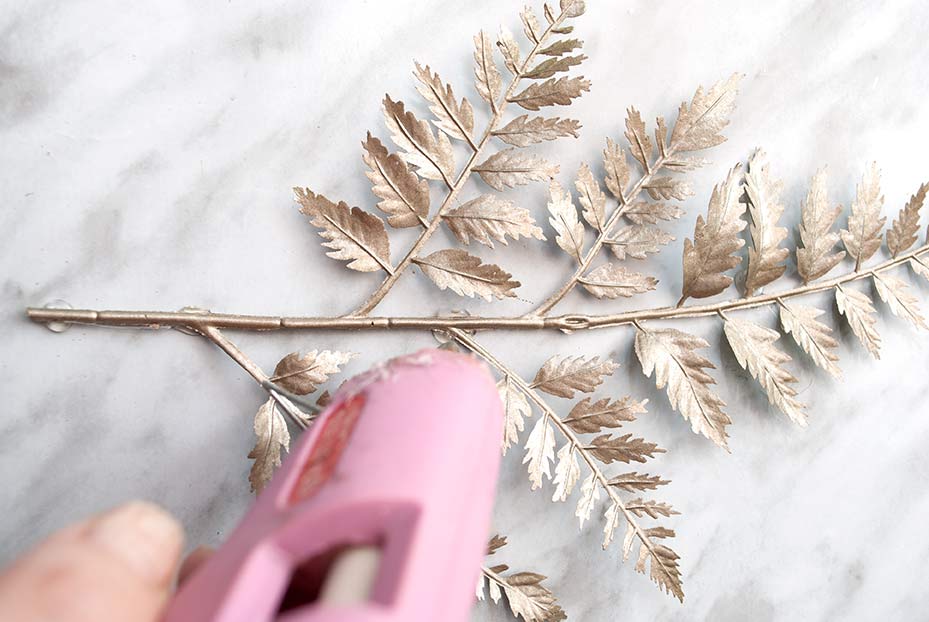
GLUE
After eyeballing the center, I hot glue gunned the gold greenery onto the Marble contact paper.
DONE! Here’s the finished look…

AND NOW FOR SOME TRASH TO TREASURE FUN!
You’re going to LOVE what my creative team of T2T ladies do! Below are their BEFORE photos. Visit the links underneath to see the amazing AFTERS and learn how they did it! I’m heading over to take a peek as well! x
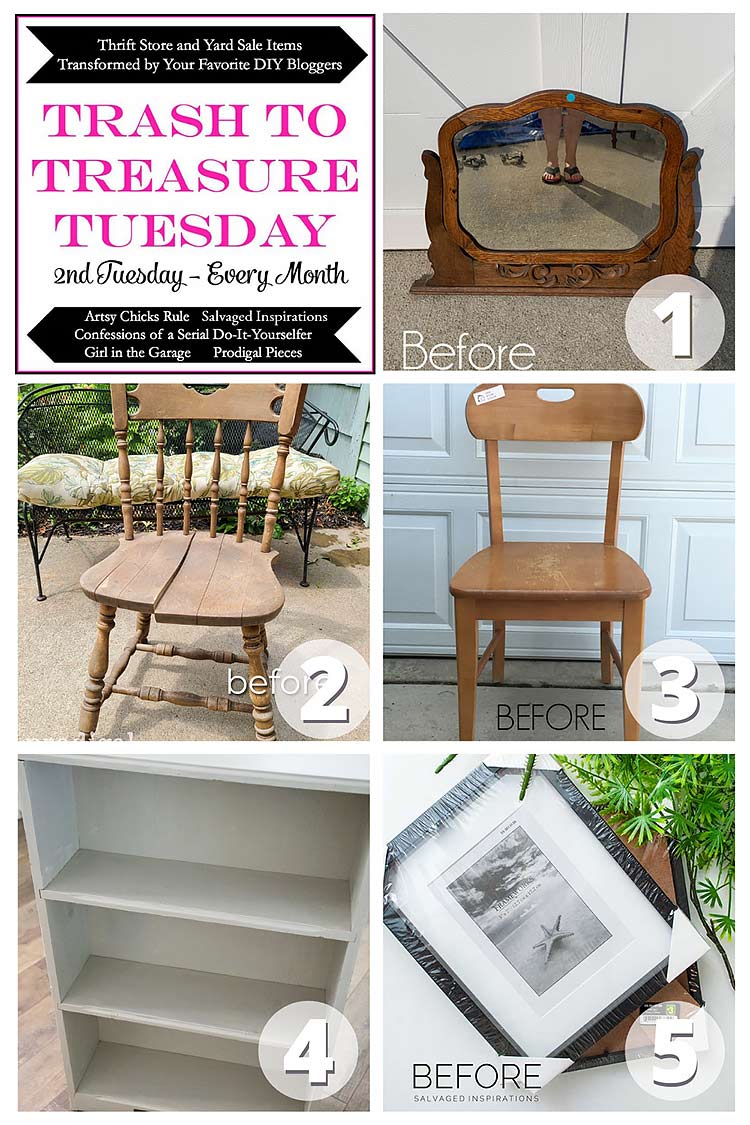
1. CONFESSIONS OF A SERIAL DIYER
2. PRODIGAL PIECES
3. GIRL IN THE GARAGE
4. ARTSY CHICKS RULE
5. SALVAGED INSPIRATIONS (HAPPY YOU’RE HERE!)
Here’s another look at this before and after. I hope it’s inspired you and given you some new ideas for your projects.
LET ME KNOW WHAT YOU THINK OF THIS DIY DOLLAR STORE ART. FEEL FREE TO ASK ANY QUESTIONS YOU MAY HAVE… I ALWAYS LOVE HEARING FROM YOU. IT MAKES MY DAY! 🙂
Happy furniture painting friends!
Denise x
RELATED POSTS::
$5 MARBLE TABLE MAKEOVER
HOW TO – MARBLE POUR PAINTING
DIY MARBLE PAINT EFFECT
15 EASY DIY PROJECTS
SALVAGED 80’S PLANTER MAKEOVER
PIN AND SHARE!


Hi Denise!
I love this project! It’s hard to tell, did you keep the glass in the frames? All the frames I saw at DT today didn’t seem like they had enough room for the greenery to have shadows, so I wondered if they had shadowboxes somewhere!
Thanks,
Tiffany
Hi Tiffany! 🙂 I didn’t use the matting or the glass for this project.
Cute idea for upscaling dollar store finds!
Thanks my friend! Hope you’re having a fabulous weekend. XOXO
I always look for new projects to do, with all the time I have in my hands. I have a beach theme in my den, and doi g the 3D art work is perfect for what I am going for.
THANK YOU DENISE.
I’m so happy it’s inspired a few ideas for your beach theme! Have fun Kat!
Clever idea! Everything is still $1 at my stores…..maybe it’s a location thing. Dollar General Stores are a different thing…..higher prices but pretty sure that store doesn’t bill its self as a Dollar Store.
Nice, and it could be the location for sure. Most of our dollar stores around here (Toronto GTA) are priced at $1-5. Gone are the days everything was a dollar but they are still amazing!
I have some different size frames that would work for this project and some left over contact paper like that. Now all I have to do is get some greens to put there. I also have gold spray paint n glue gun. So, all I have to fine or buy is the greens. So, it’s basically free for me. Thanks for the idea.
Almost FREE… can’t get any better than that! Have fun, Rosemary! 🙂
Those are super cool Denise, and look like they cost a LOT more money! xo
Thanks so much Jen! XOXO
Love it! Looks great and creative and economical!
Thank you Beth! x
Hi Denise. What a sweet, quick and easy to do project. I love how these little frames turned out. These would be absolutely darling in my baby granddaughter’s nursery (in pink of course). I think I’ll need to replicate your wonderful idea:)
That’s a super sweet idea. If you give it a go I’d love to hear how it all turns out for you! XOXO
These are adorable Denise!
I’m glad you like them, thank Nicki! 🙂
These turned out fabulous! No one would know they aren’t high end pieces of art now. ❤️
Yaay, thanks Do!!! Hugs XOXO
So creative and they look so good!! XOXO
Thanks Christy! XOXO
Years ago I went to the a local art supply store that has beautiful, unique handmade papers. I found some that had a leaf motif that I cut and framed for my bedroom wall. It was affordable and looked great.
Brilliant! 🙂 Handmade unique art… it sounds beautiful! x
FUNTASTIC! And so chic. Contact paper for the win!
Thanks my friend! I was going to throw out the leftover contact paper (because I wasn’t sure it was enough for a half-decent project) but I’m so glad I didn’t! 😉