A 2 IN 1 CURB-SHOPPED COFFEE TABLE GETS A GORGEOUS FAUX STONE MAKEOVER | YOUTUBE VIDEO
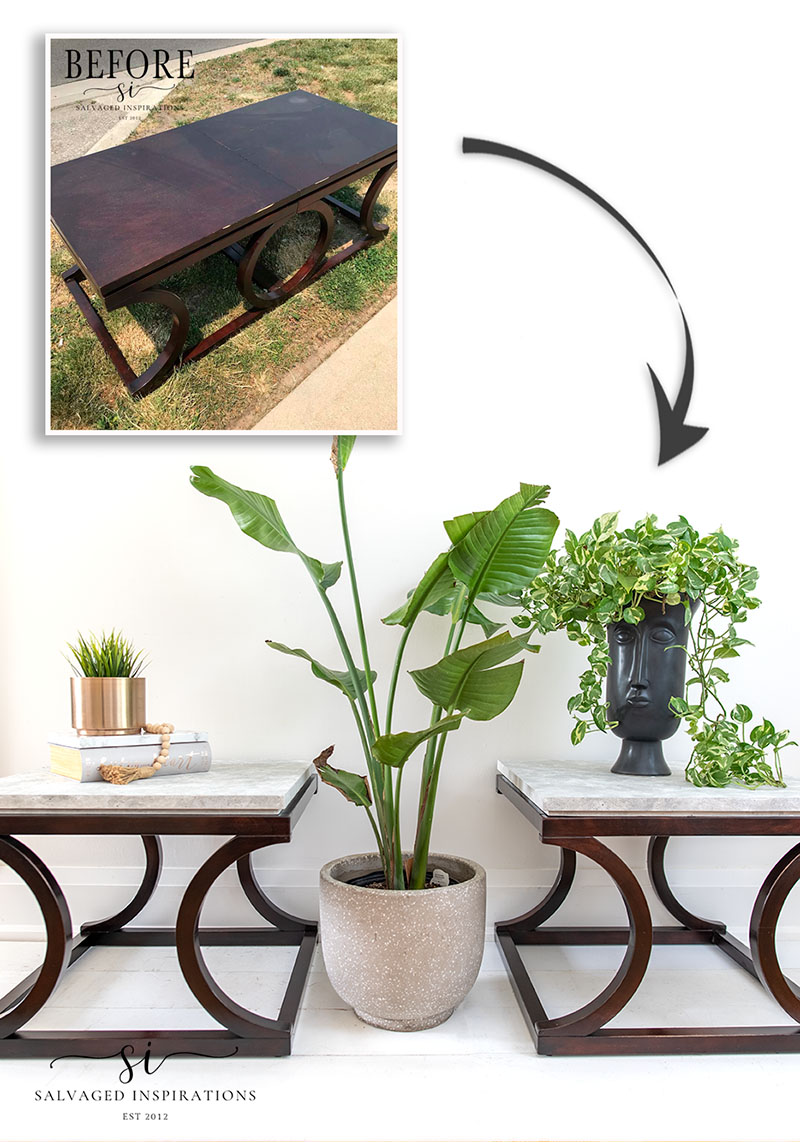
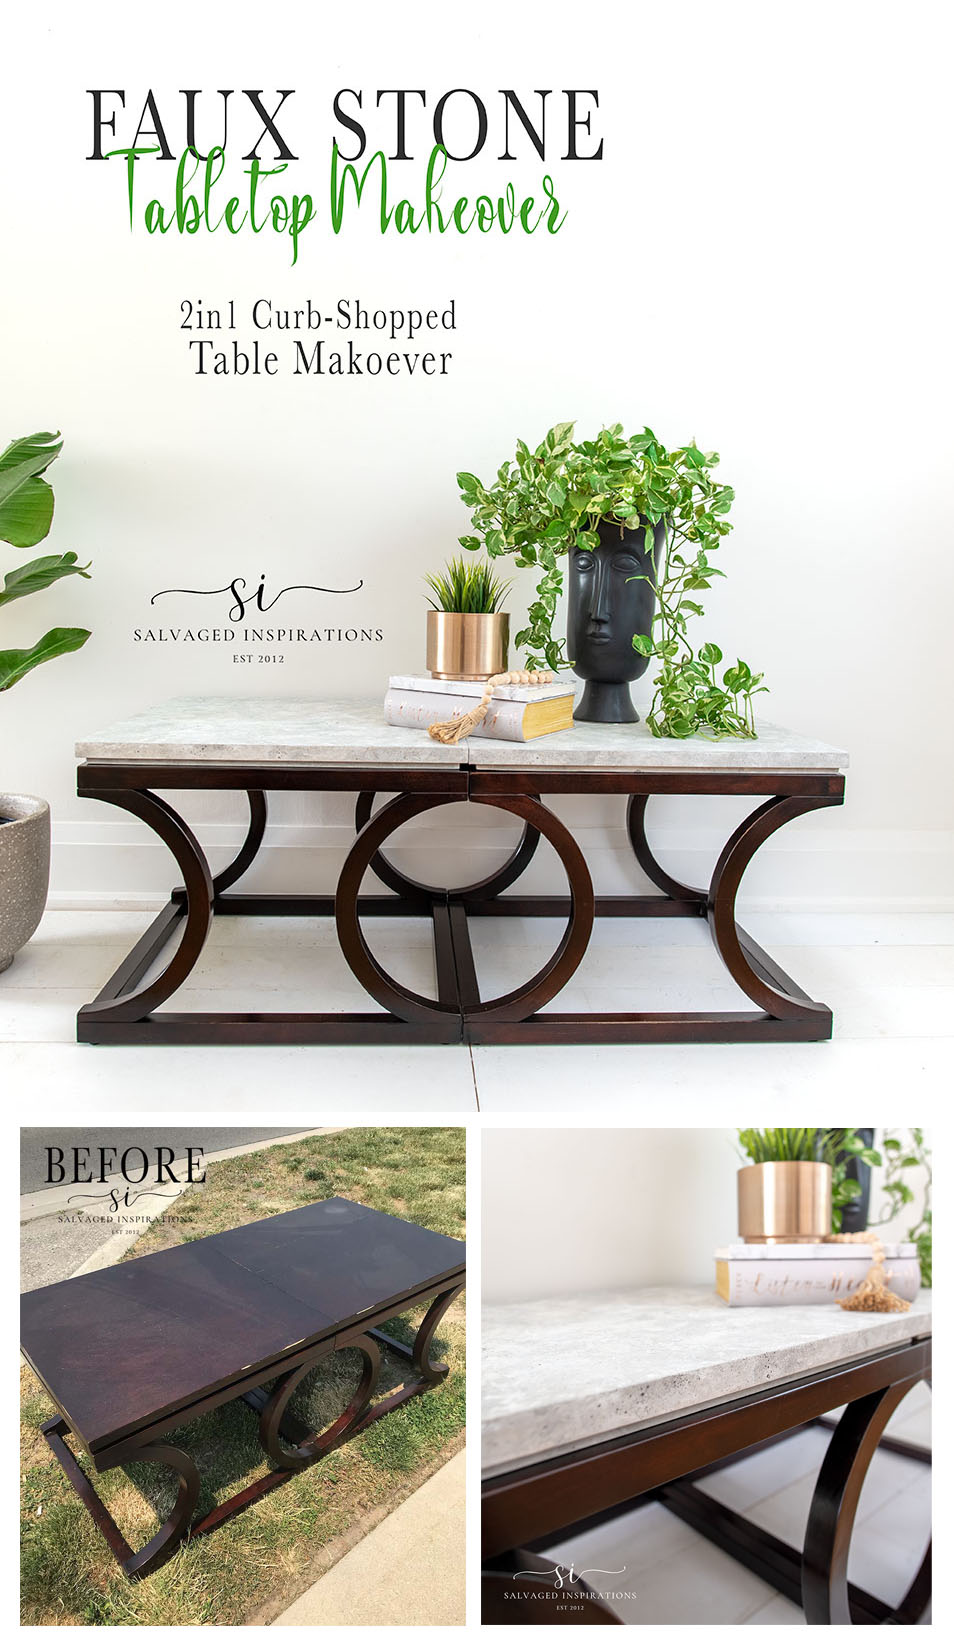
Hello beautiful SI family! Last week I shared how to turn ANYTHING into fake stone using an easy paint technique. Today I’m putting my money where my mouth is. I’m salvaging a 2 in 1 curb-shopped coffee table with a Faux Stone Table Top. I can’t wait to hear if you think it looks as ‘real’ as last week’s makeover.
As a bonus, it’s also Furniture Fixer Upper Day! If you’re new to the #siblog, I join four of my furniture painting besties on the fourth Thursday of every month. We all restyle and fix up a piece of furniture and share how we did it. I’ll include a link to their before and afters below.
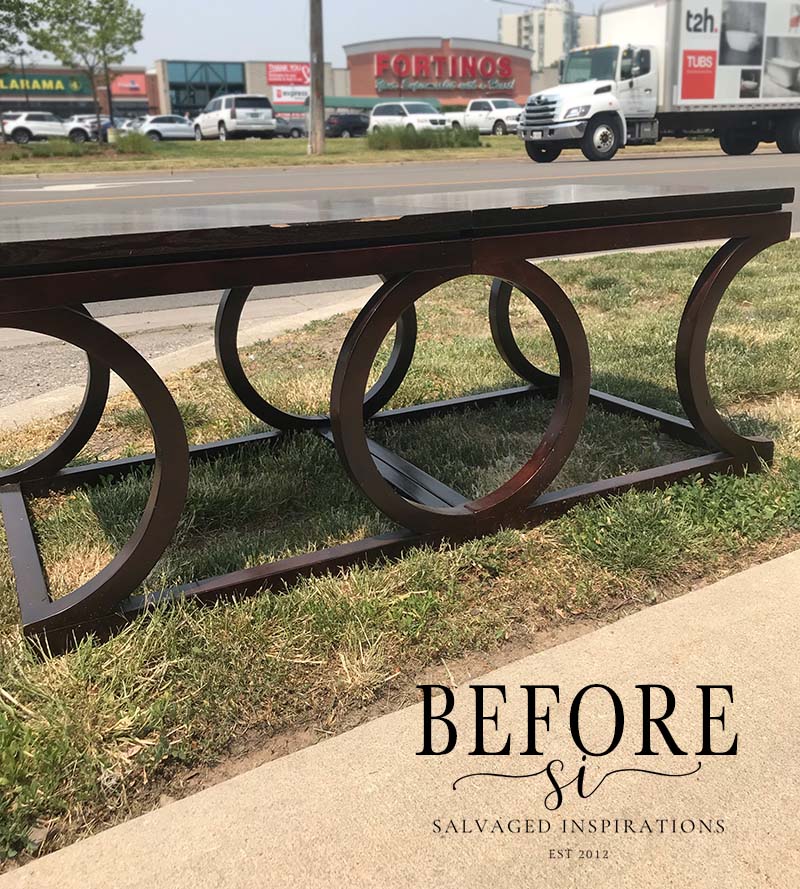
Here’s the curb-shopped coffee table my sister Andrea found for me. She spotted it on a busy road while she was at work driving the city bus. I’m grateful to her and her co-workers as they keep their eyes peeled for these trashed gems!
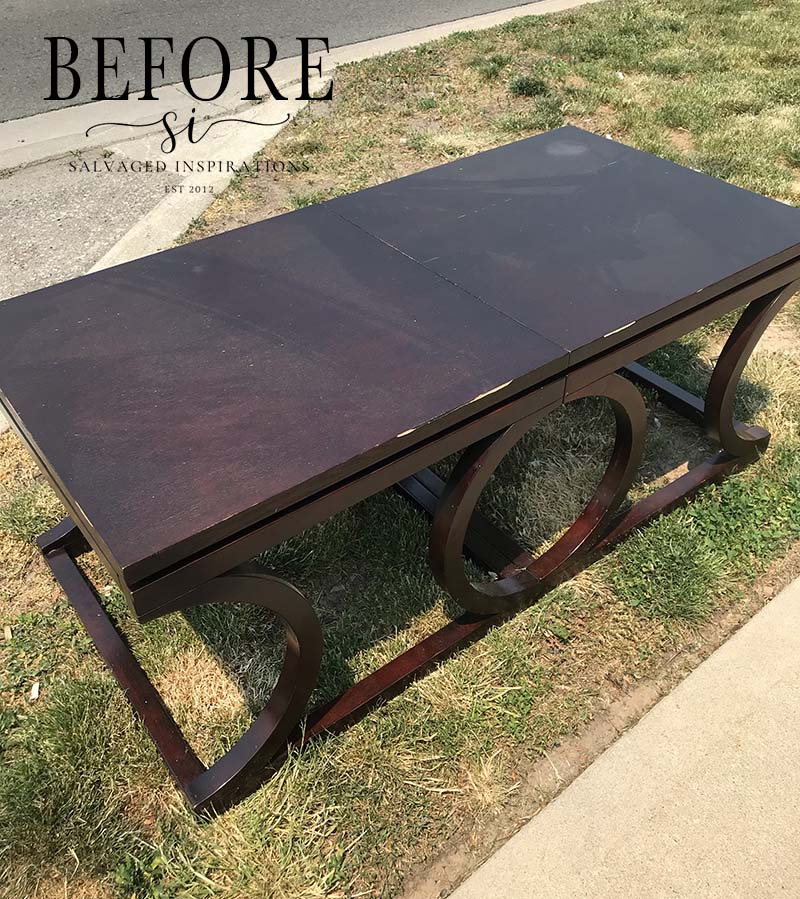
After her shift, she texted me the location and I rushed out to get it! Still HERE! woohoo!
Once I got it home I gave it a good once over. The table was structurally perfect but it did have some cosmetic issues to deal with.
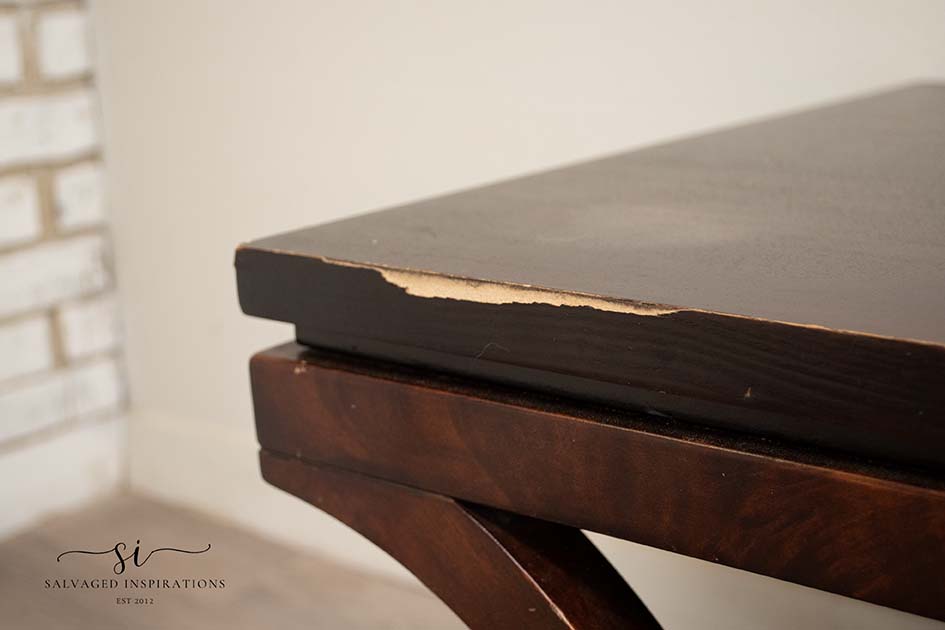
Nothing a little wood filler and faux finish can’t fix right up!

THIS POST IS SPONSORED AND/OR CONTAINS AFFILIATE LINKS TO PRODUCTS I LOVE AND USE. YOU CAN SEE MY FULL DISCLOSURE HERE.
SOURCE LIST
2 In 1 Coffee Table – SALVAGED
White Lightning Cleaner
Sanding Sponge
Wood Filler
Colonial Black Gel Stain
Cotton Chalk Mineral Paint
Baja Gray Silk Paint
Coffee Bean Chalk Mineral Paint
Paint Brush
Fine Mist Spray Bottle
Shop Towels
Flat Clear Coat
2 in 1 TABLE MAKEOVER
Here’s how I salvaged this curb-shopped table using gel stain and the faux stone finish I used on the Garden Buddha last week.
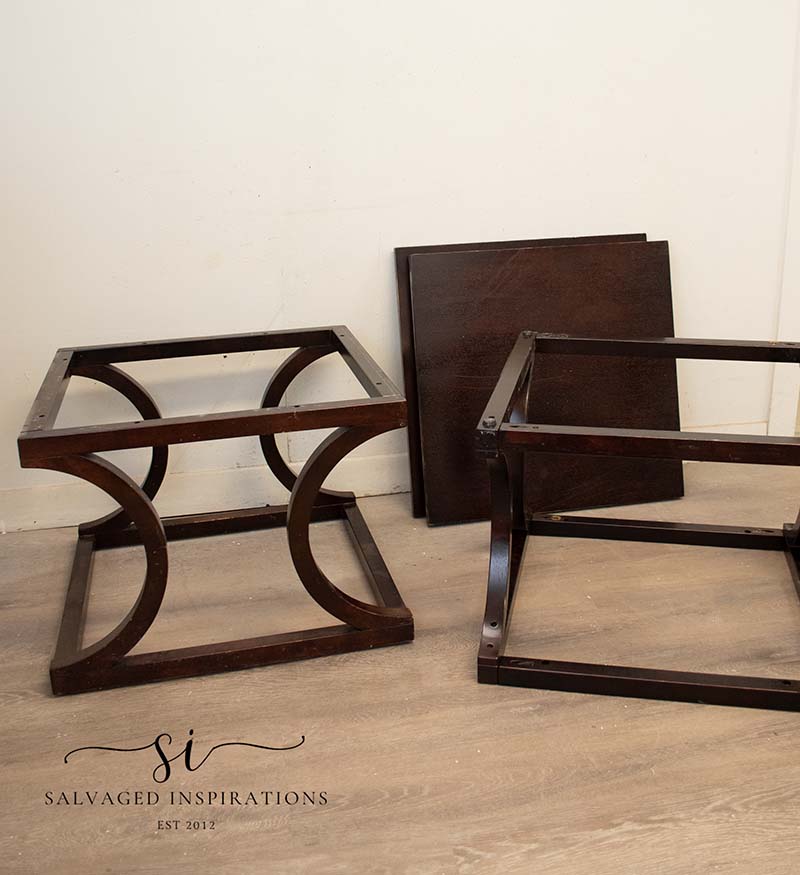
DISASSEMBLE
I was REALLY curious how this convertible table was going to look as two side tables. The first thing I did was disassemble it. It didn’t have standard screws but rather hex bolts so I used a Folding Hex Key Set to remove them. I find this tool super handy to have as I’ve run into a good few ‘newer’ pieces that are assembled this way.

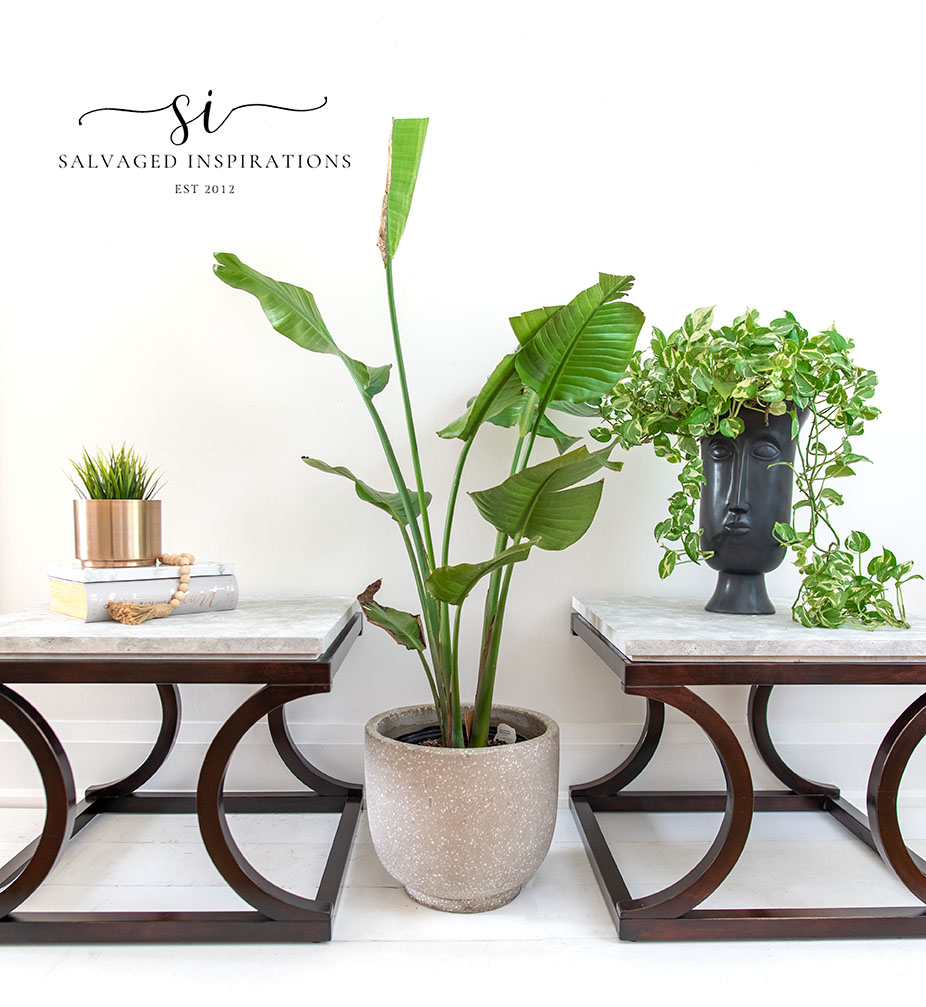
Check this out. Two in one. What an interesting piece.
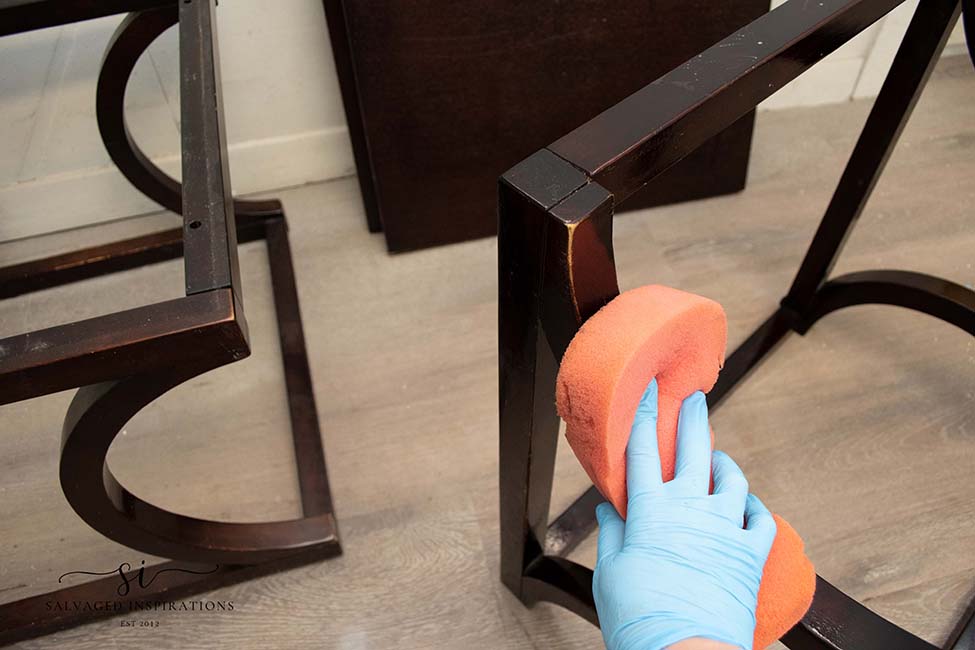
CLEAN
To clean this table I used White Lightening Cleaner in a spray bottle and a regular old sponge. While cleaning, I made sure to spray and wipe in all the crevices and underneath as well! With the table taken apart, it really helped me get into all the nooks and crannies.
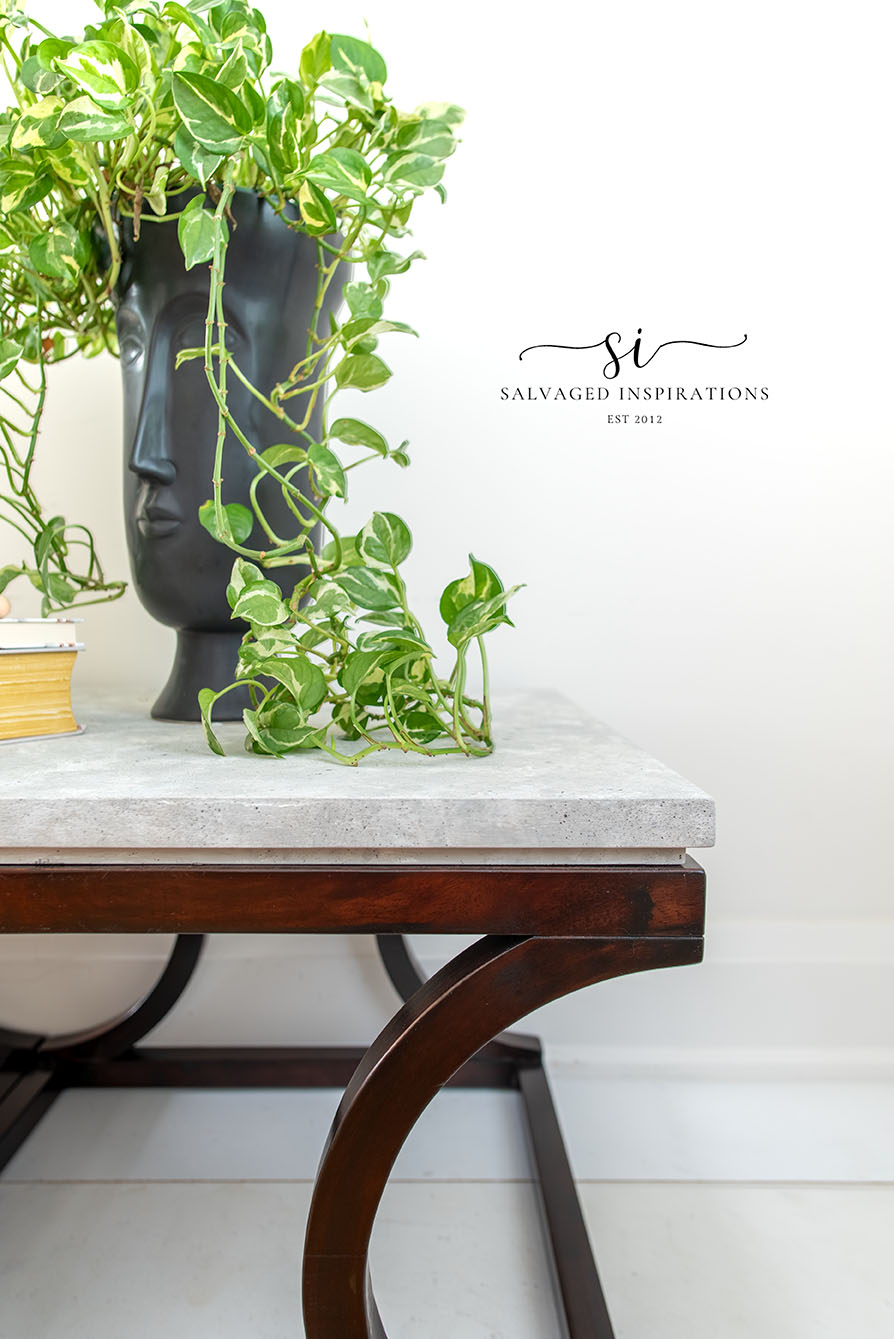
GEL STAINING THE BASE
I worked on the base first. Painting it black or white crossed my mind but then I remembered my black gel stain. This would allow some of the grain and original warmth to show through while giving the base a beautiful rich finish.
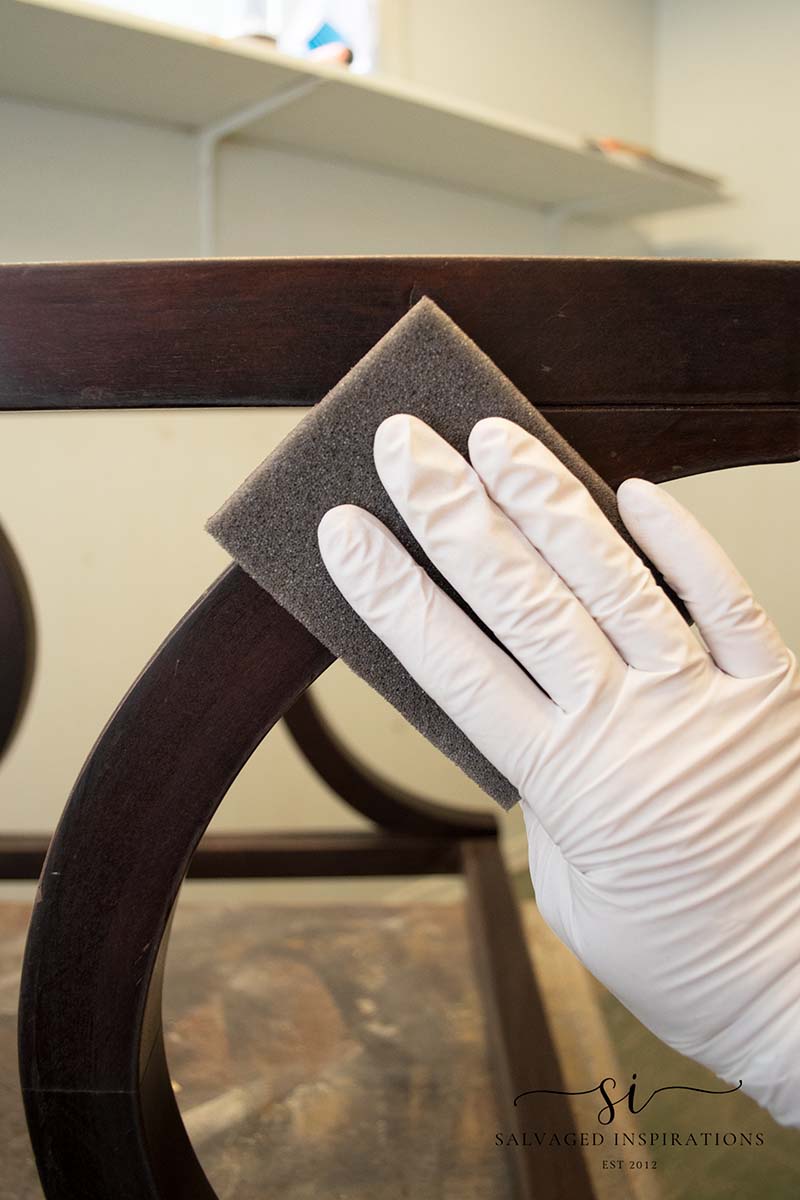
To prep for this gel stain, I scuff sanded with a 220-grit sanding pad. This is to scuff up the finish – NOT to scratch it up. Gel stain won’t cover scratches or dings so I was mindful of the pressure I applied. I always like to say that scuff sanding is like wiping down a kitchen counter. I go over it a few times but I don’t put a ton of pressure on it.
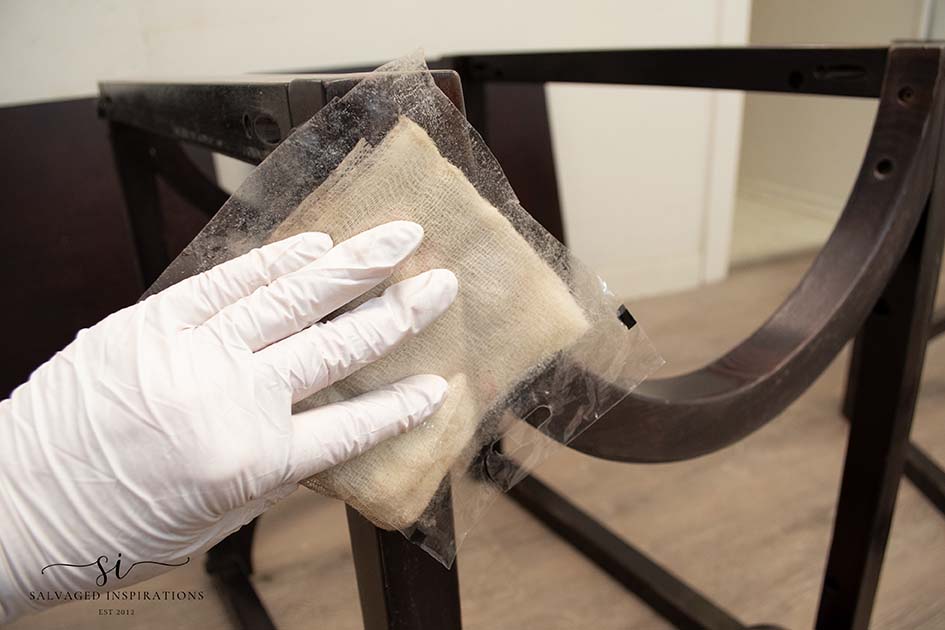
Once I had the two bases scuff-sanded, I used a tack cloth to remove all the remaining dust. I like leaving the tack cloth’s wrap on one side while I use it. If you’ve been following me here on the #siblog, you know the feel of these tack clothes is one of my pet peeves. 😂
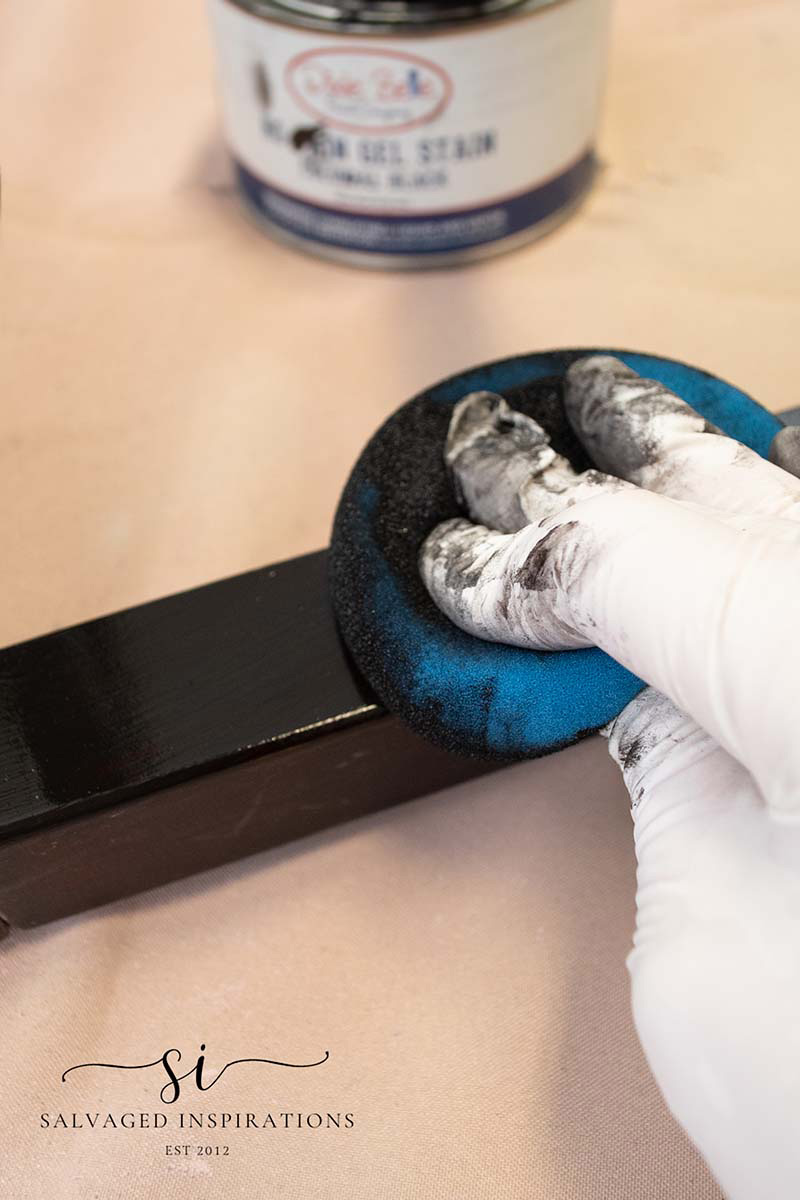
This No-Pain-Gel-Stain can be used to darken an existing finish. It is oil-based so I made sure to use my gloves, a mask and had good ventilation with all the windows open. I cut down a sponge to use as an applicator pad. I mixed the oil-based gel stain really well before using it and then used my mixer stick to apply a small amount to the sponge and then wiped it onto the legs. Right away the base took on a richer look which you’ll really be able to see in this Saturday’s upcoming video. In the pic below the stain hasn’t been wiped back yet but you can already see the big difference between the top and the side.
If you’d like to see how AMAZING this Gel Stain worked on my Finished French Doors you can see it HERE!
FAUX STONE TABLE TOPS
While the bases were drying I moved on to the table tops. I fixed the missing edge banding and filled in all the scratches using this wood filler.
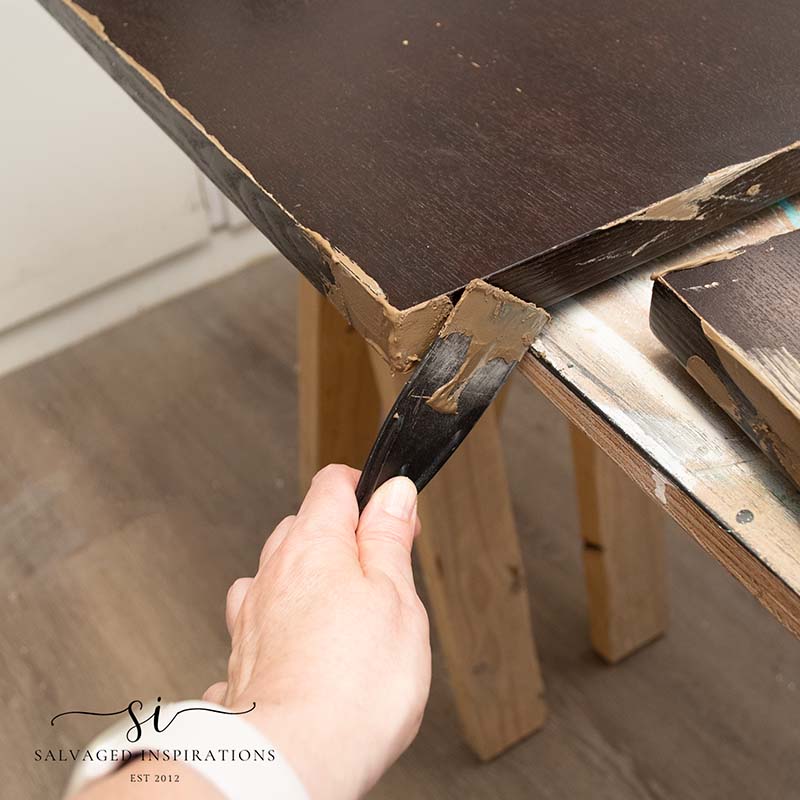
This wood filler is a great choice if you’re sanding by hand because it sands with little to no effort.

Remember the missing corner and edgebanding that I shared above? All filled and looking good!

I went ahead and primed with two coats of BIN Shellac Based Primer. This is a bonding primer that also stops bleed-through and stains.

PAINT TECHNIQUE
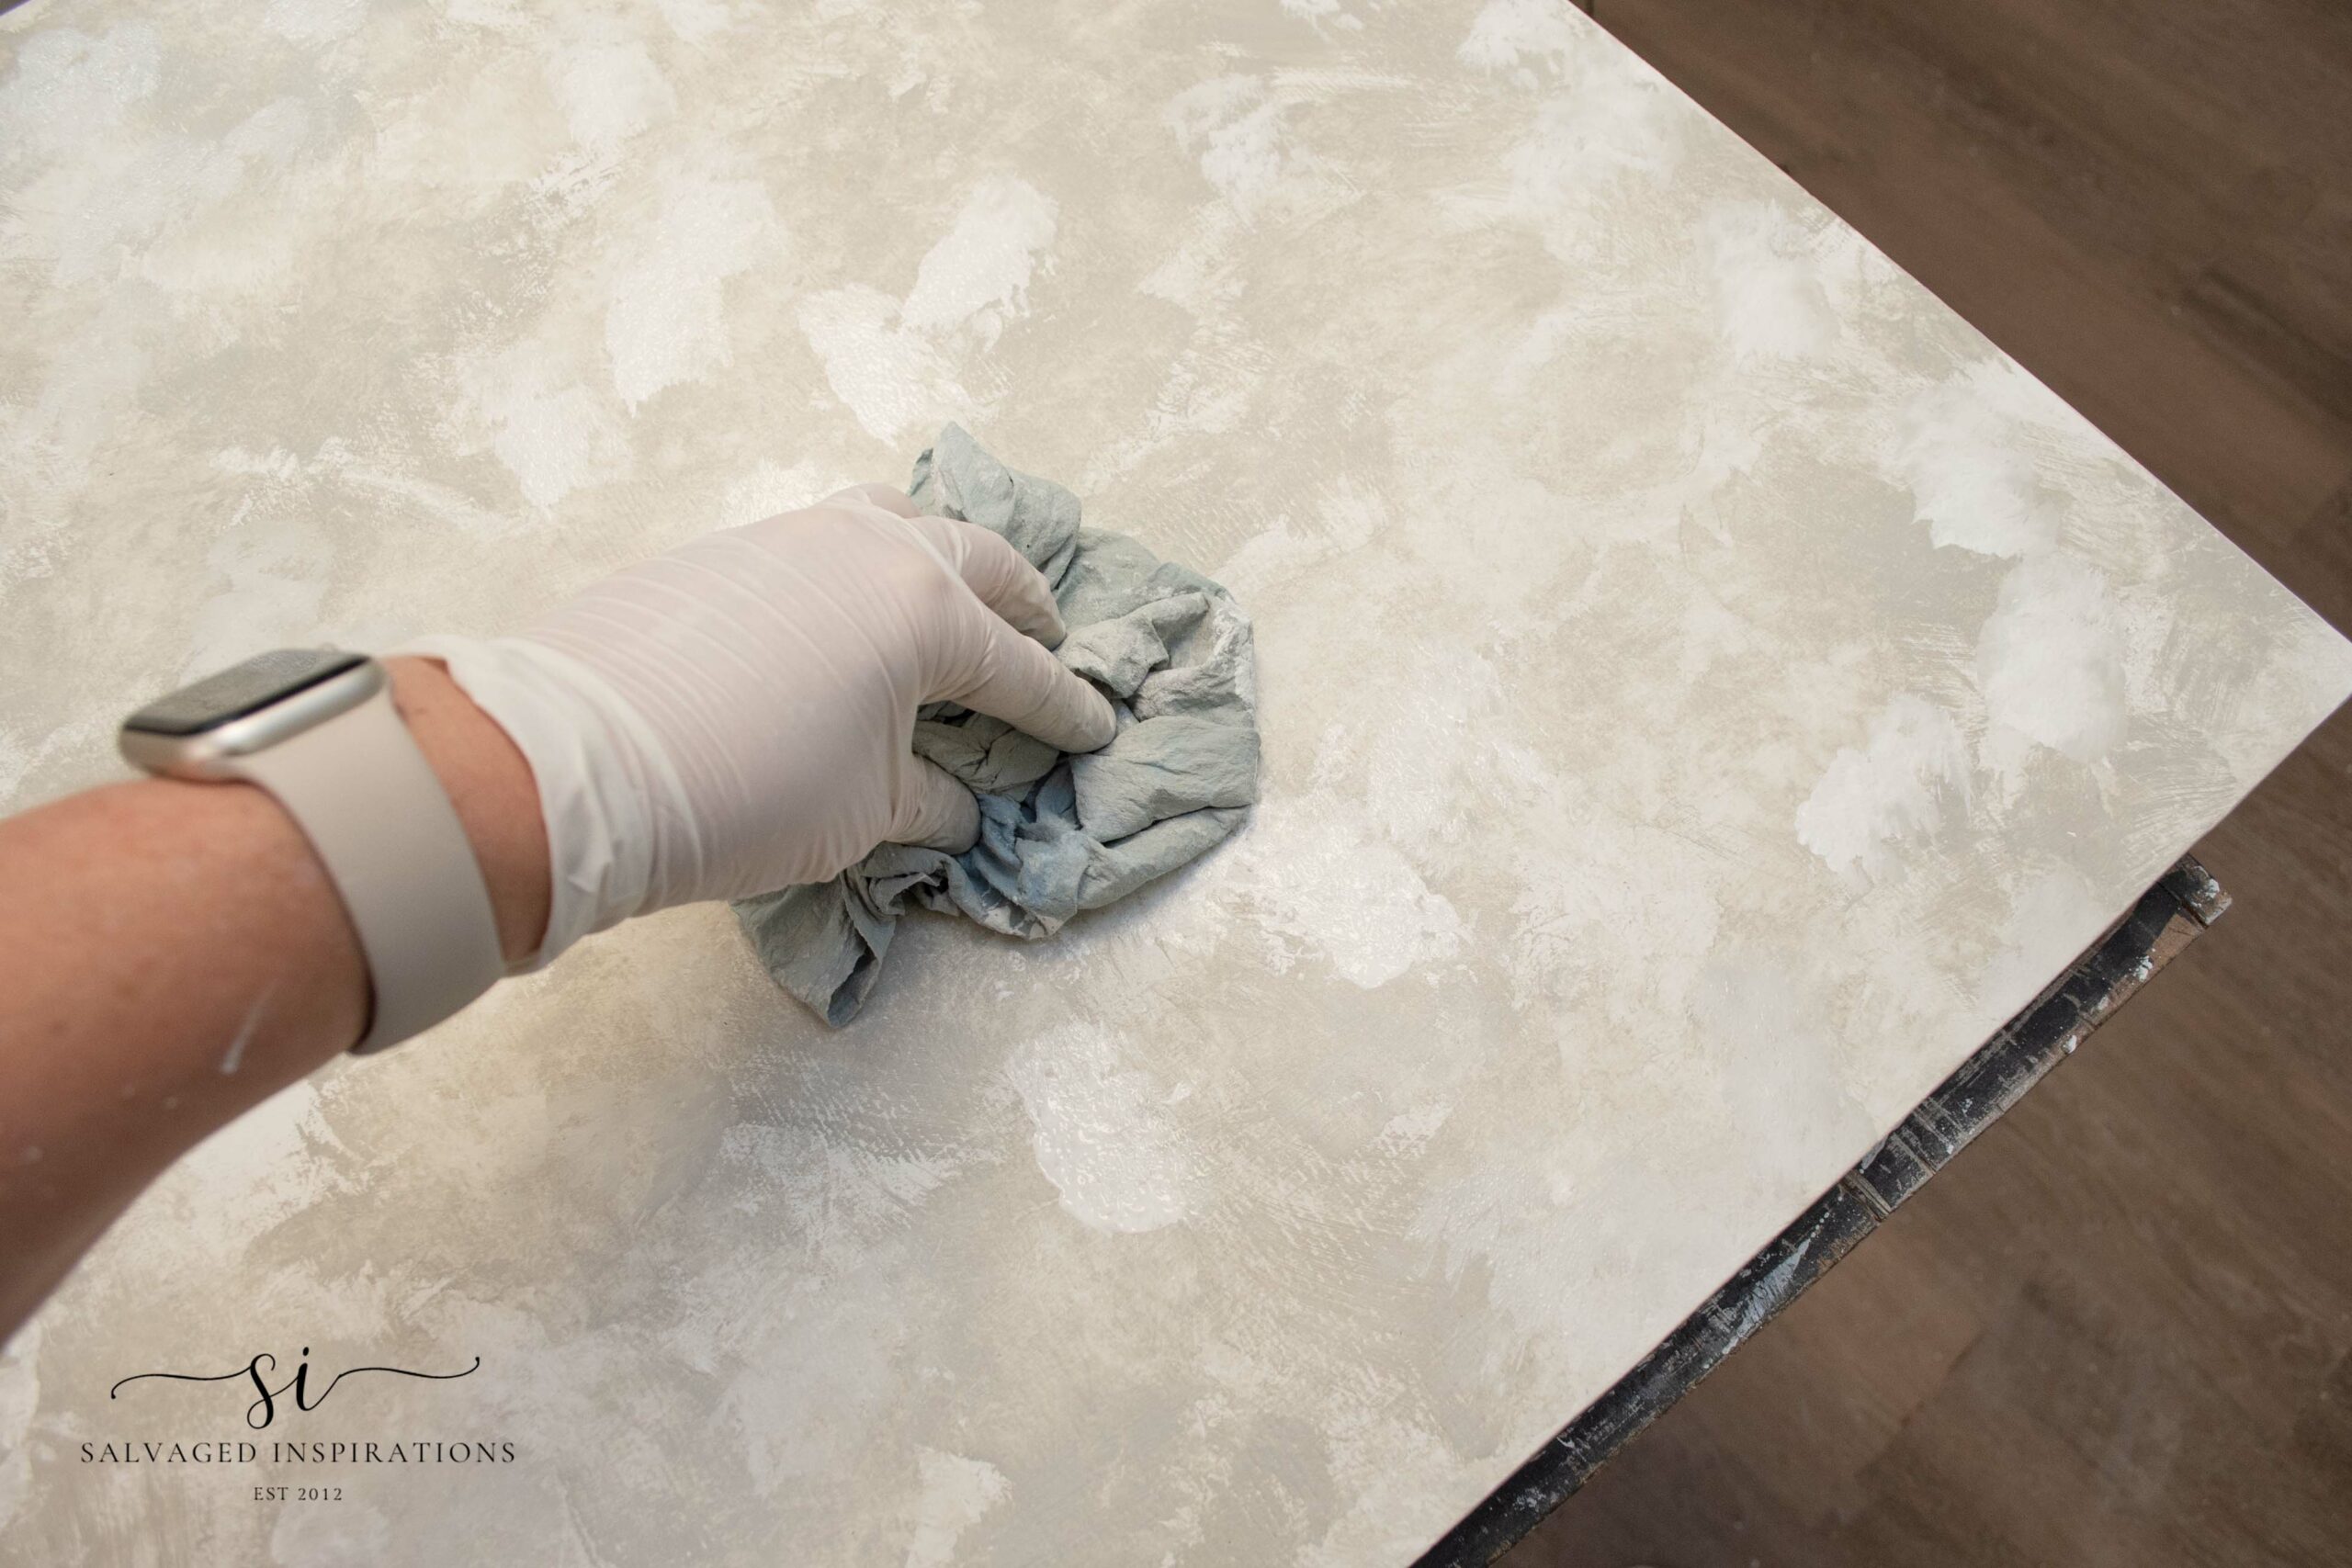
To create the appearance of real stone, I started by painting one coat of this Cotton White over the primer to create a base. Using the same paint brush I dabbed on Baha Gray in random spots. Then using a damp shop towel started dabbing and blending the gray over the white.
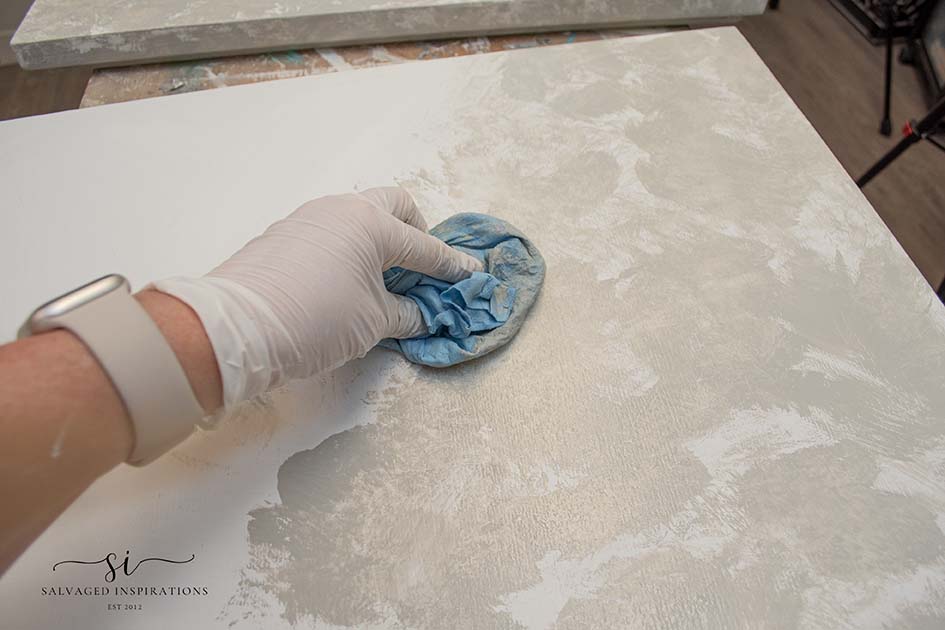
It’s a really fun process. Once I was finished with the gray, I added a little more white and repeated spreading and dabbing with the damp shop towel. The colors start blending in together and creating a stone look.
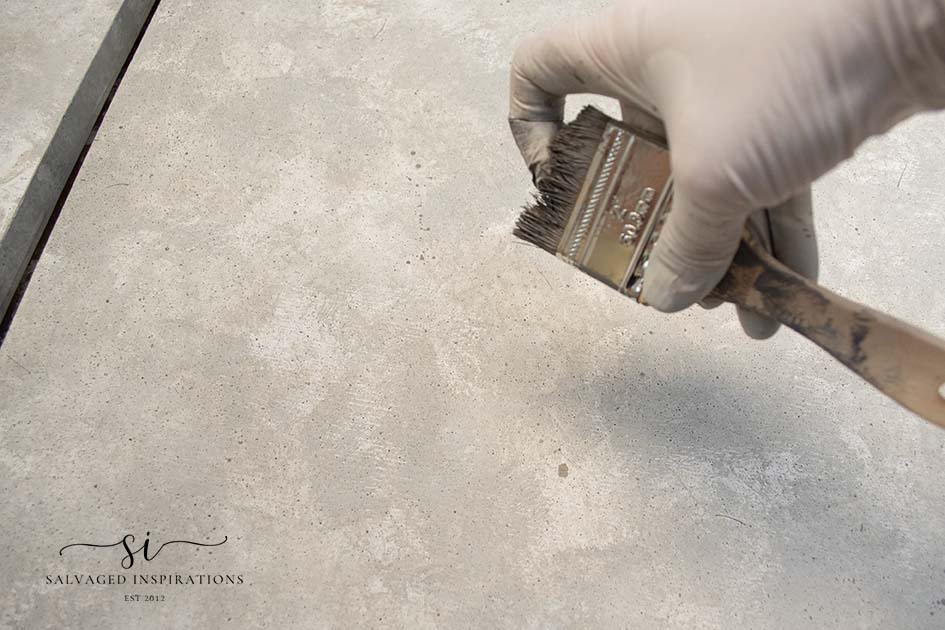
For the finishing touch, I cut the bristles short on an inexpensive chip brush, sprayed it with my water mister bottle, and dabbed the short bristles into this Coffee Bean mixed with the Baha Gray. Then holding the brush approximately 6-8 inches above the table tops, I ran my finger across the bristles so the paint would speckle the top.
TOPCOAT
I’ll be spraying a flat topcoat onto this 2 in 1 table but because I used the oil-based gel stain, I need to wait at least 72 hours for it to fully dry before top coating.
FINISHED LOOK
Here’s how this salvaged table makeover all came together.
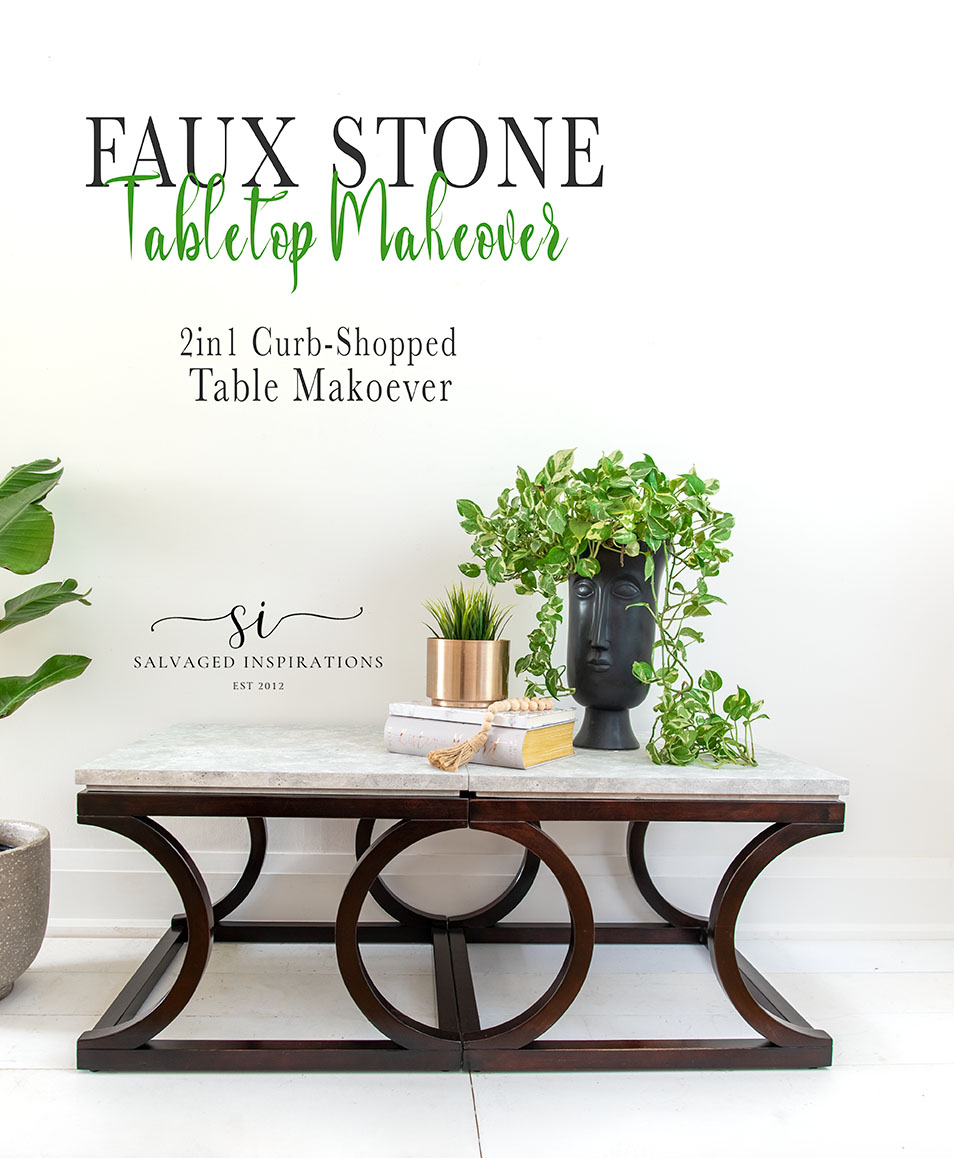
And check out this ‘stone’ top! I think it turned out just as good as last week’s project but I can’t wait to hear what you think!
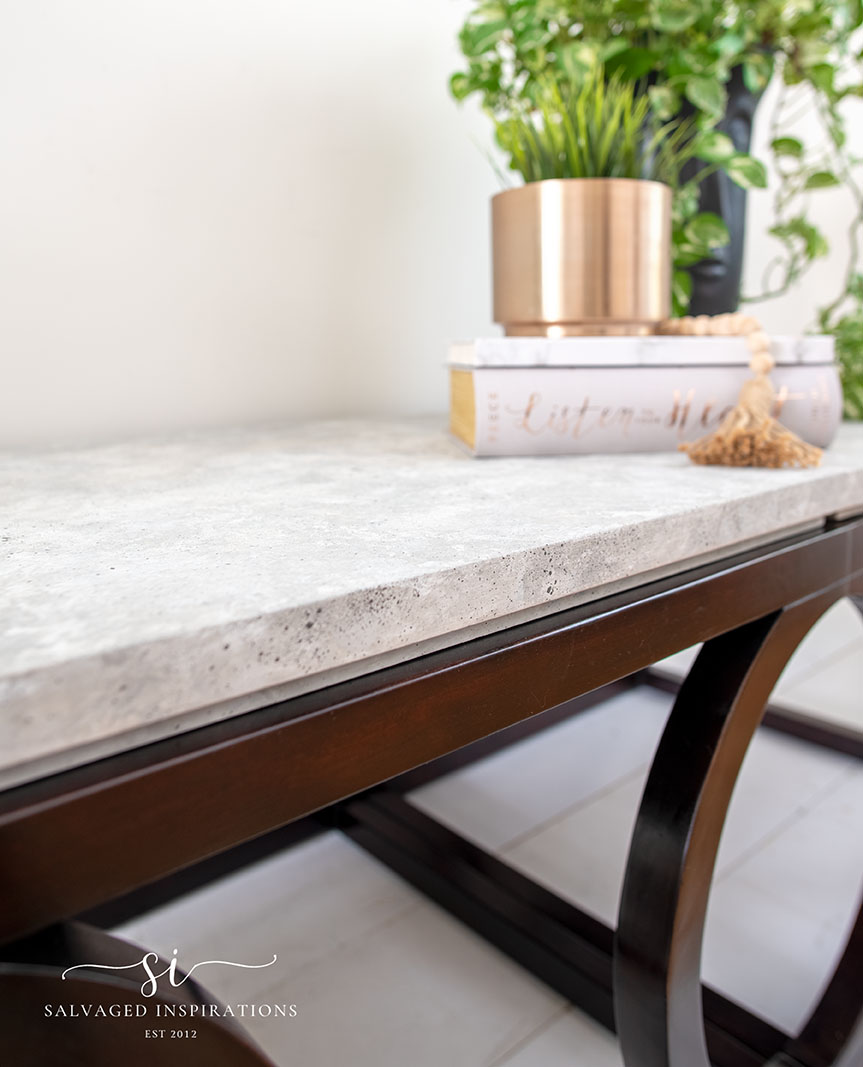
You’d never know this was wood, right? It looks like it weighs a ton. 😆
And these tables look SO GOOD as side tables as well.
YOUTUBE TUTORIAL
Here’s a step-by-step tutorial on Youtube. If you have any problems viewing it below, feel free to watch it on my Youtube Channel HERE. Our #siyoutubefamily is already a community of 39K so don’t forget to subscribe if you haven’t done so already! So exciting, thank YOU! 🙂
AND NOW FOR SOME FURNITURE FIXER-UPPER FUN!
You’re going to LOVE what my creative team of Furniture Fixer Upper ladies do. Jen will be taking a break from the group while she focuses on her new home but we’re looking forward to seeing her back soon! Below are the BEFORE photos. Visit the links underneath to see the amazing AFTERS and learn how they did it! I’m heading over to take a peek as well! x

1. MY REPURPOSED LIFE
2. PETTICOAT JUNKTION
3. CONFESSIONS OF A SERIAL DIYER
4. SALVAGED INSPIRATIONS (HAPPY YOU’RE HERE!)
Here’s another look at this 2 in 1 table’s before and after. I hope this faux finish makeover has inspired you and given you some new ideas on how to paint your furniture.
LET ME KNOW WHAT YOU THINK OF THIS FAUX STONE FINISH ON THIS TABLE OR ASK ANY QUESTIONS YOU MAY HAVE… I ALWAYS LOVE HEARING FROM YOU. IT MAKES MY DAY! 🙂
Happy furniture painting my friends!
Denise x
RELATED POSTS::
HOW TO PAINT FAKE STONE | GARDEN BUDDHA
PAINTING A FABRIC CHAIR – HOW TO
PAINTING FRENCH DOORS IN BLACK
CURBSHOPPED DESK INTO NIGHTSTANDS
22 SALVAGED FURNITURE FLIPPING IDEAS
PIN AND SHARE!

Wonderful project! I have a Broyhill Fontana coffee table that is orangey but solid pine with no damage. It’s in perfect condition. It has what I think is a polyurethane top coat. that was put on at the factory. Should I strip the polyurethane coating off or just scuff sand it and then apply the gel stain?Thanks!
Thanks Lu! Gel stain does not sink into the wood but rather sits on top so a scuff sand rather then removal of the topcoat should be perfect. But if you’re unsure, you can do a little test area in an inconspicuous spot.
Denise,
Wow! What a fabulous makeover on this curb find. I painted my countertops with this sort of technique, but it has never occurred to me to use it on a table top.
Kudos!
Pinned!
gail
I’ll bet your countertops look amazing Gail! Thanks so much for the PIN! XOXO
Just wondering if this was real wood or MDF covered with laminate. You made it look so beautiful!
Hi Heather! Thank you! Yes, It was some sort of subwood covered with laminate and edgebanding. 🙂
Great job, as always!! STUNNING!!!
Thanks Susan!🤗
What a wonderful find! 2 for the price of 1! The stone top looks great.
Great find, right?! Thanks Janice!!
Gosh Denise, what a great job. It REALLY DOES look like stone! Great job!
Aw, thanks so much Caye! And it’s so much fun to do! 🙂
You have done it, again. Love what you have done with the coffee table
and end tables. Love the finish. You never cease to amaze me. You have a great talent.
Super sweet Margaret, thank YOU!
Hi Denise. Love love love this makeover. You nailed it. What neat tables/coffee table!
They are neat – very different! Thanks and so glad you love it! XOXO
I cannot believe this transformation, Denise!! It is absolutely gorgeous!! You NEVER disappoint, my friend! XOXO
Aw, thanks so much Christy! So glad you like it! XOXO
SOOOO cool!!! The 2-in-1 table is such a unique piece in & of itself (never seen one like it before!) but the way you spiffed it up with the faux stone top was genius, Denise! Honestly, you have a true artistic gift, combined with fearlessness to try just about ANYthing: which is one of the things about you that radically inspires me! You rock, girl!
As always, kudos to you ~ and thanks so much for sharing 😉
This means a lot coming from you Suzy, thanks so much! And ya, I’ve never seen a table like this before either. So unique which made it such a pleasure to work on! XOXO
I love the table separated into 2! They are great tables! They look wonderful. You fill my head with a million ideas.
I was wondering how you score all those curb side pieces. It certainly helps having someone driving all over the city all day every day! lol
I like the end tables better than the coffee table as well and soooo amazing that it can be used as either or, right?! I’ve never seen a table like this before. And ya, one of my Youtube subscribers said I have a “search and rescue” team scouring the city 😂… I guess I do!😄
Really great work!
Thanks so much Lizzy!🤗
I love what you did with these tables and you always make it look so easy with clear instructions. Thank you Denise!
Super easy and I’m so happy you love them. Thanks Nicki! XOXO
Absolutely beautiful! Sure appreciate how you explain how you do these projects.
I appreciate you being here Barbara, thank you! xo
That’s a great save, such a different versatile piece. You finished it beautifully!
So different, right?!😃 Thanks my friend. XOXO
You really took this beast and transformed it into a butterfly! I might just try the faux stone method you used.
Hi Fran! Oh, I hope you do give it a try… it’s a lot of fun! Have a great weekend! xo
The tables look good, Denise. Gel stain really made a difference in the finish.
What did your sister think of the Buddha?
Sheila
Hi Sheila! My sister LOVES her garden Buddha and it looks so good in her front garden. Her neighbours have even commented on how much they like it!😃 And thanks so much. I sometimes forget how easy and great gel stains work. Have a super day!
Bravo Denise, the tables turned out fabulous!!
Thank you Susan!💜
Oh, Denise!
I love THIS! You have such a great eye for style. It’s the perfect finish for this unique pieces. Well done, my friend. I enjoy reading about all your projects. Keep on doing flipping! xo 😘
Aw, thanks so much Do, I really appreciated you.💕 This IS a unique piece and it was so much fun to ‘play’ around with it. Have a super day my friend. XOXO