You may already know I’m not a big fan of cleaning and organizing. There are so many other things I’d rather be doing. I keep teasing M-M-M that when I’m rich and famous, I’m hiring a chef and a cleaning service because if I had my preference, I’d never cook or clean another day in my life. {wink}
The reality is, I’m the chef, I’m the cleaner/organizer… and for me, a cluttered space equals a cluttered mind.
So, over the holidays, I told myself I would spend time organizing my paint-studio aka my basement. I realize it’s almost mid-January, but better late than never right?

For those of you who procrastinate and feel the same way, I’m sharing 7-Simple-Get-Organized-Tips to help you get into the groove.
These tips are perfect for your workspace or ANY room in your home. And believe me, if I can do this, so can you!
Quick Tip #1 – All or Nothing
We have a tendency to look at a cluttered space and feel overwhelmed. If the task looks daunting, it’s easy to procrastinate with excuses. “I don’t have enough time” is one of my all time favorites.

I’m slowly learning it doesn’t have to be all or nothing.
Rather than attempt to organize an entire room or workspace, focus on one small area at a time.
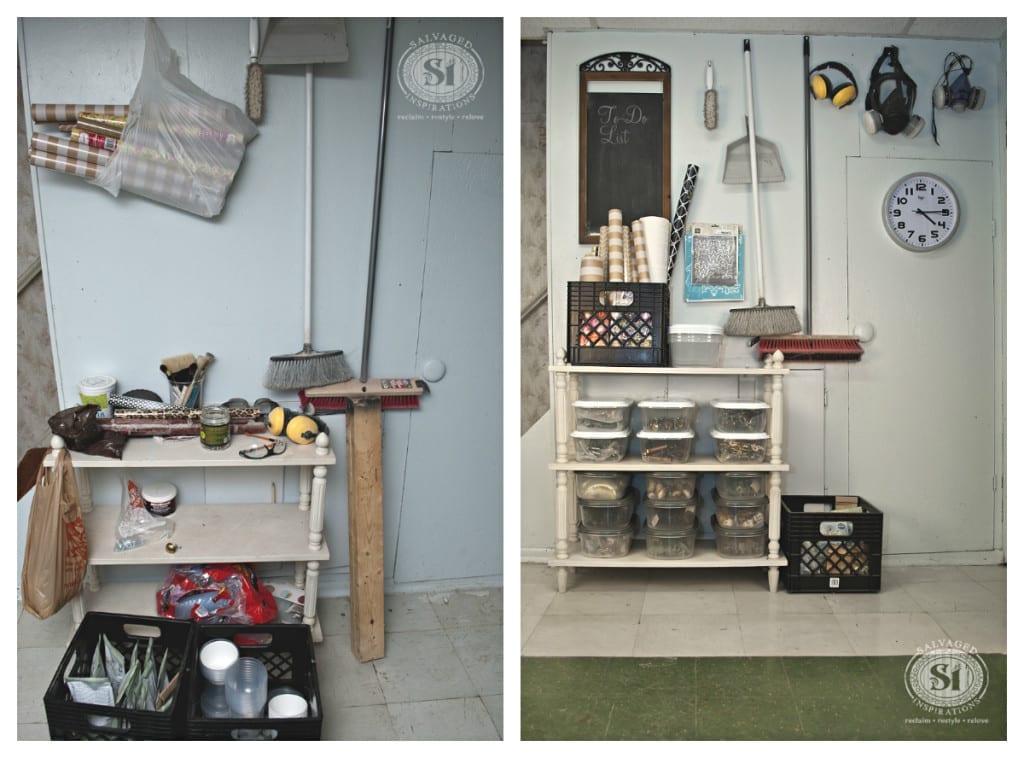
In my paint-studio, I picked two small sections while ignoring the rest. I set a time limit of 45 minutes, and then accomplish as much as I could in that time frame… good on me! The small efforts DO add up!
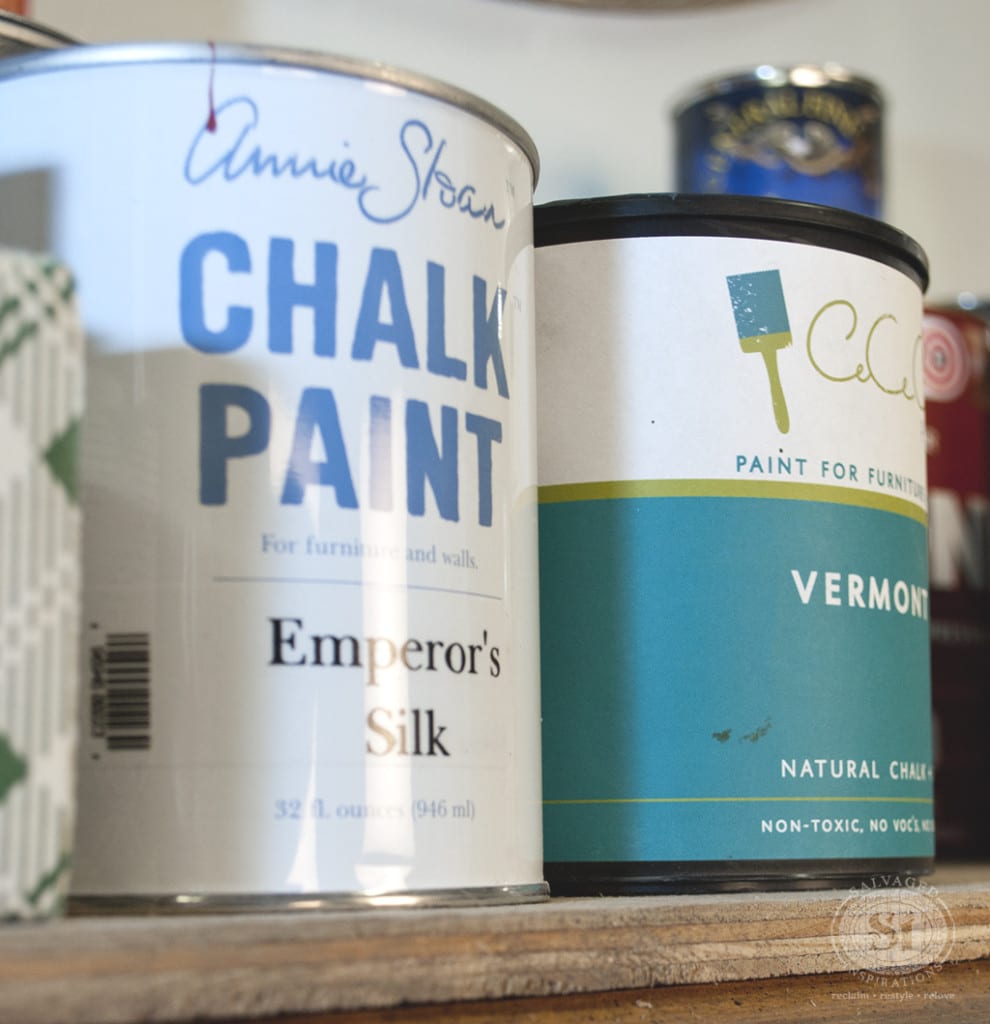
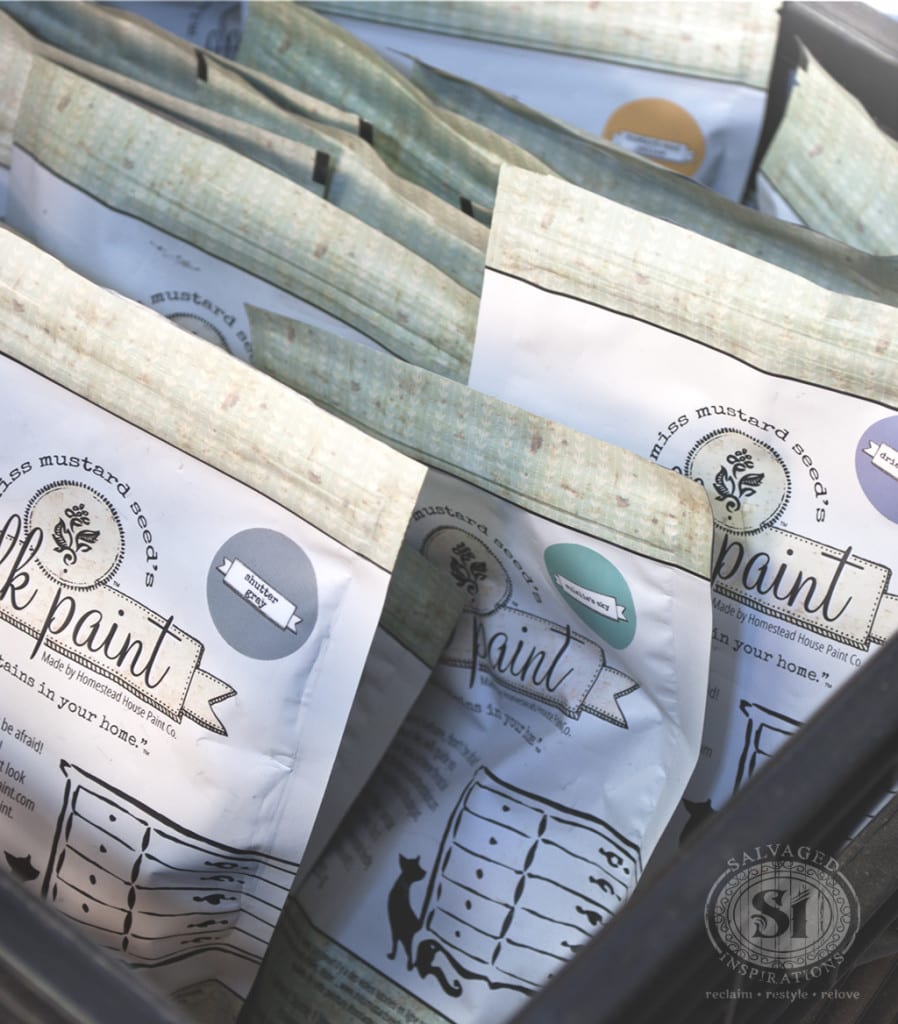
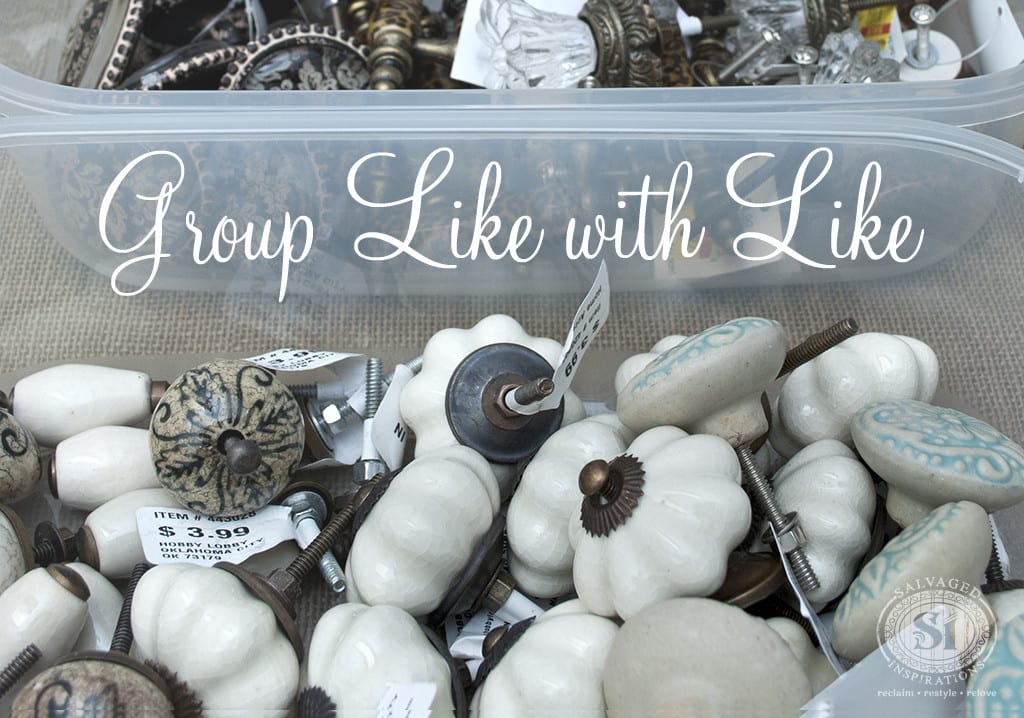
Quick Tip #2 – Group Like with Like
Group like items with like items to speed up the organizing process. Grouping like items may initially create a bit of a mess, but hang in there because it’s the key to being super organized.
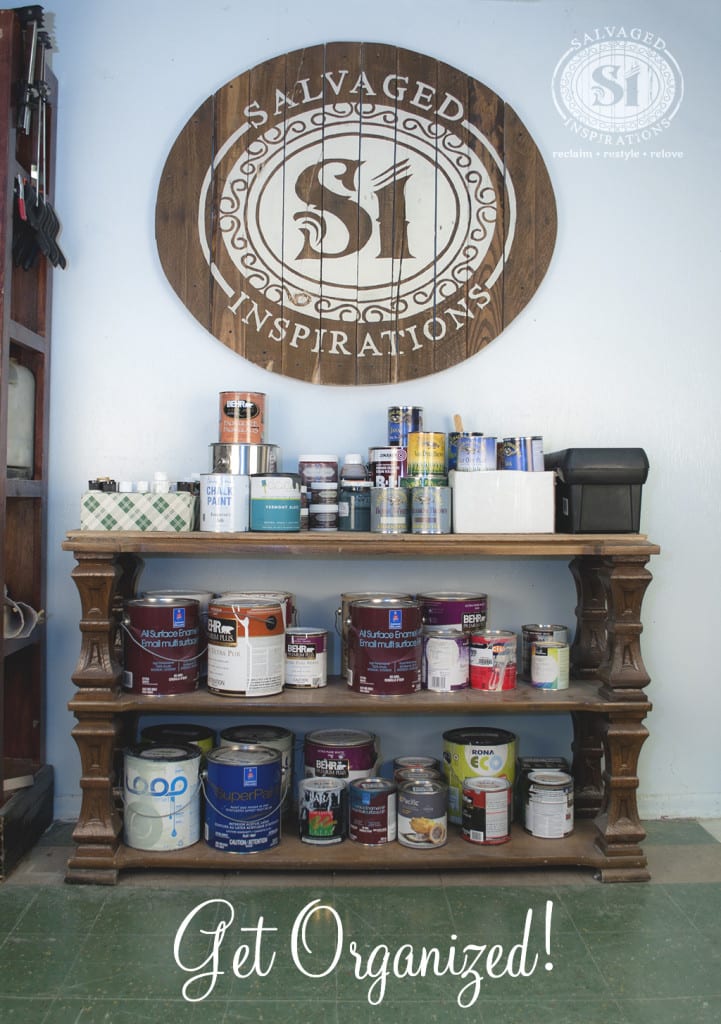
I grouped all the latex paint together, chalk paints together, milk paints together etc…
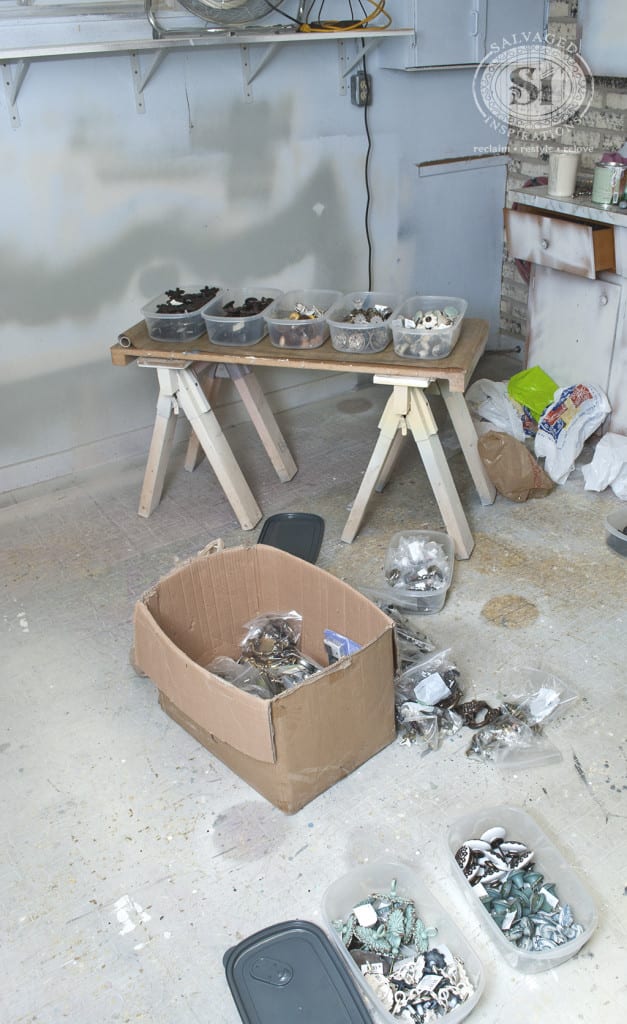
…and all the knobs and hardware together. My furniture hardware is going to be SOOO much easier to find now that they’re out this large cardboard box and strategically placed in see-through plastic containers!
Quick Tip #3 – Recycle, Donate or Sell
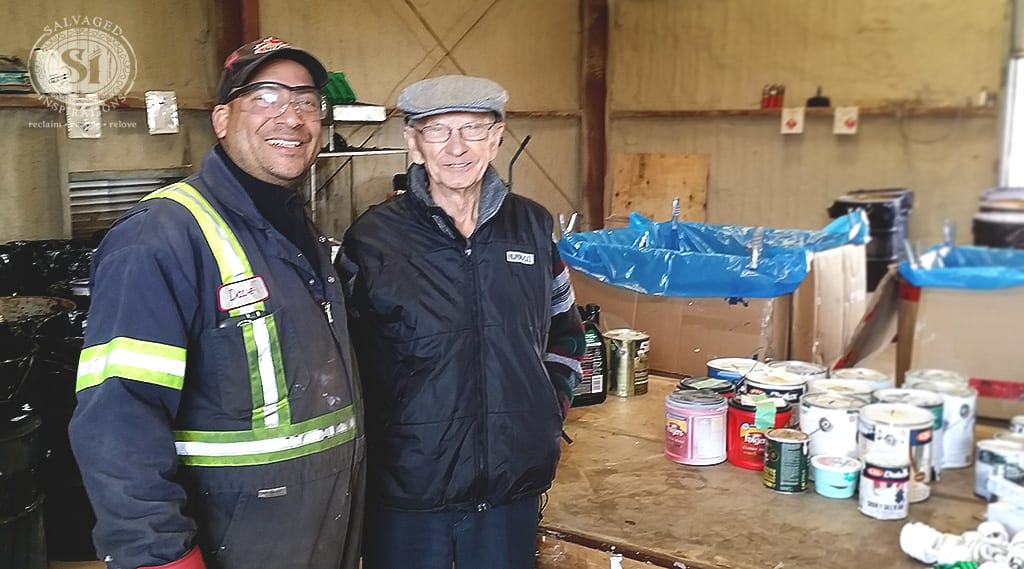
Once you start going through everything and decide what you don’t need, recycling, donating or selling will help clear a space. On my previous cleaning spree, I had a lot of old-dried paints. I gathered them all together and my Dad and I took a trip the local recycle donation center.
This time around I have a few older tools I’m no longer using. Rather than throw them away, I’m going to donate them to the local re-use center. Other great places to bring usable items, Habitat for Humanity, Value Village, Savers, Salvation Army or any Thrift Store. You can also make a few extra dollars by selling items on Craigslist or Ebay.
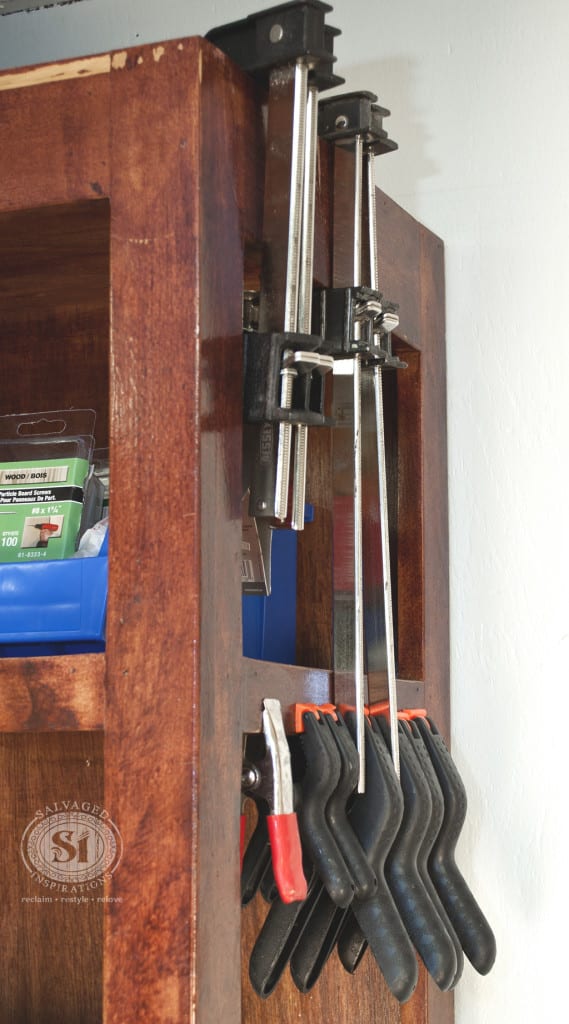
Quick Tip #4 – Choose a Convenient Home
Choosing a convenient home for like items is another key to good organizing. You don’t want to waste time looking for things – or walking halfway across your workspace or home for something you use all the time… which I’m guilty of btw.
I recently lost 2 clamps. When I find them, I’ll be sure to hang them in my new designated clamp area. I’ve even left the appropriate space! {big smile} I chose this area because it’s the most logical/convenient place to for ALL my clamps!
Quick Tip #5 – Make Use of Storage Containers
Making use of storage containers is just as important as choosing a convenient home. As mentioned above, to organize all my furniture hardware, I picked up these stackable plastic bins and crates from the Dollar Store. Great for organizing small items!
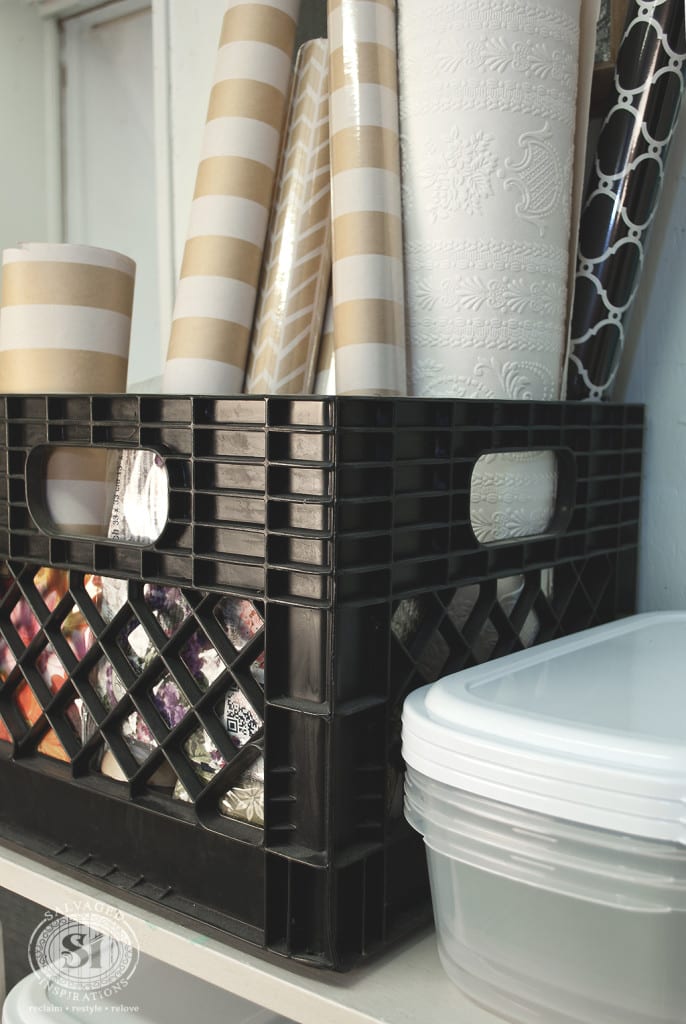
Baskets, plastic containers, crates and old jars can are useful storage for your work area or home.
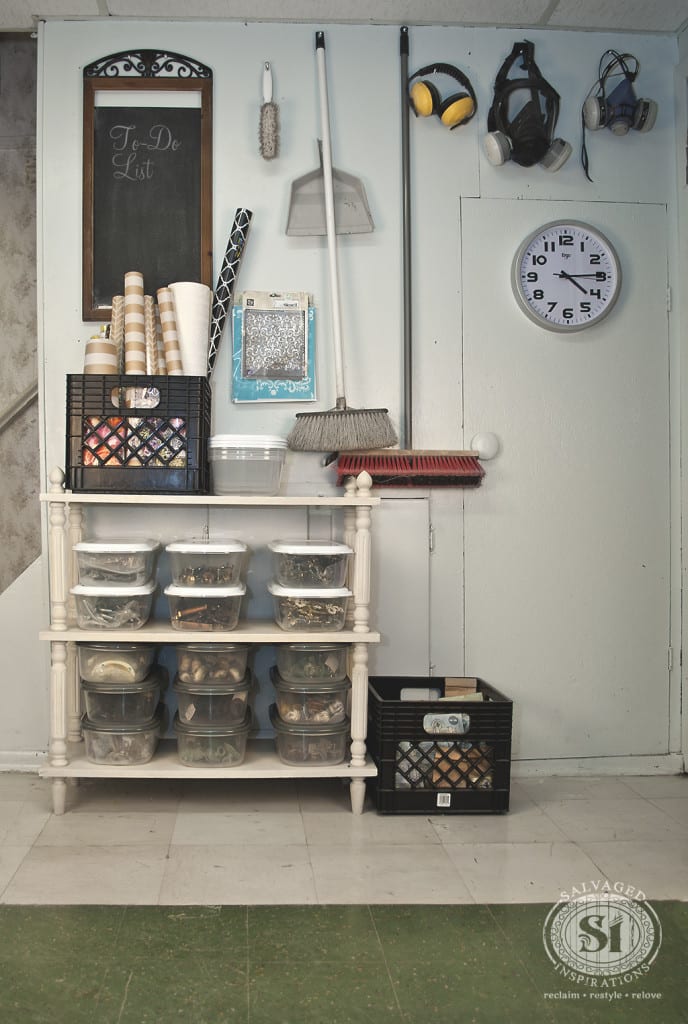
Quick Tip #6 – Think Vertical
Utilizing vertical wall space is an amazing organizing tip. I find it really handy. The tools/equipment I use on a regular basis are now in plain view with easy access!
Quick Tip #7 – Enjoy and Maintain
Now enjoy all your efforts and maintain your beautiful space! I plan to keep my work area clutter free this year. Use and replace. This will save me from hunting down missing clamps.
A more organized space equals a more organized mind!
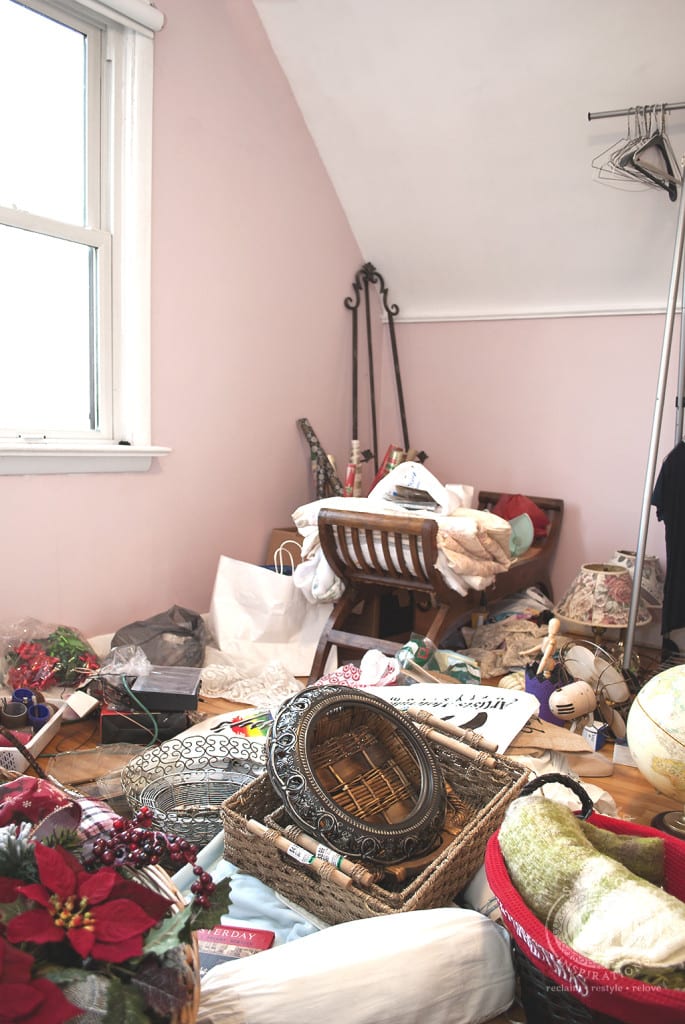
I love that my paint studio feels more spacious and it’s been easier to find what I need when I need it. Now onto the spare bedroom. Lately it’s being used as a designated-staging-room, but right now it’s more like a designated-disaster-area…lol….YIKES!
I hope you’ve found these organizing tips helpful. Maybe the best tip of all – be sure to organize so it MAKES SENSE TO YOU! We all have our own way of seeing things so stay true to whatever makes things easier for you!
Do you have a room or workspace that needs organizing? Have any other tips you can add?
Denise
_____________________________
Like what you see? Subscribe to Salvaged Inspirations so you’ll never miss a post!
Follow along on Pinterest, Google+, and Facebook for more inspiration!

Great comments and suggestions. I know this may sound a little weird, but I find organizing stuff like paint by color ie: whites tans, greens, and type, especially if you have more than say 10 items, That way if you are looking for a certain color you don’t have to shift through all the cans. Also label or dab color can on the lid, so you won’t have to pull each item out to identify.
YES! Brilliant Mary. 🙂
When my children were little I had a “spare” room like that. We called it the “No Kid Room”. I put everything I didn’t want them to get into in there and it was so scary that they actually stayed out. Having a space like that it the key to keeping the public places in a home tidy.
Haha, the room scared them away…lol…cute Tami. 😉
Working on my first project! Chalk paint on a buffet that I’m repurposing for my entry way. Ok did the plaster of Paris recipe with a creamy white paint. First coat looks ok but now I’m stuck! Ugh
Do I sand then apply tinted wax? I was then going to finish with a clear coat?
Great project Tami! For the most professional finish, I would give the first coat of paint a light sanding with a 220 (or higher) grit sandpaper. As a rule of thumb, when painting with creams or white, a second coat is beneficial. Once the second coat dries, lightly ‘finish’ sand with a 320 or 400 grit. Then topcoat with tinted or clear wax. 🙂
Thanks Denise ! This is helpful and inspiring. I guess its something about this time of year but I felt I needed to re orgainze as well. One thing about my workshop was spread out horizontally with a series of shorter 3 tier shelves. I was not using the vertical space to my best advantage eg buying/building taller shelving. This gave me alot more space also !
For sure Cynthia! Vertical storage gives SO much more room. I’ve also demonstrated the quick and dirty way above – bang a few nails in the wall and hang brooms, face masks or whatever…just make sure it’s hung safely. Goes for all storage and organizing I guess…you don’t want things falling on your head…lol.
Looks great ~ I like your idea of setting the timer so I don’t feel overwhelmed. I do that for cleaning 30 min every morning and that’s all the cleaning I do.
I’ve done that with my cleaning too June! And sometimes…not often…but sometimes, the timer will go off and I’ll keep cleaning because I’m in the groove! 🙂
Thank goodness I’m not the only person with a spare room in a state of chaos. lol
My goal this and next month is to get all of my “stuff” organised…at least so I can lay my hands on things…even if no-one else can find anything
No you’re not alone Lesley! 🙂 And you bring up a great point! If it’s your space, organize for you and NO one else.
Denise,
I wish I can say I have a work shop (sad face here 🙁 ) but my work area is in my kitchen, someone donated an old wood cabinet with wings,(well that’s what I call them) the cabinet opens up on both ends making it look like airplane wings. I keep some of my paints, brushes etc organized in that cabinet, btw I have to declutter it every couple of months because it just gets messy in there from time to time.
Since the cabinet is in my kitchen, I use it as an island when doing my house work duties and when I work my side job it is my work table. It works perfectly when you don’t have a spare room to paint.
So that is my tip, if you don’t have the space improvise with what you have around the house. You would be surprised if you clean out an area, you might find a perfect space for your creations.
It sounds like you’ve improvised a perfect work space for yourself. I love this tip Ann!