I’ve come across some fabulous furniture finds which were selling for next to nothing yet I didn’t buy them. Why? They were scratched, gouged or scarred and I was under the impression that repairing these flaws was difficult and way too much work.
Boy, was I wrong!
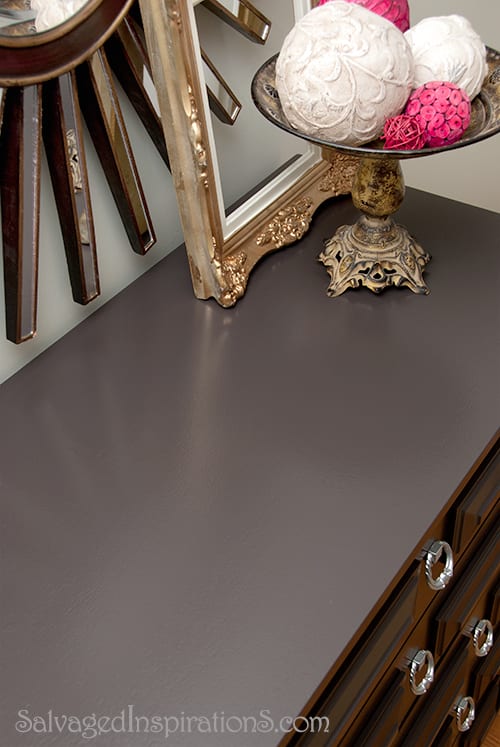
Now that I know how simple it is to fill in furniture scratches, I’m kicking myself for letting all those potential income makers slip away.
Well no worries. You do better when you know better, right?
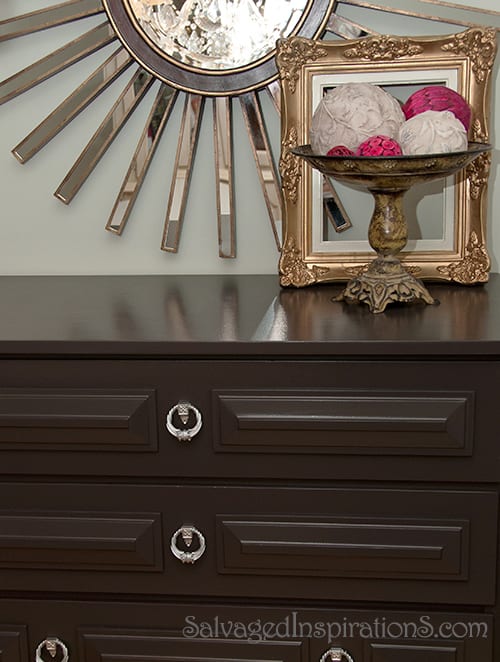
And now, armed with this skill, (and seriously… it’s not much of a “skill”… if you can ice-a-cupcake, you can do this!) there are no limits to the future deals this Bargainista will find! The one below cost me zero dollars… FREE 🙂 as it was someone’s castaway.

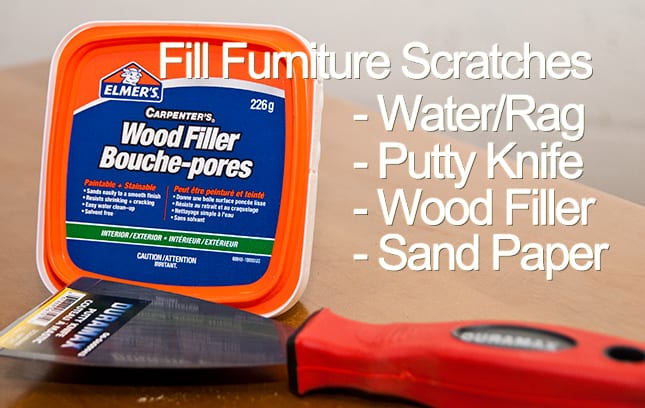
Here’s What You Need:
Water and Rag * Putty Knife * Wood Filler * Sand Paper
Fill Scratches in 7 Easy Steps:
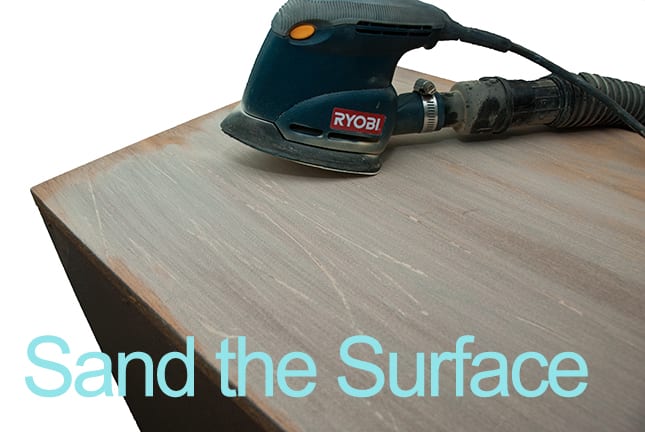
1. Sand the entire surface to “sand-out” any small scratches. Because this dresser was badly gouged, I used my sander with an 80 grit and worked my way up.
What’s that hose attached to my sander? To create a clean and healthy dust free sanding environment, you can read more here.
2. If there is any residue within the gouge, use the corner of your putty knife to dig out any loose dirt from the scratch. Clean the surface with a damp rag.
3. Once the surface is clean and dry, spread an appropriate amount of filler over the scratch while pushing the filler into the holes and scratches at a 30° degree angle.

* Tip – The amount of filler you use will depend on the length and depth of your scratch. Deep gouges or holes may need 2 or more applications.
4. With the flat end of the palette knife, smooth over while applying pressure to remove any excess filler.
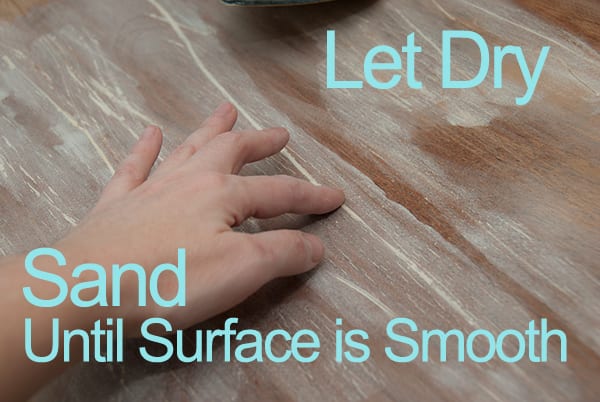
5. Let it dry. This could take anywhere from a 1/2 hour to 8 hours depending on the repair. Time required will be explained on your Wood Filler’s Instructions.
6. Once completely dry, sand with a 180 to 220 grit sand paper then “FEEL” if the scratches and holes are level. If you still have any grooves, simply apply more filler and repeat from step 3.
7. Apply your finish. If you choose to stain your wood, most fillers are compatible, but I would do a test area first.
* Tip – If you apply your first coat of paint/primer and still see the scratch marks, no problem. Just re-apply the filler over the paint/primer and repeat the steps once again.
So to all you DIY’ers, if you come across that “PERFECT PIECE” but it’s all scratched up, don’t let it get away!
You can acquire some really spectacular re-finishing finds for a “steal-of-a-deal” once you know how to fill in furniture scratches.
Garage Sales, Thrift Stores and Goodwill often have these diamonds in the rough selling for under $10! It’s a great way to salvage and up-cycle pieces that would otherwise end up in our landfills.
I’ve been having fun doing these repairs…and I LOVE the end result.

Hi, I have some questions that I would like to ask you. My dog put deep scratches into my wood trim around my bedroom door. My wood trim was stained about 15 years ago with a medium stain. How much should I sand off my old stain. I going to find a stain close to the same old stain. Do I need to sand it all the way off. I would also like to ask about the grit of the sand I should use? Do I start off with a coarse one and than go to a finer one. I don’t care much for the strippers they smell so bad. I need to invest into a small sander. I hope you can help me. Thank you
Hi JoAnne! My little dog put scratches in my back door so I get it! Yes, you always start with a course sandpaper (the lower numbers like 60 or 80 grit) and work you’re way up to a finer sandpaper (120 to 220 grit) which will leave your wood finish looking smooth. Depending on how deep these scratches are will depend on whether a sander will be needed or if you can do it by hand. Matching stain can be tricky. Most of the existing stain will probably be removed when sanding and then buying a few small sample containers of similar colors and testing is probably your best bet. I hope this helps and good luck. 🙂
A ‘palm’ sander will be a better investment than a two handed ‘1/2 or 1/3’ brute- just as powerful, easier to handle, better on curves.
Make sure you can easily and cheaply get sanding sheets if they are hook n’ loop- my sanders both take cut to size from rolls of sandpaper..
my goodness! you are a wealth of knowledge, and I am a newbie….so I appreciate your sharing of your expertise. I have learned so much in 1 foray onto this blog. thank you so much for sharing. that laminate dresser is amazing!!!! I am in the midst of numerous projects, and going to mix up my first chalk paint tonite, so I will let you know how it goes. (decided on the pop). I also learned tonite, about refinishing the hardware, which I will do when I get to the veneer desk that holds many memories for me with my gramma. thank you, thank you!
Lisa
Hi Lisa! So happy you’re finding the SI Blog helpful. 🙂 And yes, I’d LOVE to hear how your DIY project goes!!!
What a stunning makeover! May I ask what type and brand of filler you used? I’ve only worked with the gritty kind, like it dried to a hard stone. I have a deep enough scratch on a new headboard I just bought from a consignment shop, that is absolutely beautiful, by the way, and I need the right filler for it. The color is white, if that makes a difference. Any suggestions? Thank you! I enjoy reading from your blog. 🙂
Hi there! To fill the scratches in this dresser I used Elmer’s Carpenter’s Wood Filler which can be found at any Home Depot or Lowes. It doesn’t make any difference what color you paint over it but lighter colors (like white) may benefit from an extra coat if you down lay down primer first. Good luck with your headboard!
Beautiful! May I ask what you used for the silver drawer pulls?
Sure, I used Spray Kilz Original Primer and Tremclad Aluminum Luster. You can see the details here Chandra ~ https://salvagedinspirations.com/how-to-tips-painting-drawer-hardware/
What paint and sealer did u use???
Amanda, the dresser was painted in Behr “Dark Cavern” #790F-7. Because this dresser was restyled a while back, I’m not 100% sure what brand I used for the topcoat. I believe it may have been Varathane Diamond Interior Water Based Gloss.
Great website and tons of useful tips! Glad I found you too. What color did you use on this dresser, love the color.
Thank you JoAnne…welcome, and I hope you visit again! This dresser was painted in Behr “Dark Cavern” #790F-7.
Beautiful!! Found you yesterday and so glad I did. Beautiful blog and designer.
Thank you Teri 🙂 Hope you drop by again!
First of all, thanks for all the great tips. However, I’m wondering how you got such a great finish on your dresser? There does not seem to be any brush strokes and it looks perfect!
Oh Evelyn, thank you… such a nice compliment! This particular dresser was painted using a Wagner spray-gun. I had my share of challenges…lol. If you’re interested you can read about here. https://salvagedinspirations.com/review-wagner-optimus-power-painter/ ~ I recently “up-graded” to a Husky HPLV sray-gun which I’m in LOVE with.
Thank you for sharing! I’ve spread the word about your website to some DIY friends. I have an inherited bedroom suite that is solid, well made but dark and I plan to paint it. I was planning to go to Hamilton or New Hamburg to buy Annie Sloan chalk paint, but thanks to you I’ll be making my own. I live in Guelph and am so glad I found a blog / website where SW Ontarians can share.
Love the dresser! Thanks for the info!