 Hi friends, happy Monday! Have you ever come across one of those sad-looking-sagging-broken-down cane seats? I’ve found damaged cane or wicker seems to be a common theme. They start out looking great, but they don’t hold up extremely well. With regular use, cane seats wear and tear, sag, lose strength and break. The good news – if the frame is in good condition (like it was on this bench) it can be re-caned OR an easier and more cost-effective solution is to replace it with a DIY cushion seat! Today, I’m sharing How To Upholster A Cane Bench Seat!


 THIS POST CONTAINS AFFILIATE LINKS TO PRODUCTS USED. YOU CAN SEE MY FULL DISCLOSURE HERE.
 THIS POST CONTAINS AFFILIATE LINKS TO PRODUCTS USED. YOU CAN SEE MY FULL DISCLOSURE
 SOURCE LIST::
- Cane Seat Bench (Salvaged)
- 1/2″ Plywood
- 1″ Upholstery Foam
- Quilting Batting
- Upholstery Fabric
- Measuring Tape
- Scissors
- Sharpie
- Needle Nose Pliers / Wire Cutters
- 1″ Screws
- Pneumatic Staple Gun (similar)
- DeWalt Skill Saw
- DeWalt Drill
HOW TO FIX A CANE BENCH::
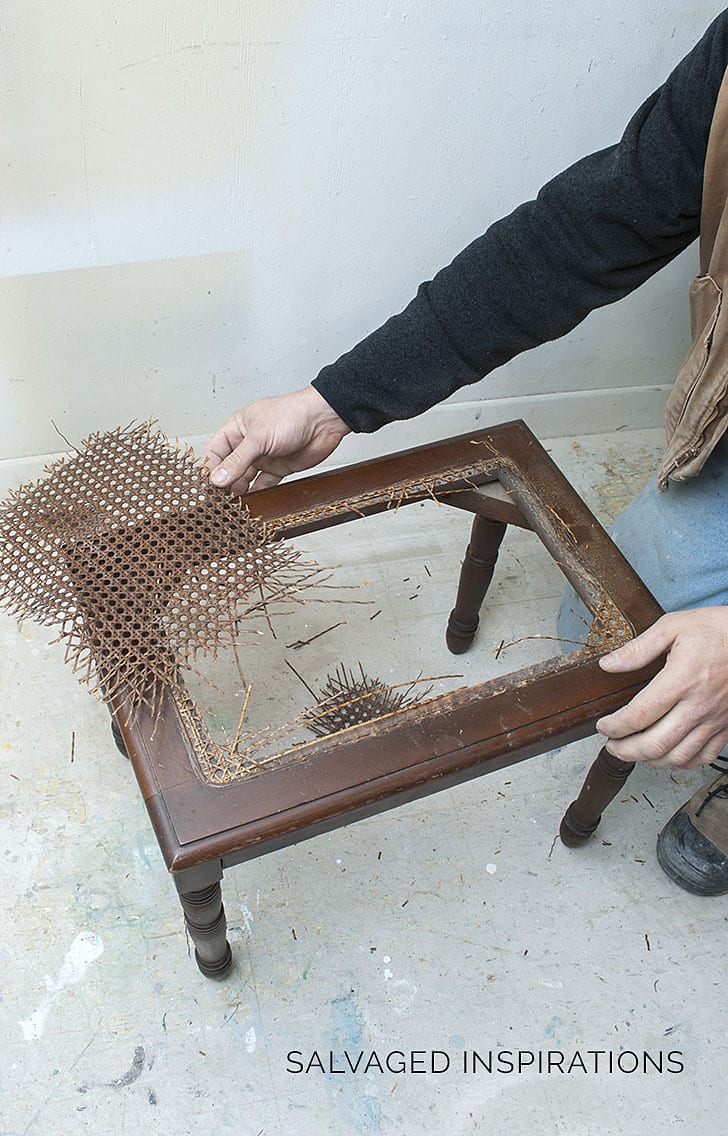
We started by removing all the damaged cane using scissors, pliers and wire cutters. The most time-consuming part is removing the spline which is the narrow strip of rattan that holds the caning in the groves and gives it a nice finish/border.
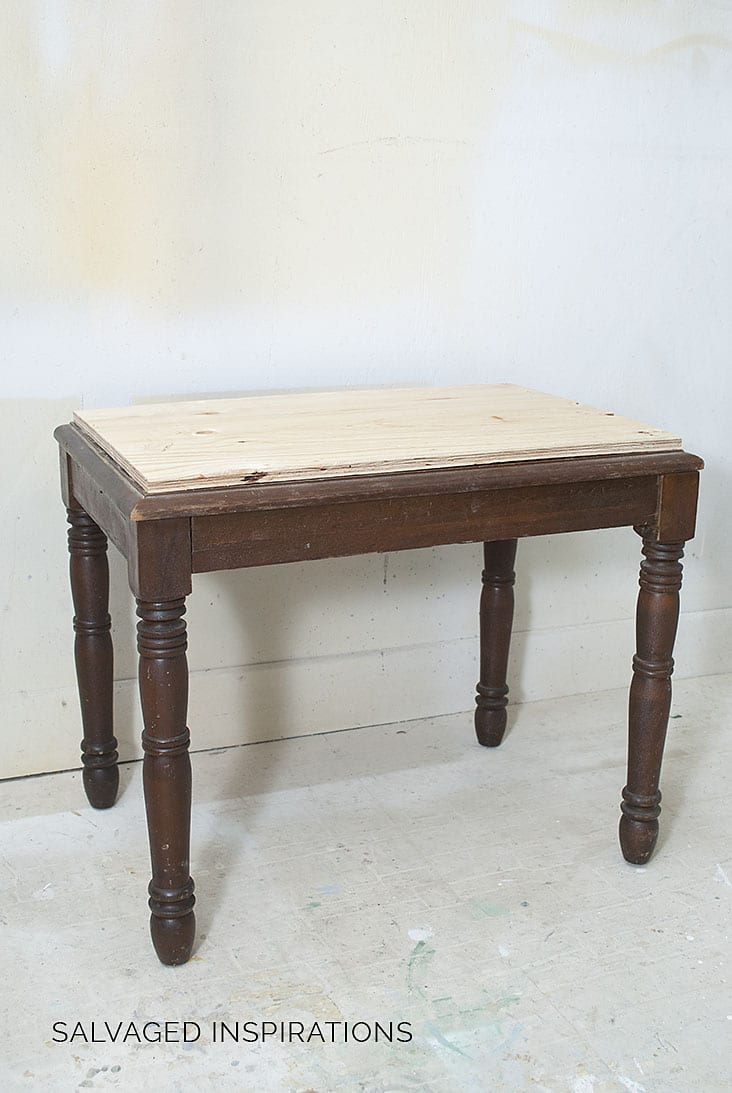
Once the top of the bench seat was all cleaned up, we cut a piece of 1/2″ plywood to size with a skill saw. This size will vary depending on your seat but in our case, it was 14″x 20″.

Sanding the plywood is optional but not a bad idea to avoid splinters and sharp edges while working with it. I also sanded the corners down slightly so they weren’t so sharp.
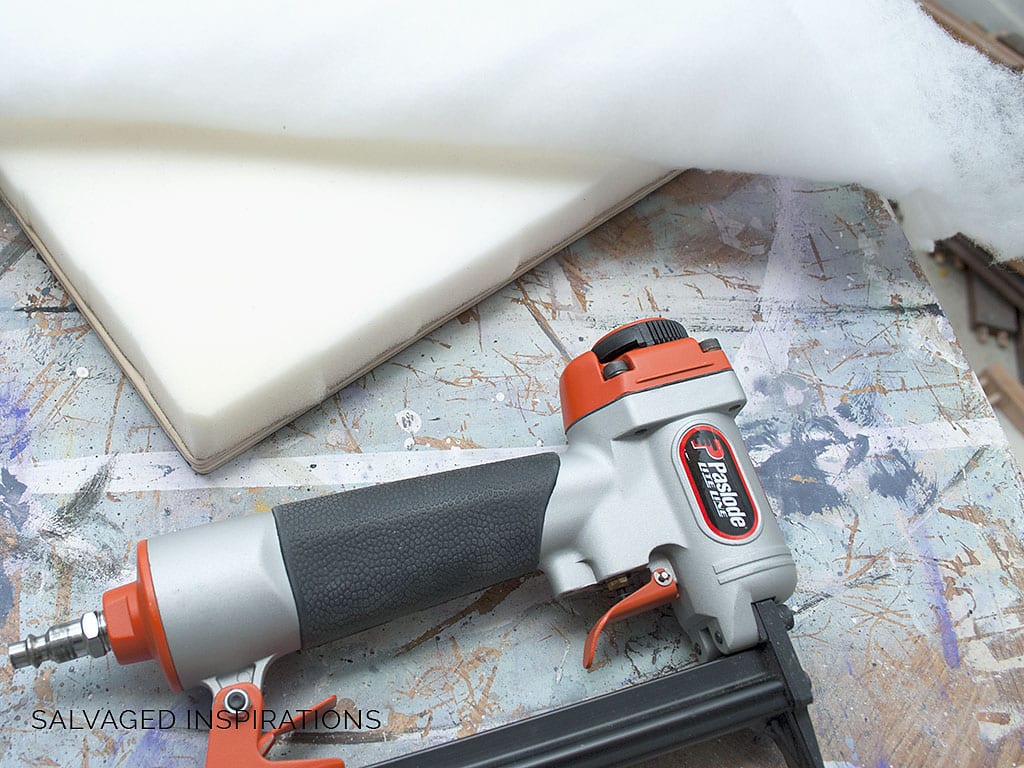
Now for the fun part! To assemble the seat, I laid down the 1″ foam, put the plywood on top and traced the shape of the plywood with a Sharpie. Then following the Sharpie lines, I cut the foam to size with scissors.
I glued the foam to the plywood with spray adhesive but it didn’t really stick that well (maybe the type of spray glue I used??) so I would say this step is optional.

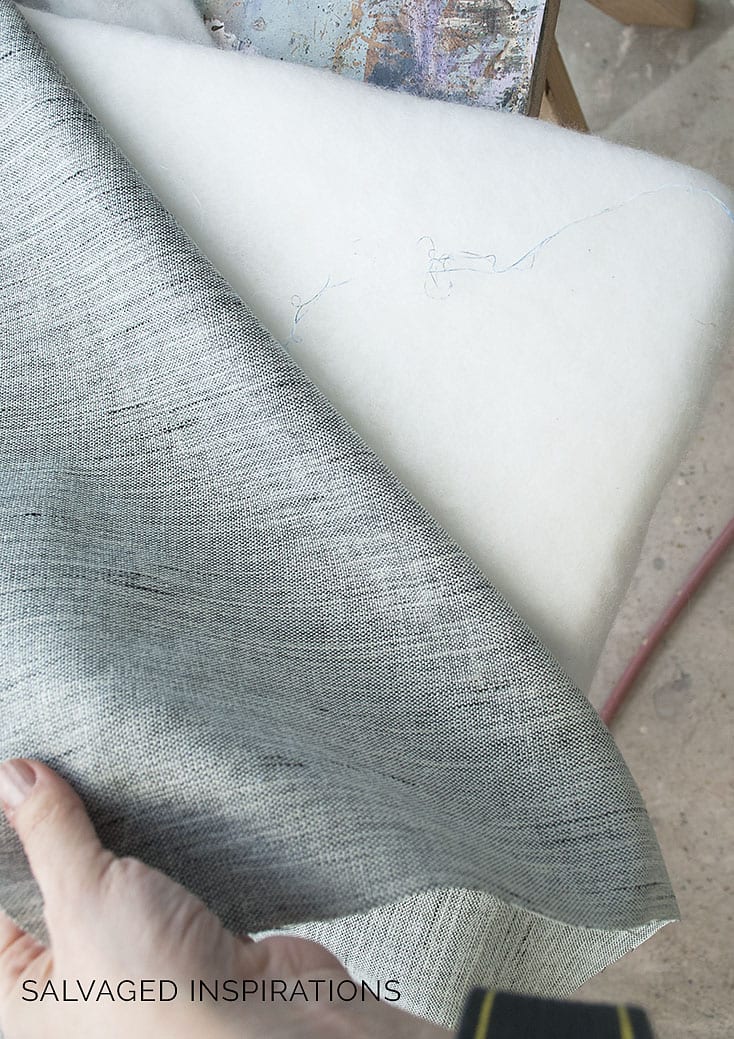
Once the foam was in place, I cut a double layer of batting allowing a 3″ allowance for stapling on the back of the plywood. I wrapped the batting around the foam and plywood tautly and use my staple gun to secure.
The final layer is the upholstery fabric. If you’re working with a pattern, now is the time to center it or lay it out the way you like.
I cut my fabric allowing a 3″ seam allowance to wrap around the plywood, foam, and batting and secured it to the back with my staple gun.
Once my seat cushion was assembled, I cut off all the excess batting and fabric from the back.
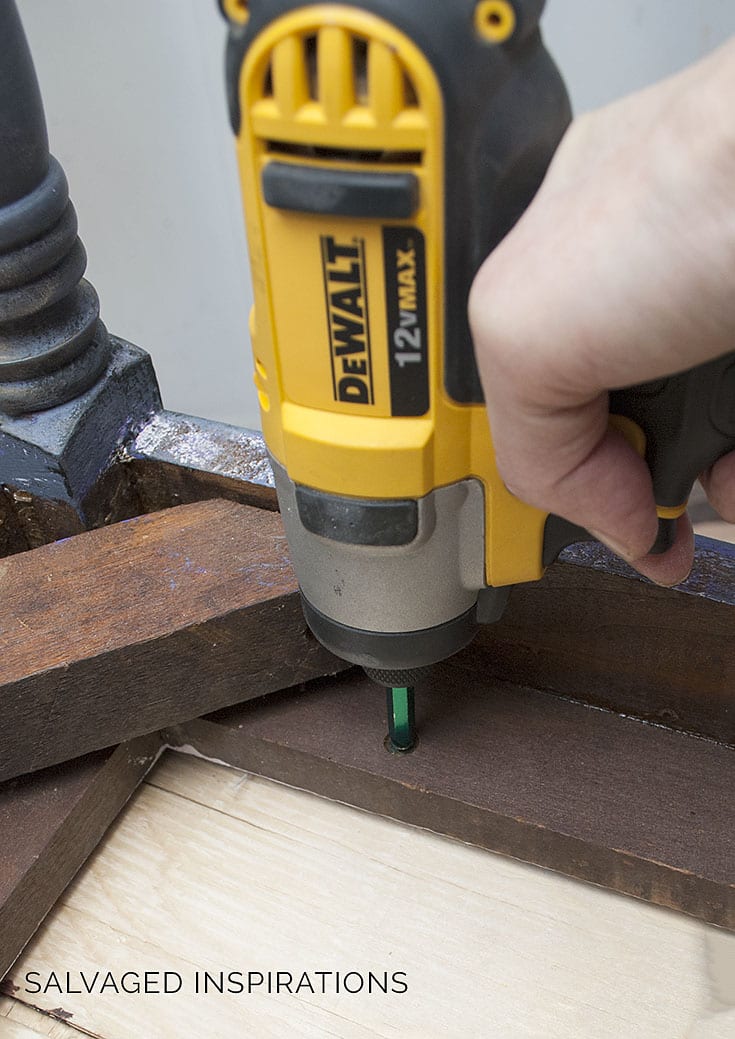
To secure the upholstered seat to the frame, I drilled holes with sinking drill bit and then adhere the bench seat to the frame with 1″ screws.
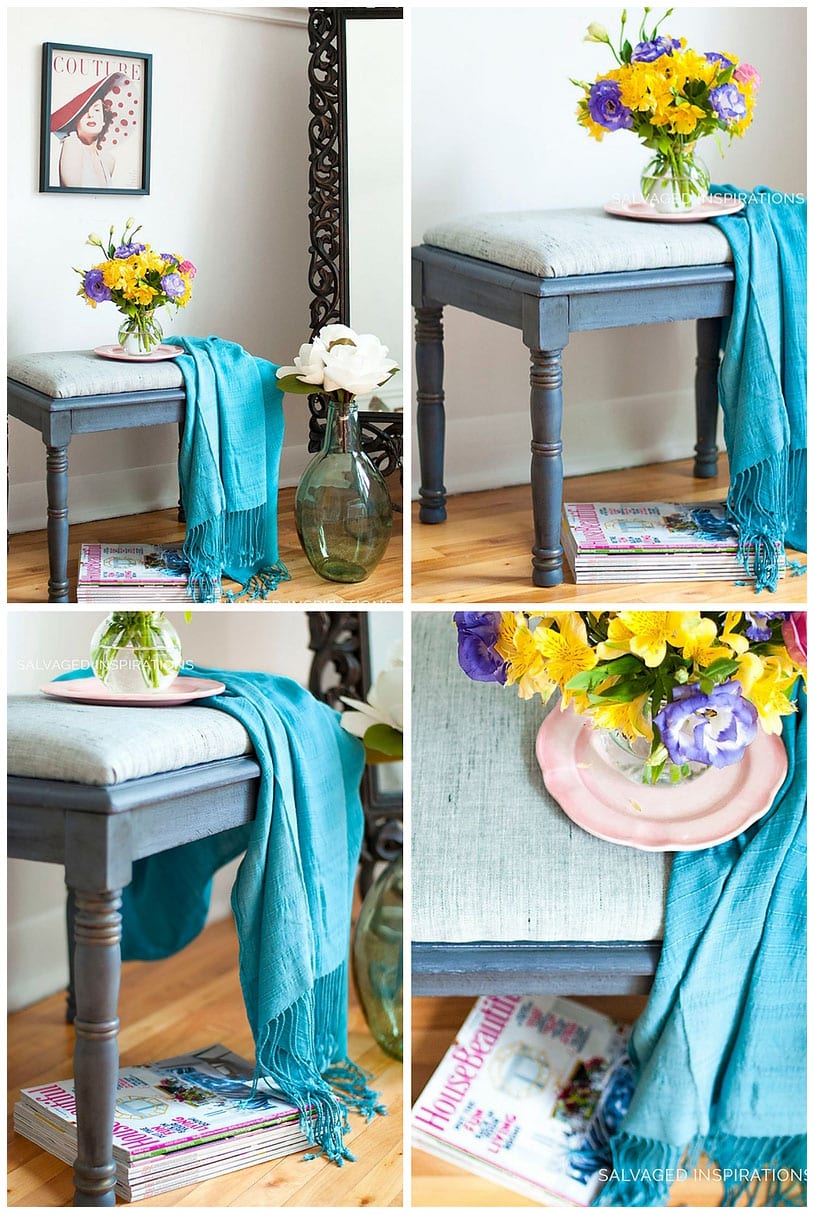
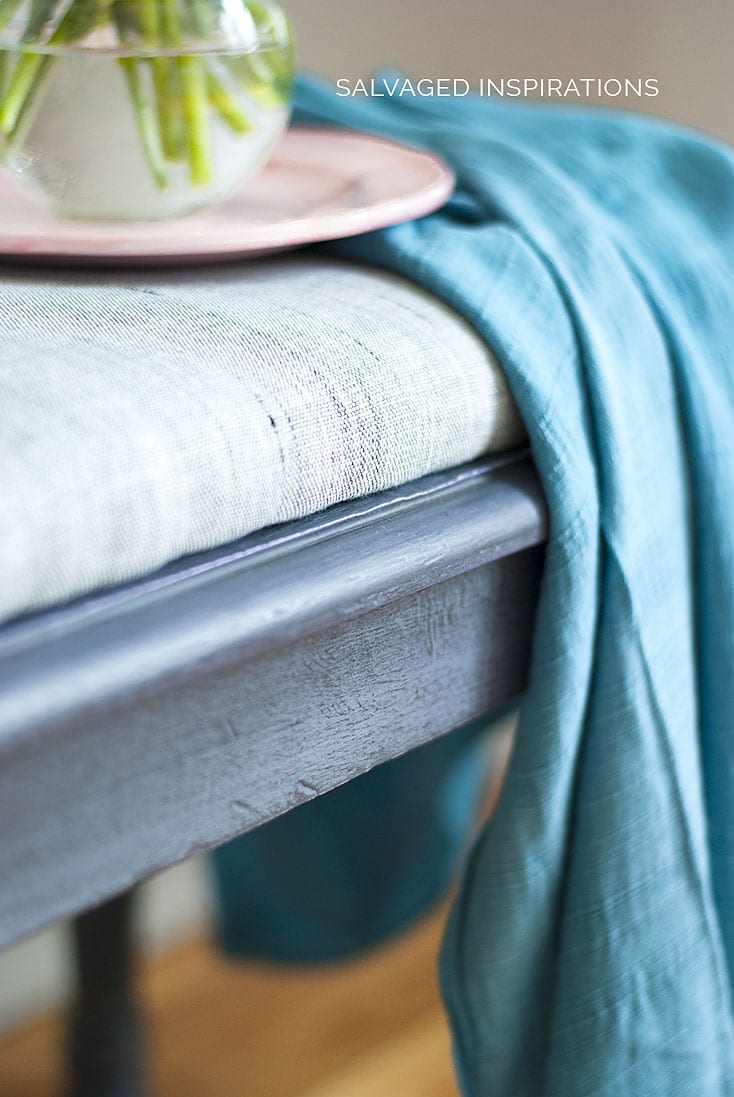
Here’s what it looks like now!

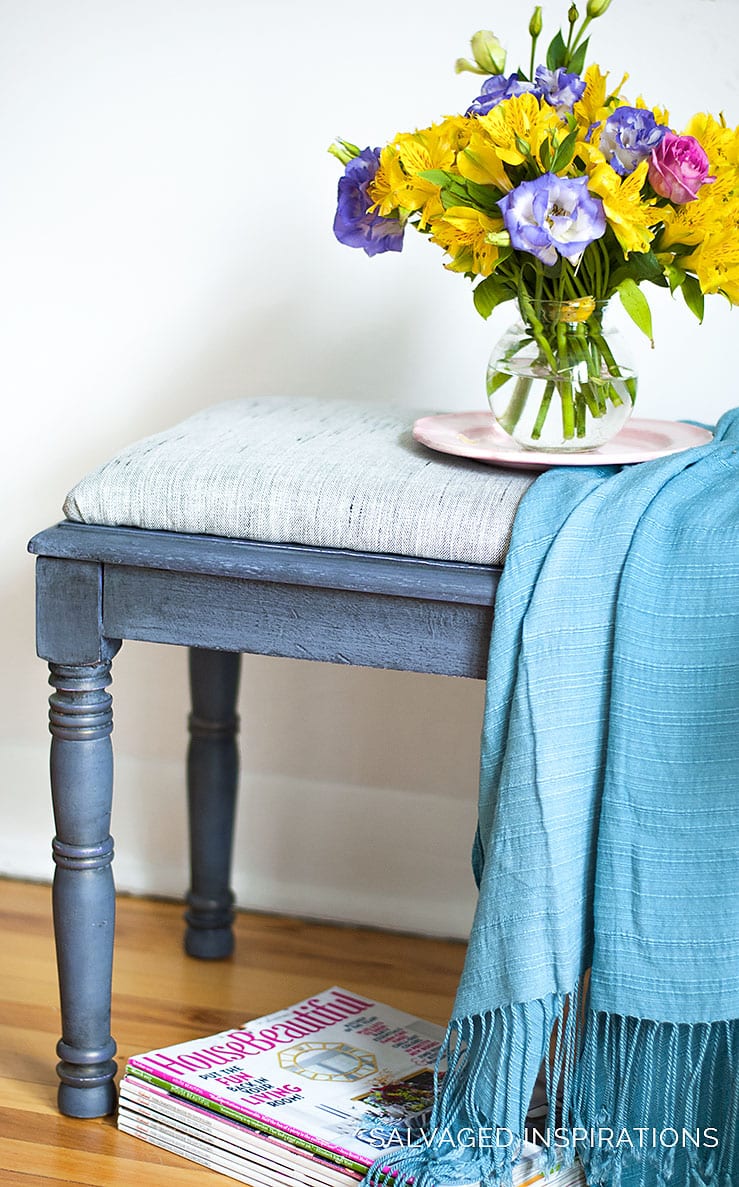
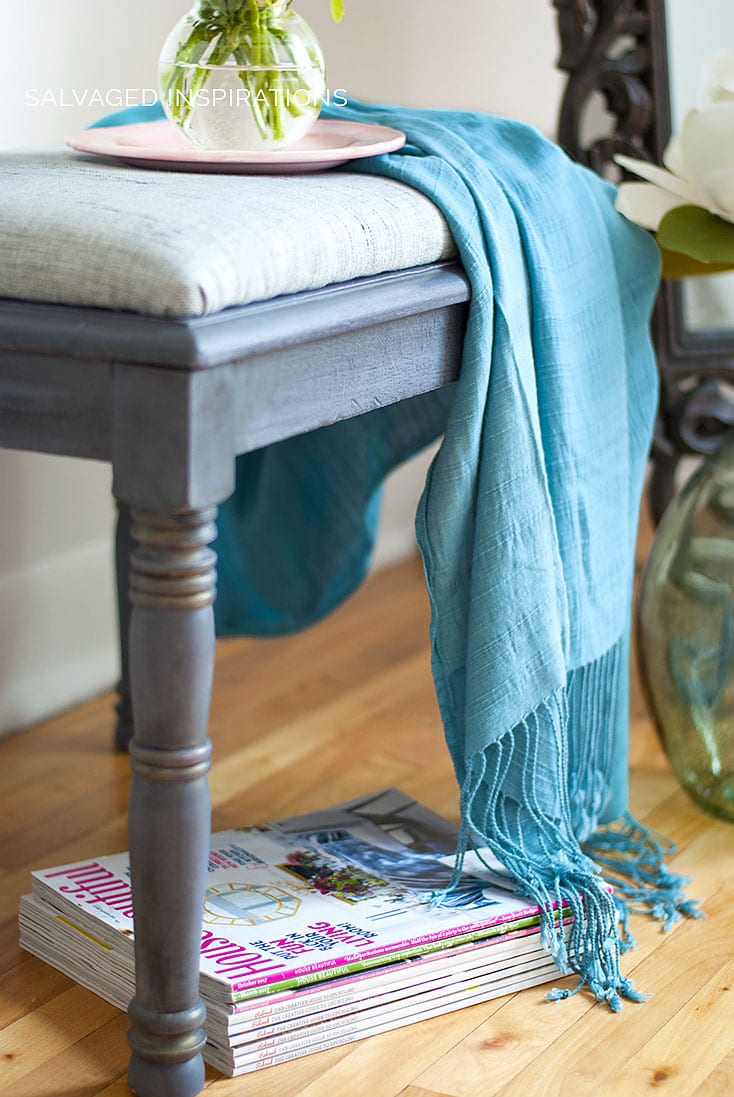

This bench is the matching piece to this layered vanity makeover I shared a few weeks back. You can see how they look together and the paint technique and colors I used here.
I’D LOVE TO HEAR IF YOU’VE EVER TRIED AN UPHOLSTERING PROJECT BEFORE? IF YOU HAVE ANY TIPS YOU’D LIKE SHARE OR HAVE ANY QUESTIONS, FEEL FREE TO CHIME IN… I ALWAYS LOVE HEARING FROM YOU!
Thanks and have an inspiring creative week my friends!
Denise x
![]()
LIKE WHAT YOU SEE? SUBSCRIBE TO SALVAGED INSPIRATIONS SO YOU’LL NEVER MISS A POST!
FOLLOW ALONG ON PINTEREST, GOOGLE+, AND FACEBOOK FOR MORE INSPIRATION!
PIN AND SHARE!


Another stunner drab to fab makeover, Denise! Love the fabric choice and the beautiful layers of blue, dark wax and copper highlights. Excellent upholstery tutorial too!
I always spend waaaaay too long in the fabric stores trying to decide what will work but hopefully the more upholstery projects I do, the faster I’ll be. hehe
That bench looks terrific! This was very helpful to me. I have a set of 4 vintage cane-seat dining chairs and the seats are a bit low, and a couple are damaged – so I’ve been thinking of doing this very thing with them. In my mind, I had come up with this exact process. I think I can actually do this without destroying the integrity of the good caning that’s there now, if I position my screws so that they go through the corner brace and then through an opening in the cane pattern. Not sure if it will be secure enough (might be wiggly) – but you’ve inspired me anew! Thank you! Beautiful bench – and it looks so much comfier, too!
Hi Marcia! Ya, it’s waaaay comfier now… and I’ll bet your 4 cane seats will be too. Great project and I’d love to hear how they turn out for you! 🙂
I worked in store that sold upholstry foam. An electric carving knife cuts foam like butter. You don’t get the ridges a scissor cut gives you. Also, before putting decorative fabric on, use an inexpensive muslin to sculpt the shape of seat. The thicker the foam and batting, the better is is to form with muslin. It avoids the rippling you can get. It also takes the stress off the decorative fabric to hold it all together. And makes it easier to switch out outer fabric if it wears.
Going to be working on some caned backed chairs soon. Sure hope it goes smoothly! .😊
Feel free to pop back in and let me know how it all went for you!:)
How did you attach the plywood piece to the bench? I have a pair of French chairs with cane seats that are wearing out. You may have enabled me to save them for years to come! Thanks..
Hi Libbie! This pic I show where I’m drilling – the bench frame has been turned upside down and I’m drilling from underneath through the frame, into the bottom of the plywood. I also countersank the screws to keep the look flush but that’s not necessary. Depending on your french chairs, just be sure to use long enough screws to go through the chair frame and bite and hold the plywood. Hope this helps! 🙂
Thanks so much Denise for sharing this project. Your instructions are really easy to understand and I love the links to further information. I have quite a few can lounges and chairs to get going on and have been nervous about creating the seating as they are all dilapidated !! Thank you again Jane Australia
Hi Jane!! I’m glad this helps and I think everyone has (or has come across at one point or another!) a sagging sad cane chair…lol! I LOVE the look of cane, but with the old furniture I deal with, it’s usually not in great shape.
Denise- You did a great job with this bench! You have the ability to see past the obvious and I admire that!!! I love your work!
Hi Tess!!!… and thank you! Hugs
This is beautiful! Thank you for sharing! I am going to look at your blog post. about your paint techniques! Love it.
Thanks,
Thanks, Stacy! The layered painting technique was a lot of fun too. 🙂
What paint color did you use for the rest of the bench? I love the sheen also.
Hi Theresa! This bench and the matching vanity was a layered paint technique I used with Dixie Belle Chalk Mineral Paints and Finishing Wax. Here’s the post with the layering technique tutorial – exact colors included. 🙂
Great idea, thank you for posting the how to. So pretty with he gold highights.
Thanks, my friend! One day when I get up the gumption, I’ll actually recane one of these suckers. 😉
I absolutely adore this! I’m normally intimidated by upholstering but I thing this project is something I would tackle. Great job!
Hi Pat! Ya, anything to do with fabric kind of intimidates me too (especially sewing projects!), but this is super easy! Love your work btw. 🙂
What a cute little bench. Love how it turned out. Nice finishing touch to the vanity!
Thanks! It was a pretty sad looking seat with good bones, so this restyle made me happy. Have a great day my friend. xo