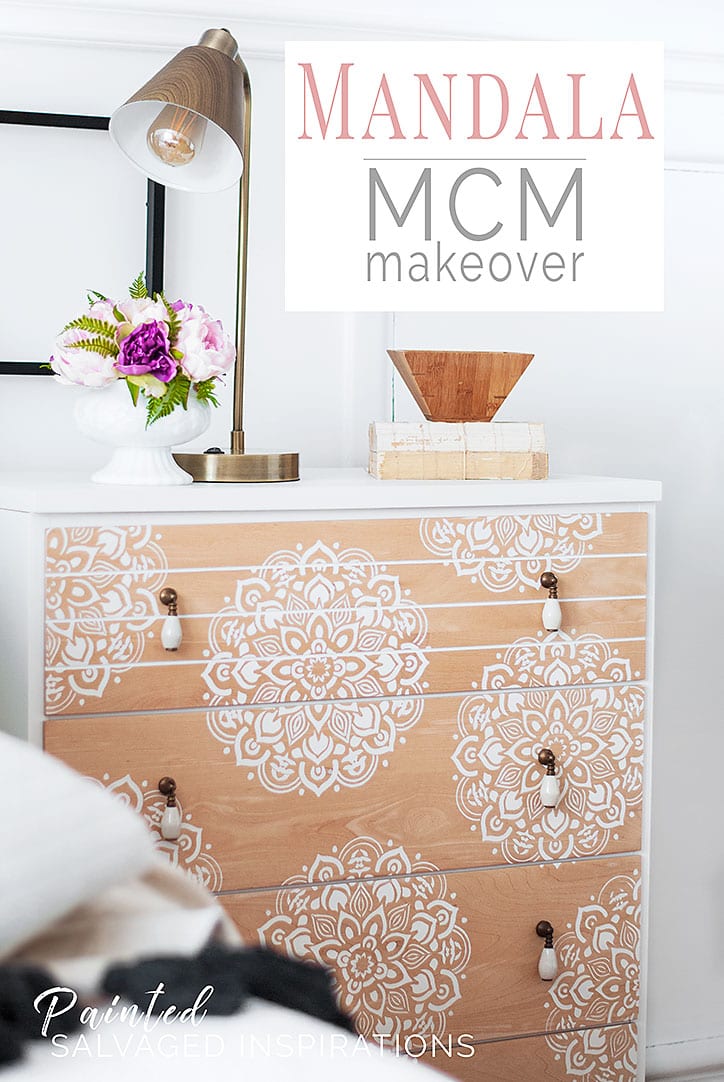
There’s so much creative inspiration online. Ever since I saw Kirsten Skovbon’s Danish bohemian style on Instagram (linked at end of post), I’ve been wanting to get creative with mandala stencils. They’re soooo beautiful in design, and also in meaning.
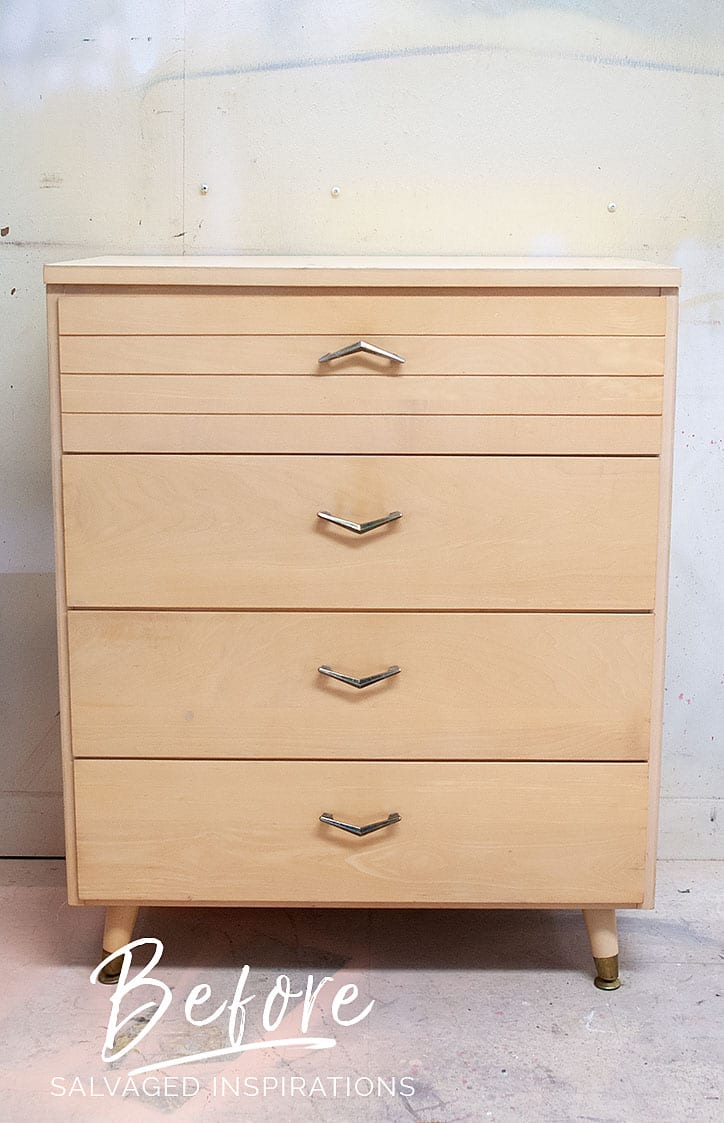
For those of you who have followed the SI Blog for some time, you know I don’t actively seek out Mid Century Modern (MCM) furniture. But when they fall in my lap, … well hey. I was blessed and honored to pick up a few retro pieces from my sister’s neighbor who’s moving to BC to live with her daughter. We’re sad to see her go. She’s such a wonderful woman and has lived on the street for over 50 years.
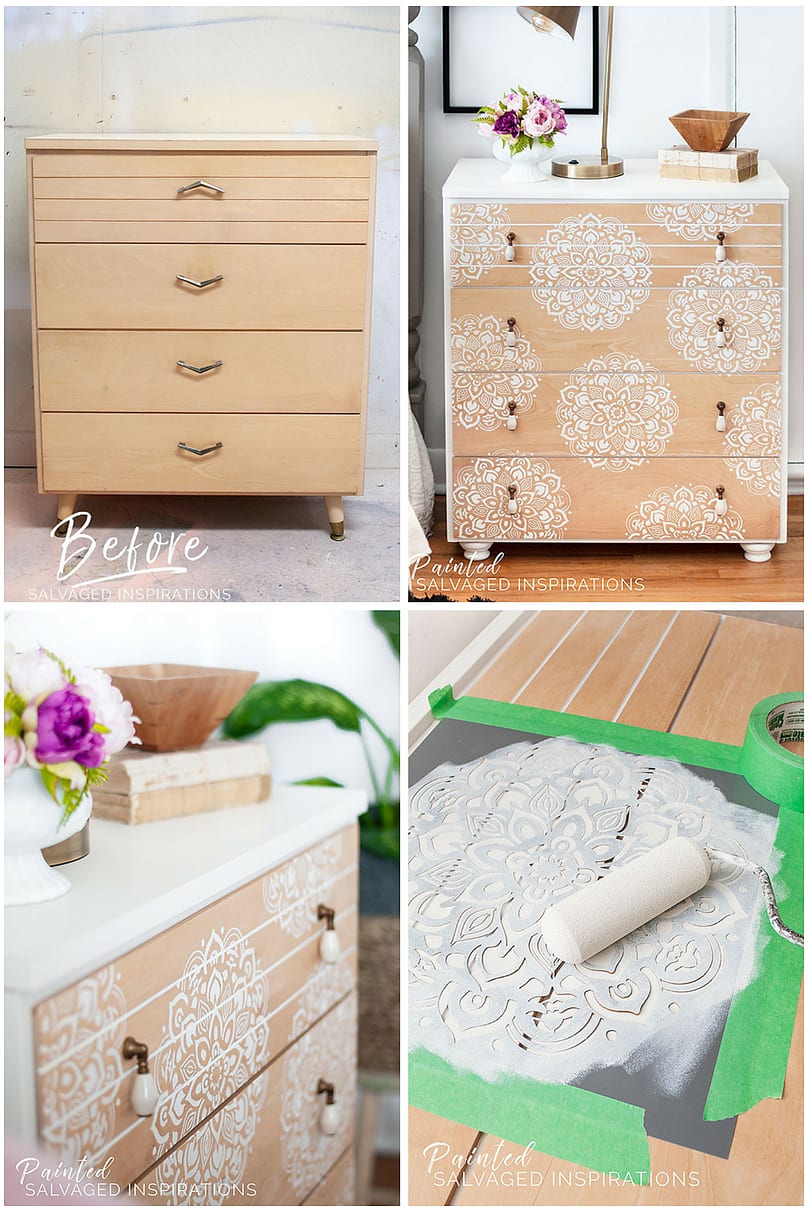
Wanting to do this piece justice, I must have looked at it for hours before deciding what to do. Here’s what I started with.
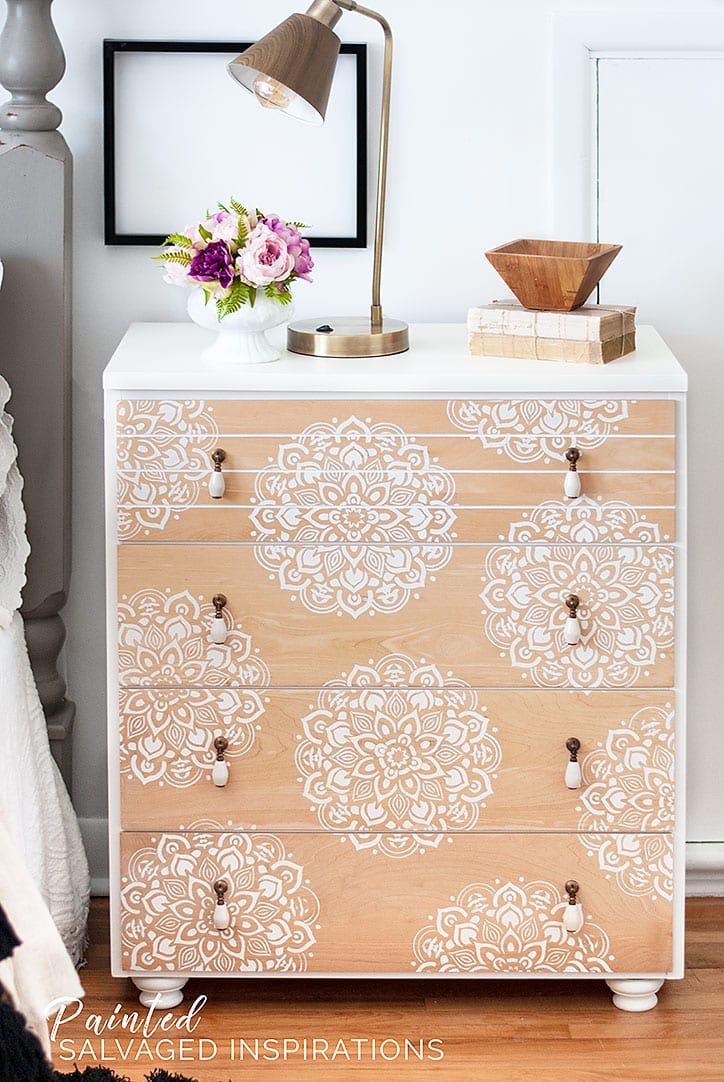
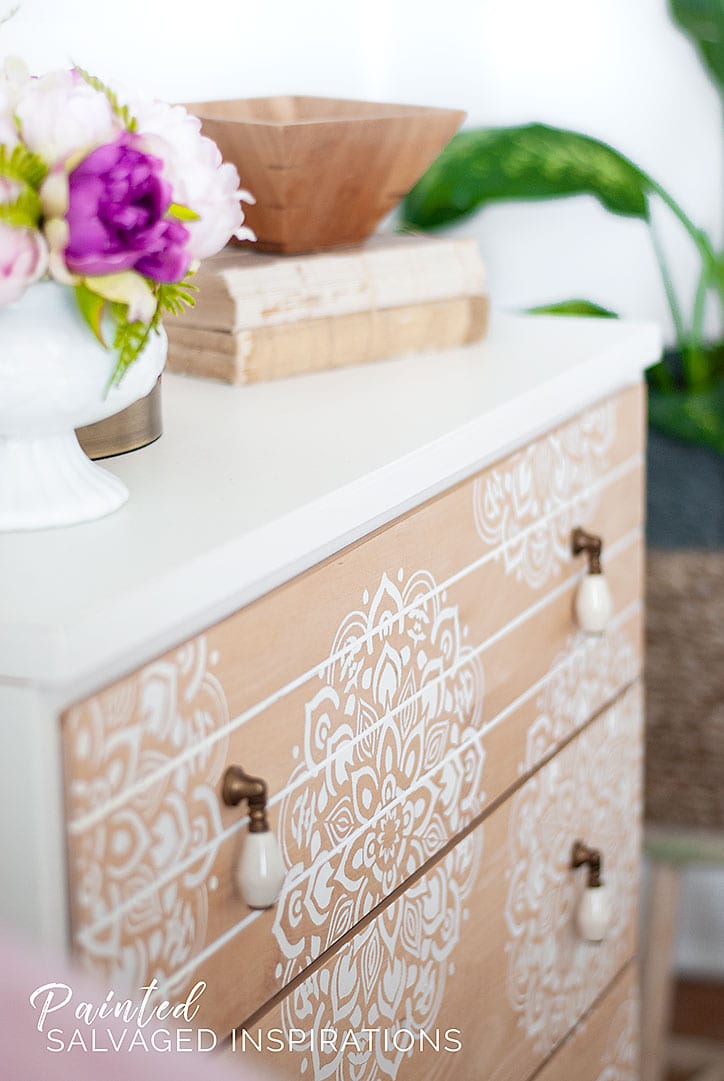
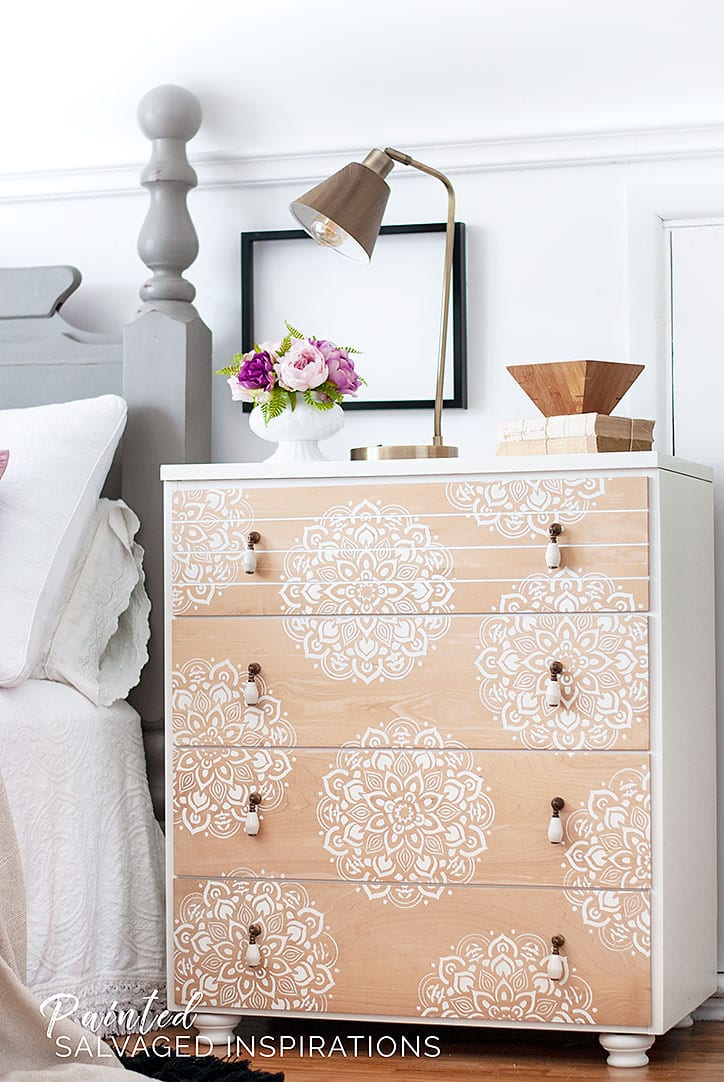
And here’s the new look. The MCM legs have been swapped out for more traditional looking bunt feet and the entire front has been stripped back to natural wood. Now it’s more my style and I love the new finish. What do you think?
THIS POST CONTAINS AFFILIATE LINKS TO PRODUCTS I USE. YOU CAN SEE MY FULL DISCLOSURE HERE.
SOURCE LIST::
- Mid Century Modern Small Dresser (MCM) – SALVAGED!
- SW All Surface Enamel SW 6385 Dover White
- Mandala Stencil
- Tape or Spray Adhesive
- High-Density Foam Roller
- Paint Brush
- Palm Sander + Sandpaper
- Hobby Lobby Hardware
MANDALA STENCILS::
These stencils were purchased at Michaels but you can get the exact stencil I used here.

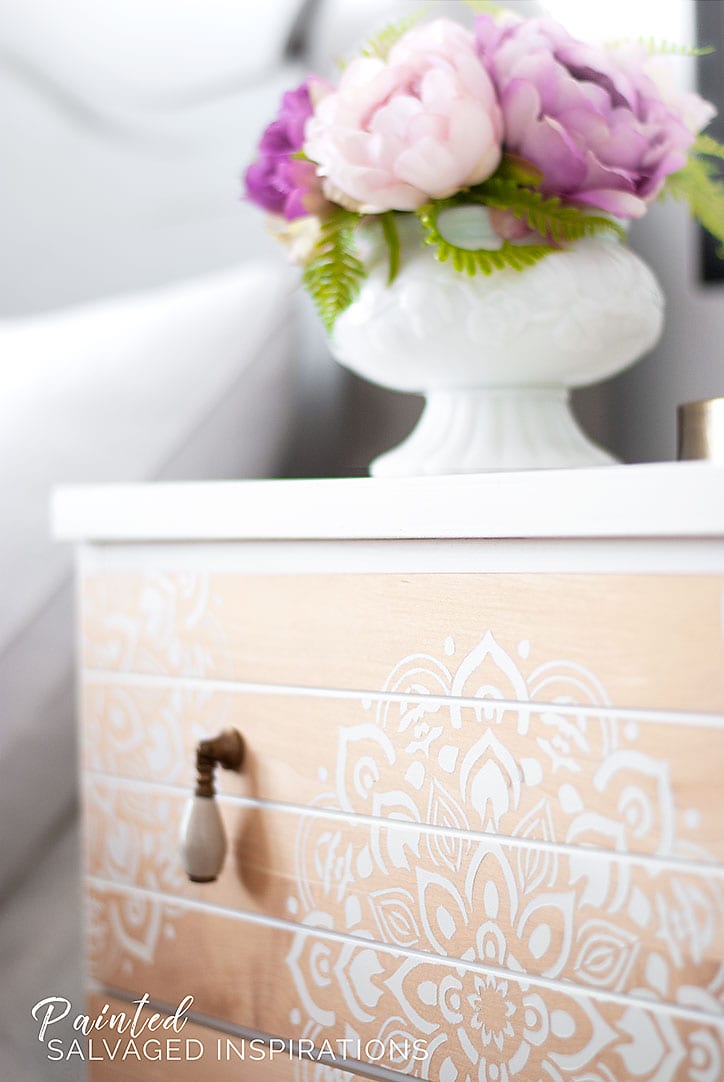
There was no particular pattern in stenciling this design. I placed it randomly and used a high-density foam roller to apply 2 coats of Sherwin Williams Dover White. The brush was dry loaded. I waited for the first coat to dry before applying the second coat.
Tip: The key to getting nice crisp stencil designs is to secure the stencil with tape or spray adhesive. When loading your brush or roller with paint, remove most of the paint before rolling on so excess paint doesn’t bleed under the stencil. Wait for the first coat to dry before applying the second. Then pull up the stencil and clean well before placing it down to stencil again.

On a past trip to Hobby Lobby, I bought the hardware for 50% off and 2 sets of bunt feet on sale for $3.49. I LOVE sales like this. Whenever I see an amazing deal on something I really like but don’t necessarily need right away – I pick it up anyway. If I like it, I always find a use for it down the road.
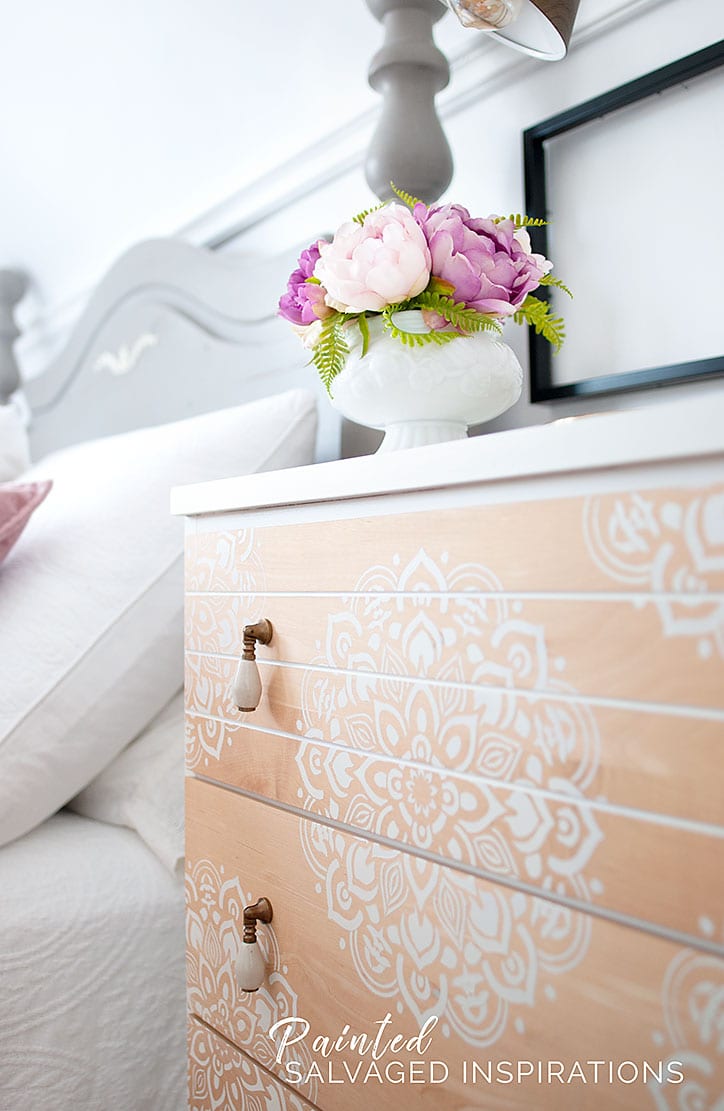
I styled and staged this piece in my bedroom. Now that it’s in my room, I’m loving it. I just might keep this one for myself. You can see the original night table I have here… then feel free to let me know which look you like better. 🙂
Have you noticed that for the month of April there was a wood theme going on? Neither did I until just now. HA! I hope you’re enjoying these pieces as much as I’m enjoying sharing them with you.
RELATED POSTS::
Salvaged Sewing Desk Makeover
Painted and Stained Buffet
How To Add Wallpaper To Furniture
Skovbon (Insta)
I’D LOVE TO HEAR WHAT YOU THINK OF THIS MCM DRESSER MAKEOVER. IF YOU HAVE ANY STENCILING TIPS YOU’D LIKE SHARE OR HAVE ANY QUESTIONS, FEEL FREE TO CHIME IN… I ALWAYS LOVE HEARING FROM YOU.
Happy stenciling and have an inspiring day my friends,
Denise x
PIN AND SHARE!


WOW, that is just so Bo Ho Chic and well done. It reminds me a lot of the Urban Outfitter and Anthropology items I get inspiration from….its just a completely different feel and so creative. I just Love your work and get so much inspiration from you Denise, I am so thankful for the tips and tricks in your how to vids also. Im gong to start scouting for deals on clearance hardware in sets, great idea. Love the Bun feet idea, really elevates the piece. lol. changes the whole feel.
Keep creating girl, you have a gift!!
Thanks so much Shelley! Happy hunting for those hardware sets but beware… it’s kind of addictive. 😉
I LOVE ❤️ the Stencils!! AND the Dresser Came Out AWESOME!! VERY COOL 😎 thanks For Sharing!! G-d ♥️ Bless
Thanks so much, Cheri! XO
Hi Denise,
A Q for you regarding the top drawer of your restyle here ~ I noticed the white paint in the grooves but you didn’t mention HOW you got it there! Obviously it was something you did prior to the stenciling (which is so simple and fresh) ~ please share your technique, thanks!
Love the result ;D
Great question! When I want the paint to remain in ANY type of groove or recessed area, I paint the color in the groove while overlapping the surface (so you don’t have to be neat about it!) and then run my sander over the surface of the drawers. The white stays in the recess and it creates a meticulous straight clean line because the sander removes any excess on the drawer top but doesn’t touch the paint in the grooves. I also do this when I stain furniture tops. I’ll paint the color under the lip of the top. If any paint gets on the sides of the wood, no worries. I use my sander to clean it up perfectly. 🙂
I’ve recently started a blog, the info you offer on this site has helped me tremendously. Thank you for all of your time & work.
Thanks for posting this. I have to admit, we are huge MCM fans at our house and I loved the original feet, but this gave me a stencil idea (and instructions) for a tabletop.
I knew there would be some die-hard MCM fans that would miss the original feet… I totally get it. I’m so happy the stencil tutorial sparked some ideas for your tabletop Julie. 🙂
I really like this. I have a MCM dresser that is waiting for a make over. Now that the weather has finally shaped up I can get it outside to strip & sand it. Thanks for the inspiration! I stair at these stencils at the craft store all the time. I’m officially in the right frame of mind to tackle that dresser.
I’m glad this has sparked some ideas for your MCM dresser. Have fun and enjoy the nice weather.:) I’m not sure where you’re from (I’m in the GTA) and today was the first day I walked the dog wearing shoes without socks and a t-shirt with no jacket. Woohoo!
This is OUTSTANDING , brilliant use of materials! The feet made all the difference in bringing it together. Thank you for sharing.
Thank you Linda!!! It took me a while to figure out what to do with it, but once I got rolling it was FUN! 🙂
This is stunningly beautiful. It should stay in your bedroom as it I would be wonderful to look at it at all times a beautiful job.
Hi Betty!!! 🙂 I’m really liking it for my bedroom too, thanks. It also has more drawer space than the other one so that’s a bonus. 🙂
Fantastic job on this! I wouldn’t think I’d like a mandala design, but dayum this looks goooood! The pulls ARE like jewelry….pearl drops! What my Granny would have called ‘ear bobs’. You really did make a silk purse out of a sow’s ear. I have never liked that furniture style, but this is gonna make me take a second look…..maybe a third, lol.
“… ear bobs..” LOL, Granny’s have the BEST sayings but I really like yours… pearl drops! I have a few more MCM pieces I picked up from my sister’s neighbor so I’ll be sure to share them too. I have NO idea what I’m going to do with them, but hopefully something fun. And thanks, Denise. xo 🙂
So Pretty!! I’m assuming the wood wasn’t varnished/sealed before you painted with the Sherwin Williams white latex? And did you seal the piece after stenciling? Thank you, Denise for sharing!
Thanks Laurie, and no. The wood was not varnished/sealed before I painted and Sherwin Williams All Surface Enamel is super durable it doesn’t require a top coat. 🙂
Good to know!
(about the All Surface Enamel)
Oh Denise, you would never believe it was the same dresser! I love the drawer fronts stripped to the natural wood. The teardrop pulls are the jewelry on the pretty dress. Pinned
Thanks for the sweet kindness and pinning Marie! I’m liking the new look too. 🙂
Hi Denise. I’m having a tough time deciding which bedside dresser I prefer. I love them both. Quick question…when using a spray adhesive for stencils, does it leave a sticky residue on the furniture once the stencil is removed? I’ve never tried spray adhesive before. Thanks, and beautiful makeover.
Hi Monique! I really like them both too. I like that the wallpapered side dresser fits nicely between my attic door and bed, but I’m reeeeally like the looks of this one. I’ll live with it and decide. 🙂 As for the adhesive spray, I use Elmers Multi-Purpose Craft Bond which says right on the label – temporary OR permanent. You can either spray a light coat and let it sit for 3-4 minutes before using it to temporarily adhere a stencil (like this one for example which will not leave a residue) or spray a heavier coat and adhere it right away for permanent. Hope this helps. 🙂
Thanks Denise. I really appreciate the info. I also want to thank-you for answering your SI reader questions. You are wonderful and inspiring. 🙂
As always, absolutely beautiful! The bun feet give it a totally different look.
Thanks Susan! And ya, I think so too. 🙂 The swapped out feet really do change the look.
I love both nightstands. I can’t pick a favorite! Question about the Mandela nightstand. Did you topcoat the natural finish with a ply before stenciling?
Thanks
I’m having a tough time picking too. The size of the wallpapered piece is perfect but I love this look in my room. And no, I stenciled over the raw wood – no poly.
So you stenciled directly onto the raw, sanded wood? Did you apply any type of sealer on the front of the dresser? (It’s gorgeous!)
Thanks, Chris! Ya, I stenciled directly onto the raw sanded wood and have not applied any sealer/topcoat. Sherwin Williams All Surface Enamel does not require a topcoat – it’s heavy duty. If I decide to sell this piece, I may end up sealing just the front. But if I keep it, I’m going to leave it as-is. 🙂
Love it! I’m not a big MCM lover either but this is quite a handsome piece. Your design really enhanced it.
Thanks so much!!!! <3
Beautiful makeover Denise! I’m curious, how did you do such an amazing job of disguising the holes for the original drawer pulls?
Thanks Linda! 🙂 The original hardware holes on the top drawers are covered by the stencil/paint, and the bottom drawer I matched up with craft paint to camouflage the small Bondo fills.
Well, you matched the finish perfectly!
Thanks…it’s not perfect but it looks pretty good. I wish I could find a ‘real’ stainable filler so I wouldn’t have to muck around.
I was also marveling at what a brilliant job you did in covering up the original holes. This piece is perfection.
Luckily the paint hid most them, and thank you Jenny! 🙂
Funny that you avoid mcm pieces. I don’t mind them but for me, it’s waterfall pieces. I just don’t like the look and get stumped on refresh ideas for them since I don’t like them in the first place! Now I wonder if most of us have a style we don’t care for?
Hi Allison! I’m guessing we all have a style we like and/or gravitate to, for sure. And I feel the same as you do about waterfall pieces. Because it’s a style I’m not usually drawn too, I’m often stumped on how to restyle.
Love the stencil, new feet, and new pulls! I’ve been eyeing Mandala stencials for some time now. I had no idea you could used a roller on a stencil and get a clean transfer! So much faster! Is it really trickier to get the right amount of paint on the roller?
Thanks Karen! 🙂 And no, it’s not tricky at all! Less is more. I put a small amount of paint on a paper plate and roll a small amount onto the roller. Then to be safe, you can off-load any excess paint onto a paper towel – then roll onto the stencil. So much faster with outstanding results. 🙂
As always, impressed beyond words! So beautiful! Your creativity blows me awat! Thank you for your inspiration!
Aw, thank so much Celeste!!! XOXO
That is gorgeous Denise!!
Thanks, Teresa!!! 🙂
I’m not really into modern either, but this piece came out fantastic. And what a creative idea to use the mandala stencil. I did notice that the original handles are not where the new ones are. What size drill bit did you use to make the new holes. I have my husbands baby dresser that has been passed through the family that I want to do a makeover to. I’d really love to change out the handles. Thank you for this wonderful post.
Glad you like it Cindy! 🙂 I used a 3/16 brad point drill bit to for the new holes. And your hubby’s baby dresser sounds like such a wonderful project!!
This is the most exquisite makeover I have ever seen! The new bun feet and drawer handles are also exactly what this piece needed. I am in love.
Thank you, Theresa!!!! XO 🙂
This is absolutely stunning, Denise!! What a difference swapping out the feet made too. Definitely a keeper! XO
Ah, thanks, Christy! I like the new feet too… more me. 🙂