Mix and match home decor is all the rage these days – and I L-U-V it because I’m not a match-ee-match type! My decorating style is eclectic, functional, and must have plenty of interest everywhere I look.
I speak from experience when I say, there’s a delicate balance and art to marrying odd pieces to create a beautiful home. It’s not quite as easy as collecting mis-matched furniture, dish-wear or upholstery; throwing it all together and hoping your room will look like the cover on a Home Decor magazine.

However, once you know a few simple designer secrets, it’s easy to turn a room from humdrum to extraordinary. And the exact same secrets the designers use for restyling a home can be applied when you mix and match painted furniture!
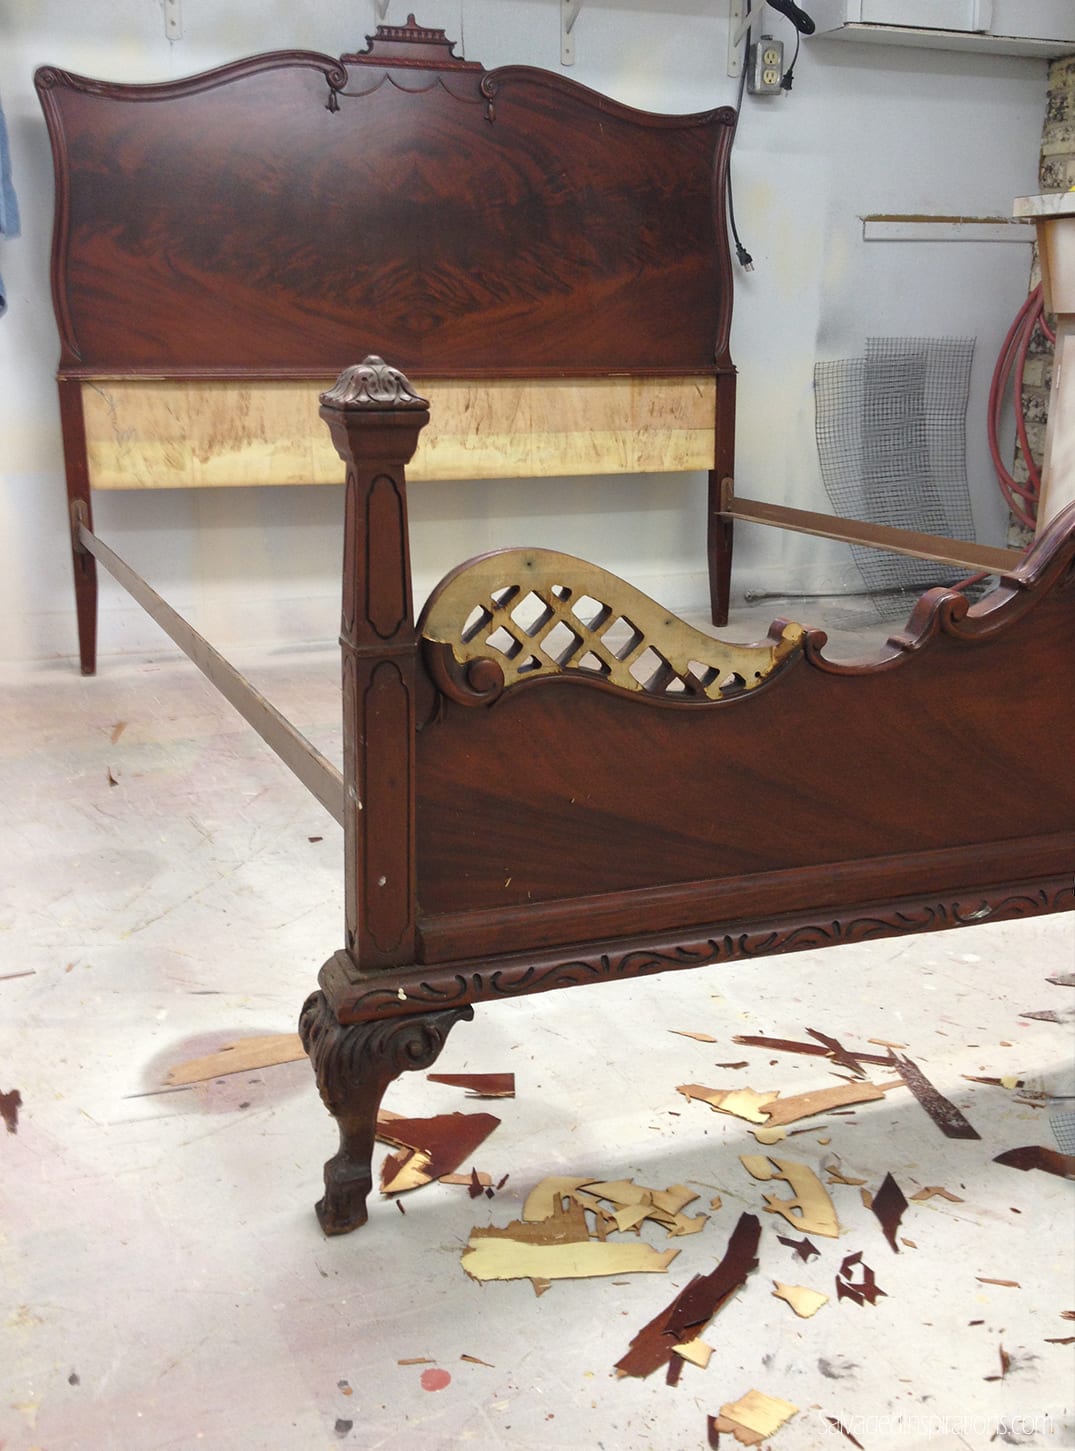
Which brings us to our next make-over. I recently pulled this salvaged head/foot board out of my inventory and realized I had an odd couple. No worries, because as you’ll see, these 2 pieces meet the criteria needed to “work” as a beautiful set.
Here are 3 secrets to marry an odd couple when you mix and match painted furniture:
1. Paint Furniture the Same Color
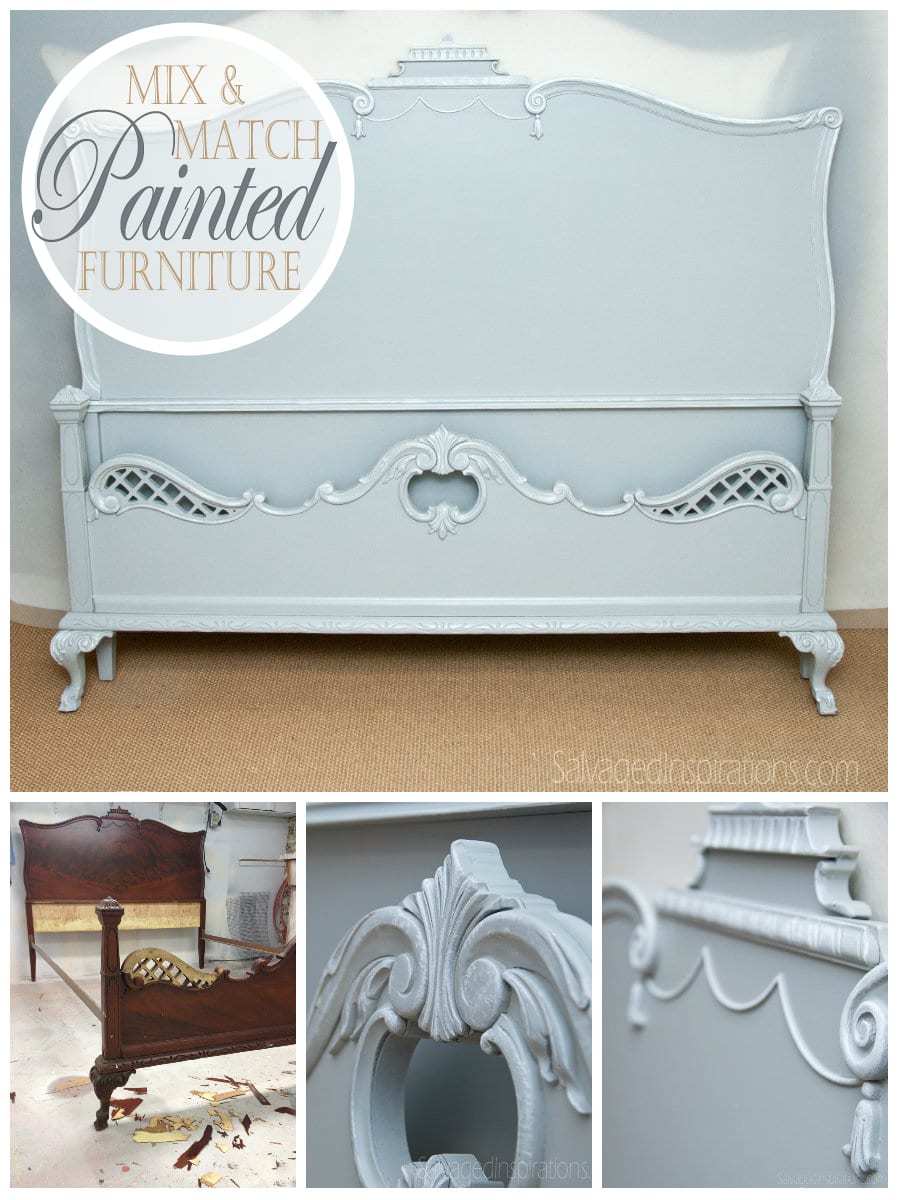
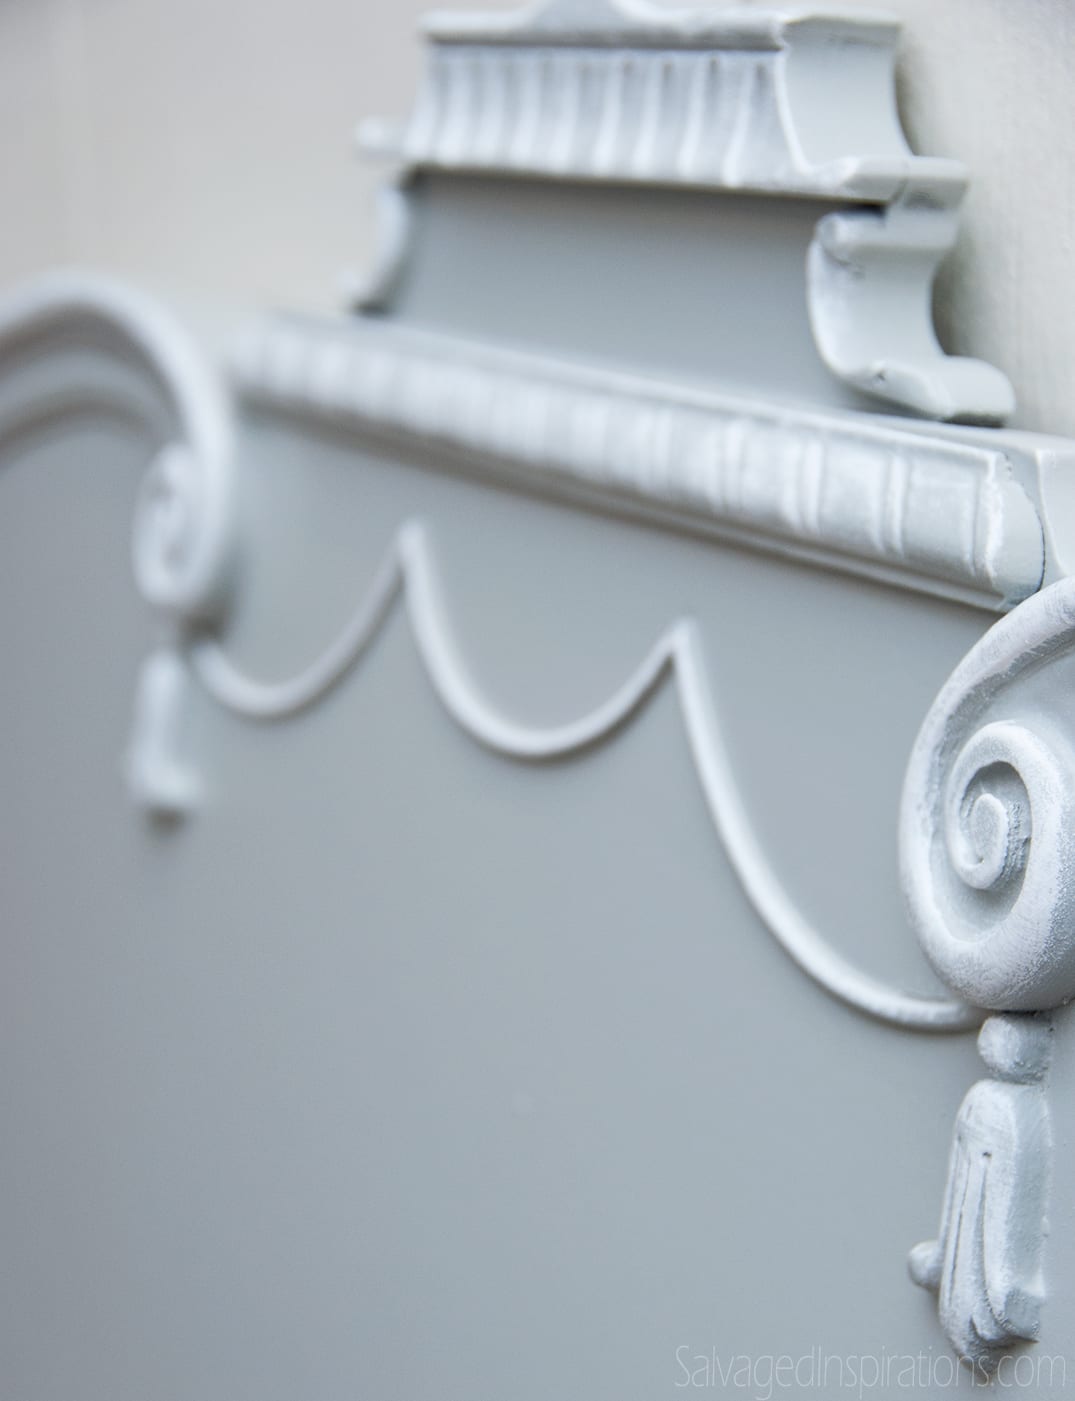
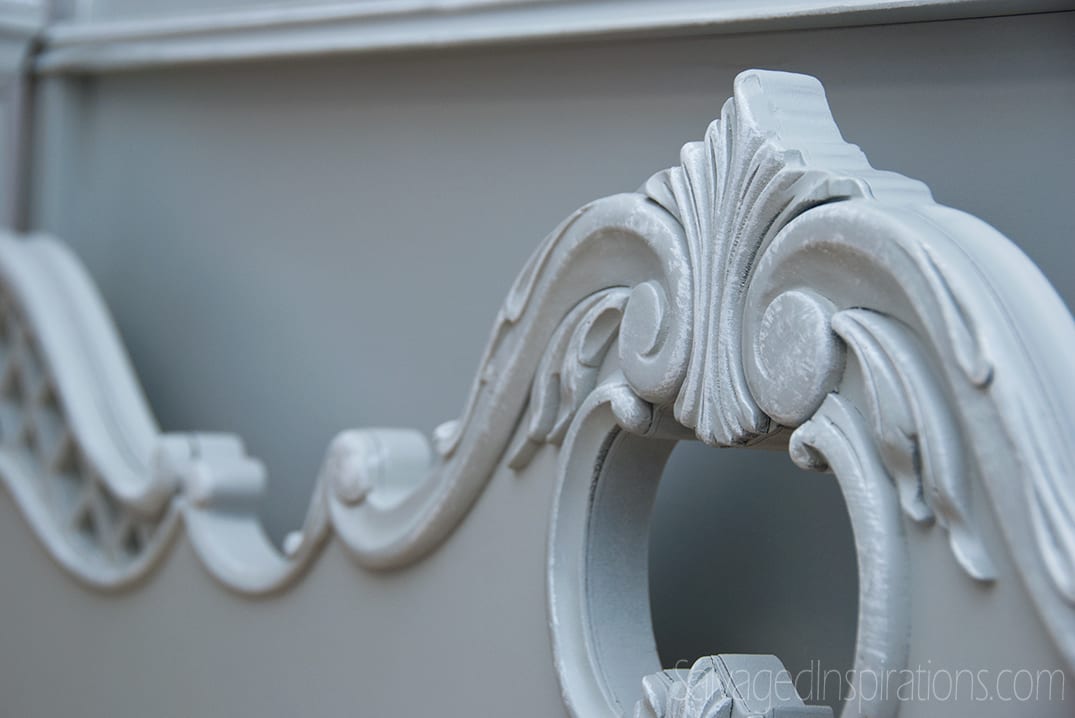
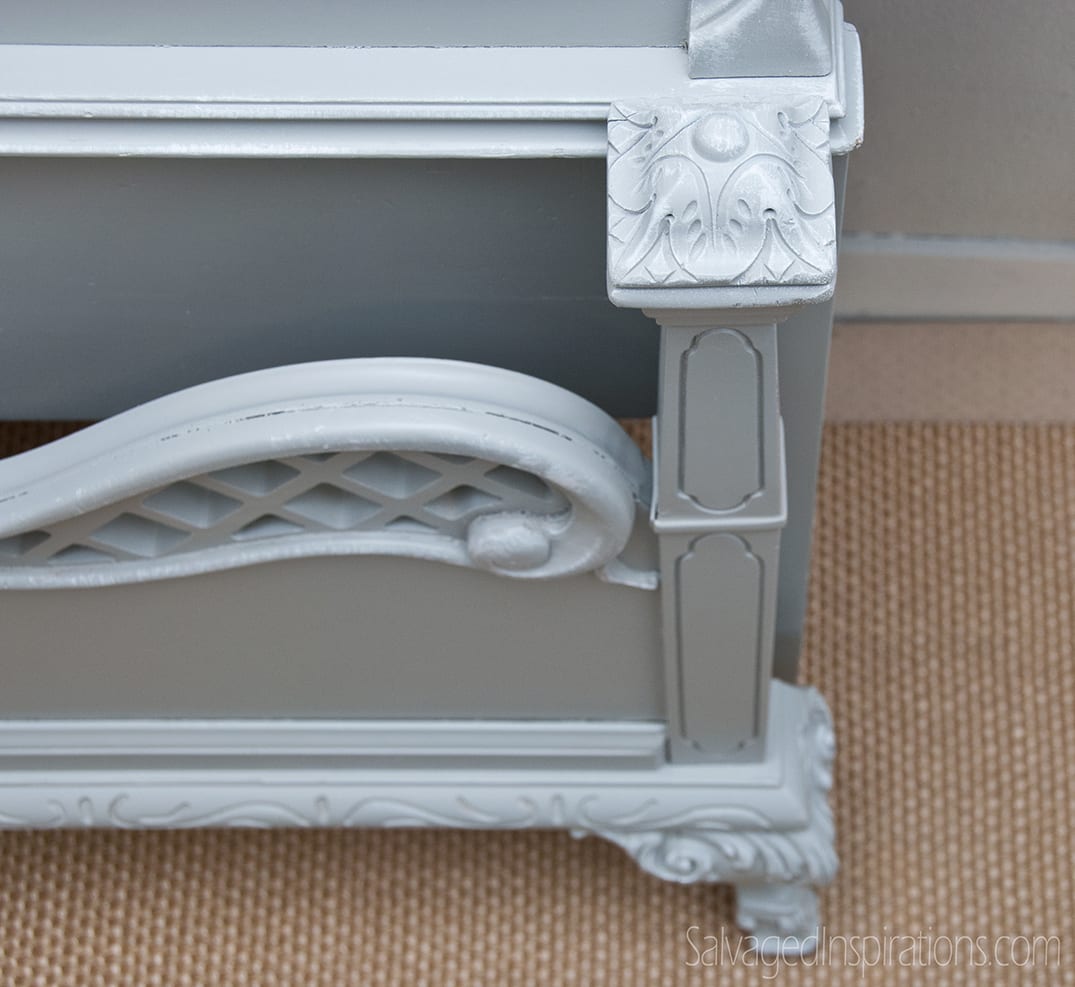
If you have mismatched furniture, the simplest way to unify the pieces (and create a set) is to paint them all the same color. Although this head/foot board has totally different detailing, once I painted them in Pebble Beach Grey and highlighted the details in white, the look is clean and cohesive.
2. Choose Furniture From the Same Era/Similar Style
Pairing a French Provincial dresser with a Mid-Century Modern piece is risky. Maybe the most talented designers can pull this off, but most of us would find it a challenge. When you mix and match painted furniture, it’s safer to keep your pieces from the same era or stick with furniture styles with similar lines, shape and detailing.This will make an odd couple look more uniform without even trying.This head and foot board are obviously from the same era and possibly even from the exact same manufacturer. The scroll detailing and soft flowing lines work well together.

3. Similar Woods/Materials
When creating a set from two different pieces, it’s best to keep the furniture materials alike so the finish looks the same. Keep with woods (or other materials) that take to paint and/or stain the same way. This head/foot board has the same veneer finish. When I spray painted with a custom Chalky Paint, the finish looks identical.

If you adore the look of eclectic mismatched pieces, mixing and matching can open up unlimited fun and creativity when painting your furniture!
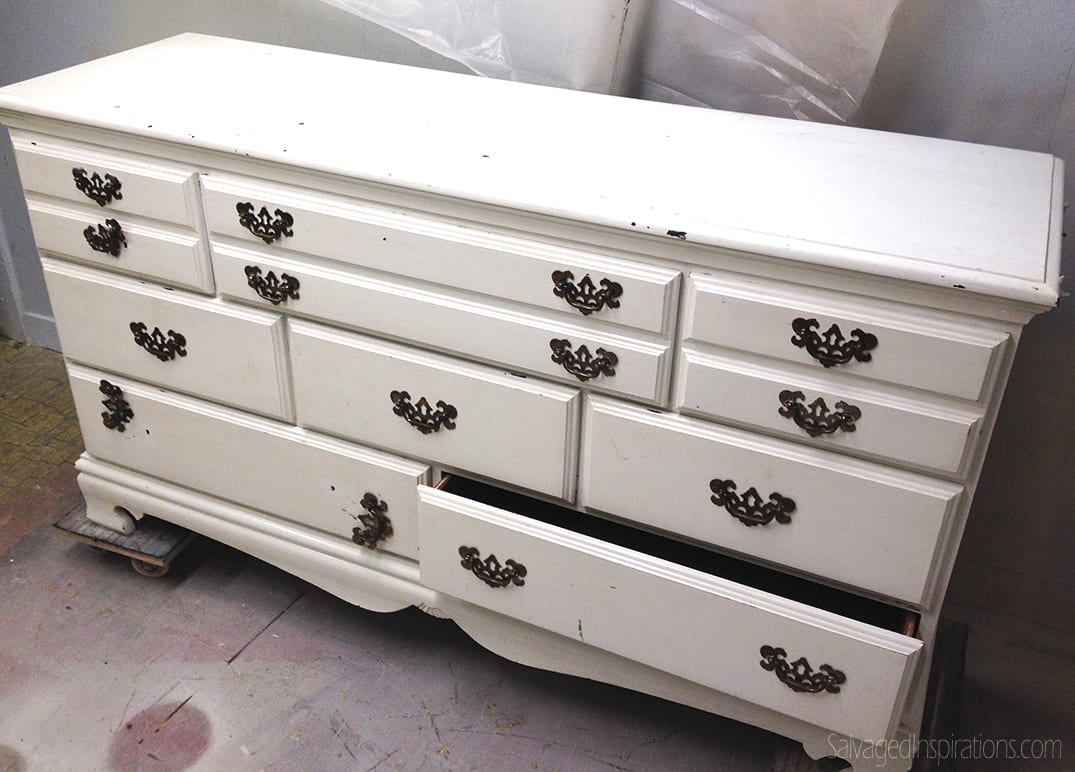
I’m thrilled with how this head and foot board turned out, so I may stick with the Pebble Beach Grey theme when painting this next piece.If the head/foot board hasn’t sold by the time I restyle this dresser, I can sell these pieces as a set!
Do you mix and match painted furniture or play with mismatched decor in your home? I’d love to hear your thoughts!
Have an amazing day – and Happy Painting!
Denise x

Thanks for the great post. I am trying to make a service like you. Hopefully it’s work. Thanks a lot.
Thanks for dropping by Nancy! And the best of luck/success with your Poppies Paint Powder! 🙂
It’s really amazing to see your post with images of painted furniture. I have to learn a lot from your work.
Love the way the headboard and foot board turned out. It is Gorgeous. I love that paint color Pebble Beach Grey, it looks like it has a lot of blue in it? ANd the white highlight just makes it all pop. Great Job Denise!
Beautiful job! I hope you’ll post pictures of the dresser when you finish it. I want to paint my bedroom set which is Early American golden oak, but I have lived with it so long I simply can’t picture it any other way. I was also wondering if there is a way to see what using dark wax over different colors changes the color. Like before and after color swatches?
I’ll definitely post an after pic of the dresser for you Marralyn. 🙂 And great resources for finding ideas for your Golden Oak Dresser is on Pinterest or Google Images! Creativity galore! Also, funny that you bring up the dark wax ‘swatches’ because M-M-M has been encouraging me to make these up so I have examples to show potential clients. The thing is, pending on the color of dark wax used, depends on the final look and I often create custom tinted wax to compliment a piece. You can probably find some good examples on YouTube waxing tutorials though!!
Stunning Denise!
I’m a painting novice, and rather persnickety (not a good combination). This weekend, I used your recommendation to DIY chalk paint with the calcium carbonate. Sprayed a hutch using my HVLP sprayer. Awesome!
Now it’s time to polish with wax and I’m trying to decide between a tinting a dark grey to go over the taupe-grey finish or white-tinted wax.
How did you add the white highlighting on the bed? And did you also add a topcoat?
Hi Diane! I used an artists fan brush and a dry brush technique for the white highlights and then sprayed a few coats of Satin Varathane. Your hutch project sounds amazing and I’d love to see/hear what finish you decide on!
What is HVLP? Thanks.
Mary Rose
Great question! HVLP = High-Volume Low-Pressure. High Pressure spray guns shoot the paint (or whatever material your spraying) out at a very high pressure. The pressure is so high, only 30-40% of the material lands on your project. The remaining material ends up wasted and in the air/atmosphere. With (HVLP) Low Pressure Spray Guns, the air is high volume but shoots at a way lower pressure. This means considerably more finish ends up on your project. Less waste and better for our environment. 🙂
I should be so lucky to find such a beautiful head-and footboards!!!
Will you share your method of replacing the veneer on the curlicue on the footboard? You did such a beautiful job. Something to aim for in my workshop……
Hi Marje, thank you! I didn’t replace any veneer but I did remove damaged veneer. I think the curlicue you’re referring to is the one I removed so I could take off all the damaged veneer underneath it – on the lattice section. Once the lattice veneer was all removed and the wood underneath cleaned up and nicely sanded, I simply glued, nailed and clamped the curlicue back to its original position.
Ah-so…………
As lovely a job today as it was last month…..
TA-DA!!! And here we have… yet another winner!
You are very talented Dee! Love your work 🙂
Carole
Thank you Carole! And I appreciate the FB Share on your beautiful page! 🙂