Have your friends or colleagues ever gone on-and-on about a product they love? You may have witnessed the impressive results, yet for whatever reason it took you years to try it? I have no excuse or logical explanation for this, but that’s exactly what happened to me with Rub’n Buff Metallic Finish.
![]()
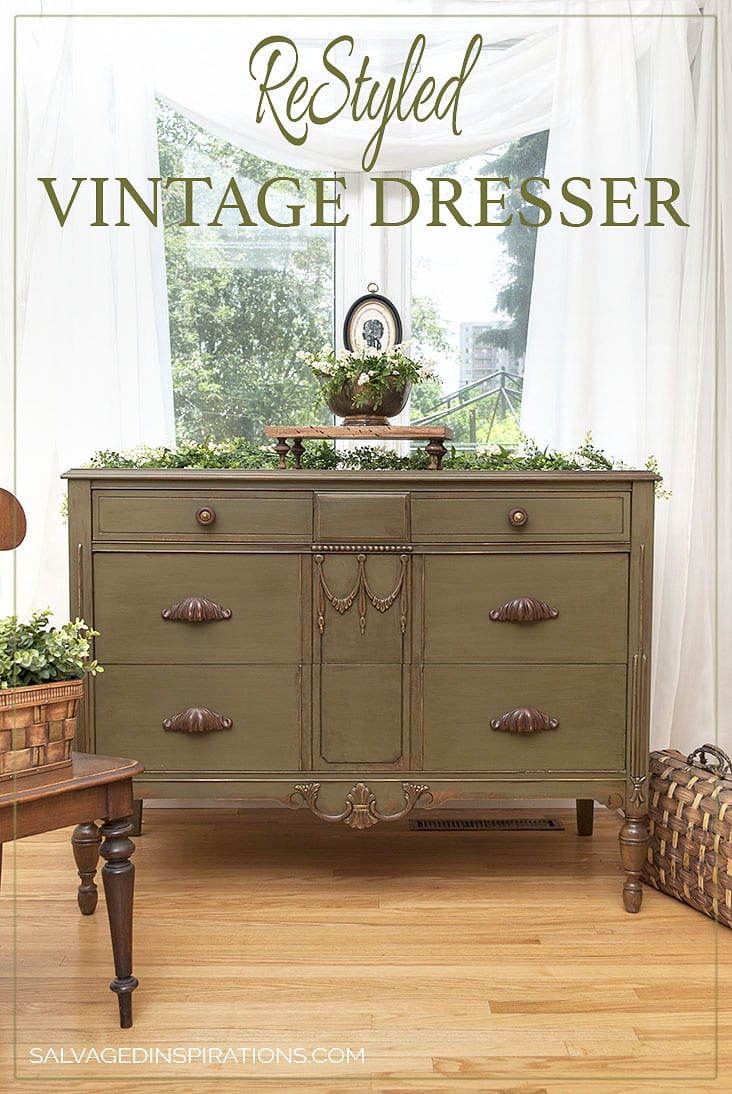
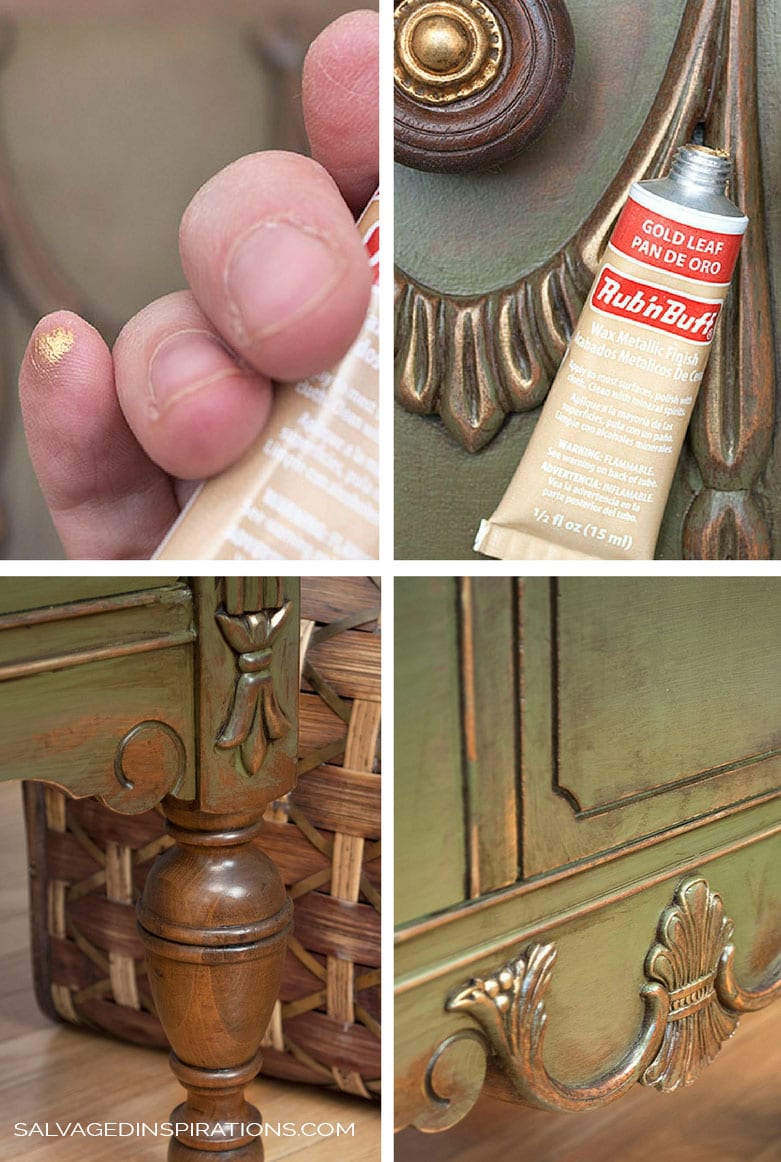
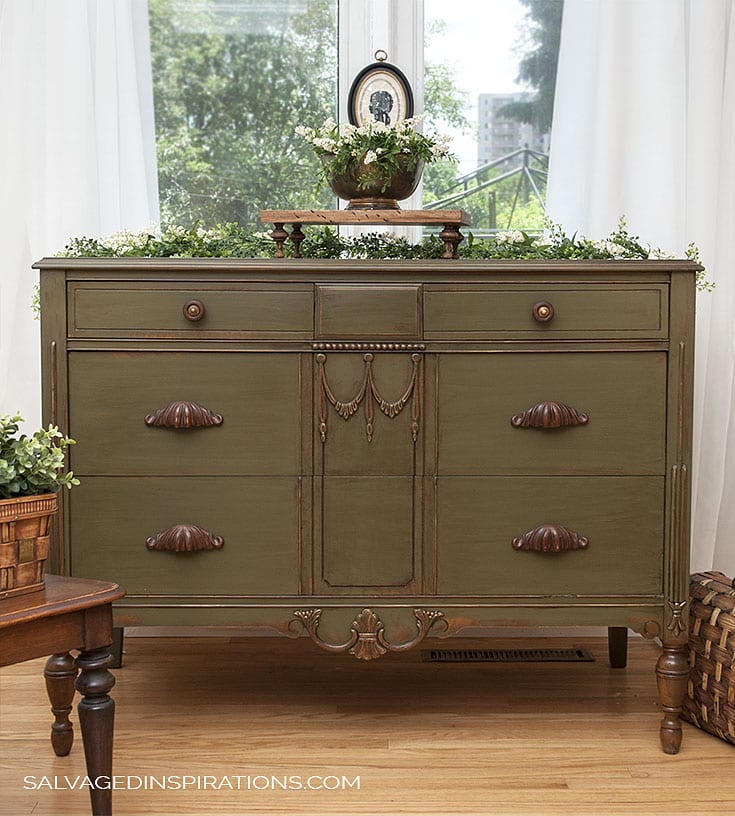
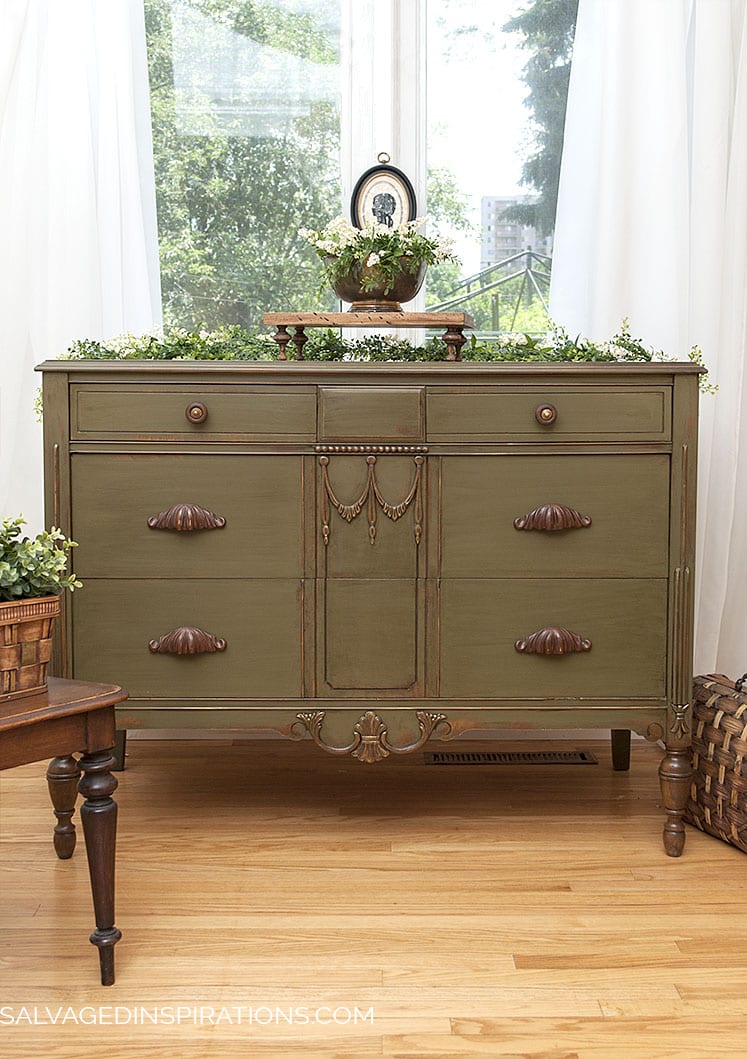
This vintage dresser was an appealing piece to start with but I’m beyond thrilled with the final result! It’s been painted and restyled with numerous products, which I’ll list below for those of you who are interested. But today I’m sharing the one small detail I believe highlighted the piece perfectly.
It’s an inexpensive and easy to use metallic wax that can help bring out and enhance the small details in your furniture.

I know many of you furniture painters are already very familiar with Rub’n Buff. And for all my painting and product experience, I’m late to the party. But for those of you who have never tried this metallic wax, I’m going to share my ‘late to the party’ experience with you. And, I can sum it up in two words.
LOVE IT!
This post contains affiliate links to products I use. You can see my full disclosure here.
Rub’n Buff is amazing. For all of you who recommended and suggested Rub’n Buff to me – THANK YOU! For those of you yet to try this product, TRY IT! 😉
Products Used For This Restyle
Annie Sloan Olive Chalk Paint (The Painted Bench)
General Finishes Vandyke Brown Glaze Effects
Varathane Waterbased Satin Polyurethane
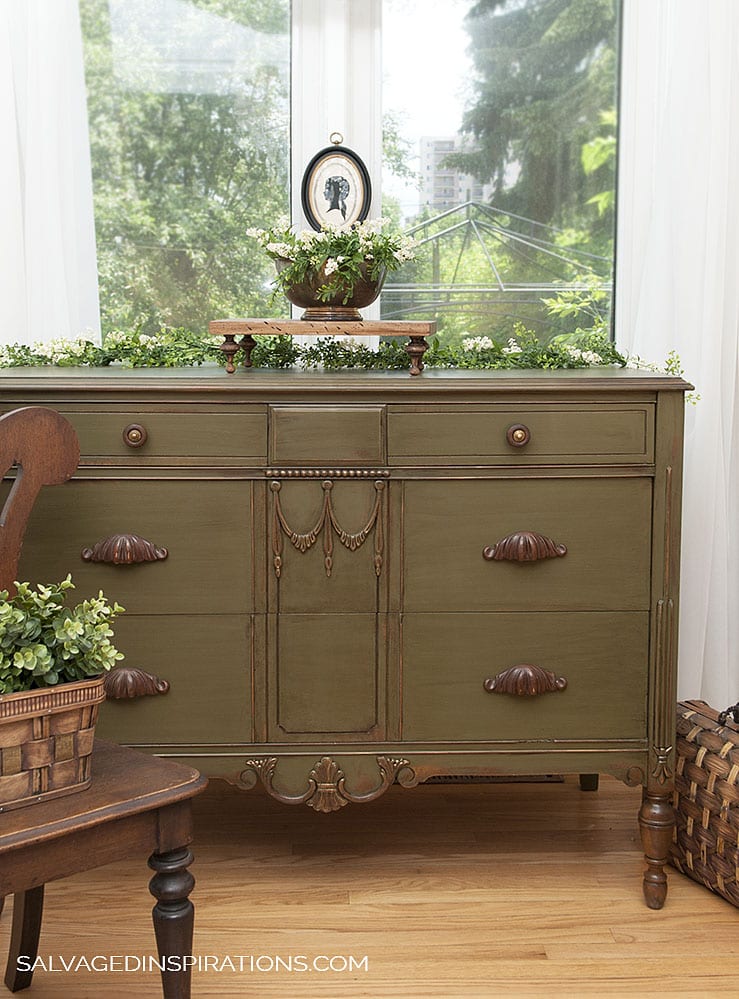
To achieve old-world-antique-charm, I first cleaned the piece and made repairs. Once the drawer was fixed and the scratches were filled, I gave it an overall sanding and painted with 2 coats of Annie Sloan’s Olive. After sanding and distressing the final coat, the Olive was dark glazed with GF Vandyke Brown Glaze Effects. Three coats of Varathane Satin Polyurethane was applied for protection – sanding between each coat.

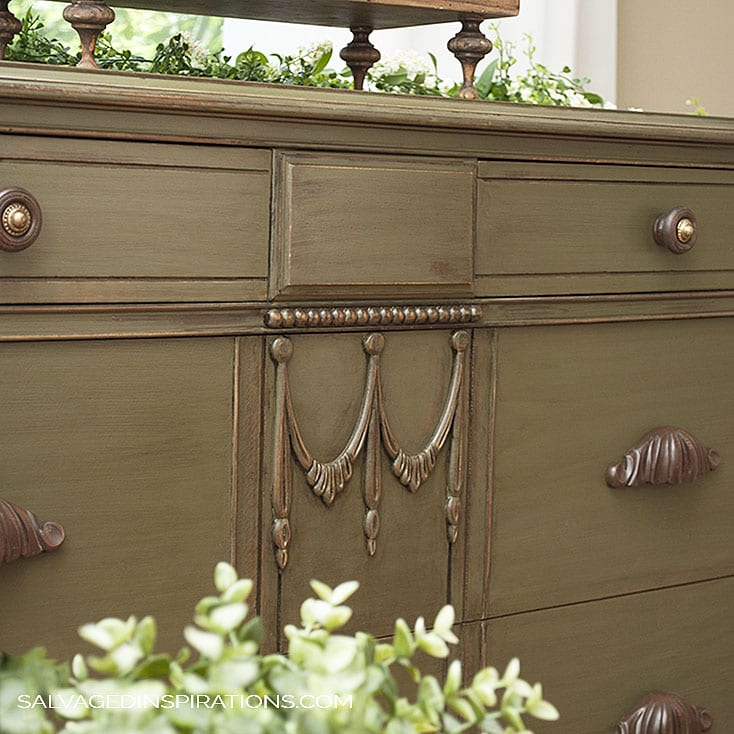
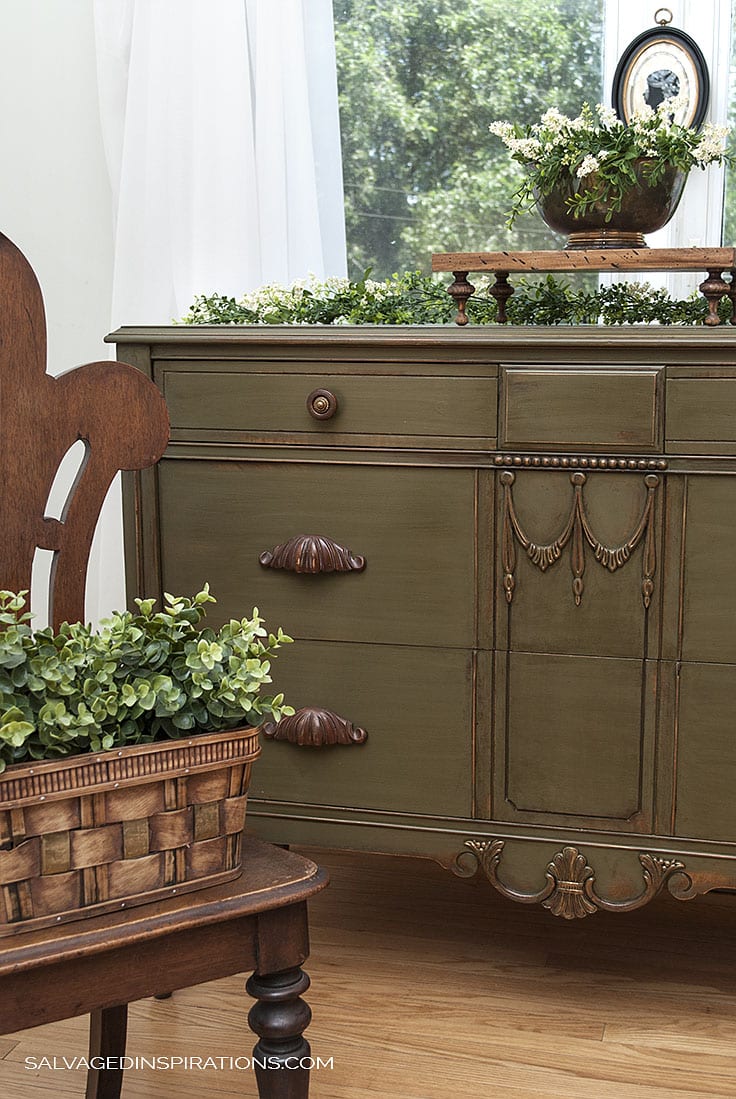
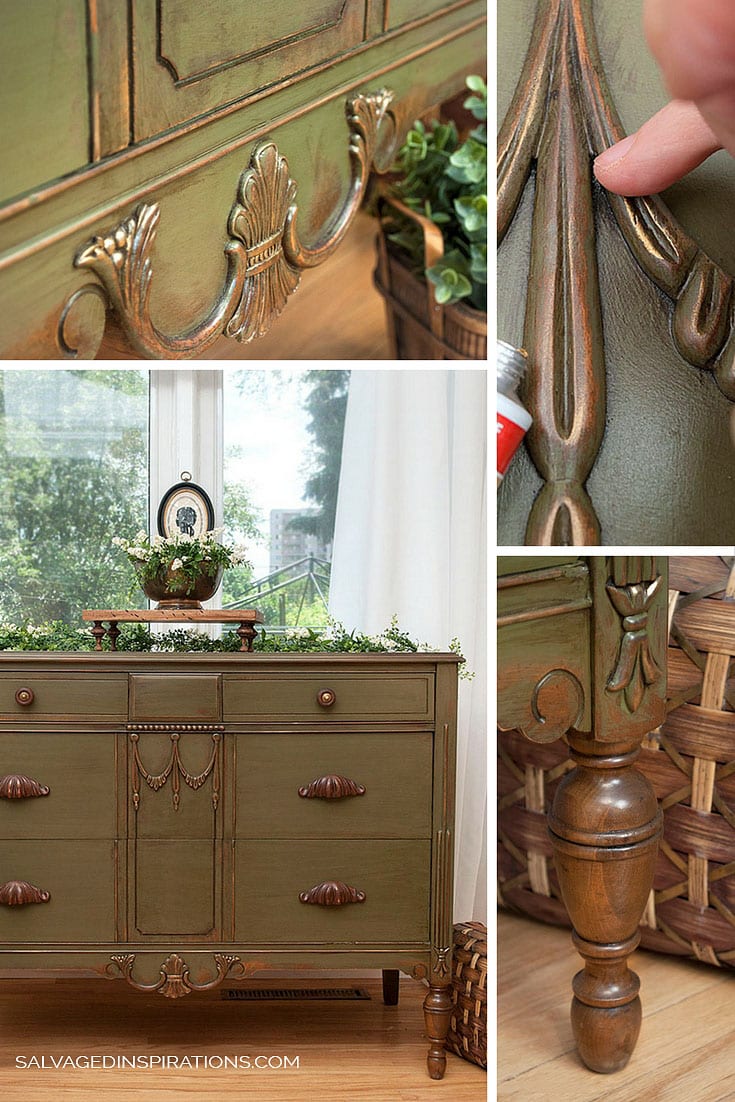
The Rub’n Buff was applied very last. I used it to highlight the dresser details and in the metal middle of the wood knobs. All I did was dab a small tiny amount onto my baby finger and gently bushed my finger over the areas I wanted highlighted. I then buffed it with a clean finger. It certainly adds a touch of glam.
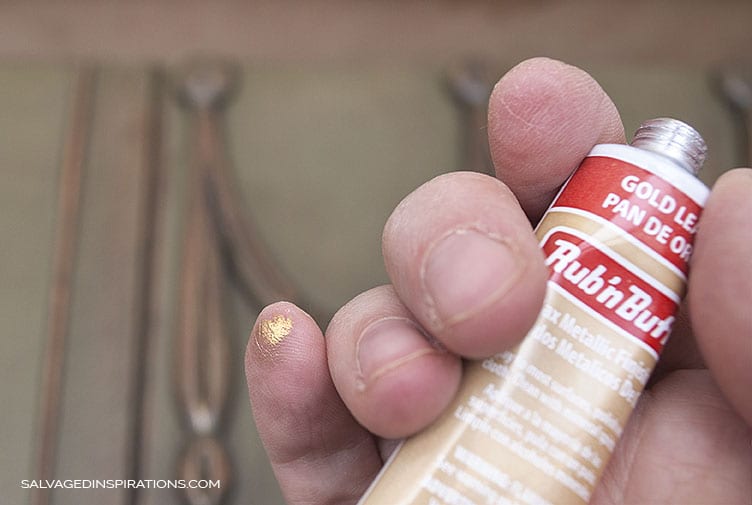
A Q-tip would also work nicely if you aren’t into gold fingers. It does wash off easily enough with soap and water.
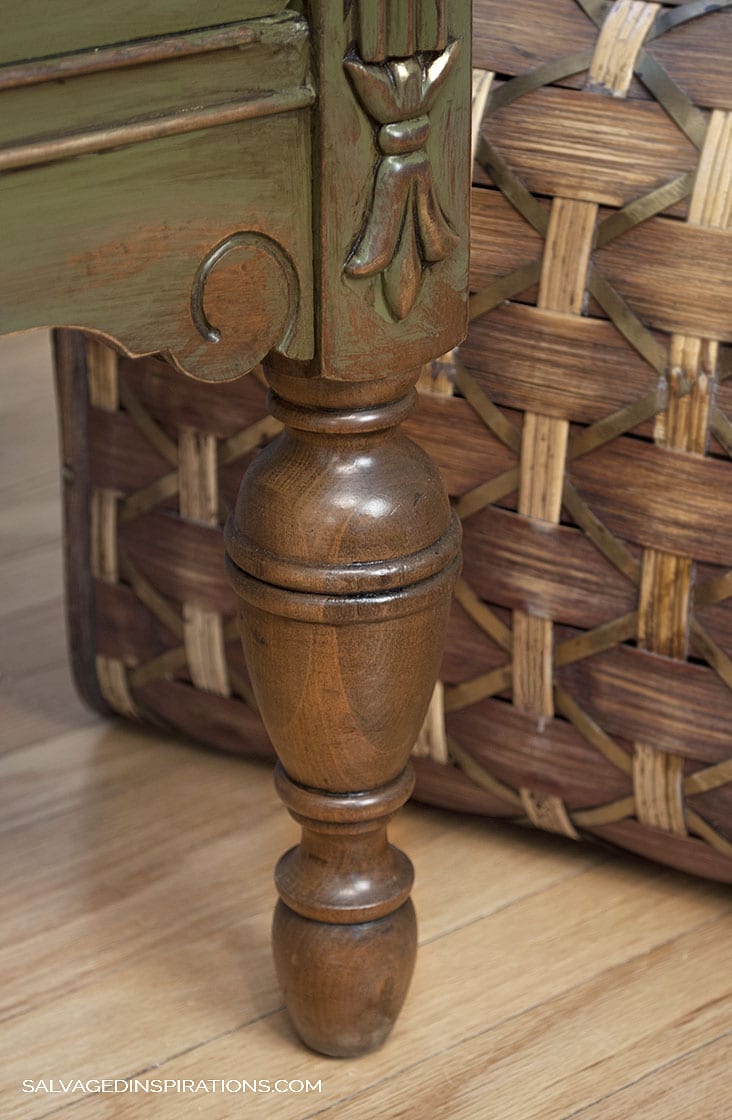
And speaking of knobs, the original hardware had me stumped. A big thank you to Jac and Lorelei on Facebook for identifying the Bakelight and giving me a heads up! I replaced the Bakelite knobs with the vintage wood carved cup handles that were original to this buffet here. The Bakelite knobs are in safe keeping for another project.
Isn’t it amazing what a little attention to the small details can do?


This isn’t a sponsored post, but if the manufacturers of Rub’n Buff are reading this, feel free to send some of your AMAZING product to share with my SI Readers! Just saying, this would be a great giveaway – it doesn’t hurt to put it out there right? 😉

I hope you’re having a great week and I’d love to hear what you think of this painted dresser. Also, if you’ve used Rub’n Buff on any of your projects, I’d like to hear your results and creative ideas!
Feel free to chime in and say HI! I always love hearing from you! 🙂
Happy painting my friends,
Denise xo
_____________________________
LIKE WHAT YOU SEE? SUBSCRIBE TO SALVAGED INSPIRATIONS SO YOU’LL NEVER MISS A POST!
FOLLOW ALONG ON PINTEREST, GOOGLE+, AND FACEBOOK FOR MORE INSPIRATION!

This is so lovely! I’m curious how you apply glaze & poly to chalk paint. Always enjoy your work! Thanks
Thank you De! I appreciate your question because it could be a great blog post for future. 🙂 But the short answer is applying glaze and poly to Chalk Paint is no different than applying it to say a latex, enamel, acrylic or milk paint. The glaze I applied with a sponge brush and then wipe some off with a damp cloth. The Varathane I sprayed on with my spray gun for a flawless finish.
Great link to the Rub-n-Buff blogger for added info. Thank you for sharing that.
No problem. 🙂
Hi Denise. So after reading about R&B yesterday on your post, I decided to buy some and give it a try for myself. I highlighted the decorative scrolls on an old wooden jewel box that I’ve had for decades. OH MY….what a difference!!! My old jewel box looks lovely. I LOVE this product. You are not kidding when you say a little goes a long way. Thank-you for inspiring me to re-love something I’ve owned for years. By-the-way, your blog is amazing. Keep up the wonderful work.
Thank youuuu.. and I’m so glad you tried it… it’s good stuff right? 🙂 So great you restyled your jewel box. I bet it has a touch of glam now! xo
I have used Rub n Buff for years,mostly on picture frame nicks, my din rm sideboard too. I love it.I got nickname,goldfinger @ my local Micheal’s as it was still on my skin,… now I make sure it’s washed off! Great job!
…”I got nickname,goldfinger @ my local Micheal’s”… hilarious Mary!
I did the same on a navy blue painted buffet. Love the result….love this product.
Your buffet in navy blue and metallic must look amazing Dib. And I’m really impressed how many shades of gold, silver, bronze etc Rub’n Buff has. You can match it beautifully to just about anything.
Thanks so much, I am always so inspired by your work. Loveley
Thank you Trish. hugs
Outstanding job as always! Is olive a new color? Love it and have been looking to add a gold highlight to a dresser…perfect timing! Beautiful job…must have sold immediately
Hi Kim! I believe AS Olive has been around for years – but if anyone reading this knows exactly when it came out – feel free to chime in! It has a beautiful warm antique feel that pairs nicely with gold highlights for sure. I haven’t officially listed this piece yet, but yes, it’s for sale. 🙂
I swear by this Rub “n” Buff. So many colours to choose from and works perfectly on any type media with an embossed surface. Best thing since sliced bread
…”Best thing since sliced bread”… LOL… it just may be Kim. 😉
Another amazing piece Denise. I love EVERYTHING about it!!
Thank you Lynda! xo
Beautiful Denise, truly beautiful!
As for RNB, how long does it take to “cure” so it doesn’t “rub” right back off? I tried some years ago and never found the cure time.
Hi Christina! Since this is my first experience using Rub’n Buff, all I can say is mine dried in minutes of applying it and is not rubbing off. Having said this, I used VERY little to get this effect. I was shocked at how little I used! My friend Tracy had the exact same experience as you though. I google it and found a site with great info. The Blogger actually called Rub’n Buff and apparently if it’s not drying quickly, it’s been applied to a surface that it can’t adhere to. But apparently the “Silver Leaf can give off a silver even though it’s dry… that just needs to be sealed”. Very informative article which you can see here!
I must try this! Do you put anything over the rub-n-buff or just let it dry?
Hi Jeaneen! I put nothing over it. The gold metallic was the very last step, and it dried within minutes. I’ve tried rubbing it off (because of previous comments) and nothing is removing it! 🙂
I don’t know how prices are now, but selling the Bakelite knobs on eBay can sometimes reimburse you for the cost of the furniture.
Yes, I noticed that Ginene!! I was surprised at how much they were selling for. They are very interesting and unique.
Noice one Denise! I’m also a late comer to the furniture painting world, but from what I’ve turned out so far, and the feeling I get from my finished work is more than satisfying. I’m looking forward to your posts and getting on with painting furniture.
Thank you,
John
Thank you John – and welcome! Wishing you all the best… and yes, there is SO much satisfaction breathing new life into furniture.
Amazing talent to pick just the perfect color scheme for each individual piece you do. Your application of the R&B is proof that less is more. Beautiful work!
Thanks Tracy! 🙂 And thanks for your tips on FB my friend. x
Wow!!!! What a gorgeous vintage dresser. I LOVE IT!!! You couldn’t have chosen a better color and the hardware is fabulous.
Thank you Monique! I had a lot of fun working on this piece. x