The transformation on “Will’s China Cabinet” continues…. so does my stuffed up nose, but let’s not go there. In Part 1, I removed the old hardware and filled in the holes. Plugging drawer or cabinet holes is easy to do and if you missed that post, you can find the “how to” here.
In this post (Part 2) I’ll take the guess work out of replacing drawer hardware. I’ll show you my secret ‘tool’ which takes the “scary” out of re-positioning and drilling. I’m sure it’s something you have on hand and I hope it helps you too.
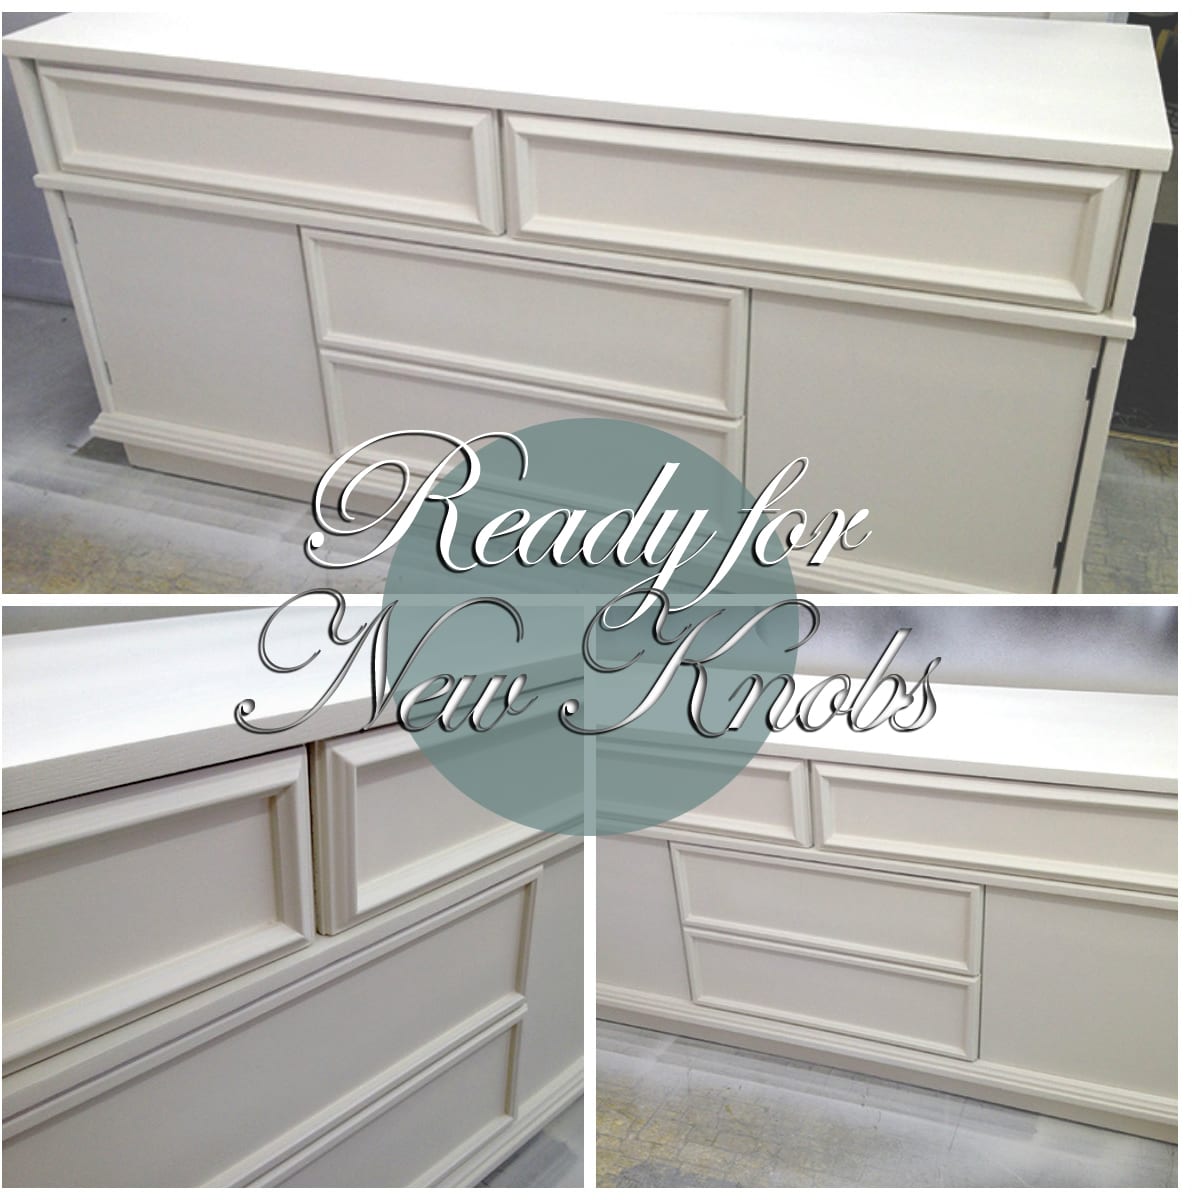
The big question…where should I place the knobs?
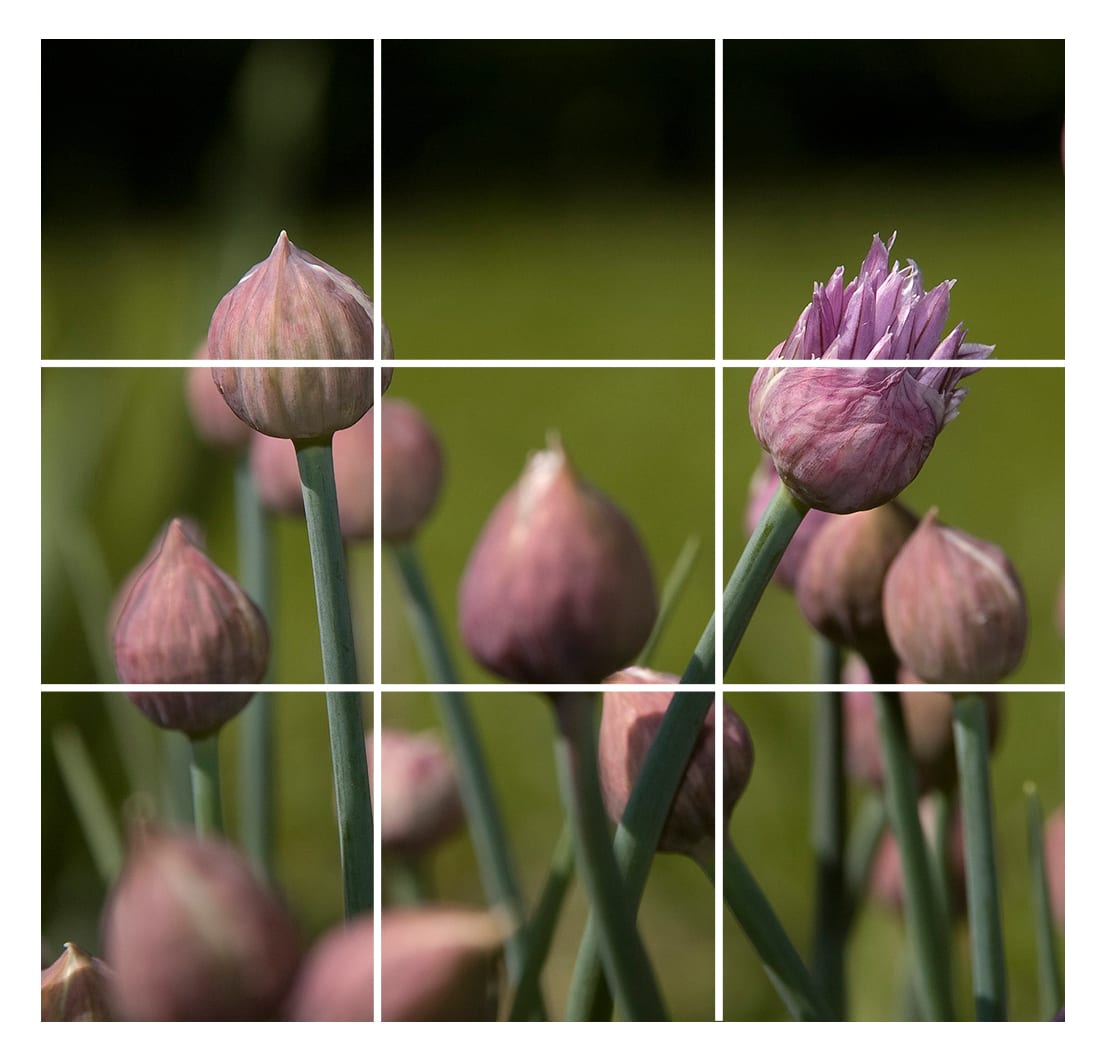 When I was a member of the Latow Photography Club, it was said over and over again that the “The Rule Of Thirds” is visually pleasing to the human eye.
The Rule of Thirds applies in photography, home design, store displays, and flower arranging just to name a few. Positioning furniture hardware is no exception …or is it? For those of you who know me, you know I like dancing to my own beat. I’m not great at following instructions or rules…hence my being self-employed. A “B-O-S-S” would have fired my a$# long ago!
When I’m unsure of where to place knobs or pulls, I start by testing them out with the rule of thirds. If it’s not to my liking, I switch them up.
[box] Don’t be afraid to place the hardware wherever you like. You can even play around and have more than one type of pull or knob on a piece of furniture. No one will criticize your choice, so go ahead and arrange your hardware wherever it visually pleases you or your client. [/box]
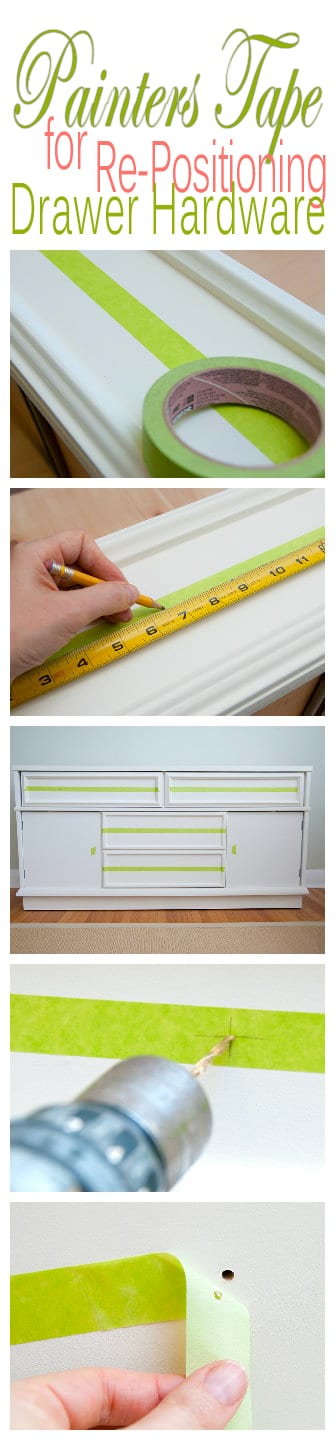
Here’s how I take the guesswork our of re-positioning hardware.
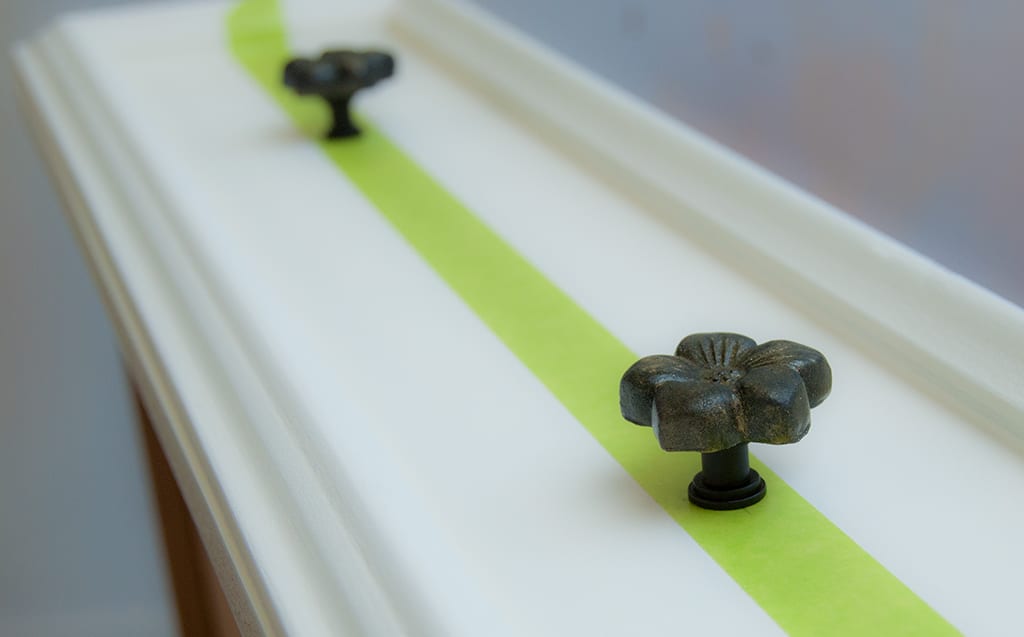
1. Using painters tape, I eyeball where the approximate center of the drawer is from top to bottom and from side to side. Then I stick a strip of painters tape on… yes, this is my secret tool because it works three fold.
a) It saves me from marking up my newly refinished drawers and gives me flexibility. If I mark out all my drawers and then change my mind about the positioning, it’s no big deal. I can start fresh with a new piece of tape. Or I can erase-away without worrying about damaging my fresh paint.
b) I get a visual. I can tape out the entire piece and mark my spots with a big “X”. I get a really good idea of how the hardware will look once attached.
c) Drilling is easier. I find the painters tape causes a little resistance and stabilizes my drill bit so it doesn’t slide. This is reassuring and makes me feel more comfortable drilling into my newly painted piece.
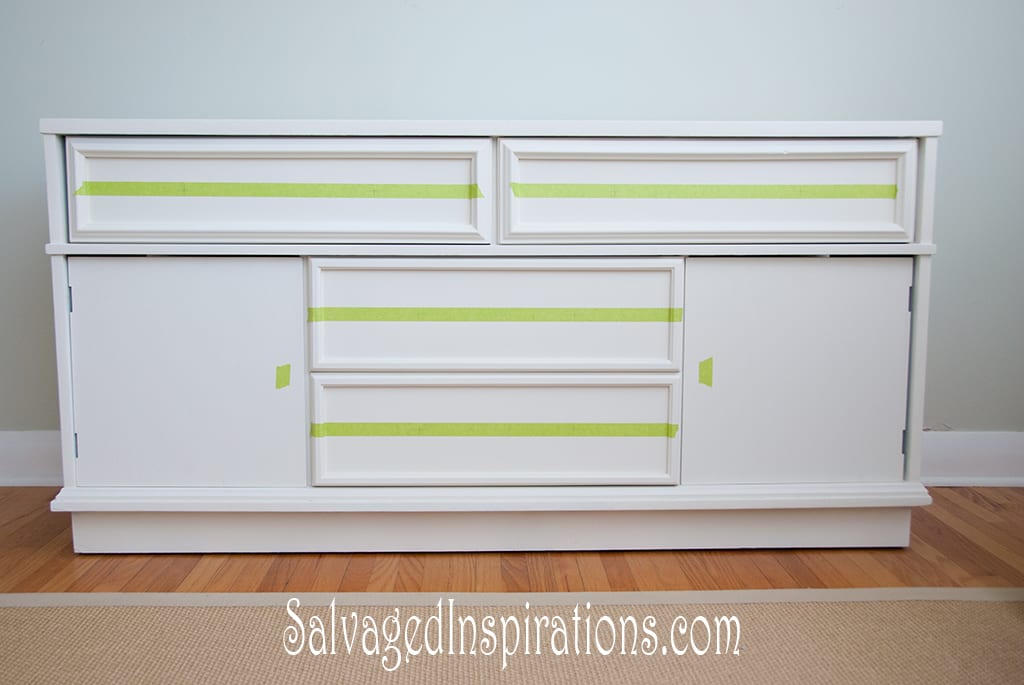
In the case of “Will’s China Cabinet”, the rule of thirds was not working for me …big surprise right? I decided on 6.5″ inches from the molding on either side.
The old Carpenter’s saying, “measure twice,cut once” is a great habit to get into!
Regardless of what I’m working on, I always double check my measurements. Once my measurements are checked, I place the new hardware on the marked spot to make sure I’m pleased with the placement. If I like the layout, then I drill a pilot hole on an old piece of wood before drilling my furniture.
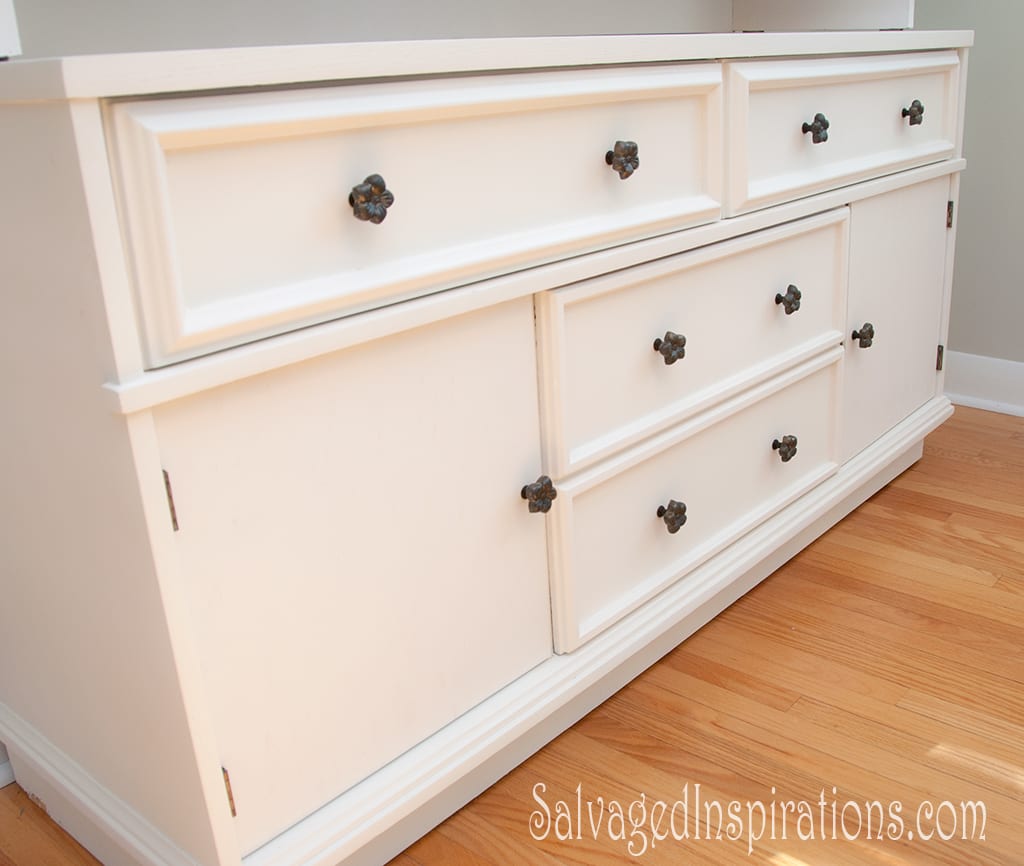
Here’s what “Will’s China Cabinet” looked like with the final layout. It’s difficult to see in this photo, but I’ve clearly marked where my new knobs are going to be with a penciled “X”. Now that I approve of the entire layout for my new hardware, it’s time to drill some new holes.
So here it is …I’m much happier with the placement of my new hardware! I want to thank Jacqui at Porta Verde Studio for a beautiful job on these handmade knobs. If you’re looking for handmade hardware for that special piece of furniture, she’s your girl! Jacqui’s eye for detail and customer service is unmatched.
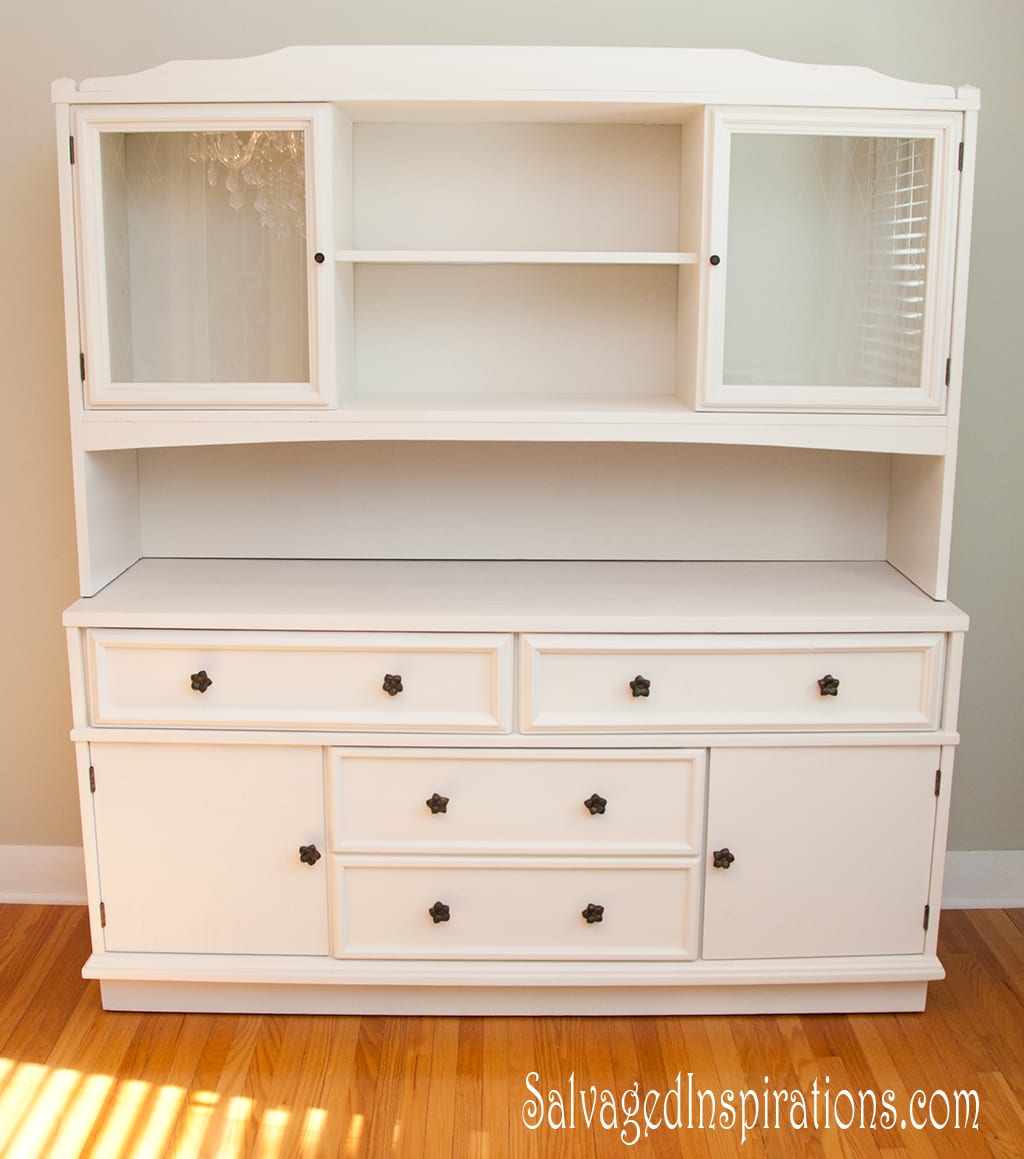
Stay tuned because I’m planning on dressing this cabinet up with a DIY Homemade Stencil …oh my gosh…what am I getting myself into!?
Don’t forget, if you have any questions or comments, I’d love to hear them…
Enjoy your day!

Hi! What happens if my new pulls are slightly bigger and will intersect the wood filling. Is that a no no?
Hi John! I would suggest Bondo Wood Fill which is super durable OR fill the existing holes with dowels and wood glue. That way if you drill partially into the ‘old’ hole, the hardware won’t budge. 🙂
Wonderful instructions. Thank you so very much
Thanks for such great instructions
Thank you for the great tips! It’s definitely going to make my life easier!
This post helped a lot really. I have bought new furniture, and putting knobs on them was never been easier. Now I think I can manage them on my own, without any help of exterior worker
New hardware can totally transform a piece – great job on this one! Looks amazing.
Thank you. That is a big help1