THE BEST PART ABOUT THRIFTING ISN’T ALWAYS WHAT YOU FIND… IT’S WHAT YOU DO WITH IT!
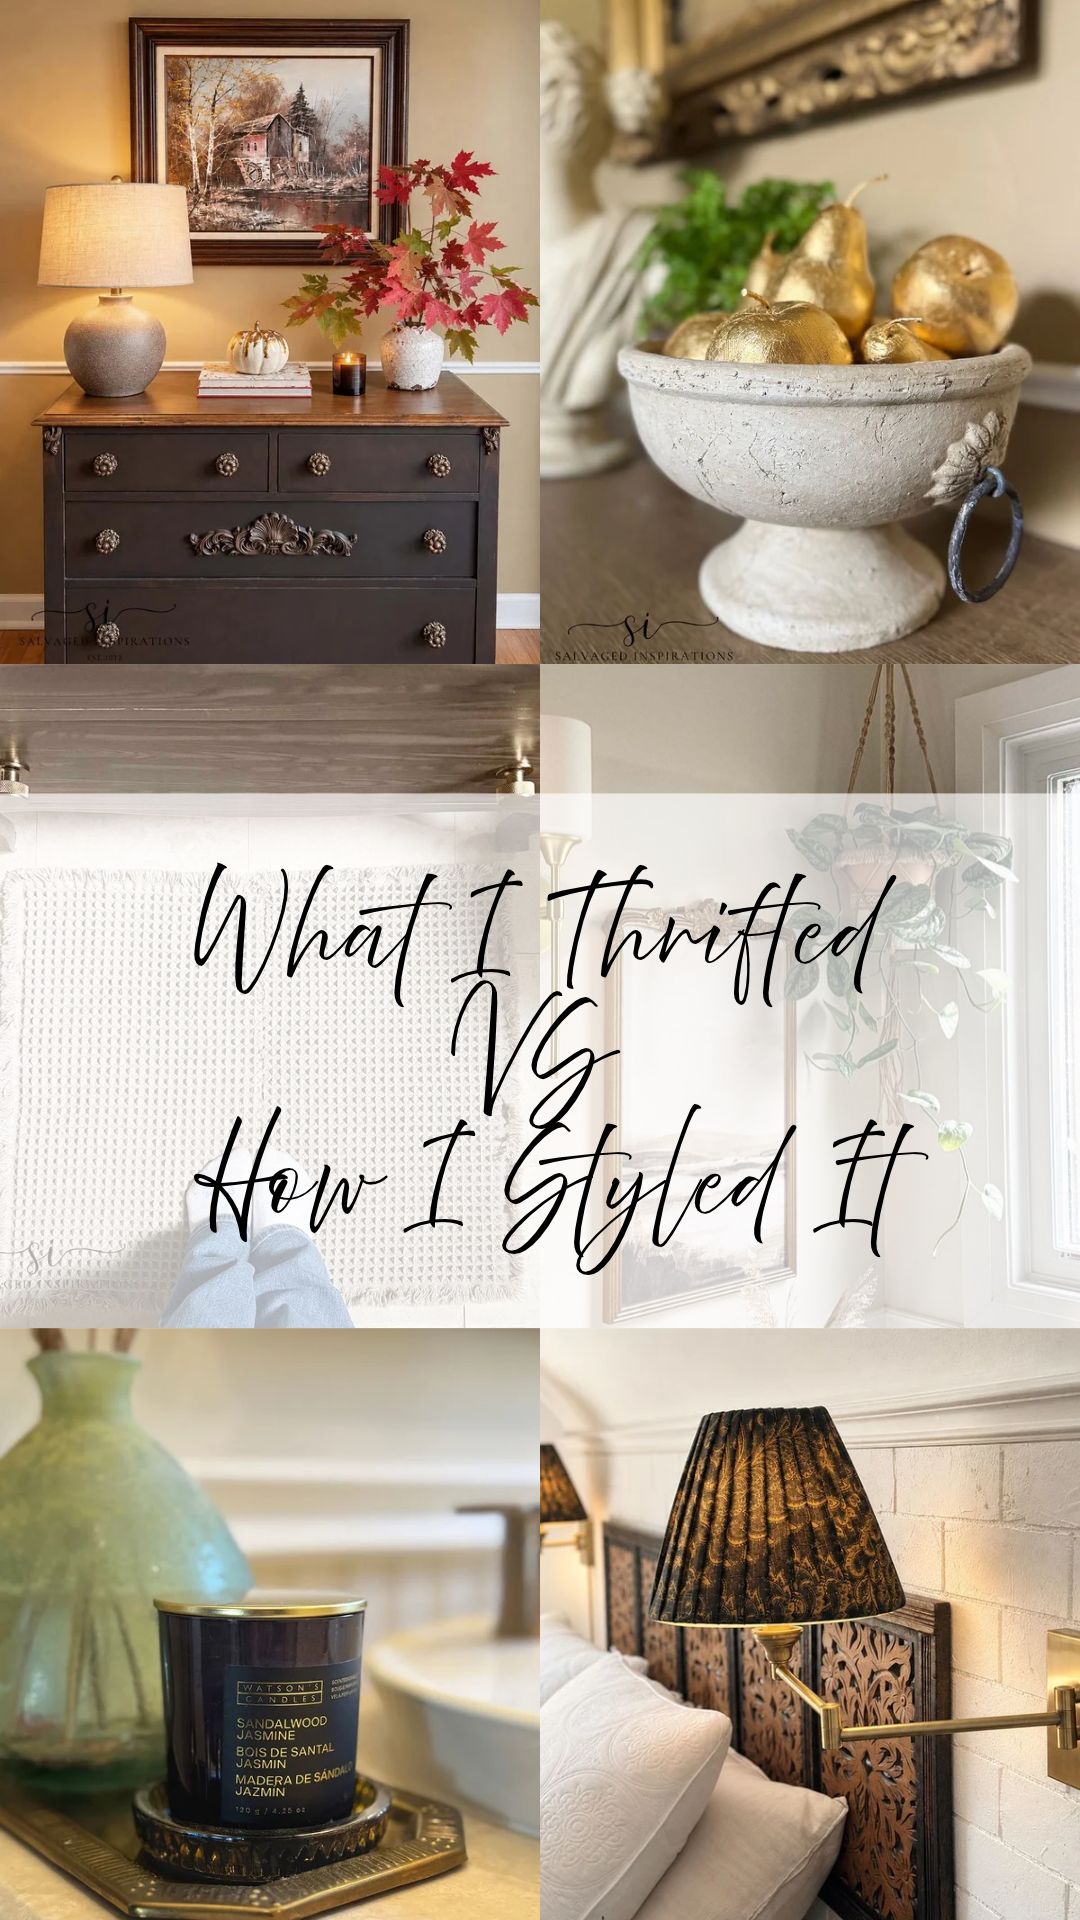
The best part about thrifting isn’t always what you find… It’s what you can do with it! Welcome back to What I Thrifted VS How I Styled It – Episode #2! Today I’m sharing five (5) secondhand finds, plus a dollar store experiment and how a little creativity and styling can add to your home decor and restyled furniture. Sometimes it’s the simplest changes that make the biggest difference!
And just a heads up, one of these didn’t turn out as I expected, BUT I’m super happy I tried. I’ve still included it, so hopefully my fail will still give you some inspiration for your restyles.
*As an Amazon Associate, I earn from qualifying purchases. There are affiliate links in this post to other companies/products I use and love as well. You will never be charged extra when you purchase through these affiliate links. If you purchase from my links – A BIG thank you for supporting me and the #siblog! To see my full disclaimer, click here.
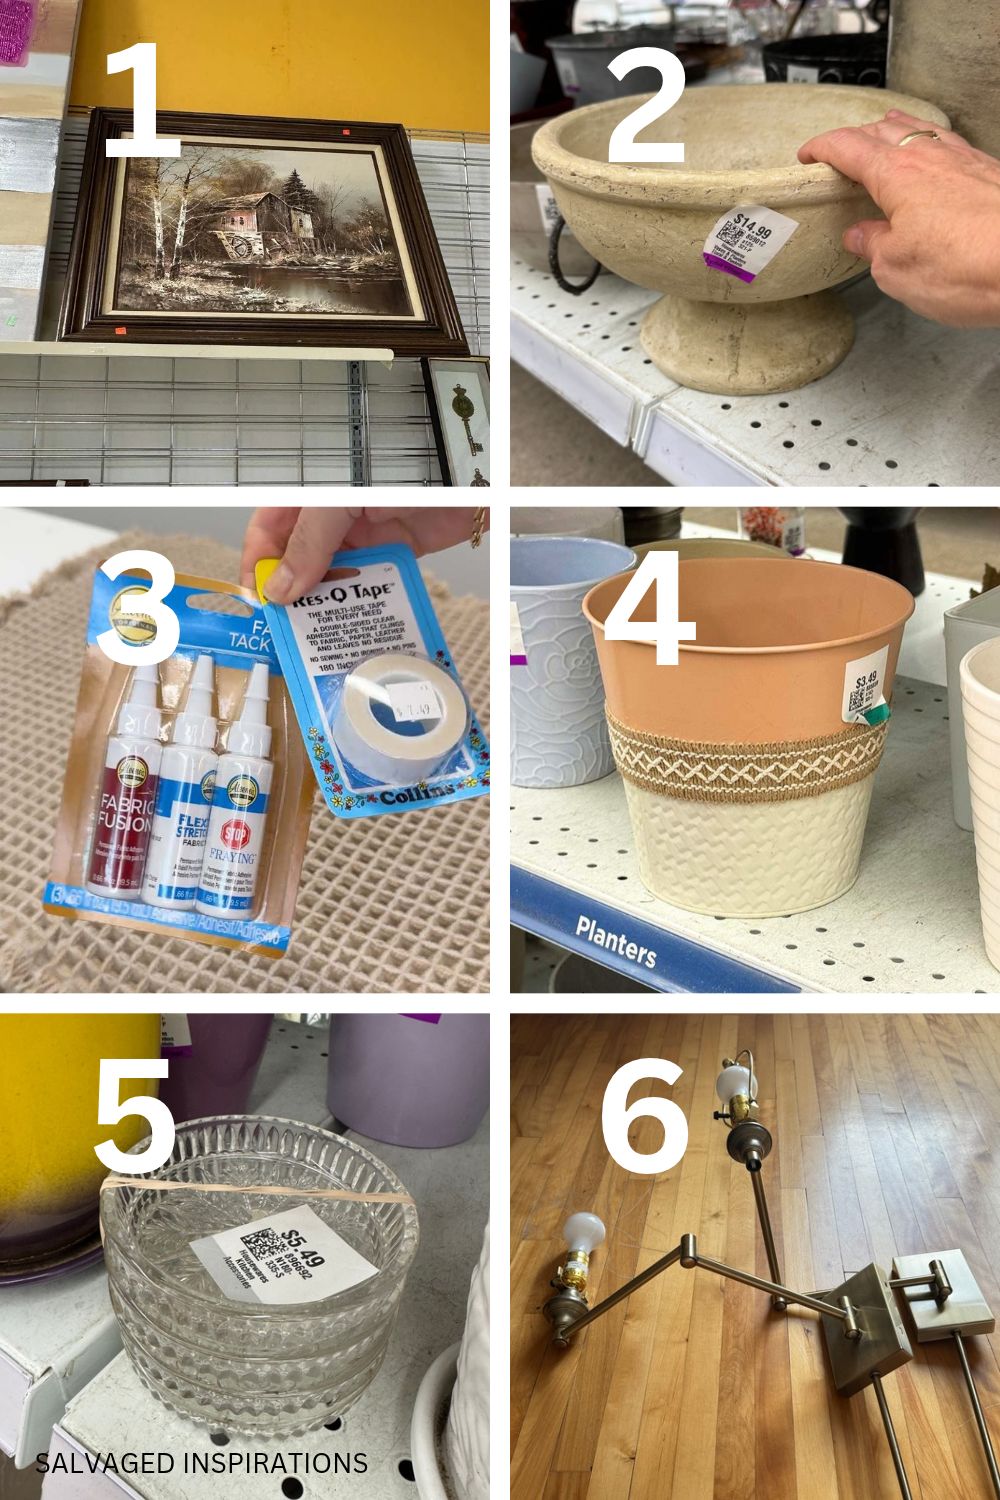
Here are the six items I thrifted…
THIS POST IS SPONSORED/CONTAINS AFFILIATE LINKS TO PRODUCTS I USE. YOU CAN SEE MY FULL DISCLOSURE HERE.
SUPPLIES
Thrifted Items – SALVAGED
White Lightning Cleaner
Trade Secret Wood Touch Up Marker
Aleen’s Fabric Fusion and NO Sew Tape
Macrame Plant Hangers
Hot Glue Gun
Mod Podge and Brown Food Dye
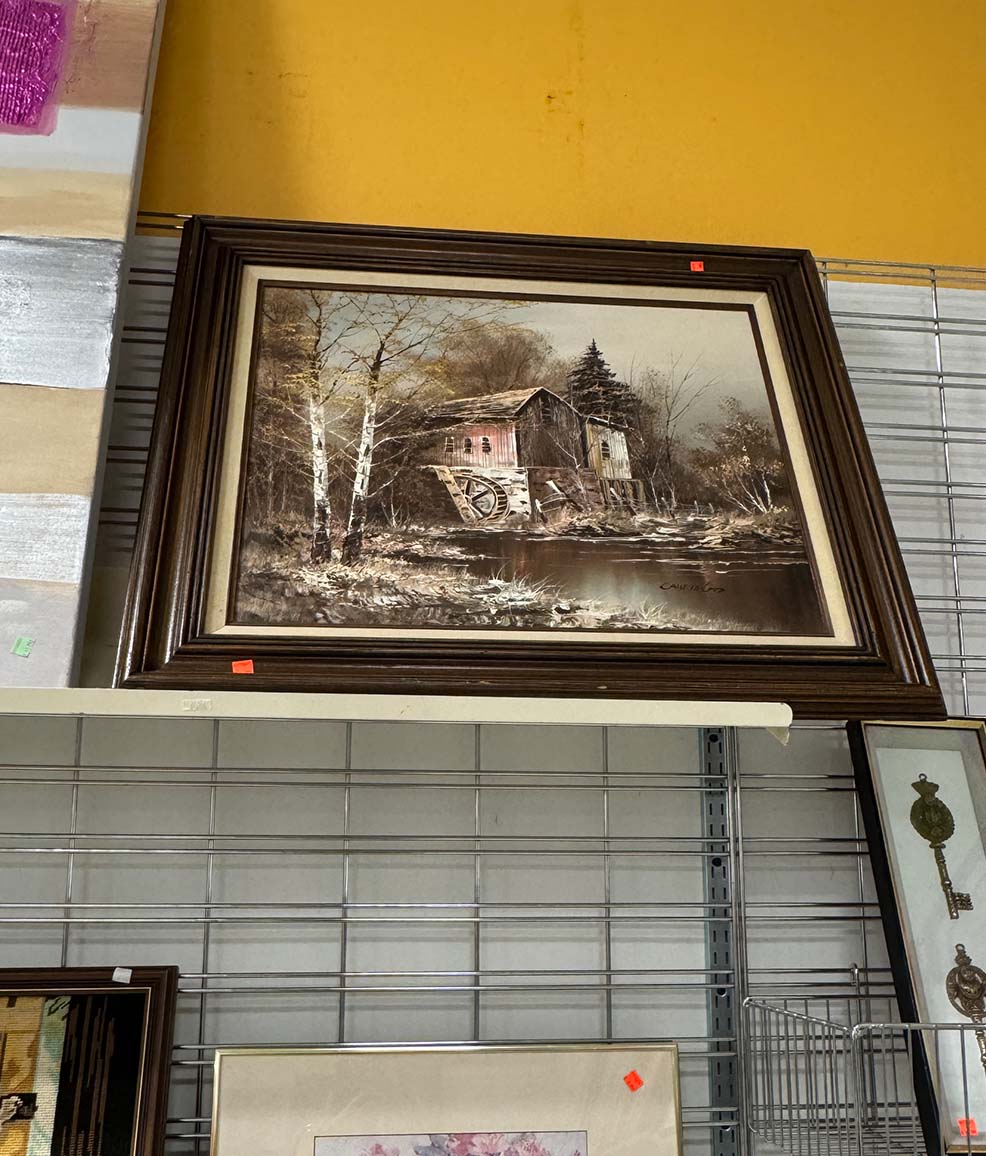
THRIFT #1: SCENIC FALL OIL PAINTING
What I thrifted: I thrifted this scenic fall oil painting selling for $24.99 with 20% off! I couldn’t resist because it reminded me of a similar painting we had growing up!
What I saw: I love collecting thrift paintings. Many thrift paintings have dated frames, but they’re easy to swap out, so I look past that. For this fall particular oil painting, I like the custom framing so no swap out needed. This is a warm seasonal scene that I can display in my home (or furniture painting styling) in the ‘ber months.
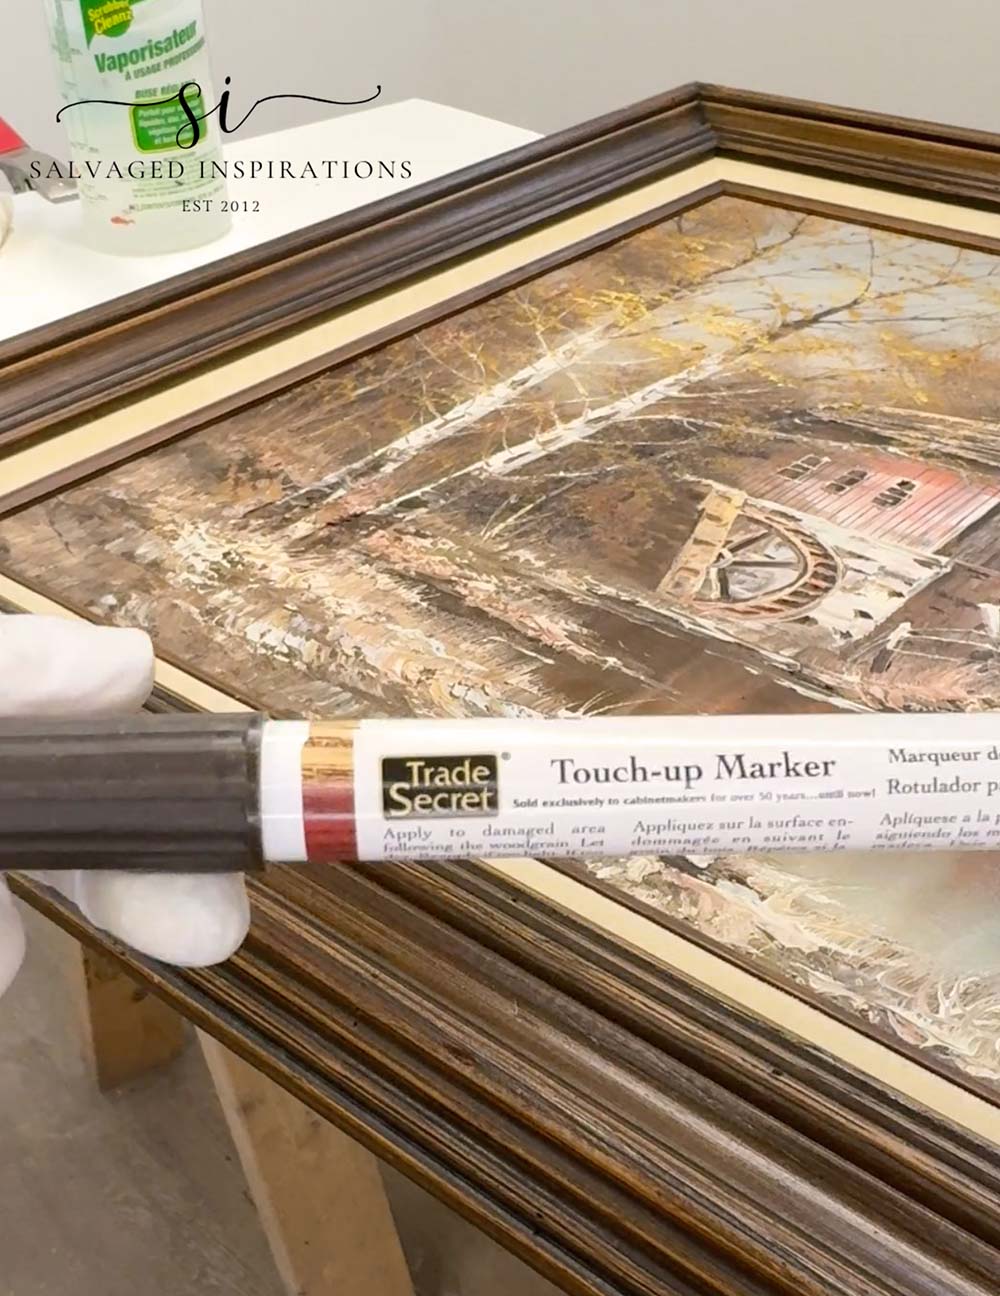
And all it needed was a cleaning and a few frame touch-ups with this Trade Secret Wood Touch Up Marker. This marker is super easy to use. Remove the lid and use the marker tip to color in the areas that need a little touch-up. I like having a few colors on hand because they are so easy and convenient to use.
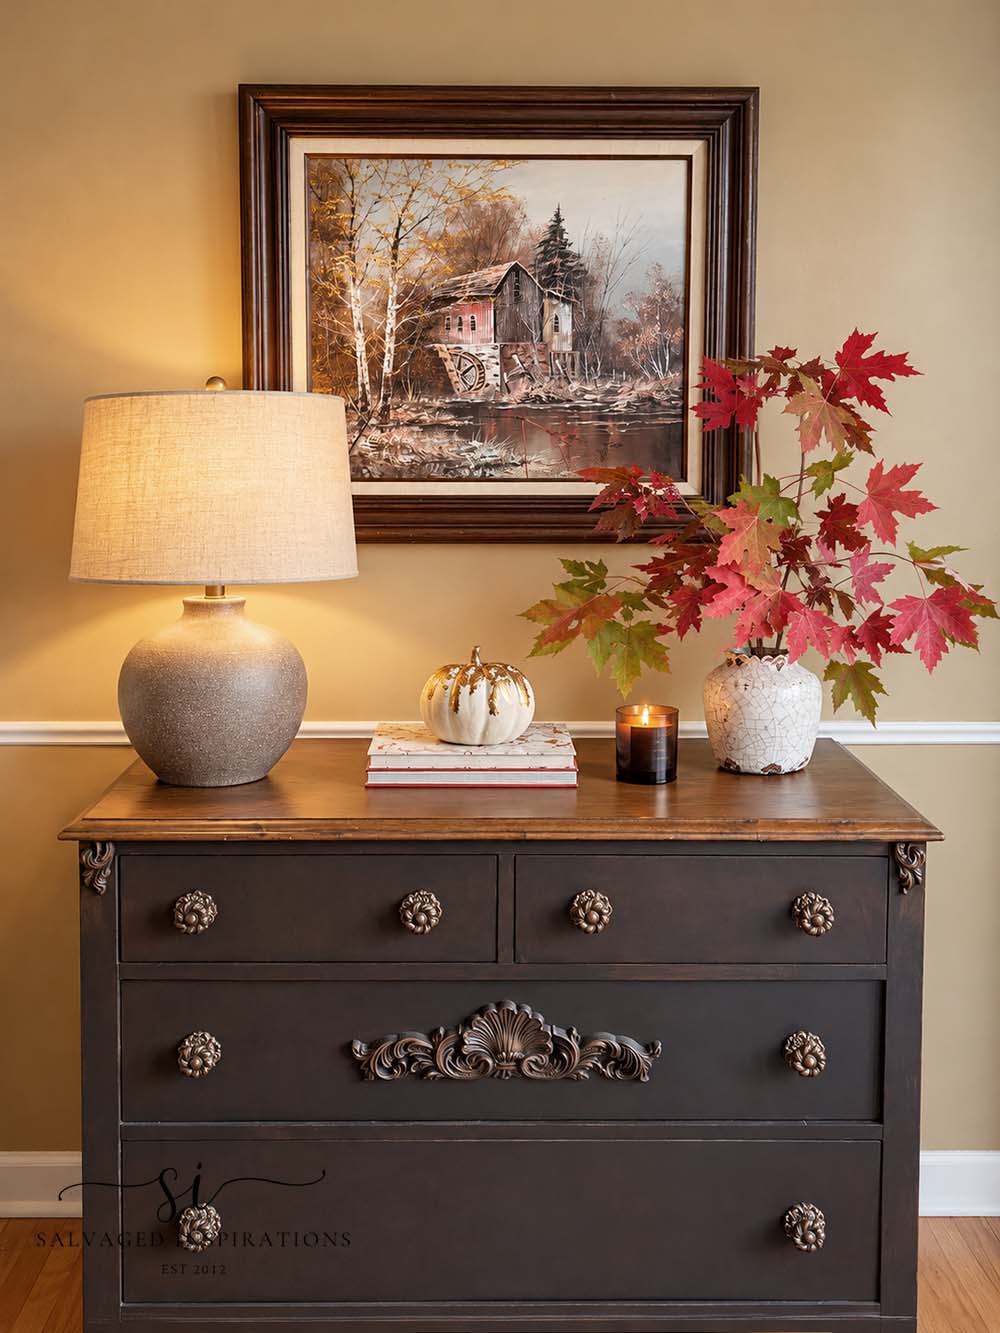
How I used it: I’m going to display it on my office wall for the season, right above the coffee bean-washed dresser I restyled. I can also use it for upcoming furniture styling photography if it suits the piece. And having seasonal styling pieces on hand like the gold-gilded pumpkin in the pic below is fun for seasonal swap-outs as well!
How it could be used: If I ever want to change up the frame to give it a different look, this is easy enough to do. I’ve also taken paintings and cut them into smaller ‘scenes‘ and reframed them. If you ever get bored of a painting, this is a great way to repurpose. Just make sure the painting isn’t valuable before taking a box cutter to it!
THRIFT #2: DECORATIVE CONCRETE BOWL
What I thrifted: I found this heavy concrete bowl (originally from HomeSense) at the thrift store for $14.99, discounted 50%!
What I saw: I really like the size, style, and makeup of this bowl because it’s versatile – it can be used for indoor styling AND outdoor styling and look amazing either way!
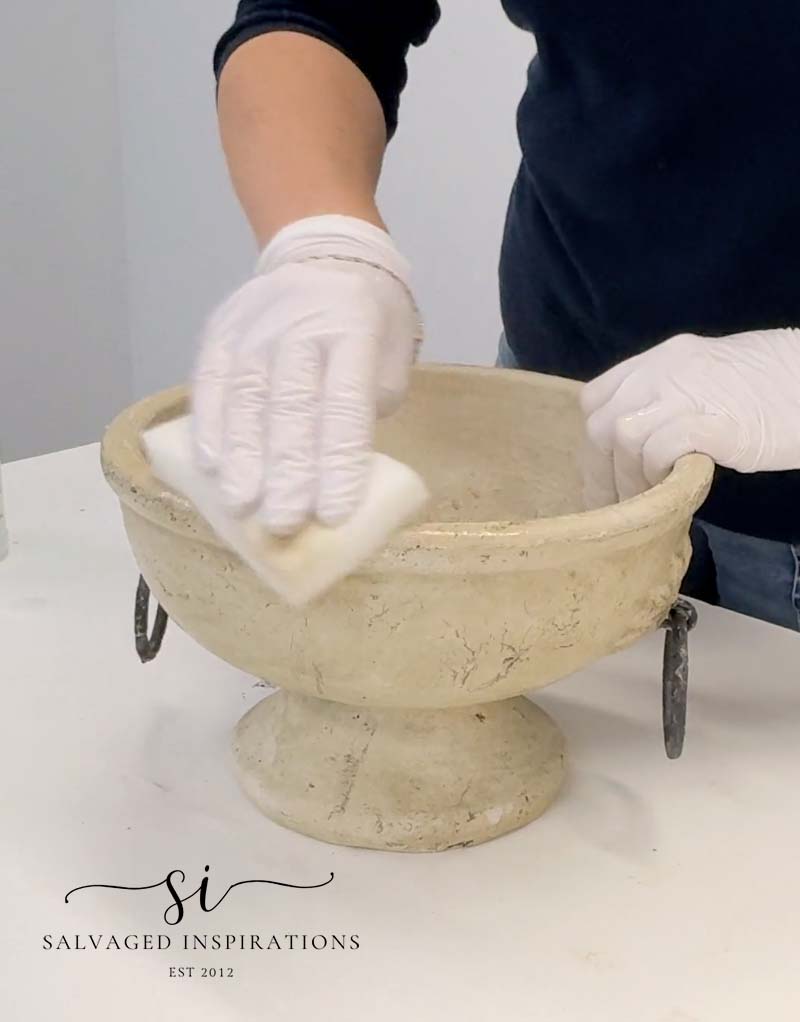
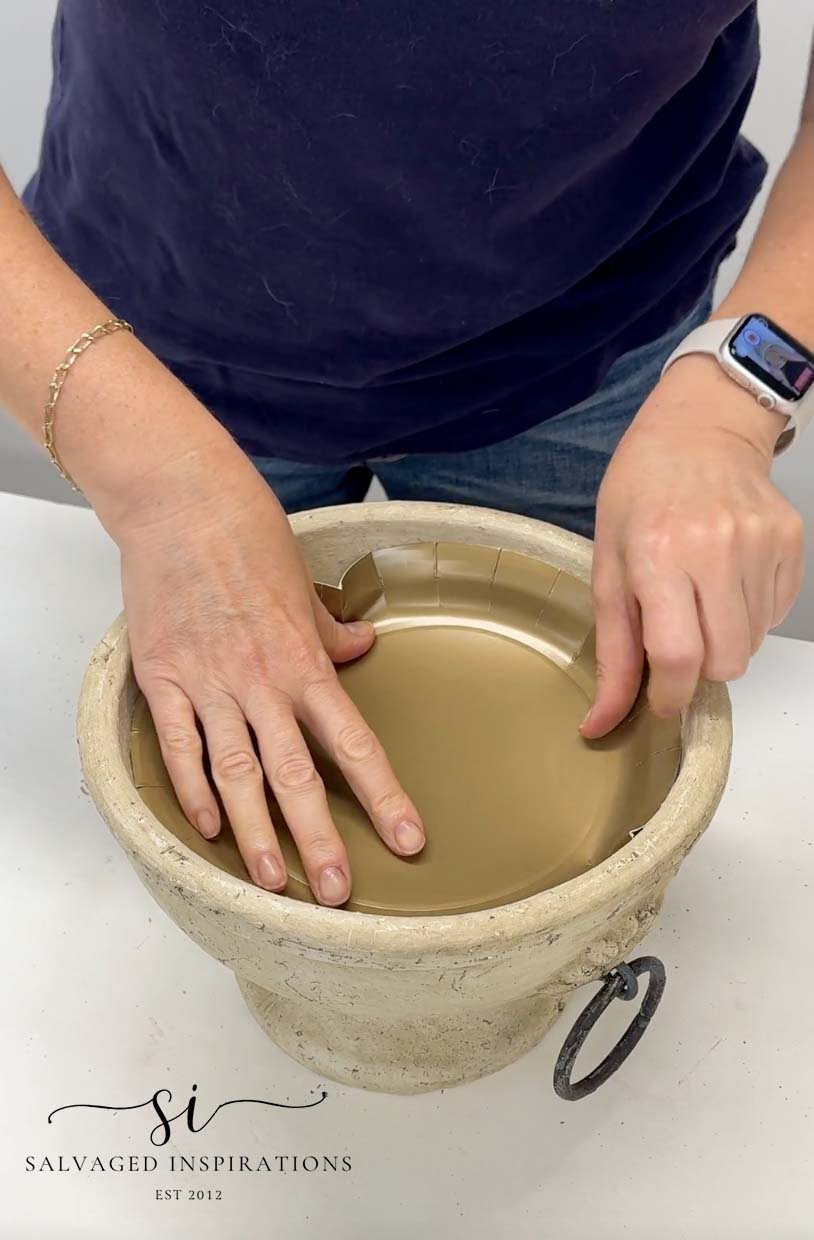
It was in perfect shape and just needed a cleaning. Also, here’s a tip if you ever have a bowl or vessel that is too deep for your intended decor. A simple, cost-effective solution is to place a paper plate inside to raise everything! *Ignore all the pet hair on my t-shirt in the pic below. Gidget and I just had BIG cuddles. 🥰
How I used it: I’m using it to display these gold-leafed apples and pears during the fall season. I think the heavy concrete paired with the delicate gold leaf looks awesome!
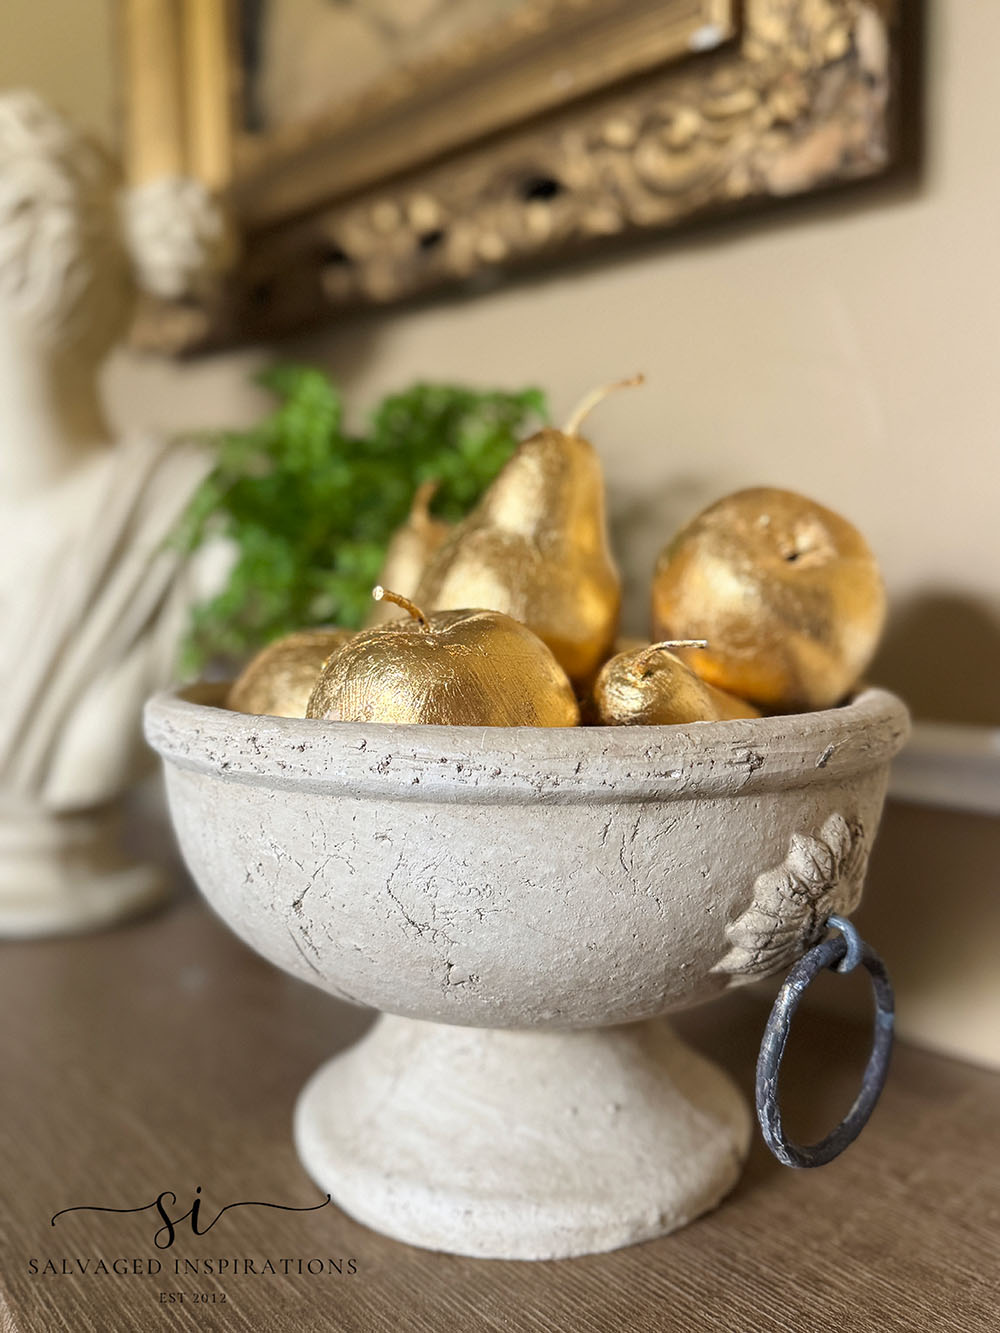
How it could be used: This concrete bowl is perfect for indoor OR outdoor decor and can be used as a real fruit bowl, floral arrangements, holding keys at a front door, or as a succulent planter, just to name a few ideas.
FIND #3: WAFFLE BATH MAT
What I thrifted: I recently restyled my bathroom vanity which you can see here. In the AI image I generated at the end of the post, it included a waffle bath and hand towel that looked sooo good.. so I’ve been on the hunt. I found these waffle bath mats selling at the dollar store for $5 each.
What I saw: They were on the small side so I was hoping I could piece these bathmats together to create one larger one using fabric glue and fabric tape. I’ve had success doing this on square industrial carpet and it looked seamless.
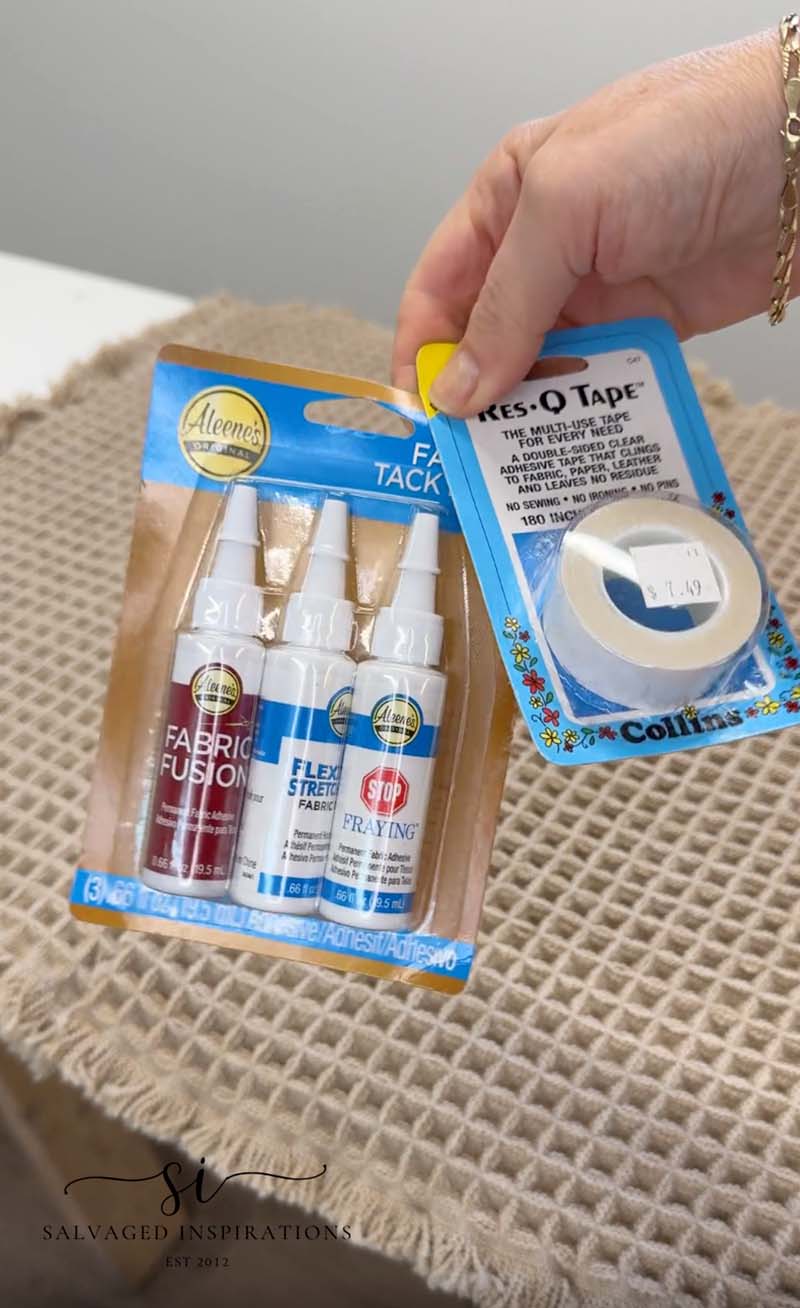
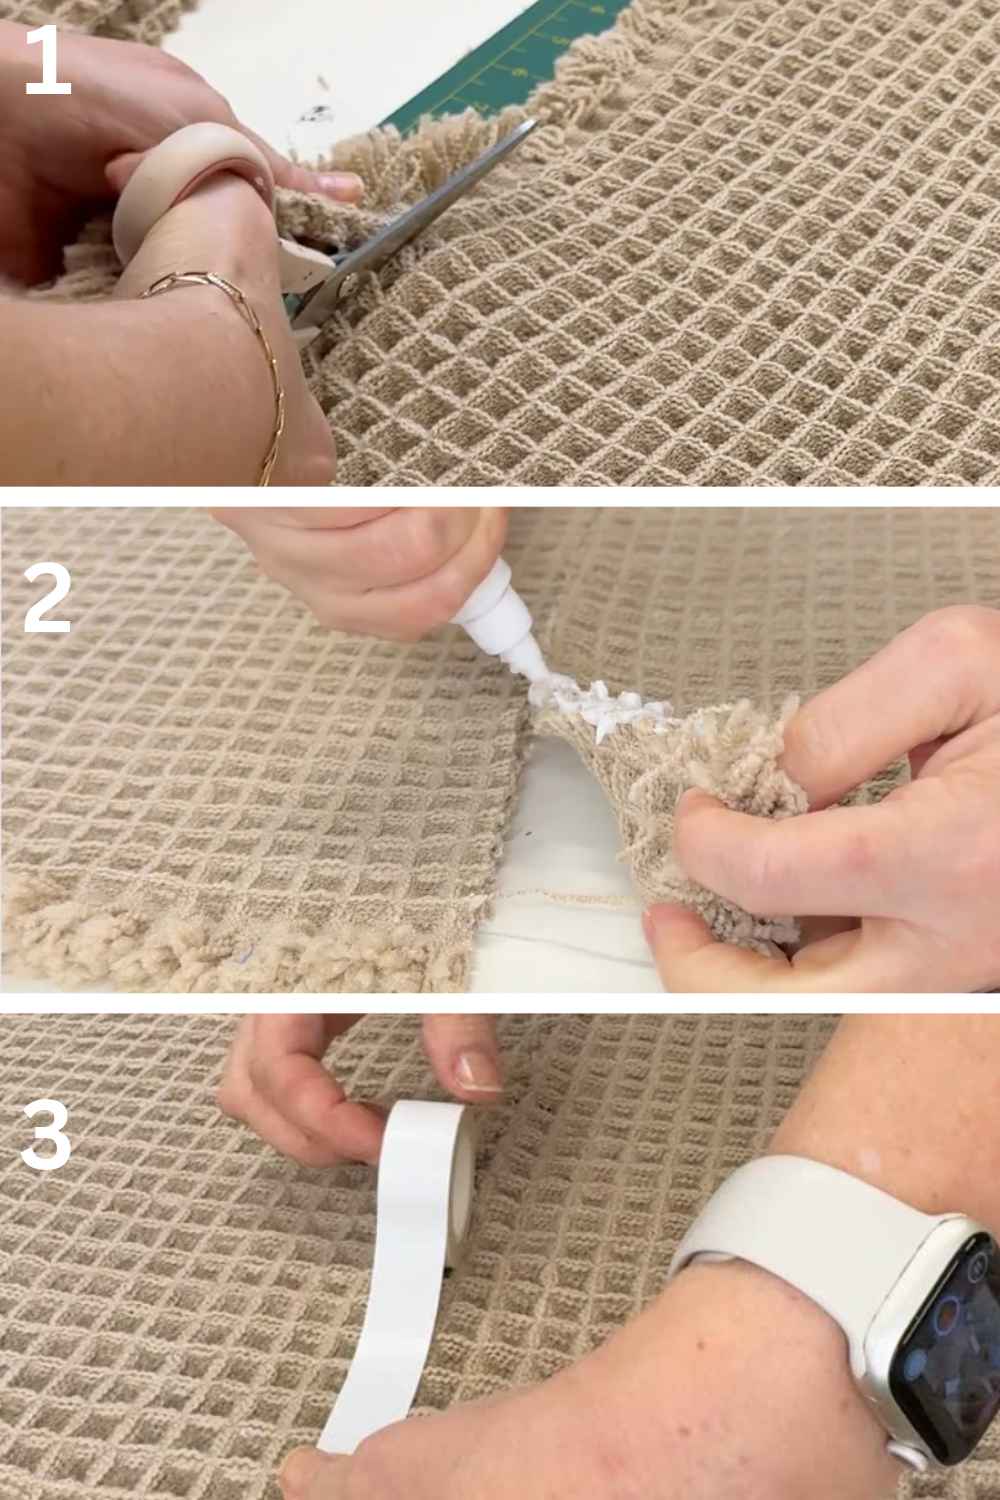
How I used it: Using this Aleens Fabric Fusion and and NO SEW Tape I cut off the one side of the fringe on each mat, and then glued and taped them together.
This didn’t turn out quite as I imagined or hoped, and I’m almost embarrassed to show you! I thought the fabric glue and tape would create a seamless mat, but the join is very visible. Still, it was a $10 experiment, and I’m glad I tried. I think a sturdier, more tightly woven fabric would have held its shape better and helped disguise the seam.
I hope this gives you some ideas, even though my result wasn’t what I envisioned. Joining fabric with glue or fabric tape can be useful for all kinds of projects—think decorative table runners, wall hangings, fabric banners, or adding trim to curtains. The trick is choosing the right fabric and adhesive for the job, and testing a small piece first!
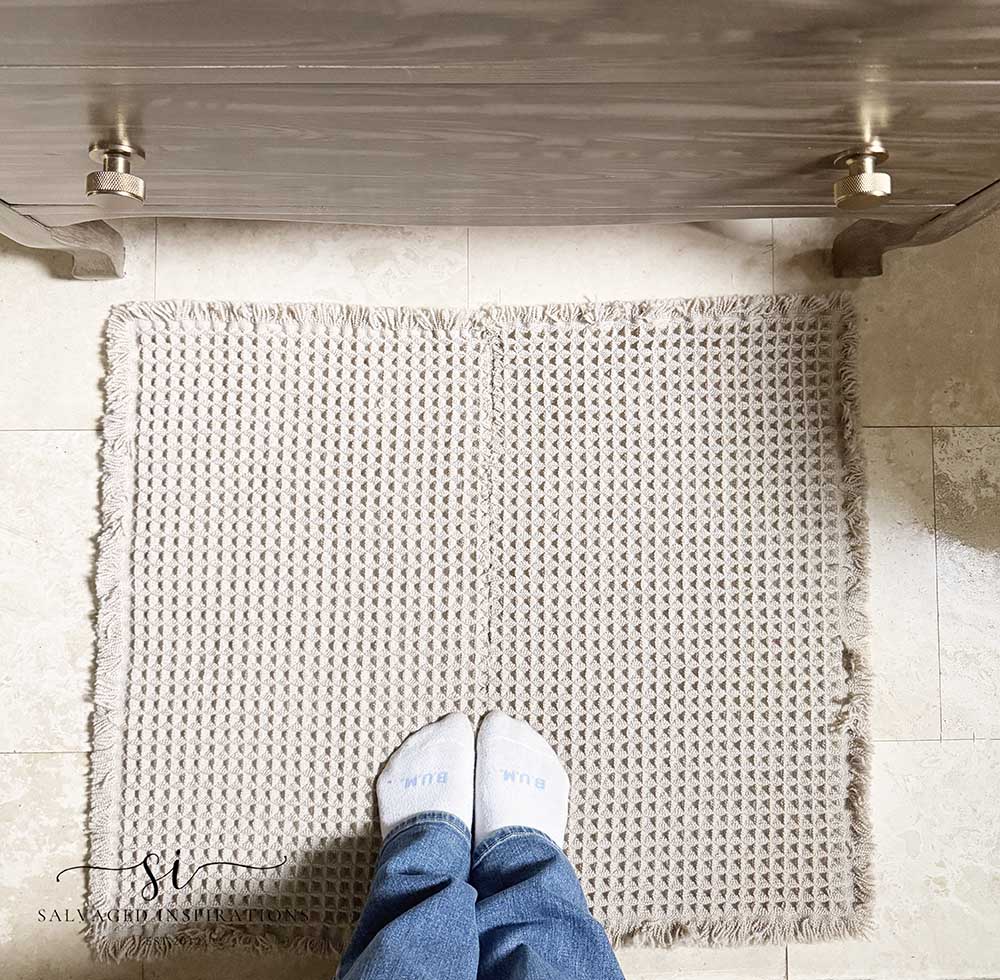
How it could be used: If it turned out it could have been used as a bath mat but instead I’ll be taking them apart and using them as a Gidget place mat to put her food and water bowls on. It will tuck under the counter lip perfectly and no one will notice the missing fringe. And I did use the trim edges on the next cute project so it didn’t go to waste!
FIND #4: BOHO METAL PLANTER
What I thrifted: I found this inexpensive metal planter selling for $3.49 with 20% off!
What I saw: I saw a metal planter that could be used with a macrame plant hanger. It was light enough that I wouldn’t have to worry about a hanging plant from the ceiling.
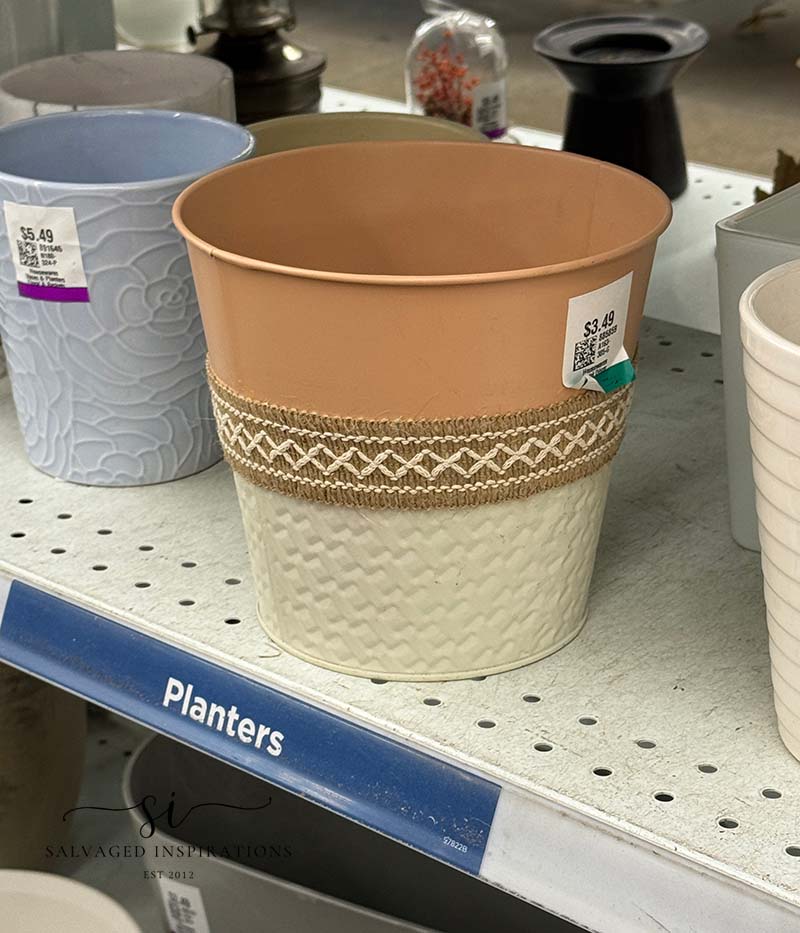
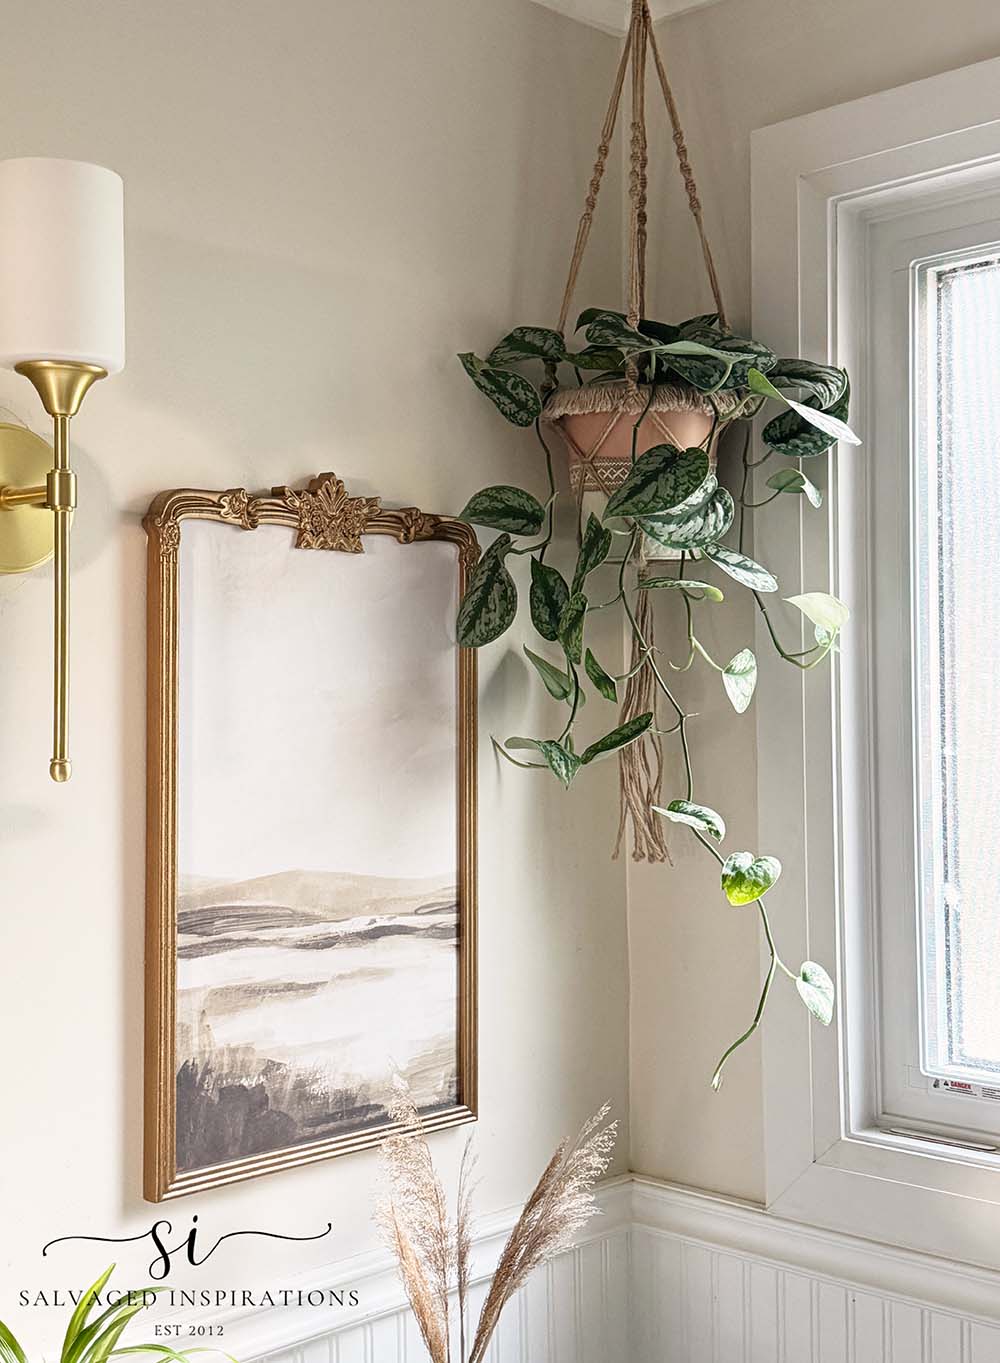
All this planter needed was a quick cleaning and a little DIY character. I decided to use the existing plastic planter for this pothos plant and drop it in. To give it a cute boho look, I used the trim off the bath mat to hide the white plastic rim and add some boho personality! It worked perfectly, and now it looks boho adorable.
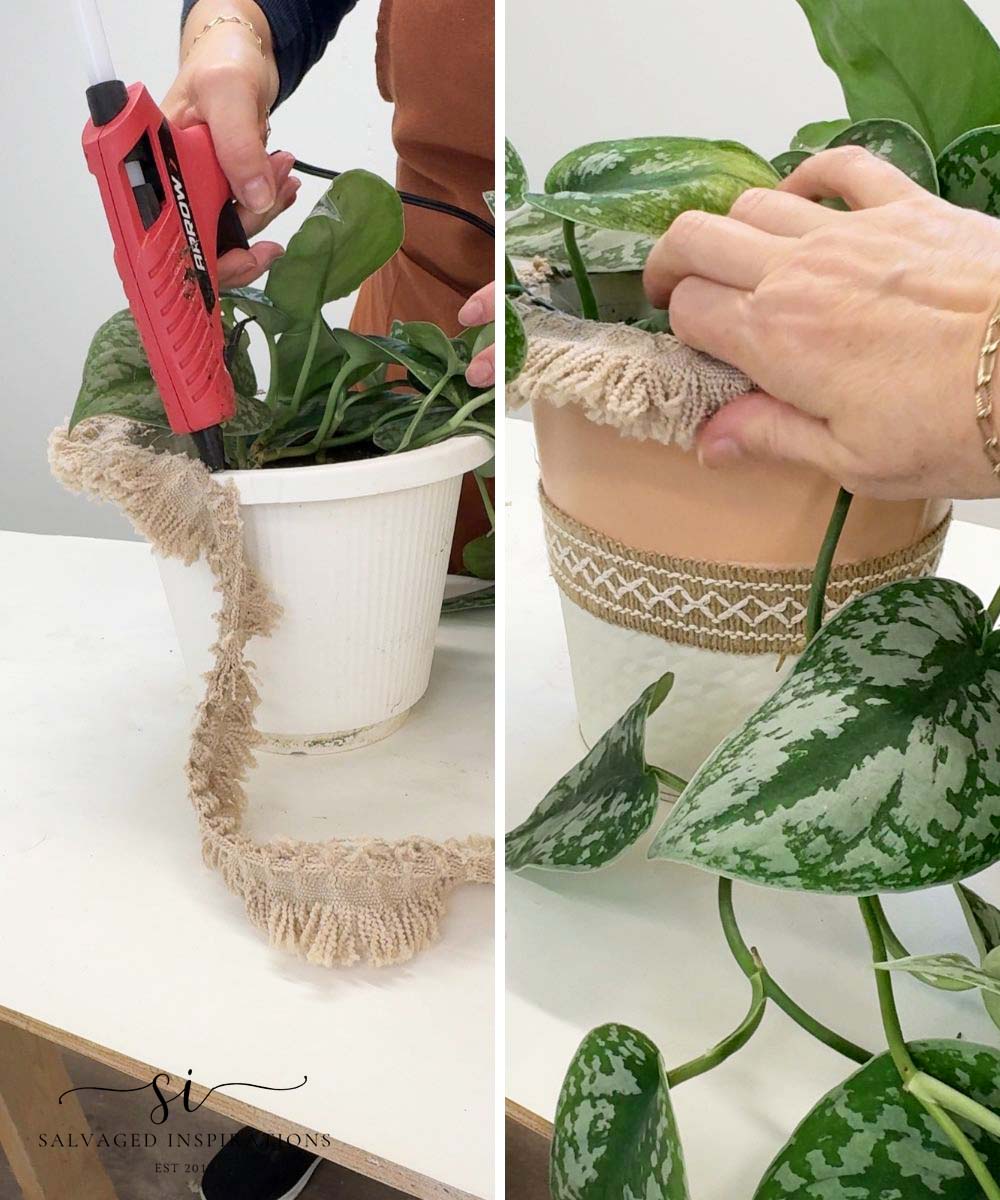
How I used it: I’m using it in the corner of my bathroom. This beautiful trailing pothos plant looks super cute in this planter and macrame plant hangers.
How it could be used: This metal planter can be used to hold anything. Paintbrushes, wooden kitchen utensils, paint sticks, plants, etc. For now, its going to add some life/greenery to the corner of my bathroom.
THRIFT #5: ETCHED GLASSWARE
What I thrifted: I thrifted a set of these glass coasters for $5.49 for 20% off.
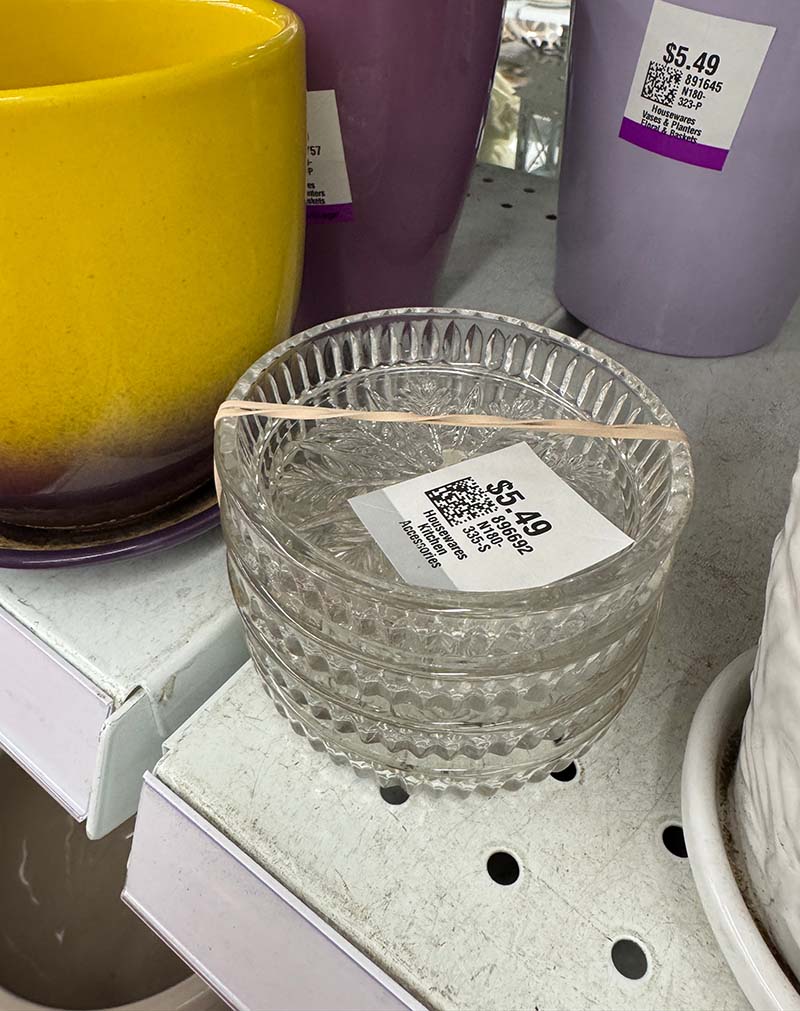
What I saw: I saw Christmas decor because of the etching, but I changed my mind once I brought them home. I’ve been LOVING the look of amber glass lately. It’s so perfect for adding warmth to the season and all year long so I thought I’d try dying/coloring glass!
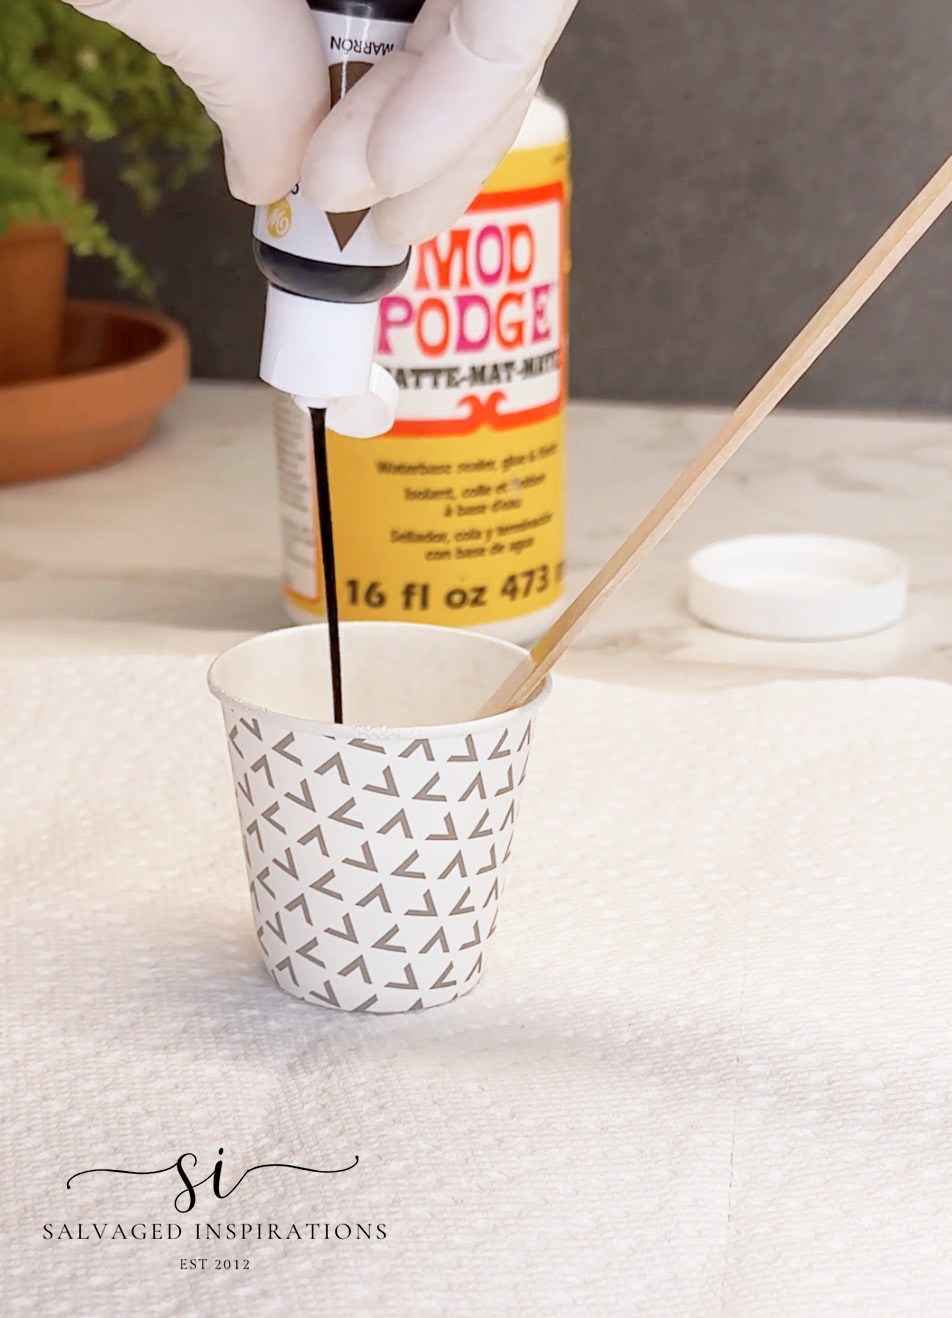
How I used it: I brought out the Mod Podge and some brown food coloring. I mixed the Mod Podge with a tiny bit of water to thin it out and then added about 15 drops of Brown Food Dye.
I poured the mixture over the bottom of the glass and let it cover the sides. It looked like chocolate! Then I baked the glass in a 200-degree oven for 90 minutes to get this transparent look.
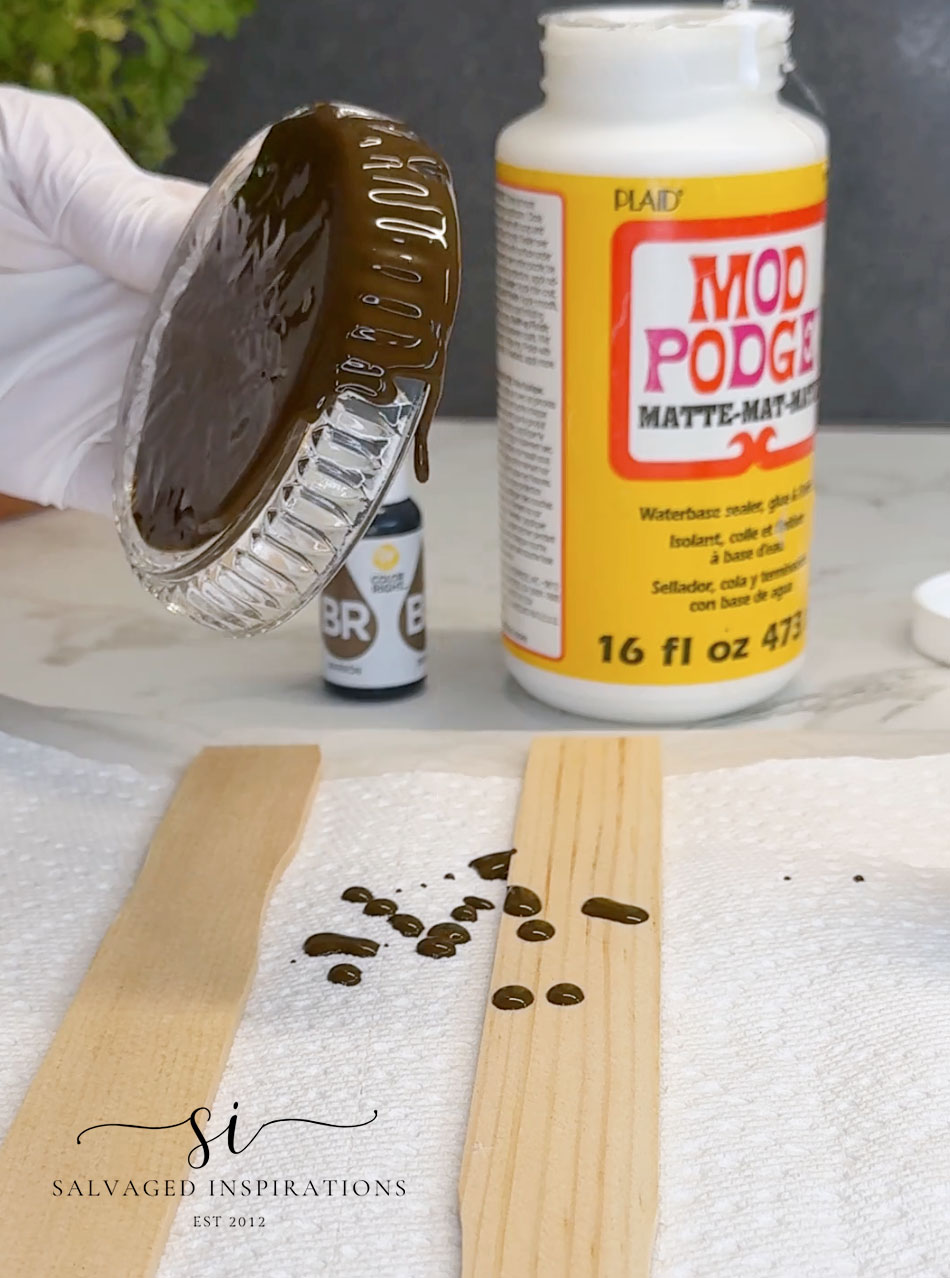
And I’m impressed! For a first try at this DIY, they turned out pretty darn good! Next time I’ll be sure to spread the dye/glue mixture more evenly because the bottoms turned out much darker than the sides. But I will definitely be doing this again, and it will be fun to explore different colored food dyes!
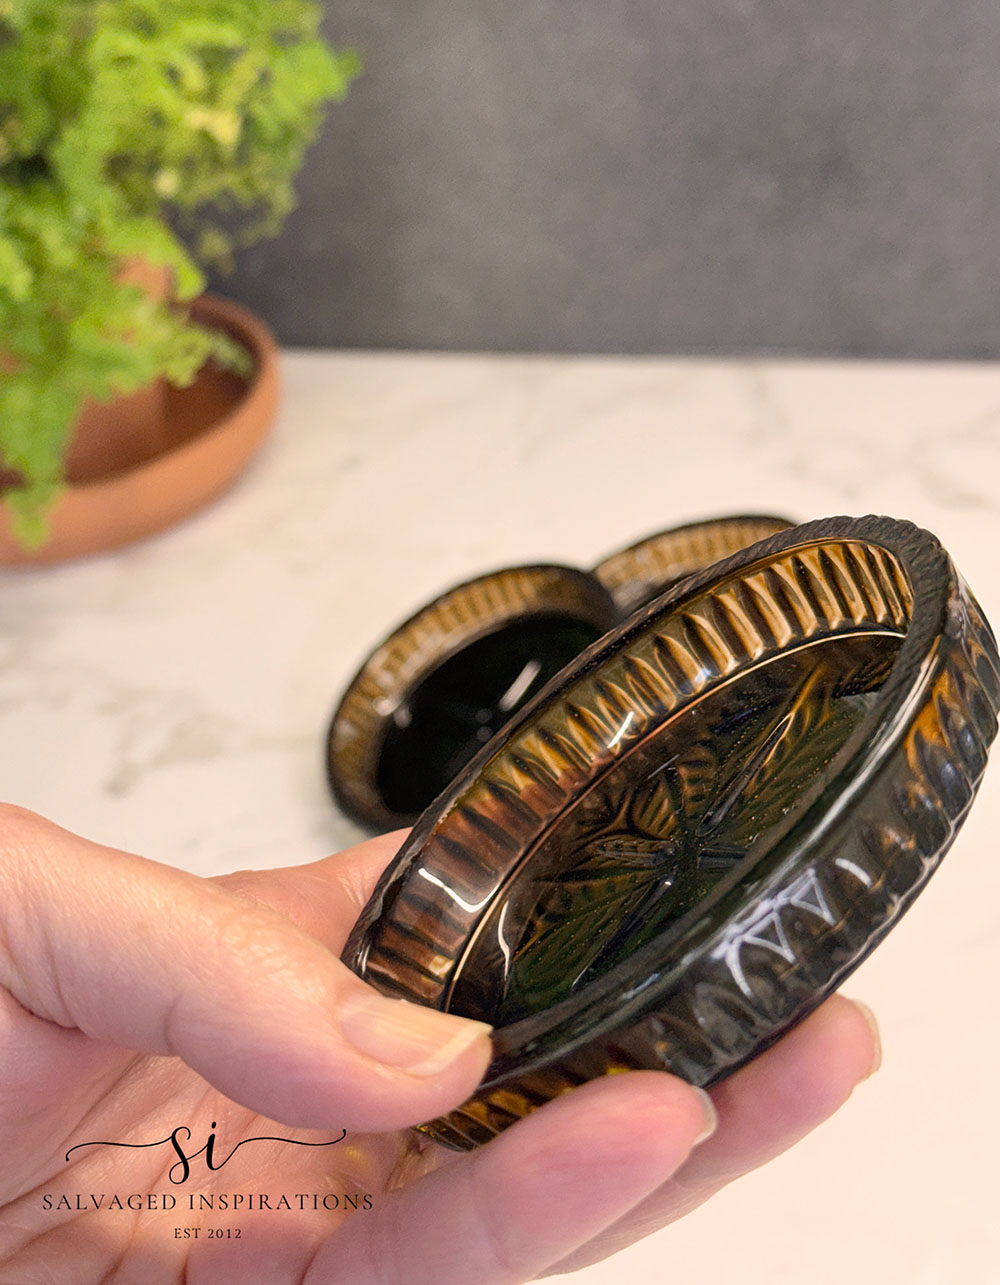
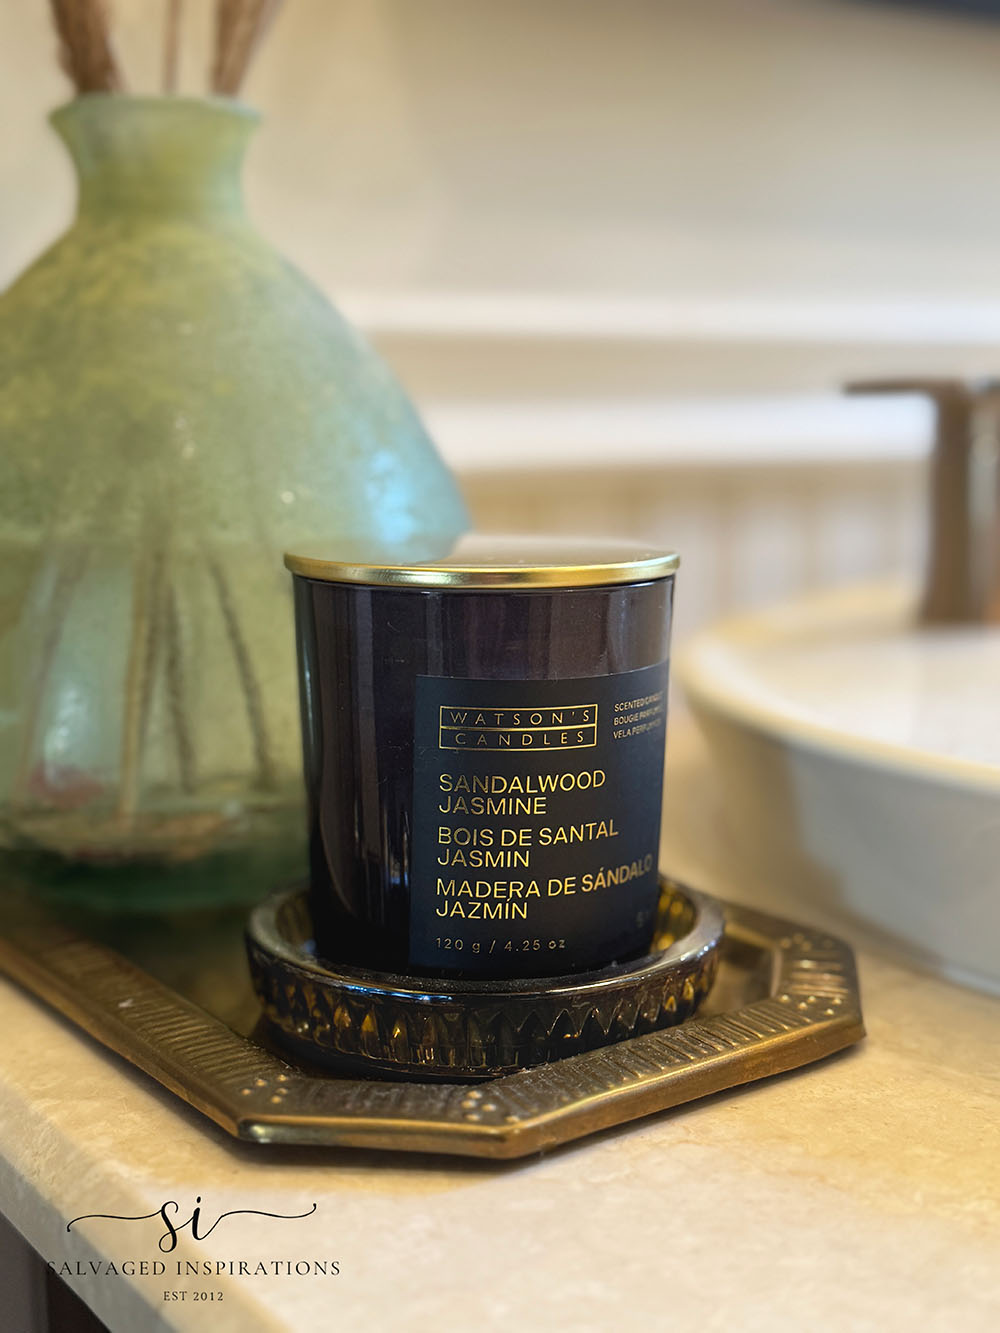
How it could be used: Dying thrift glass can create a TON of beautiful glassware for any occasion or home decor. I’m thinking themed wedding glass, candle holders, jewellery holders, or other trinket holders, glass ornaments for Christmas that was my original idea! I can’t wait to hear if you have any other ideas for glass dying/tinting!
THRIFT #6: $12 SWINGING ARM LAMPS
What I thrifted: I found these swinging arm lamps for $12 with 20% off – probably the best deal and my favourite of the bunch!
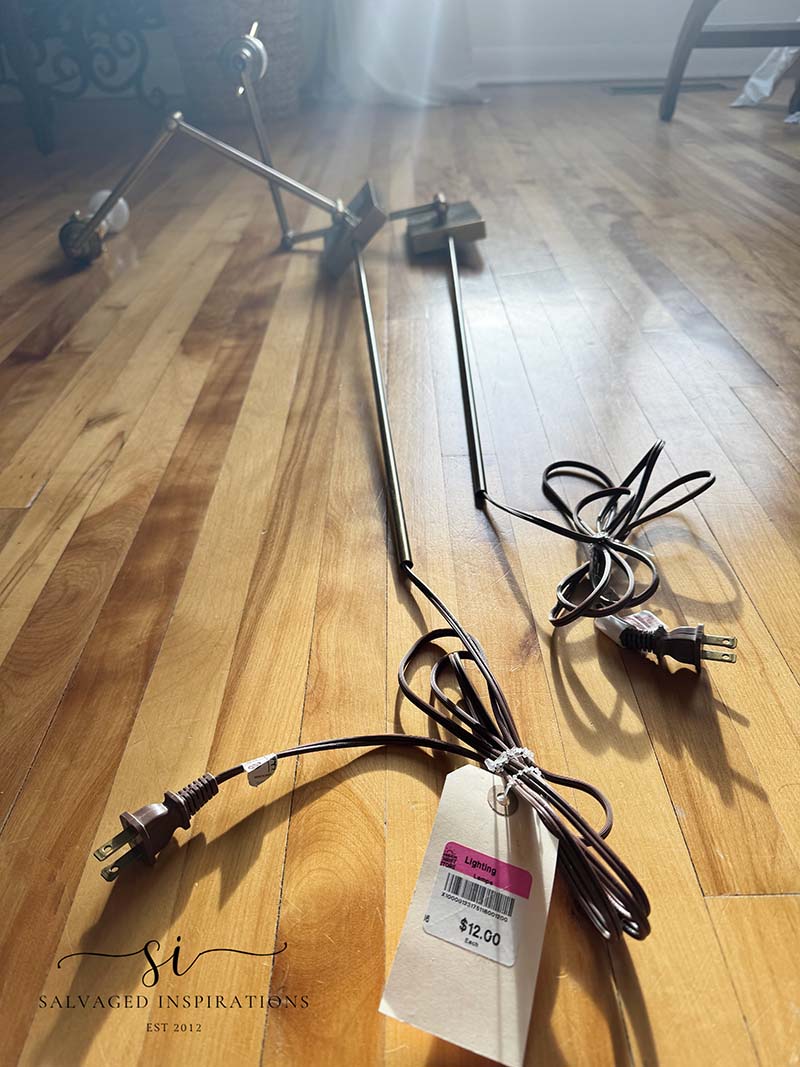
What I saw: Originally, I was thinking on either side of the big screen tv in the living room, but when I brought them home, the size wasn’t correct.
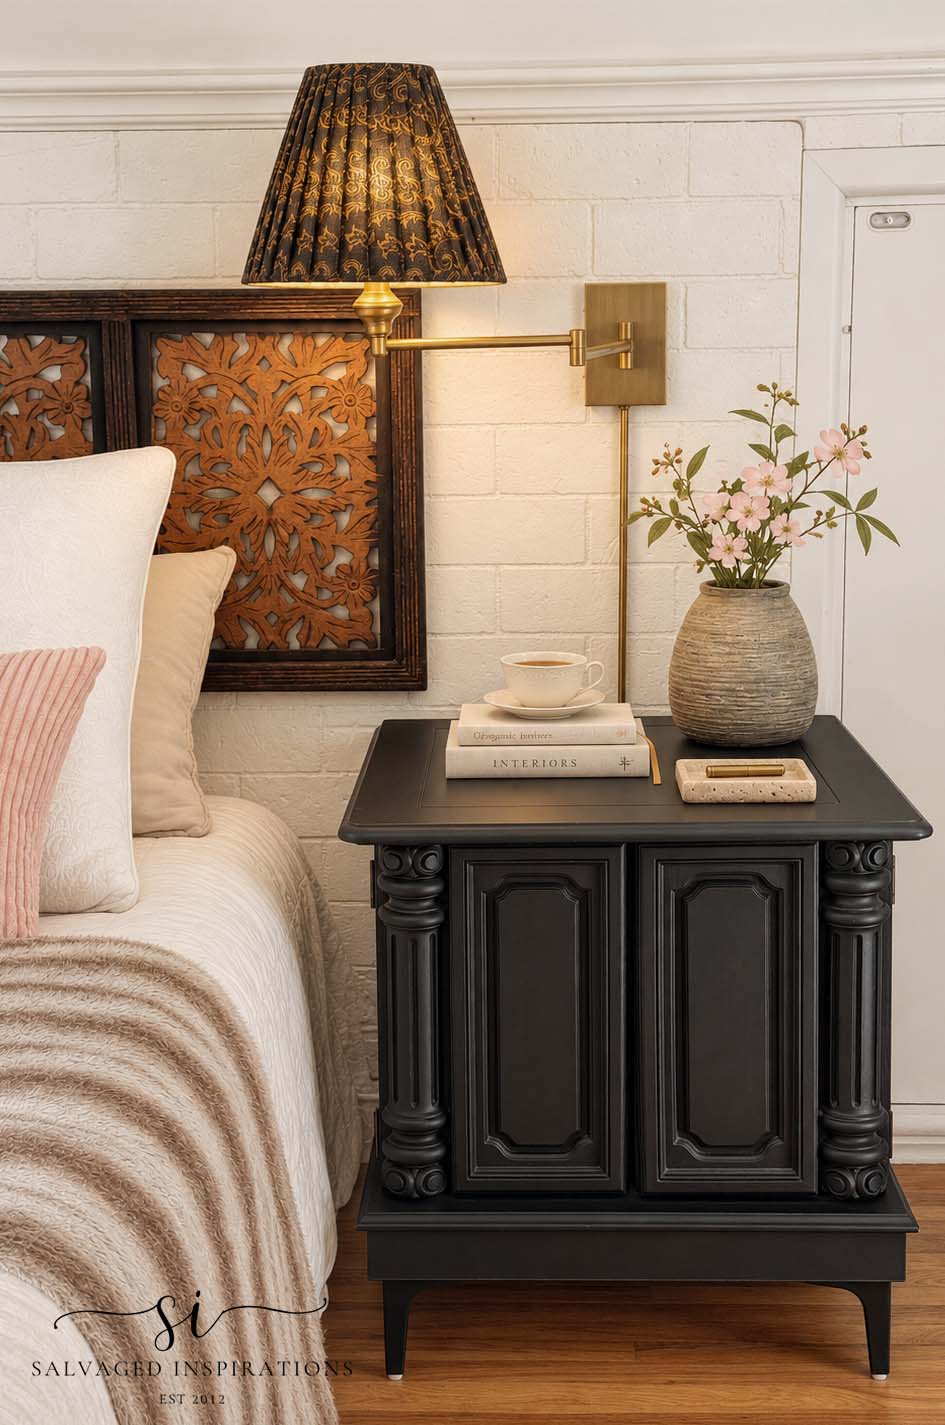
How I used it: I changed my original idea and added them above the bedroom nightstands instead. This is super convenient because it gives more space on the nightstands. I kept the DIY pleated lampshades that I made in July.
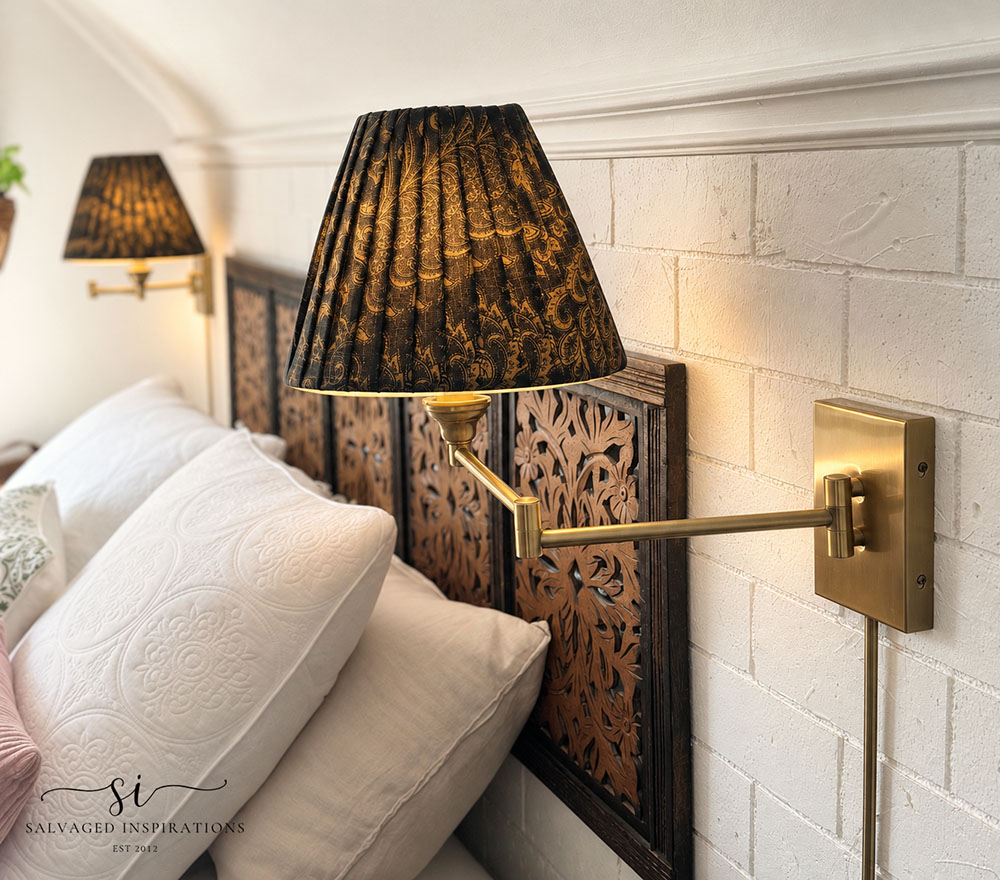
And full transparency, I did get AI to help me style the top of the nightstands (IRL it was a mess! lol) and it cleaned it up nicely. I wish it could clean and tidy the rest of my house with a few clicks of a keyboard and a prompt as well. 😀
You can check out the thrifted nightstand makeover here, and I’d love to hear what you think of this brass swinging lamp set for $12.99!
I hope you enjoyed Episode #2 of What I Thrifted VS How I Styled It and that it’s inspired you to visit your local thrift store with fresh eyes! Sometimes all it takes is a little creativity, a few simple updates, or a new way of styling something to make it feel special. That’s what makes thrifting so much fun… You never know what treasures you’ll find or what you can turn them into!
Thank you so much for being here and following along on my salvaged journey. I’d love to hear which thrifted find was your favourite, or what treasures you’ve discovered lately! Leave a comment below — you always brighten my day!
Happy creating, sweet friends! 💙
Denise x
 Hello again... I'm so happy you dropped by! Let's keep in touch! Follow me on social media or sign up for a dose of furniture painting inspiration and diy tutorials. :)

Leave a Reply