HOW TO GET A PROFESSIONAL STAIN FINISH USING THIS [BEST] SANDER FOR FURNITURE REFINISHING | LILAC VINTAGE DESK MAKEOVER
 Wondering how to get a pro stain finish on your furniture makeovers?
Today I’m sharing a furniture refinishing tool I CAN’T live without… my DeWalt 5″ Orbital Sander! It’s my workhorse that’s been put to the test for over 5+ years and on literally hundreds of furniture transformations. It scruffs up the surface to add ‘tooth’ when I’m creating a painted finish. It strips off old stain and paints in record time when I need bare wood for a stained finish. This sander is the easiest and fastest way [I know of] to prep for a professional stained finish.
I’ve created a short video below so you can see this workhorse in action! 😉
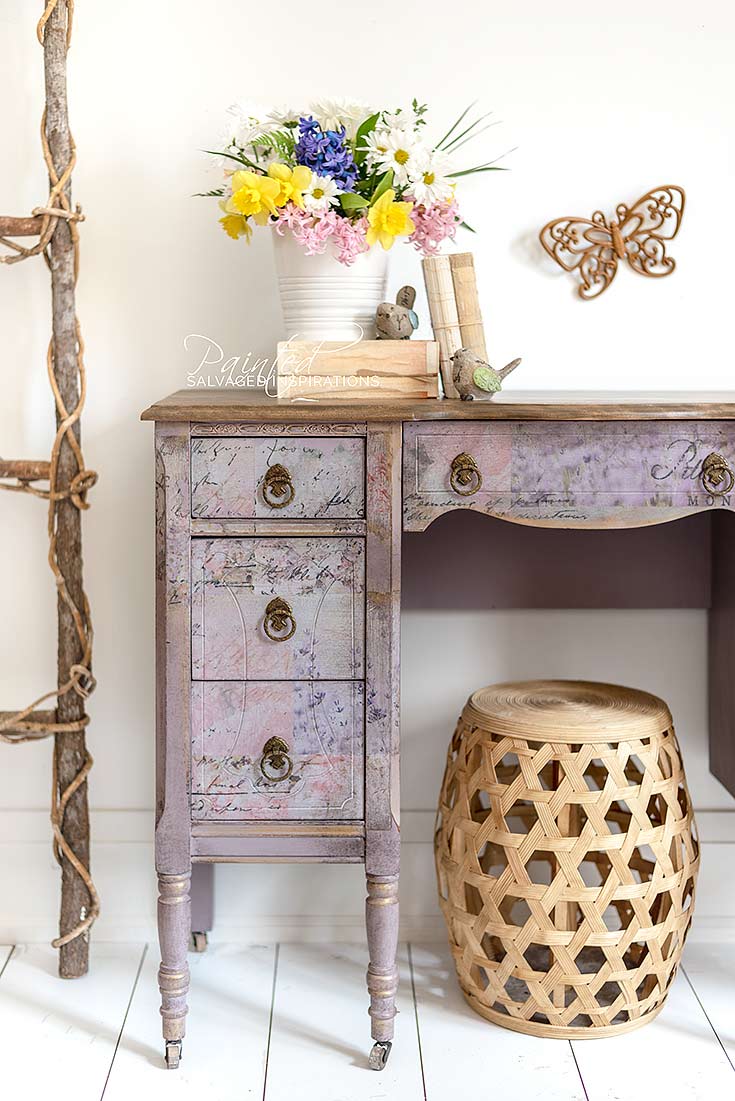
Here’s what I started with. The top of this vintage desk had some scratches and normal wear and tear from years of use.

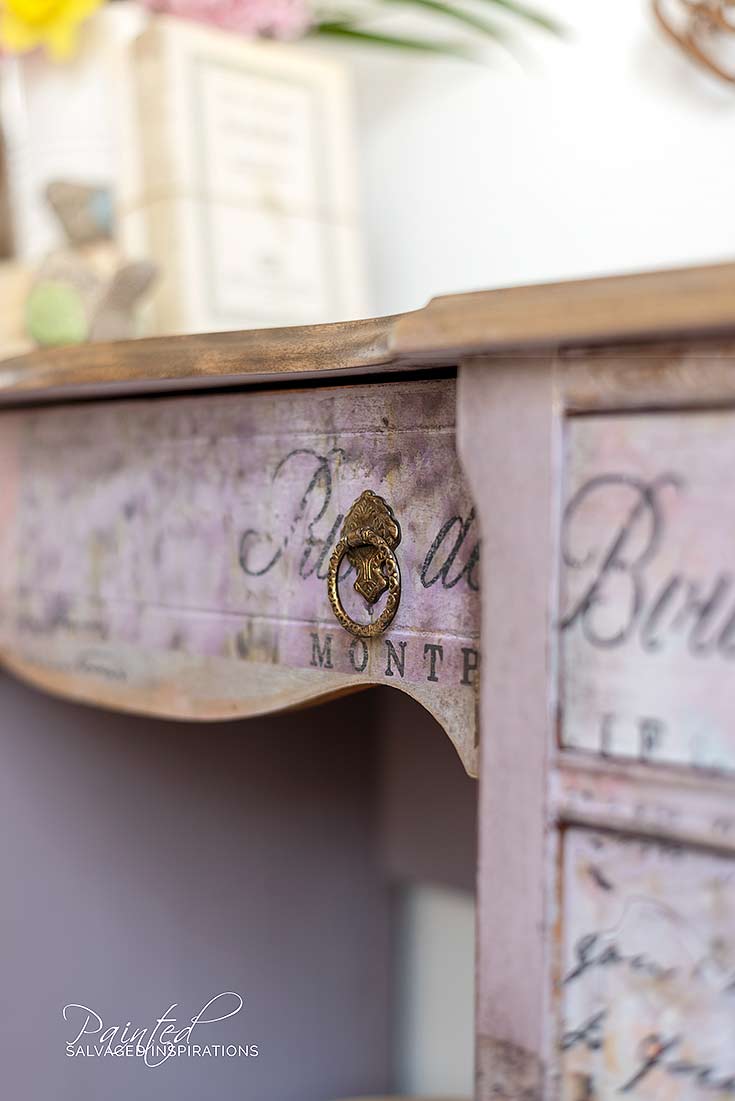
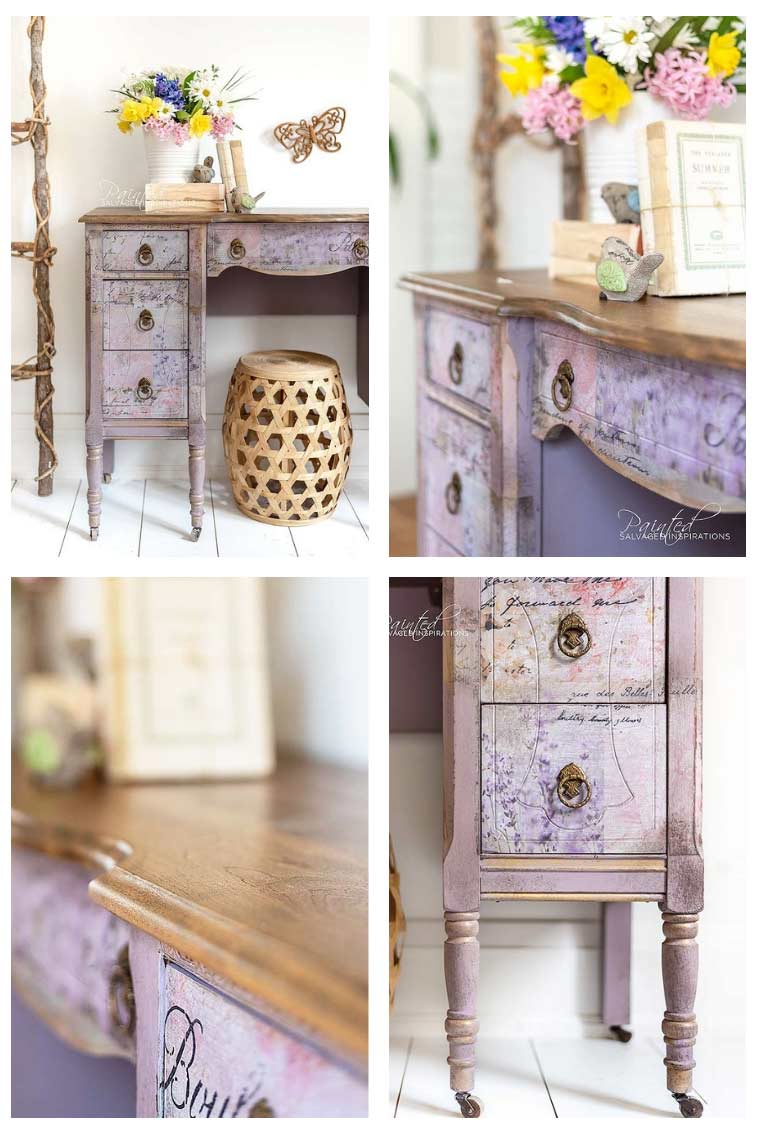
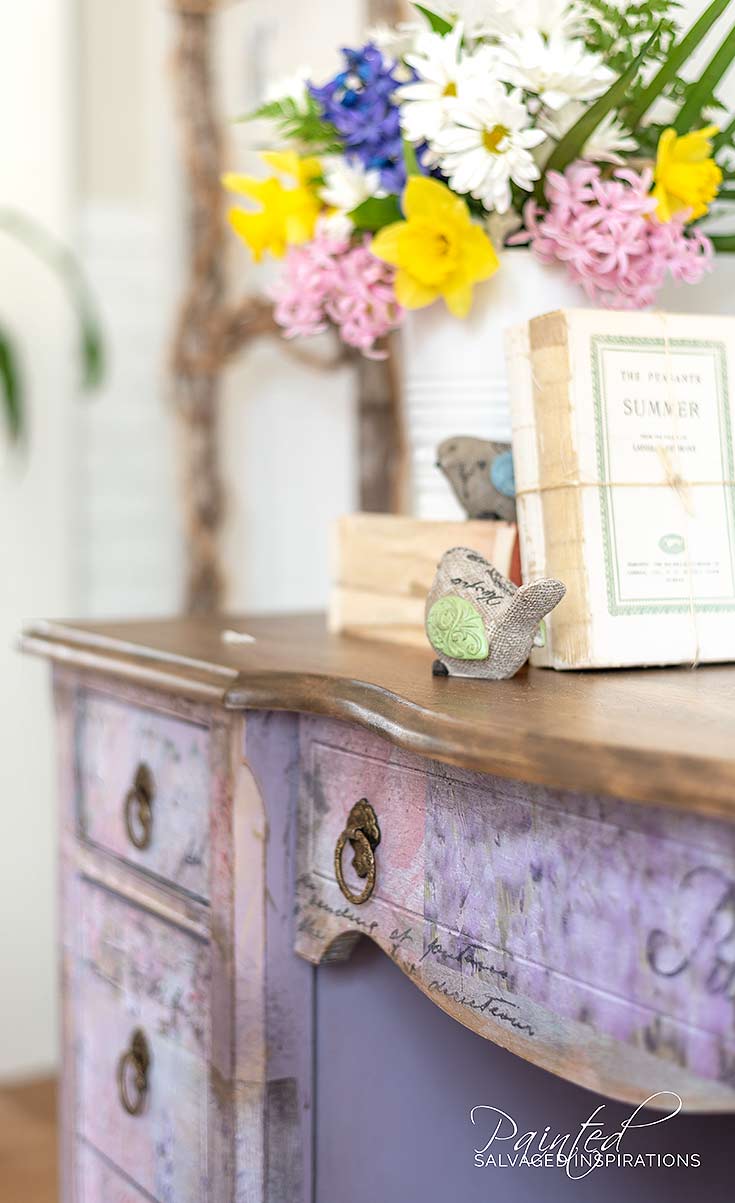
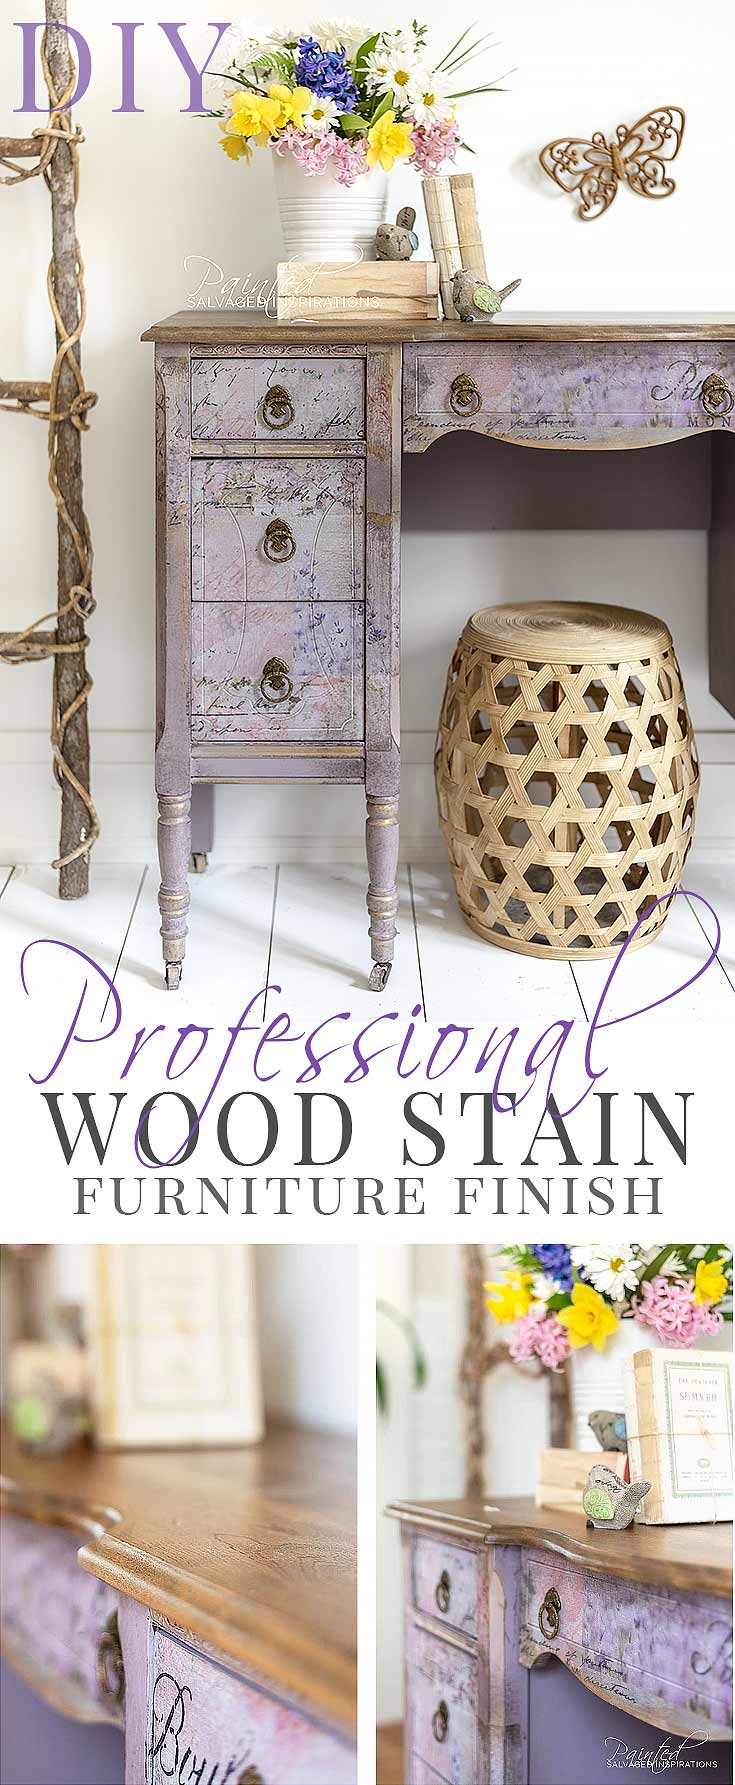
Here are a few close-ups of the refinished top. You’ll notice the lip (or rounded edge) has also been stripped and stained to complete the look.

No harsh or smelly chemical stripper was needed and the entire top including the curved and rounded lip took me under 25 minutes to sand. I find sanding is way faster than working with paint strippers!
THIS POST CONTAINS AFFILIATE LINKS TO PRODUCTS I USE. YOU CAN SEE MY FULL DISCLOSURE HERE.
SOURCE LIST::
-
- Desk | Vanity – SALVAGED
- Shop Cloth + Tack Cloth
- Sponge + Water
- Paint Brushes
- DeWalt Orbital Sander
- Driftwood Chalk Mineral Paint
- Custom Paint Mix to Create Lilac
- Floral Furniture Transfer
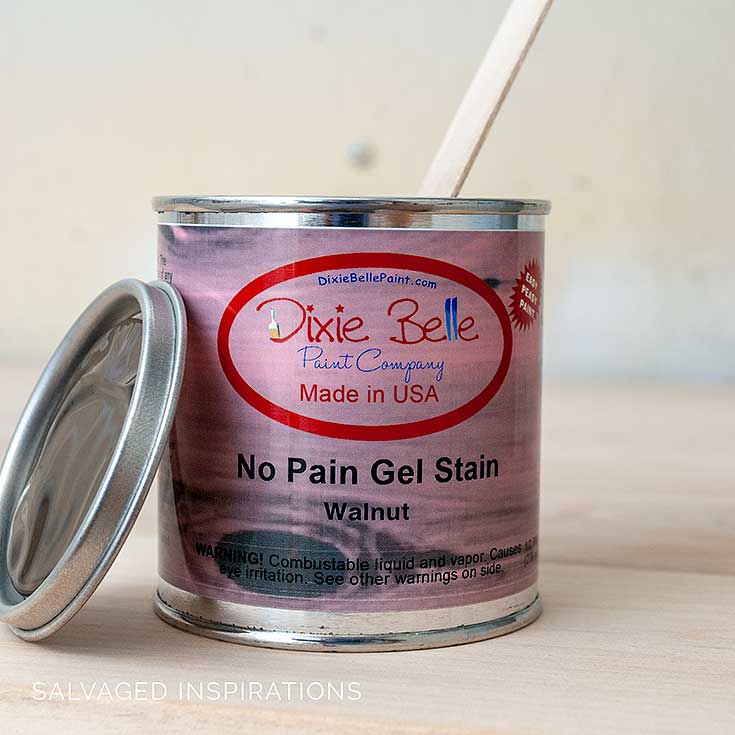
- No Pain Gel Stain Walnut
- Warm Gold Gilding Wax
- Brown Wax
- Gator Hide
BEST SANDER FOR FURNITURE STRIPPING & PRO STAIN FINISH::
Step #1:: Clean and Sand
I cleaned the entire piece with TSP and then sanded the top including the rounded edge lip with my favorite sander here. I started with an 80 grit – then 120 – then 220. The entire lip was sanded using 120 grit and then hand sanded with 220.
Step #2:: Wipe off Dust
To wipe away all the sanding dust I have a dollar store brush similar to this one here and then I use a tack cloth right before applying my stain.
Step #3:: Wipe with Damp Sponge & Apply Stain
To open up the wood grain to accept the stain, I use a wood conditioner or damp sponge. I work in small areas wiping down the wood with the sponge and then applying this no pain gel stain.
Step #4:: Wipe Excess Stain off With Shop Cloth
Once I’ve applied the stain, I wipe it off with a shop cloth. Love using these because they are lint free and super durable!

Step #5:: Topcoat and Protect
After staining and waiting 24 hours for the stain to dry, I protected my stain using this waterproof durable topcoat here.
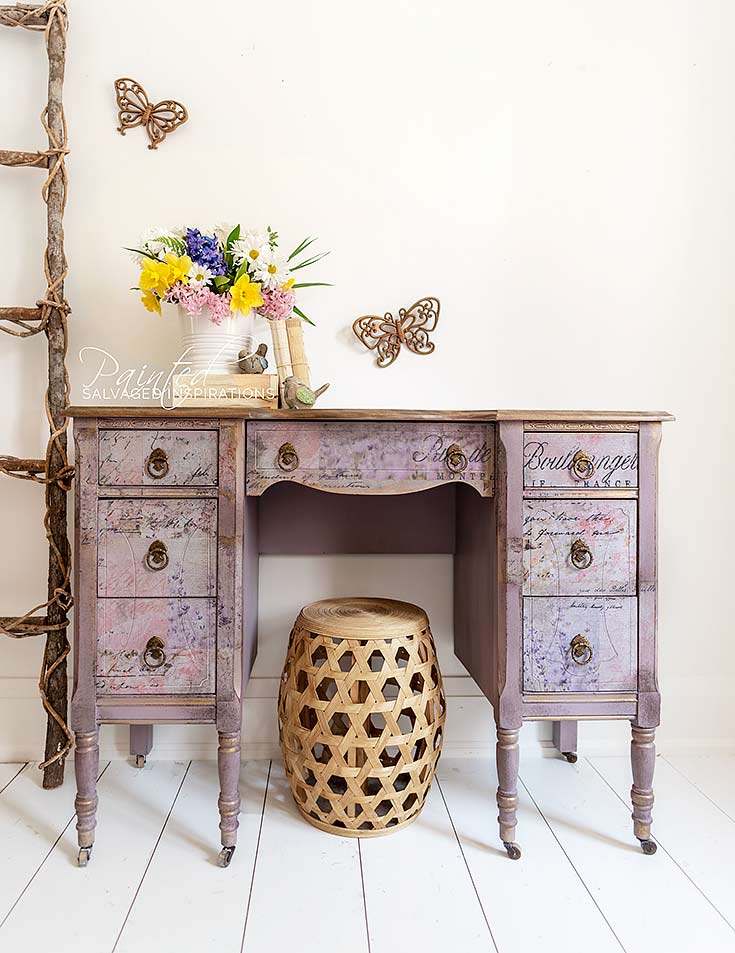
What do you think?
The funny thing is when I first bought this sander I didn’t even use it. It sat on a shelf for almost a year. At that point, I was really attached to my palm sander and I didn’t realize the capabilities of this tool.


I never thought I’d be the type to get excited over a sander but after having this workhorse in my furniture refinishing arsenal – I swear I wouldn’t go without it. It has saved me a ton of time, effort and money so it has definitely been worth the investment I made over 6 years ago!
I hope some of these tips help you get a gorgeous stain finish on your furniture. 🙂
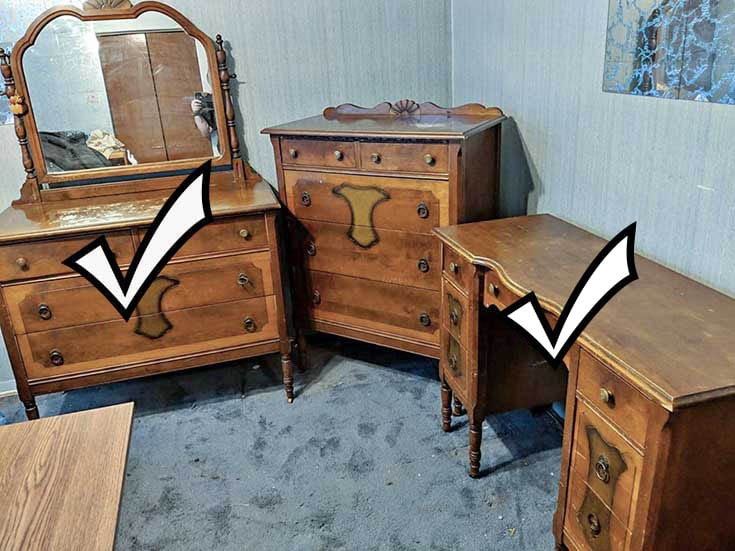
So 2 down and 1 to go. If you missed last weeks Floral Dresser Makeover you can check it out here!
LET ME KNOW WHAT YOUR FAVORITE SANDER IS AND WHAT YOU THINK OF THIS LILAC VINTAGE DESK MAKEOVER… OR FEEL FREE TO ASK ANY QUESTIONS YOU MAY HAVE… I ALWAYS LOVE HEARING FROM YOU.
Happy furniture painting my friends!
Denise x
RELATED POSTS::
How To Apply Furniture Transfers
Adding Graphics | Vintage TeaCart Makeover
Layering Chalk Paint | Empire Makeover
Stop Bleed Through When Painting
5 Ideas To Update An Old Desk
PIN AND SHARE!

Hi Denise,
I started out with a Dewalt Sander and loved mine! actually wore out several over the years. Those things touched more than half of my furniture makeover. 🙂 And let me just say, your 2019 pieces are every bit as beautiful as 2026. I’ve always admired your work and your beautiful photography. This is such a sweet makeover and the lavender gives off a soft and sweet vibe. Thanks for the reminder to look back and be proud. xo 😘
Dewalt is an awesome brand and for the cost, you can’t go wrong. I’ve been using my Bosch for the last few years and there’s another BEAST of a sander. And awww, thats so sweet/kind of you to say my friend. I feel exactly the same about your makeovers, work and gorgeous styling and photography! Hugs XOXO
One thing (one of the many things) I always enjoy about looking at your makeovers is the color. Bright, beautiful, vivid color. Makes one feel happy just seeing the color. Remember just a few years back when everything was white? White walls, white chalk painted furniture, white cabinets…surrounded in a sea of white. Your use of color brings life back into pieces most people would pass on by and not give a second glance.
PS: You may recall I’m the one with the “boho aesthetic” but painted my sofa table….white. And then wondered why I didn’t like it. You smilingly questioned that move and I do, too. LOL
Thank you so much Susan! I love a classic white, black, beige – AND I’d also be lost without using color. And now that you bring it up I do recall!😀 Color is SO subjective so I always encourage to go with your gut and what you like and love. And the great thing about paint is when we make an oops (been there done that many times!) it’s just paint and can always be redone. Paint is like magic! 🪄💙💙
Beautiful work as always! I love it and love that custom color. So pretty!
Also wanted to add that, yes, that sander is the best I’ve used. Just got it a couple of months ago and it blows others I’ve used into the donation box.
It’s a workhorse for sure! Thanks Kelly! 🙂
Hi Denise! I just found your website/instagram and I love everything you do! I’m restoring an apothecary cabinet and am planning on using a Dixie Belle gel stain, but would prefer to use something other than the gator hide, can I ask what you would recommend? Thank you!!
Will you share your recipe for the lilac color? I saw the original Dixiebelle “Amethyst” which is soooo intense and different than what your beautiful piece is painted with! Sigh. Another winner, Denise. You’re the queen of DIY furniture refinishing. Love your stuff, your videos, your posts!
Hi Suzy! I would love to share this lilac recipe with you but unfortunately, I didn’t jot it down. My Goddaughter was playing around with paints and created a custom mix. I used hers and then added something of my own. It’s a mystery even to me!
I absolutely adore this piece… <3
Thanks my friend! XOXO
That’s freshly sanded and stained wood is gorgeous!! Thanks for sharing your tips on sanding!
Hi Natalie!! 🙂 Thanks so much! XO
Looking for the lilac dresser transfer. I tried the link and it gies to the rose transfer.
Thanks for the heads up Nancy. Here’s a link to the Floral Gardens Lilac Transfer. 🙂
I have heard that use of an oribital sander would leave swirling marks on the grain. I’m completely new to all this but want to try my hand at it.
Hi Jenifer! Ya, as I was saying to Emily in a previous comment, softer woods are more prone to ‘swirlies’ for sure. I find changing up the sanding pads to higher grits really helps and adjusting the presser (not pressing down on the sander and letting the sander glide and do the work for you… especially on softer woods!) makes a big difference. If you still see swirlies, hand sand with say 220grit with the grain and it should get all of them out. 🙂
I checked out the DeWalt 5″ Orbital Sander! on Walmart.com, they have 3-4 models ranging in price from about $30 to $90. Which one do you have.?
Hi Mary! This is the ‘newer’ version of my Dewalt here. 🙂
Thanks for he link.with all the details. Seems Amazon may be less expensive than Walmart, will check out Home Depot as well. My husband is a retired Contractor, builder, custom cabinet maker, so I wanted the details to see if perchance he has that model sander, he has several. But, he tends to think women can’t or shouldn’t use certain tools (he’s a bit of a chauvinist). I plan to show him your video, and if he won’t share I plan to buy my own. The more of your pieces that I see on your blog, the more am I enthused to refinish several pieces I’ve had for years, and was at the verge of donating to Goodwill.. Not any more!!
MMM is a contractor/custom home builder too! And I get the old-school mentality (I grew up around old-school-euros…lol) and ya, they don’t want to share their tools! hehe 😉 Anyway, I hope you find a great deal on the Dewalt and show your hubby what you can do. I’m sure you’ll have a lot of fun restyling your pieces…way more fun than donating them to Goodwill! Feel free to reach out if you have any questions. I’m honored to be a part of your ‘inspiration’. 🙂
I assume MMM is your hubby? I’ve seen it posted on a few tutorial comments. Sounds like we have something in common, only mine is retired and is now into lathing pens and other items. Another question-what to you think about using glaze in lieu of Minwax or other paste wax. My concern is what another follower mentioned, heavy traffic and ware & tear.
Glaze is wonderful…love it. And then if you need extra protection you can topcoat over the glaze. 🙂
Hi I thought you might like to know that despite my efforts to buy a sander from Amazon for some reason they refuse to sell to me in England. The link offered a great price via Amazon but no delivery. If you want to increase your sales perhaps ask them about this, as I’m likely not only disappointed follower? Love your page!
Hi Danielle! Yes, I used to have a link locator attached to Amazon. Anotherwords, if you clicked on Amazon.com but were in the UK, it would redirect you to Amazon.uk. That said it was doing the wonky so I disabled it. I’ll search for a new option and see if I can’t get that installed for you. 🙂
Hi Denise,
Beautiful job on the desk. And your staging is always spot on. Bravo!
Thanks so much Anne! XO
Hi Denise, another gorgeous piece. I have a palm sander but i have picked up a couple of pieces that i know i am going to want to stain so the Dewalt is what i will get. How do you know when to change the grits of paper? When do you know that its time to move to the 220 etc. etc.? I also would love to know the recipe for that lovely Lavender. I love that color. You amaze me! Absolutely
Hi Cheryl and thank you! Once your sandpaper isn’t removing the finish as fast as you’d like is when it’s time to grab a new one. And I change grits after I have completed sanding the entire top with the first grit. Another words I sand the entire top with my 80, then go over it with 120, then go over it with 220 for example. For the rounded lip – because it’s not a flat surface, I only use the 220. Hope this helps and keep these fab questions, Cheryl. It’s my guess if you’re asking, a bunch of other people have the some questions on their minds – so keep’em coming. 😉
Hi Denise. I agree with Marie’s comment. I had also been wondering what you used for filming your videos ever since you put out your first one a few months ago. Using a GoPro for your videos is brilliant and very helpful to us readers. We can see “hands on” what you are doing. Thanks for always sharing your expertise and easy to follow tips. And again, I’m absolutely IN LOVE with this vanity!!!
Oh good, I’m glad you’re liking the “hands-on” and painters perspective. I’ll do my best to get some more videos out for you. It’s a fun little camera for sure!!!
That desk turned out so unique and beautiful. Never would I have thought to use lilac color but it is perfect. Thank you.
Thanks so much Dee! :0
Absolutely stunning. I love the color and the beautiful transfer as well. Your work is so lovely and you make it seem so easy, I also appreciate having the tools listed. And yes, I even bought my own Dewalt orbital sander because of your recommendation!
Thank you and SO EXCITING re your new Dewalt! You’re going to LOVE IT! 🙂
Love me my Dewalt tools – the best on the market hands down! I was also going to PM you and ask what you were using to film. How clever! I mean their made to film action shots and if furniture makeovers are not action shots then I don’t know what is! LOL Another stunning lavender makeover, Denise. I just love what you’re doing to this set.
Thanks so much, Marie! I love love love my Dewalt tools too! I never thought I’d be the type to get excited or enthused over tools but look at what this furniture ‘gig’ has turned me into to! LOL 😉
I have mixed feelings with mauves and purples but this color paired with the spring transfer and stain is magnificent! You make the sanding look effortless. I didn’t realize you could sand rounded surfaces with an orbital sander!
Hi Nicki!! Thanks, I really like the way everything came together too. And ya, once you get comfortable using an orbital sander it’s really handy!
Hi Denise! I am in LOVE :). what an absolutely beautiful, stunning, feminine vintage piece. This desk/vanity speaks to my soul.
Aw, thanks Monique! It was a gorgeous piece to start with with all its vintage character. I’m really happy with how it turned out too. Love working on these pieces. 🙂
How do you keep it from leaving swirl marks? I’ve done the same thing and can never eliminate them fully.
Also this sort of makes me sad because I had a dewalt orbital sander and it just died on me about a week ago. I can’t seem to keep them more than a year!
Some softer woods are more prone for sure. I find changing up the sanding pads to higher grits really helps and adjusting the presser (not pressing down on the sander and letting the sander glide and do the work for you… especially on softer woods!) makes a big difference. If you still see swirlies, hand sand with say 220grit with the grain and it should get all of them out. 🙂
gOOD TO KNOW! THANKS
Pleasure… hope it helps 🙂
Beautiful result. I love the colors and gilding. How do you finish the underside lip of the top? I tend to feel it should be stripped and finished like the top, but it can be difficult to get to. Shorter pieces aren’t as noticeable, but taller ones are. What do you do?
Thanks Elizabeth! 🙂 And I like painting the under lip with the color of the piece. You can see the results in one of the pics above. It ties everything in but then I don’t have to worry about leaving sanding marks/dings on the actual face of the piece while I’m trying to sand the underlip. I never had much luck with that.
These colors are pure happiness! This is so lovely, my friend. Your talents never disappoint. xo 😘
Aw, thank Do! I know you’re a Donny Osmond/purple fan 😉 (totally in love with the gorg purple highboy you did!!) so I hope this puts a smile on your face. Have a super day. XO
That.is.absolutely.gorgeous. OMG!!! 💕👏🏻🙌
Thanks so much Sophie! XO