 True story. Thirteen years ago, when I first started dating MMM, I mentioned my home was filled with junk and thrift finds. I told him this in a lighthearted joking manner, testing the waters – or maybe subconsciously, I was trying to prepare him for my DIY ways. I’m grateful he ‘gets-me’, and he loves that I see things differently. Where many people may view an item as worthless and disposable, I see a fun and creative DIY challenge.
As I’ve shared with all of you lately, not a whole lot of decorating has been taking place around here in the last few years. But, I guess some things never change. When I spotted this cable spool in front of a local business, I knew exactly what I wanted to do with it and exactly where it was going to go. And once again, another ‘junk find’ has found it’s way into my home.
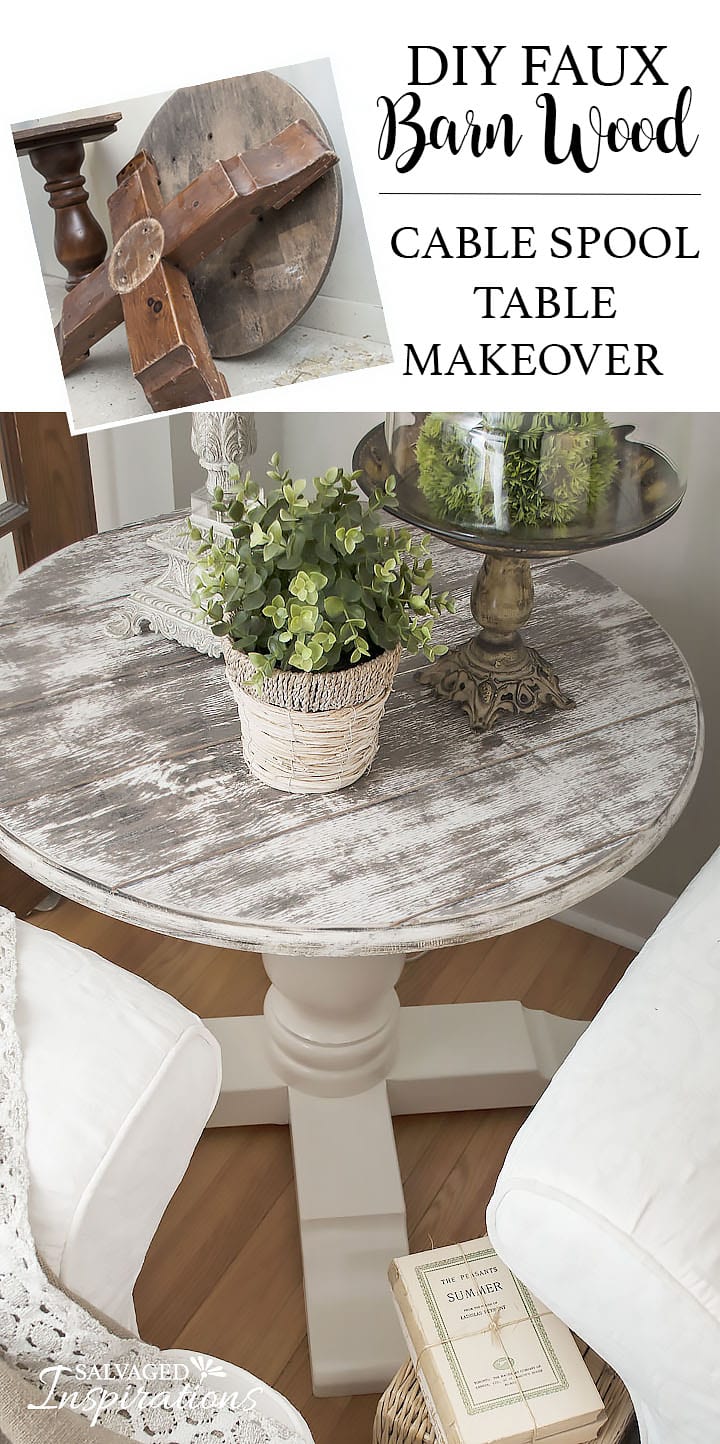
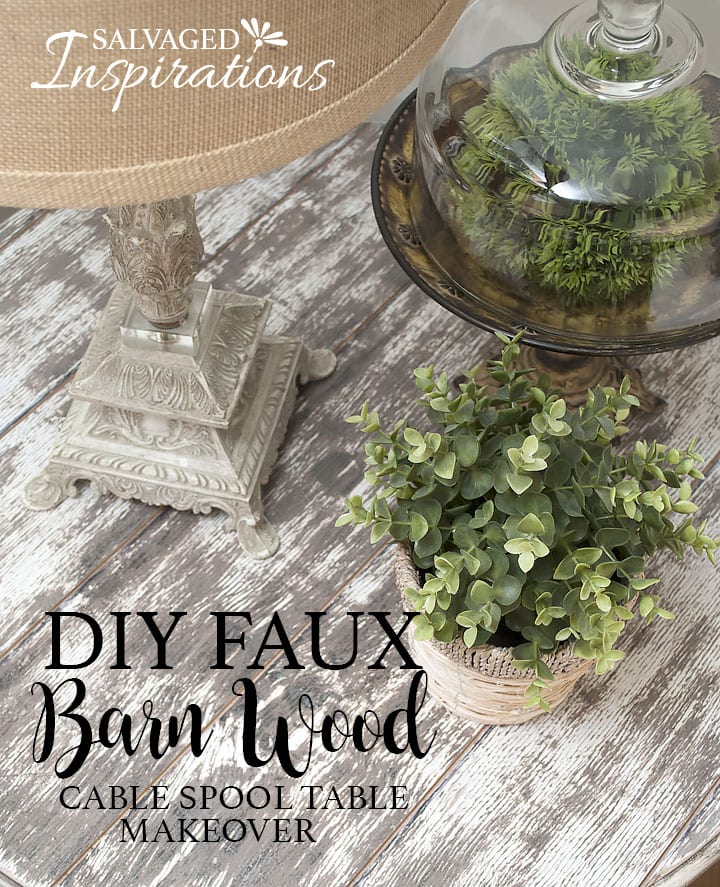
DIY Faux Barn Wood | Cable Spool Table Makeover
With Fixer Upper and other popular decor shows featuring the modern farmhouse look, barn wood is pretty trendy right now. But trendy or not, I can’t resist the unpretentious warmth and texture it brings to a space. If you’re like me, and curious how to create this trend on a dime, this post is for you!

This post contains affiliate links to products used. You can see my full disclosure here.
SUPPLIES:
- Salvaged Cable Spool
- Salvaged Table Base
- Sponge, TSP/Cleaning Supplies
- Sander/Sandpaper
- Wood Dowels
- BIN Shellac Primer
- General Finishes Bone White, Cardamom & Lamp Black Paint
- Paint Brush
- Glaze and Burnt Umber Craft Paint
- Topcoat (Wax or Poly)
- Screws & Screwdriver
- Sharpie/Circular Saw/Router (optional)
HOW TO – DIY FAUX BARN WOOD:
1:: PICK THE RIGHT WOOD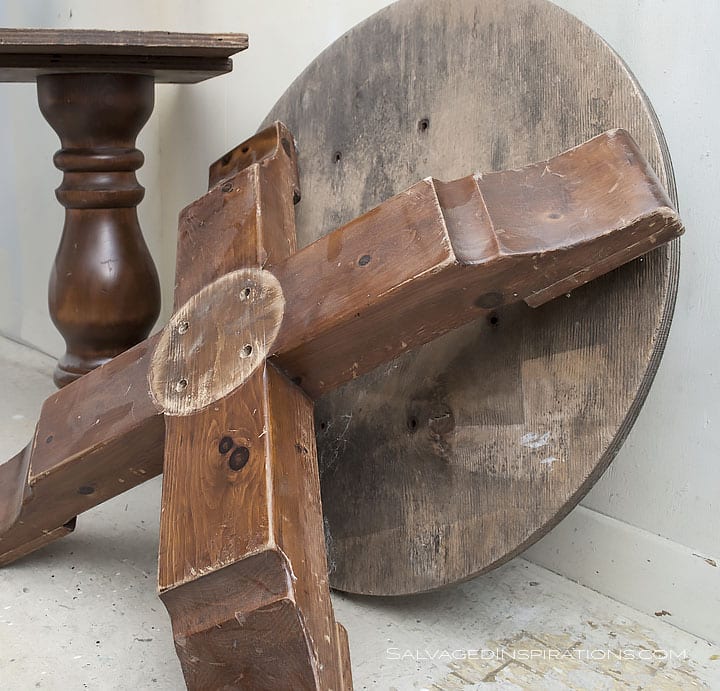 There are numerous ways to get a weathered barn wood finish. The best technique will depend on the type of wood you’re using. For this example, I’m using a rough salvaged cable spool I found roadside. To get a textured weathered grain look, ANY inexpensive rough wood will work. Cable spools, pallet boards or old fence boards will all look amazing and authentic with this technique.
2:: CLEAN, PREP AND PRIME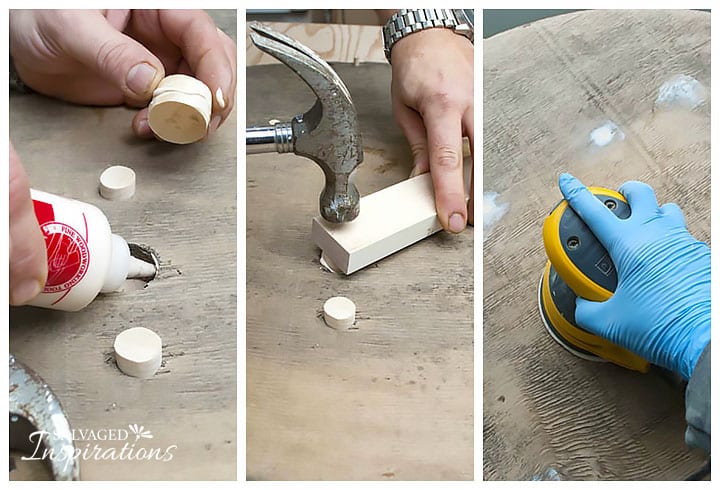 After cleaning the cable spool with TSP and warm water, I let it dry 100%. Then MMM filled in the spool holes with wood dowels. I used Bondo to fill in any remaining space around the dowels and then sanded to even it out. I wanted my primary base color to be white, so I primed with White BIN Shellac Primer. Your base color is the one that will show through once the piece is sanded and distressed. It does not have to be primer, and you can pick any color.
3:: LAYER – LAYER – LAYER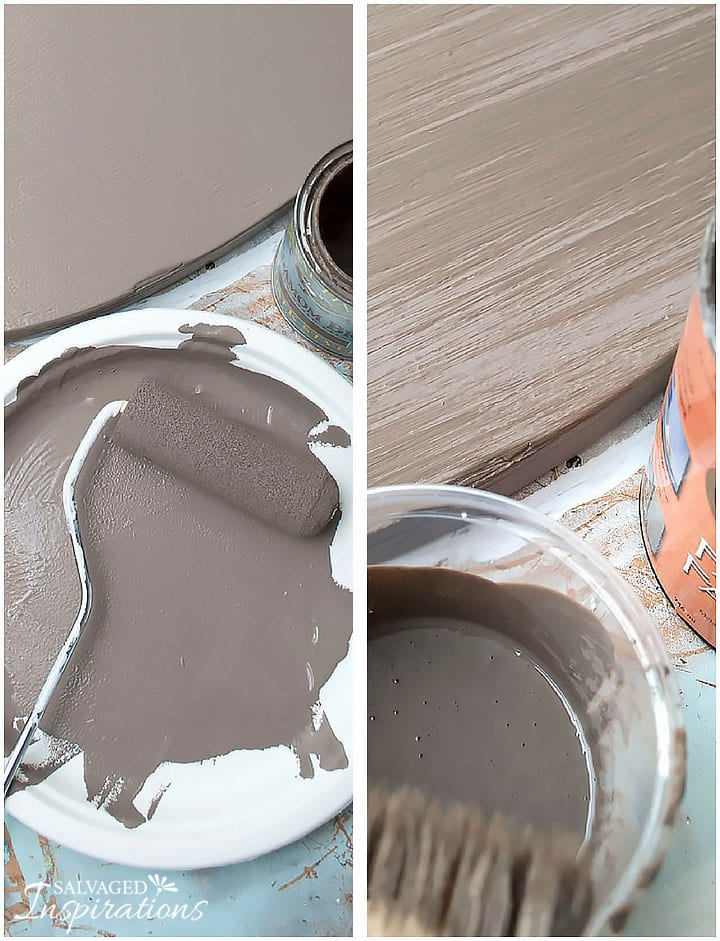
 Layering is the key to creating this barn wood look. I painted over the primer with General Finishes Cardamom Brown. Then laid down a glaze mixed with a darker Burnt Umber craft paint. And finally, I dry brushed on some General Finishes Lamp Black. Tip – Any variation of colors can be used going from lighter to darker. Example: applying a medium grey over light grey, than a dark grey, then black. Because it’s a faux finish, any color can be used to fit your decor! The goal is to cover the spool in paint while layering up the colors.
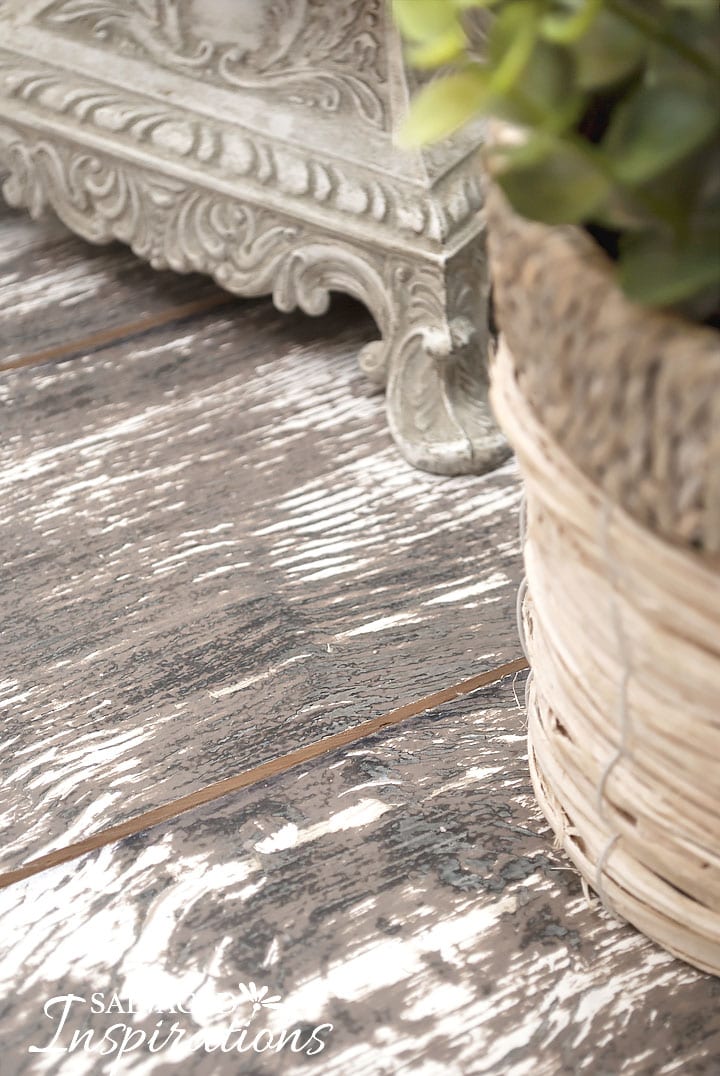
4:: SAND AND DISTRESS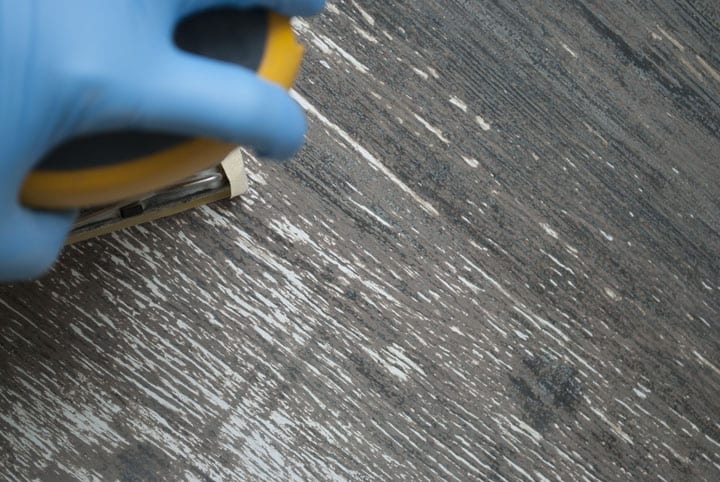 Here’s where the magic happens. Once the paint has dried, I used a sander with 180 grit sandpaper to create this textured barn wood finish. The less you sand, the less weathered it will look. The more you sand, the more weathered it will look.
5:: BARN WOOD SLATS (OPTIONAL)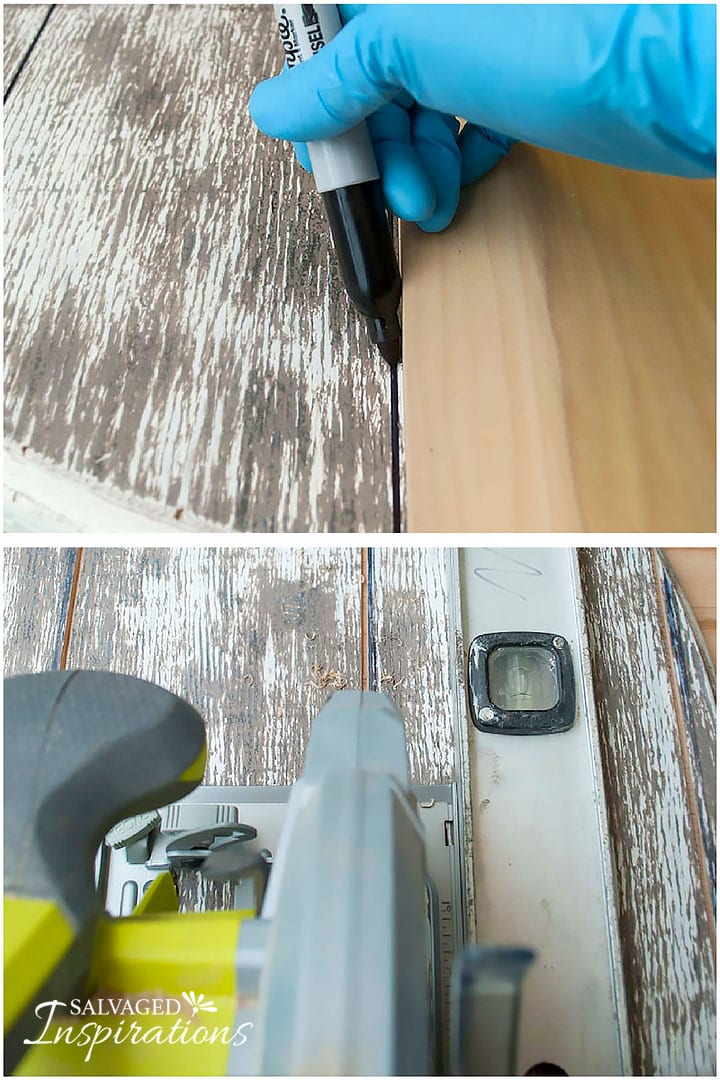 To create a more authentic barn wood look, I used a sharpie and wood board to draw plank lines. I could have stopped there, but decided to create authentic looking faux boards with my circular saw set at an 1/8th of an inch.
6:: TOPCOAT
This table was top coated in wax but if I were to do this project again, I would opt for a flat poly. Even though I didn’t buff the wax, it still gives a little more of a shine than I would like. A flat poly like General Finishes Flat on Flat would be my first choice for next time.
7:: PAINT AND ASSEMBLE THE BASE
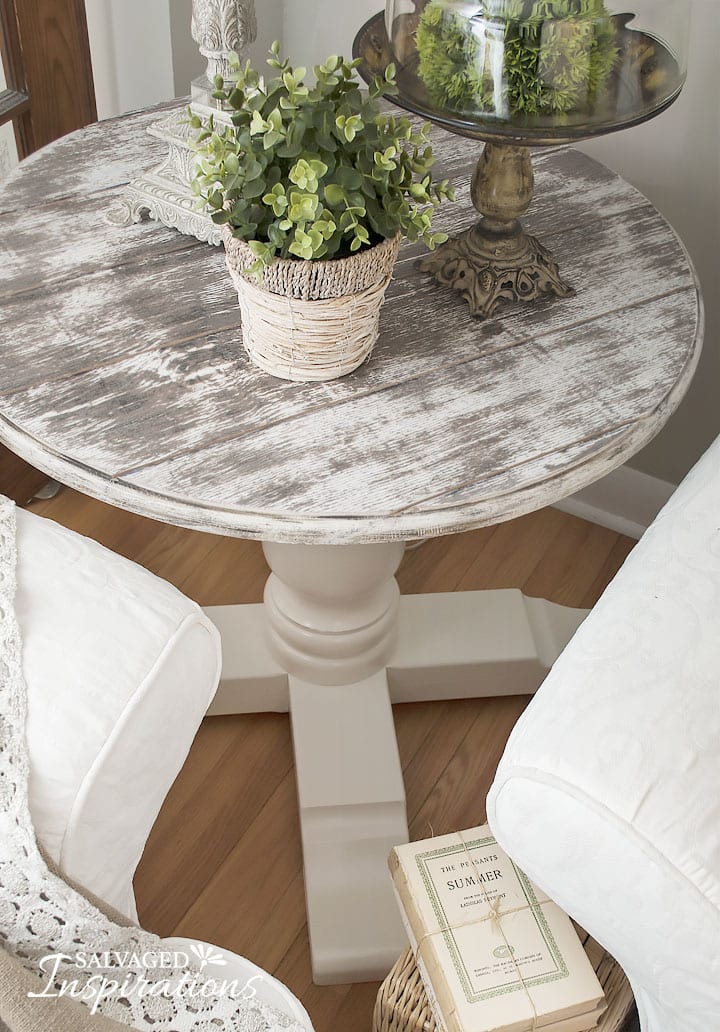
The base of this table was made from a table bottom I curb-shopped a few years back. It’s been sitting in my inventory for a few years and I’m happy I’ve finally found the perfect match for it. It’s painted in General Finishes Bone White Chalk Style Paint and protected with Annie Sloan’s Clear Wax. To secure the spool top to the base, I simply screwed them together from the bottom.
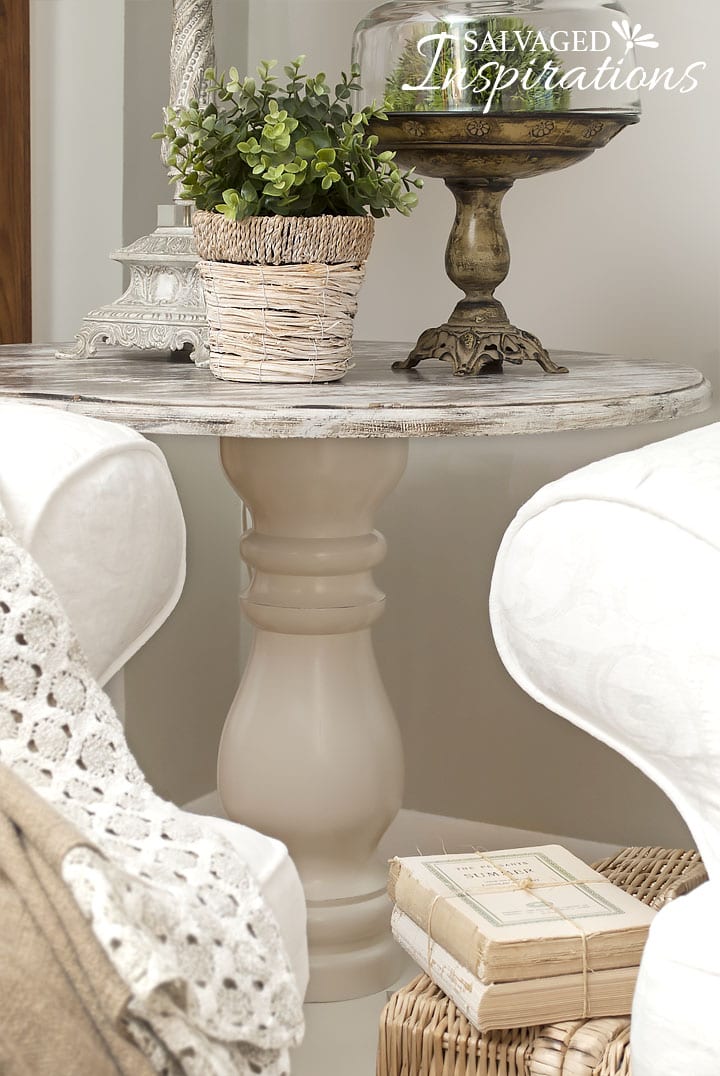
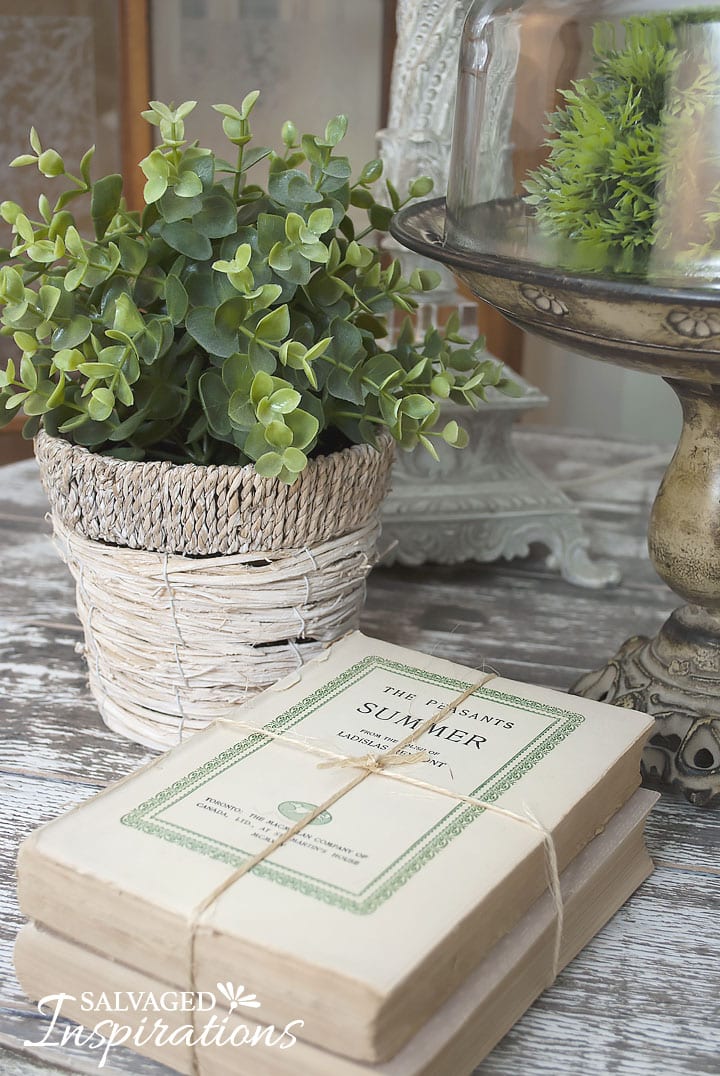
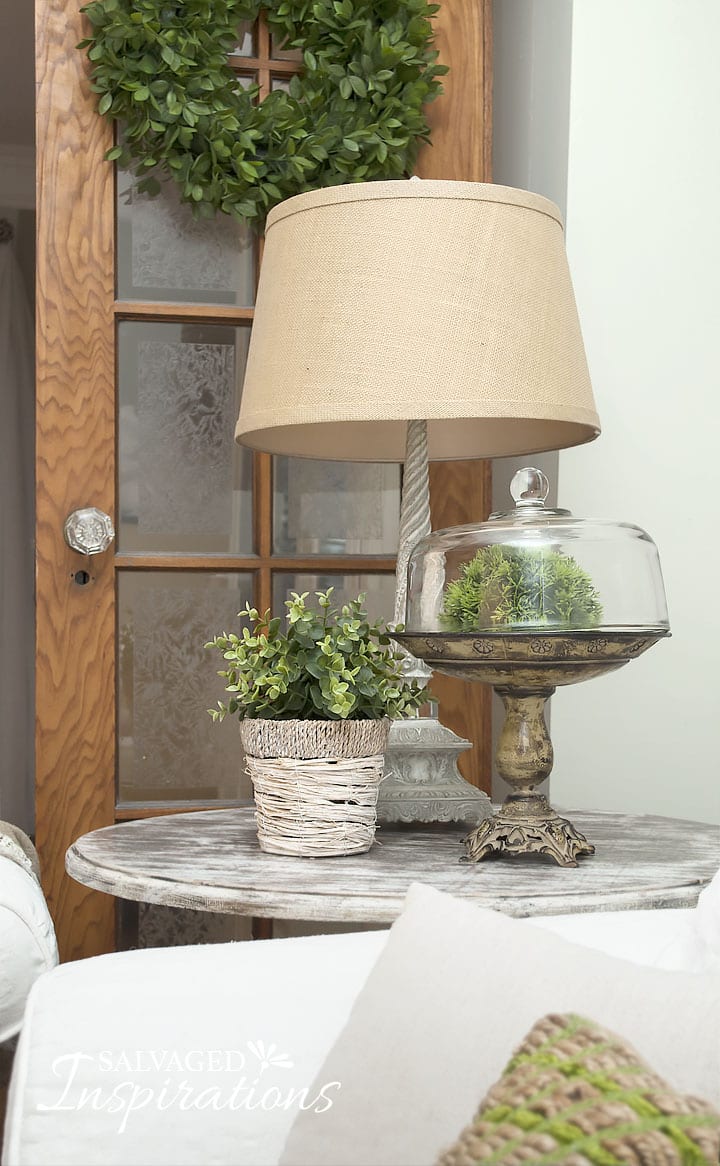
Here’s my finished side table. It fits perfectly in a corner of my living room between my love seat and couch. I love the way this side table adds interest and texture to my living room.

What do you think of this faux barn wood spool makeover? I’m also curious if you noticed the new watermark on some of the pics? I’ve been playing around with new watermarks/logos and would love to hear your thoughts! And hey… if I haven’t said this before, thanks for ‘getting-me’ and dropping by! 🙂
Happy painting friends!
Denise x
![]()
LIKE WHAT YOU SEE? SUBSCRIBE TO SALVAGED INSPIRATIONS SO YOU’LL NEVER MISS A POST!
FOLLOW ALONG ON PINTEREST, GOOGLE+, AND FACEBOOK FOR MORE INSPIRATION!


I love every piece you do. Never do you fail my expectations! Fabulous work!
Aw, thanks so much Barbara!🤗
Hi Denise – I noticed your finished tabletop seems to have a routed edge. Can you provide guidance on how you created it?
For this spool table MMM (who is a contractor and woodworker) did the routered edge detail for me. But I actually bought myself a plunge router and set of bits and tried it myself on this nightstand makeover. The router I bought is huge. I probably should have got myself a nice compact little one that’s easier to maneuver but they are FUN to work with… and the edges you can create – endless possibilities. I know this doesn’t really give you a lot of ‘guidance’ but seeing as I’ve just used it on one project, I could use more practice myself. This is a great idea for a future blog post/video tho…so thank you!
Love this, Denise. 💜💜💜
Thanks Larissa! It’s getting a lot of use. 🙂
What is the Glaze and Burnt Umber Craft paint that you used?
Hi Jennifer! I used Folk Art brand craft paint in Burnt Umber but any brand of craft paint will work just fine. As for the glaze, it was Behr’s Clear Glaze that you can add ANY color to customize it – and as far as I can tell, Home Depot doesn’t sell it anymore. I’m disappointed because I loved this stuff. 🙁
I have a very large coffee table. Completely fake wood. Would this technique still work do you think on that large or a service and on not real wood??!
Very tastefully done, as always! =) I love the table base, too.
New watermark looks great to me!
Thanks Zovesta. =) Now I’m playing with my old logo to see if I can clean it up/update it a bit. I’m can’t make up my mind. grrrrr
Hmm! I think I like your watermark logo better than your current header. It just seems to fit your style better: elegant, classic, and a little understated. The current header reminds me of a modern look, y’know? But that’s just my $0.02. 😉
Opinions are always worth more than $0.02 around here… I appreciate it! 🙂
Hi Denise !
I finally had the time to sit down and read this. I love it. It’s so great how you share your ideas,techniques, challenges & successes with us. I appreciate it. I always learn something new or a different way of doing things. Thanks !
Thanks Cynthia! And thank you for taking time out of your day to sit down and ‘visit’. Much appreciated! xo
Is there a reason you cut in the plank lines AFTER painting and not before?
Hi LouaLLn! No reason at all…other than I thought to do it at the very end. 🙂 You could cut them in before or after. The only difference would be the grooves would most likely get painted in – unless you were careful not to. Great question btw.
Really like this..and thank you for such an amazing site.
Your tutorials are awesome and inspiring. Keep it coming!
Thank you donnajean! So happy you find the tutorials inspiring. 🙂
I absolutely love your table! And the detail to your post is incredible thanks for that, It’s giving me a few ideas…I love your old water Mark. I’ve been meaning to ask you where do I get one or how do we make one or did I miss that post? Keep up the good work, Aloha Lianna
Thanks, and glad it’s sparking a few ideas! 🙂 I like my old logo/watermark too, but I’m hoping to create something I like that’s a little cleaner and more text oriented so I can display it at the top of the site. Here’s the post on the logo if you’re interested. Have a good one Lianna. x
Denise, you’re a genius! FINALLY a beautiful makeover for the cable spools. Used to see them in my friend’s apartments back in the ’70s, and thought, “…is that the best you can do with that?” I think they’re now getting scarce, used to be given away by the boatloads. Decades later, when I found DIY, and great bloggers like you, things that made me used to go, “Hmmm…” now make me go “WOW!” Love your tutorial on faux barn wood. You really can’t tell it’s not aged for decades (like me).
Sorry…I meant, “..things that used to make me go..”. Old age…sigh.
Ohhh… I can relate. 🙂 🙂 🙂
So glad you like it Marg! And good you didn’t look at your friends spool table and say ‘Hmmmmmmmmmmm’. 😉 That just gave me a chuckle. And yes, I don’t see these spools readily around businesses like I use to. But from now on when I do, I think I’m going to grab them up. Like I mentioned to Sally (previous comment), I’d love to try making a big wall clock.
Wow, Denise – great job on the layering and the plank lines look so real. Love it.
Thanks Mary! It adds texture and interest to the corner of my l/r. And I have to admit, it was nice working on a piece for myself.
Oh Denise that table is just beautiful!! The layering adds so much character and charm. This makes me want to hunt down a spool table or top. By the way, your watermark looks great, but maybe just a little smaller? That’s just my thought.
Thanks Sally! It makes me want to go hunt for another cable spool too. I’m thinking if I get my hands on another one, I’d like to try this technique and make a wall clock for my living room or office. And thanks for your thoughts on the watermark… much appreciated. 🙂
Clever girl!! This is really cool. I love the color, and the addition of the plank lines.
Thanks for sharing.
Thanks Julie 🙂
Wow! Awesome job, it looks amazing! Thanks for the tutorial 🙂 Oh and BTW the watermark looks great.
Ahhh, thanks Annie! I’m trying on a few new watermarks for size… like dress shopping. 😉
Again, great tutorial & thank you for the details. Your addition of the faux plank lines is genius!
Thanks my friend! 🙂 The faux plank lines do make a difference if you have a router or circular saw – so easy to do!
Denise, You never leave me with a thought of … why did she do that? You’re always keeping my brain going, and my vision inspired! I can’t thank you enough for this.
Huge compliment Pheobes! I sometimes miss calling you that…;)
Wow Denise! What a beautiful side table. I can’t believe the gorgeous and expensive looking furniture you make out of salvaged finds. I’m always so impressed with your work. Also, I’ve picked up a copy of the Reloved magazine you are featured in. I’m now a Reloved subscriber:)
Thanks Monique! And you’re going to love Reloved Magazine. They have so many amazing DIY projects… it’s addictive reading. 🙂
Oh my goodness I love ❤️ love ❤️ love ❤️
what you did with the “table” just beautiful
That’s a lot of love Janet…. LOVE IT!!! <3 <3 <3