
Maybe because half the year has whizzed by and I promised myself a few room makeovers, I thought it was a good idea to focus on my bedroom again.
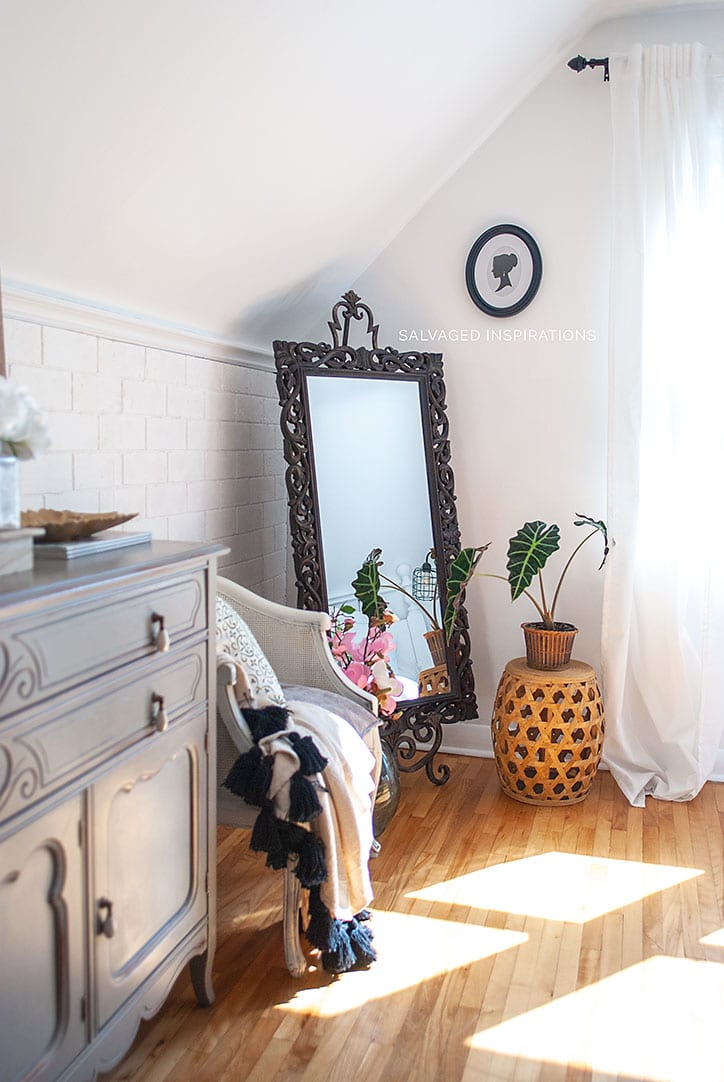
I’ve finally figured out what to do with my short accent walls. You may remember I painted over the dated floral wallpaper. I’m in love with the crisp white but I decided brick texture would add some extra oomph…. and it does!
Today I’m sharing how to create an easy DIY Faux Brick Wall. This is a perfect solution for anyone wanting a brick-look without buying costly panels or fussing with wallpaper. This DIY is inexpensive, light, removable AND reusable! A big thanks to the Sorry Girls for this brilliant idea. I’ve added my own twist on their DIY but I’ve included the YouTube tutorial at the end of this post if you’re interested in watching.
I only finished this one portion of the wall and I still have to go buy proper adhesives, but I figured I’d share the how-to today, and the full bedroom when it’s all done.
THIS POST CONTAINS AFFILIATE LINKS TO PRODUCTS I USE. YOU CAN SEE MY FULL DISCLOSURE HERE.
SOURCE LIST::
-
-
- DuroFoam 3/4″- 4×8′ Sheets
- Paint Brush
- Measuring Tape + Pencil + Utility Knife
- Wood & Brick Template
- White Paint + Roller + Brush
- Drydex Spackling + Putty Knife
- 3M 16lb Adhesive Hangers
- Wood Burning Tool
-
DIY FAUX BRICK WALL::
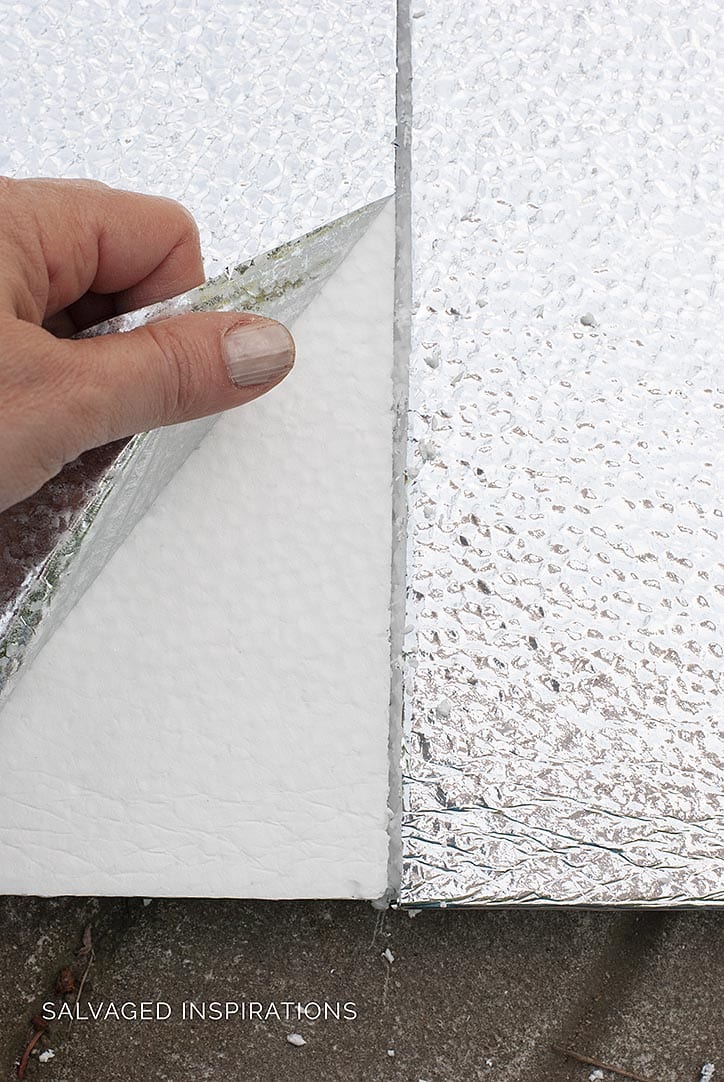
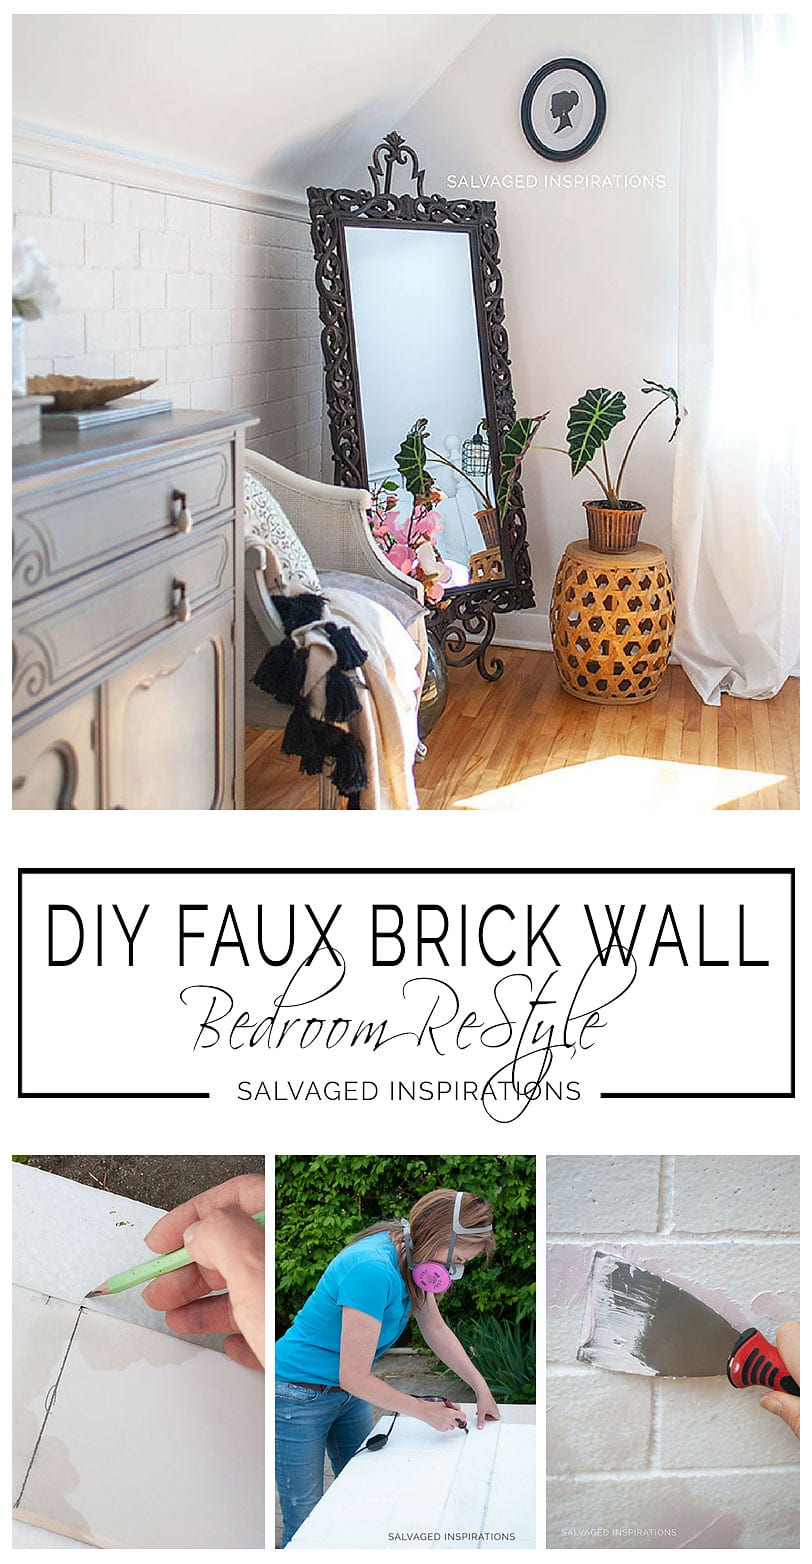
Step #1 – Measure And Prep Foam Sheets
I only bought one 4×8 DuroFoam Sheet to see if I like the look but this week I’ll be heading back to pick up the other 3 I need to complete the project. These 4×8 foot Durofoam sheets are awkward so if you have a smaller vehicle, Home Depot can cut them in half for easy transportation. I didn’t have any problem fitting it into my SUV, but I must have looked comical walking through the Home Depot parking lot. The wind kept catching the sheet and I must have been approached by half a dozen people asking if I needed a hand. Gotta love the kindness of Home Depot patrons.
Once I got the sheet home, I made a clean cut down the center with a utility knife (a new blade is helpful!) and then removed the silver lining so I was left with the white styrofoam. It pulls up nice and easy.
Step #2 – Template | Draw Brick Guides
I had some old pieces of Versatek board that I used as my brick template. I used a 9-inch x 4-foot long piece to draw my horizontal lines. And then this 9″ x 3.5″ template for the brick pattern. Tip: Draw a center line in your brick template so you can mark the row above. This way it’s super easy to line up the next row. Also, when using multiple sheets of the DuroFoam, line up the sheets while drawing your guides so they all look authentic when placed on the wall.

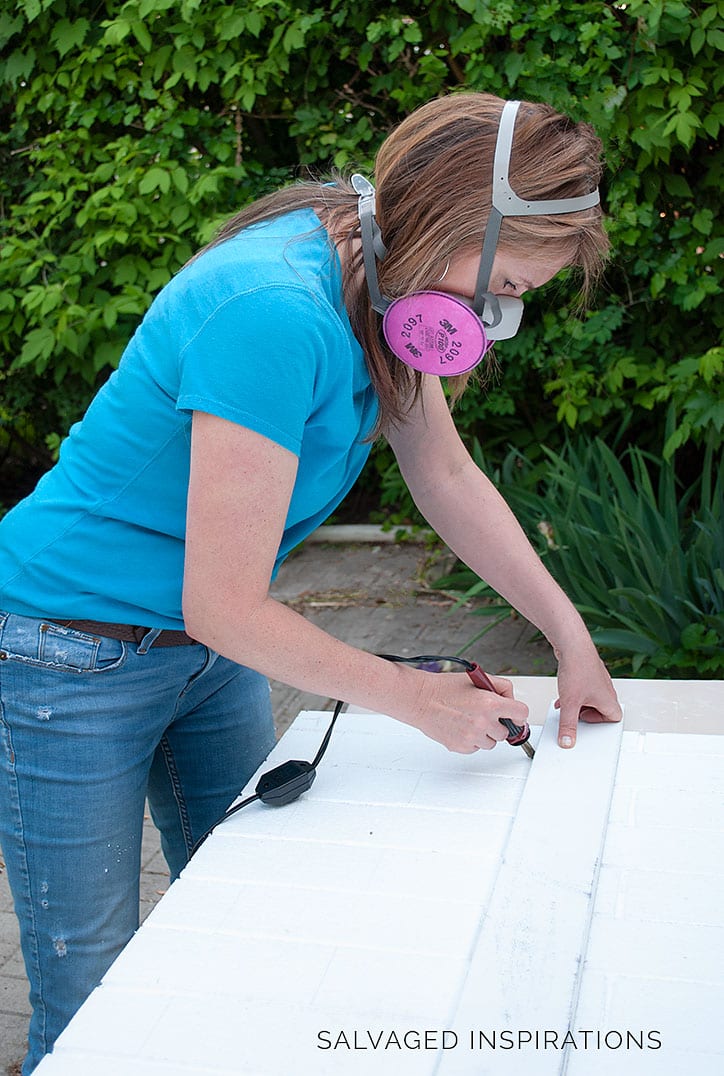
Step #3 – Grout Lines
This step was fascinating! I lined up my long template board and used this wood burning kit to melt the styrofoam (easy as a hot knife through butter!) and create my brick grout lines. Once all my grout lines were made, I added nicks and textures throughout the brick with the tip of the burner. Then I labeled the boards (top right & top left) so I could easily fit them back together. Note: Wear a heavy duty mask and work outdoors when melting this stuff! SAFETY first!
Step #4 – Spackle to Create Texture
Once my brick pattern was complete, I could have painted and called it a day but I decided to add DryDex Spackle to random areas for a more authentic look. This step is optional and does add a little more weight to the panel.
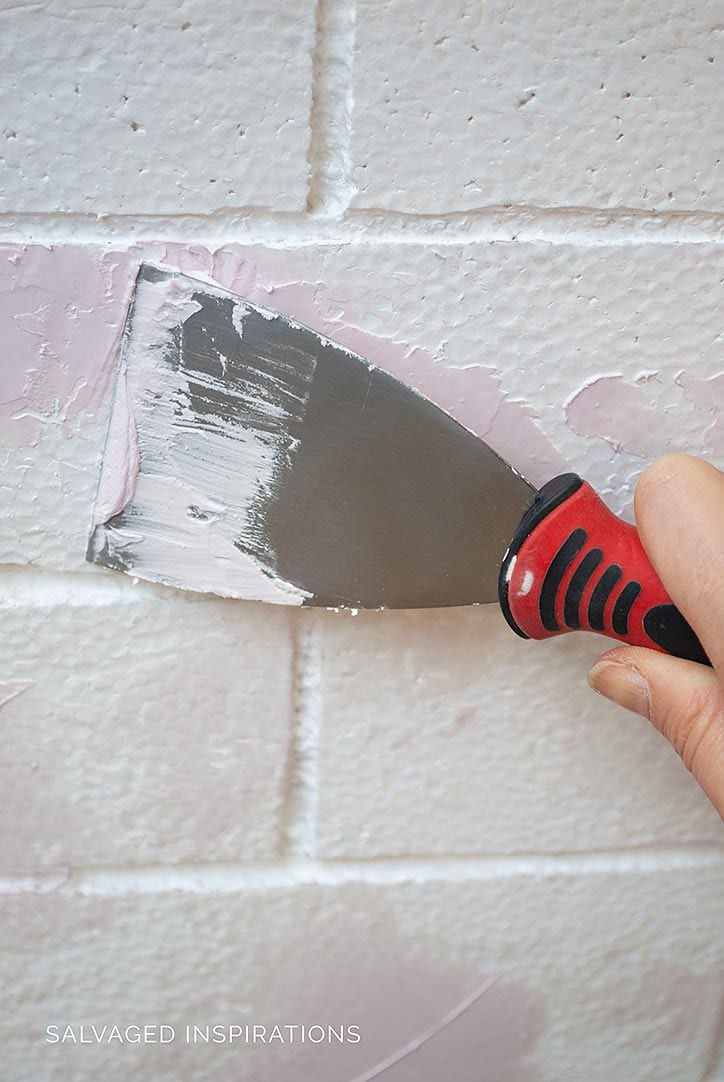
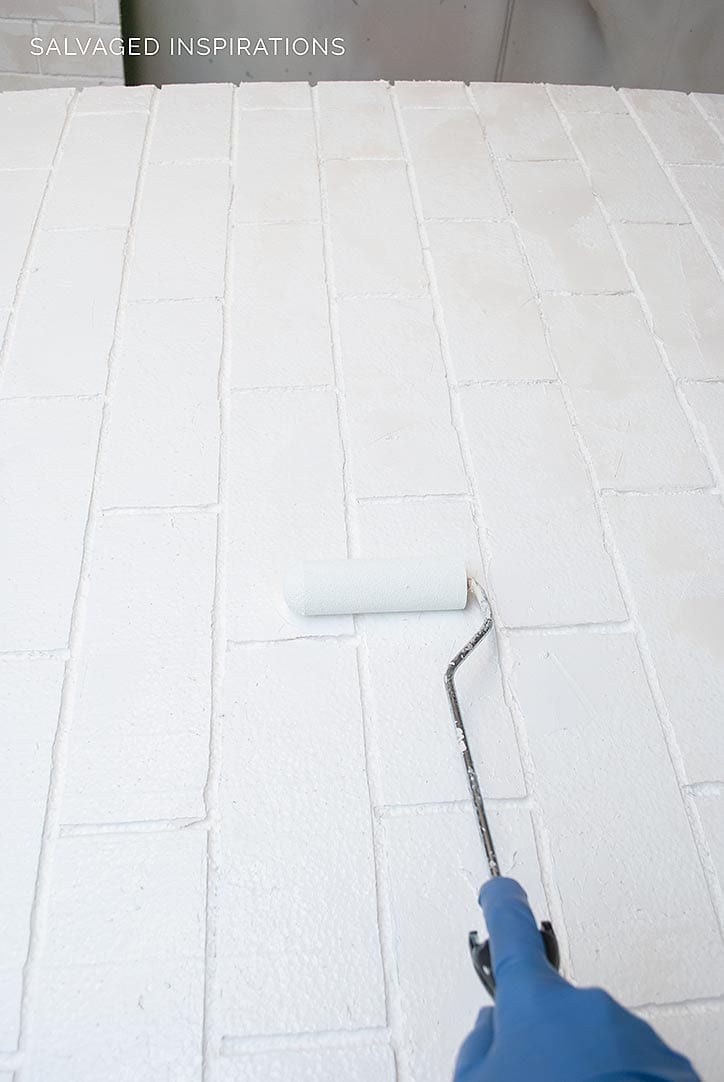
Step #5 – Paint
Once the Drydex turns white, then its 100% dry and ready to paint. I used a roller for the top of the brick and a brush to get into the grout lines. While I was rolling, some bits and pieces of the spackle did come off but it’s not a big deal.
Step #6 – Hang
I used Command 3M 9lb adhesive tabs to hang the sheets. I’m not happy with the way it’s hanging. One corner started coming off already. When I go buy the rest of the sheets I’ll grab some 12 or 16lb adhesives and let you know if that works any better.
Advantages of Temporary DIY Faux Brick Wall
Inexpensive
Super Light
Removable and Temporary
ReUsable in Any Room
Paintable in ANY color/Finish
Adds Extra Insulation
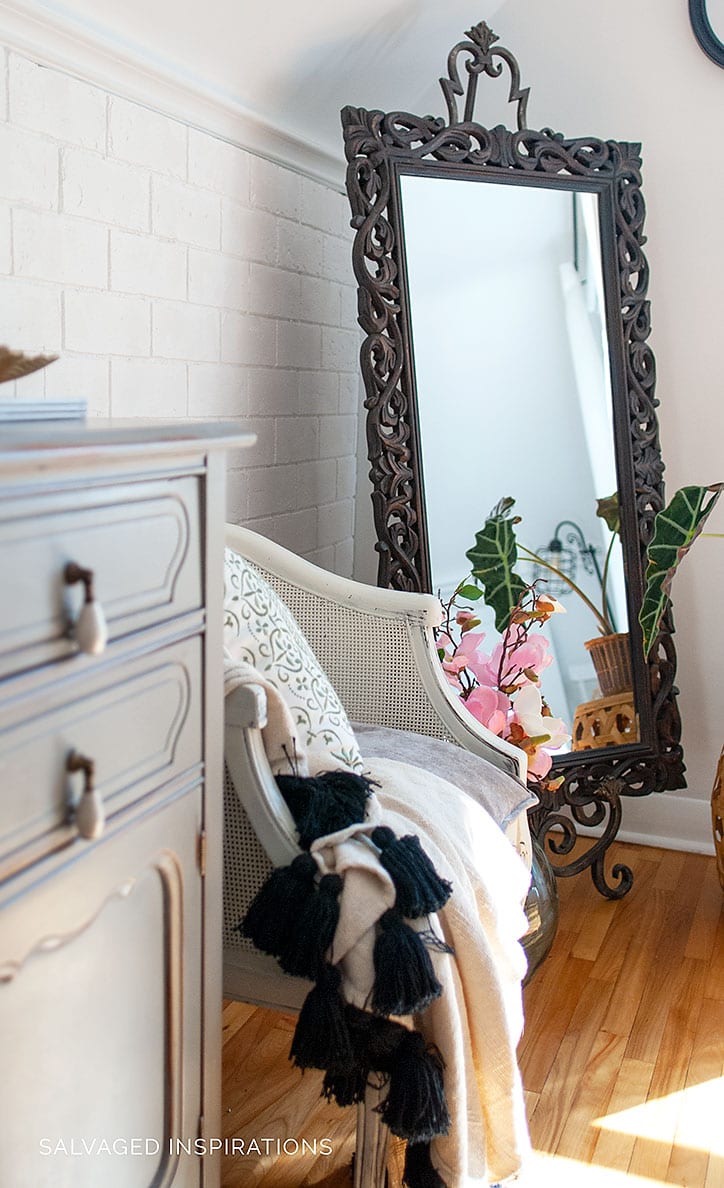
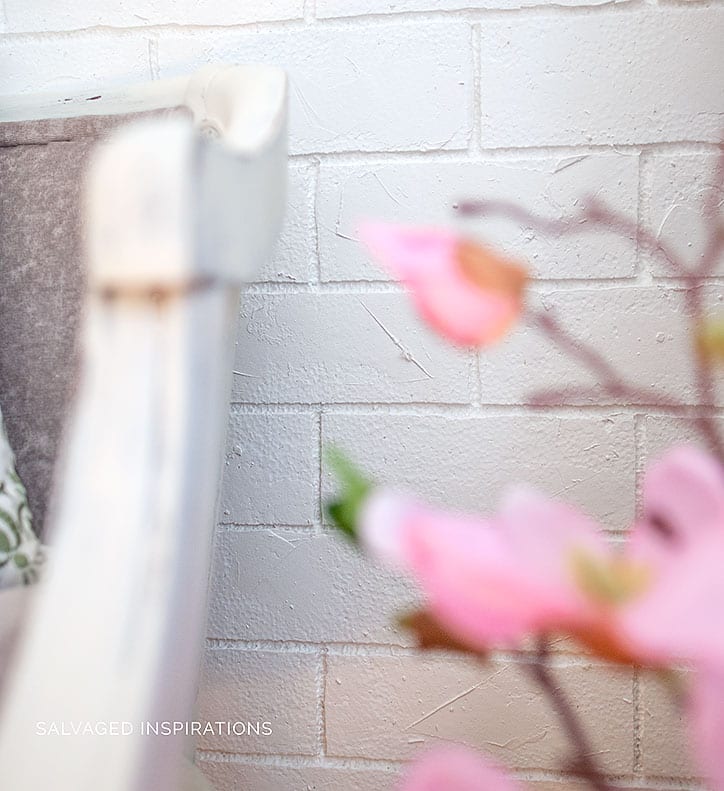
Looks REALLY good… here are some close-ups!
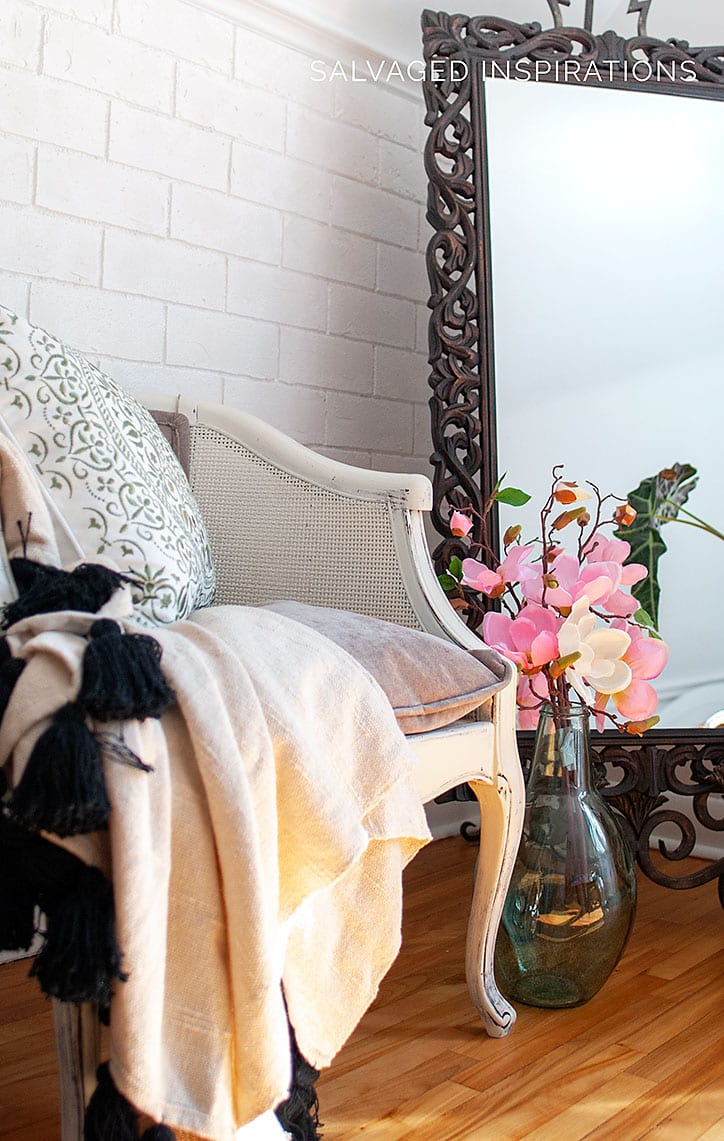
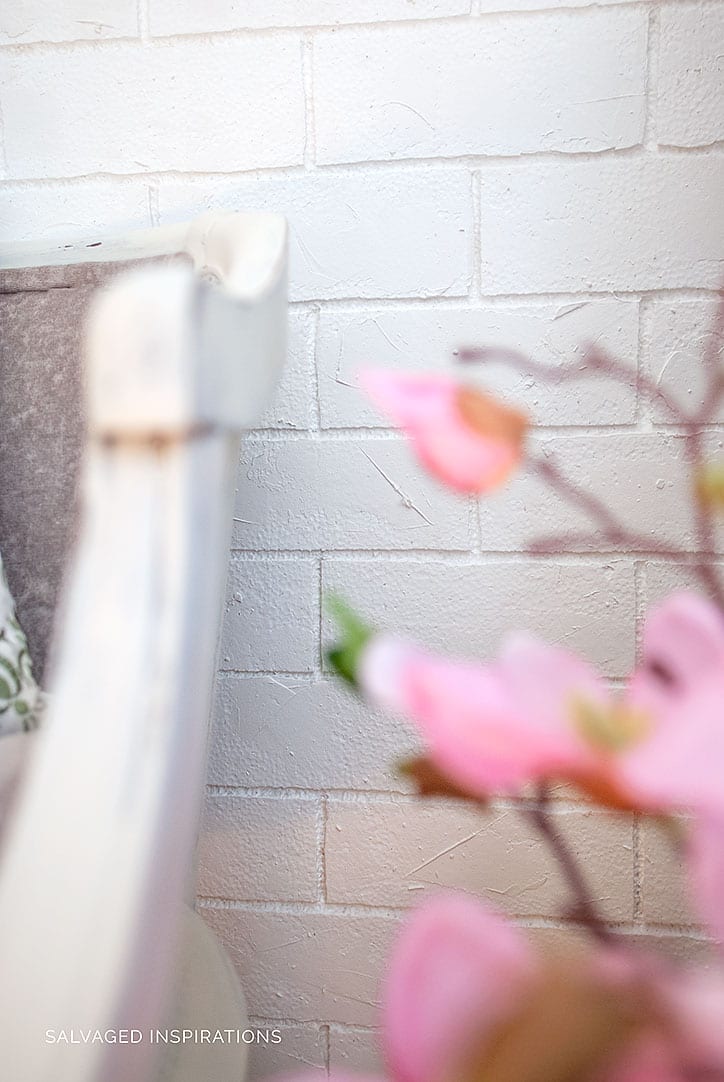
A brick wall is a beautiful way to add character to any room and this DIY faux brick version is perfect for anyone who doesn’t want to commit to a forever brick or damage walls in the process. Ideal for renters – or if you’re like me, anyone who can’t commit to a decor style and will probably be changing it up down the road anyway. 😉
Now I’m off to Home Depot to pick up the rest of my ‘brick’ and proper 3M’s. Once the walls are finished, I still have to hang my thrift art and put some finishing touches on this room – and then I’m calling it F.I.N.I.T.O!
For all of you celebrating a Canada Day long weekend or July 4th – have a good one my friends. XO
RELATED POSTS::
DIY Weathered Wood
DIY Bedroom Chair Upholstery
How To Paint Over Wallpaper
Annie Sloan French Linen 80’s Headboard
DIY Faux Brick Wall – The Sorry Girls
I’D LOVE TO HEAR WHAT YOU THINK OF THIS DIY FAUX BRICK WALL. IF YOU HAVE ANY TIPS YOU’D LIKE SHARE OR HAVE ANY QUESTIONS, FEEL FREE TO CHIME IN… I ALWAYS LOVE HEARING FROM YOU.
Denise
PIN AND SHARE!

Awesome idea for a brick design. I might try it in my home. Thank you for sharing this.
How did the other adhesives work out for you? Do you have any alternative methods to hang the panel that you would recommend for a renter?
Hi Ashlee! I believe this is the best way to hang panels if you’re a renter. It’s been a year and 3 months since I wrote this post and they are all still hanging perfectly – no issues. (except for my one corner panel behind my door which I didn’t measure correctly and cut a touch to large – so it wasn’t laying flat against the wall for the velcro to catch… now it’s my ‘book corner’ and I have a bunch of books helping hold up that small panel because I was too lazy to fix it…lol)
I love your faux brick wall! Well, I love all of your makeovers!
I was so excited to try this but I live in Palm beach Florida and could not find that DuroFoam product in any of our big box hardware stores. I imagine it’s due to the fact that we don’t need to be insulated that well.
I will try to look for a substitute but looks like if I want a brick wall I have to do a brick wall. 😟
Thanks for all of your great ideas, you are amazing!
Tina
Thanks so much Tina! 🙂 Have you tried Lowe’s? They don’t have the DuroFoam brand but they have their own Lowe’s Styrofoam Insulation which looks exactly the same. 🙂
Thanks Denise! I will check it out! 🤞🤞
Tina
N/P…good luck 🙂
As an ex- faux painter (and muralist) who now also saves and refinishes old furniture, I LOVE your brick wall. Especially since it is on a board and can be removed. Great bedroom!
Oh Karen, thank YOU! I know the AMAZING things you faux-painters/muralists do with paint so that’s such a HUGE compliment! And I really like that I can swap it out too… but for now, it’s here to stay. 🙂
Hi there…you are not just a pretty face (but with the mask on it is hard to tell LOL) no really this is one fantastic idea. It looks fantastic in your room . Way to go girl. Betty from Wasaga Beach.
LOL…thanks Betty! I’m working on getting the opposite wall finished today and then hopefully tomorrow I can tinker around with details and hang all my thrift art. I love decorating, but it’s a slow process for me. I have no idea how some people can put together an entire room in a couple of days! Hope you’re enjoying this sunny weather. x
I love this idea! I’ve been looking for a solution for a small wall as you come into my kitchen from a side entrance door. It’s about 4′ wide, but it’s 10′ tall (a 1920’s bungalow). Any ideas about joining that extra 2 feet? Or does it come in taller panels?
Hi Glenda! I’m not sure if it comes in larger panels but they are really easy to join together seamlessly. A tip is to make sure you use a super sharp utility blade to make the cut and extend the brick pattern onto the adjoining piece. In the case your 10′ bungalow wall, I would attach the extra 2′ cut side to the ceiling and use the two manufacturer’s edge to make the seam. Hope that makes sense. 🙂
Love this project! Super cool! This could be great for a photographer’s staging wall too! Maybe stapling or gluing velcro could work to hold it up.
I like your velcro idea Lorin… and YES – PERFECT for a photographer’s backdrop! xo
yes! yes! this is exactly what I’ve been looking for…THANK YOU! one question: any ideas for those of us who don’t own a wood burning tool? maybe sandpaper for the edges and more spackle detailing for the brick face???THANKS!
So glad it’s sparked some ideas Allison! And I’m really not sure what you could use in replacement of a wood burning tool or plastic welder. These tools make creating those grout lines SUPER easy and fast… so it might be worth the $15-25 investment for the time it would save. And more spackle on the brick face would look great. 🙂
gotcha. thanks much for your response!
Pleasure. 🙂 And if you ever give it a try, I’d love to hear how it all turns out.
It’s beautiful! I love it! I wonder if you could make a shiplap wall with it? What do you think?
Hmmm, I didn’t think of that Lisa but you probably could! And you could definitely give it a wood grain/washed look with a paint technique!
LOVE! LOVE! LOVE!
You’re extra spakling detail is brilliant! Of course, you would have the eye for that.
Thanks so much Diane! I like the little extra texture it gives. I applied it sparingly because I didn’t want to add too much weight but I think I may try to add a little more on the opposite wall. 🙂
I like how your brick wall is lightweight and portable, Denise! My daughter has been looking for an inexpensive, portable idea to finish a couple of walls in her rental basement. This would be perfect! Pinning and sharing with her.
Perfect for rentals – I think… and really inexpensive at $14 for a 4×8 foot sheet! Before I tried this DIY version, I actually picked up a faux brick panel from Lowes. It was half the size and cost almost $40. I really didn’t like the way it looked and returned it!
Wow!! I’m impressed! Nice job. !
Thank you Ann! 🙂
Ha! I love this! I’m so gonna copy and have a blast-thank you!
Thanks Toia! And have fun… I’d love to hear how it turns out. 🙂
Hi Denise. Your faux brick wall looks so authentic and beautiful. I can hardly believe it’s actually styrofoam. Cannot wait to see your whole bedroom reveal. Quick question, where would I purchase a wood burner tool and and is it expensive? By the way, I’m in love with your style!
Thanks, Monique!!! 🙂 I’ve included an Amazon link to the wood burner tool I used under the source list but I actually bought mine from Hobby Lobby. It was originally $29 but I bought it on their 40% off sale day. You can pick up similar versions for around $15-20 though. It makes this project super easy. 🙂