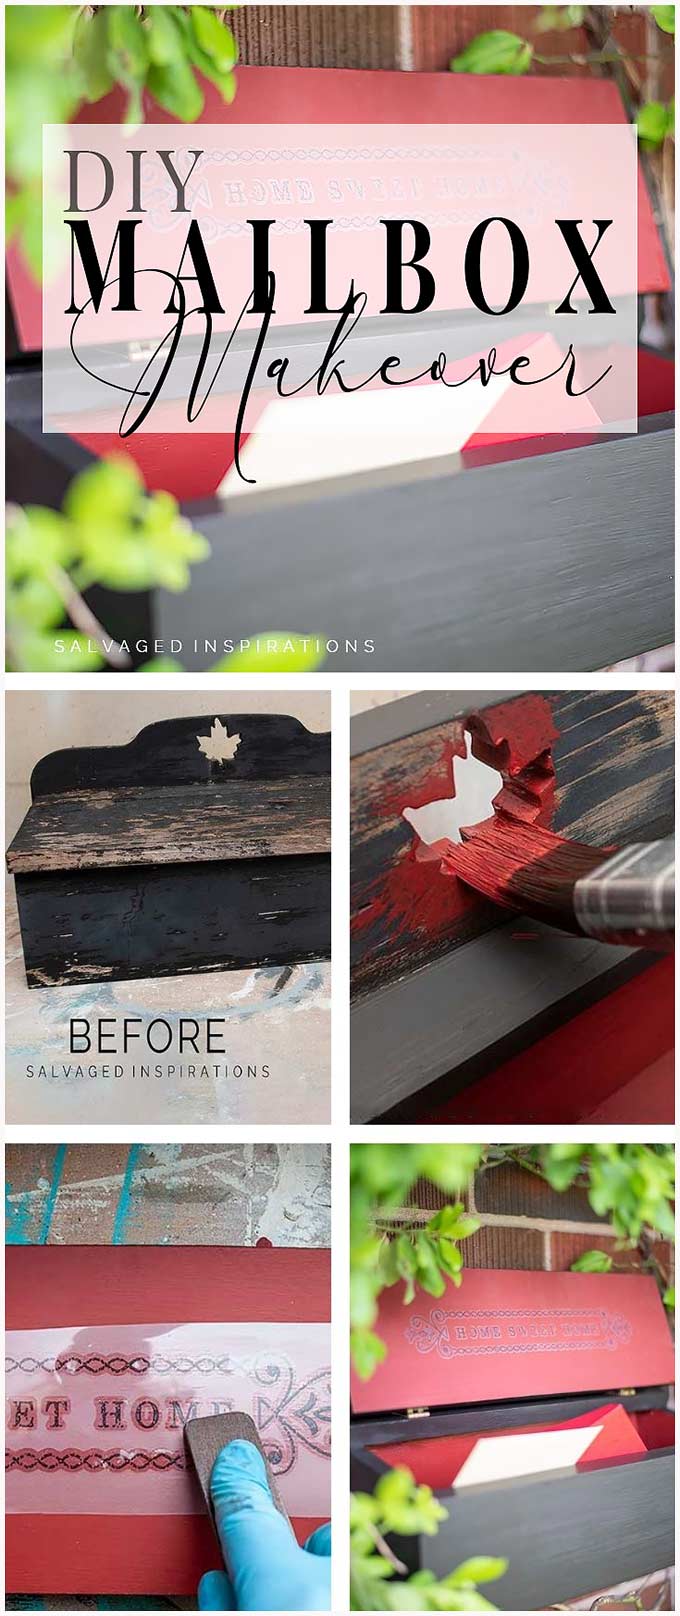
HERE’S A SIMPLE MAILBOX MAKEOVER WITH TIPS ON HOW TO PAINT DUO COLORS WHILE KEEPING A PERFECTLY CLEAN EDGE… AND NO PAINTERS TAPE REQUIRED!
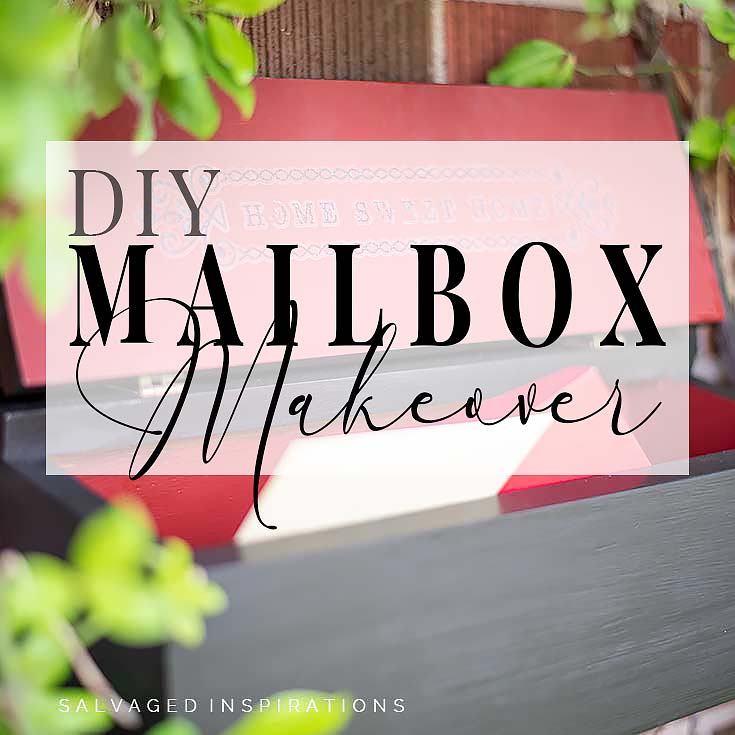 Hi, creative #sifamily! Do you have something around your home that’s looking kinda trashy but there’s a ridiculously easy fix? Today is T2T Tuesday and I’m sharing this “seen-better-days” mailbox makeover with you. I also have a super easy pro-tip on how to paint duo colors while keeping a perfectly clean edge… and NO painter’s tape required!
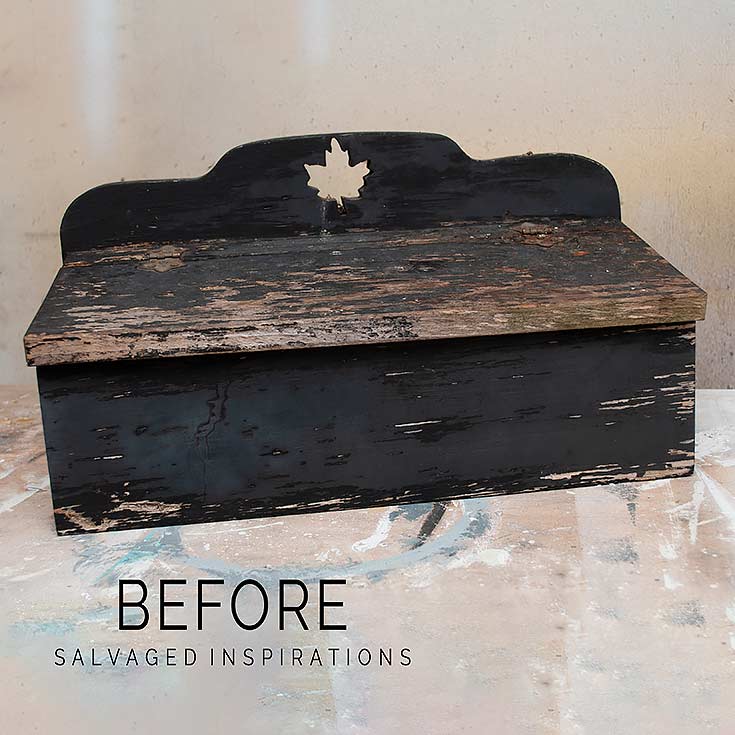
So here’s the story. I have a pair of morning doves that nest in the vines above my mailbox. The same couple has been making their nest here for the last couple of years. I’m a HUGE animal/nature lover so I’m happy they’ve found a safe-comfortable home for their babies. But because it’s right above my mailbox there are plenty of droppings to clean up and it’s left my mailbox looking… well… kind of trashy. The acidity has literally stripped the paint off.
As I mentioned in the intro it’s also, it’s Trash to Treasure Day! If you’re new to the #siblog, the second Tuesday of every month we join my super talented blogger friends to share our before and after trash to treasure projects. I’ll link to their furniture restyles below.
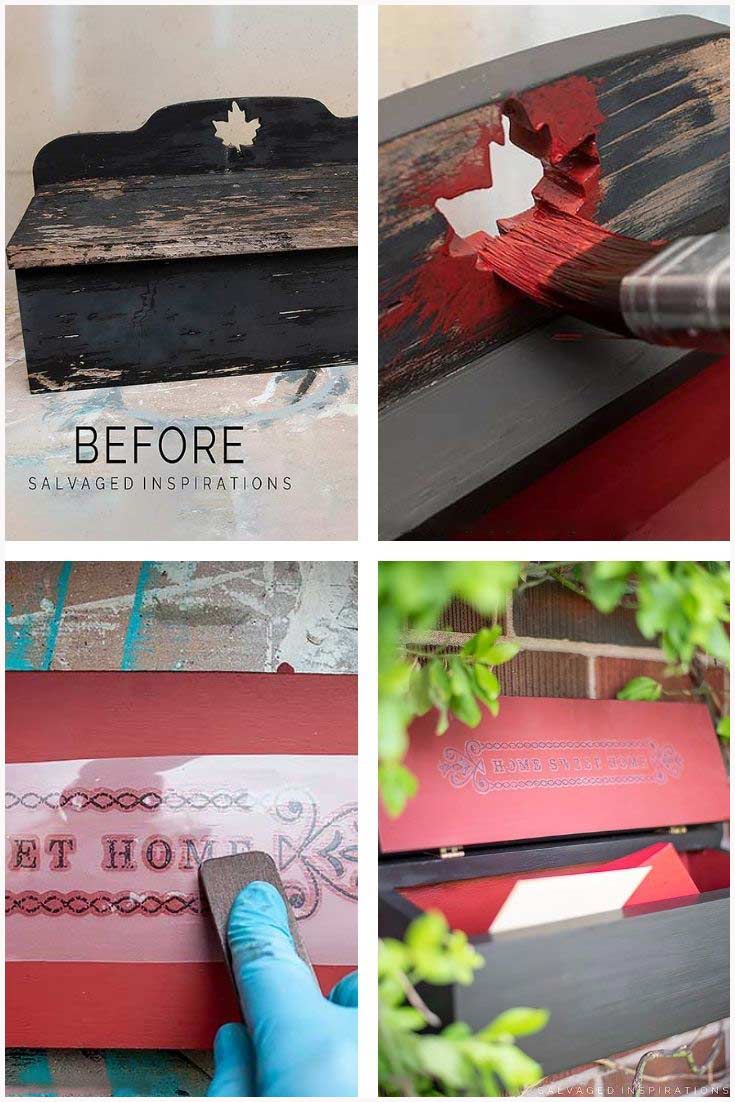
Here’s what I started with. As you can see my feathered friends have done quite a number on this poor mailbox.
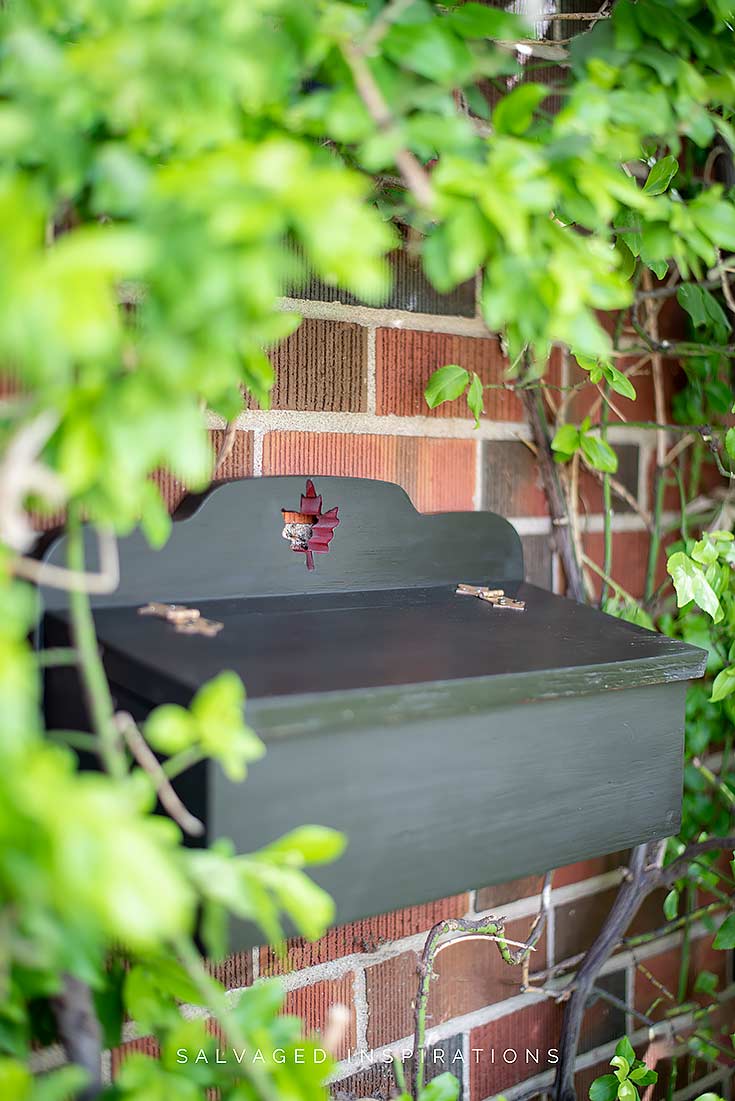
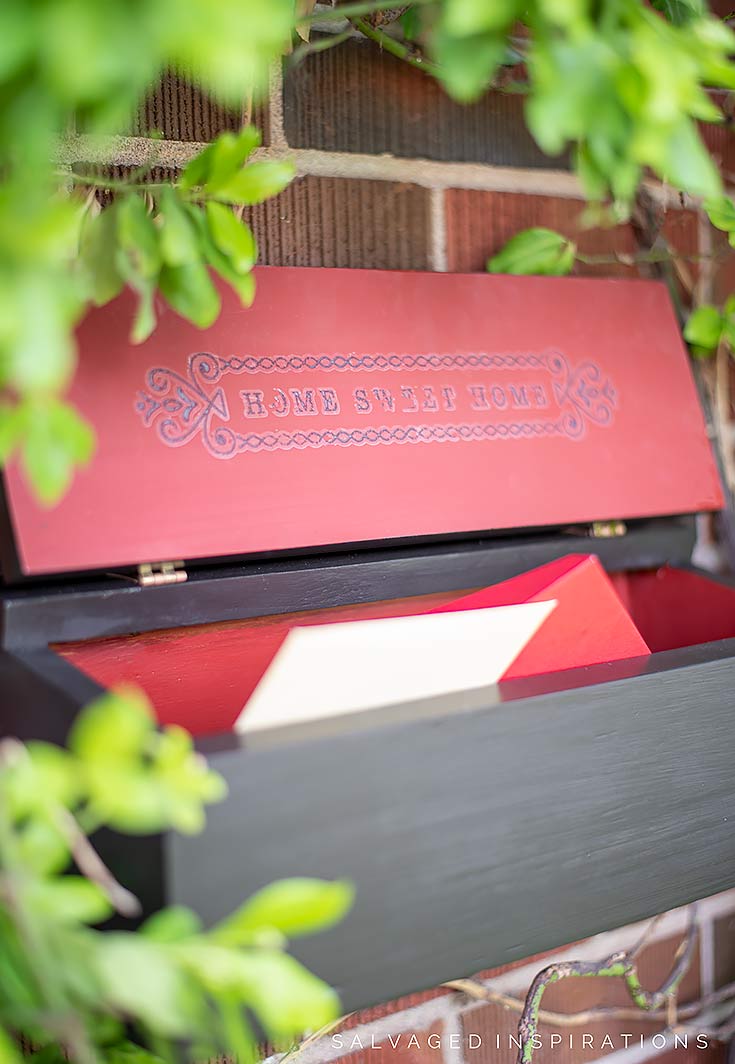
The great thing about wood is it can be renewed and refinished. Here’s the cleaned-up version.
And there’s a little pop of color with a sweet message on the inside as well!

THIS POST IS SPONSORED/CONTAINS AFFILIATE LINKS TO PRODUCTS I USE. YOU CAN SEE MY FULL DISCLOSURE HERE.
SOURCE LIST
Mailbox – SALVAGED
Paint Brushes
White Lightning Cleaner
Orbital Sander + Sandpaper
Shop Towels
Water Misting Spray Bottle
Rustic Red Chalk Mineral Paint
Coffee Bean Chalk Mineral Paint
Hopeful Wishes Transfers
Gator Hide Top Coat
MAILBOX MAKEOVER
STEP 1 – PREP
I removed the mailbox by unscrewing it from the brick wall and then unscrewing the rusty hinges. Be sure to read on because I’ve included a home remedy on how to make brass look NEW again!

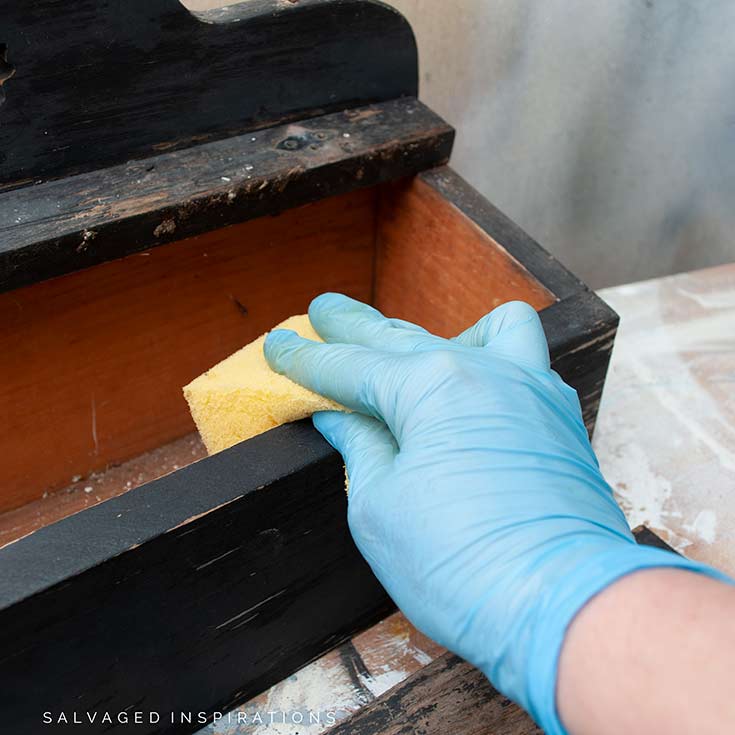
Then it got a really good cleaning on the inside and out with this White Lightning cleaner.
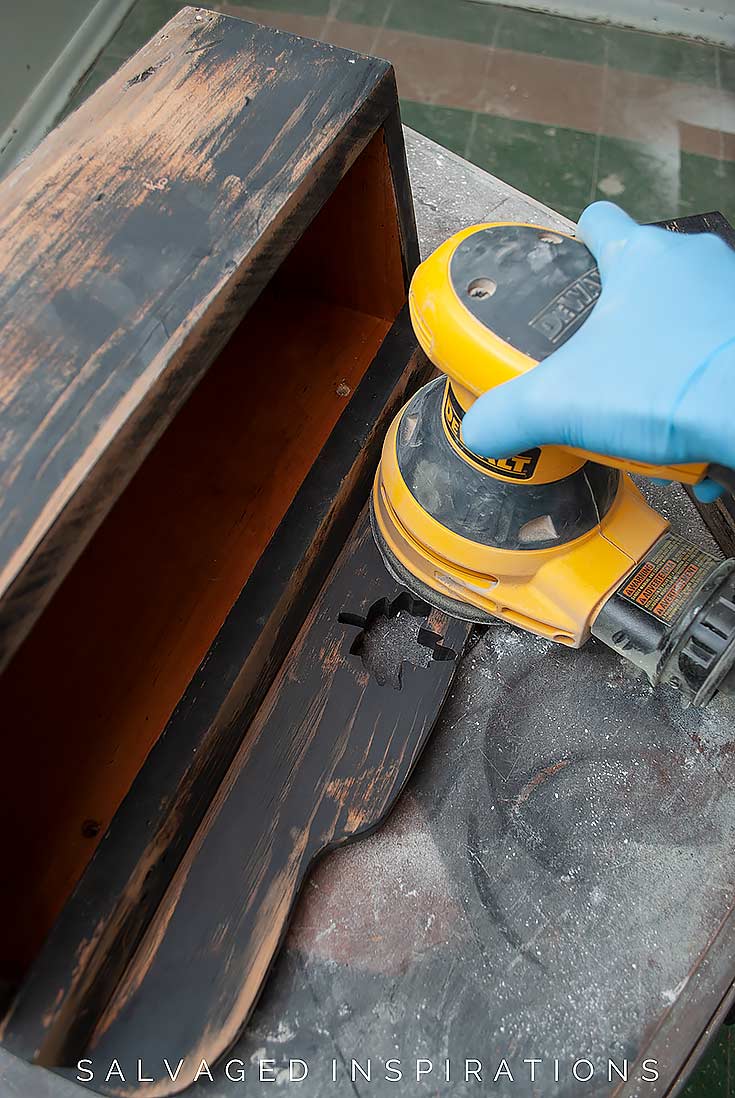
STEP 2 – SANDING
Once the mailbox was 100% dry, I gave it an overall sanding using my orbital sander and 120 grit sandpaper. This knocked off all the peeling paint and smoothed everything out for a new paint finish.
STEP 3 – PAINT INTERIOR
To give this mailbox a little character, I painted the inside of the maple leaf and the inside of the box in this Rustic Red. As you can see below, I’m not being over particular about painting outside the lines and I’ll explain why in more detail below. (I’ve also included a video so you can see the technique in action.) This is a really easy way to get crisp clean lines when painting edge-to-edge with duo colors!

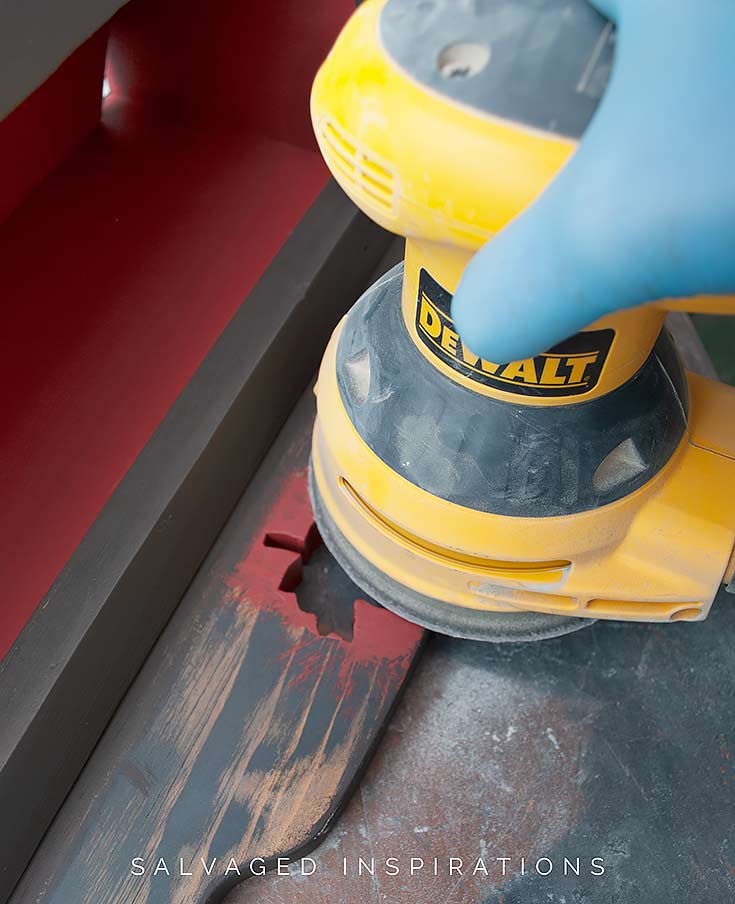
Once the paint was dry, using my orbital sander, I sanded off any messy paint that was left behind.
STEP 4 – PAINT EXTERIOR
To make sure I didn’t mess up the red maple leaf interior, I painted this Coffee Bean on a 45• angle working into the leaf.. not away from it. I use this exact same technique when I’m painting drawers or any to edges with two different colors. It works REALLY well and no painter’s tape or masking off is required!
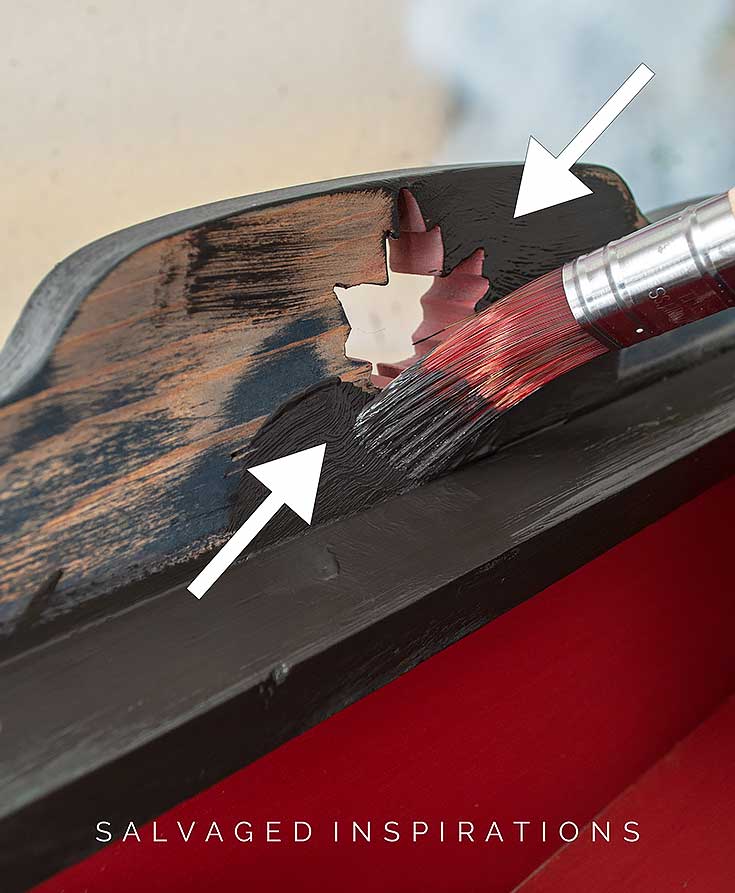
PRO TIP ~ Here’s an easy tip to keep your edges perfectly clean when painting with two or more paint colors. Paint your edges at a 45• angle!
Here’s a super short video clip seeing this technique in action. If you’re having any issues, feel free to watch it on my Youtube Channel HERE, and don’t forget to subscribe!
STEP 5 – DETAILING
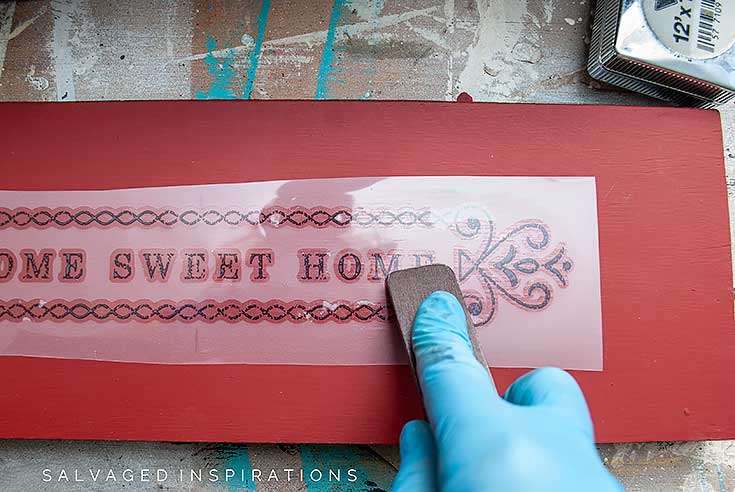
As an added detail I added this Home Sweet Home on the interior of the lid using this gorgeous Hopeful Wishes Transfer. I’ve gotten a TON of projects out of this one transfer!
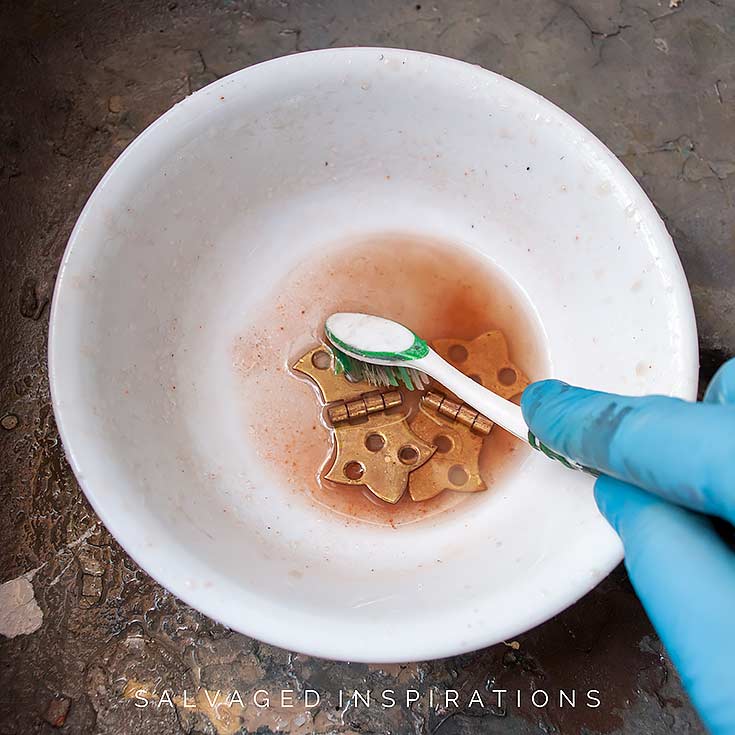
Then I cleaned up the brass hinges using salt, vinegar, and an old toothbrush. You can also add flour to the mix if you’d prefer a paste but I think the vinegar and salt work great on their own. I have a full post on The Best Homemade Brass Cleaners HERE!
STEP 6 – TOPCOAT
To seal and protect my work (and hopefully provide easy clean-up if my feathered family decides to take up residence above this mailbox again) I top coated with this Gator Hide for extra durability.

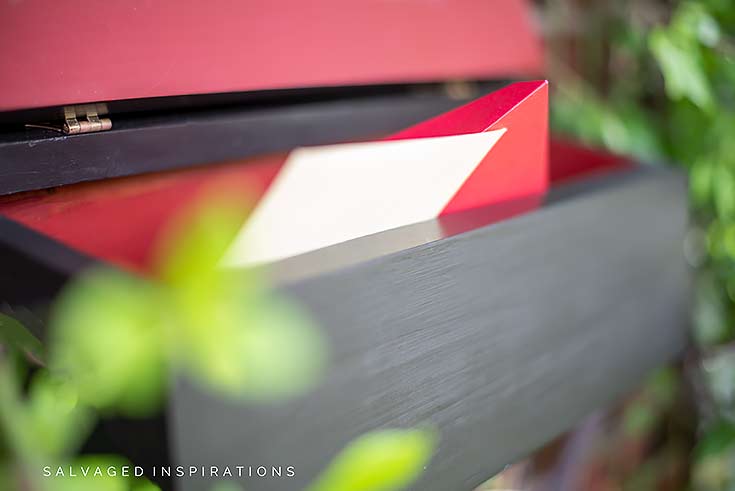
Here’s a close-up of the finished look.

This mailbox looks much better, right?! What do you think of the pop of color on the inside?
And now for some TRASH TO TREASURE FUN!
I know you’re going to LOVE what this creative team of T2T ladies can do! Below are their BEFORE photos. Visit the links below to see the amazing AFTERS and to learn how they did it! I’m heading over to take a peek as well!
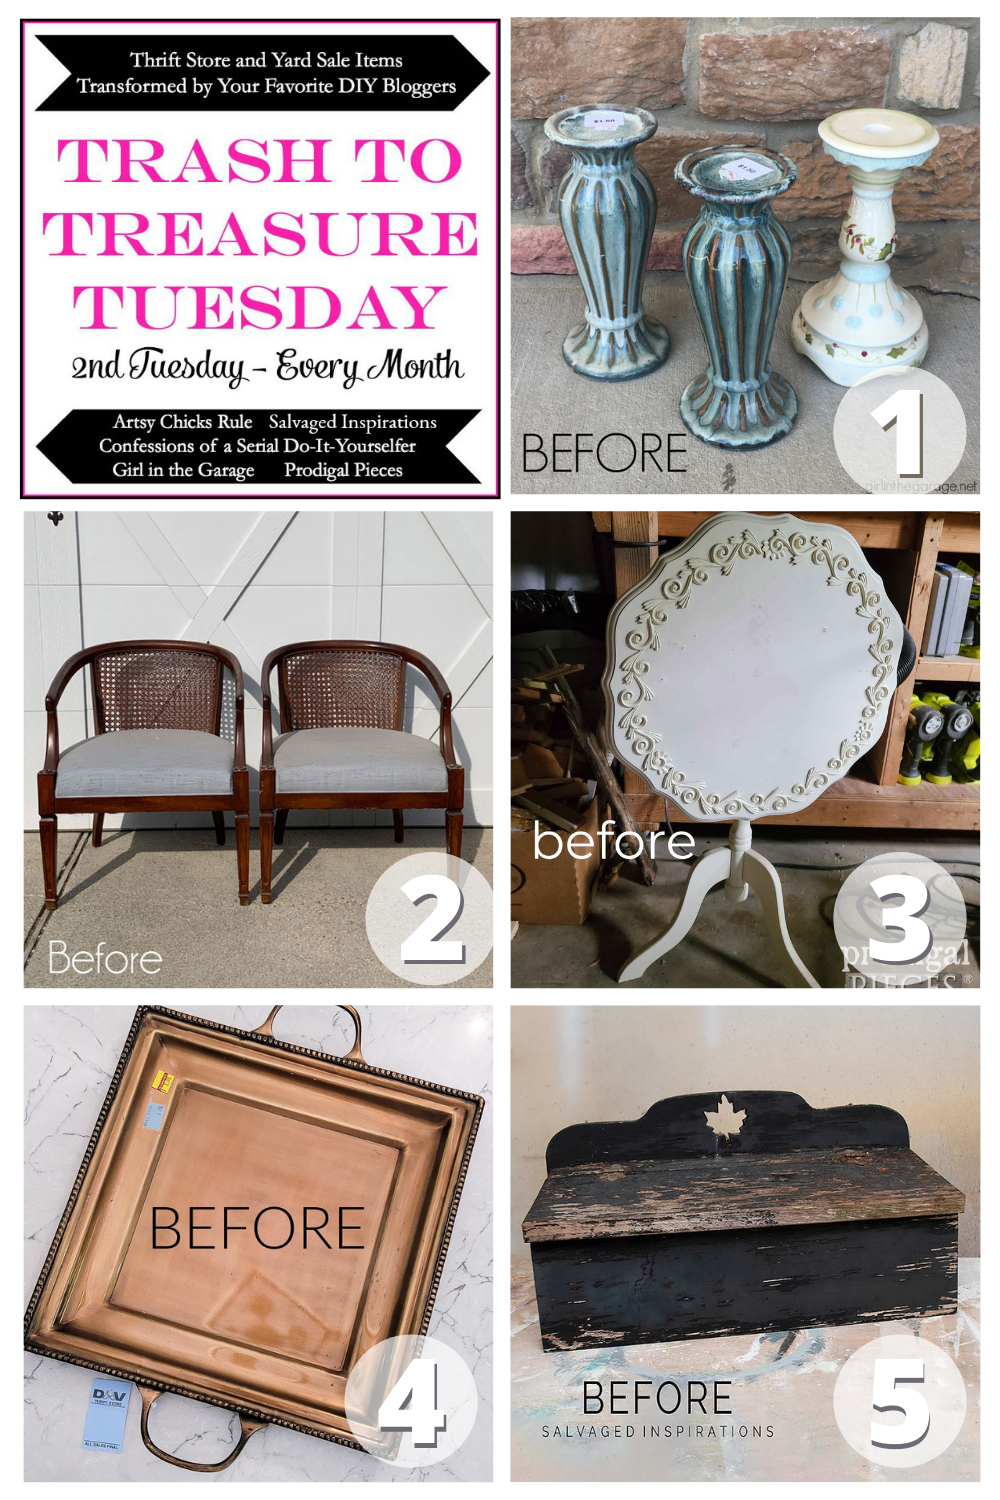
1. Girl In The Garage
2. Confessions Of A Serial DIYer
3. Prodigal Pieces
4. Artsy Chicks Rule
5. Salvaged Inspirations (happy you’re here!)
I hope this has inspired you to give something around your home a facelift. If you give it a try, please let me know how it turned out for you! Leave a comment below and share a picture on Instagram with the hashtag #salvagedinspirations.
AND LET ME KNOW WHAT YOU THINK OF THIS MAILBOX MAKEOVER OR FEEL FREE TO ASK ANY QUESTIONS YOU MAY HAVE.
I ALWAYS LOVE HEARING FROM YOU. 🙂
Happy furniture painting my friends!
Denise x
RELATED POSTS::
14 GORGEOUS WOODUBEND MAKEOVERS
BEST PAINTBRUSHES FOR FURNITURE
EASY DIY WOOD SIGNS + FREE PRINTABLE
BEST HOMEMADE CHALK PAINT RECIPES
WHITEWASHED WOOD PLANTER
PIN AND SHARE!
JOIN THE SALVAGED INSPIRATIONS FAMILY!

Nice article, Denise. You have done amazing work with your mailbox makeover. There is fun in doing such stuff by yourself. I am sure you must have enjoyed the process. Thank you very much. Please keep posting such articles in the future too.
Thanks, Howard!
Was your mail person impressed? I’ll bet they love it. They see so many boring mail boxes. LOL. Now I’m inspired to redo mine too. I think I’ll put some kind of greeting to them on the inside to hopefully brighten their day . Once again, thanks for the inspiration.
My ‘regular’ mailman would have said something for sure but they’ve done a little restructuring and I have a new guy now. I was going to put “Thank YOU” on the inside but I didn’t have a TY transfer or stencil and wasn’t up to freehanding it…lol. But I love the idea of adding a message inside! 🙂
Such a sweet mailbox with the Canadian maple leaf cut out and you did a gorgeous job refurbishing it!
Thanks my friend! XOXO
Super cute, Denise! I love the red inside!
Thanks my friend! XOXO
Such a good job Denise! Your mailbox is so cool that I bet the birds will return to be the envy of all the birds! 🙂
LOL… I hope it doesn’t attract a bird mob! 😉
So sweet now, Denise! Love it!
Thanks my friend! XOXO
We are bird lovers too! Tjis is such a sweet makeover, Denise.
Thanks, my friend! It’s like a wild kingdom out here with all the birds, bunnies, squirrels, skunks and racoons!😆
Helo
Comme toujours un exelentbtravail
Tu es très gentille Dominique… merci! 🙂
Looks good and I never thought of painting a mailbox! Great tip on painting edges, thank you! ~ Nicki
Thanks, Nicki and I’m glad you found the tips helpful! XOXO
Hi Denise. What a wonderful and quick project with amazing results. I’m loving your “new” mailbox and the pop of unexpected color inside is so fun. I’ve been on the hunt for a new mailbox for two years now and can’t believe how pricey they are. You’ve just inspired me to try painting up my old metal one. Hopefully it turns out as good as yours!
I was looking to buy a new one as well and you’re right, the half-decent looking ones are pricey. Have fun painting yours and I’d love to hear how it turns out for you! XOXO
Your “new” mailbox looks refreshed and ready to go! It always feels so good to tackle projects for yourself! And I love the vines growing up around that area! XOXO
Thanks my friend! It does feel good to tackle home projects that are desperate for a makeover! XOXO