A $6.99 THRIFT STORE CADDY GETS TRANSFORMED INTO A SWEET VINTAGE PAINT BRUSH ORGANIZER | YOUTUBE VIDEO COMING THIS SATURDAY!
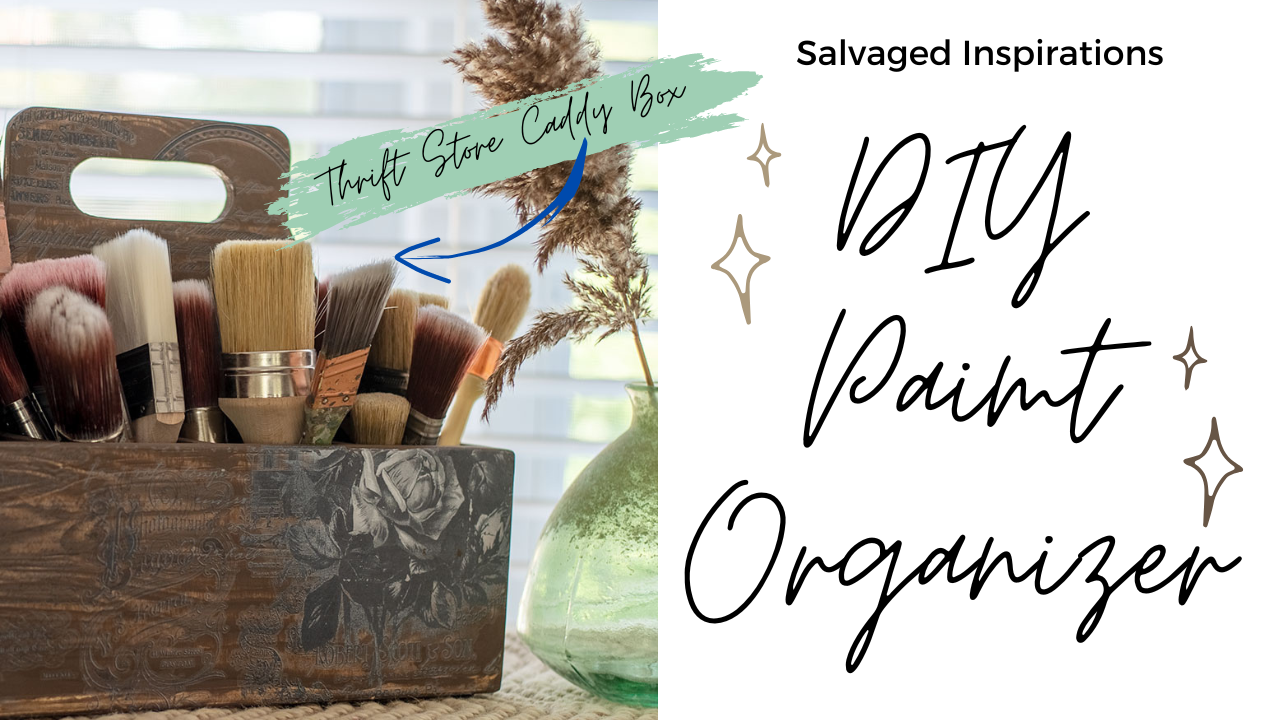 Hi sweet friends! A big thank you to all the well wishes that I’ve received after my septoplasty surgery. I’m happy to say I’m feeling much better although I still can’t breathe out of the left side of my nose. My surgeon said it may take up to eight weeks to see the results — so here’s hoping. Because I’m still trying to take it easy, I decided to do a little organizing in my workspace. I found this cute plywood caddy at the thrift store and thought it would be an amazing Paint Brush Organizer. I can’t wait to hear what you think!
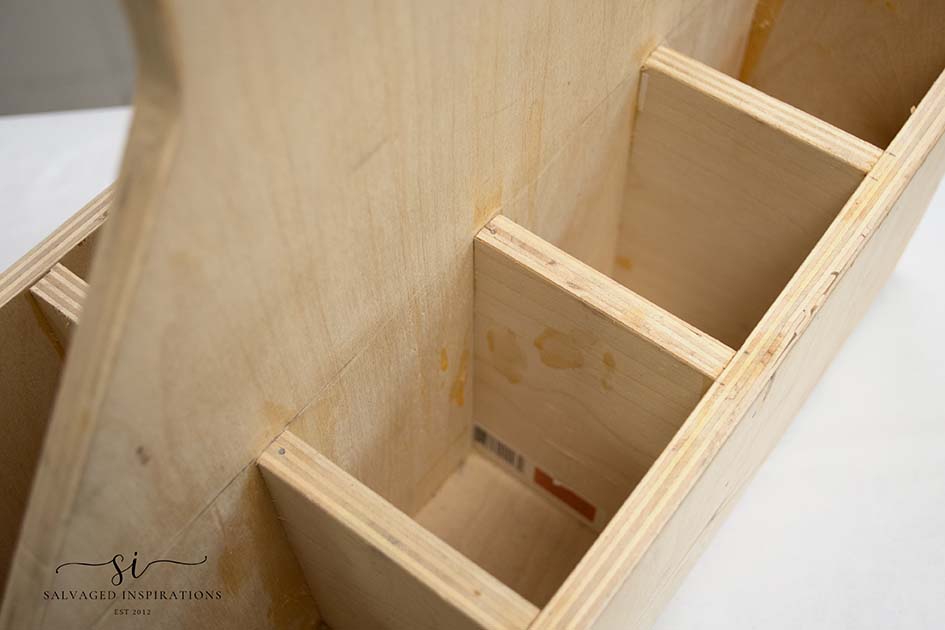
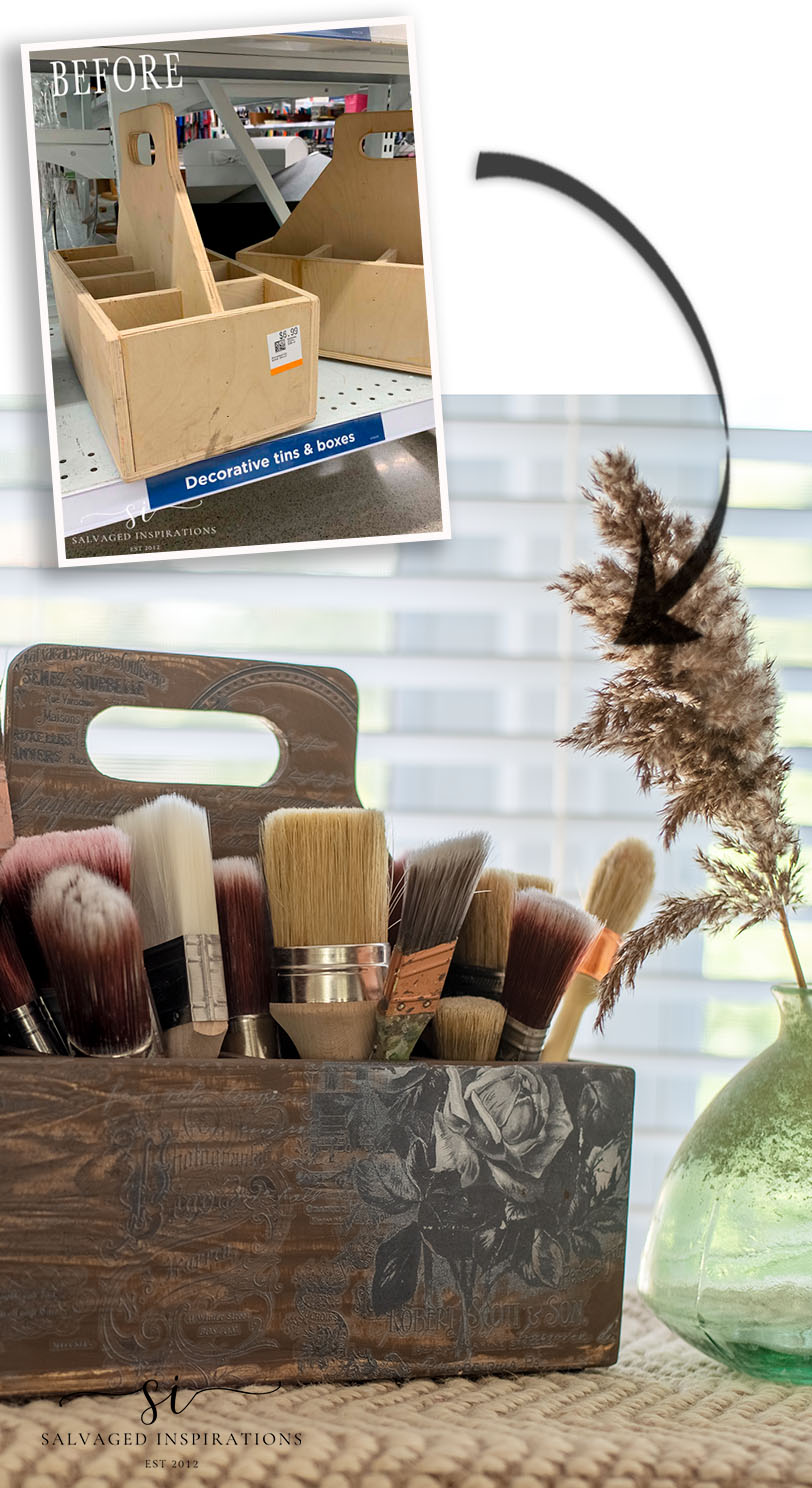
Here’s the plywood caddy I started with. I found it at my local thrift store selling for $6.99.
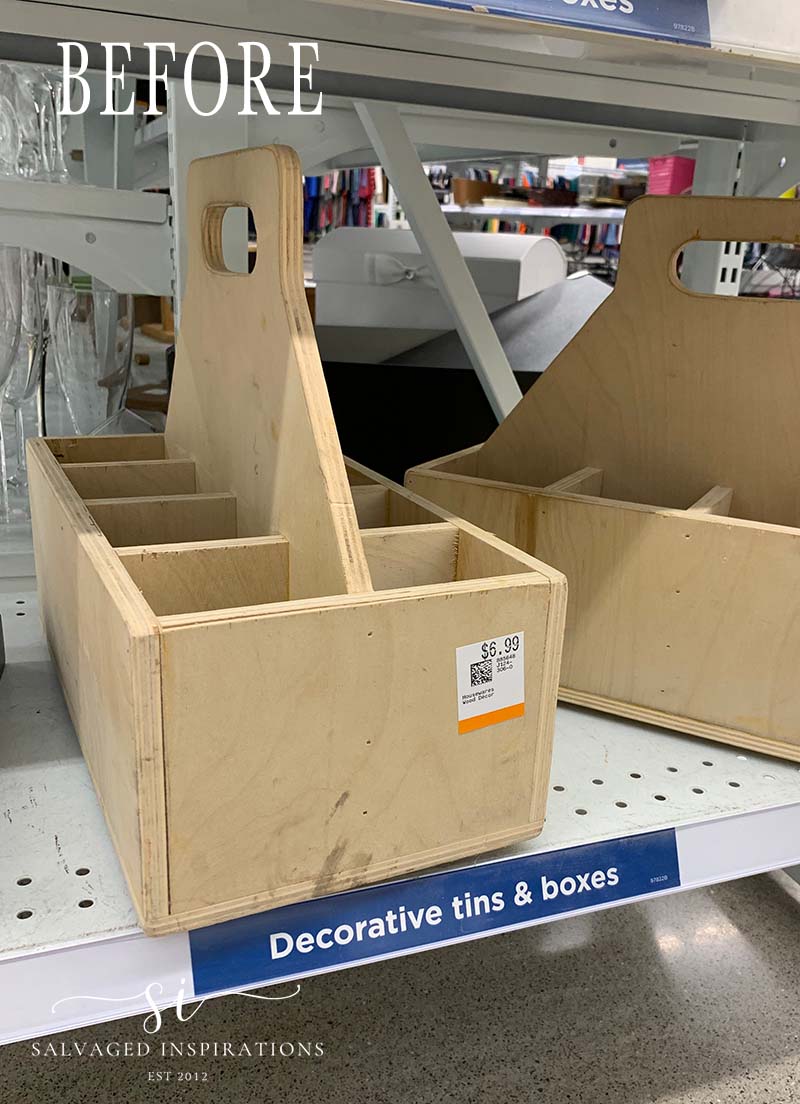
It’s made of plywood which isn’t the best looking – but it’s super sturdy.
THIS POST IS SPONSORED/CONTAINS AFFILIATE LINKS TO PRODUCTS I USE. YOU CAN SEE MY FULL DISCLOSURE HERE.
WHAT YOU’LL NEED
Thrifted Caddy Box – SALVAGED
Van Dyke Brown Glaze
Chocolate Chalk Mineral Paint
2″ Mini Paint Brush
Wood Grain Tool
Vintage Post Transfer
Burnishing Pad
Gator Hide Topcoat
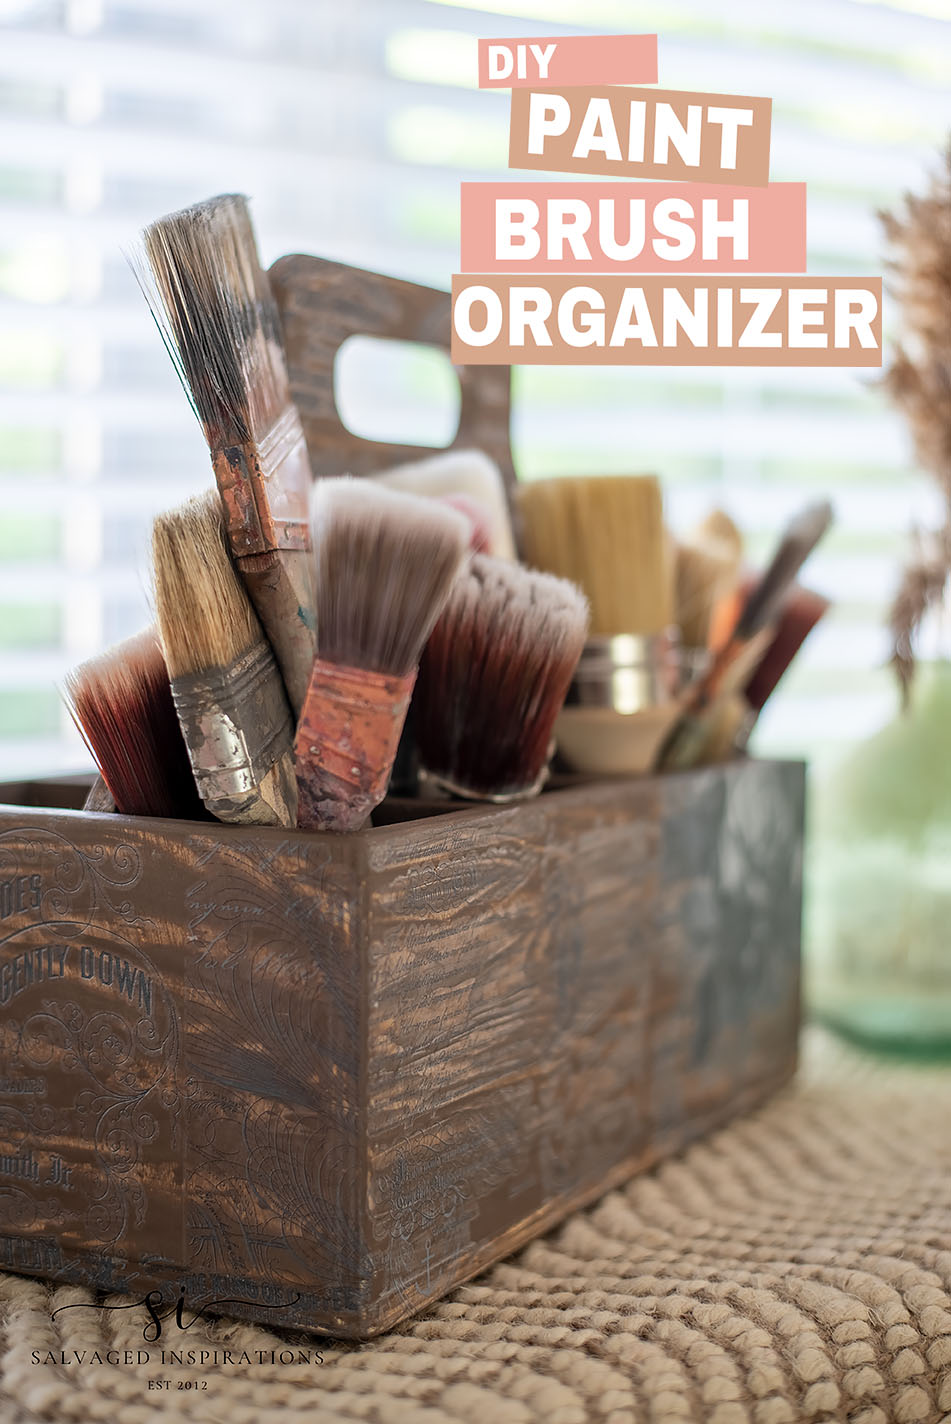
DIY PAINT BRUSH ORGANIZER
Here’s how I totally transformed the look of this plywood caddy box using a wood grain tool and a vintage transfer.
PREP
I didn’t put a lot of effort into the prep. I gave the box a quick wipe-down and then used my heat gun to remove the price tag.
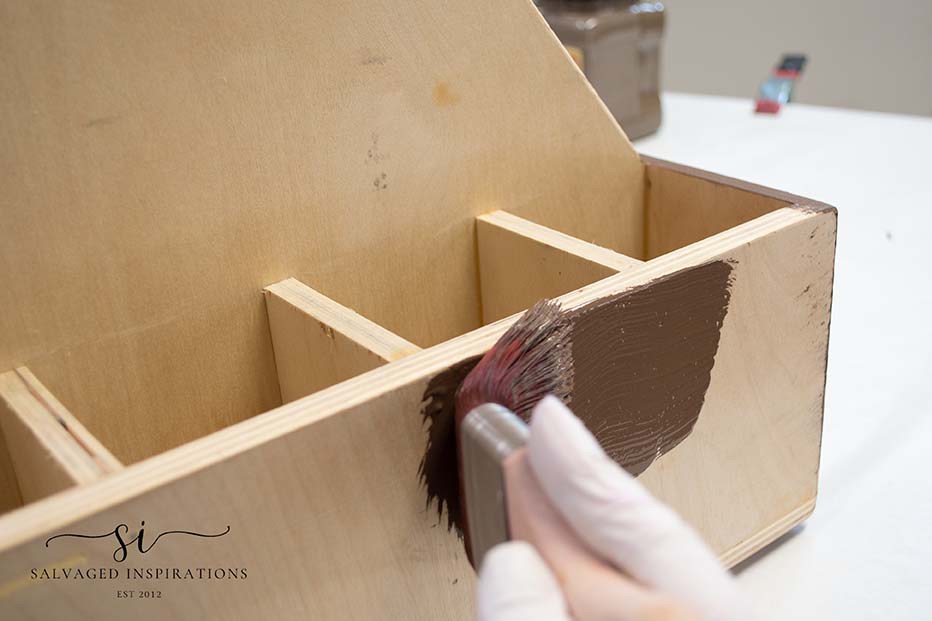
PAINT & GLAZE
To create a richer-looking faux wood, I mixed some Van Dyke Brown Glaze into this Chocolate Chalk Mineral Paint. I would guess it was about 2/3 paint to 1/3 glaze ratio. Working in sections, I painted the paint-glaze mixture on the box.
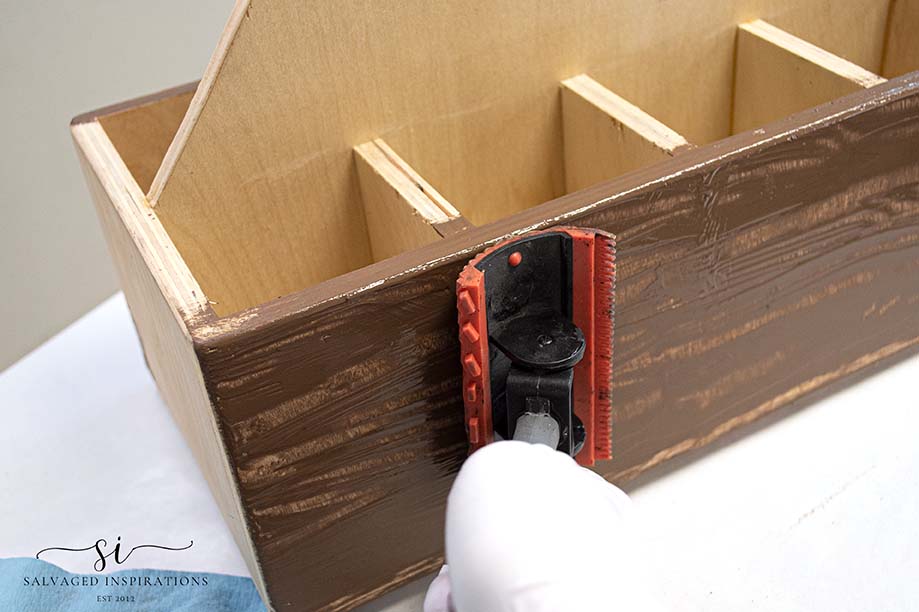
FAUX WOOD GRAIN
I’ve used this wood grain tool on a few other projects, but I’ve only ever gotten mediocre results. This project was no different. hehe But I wasn’t really worried that it wasn’t perfect because I was going to use a transfer design over it anyway. That said, I would like to spend some time practicing with this tool so I get good at it. I’ve seen other furniture artists have absolutely stunning and realistic wood grain effects using this tool so I know it has HUGE potential.
To create the wood grain, I started at one end of the box and dragged the wood graining tool across the wet paint rocking it about halfway through to create some grain. I’ll be sharing a video tutorial this Saturday if you’d like to see this in action.
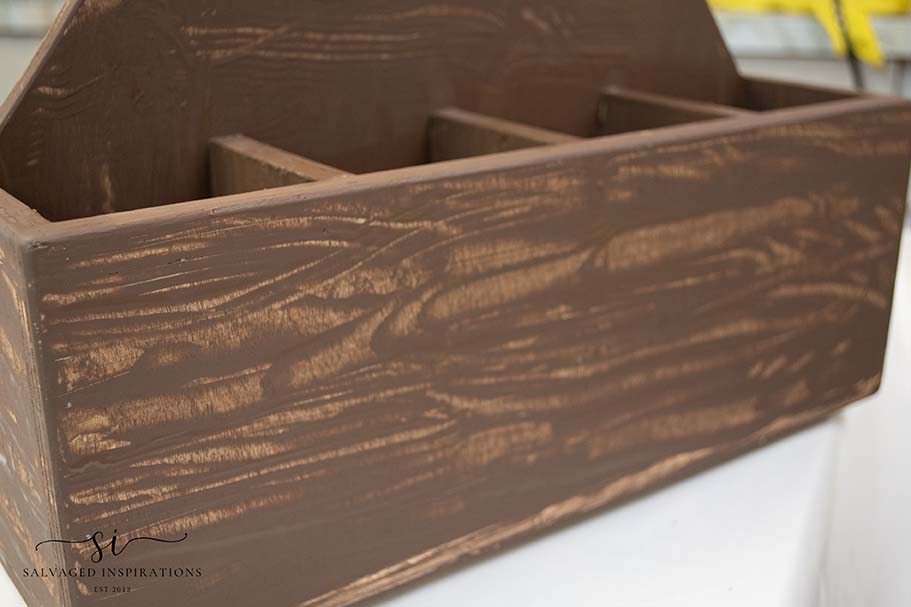
IT’S NOT PERFECT… BUT THAT’S OKAY!
I let the finish dry overnight. Below is the finished faux wood grain. It’s FAR from realistic but that’s okay. I just wanted to create a darker vintage-looking wood as a canvas for my vintage transfer.
VINTAGE POST TRANSFER
I had this Vintage Post Transfer in my inventory and I think this is the perfect project to use it on.
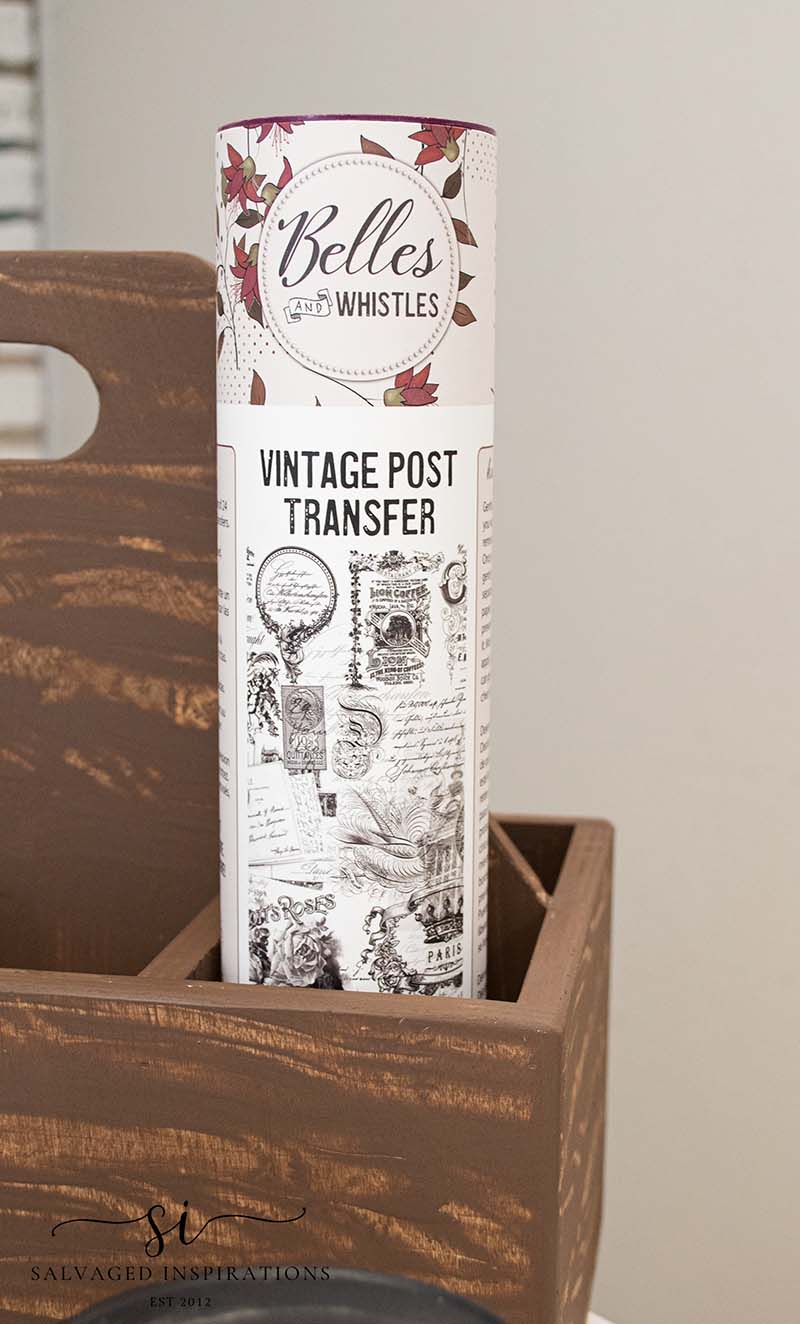
It comes with four sheets of gorgeous vintage designs! The graphics and designs can be used as is, mixed and matched, or even layered.

APPLYING THE TRANSFER
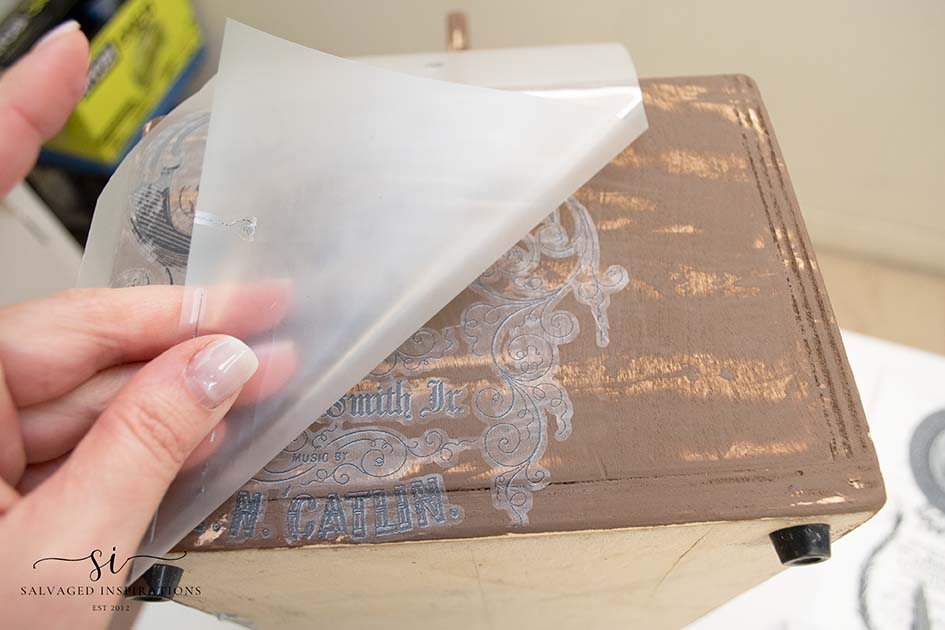
To adhere the transfer, I cut out the pieces of the design I wanted to use and placed them on the box. Using the applicator stick, I rubbed on the design. I have a full tutorial on How To Rub On Transfers HERE.
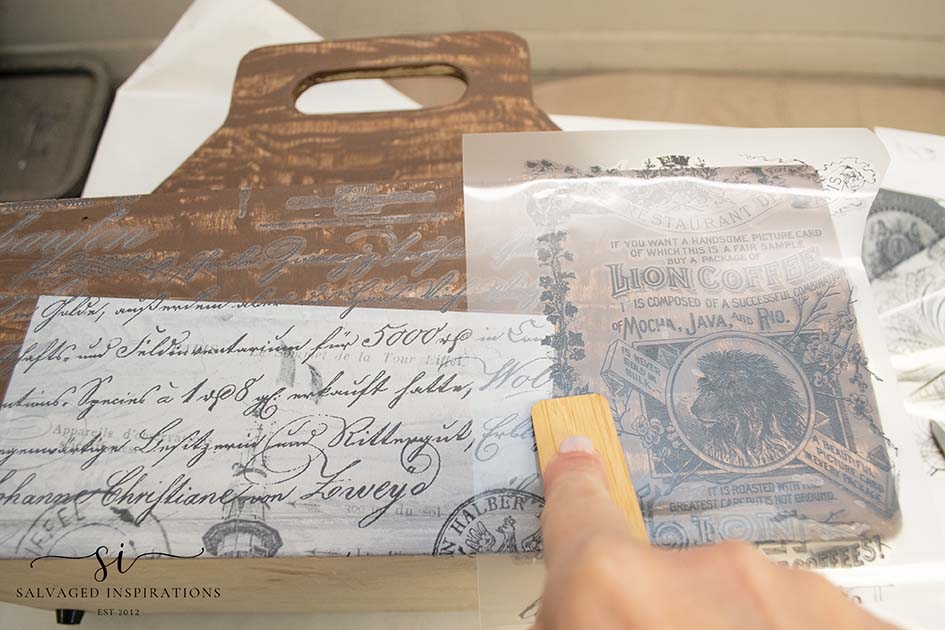
Once the designs are adhered to the project, the plastic lifts up easily.
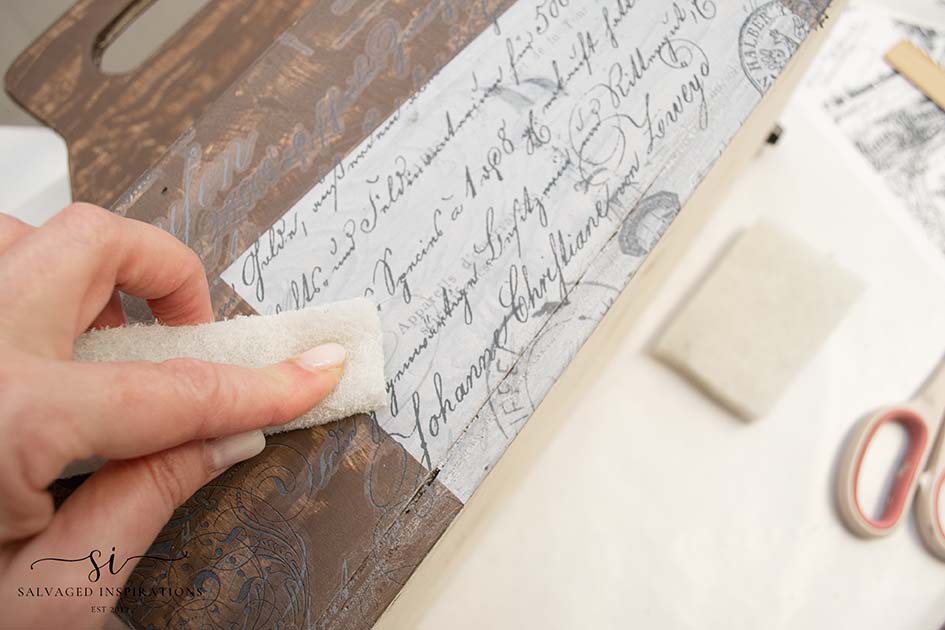
To remove some of the adhesive surrounding the design, I used this burnishing pad. The more you burnish or rub, the more translucent the adhesive becomes.
TOPCOAT
I’m not going to topcoat because this is for my own personal use and I don’t mind if it gets a little more distressed. But if I were selling this box, I would use Gator Hide for durability and easy cleaning.
FINISHED LOOK
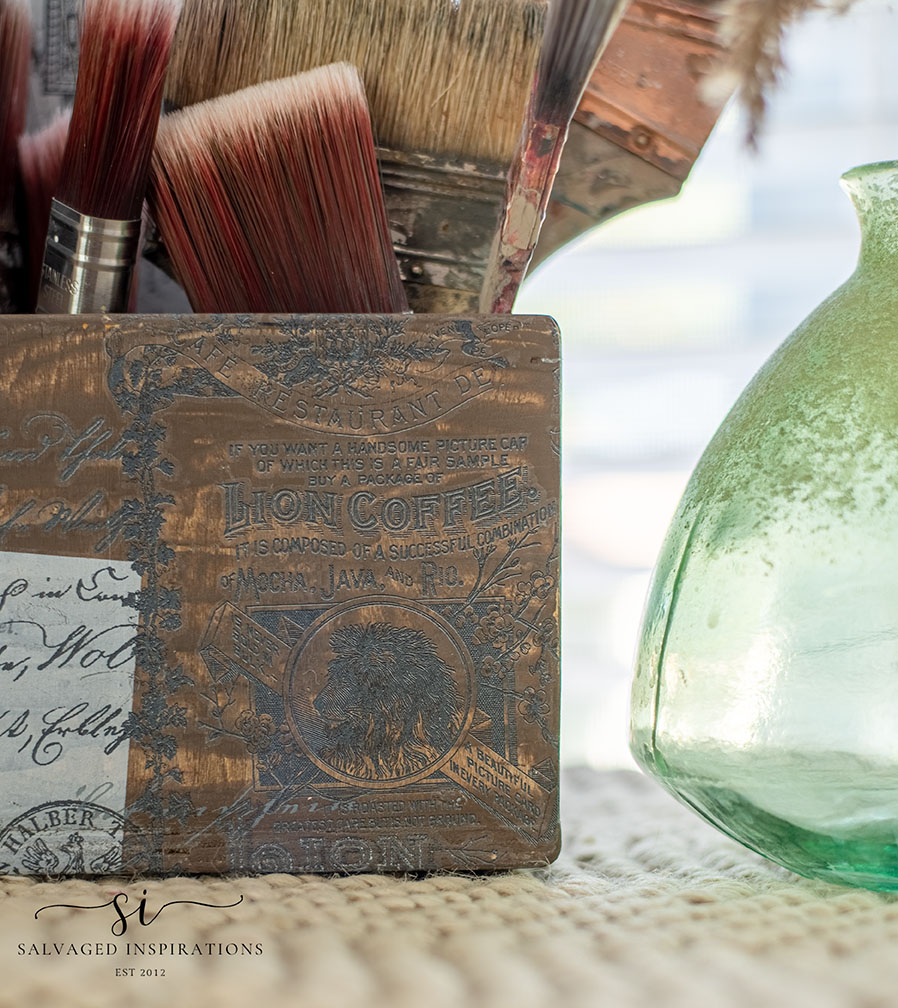
Here’s the finished look. This organizer is super cute!
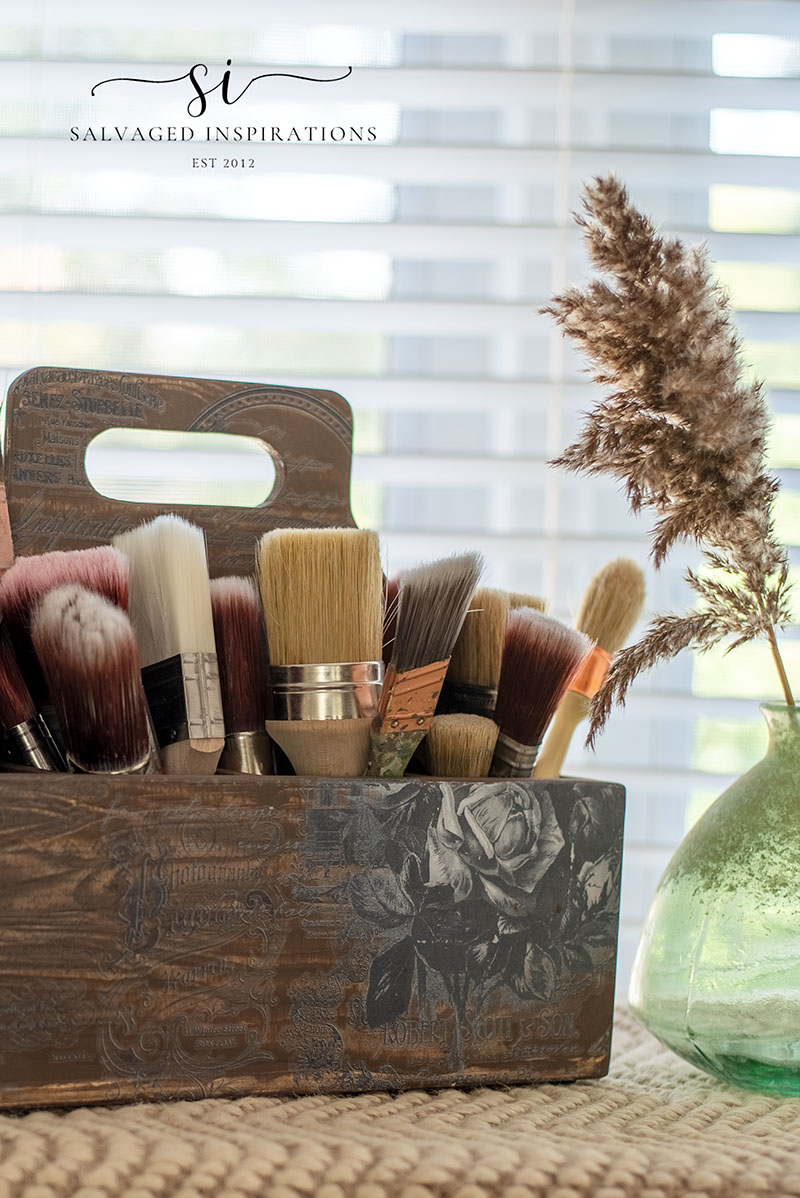
This brush organizer is a really good size and holds a ton of brushes.
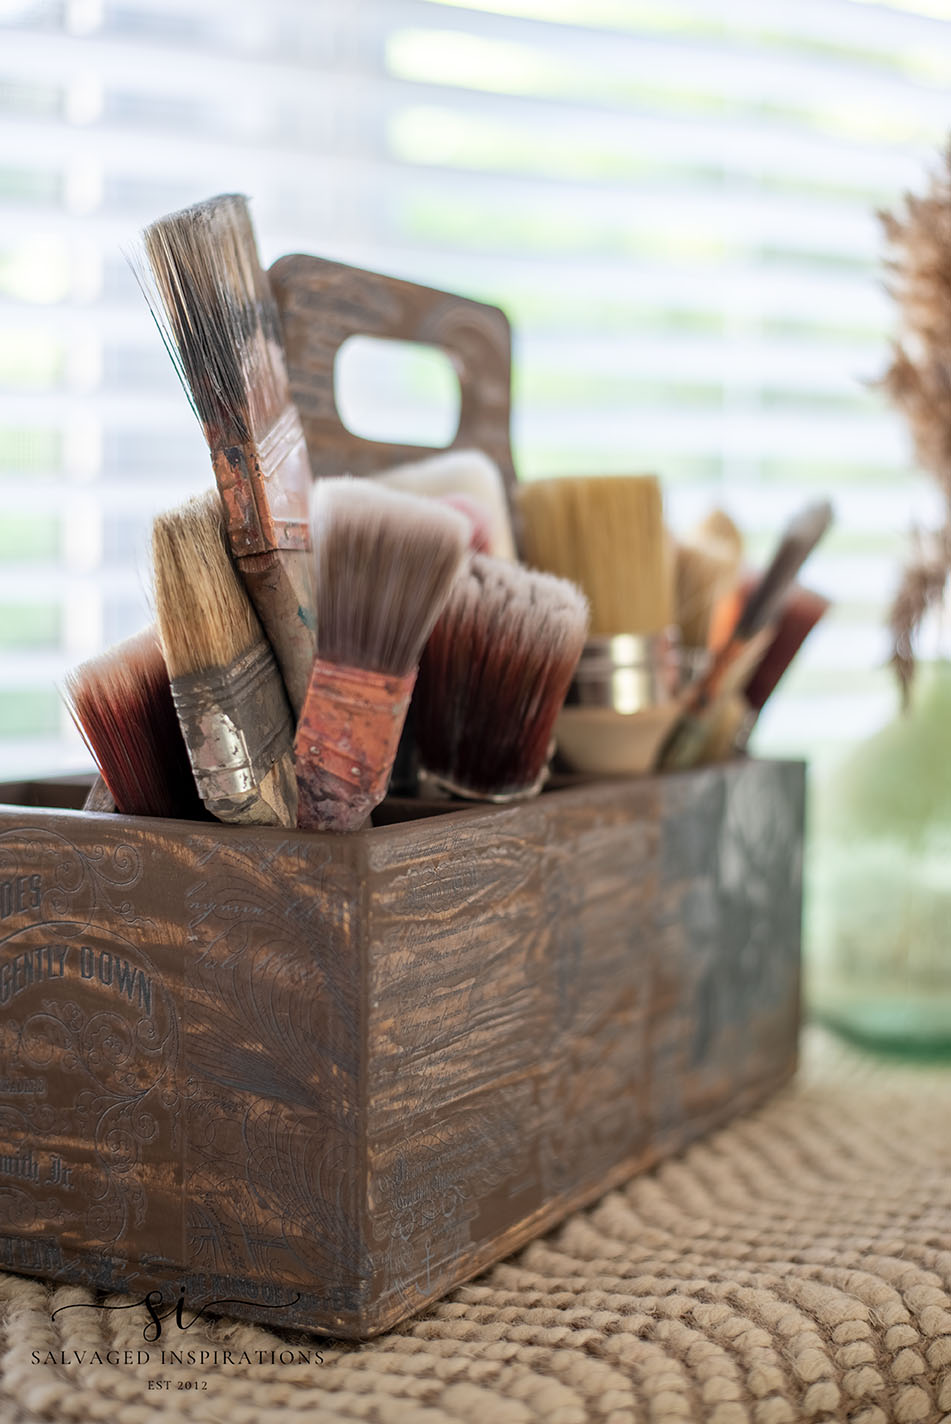
And here’s a close-up of the other side. I can’t wait to hear what you think. I think it almost looks as if this box has been engraved with this design!
YOUTUBE TUTORIAL
Here’s a step-by-step tutorial on Youtube. If you have any problems viewing it below, feel free to watch it on my Youtube Channel HERE. Our #siyoutubefamily is already a community of 40K so don’t forget to subscribe if you haven’t done so already! So exciting, thank YOU! 🙂
Here’s another look at this Paint Brush Organizer before and after. I hope it’s inspired you and given you some ideas for your projects!
I’D LOVE TO HEAR WHAT YOU THINK OF THIS MAKEOVER OR FEEL FREE TO ASK ANY QUESTIONS YOU MAY HAVE… I ALWAYS LOVE HEARING FROM YOU. IT MAKES MY DAY! 🙂
Happy painting my friends!
Denise x
RELATED POSTS::
MCM CHOCOLATE PAINTED DESK
ROYAL DAMASK PAINTED VINTAGE DESK
REPURPOSED DESK INTO NIGHTSTANDS
HOW TO REVAMP AN OLD DESK
PAINTED SECRETARY DESK
PIN AND SHARE!

This is a perfect caddy for paint brushes and thanks for sharing the wood graining tool! I hope you’re feeling better Denise! 🌸
I’m going to master that wood graining tool one of these days…lol. 😉 Thanks for the well wishes Nicki! XOXO
Oh my, I didn’t realize you had surgery, Denise, I wish you a speedy recovery. Milk this time for taking it easy because I know that doesn’t happen very often. What a great score and I noticed another on the shelf, did you buy both? Love how you transformed this one and a perfect organizer for paintbrushes. Sending healing hugs your way xoxo
I’ll take those healing hugs, thanks my friend!XOXO And yessss, i did buy them both. Not sure what I’m going to do with the other one but I’ll find a use for it! 🙂
So pretty, and smart!
Thanks so much Lizzy! XOXO
Denise, this is great. I am always on the lookout for a box like this. I like the faux grain you did. I might give it a try. I have been using a galvanized bucket with a little water in it and magnets to hold the brushes. I found an antique one for $15. on Marketplace. If it’s still there I think I’ll get it!
Magnets to hold the brushes… BRILLIANT! Thanks Fran! 🙂
That is so cute, and just perfect for brushes. My brushes are in coffee cans, lol.
Coffee cans work…lol! Thanks my friend! XOXO
SCORE! What a great find and it’s perfect as a paintbrush caddy. The transfer is 👌. Wood and roses 😍
You can never go wrong with storage boxes, right?!😃 Thanks Do! XOXO
i Denise. I always like to read the comments on things I want to buy before I buy them. Here are a couple of comments on this tool.
Reviewed in Canada on December 9, 2022
Verified Purchase
This product works great! Added the wood grain to a cabinet that was very plain and not real wood. Absolutely would recommended to anyone looking to achieve the wood grain look!
It was a little challenging to get the hang of using it to get a good pattern. Also, use less paint and then clean the tool right away.
Purchased this set to create a faux wood beam and I’m so glad I did! It was incredibly easy to use and created the look that I was going for! Highly recommended
So I KNOW you won’t have any problem getting the hang of this tool, Denise. Go for it!!!
Oh this has inspired me Caye, so thanks so much for sharing!!! I might be brushing on my paint/glaze on too thick and not cleaning the tool enough. I can’t wait to give this another try now.😊
Hi Denise. What a great find! That wooden caddy was made for organizing and you took it up to the next level. Excellent project and I’m happy to hear you’re beginning to feel better.
Thanks so much Monique! And ya, you can’t go wrong with storage boxes. I always find a use for them!
Really like the brush organizer. Your use of the transfer is beautiful. The one does look as if etched into wood. You do such lovely work. Thank you for sharing your talent and projects with us.+
I’m so glad you like the organizer Sue. I love this transfer as well. Have a super day.😊
Fun fun fun, Denise! I’m glad you did something for YOU (which probably doesn’t happen very often, am I right?!?) I think your faux wood grain looks very believable ~ especially with the layered addition of your well-chosen transfers. Another thumbs up, girl! 👍🏼 Praying for your full and speedy recovery; be kind to yourself: we are with you all the way! 🙏🏼
lol, you are so right! This was super fun and I don’t often do projects for myself. Your sweet/kind comment just might encourage me to do more!😆 Thanks for the well wishes Suzy! XOXO