I live in Burlington. A beautiful city in southern Ontario. This region is filled with wineries, the Niagara Escarpment and 900 km of Canada’s oldest and longest foot path; The Bruce Trails.
When Autumn is in the air, the scenery is stunning.
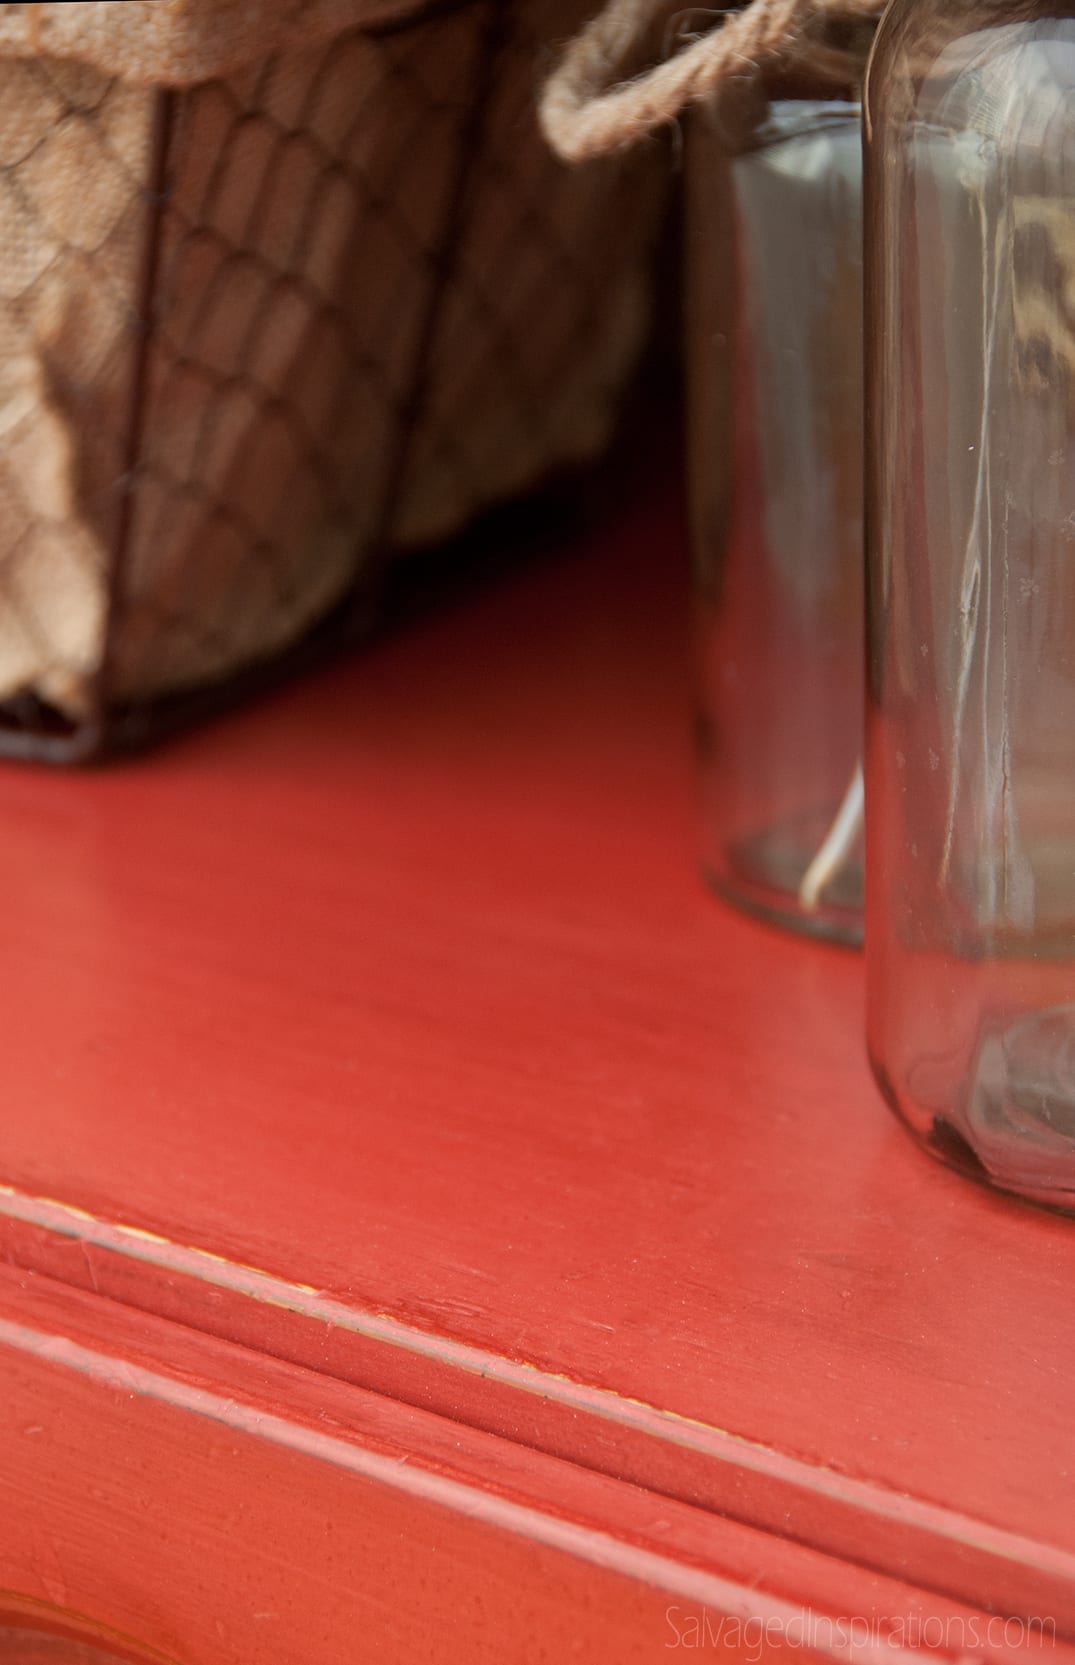
Sure, with the cooler temps, I have to swap my flip-flops for closed toe shoes. But the warm tones of gold, red and orange all blanket the escarpment and make up for it. I’m Fall Struck! And it’s this breath taking fall foliage that inspired me to paint this hutch in a warm red.
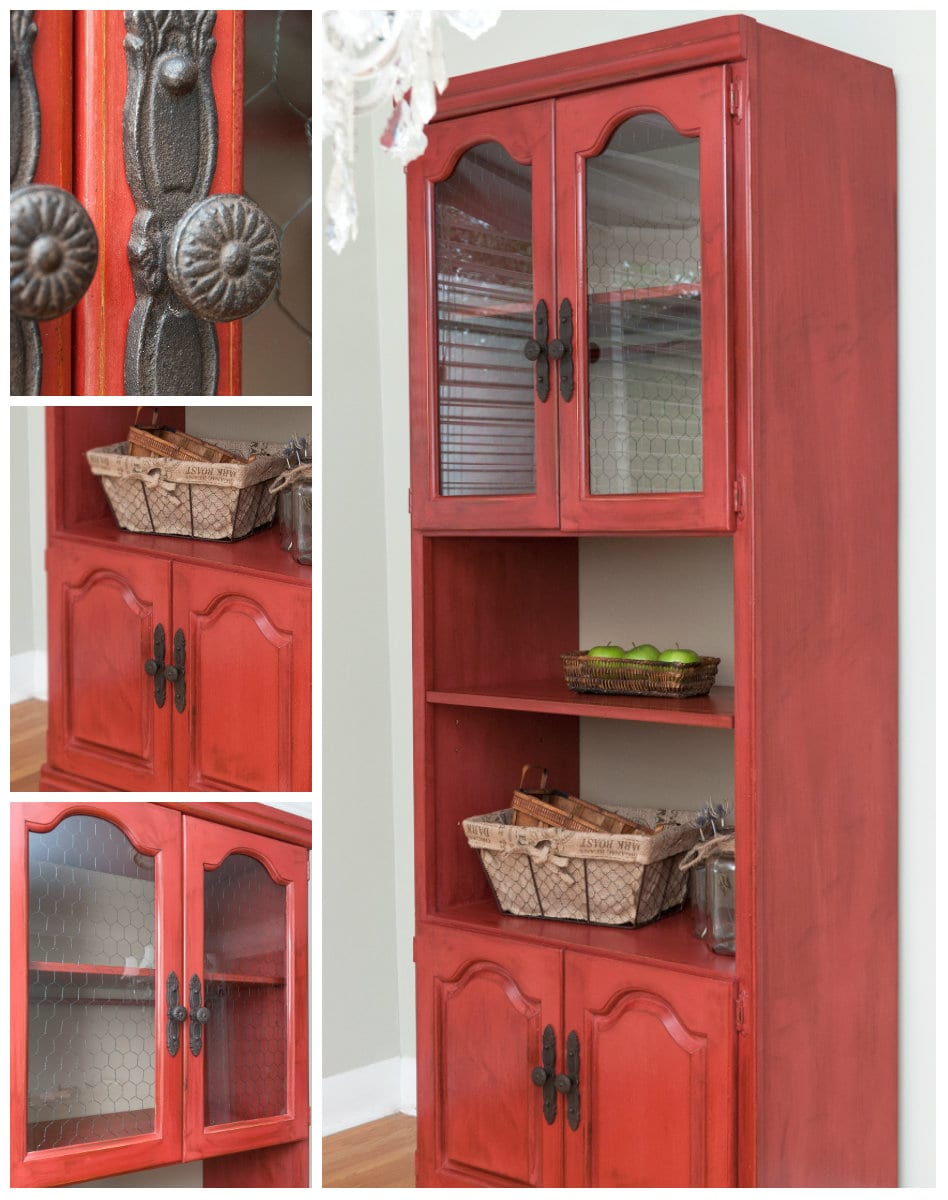
To create the warm variance in tones, I painted with Old Fashion Milk Paint’s ‘Salem Red’ mixed with Miss Mustard Seeds ‘Tricycle Red’. Both these reds are brilliant on their own, but the Tricycle gave the Salem that little extra vibrancy that I wanted… without being too bright.
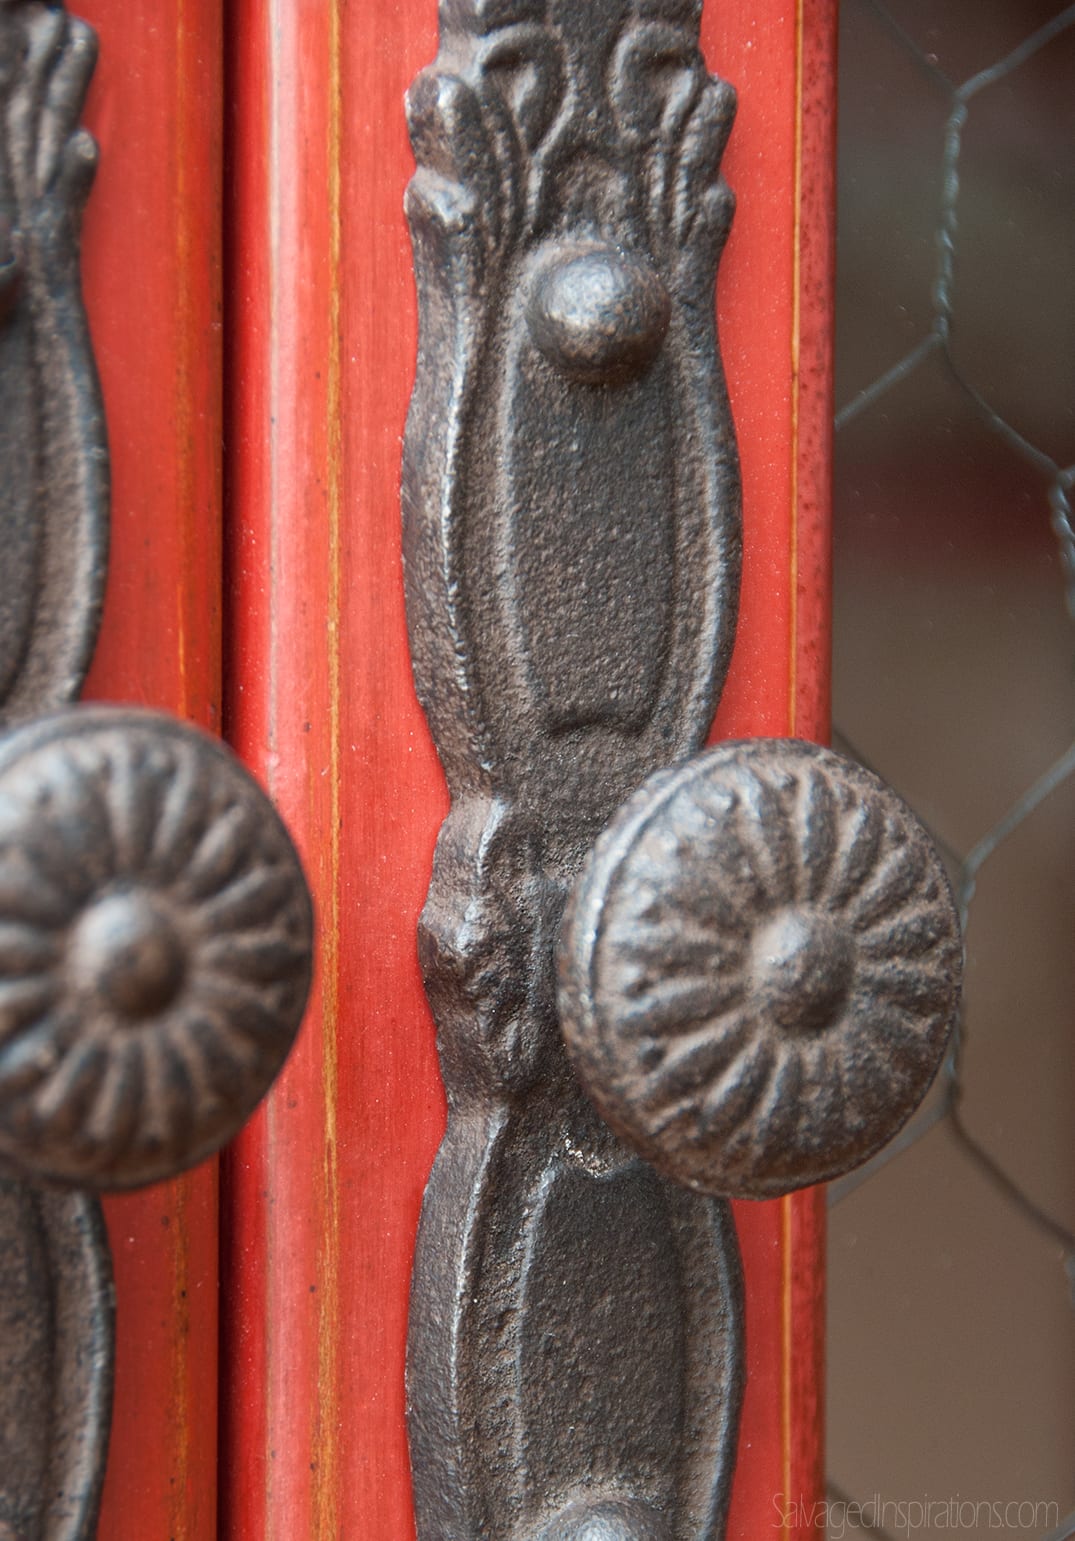
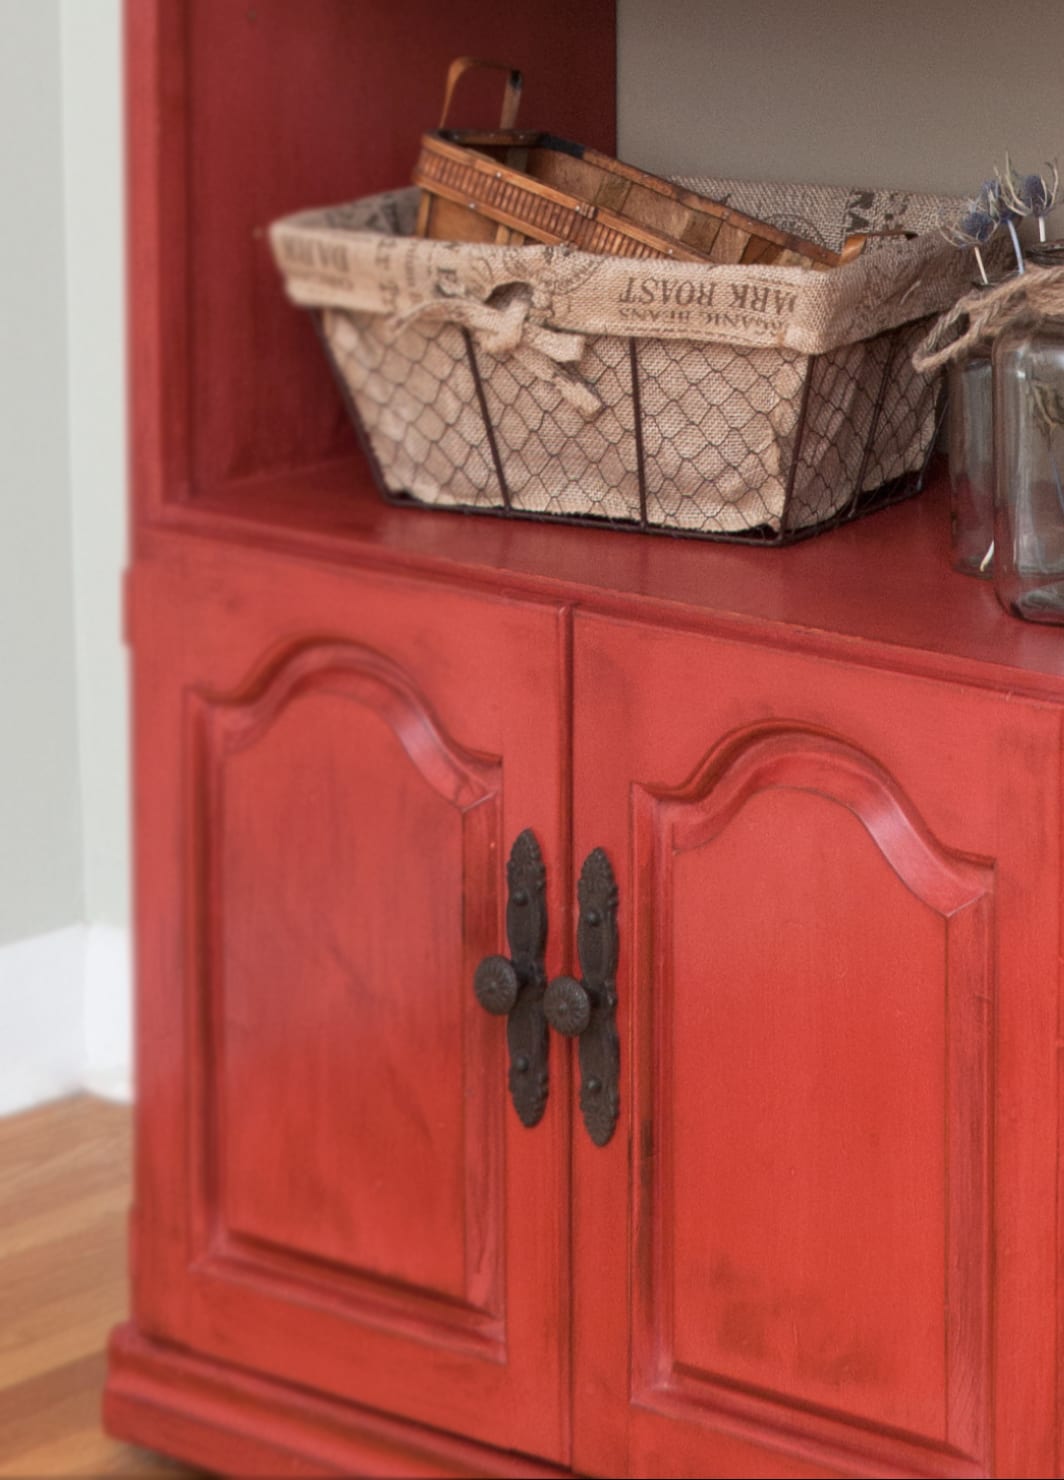
The hardware was donated by my sister. Andrea had purchased this hardware for a project and never got around to using these pulls. Lucky me, (or whoever purchases this piece) because they are PERFECT for this hutch. Don’t you agree?
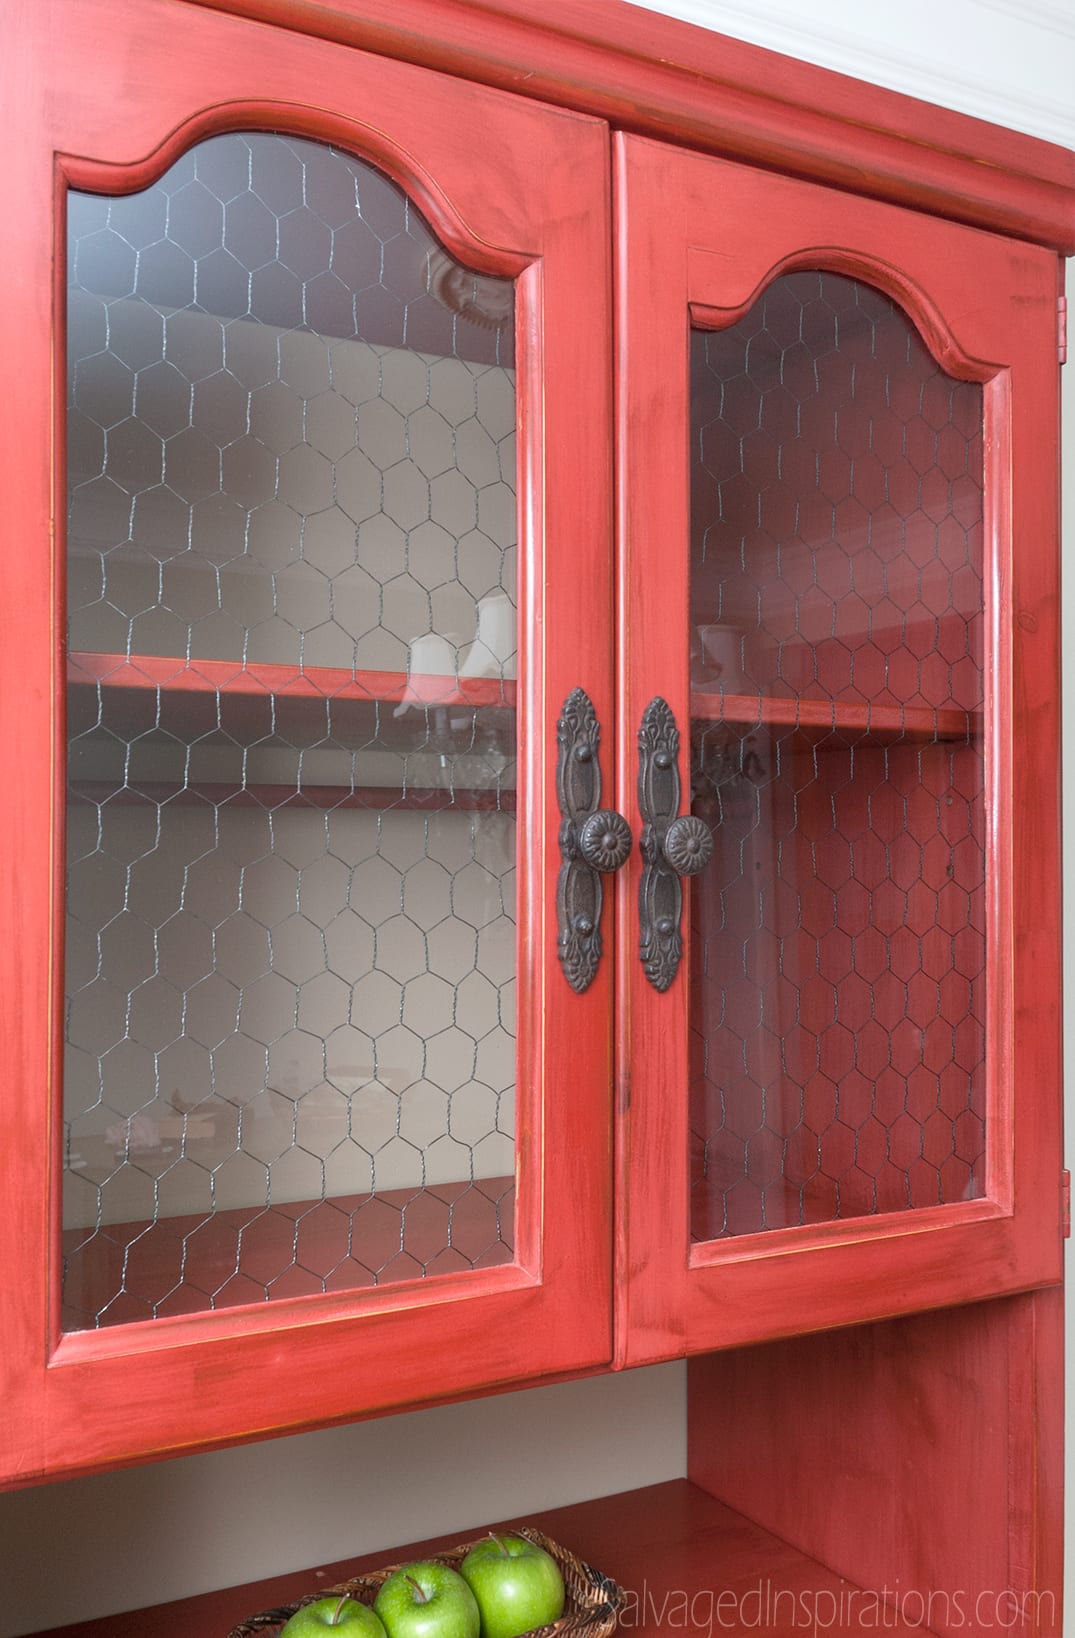
Between my sister and my FB followers, this hutch was a joint effort. The before pic of this hutch is posted on Facebook and I want to thank all of you who chimed in with your chicken wire vote!
I was going to remove the glass to install the chicken wire so I left the two glass panels in place while I painted. Then I realized, the wire looked really good in-behind the glass, so I cleaned the paint off the glass so I could leave the glass installed. A little extra work but well worth it.
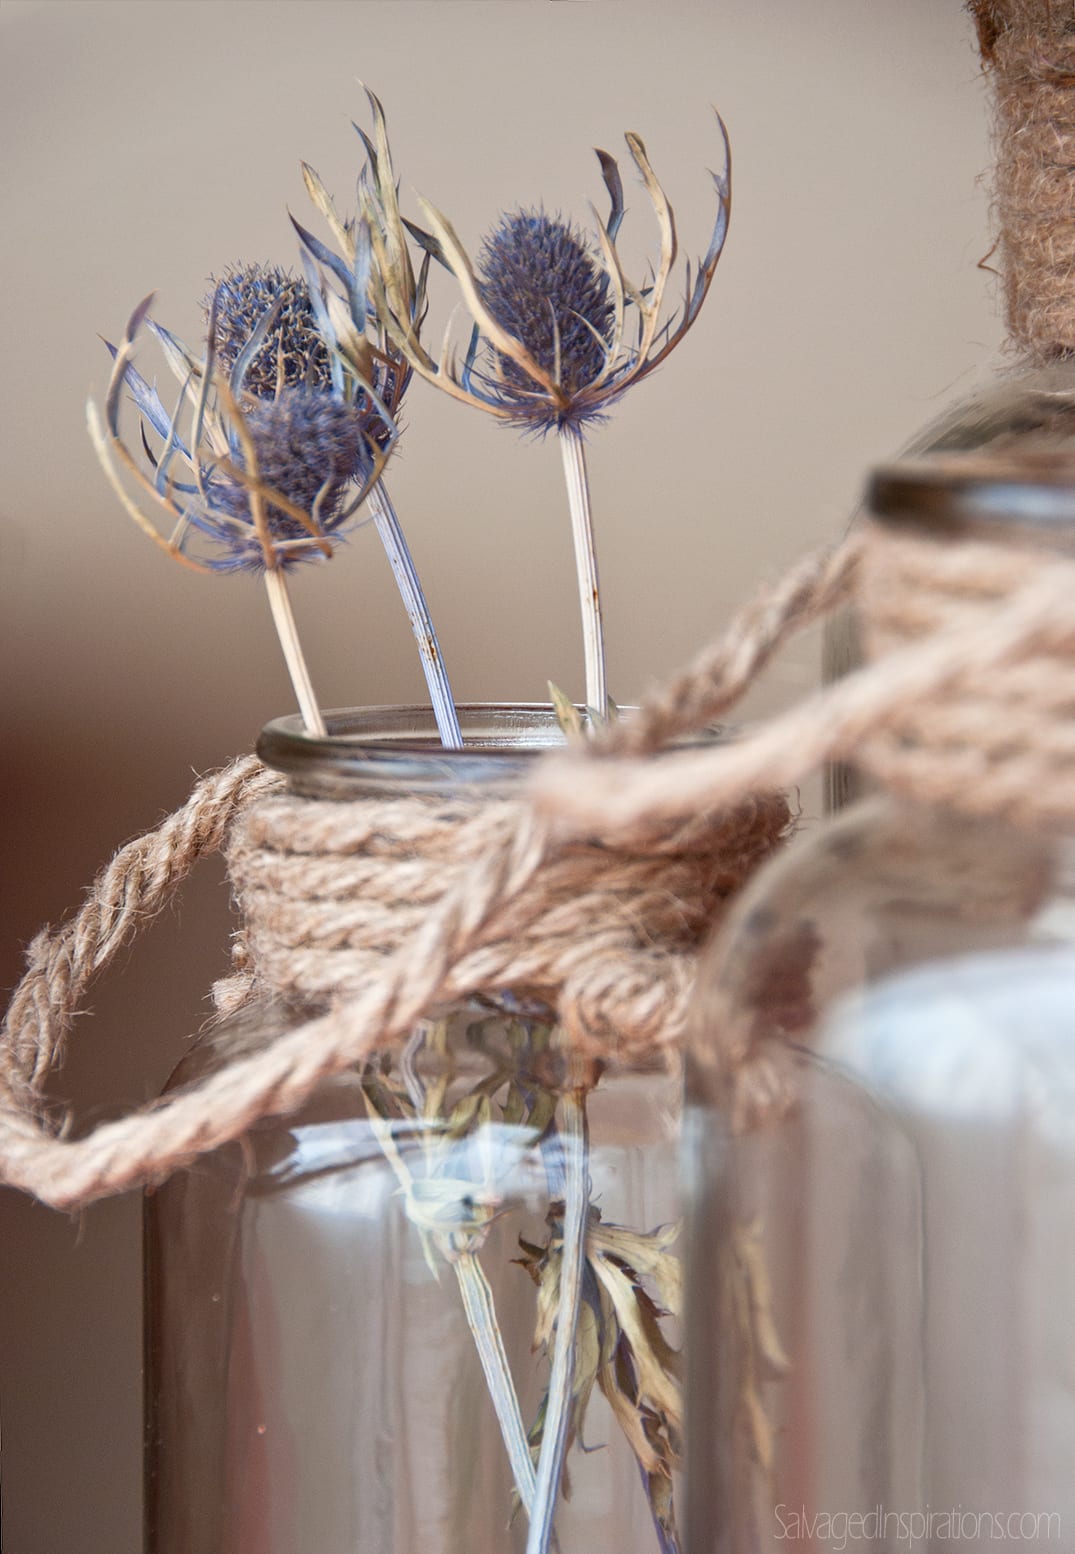
After painting the back in a warm Wheat (which will be a great neutral background for anything housed in this cabinet) and a few coats of Annie Sloan Wax, I love the end result!
Look around… inspiration can come from ANYTHING and EVERYTHING!
Feel free to leave me a comment and let me know what you think of my Red Chicken Wire Hutch… and maybe share what’s been inspiring you lately!
Enjoy your day and Happy Painting!
Denise x

Did you use a pneumatic staple gun to attach the wire? I want to keep the glass in my hutch, but I worry it will break, if Inuse this method.
Hi Erin! Yes, I did use a pneumatic staple gun to attach the wire and yes, I have broken glass doing it this way! So you do have to be super careful! https://salvagedinspirations.com/replace-glass-with-chicken-wire-the-safe-way/
What tricks are there for attaching the chicken wire after the glass is installed? I’m not a fan of dusting, so want the glass enclosure.
This piece is beautifully done! It looks like you added something after painting. Did you put some type of glaze on it or did you use dark wax? How did you get that beautiful finish?!
Thanks Angie! It really does look like it was waxed and/or glazed but I created this finish with milk paint. Milk paint naturally provides beautiful variances in hue. I combined two colors, then applied the paint heavier in some areas, lighter in others. This allowed for the darkness of original (hutch) finish show through in areas.
Love the red Denise and such a wonderful job. The hardware is the icing on the cake!
Did you paint it with one red and then go back and paint it with the second? Or mixed the paint? Please “splain” it to me…..
Great questions Lisa! I mixed the 2 milk paints together (the powder), then added my water, and then painted. I enjoy mixing paints to get the EXACT hue I’m looking for. 🙂
Beautiful! I love this so much! I love painting old things!
Gorgeous… gorgeous… but would love to see the BEFORE photo.. that is where the ah’s start flowing. Please post the before… some of us need to get an idea of what the possibilities are.
Thanks Maria! And here I thought you all may be getting tired of my before & afters and just wanting to see the pretty pics. 😉 The before is post on my Facebook page. You can see the before pic here.