The most common use for chicken wire is for making chicken coops. But did you know, in the past, chicken wire was often used on furniture?
In the good ol’ days, before modern day food storage and refrigeration, poultry netting was commonly used on hutch/pantry doors. The purpose was to let fresh air circulate around the stored root vegetables while providing a barrier to keep them in place.
Today we have better ways of storing and preserving our food, but the ‘look’ of this country charm furniture has made a trendy come back.
Do an online search and you’ll find designer shops and furniture craftsman charging between $1500-$8000 for furniture adorned with chicken wire. You’ll also see trendy interior designers and home decorating experts sharing over 17,000 chicken wire inspired pieces on popular sites like Houzz.
If you’ve been following my blog or FB page, you know I recently re-styled a dining hutch by replacing all the glass with chicken wire.
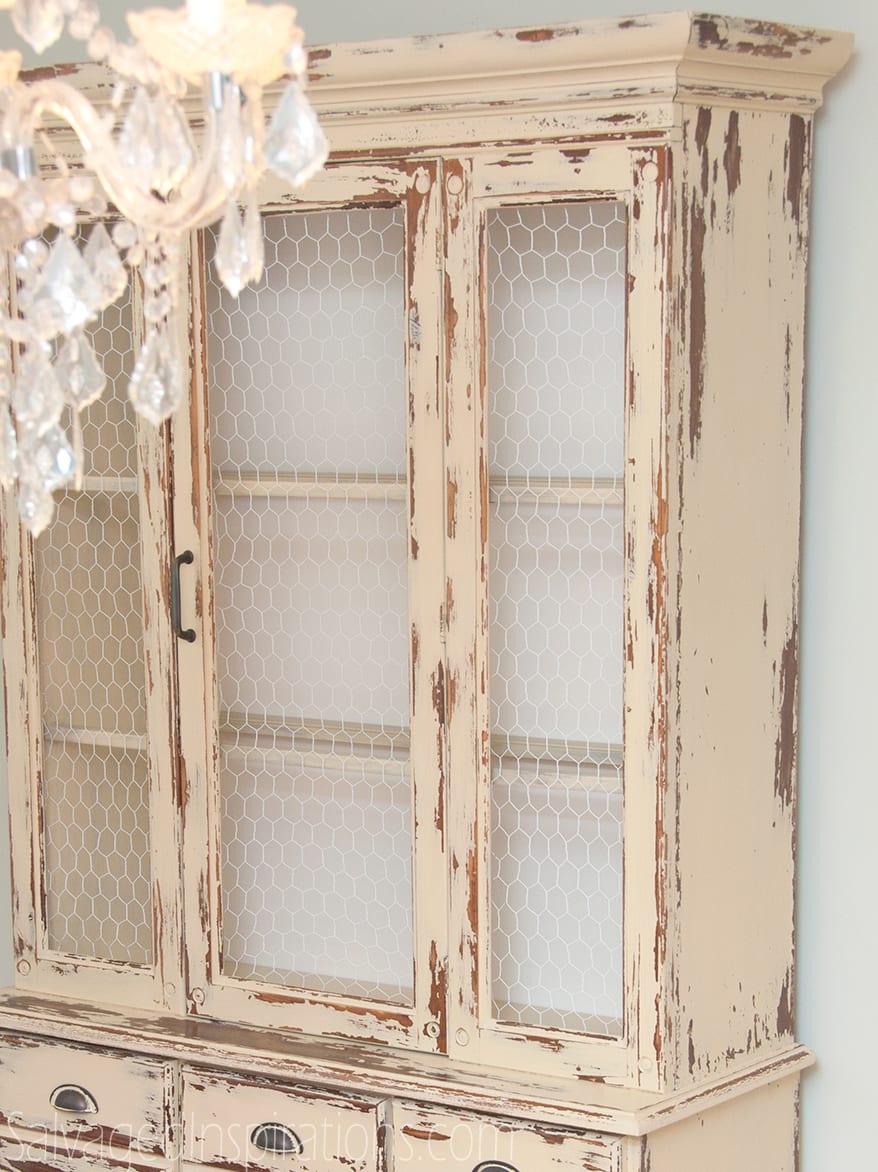
I love this country charm look!
The chicken wire adds visual interest by introducing pattern and color. I had so much fun working on this piece (cuts, scratches and all) that I’m currently working on another.
Although the original post for the above china cabinet is on Milk Painting Laminate, I’ve had quite a few questions asking how I installed the chicken wire. I love hearing from you and you’ve been giving me some great blog post ideas… so thank-you and keep those questions coming!
So here we go… here’s what I learned…
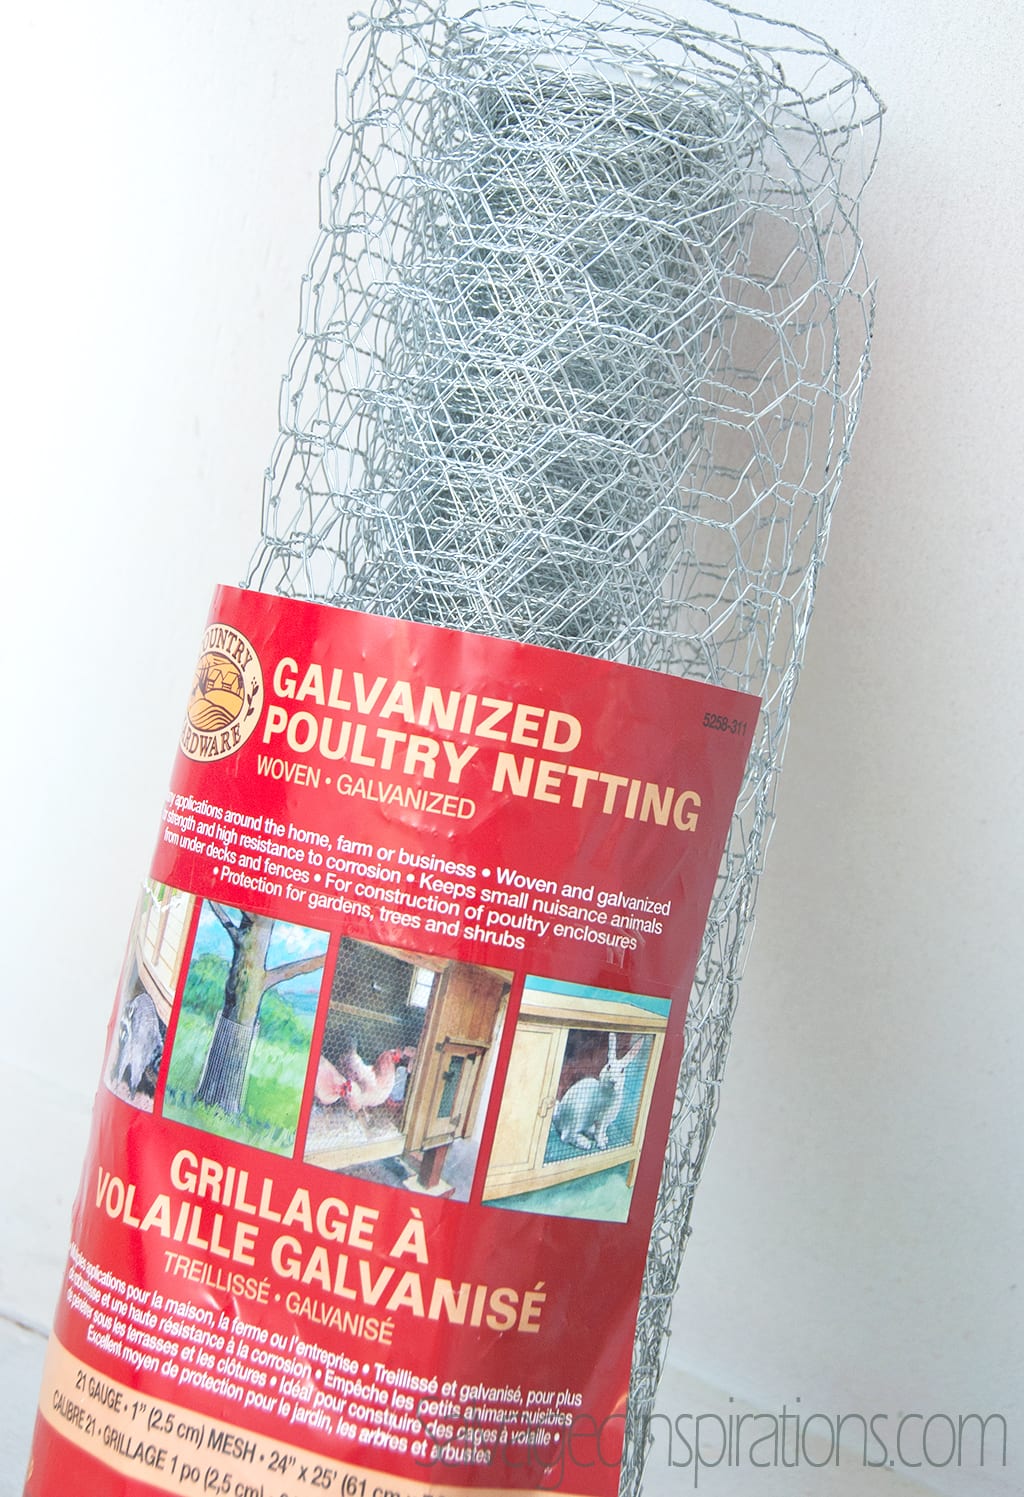
When you’re looking to buy chicken wire, keep in mind it is also called poultry netting, hardware cloth, hex netting or mesh wire. It’s made of galvanized steel wire which comes in various sizes.
I bought mine from Home Hardware but it’s easily found online, at Home Depot, Lowes, farm supply stores, or even Walmart in the garden section. In most locations it can be purchased already packaged, but some stores offer “off the roll”. When you purchase off the roll, you can buy small amounts, just the right amount you will need for your furniture project.
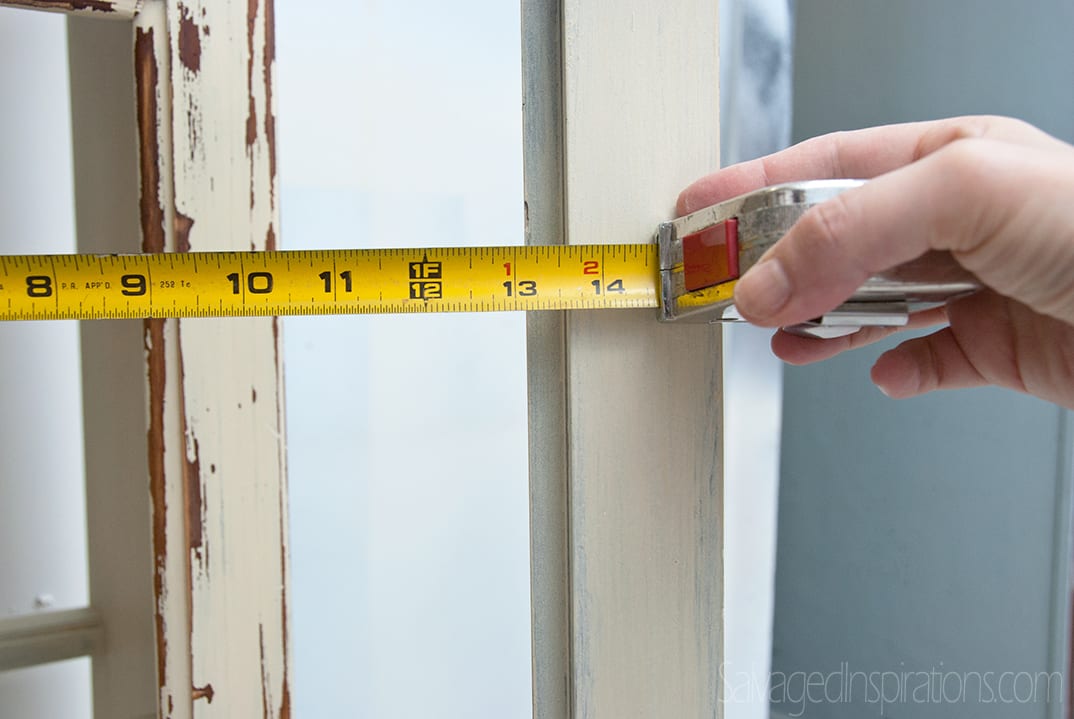
After I shocked the associate at the Home Hardware store (he was thoroughly amused I was going to use it on a china cabinet!), I brought the chicken wire home and got started. I removed the glass on the cabinet and measured each panel. Measured twice so I only had to cut once. 😉
To determine how much wire needs to be cut for each panel, you can also use the original glass as a template. Either way, measure and cut an extra 1/2-1 inch all around when you cut the wire.
Okay…here are my warning and safety tips… because I care about you!
Chicken wire is sharp and unruly to work with. It curls up, coils up, and when you least expect it, scratches you up. I was bleeding.
Safety first right? I decided to stop what I was doing. I came upstairs to my office to watch a few YouTube Vids on how to cut this wire safely. When I went back down to my studio, the process was much safer and easier.
This simplest way for me to measure and cut was to unroll the wire flat on the floor and use paint cans to hold each end down.
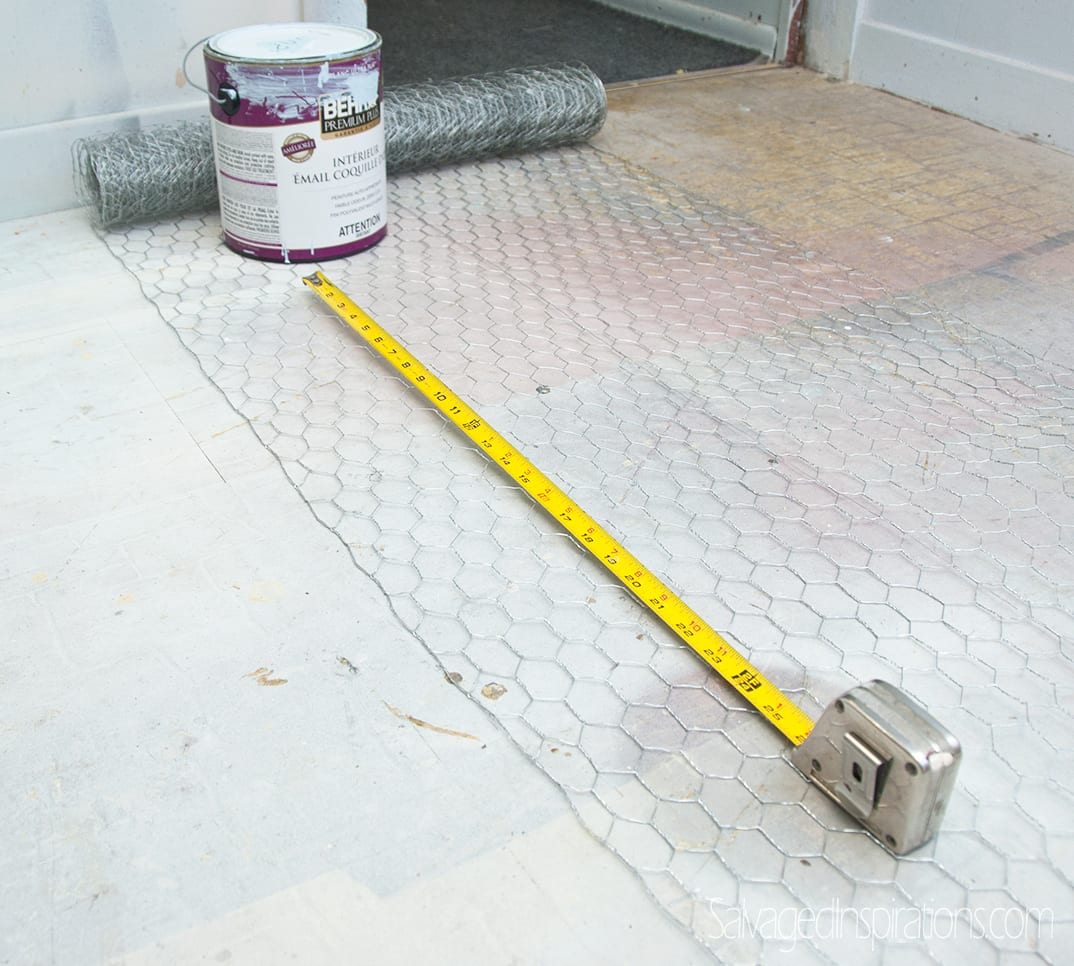
I took a good pair of wire cutters and started to cut across at the appropriate length I measured.
A safe way to cut the chicken wire is it to keep your wire cutters between at a 45-90 degree angle so your hand is ABOVE the wire rather than close to it.
Also working the cut backwards so your hand is always above the UNCUT portion of the wire rather than the CUT portion of the wire helps prevent scrapes and cuts. A protective pair of work gloves isn’t a bad idea either.

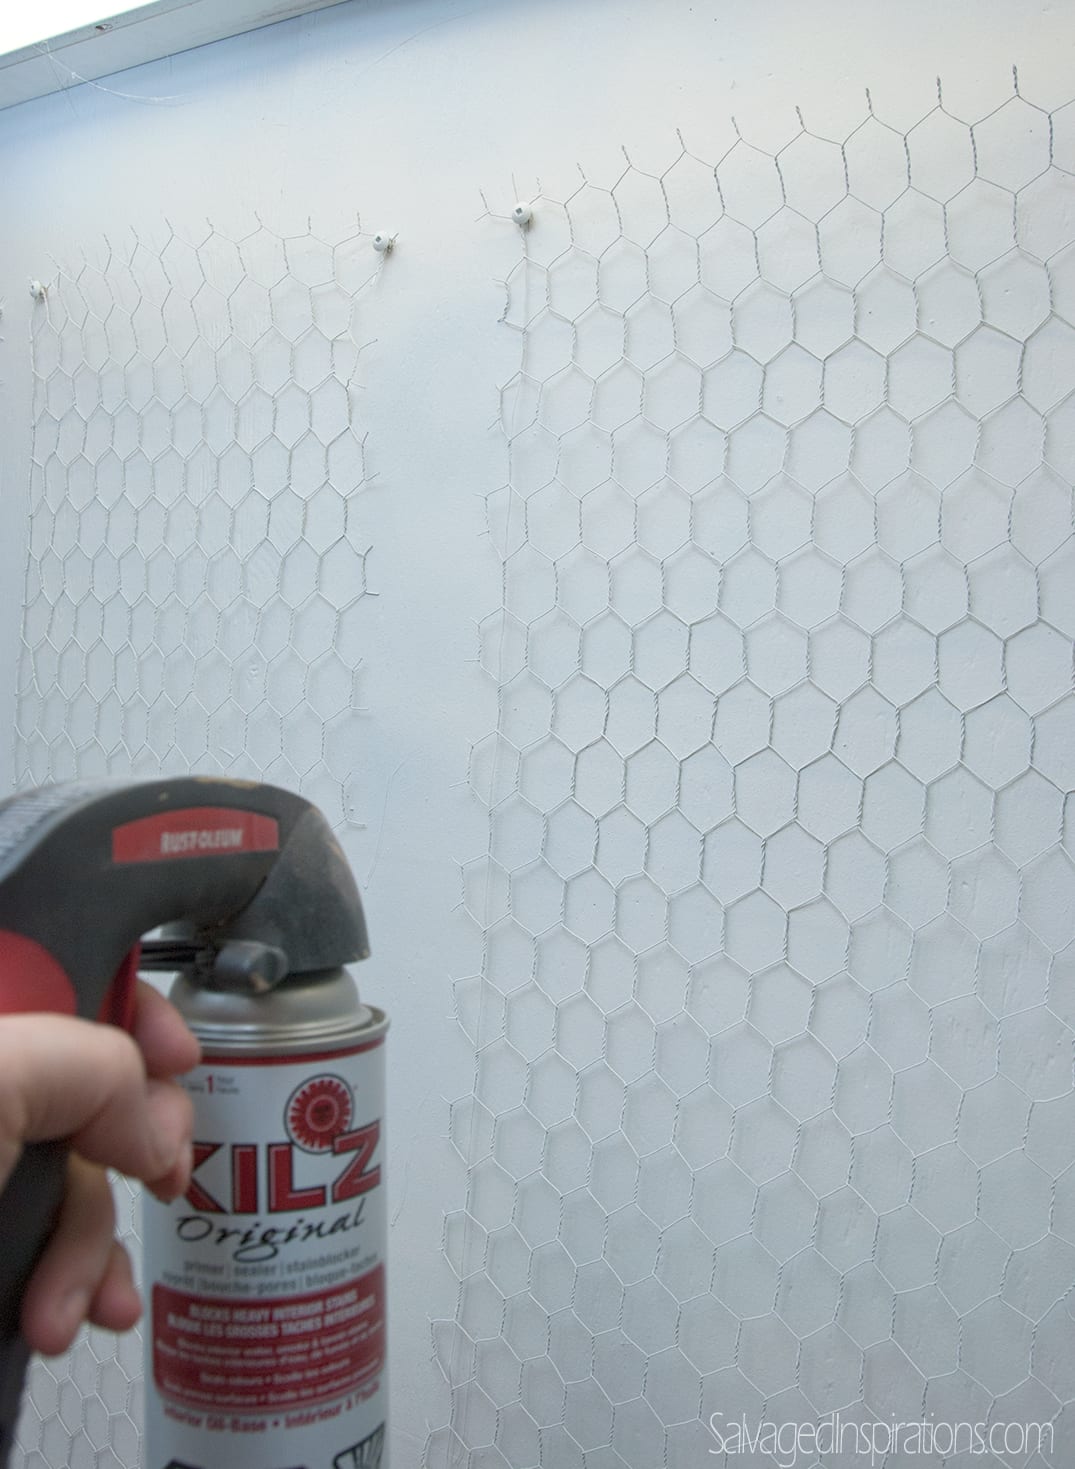
After all three of my pieces of my chicken wire were cut to the correct size, I spray painted the chicken wire white to match the back of the cabinet.
Chicken wire CAN be painted to match your piece. The simplest way to paint it is to use spray paint. Spray painting will eliminate any drips or paint build up that would most likely happen painting with a brush.
Once the paint was dry, it was time to install it onto my furniture. I positioned the chicken wire exactly where I wanted it on the back of the door frame and drilled in corner screws to hold it in place. Then, with my pneumatic staple gun and 3/8″ staples, I securely stapled the wire all around the perimeter.
Any staple gun will work!
… and yes, as you can see below, I take waaaay better images when I’m not working with one hand while taking pictures with a camera in the other. 😉

Chicken wire stretches. As you’re stapling, pull and stretch the wire taunt and watch to make sure the hex netting looks nice and even. You don’t want to finish installing, then look at your wire only to have it all wavy and crooked.
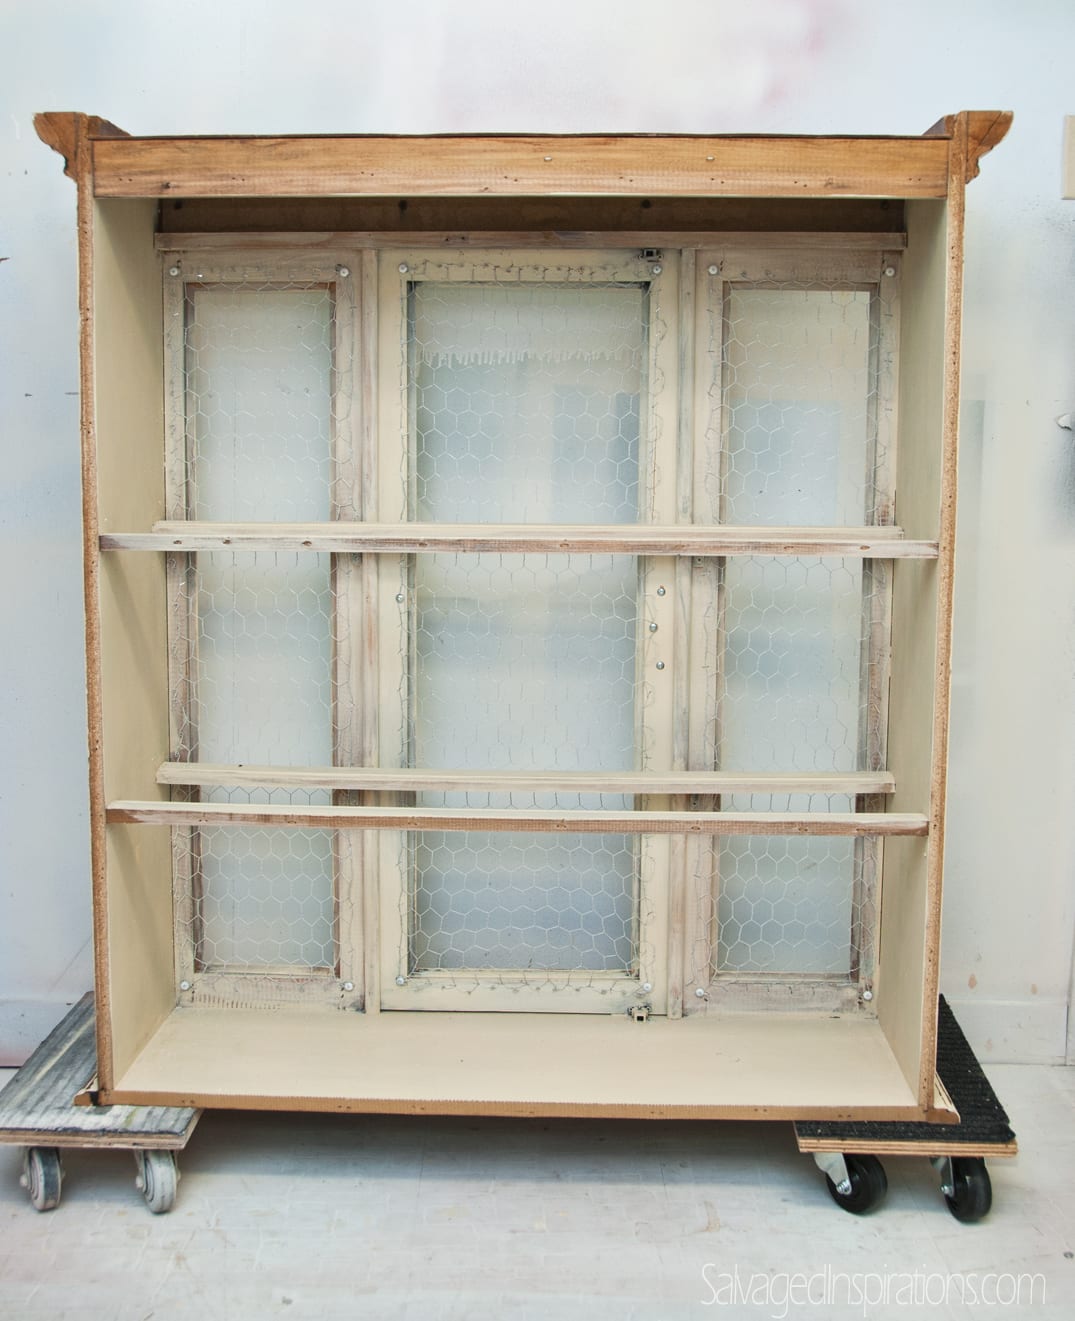
Once the chicken wire was installed, I took a pair of needle nose pliers and twisted all the sharp wire in on itself. This looks professional, but more importantly, it’s much safer when opening and closing the doors.

Here’s what the entire back looked like before it was assembled onto the buffet. No sharp edges and all the wire was pulled taunt and even.

You can take a peek at the full before and after of this china cabinet here, and be sure to drop by in the next day or two for another re-styled chicken wire hutch! She’s a beauty in red!
And a note for all you furniture painters who have a business, hutches with chicken wire are fast sellers! For those of you who create and re-style for your own home, salvaging an old cabinet/hutch and replacing the glass with chicken wire makes for a great past-meets-present trendy focal piece!
I hope you’re having an amazing week and you’re doing what you enjoy, whatever that may be.
Happy Painting,
Denise x

S.O.S… chicken wire scratching inside of cabinet! Any tips for covering the edges?
Hi Kelly! Hmmm, chicken wire is VERY sharp when cut and I’m not sure how to remedy that. I did notice straightening it out flat was a huge help because it has a tendency to curl in.
This was exactly the info, I needed. I’m right in the middle of a farmhouse/Hoosier cabinet., project. The chicken netting is my finale. Thanks for the picture tips and completely understandable instructions!!
I’m so glad this is helpful Suzan. And have fun with your farmhouse/hoosier cabinet… sounds amazing. 🙂
How about using 2 way tape between wood and wire?
Hmmm, the chicken wire is extremely heavy duty and likes to do it’s own thing so I’m not sure 2 way tape would be strong enough. ??
I have a client that wants chicken wire on top of glass in an old 4 pane window. She wants to use mini clothes pins to hold photos to the wire. I told her I would try but I have never done it with the glass intact. And putting it on top or in front of the glass would leave a sharp ugly edge we would have to cover with something like twine etc. any thoughts or tips you could share?
Hi Patty! Ya, I’ve never installed chicken wire ON TOP of glass but rather used it to replace the glass. Having said that it can be done. If possible, I would removed the 4 glass panes and then reinstall WITH the wire, or if that can’t be done, but a 1/4 round and create an extra piece of frame around the wire so there are no sharp edges exposed. If anyone else has any ideas, feel free to chime in. 🙂
Dal tuo blog sto imparando tante cose ….. complimenti Denise! Peccato che molti prodotti che consigli non si trovano in Italia ed è difficile trovarli anche on-line e quando si trovano non vengono spediti in Italia.
Comunque ancora grazie mille per i tuoi consigli preziosi.
Ciao Marta! Sono così contento che stai godendo il blog. Che peccato che hai difficoltà a trovare i prodotti, ma spero che tu possa sostituire con prodotti simili a cui hai accesso. Mia sorella ed io abbiamo visitato l’Italia qualche anno fa. Roma, Civitavecchia e Napoli – lo amavano! L’arte, la gente, il paesaggio, il cibo, la musica. Tutto incredibile! xo
I’m installing chicken wire to a 1980s curved curio cabinet door. My husband thinks the wood is too brittle to staple to. I’m not sure. Any ideas?
Hi Gina! For chicken wire, a staple gun is really the fastest and best way to secure. As for your 80’s cabinet, it’s a challenge to say without actually seeing the piece. But I’ve worked on a good few old and new cabinets and I’ve never had a problem. A tip – take off the doors and place them on a flat solid surface before stapling! This will secure and protect the wood much better than if you were to try using your staple gun while the doors are still hanging on the piece!
What if the wood door is too thin for staples? Is there another way to secure the chicken wire? I also have a curved door I would like to install wire too. Will it hold the curve or will it buckle or dip instead of holding the shape?
Im in the middle of the same project and my plan was to put it up behind the glass…what would the cons be to not removing the glass?
Hi Brittany! The only ‘con’ I can think of is it may be difficult to clean the inside of the glass with the chicken wire in the way. Having said that, it’s usually the outside of the glass that needs frequent cleaning while the inside could be maintained by dusting etc.
Once again Denise, thanks for the tutorial. Your generosity in sharing your knowledge is much appreciated. Great idea for pieces that have doors missing their glass. I know I will use this one day.