

Hi friends! I hope you all had a great weekend! In my last post, I found the perfect white for my bathroom walls. The walls look amazing, so this inspired me to refresh my bathroom vanity.
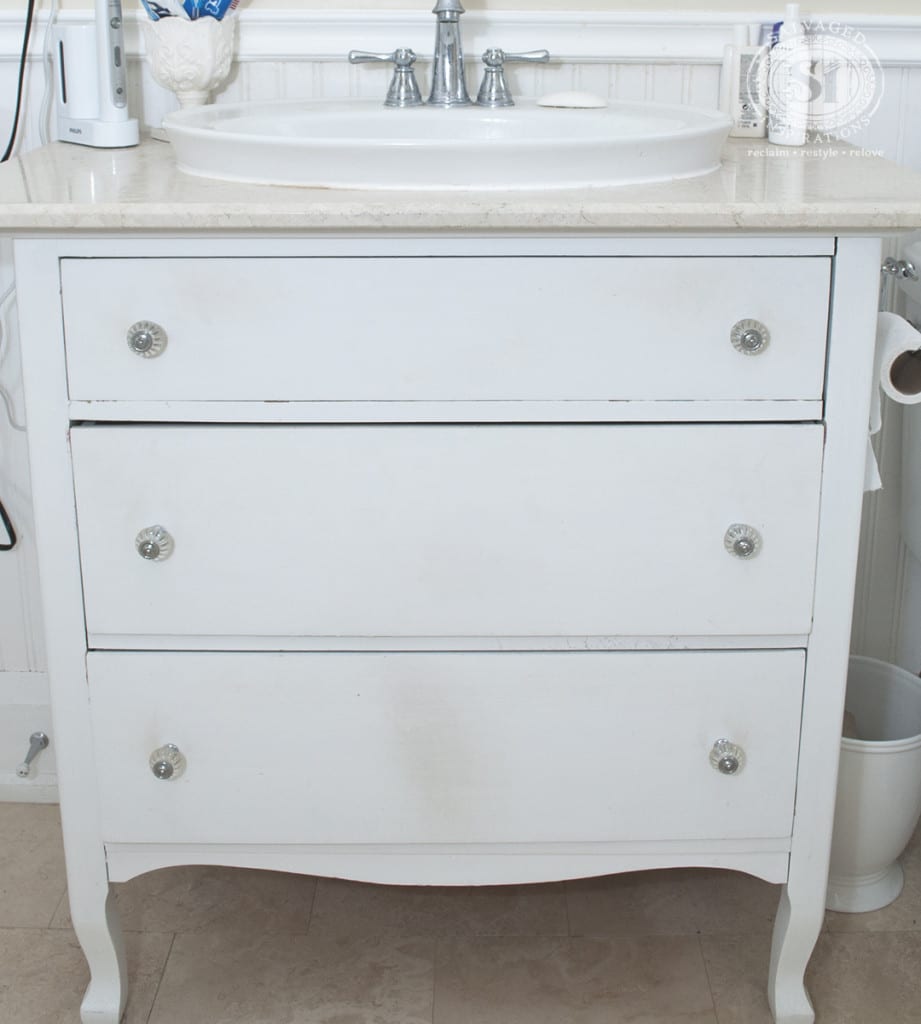
I wish I had a before pic of this vintage dresser when I first bought it back in 2008.
It was purchased at my local ReStore for $40 and came with a shapely swivel mirror that I desperately wanted to use as part of the ‘look’.
M-M-M did his best to fit and raise the mirror so it wouldn’t interfere with the sink installation, but unfortunately, it looked awkward and way too small.
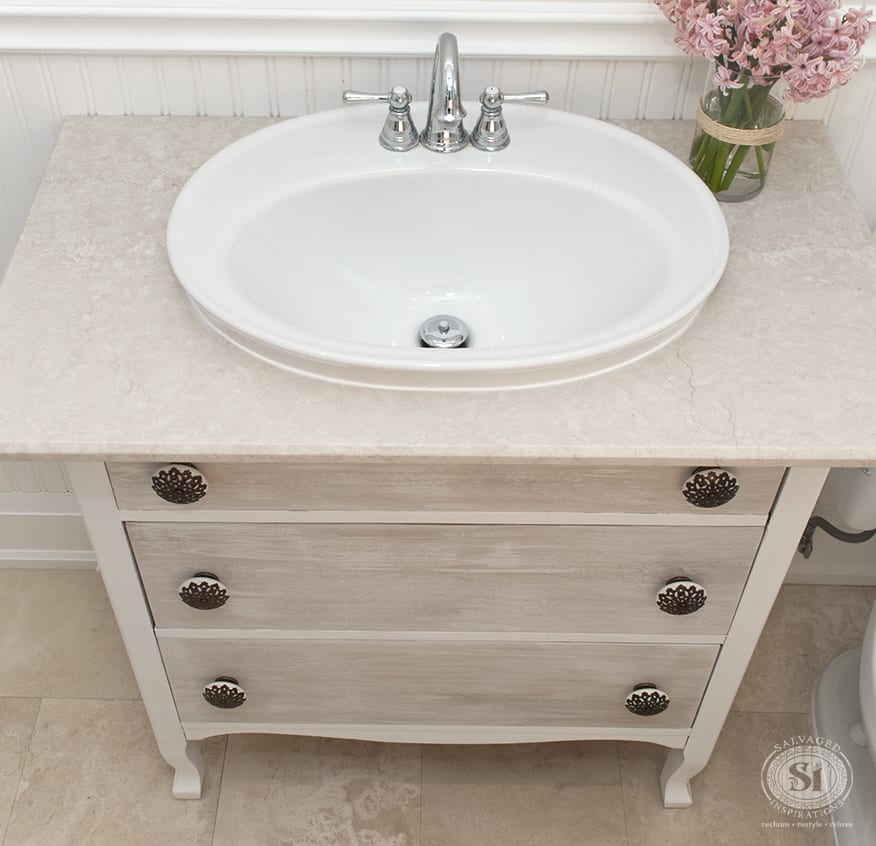
Over the weekend, I added some much needed personality to my vanity. It needed a makeover after 8 years!
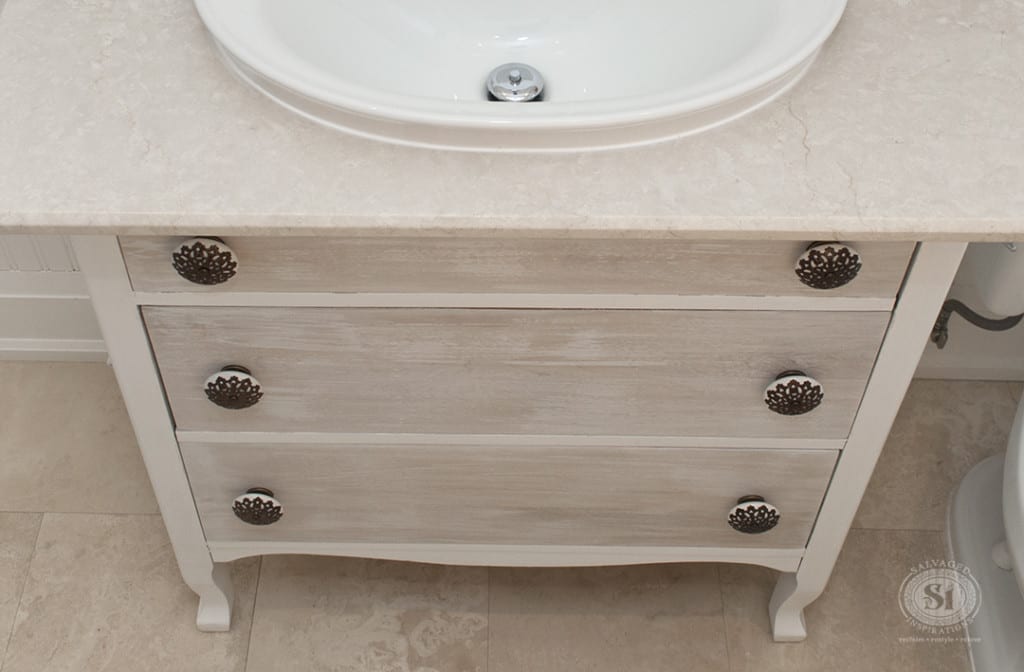
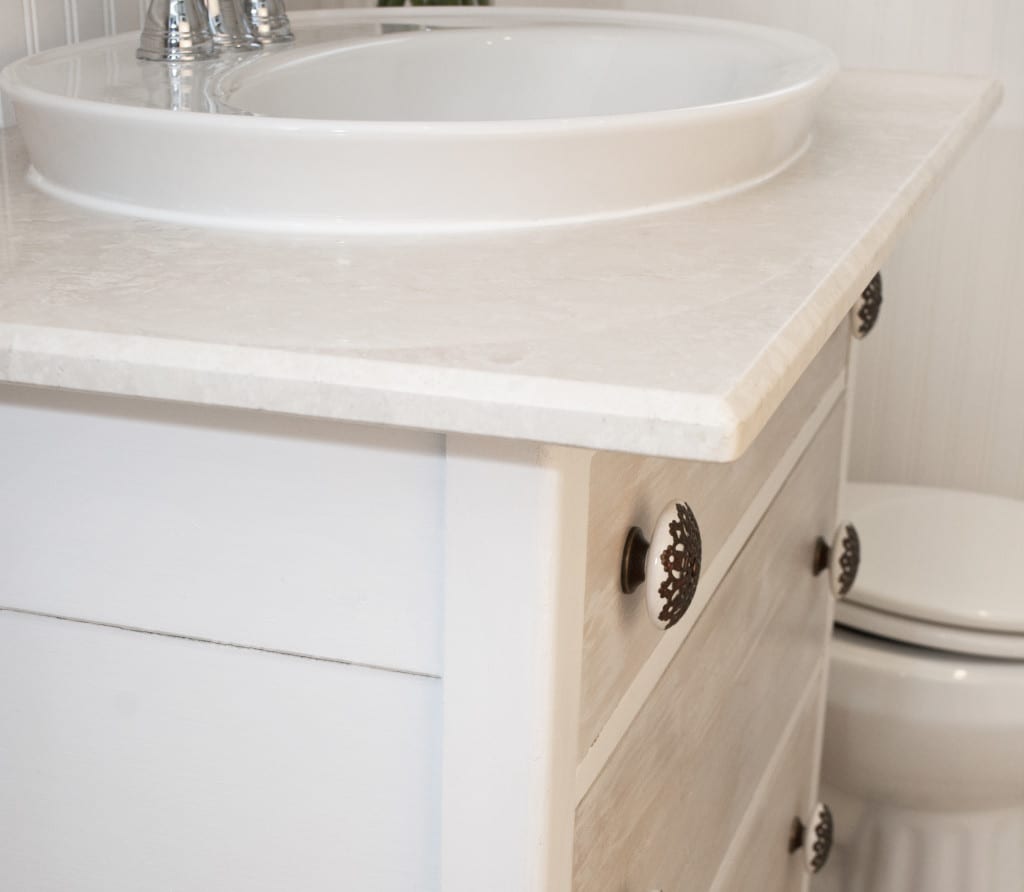
I stripped the drawers of the original white paint, then applied a whitewash technique to allow some wood texture to peek through. Although the body of the vanity didn’t need an entire repainting, around the drawers was long overdue for a touch up.
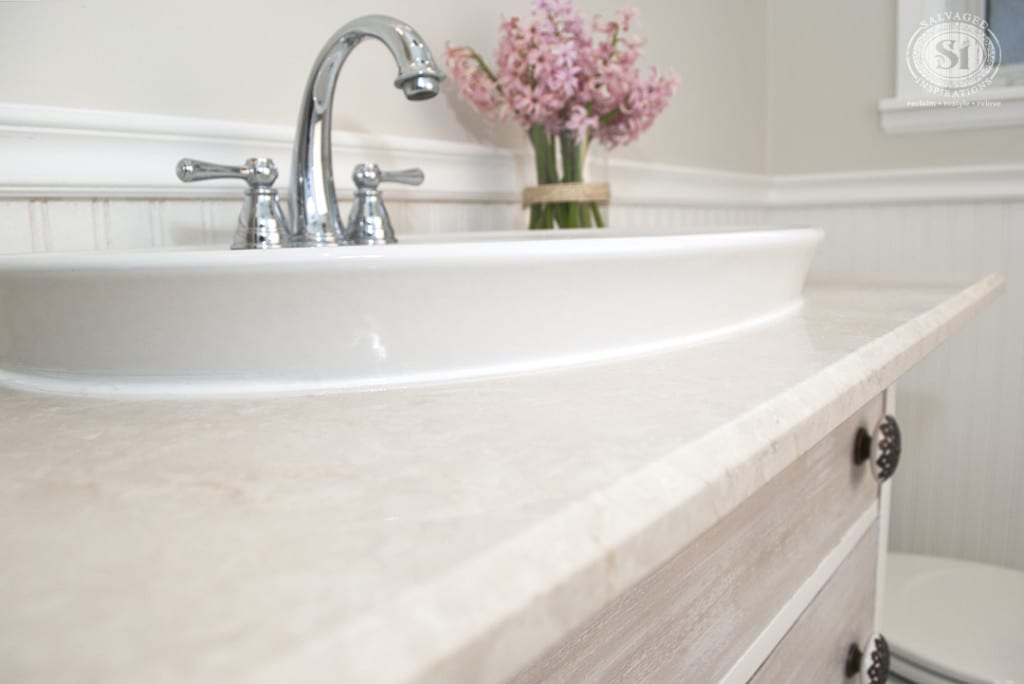
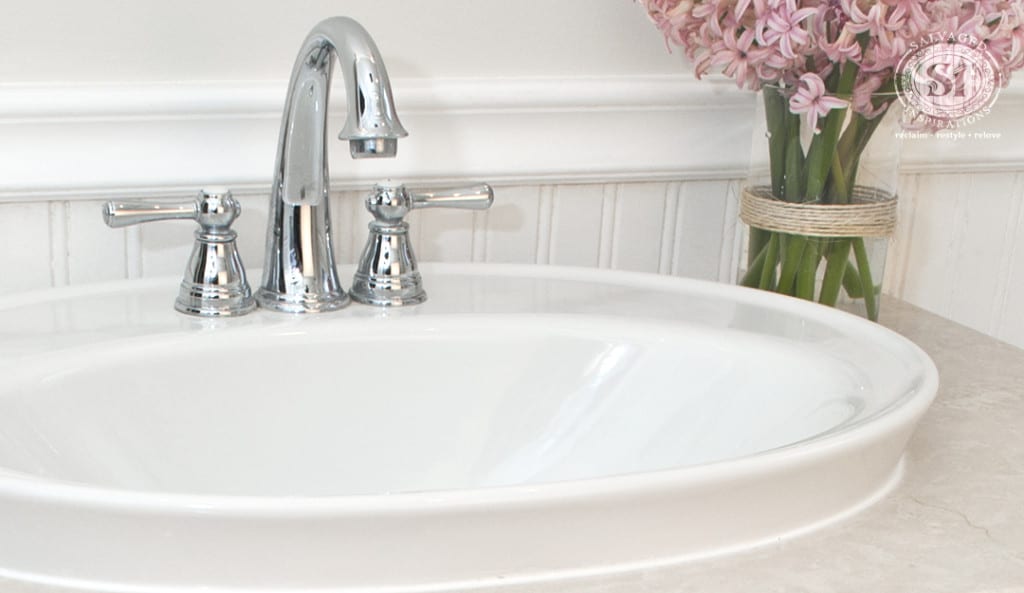
Paired with some large cute knobs and fresh silicone around the sink, I’m loving this new look.
And the best part is, this restyle only took a few hours!
If you’ve ever stripped a wood finish before, you know the process is easy enough. But let’s be honest, it’s NOT fun. Stripping furniture is not my favorite thing to do. It’s messy and stinky.
Safety precautions like good air circulation, covered floors/surfaces and protecting your skin and eyes are a must.
Supplies & Tools:
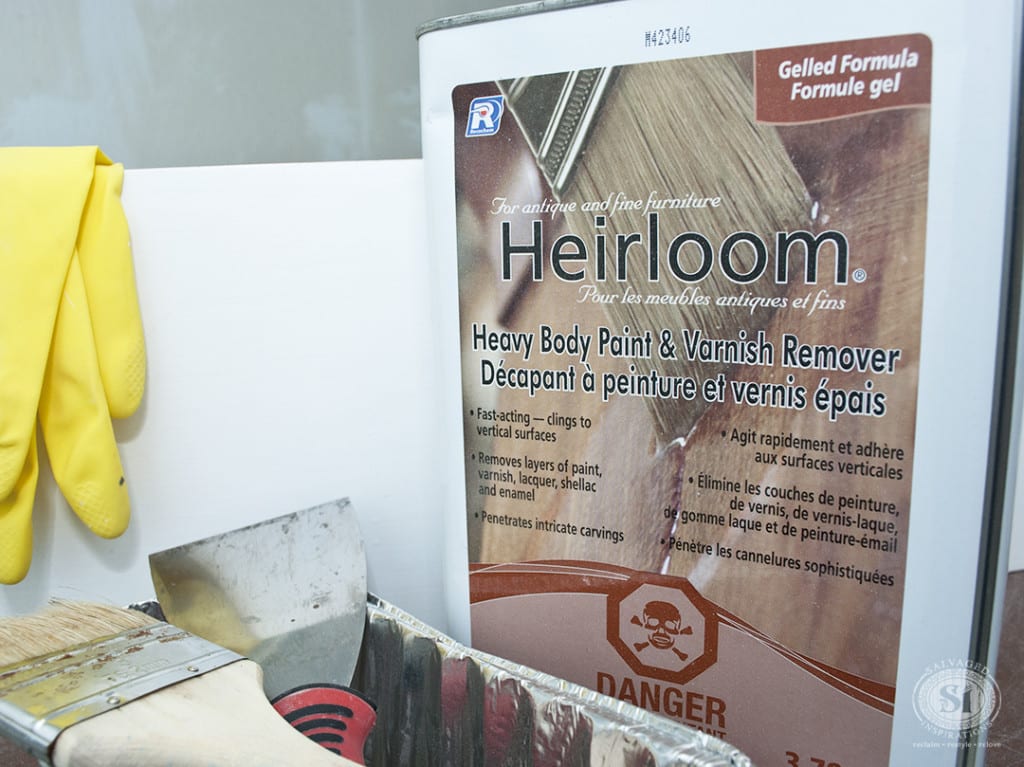
Paint Stripper – Here I used Heirloom but I’ve also used Circa 1850 and a few other brands
Scraper/Putty Knife
Coffee Can or Container Lined w Silver Paper
Stripping Pads and/or Wire Brush
Plastic or Cardboard Floor Protection
Rubber gloves
Safety glasses
Water
Rags
Mineral Spirits
Drawers are flat and straight forward to strip, but if you’re working with a detailed piece, it may take more time and patience to get into all the nooks, crannies and crevices with a wire brush or stripping pad.
HOW TO STRIP PAINT OFF FURNITURE
1. To protect floors and surrounding surfaces, cover with thick cardboard or plastic. Work in a well ventilated area and always wear rubber gloves, long sleeves, pants and protective eye wear. Stripper will sting your skin if it gets on you!
2. Pour a generous amount onto the surface and then use a chip brush to spread the stripper over the entire surface. Let the stripper work it’s magic for a few minutes. You will notice the paint starting to lift and bubble.
3. Use a putty knife or scraper to scrape off the old finish once it has bubbled but is still wet. I scrape it off directly into a plastic Folgers coffee container lined with silver paper. If the stripper has not removed all the paint on the first try, work in layers and apply another application.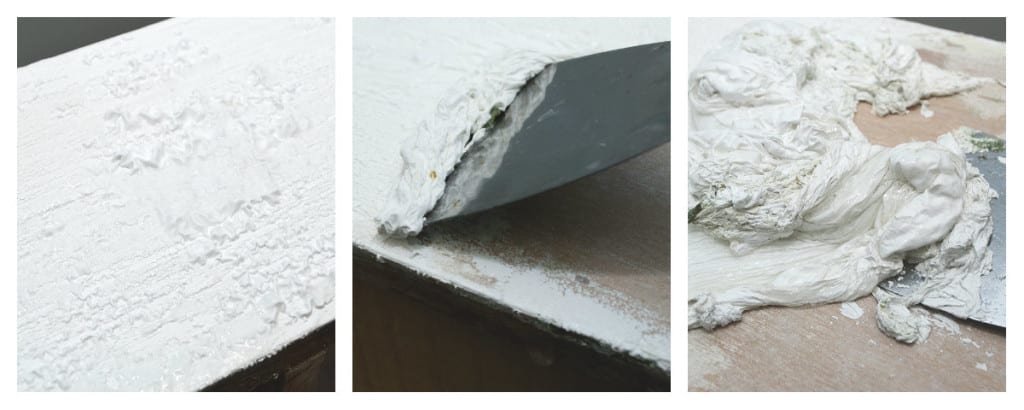 4. Use an old sponge and water to clean and rinse the remaining bit of stripper off the furniture. Once it’s all removed, let dry.
5. Once all the stain is removed and it’s wiped clean, pour Mineral Spirits onto a rag and wipe the surface clean. Then use a damp sponge or rag to remove it. Allow the surface to dry 100% before applying another paint or stain.
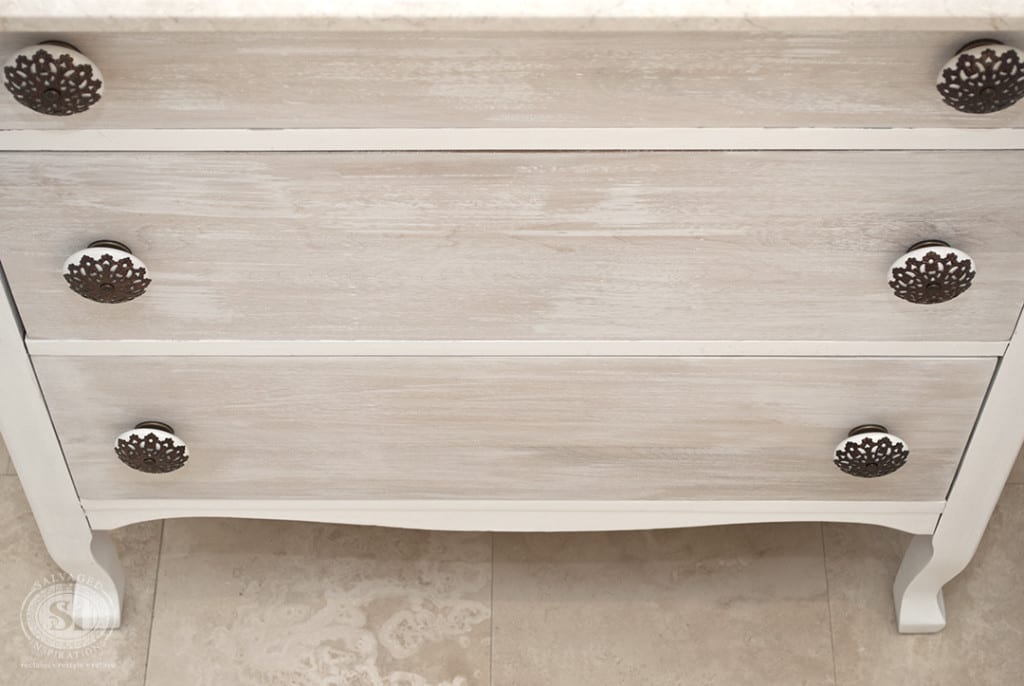
Once the drawers were stripped of the old paint, I sanded them, opened the wood pores with a wire brush and then applied a white wash.
I’m loving my refreshed vanity. Small changes can make a big difference!


I’m sorry if I’m making you repeat yourself but where did you find the sink? Do you know the make and model? I’m in search of a sink for my vanity dresser remodel.
Hi Vivian, n/p, I get a lot of inquiries about the sink! I bought it at Home Depot but this was many years back. It’s a Kohler Self-Rimming 2075-8-0 (that’s the # I see on it but I don’t know if this is helpful??) I hope this helps. 🙂
I didn’t like working with Citristrip. It took forever to work (I did use plastic). It also took a LOT of product to get results, which ended up being expensive. I wanted to like it, but I was very unhappy with the results and the amount of product and time I had to put in. I do not recommend.
I may be stripping my bathroom vanity. I just got hair dye on it and it’s impossible to remove.. Unless, you have an idea on how to remove hair dye from a wooden vanity???
Hi Bernadette! I’ve never tried removing hair dye from furniture but here are some handy tips on stain removalhere are some handy tips on stain removal. Hope it helps.
I would like to know what sink you used. I want to get the same one. I love it.c
Hi Cher! It’s a Kohler Sink and I purchased it at Home Depot. Unfortunately, I don’t know the exact skew number or name of it though.
I HAVE to know where you got those drawer knobs!!! SO beautiful, I recently bought an old dresser and refinished the body in Annie Sloan’s “Old White” and then I stained the drawers in Minwax’s Dark Walnut color. I cant seem to find any drawer pulls that go well and as soon as I saw yours, I fell in love! Love your blog, btw. I’ve gotten so much inspiration from here 🙂
Hi Kylie and thanks! I found these knobs at Hobby Lobby. 🙂
This question has to do with removal of a lacquer finish. I have a campaign style Henredon buffet which needs updating. It was finished with 20 sheen lacquer, per the manufacturer. I would like to remove the lacquer and refresh it, either with paint, or, just reapply a matte finish poly or some protection. Can you recommend a product to remove lacquer and leave the stain intact? I would prefer to use something less caustic than what I am finding, commercially.. Thank you for your help.
Denise is the vanity top wood or did you use a different material for the top? Love the sink too!
Hi Andi! The wood vanity top was replaced with marble. The sink is from Home Depot 🙂
Your website is fantastic! So helpful. Thank you. I am new to painting furniture and I just finished my first project; a make-up vanity I’ve had in my bedroom for years. For my next project I have a very old dresser that came out of an 87 year old home. Given its age and that I don’t know what type of paint was used, I am concerned about it being lead-based. I am concerned about sanding. Do I need to be worried about this? If I don’t sand what are my options to get a distressed look? Thank you for your help.
Hi Therese! Yes! When sanding lead paint, precautions and common sense should be taken. Wear protective clothing and gear – long sleeves, long pants, gloves, shoes, respirator mask equipped with a filter is essential for breathing protection and goggles for eye protection. Then clean/wash and vacuum everything afterwords.For a distressed antique chippy looking dresser, you could restyle with milk paint or use a chalk style paint so no sanding is required. 🙂
Just a question…after using the wire brush, won’t the surface be rough and need sanding again. Will it then not affect the wax which is applied? I’m a complete amateur and want to use this technique on my dining room table. Thanks for the inspiration:)
Great question Deidre because this step is optional and personal preference for sure. I’ve used the brush technique on furniture I’ve whitewashed to increase the intensity but for a more subtle look like this Limed French Provincial Desk – I did not. If you’re looking to create a more intense/dramatic white wood effect, a wire brush (or even stiff a plastic brush) will help open the grain. Good luck on your dining room table… great project!
Hi Denise,
Do you remember the name/brand of taps that you used for the sink?
Josie, they’re Moen Taps but I don’t remember the exact model. I bought them at HomeDepot. I just checked online, and I’m not seeing them… otherwise I would have provided a link for you.
That’s alright. Thank you so much 🙂
I can also recommend Citristip, and learned a great technique I’d like to pass along. Apply a coat of the strip on the paint and wrap in plastic wrap or re purposed plastic bags cut to size. Let stand about 10-15 minutes, then remove the bags/or wrap from just the section you are immediately working on, and voila! the paint comes off much easier and stays moist and pliable. Worked like a charm on an intricate, scrolled king-size heavy-coated baked-on 1950’s factory finished headboard. Can’t tell you how much better and easier it was than sanding or using product unwrapped! Good luck and thanks for your inspiration.
Thanks so much for this Tracy! I’ve heard of wrapping plastic over stripper but I always figured it would eat right through. I’m going to give this a try!
HII
Ahh, I never truly knew how to strip furniture some time recently! Ok, if just I had something to strip now. ;D Thanks for the post! I cherish the new look. =)
REGARDS
SURBHI
Pleasure and thanks for stopping by Surbhi!
I like Citristrip. One of those weidos that appreciate stripping and cleaning. Simply did a seat with a great deal of turnings and three layers of paint. Citristrip brought about the ideal result.
Citristrip seems to be the way to go. Thanks Nidhi 🙂
Really lovely and beachy looking. Do any of the drawers open?
Thanks Mary – and yes all the drawers have been configured to work around the sink/plumbing hook-ups. I have 2 small side drawers on the top and then larger side drawers for the middle. Bottom drawer is full. Too bad I didn’t think of taking pics so all of you could see.
Hi Denise, I’ve used a product called EZ Strip which in my opinion is fantastic. It is Eco friendly and low VOC, it actually smells ‘almost’ pleasant…as far as stripper goes! I purchased it at Home Depot. I believe it is only available there?
EZ Strip… do you have to wait long before it activates Annie? I’m not the most patient person…lol. I’ve heard some of those ‘good’ smelling strippers take up to 12 hours before you can scrape off the paint.
It will depend on the finish you are stripping. If it’s only one layer of paint or stain you only need about 30 minutes to an hour. If you’re stripping multiply layers you may have to do it in stages but still you only need it to ‘percolate’ about an hour.
That’s great! Thanks Annie 🙂
I like Citristrip. One of those weidos that enjoy stripping and cleaning. Just did a chair with a lot of turnings and tree layers of paint. Citristrip worked like a charm.
Well Kim… you are an original if you enjoy stripping and cleaning! Or maybe they put something magic in that Citristrip… I have to get me some of that…lol.
Agree. I just used Citristrip. I am now a believer. Would now rather strip it than fight sanding the finish off.
Thanks for chiming in Bob. Just confirms I really have to try this stuff!
Ahh, I never really knew how to strip furniture before! Ah, if only I had something to strip now. ;D Thanks for the post! I love the new look. =)
Now you’ll know how to strip Zovesta…lol. 😉
Love the new look! But I’ll admit I avoid stripping furniture whenever possible. Although I my next project requires stripping, sigh!
Patricia, maybe you should go get some of that Citristrip Kim O. enjoys using. 😉 I’m definitely going to give it a try!
LOVE IT!
Thanks Paula <3
What a beautiful transformation like you said just a coat of paint and it’s new all over again
Thanks my friend! And even better that it was a quick refresh! 🙂
Oh my gosh Denise…what a difference a few small changes can make!!! LOVE LOVE LOVE your bathroom vanity. So pretty.
Thanks Monique! 🙂