Hi everyone!
A few weeks back I distressed a charming milk painted desk using Vaseline. I had fun with this distressing technique and wondered why it took me so long to give it a try? It saved me from distress sanding, (softened my hands)… and the desk turned out adorable and sold super fast!
After reading the Vaseline post, a lot of you chimed in asking if I had ever used beeswax or similar wax repelling products to distress my furniture. Then, more of you chimed in saying you had distressed with wax and it works beautifully. This convinced me to give wax a try.
Plus I have to admit, I really like the idea of minimal sanding = time saved = less work!
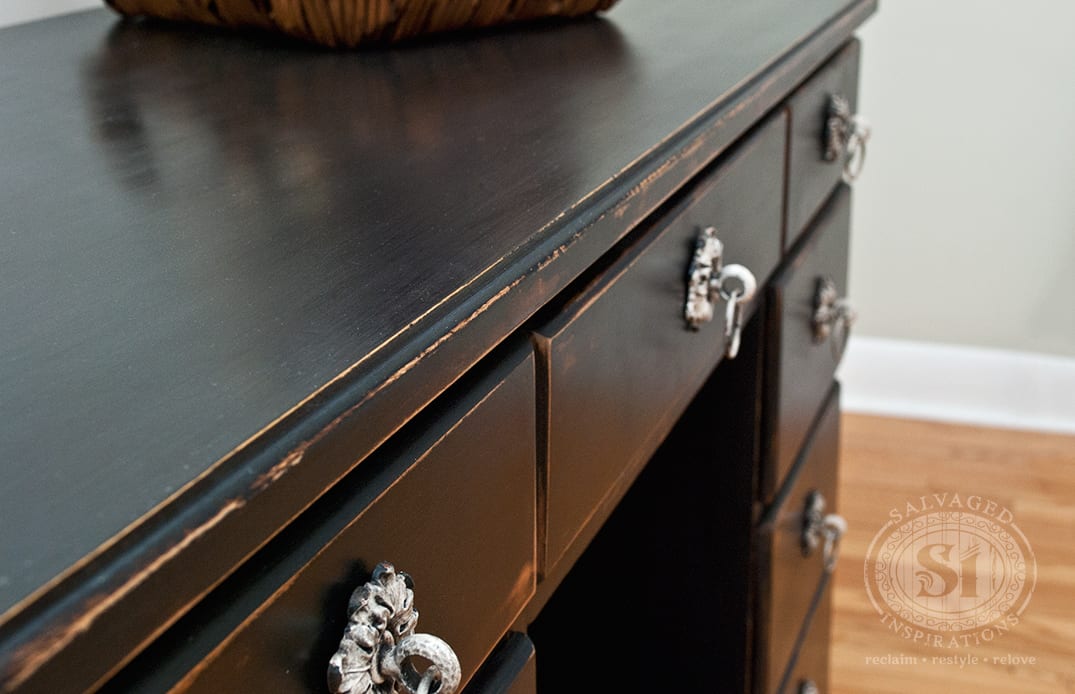
After falling in love with Miss Mustard Seed’s Typewriter Black {the base coat on the Vaseline Distressed Desk} I had to use this black on an entire piece. I wanted this desk to be transformed from ’70’s Old-School’ to ‘Antiqued-Old-World’. Distressing the paint and allowing the wood to peek through would do just that.
Before I get into how the beeswax works, here’s the before and after.
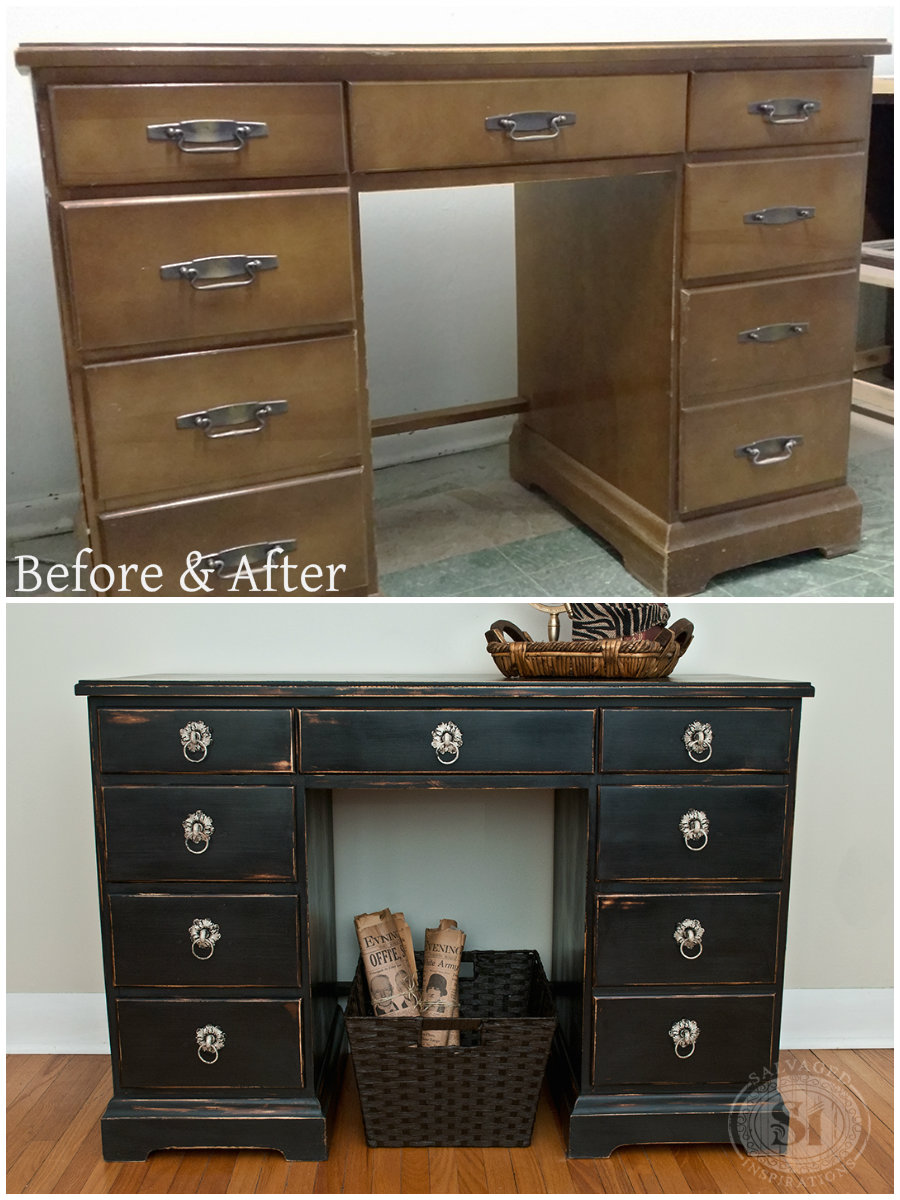
Gorgeous right!!!? MMS Typewriter Black Milk Paint is definitely my new “go-to black” when creating a dark moody vintage/antique piece. Also, these are the pulls that were featured on this weeks Q-T-T!
Here’s what I used~
:: Miss Mustard Seed’s Typewriter Black mixed with Bonding Agent (1st coat only)
:: A Cheap Dollar Store Paint Brush
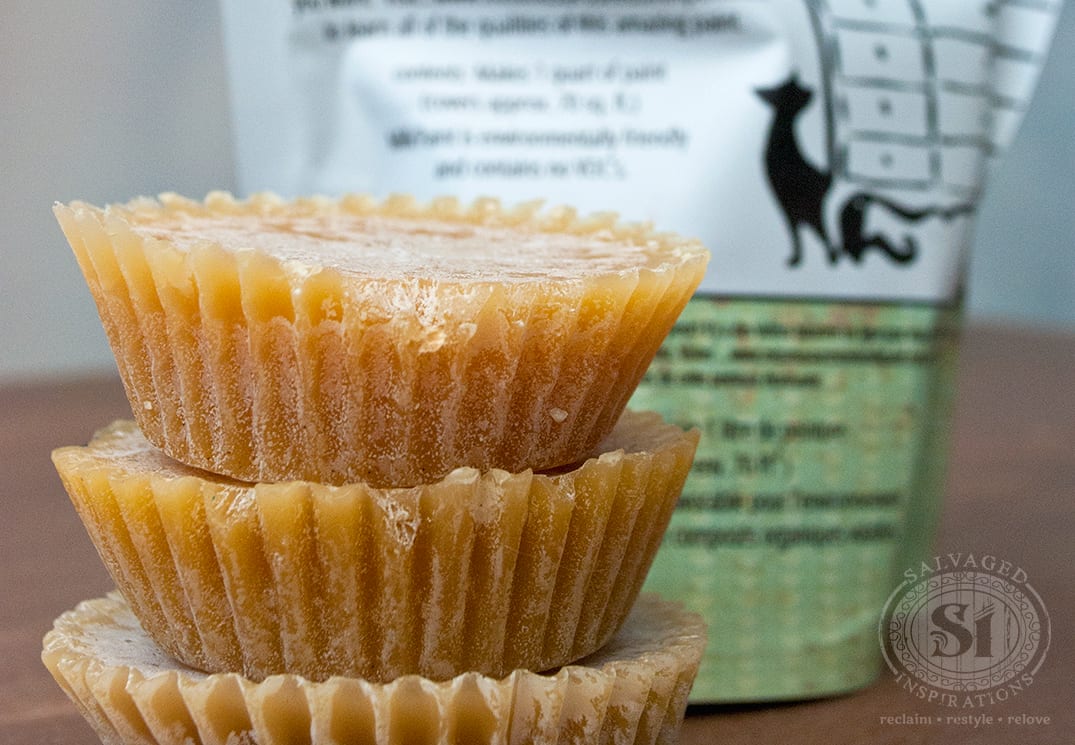
:: 100% Beeswax Puck
:: 220 & 400 Grit Sandpaper
:: Custom Dark Wax~Annie Sloan Natural Wax mixed with Black Acrylic Paint
And to make things even easier, I already had 100% Beeswax from my Ukrainian Easter Egg Decorating days. These beeswax pucks have been in storage for more years than I care to admit. They’re not old and moldy… just old.
If you’re interested in a little beeswax trivia, you can tell these pucks are high quality 100% beeswax because of the ‘bloom’ that’s formed on them. The bloom is that whitish film which is the natural minerals rising to the surface of the wax over time.
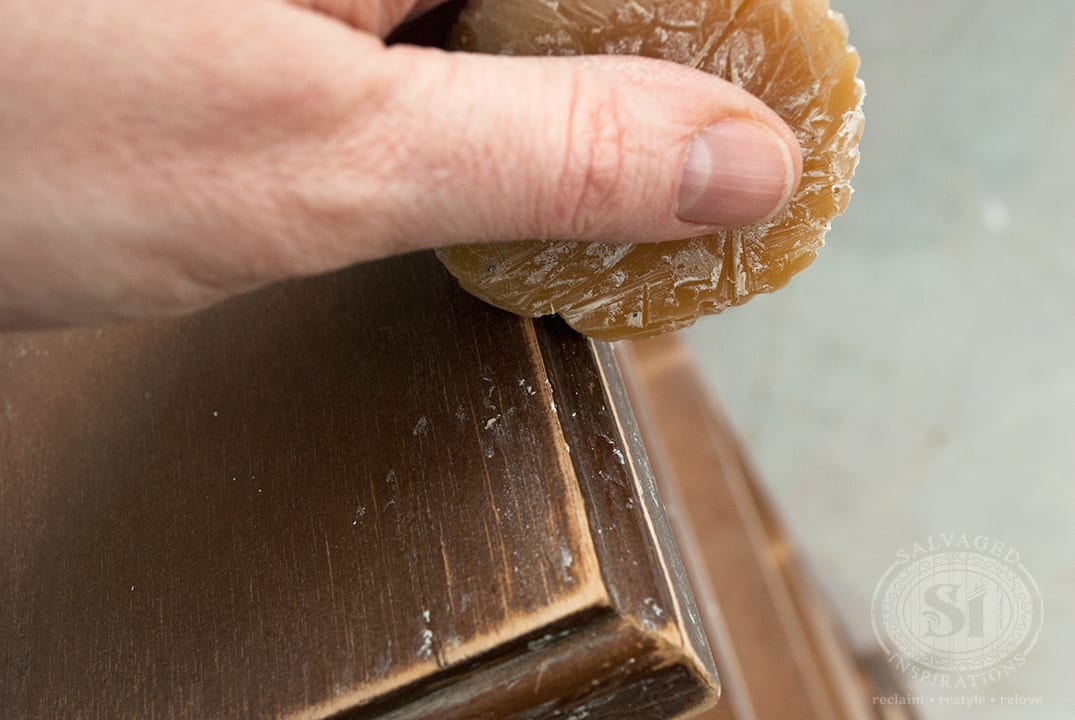
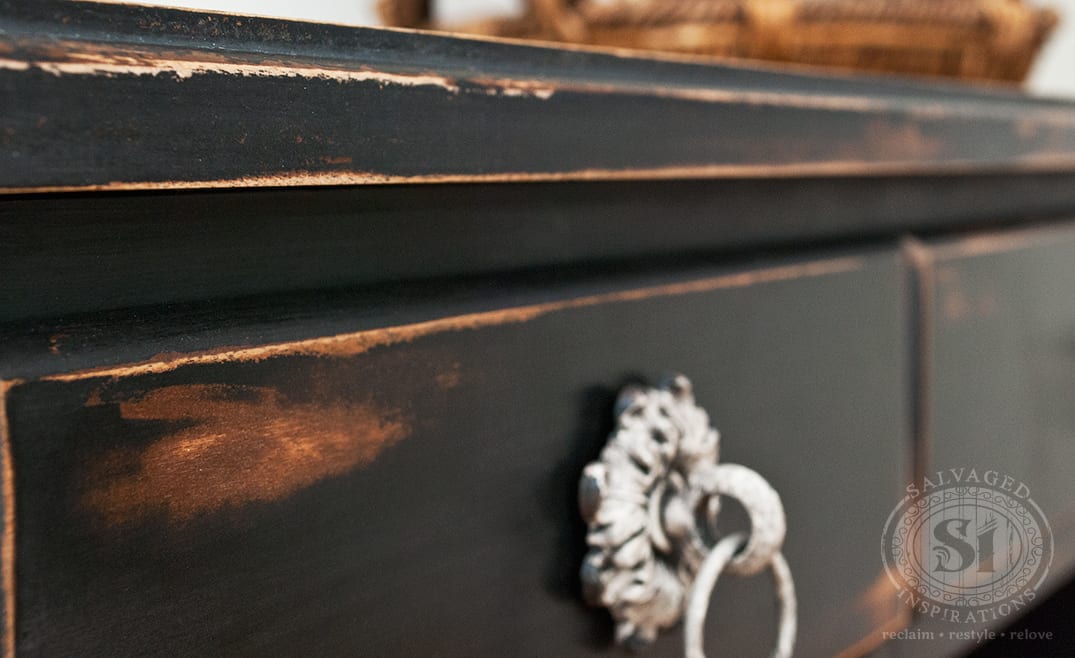
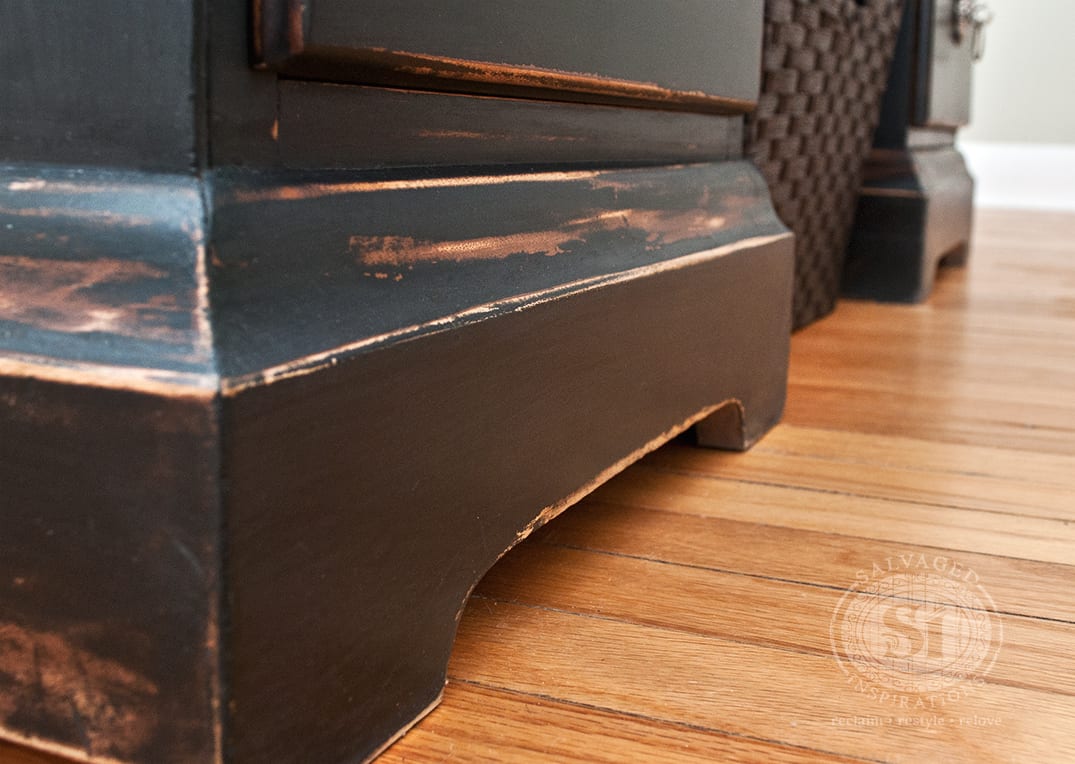
To give this desk a natural aged look, I rubbed the puck of wax onto the raised areas of the desk that would normally have worn with time. I have to say, beeswax smells delish! I also rubbed the wax on the drawers and base to give this desk an old-world vintage look.


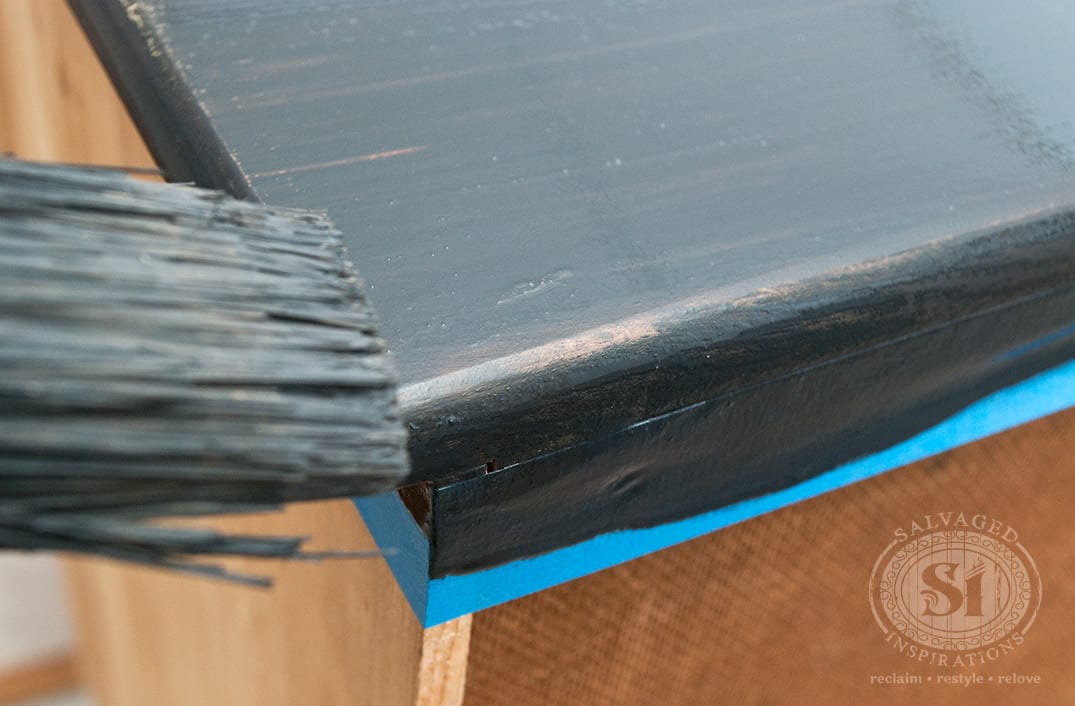
Then I mixed the MMS Typwriter black and applied it directly over the wax. I used a cheap dollar store brush so I wouldn’t have to worry about cleaning my good brushes.
The idea behind distressing furniture with vaseline or wax products is kind of like the oil and water theory.
They repel each other and this results in the paint NOT adhering to the areas that the wax has been applied. I thought the wax would repel more than it actually did, but as you can see below, it was quite subtle. I thought I was rubbing on a pretty thick layer, but apparently, I could have layered the wax on even thicker.
After two coats of milk paint, I sanded the entire desk using 220 grit for distressing and 400 grit for the final finish. Unlike the Vaseline Distressing, the Wax Distressing Method DOES require sanding. I couldn’t have just wiped the paint off easily. The final result is also alot more subtle.
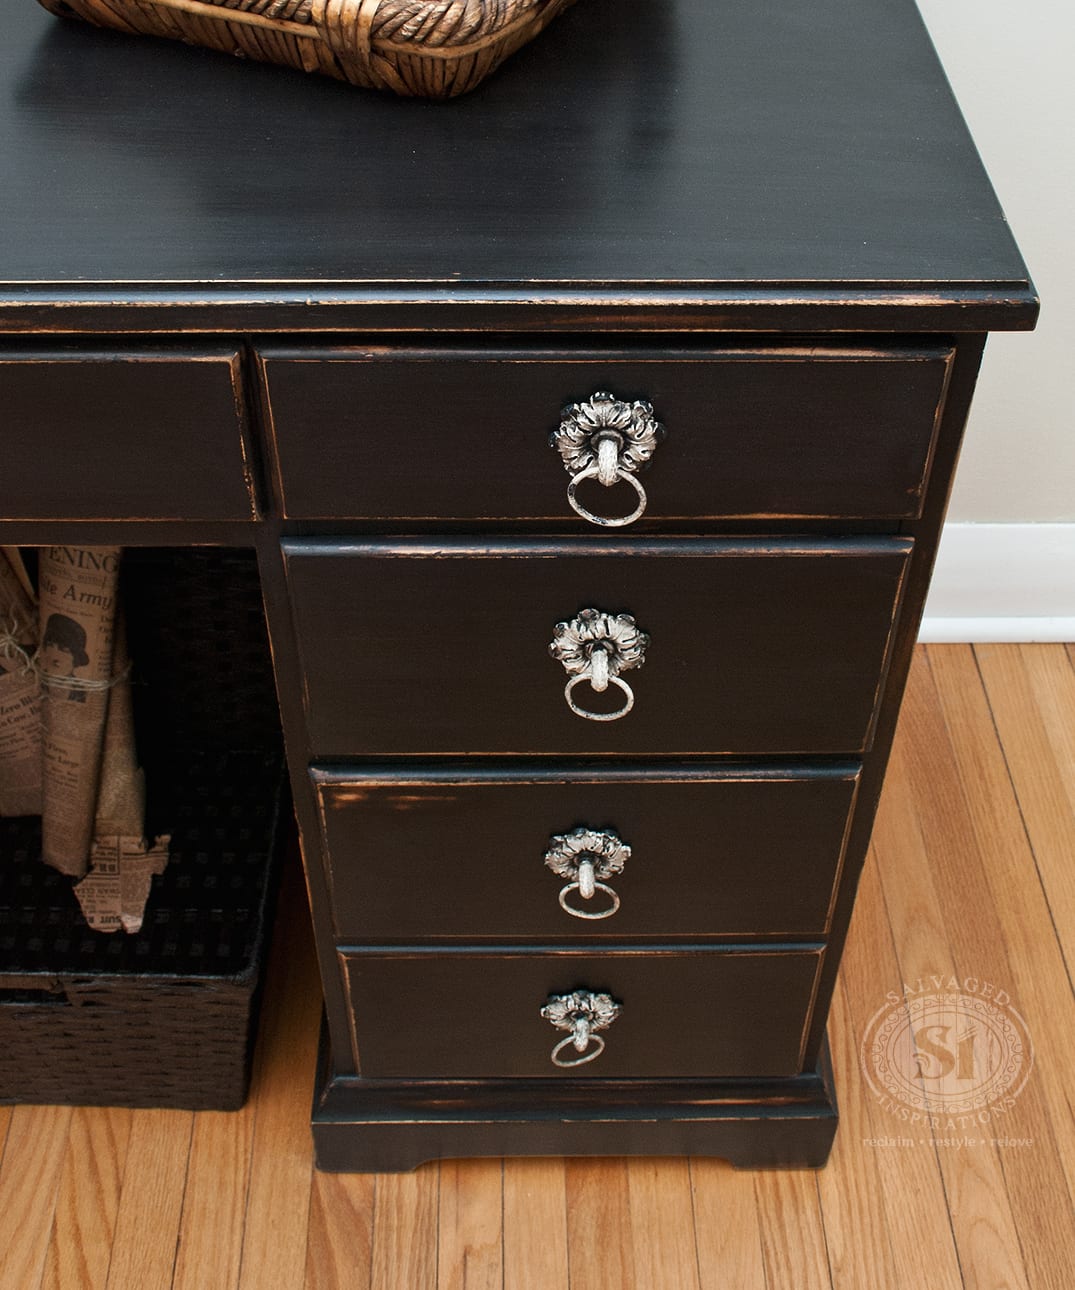

This desk is elegant and gorgeous. I will definitely use this wax distressing technique again. Although I still had to sand, it made the sanding effort lighter and therefore less likely to sand past the stained wood.
There are also similar ‘wax’ repelling products sold by Miss Mustard Seed and Annie Sloan. I would like to give these products a try too to see how they compare to the 100% All Natural Beeswax.
Here’s my take-a-way~
When I’m looking for a more subtle distressing ~ the wax technique.
When I want a heavier distressed look ~ the Vaseline technique.
Have you ever distressed painted furniture using Beeswax? If you have any questions or comments or would just like to say ‘hi’, don’t be shy… I always love to hear your thoughts so feel free to chime in!
Have a great day… and I hope you enjoy your weekend whatever you decide to do!
Denise x
_____________________________
Like what you see? Subscribe to Salvaged Inspirations so you’ll never miss a post!
Follow along on Pinterest, Google+, and Facebook for more inspiration!

Hi Denise! I am attempting to do this with my own desk. Where does the custom dark wax come into play? I see it on the list of items you used but not in your instructions.
Hi Katie! Here’s a tutorial on DIY Tinted Furniture Wax. Have fun with your desk. 🙂
Hello there!
My husband and I both love this piece! We just thrifted an old desk, I plan on sanding it alittle before painting to help even out some deeper marks. My question is do I need to put a brown under coat down first, Vaseline and then the typewriter black paint? Or will the original color of the desk come through well enough?
Also was this only one coat of the typewriter paint?
Thank you!!
Hi Taylor! If you want the original wood to show through in specific areas (and you’re happy with the look of it), this is where you apply the Vaseline. If you’re not happy with the look/color of the original wood, then you can paint a color (brown or otherwise) and then apply vaseline where you want it to show through. Yes, it was only one coat of MMS Typewriter Black. Hope this helps. 🙂
Love this piece girl I have a question please did u do any sanding before and did u have to put a clear coat on after?????
Thanks Hope – and yes, I did give this desk a light sanding with 220 grit before painting. For a protective finish, a custom tinted wax was applied.
What bonding agent do you use in the 1st coat?
Hi Becky. I use Miss Mustard Seed’s Bonding Agent.
hi! i really like what youve done, this looks amazing! dope job! my problem is , i found this post AFTER i put a light coat of primer on my piece that im painting, two nights ago. Do you think its too late to use this Wax method ? Ive never heard of this method but want to try it. My piece is an old tube-tv.. Ive gutten it and installed shelves inside (where the tv was) now ill be placing my tv on top and have storage inside. If you dont think its too late im going to find a wax bar today and try this, then paint with the paint i picked up last night. Again, your piece is great! Glad i found it. Cheers!
Hi Lance! The wax distressing technique will work but keep in mind if you wax over your primer (I’m going to assume it’s white), then paint, it’s going to resist your top color and reveal the white primer below. Whatever color you apply the wax to, will be the color that shows through.
i have a desk almost identical to this one. I love what you did!!!!!!!
I have a question. My desk top has groves in it from someone writing on it. Would the bees wax fill this in or do I have to use belt sander?
Thanks
Hi Sue! Unfortunately bees wax does not fill in any grooves or scratches. When I’m going for a flawless look, I sand. If I’m dealing with small imperfections on a piece and I’m going for a distressed look, I camouflage the imperfection by rubbing it with bees wax so the paint repels. Then I sand around the area to distress. This probably sounds backwards, but if you just paint over it, the scratch or imperfection will stick out like a sore thumb. If you add some distressing, the flaw blends in with the entire piece.
Beautiful results, really starting to like these blacks/slates/greys. Thanks for sharing the wax tip.
I’m really liking the blacks/slates/greys too Tracy! I usually lean towards color(s) and white(s)… so this is different for me!
AB-SO-LUTE-LY Georgeous! I LOVE the way this turned out! Great job!!!
Thanks so much Tess! 🙂 🙂 🙂