HOW I RESIZE THRIFTED FRAMES TO FIT CUSTOM ART (AND SAVE $$$) | YOUTUBE VIDEO
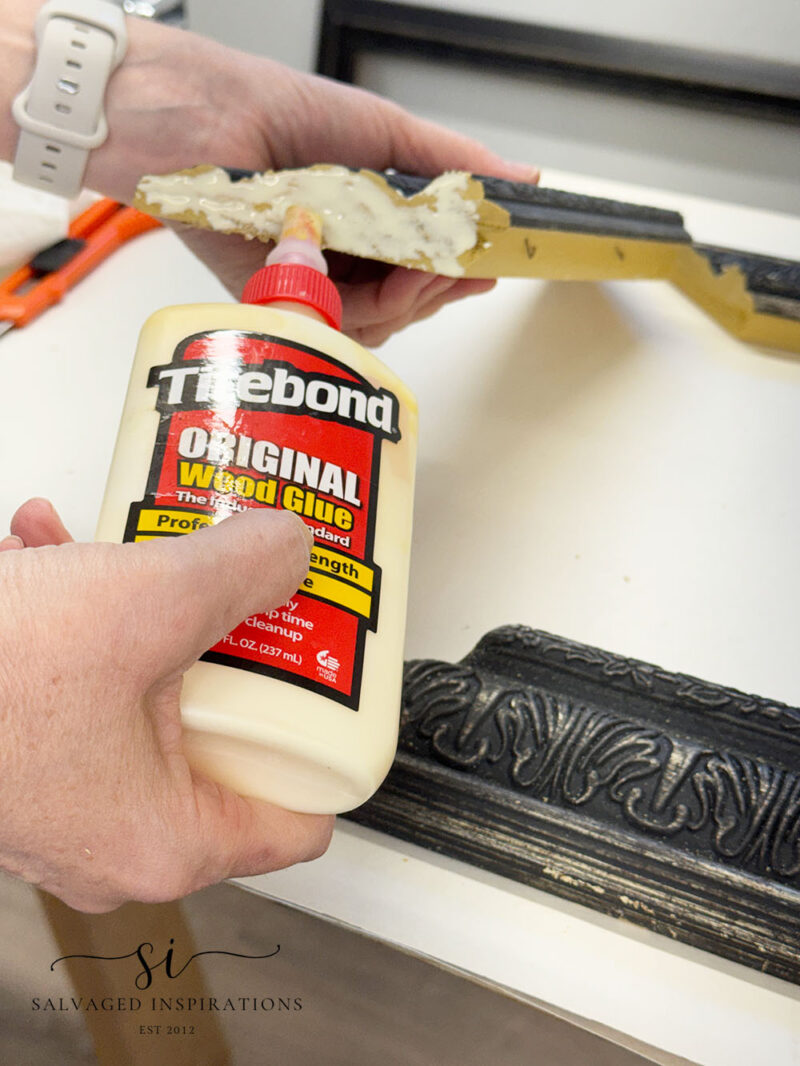
Hello, creative #sifamily, I’m so happy you’re joining for another Trashy Treasures Tuesday! If you love giving new life to thrifted art, or maybe your own artistic creations, this little trick is about to become your new favorite. Because here’s the thing—thrift stores are FULL of amazing frames… but never in the size you actually need. 😅 So instead of settling (or spending way too much on custom framing), I resize them myself. And once you do it once, you’ll realize it’s way easier than it sounds.
And the best part? You can do it in no time using frames you already own—making it perfect for styling, staging, or finally putting those frameless thrift store treasures to good use.
*As an Amazon Associate, I earn from qualifying purchases. There are affiliate links in this post to other companies/products I use and love as well. You will never be charged extra when you purchase through these affiliate links. If you purchase from my links – A BIG thank you for supporting me and the #siblog! To see my full disclaimer, click here.
It’s also the second Tuesday of the month, and this means it’s Trashy Treasures Tuesday! I’m looking forward to seeing what our TTT crew, Christy at Confessions Of A Serial DIY’er, Nancy at Artsy Chicks Rule, and Kathy at Petticoat Junktion, have created. I hope you join me on today’s tour as well! I’ve included their before-and-after links down below.
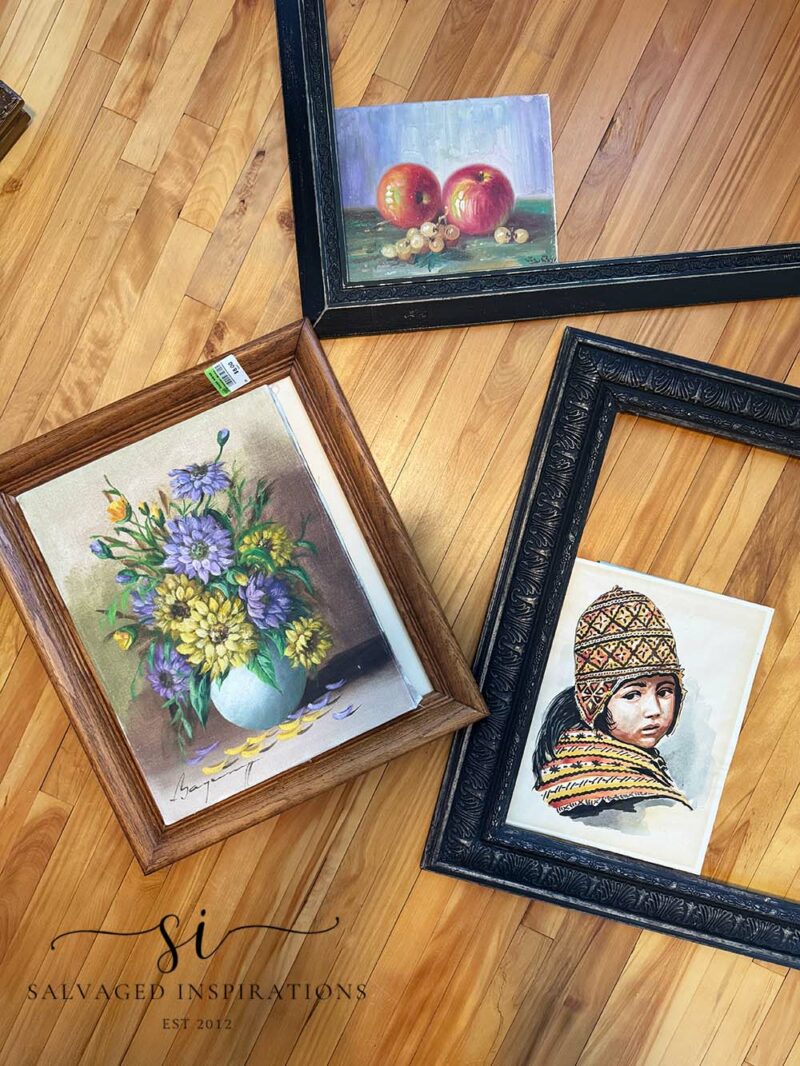
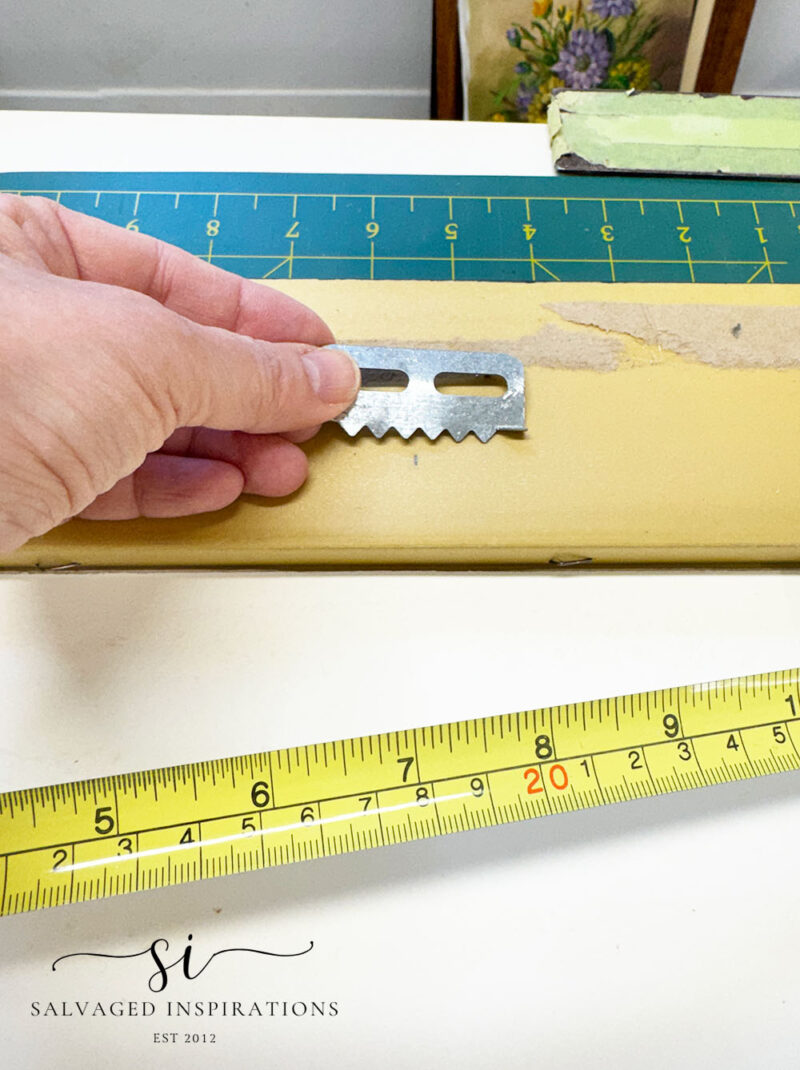
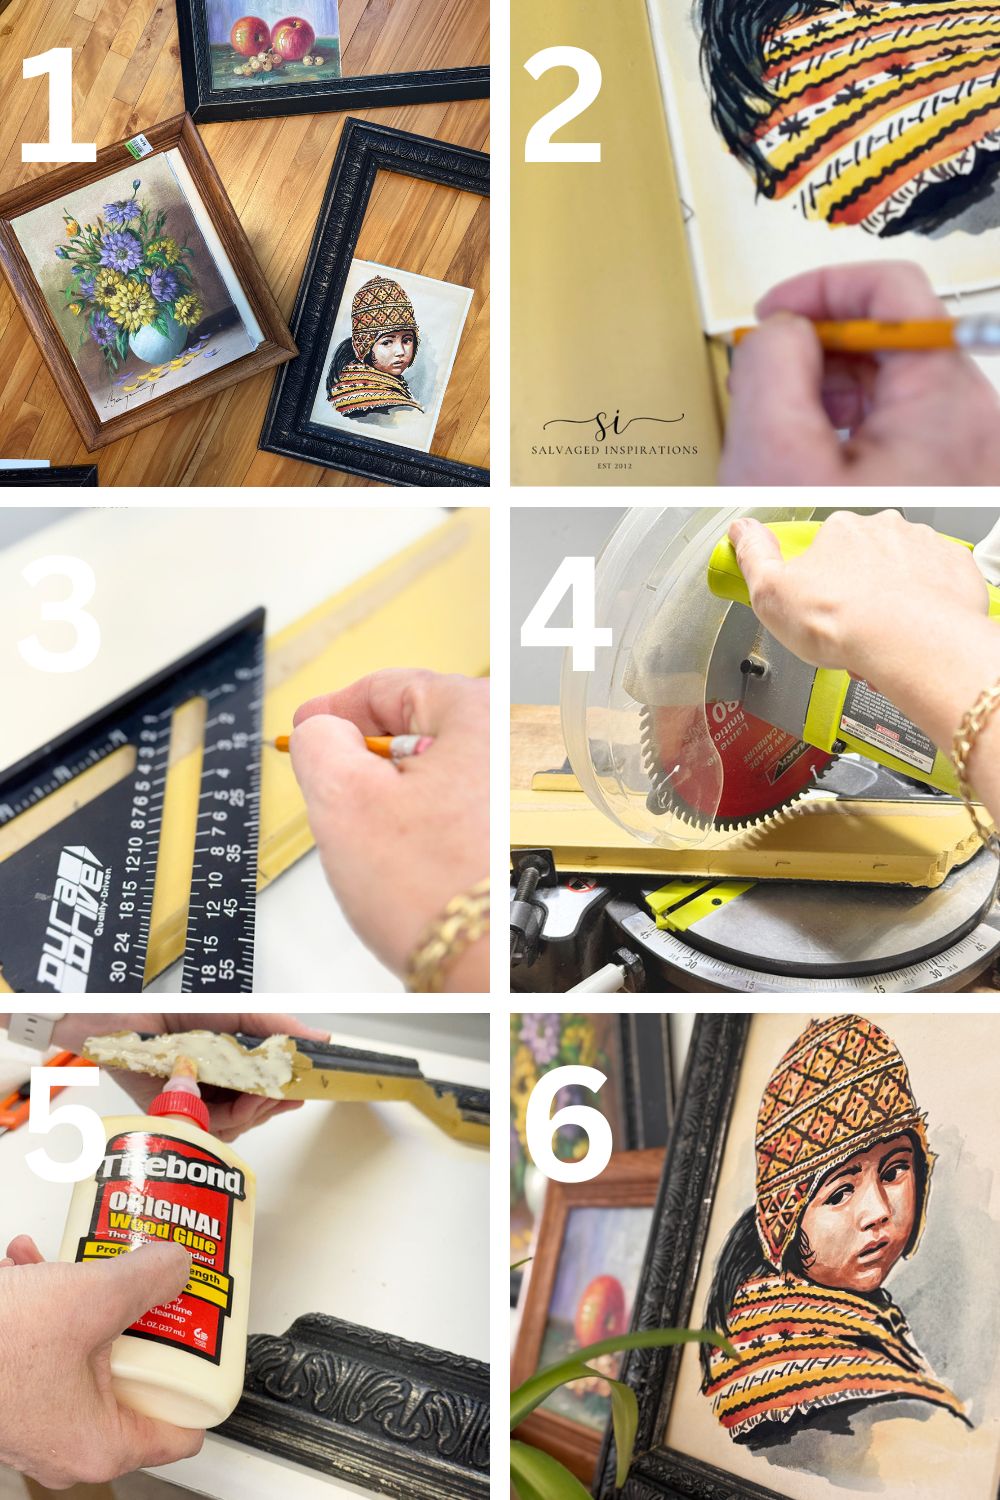
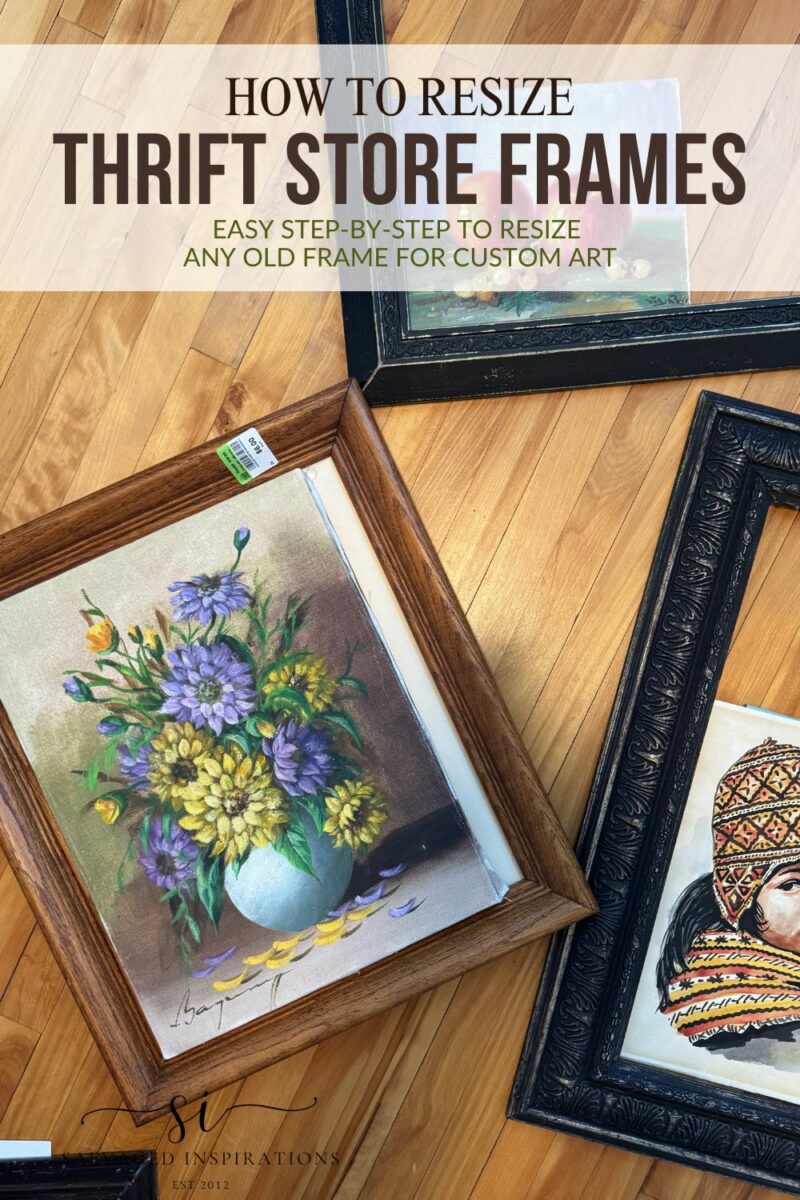
Here are the thrift frames I started with. They have all been ‘donated’ to me via my sister OR bought at a thrift store super cheap. I typically don’t like paying more than 5 or 10 dollars for a frame.

All the thrift stores around here usually have a full wall of framed art to choose from. I like looking for the older frames made of real wood. I also like the old vintage frames with a ton of character.

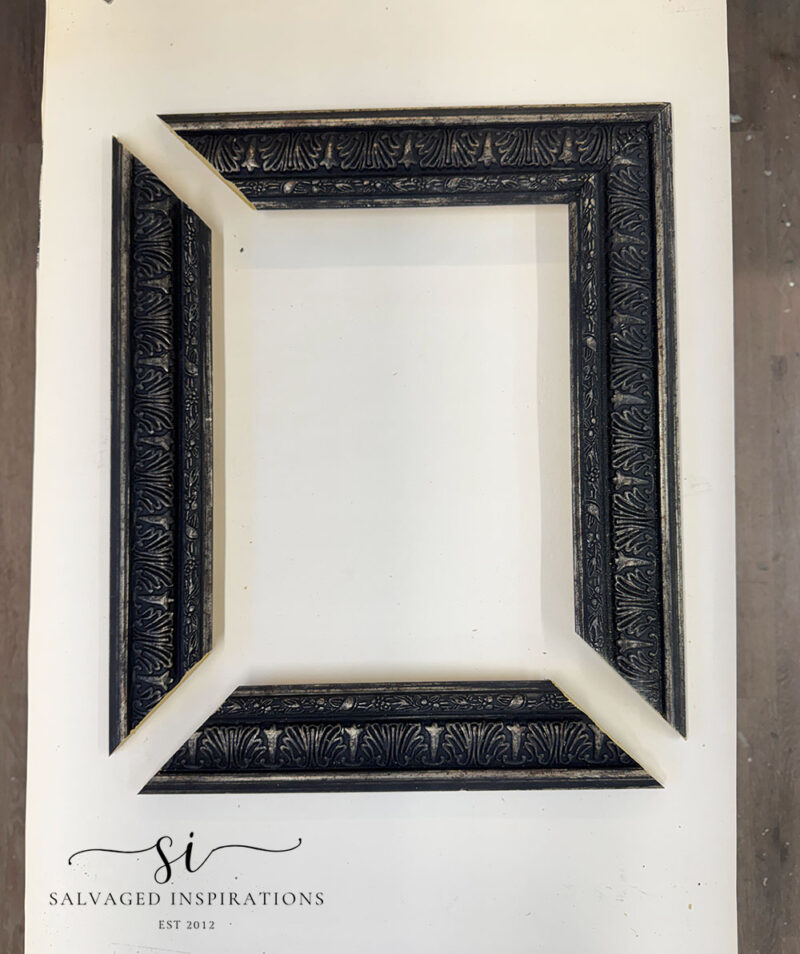
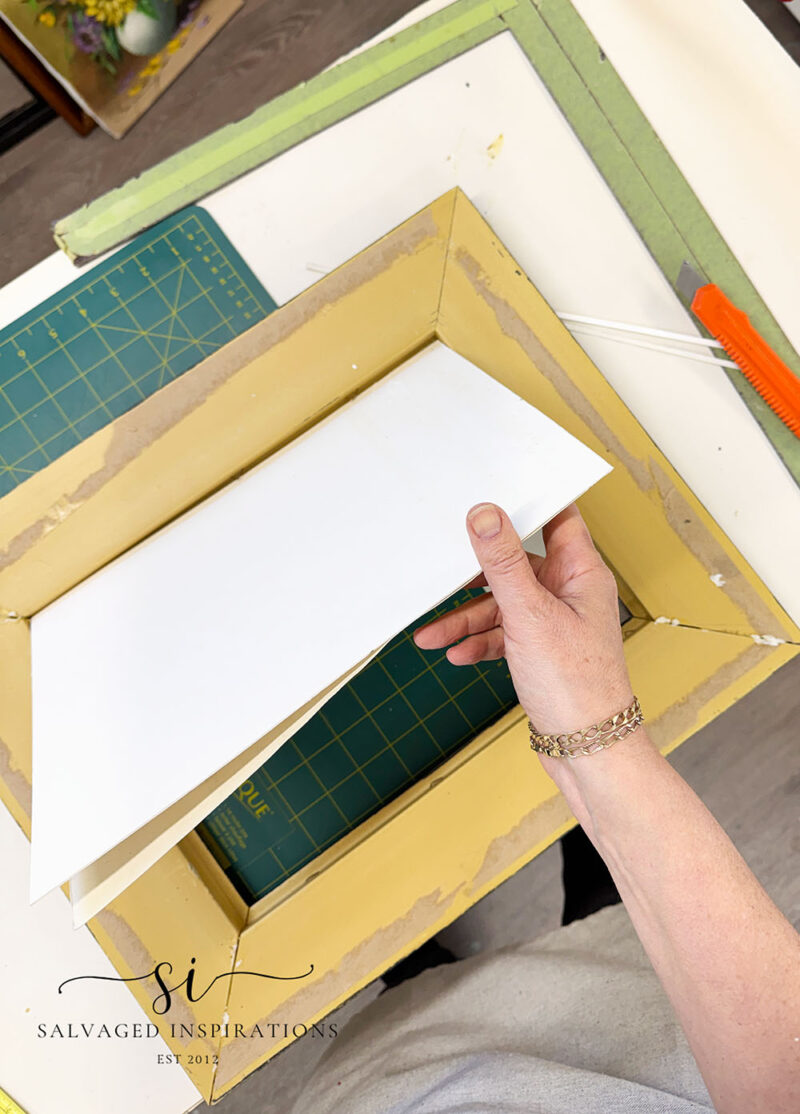
Once I had all the thrift frames and thrift art I wanted to frame, I started playing around with pairing them together. Anything goes so long as the frame is larger than the art.
THIS POST IS SPONSORED/CONTAINS AFFILIATE LINKS TO PRODUCTS I USE. YOU CAN SEE MY FULL DISCLOSURE HERE.
PIN AND SHARE 🤗
THE BIG REVEAL
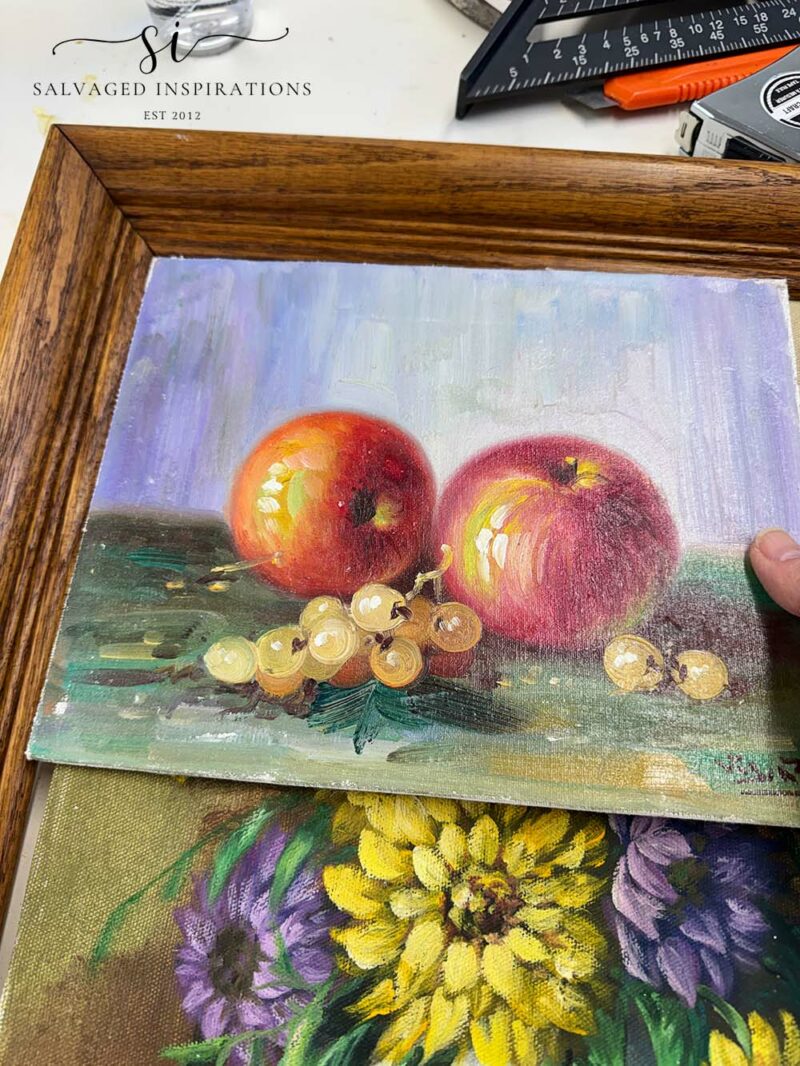
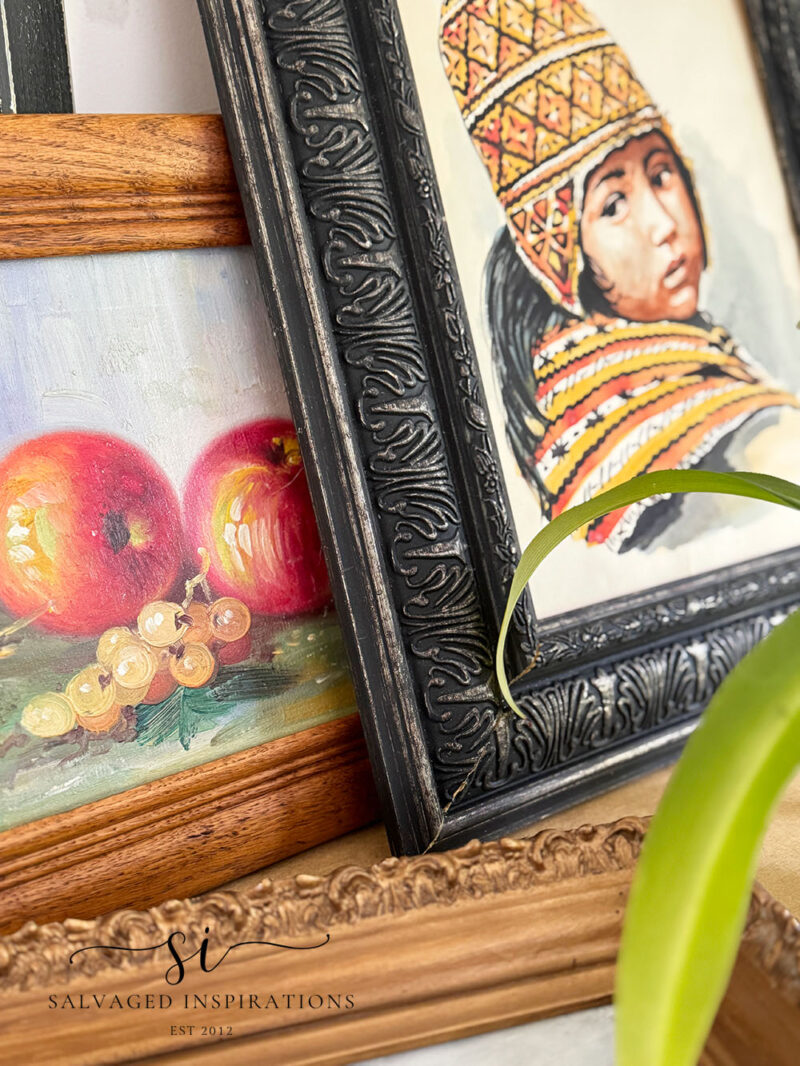
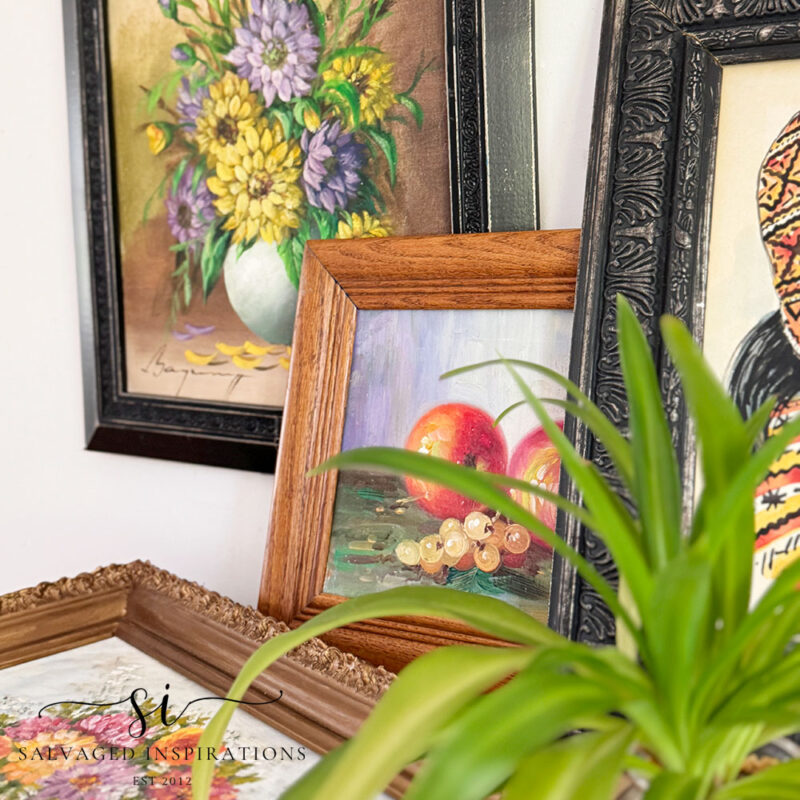
Here’s how the custom-sized thrift frames all turned out! What do you think?
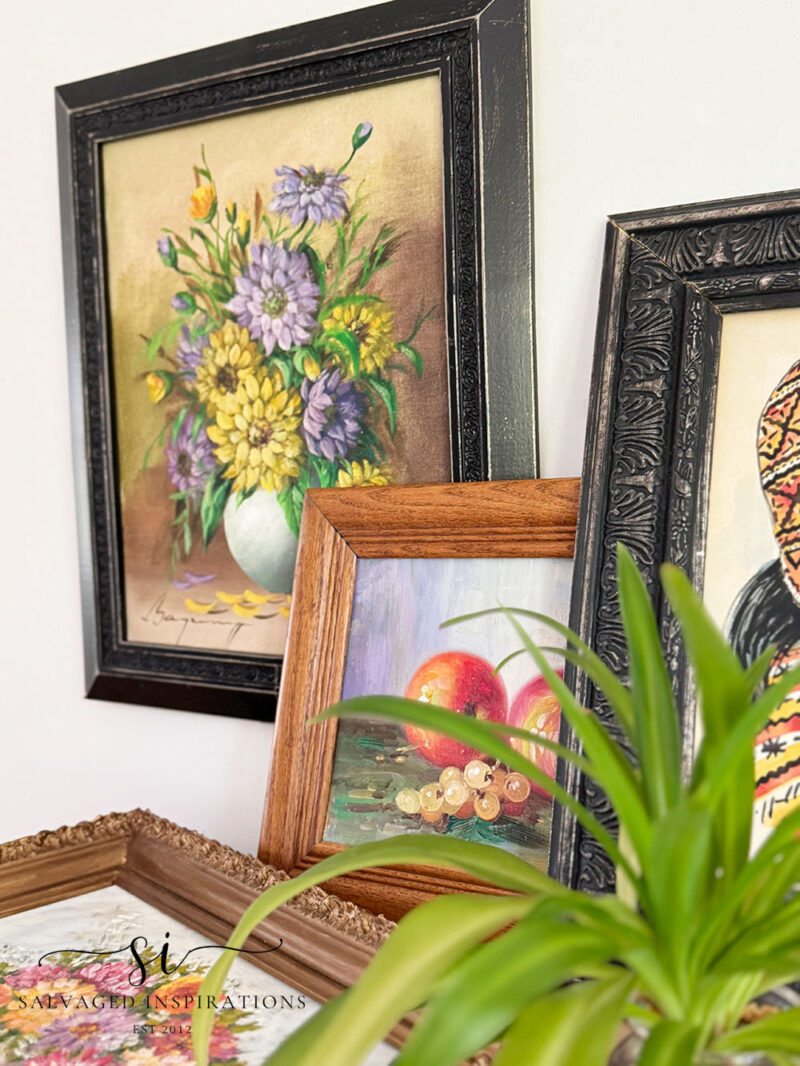
These paintings have been waiting to be framed… for years. I’m so happy I finally got around to it!
This opens up so many possibilities. Now, when I see beautiful frames in the thrift store, I’m going to grab them regardless of size!
YOUTUBE TUTORIAL
Here’s the full step-by-step YouTube video tutorial for you. Our #siyoutubefamily is already a community of 58.1K, so don’t forget to subscribe if you haven’t done so already. You’re the BEST, and I appreciate your support! 🙂
And now for some Trashy Treasures FUN!
Below are the TTT ladies’ BEFORE photos. Visit the links below to see the amazing AFTERS and learn how they did it! I’m heading over to take a peek as well! x
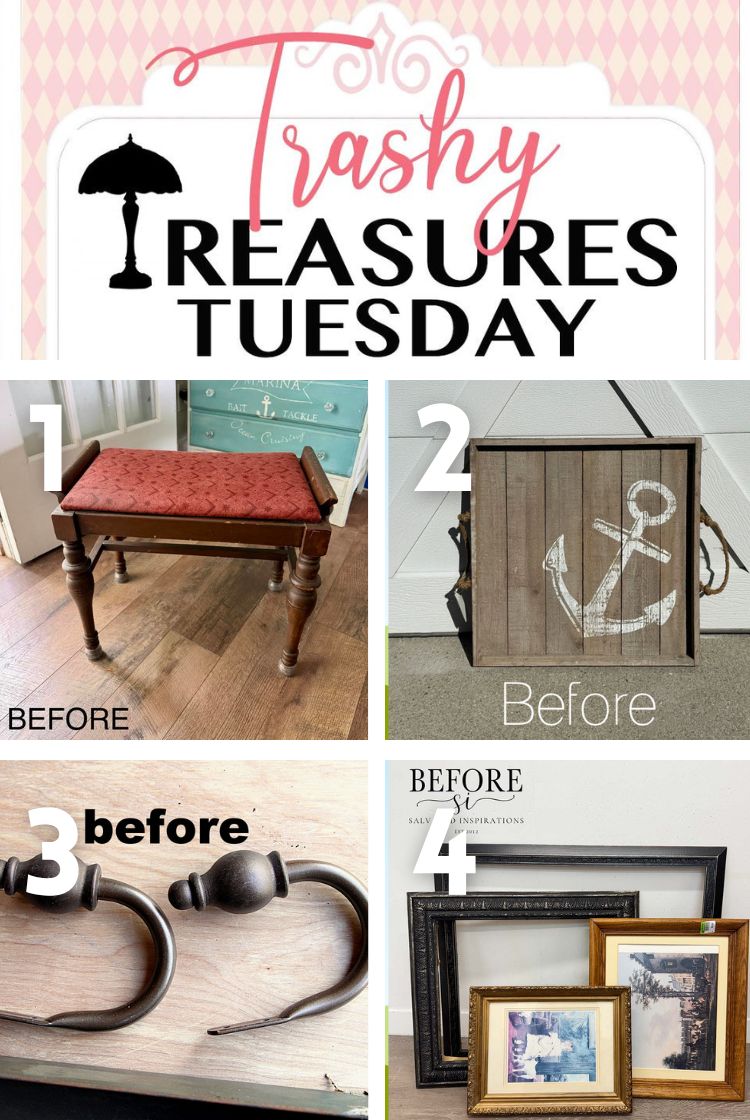
1. ARTSY CHICKS RULE
2. CONFESSIONS OF A SERIAL DIYER
3. PETTICOAT JUNKTION
4. SI (HAPPY YOU’RE HERE!)
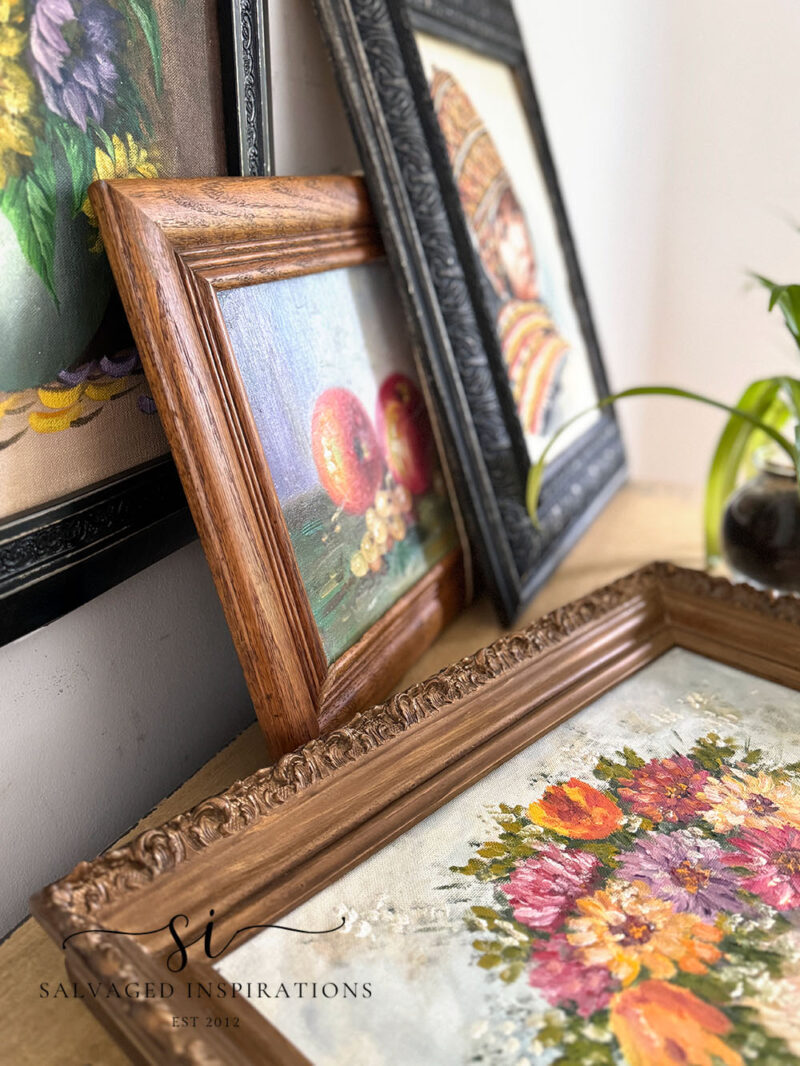
Here’s another look at the before-and-after resized thrift frames. I hope it inspires you and gives you ideas for customizing your framed art!
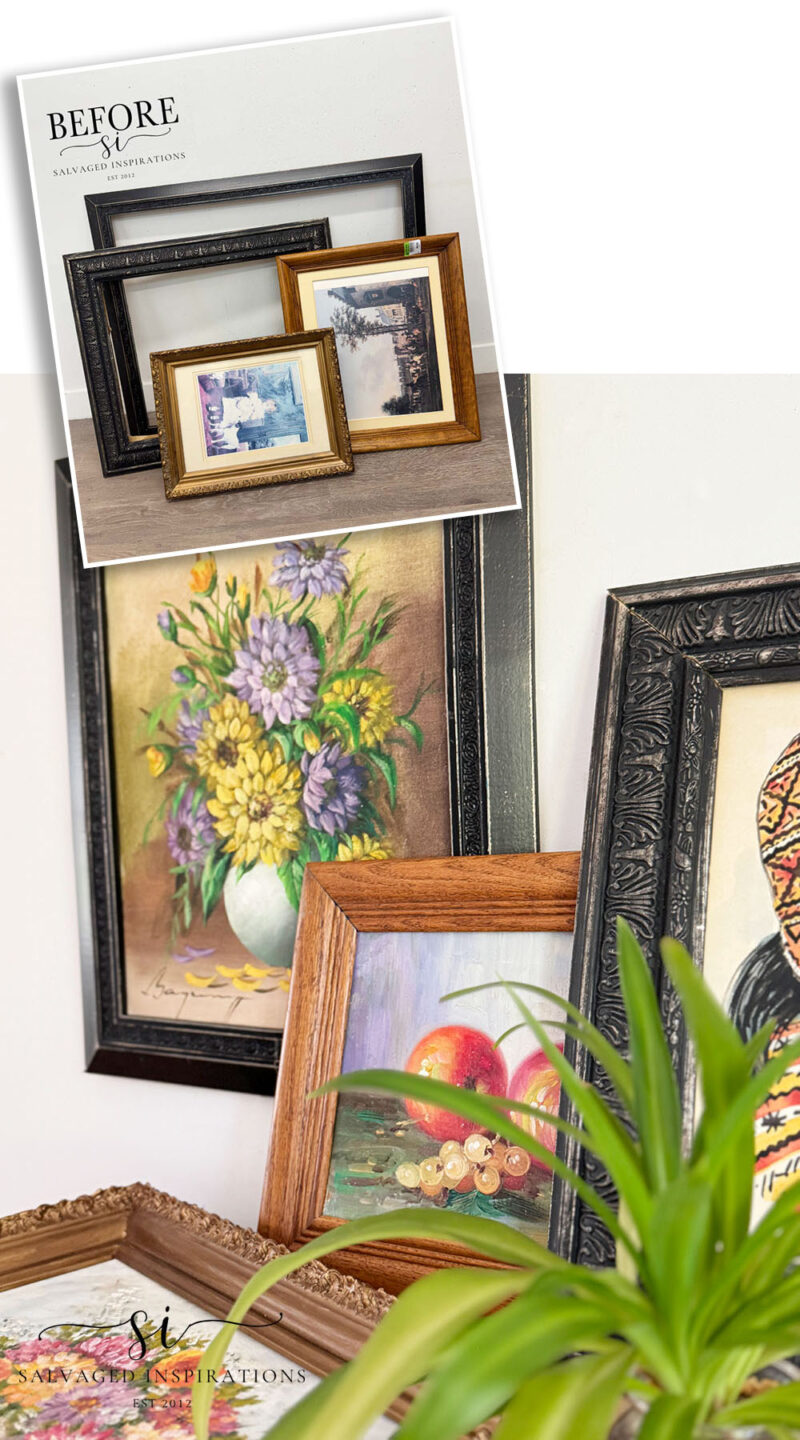
Resizing frames is such an easy, budget-friendly way to get that perfectly custom look—without spending a fortune. Whether you’re working with mismatched pieces or bare thrifted art, you can quickly transform what you already have into something that fits just right!
Thanks so much for joining today’s Trashy Treasures Tuesday makeover. Feel free to drop me a hello and let me know what you think of this thrift art idea. I always love hearing from you!
And before I sign off, you all enjoyed the newly hatched baby birds last week, so I thought I would give you an update. All three are doing well and growing bigger every day. I’m amazed at how fast they are growing! Mama bird is feeding them well. Below is what they look like now. And if you missed last week’s peek at the newly hatched baby birds, you can check them out here.

Happy painting and thrifting, my friends!
Denise x
RELATED POSTS:
3 WAYS TO UPCYCLE THRIFT FRAMES
PAINTING FRAMES | MIRROR UPDATE
SALVAGED CHAIRS INTO DIY FRAMES
HOW TO FIX A TORN CANVAS PAINTING
DIY DECORATIVE MIRROR FRAME
PIN AND SHARE! 🤗

This is a great idea!! There are so many gorgeous frames out there and new frames are pricey!! Love this! xoxo
Thanks so much Nancy! XOXO
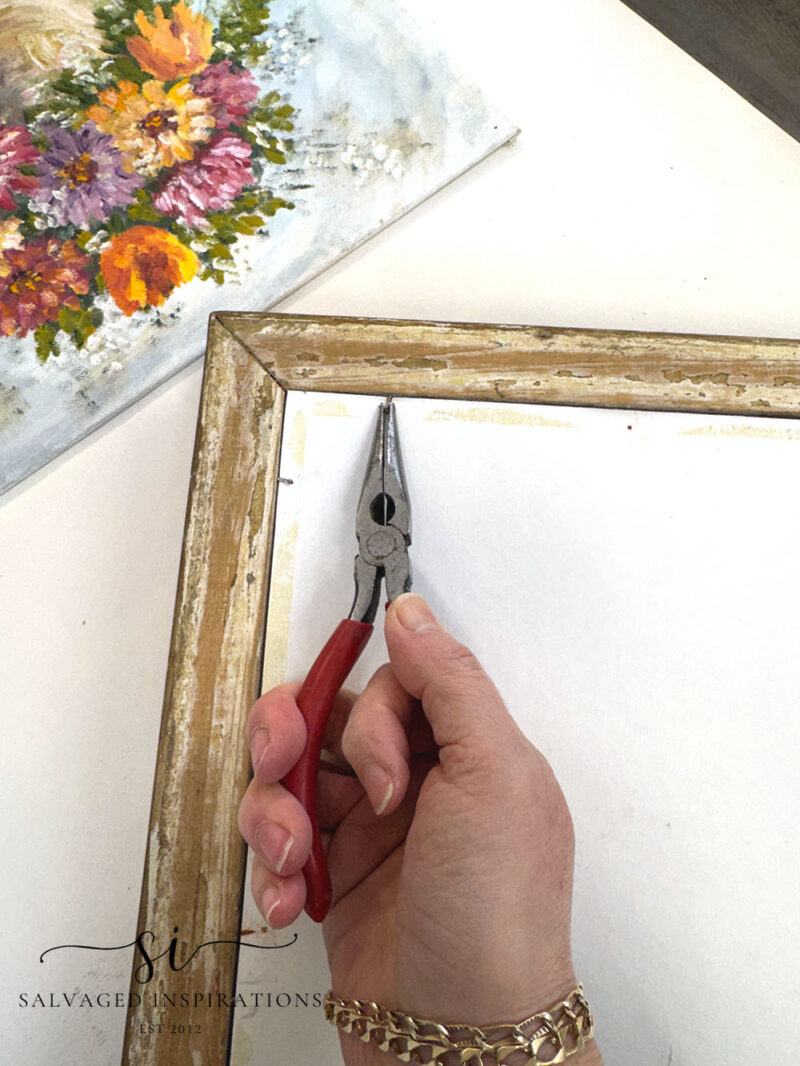
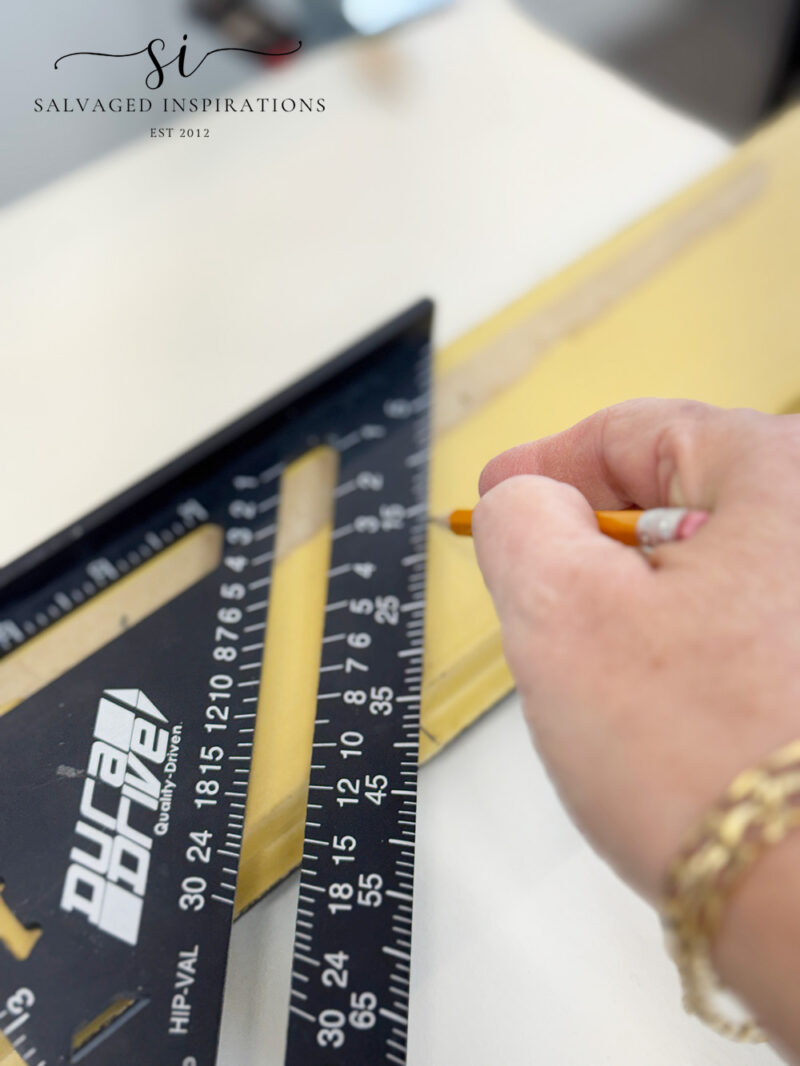
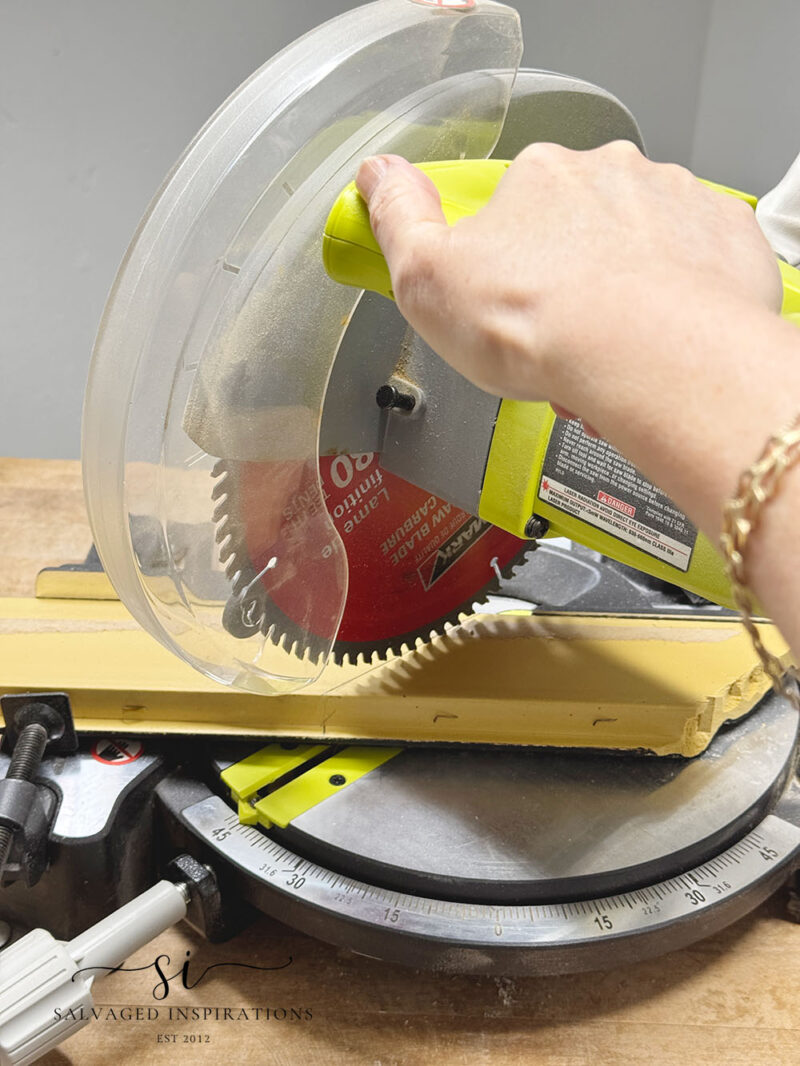
Thank you for instructions to resize a frame. Not owing one of those angle cutting daws, do you think this can be done with just a regular saw? I guess I’ll never know until I try.
It sure can Irene! And so long as it’s cut on a 45 degree angle (manually or with a miter saw) it will look great!
Hi Denise. What a great idea to make custom frames. Love it! Your baby birds are adorable.
They are adorable and getting cuter and cuter everyday! And thanks Monique!🤗
Really great idea that sounds pretty scary but you made it look fairly do-able. If a person cuts the pieces right the first time, the leftovers should still make a new size frame and could be re=usable too! I would assume adding new color to the frame would come after re-assembling the frame and before adding new pic but the matting is a concern for me. I am assuming the size of the matting would be a personal choice but what do you use for matting? Thank You, great post.
Hi Mary! Matting can be purchased inexpensively online or at a Michaels or Hobby Lobby arts and craft store. And the process would be the same except you would be measuring the size of the mat rather than the art. And I love your idea of using the left over for smaller frames!
A great idea to salvage old frames. We have leftover paintings from the seventies. Nothing we would like to hang in our home yet the frames are extraordinary. I might have to try this, thank you!
Hi Nicki, thank you! And if you ever decide to give this a try on your 70s frames, I’d love to hear how it turns out for you. Have a great week and weekend! XOXO
Great post! I have never thought about re-sizing a frame, but it makes perfect sense and is a great way to salvage a damaged frame, too. I have just the frame to try this on. Thank you so much for these helpful tips. Have a super week, my creative friend! xo 🙂 Pinned!
Thanks Do! I think it’s a great way to salvage and upcycle as well. The thrift stores in the GTA are FILLED with all types of frames and framed art to choose from. Have a fabulous week as well! hugs
Such a fantastic idea when you can’t find a frame that fits! And SO funny because I had to do this with the huge frame I’m sharing on Thursday lol. That would have been so funny if I shared that one today instead!! Love the baby birds. I love when they choose our home as a safe place! XOXO
That would have been really funny! Can’t wait to see what you do with your resized frame – I know it will be gorgeous. And yes, I thought they picked such an ODD spot on the hanging ladder but they seem super comfy and happy.😄 They are a joy to watch.