How to Clean and Repair a Dirty Torn Canvas Painting (Yes… I Found This One in the Trash!) | Youtube Video
Hi, creative friend! If you’ve been around Salvaged Inspirations for any length of time, you know I have a thing for tossed-aside treasures and ART. Today I’m combining the two! I’m sharing exactly how I cleaned and repaired this old, ripped canvas painting, step by step. Full disclaimer, I’ve never done a canvas repair like this before. But I was hoping to make this floral art look good again because I had the perfect spot in my bedroom where I really wanted to hang this piece!
*As an Amazon Associate, I earn from qualifying purchases. There are affiliate links in this post to other companies/products I use and love as well. You will never be charged extra when you purchase through these affiliate links. If you purchase from my links – A BIG thank you for supporting me and the #siblog! To see my full disclaimer, click here.
It’s also the second Tuesday of the month, and this means it’s Trashy Treasures Tuesday! I’m looking forward to seeing what our TTT crew, Christy at Confessions Of A Serial DIY’er, Nancy at Artsy Chicks Rule, and Kathy at Petticoat Junktion, have created. I hope you join me on today’s tour as well! I’ve included their before-and-after links down below.

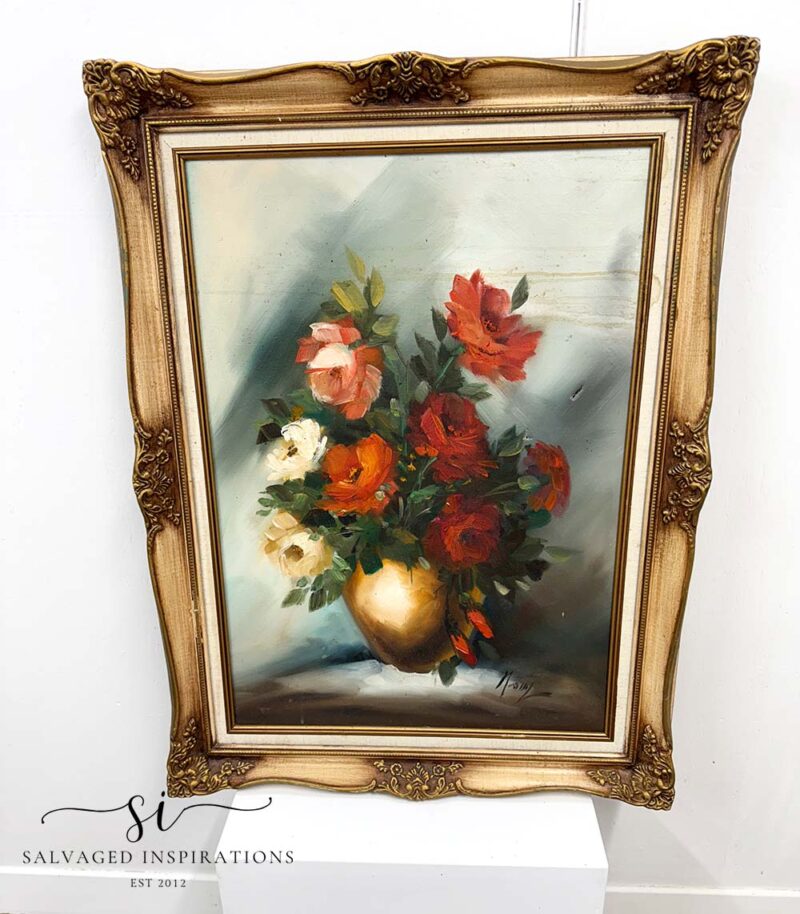
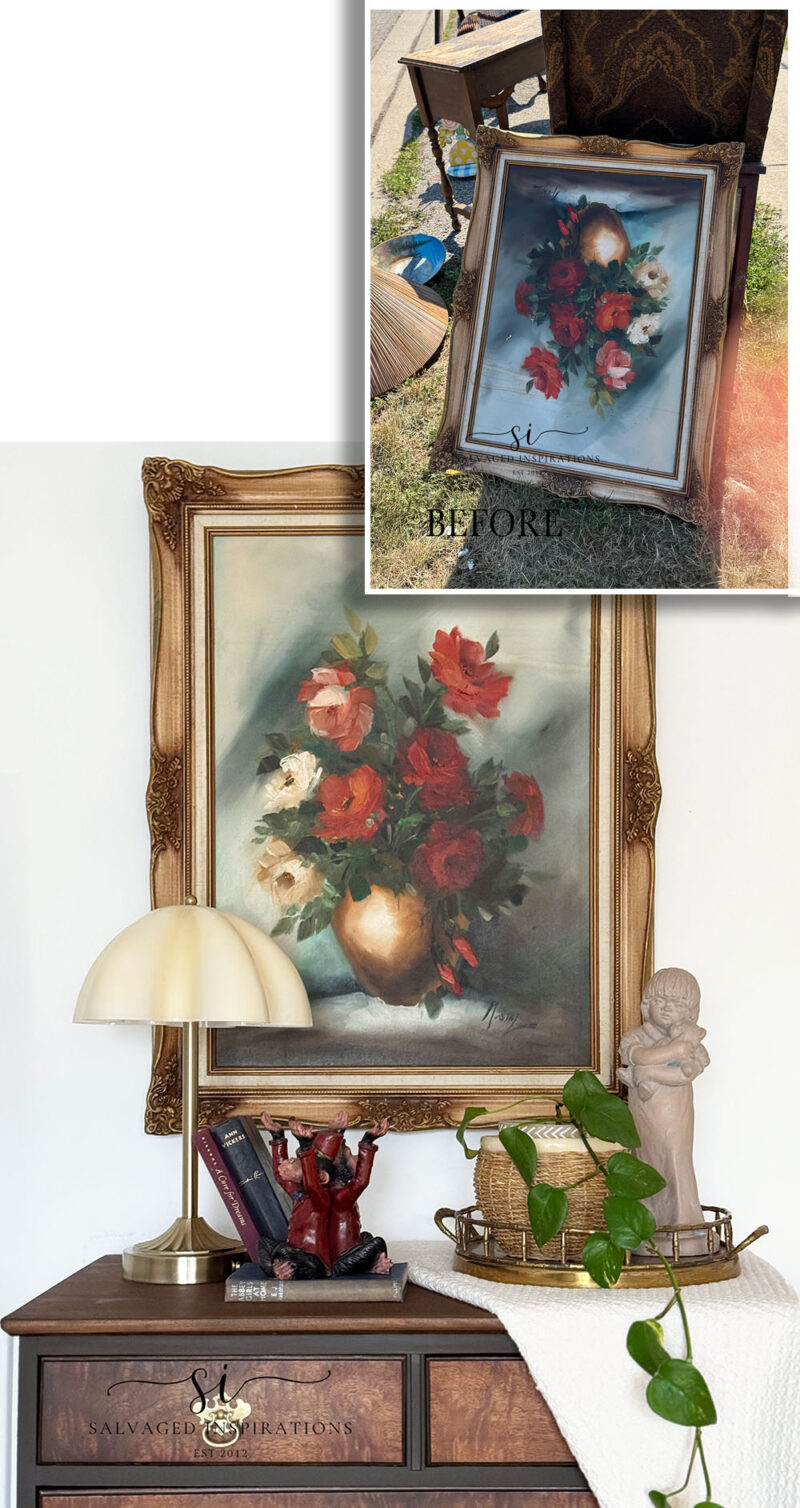
Here’s the large floral canvas painting and frame I started with. You may recall that my sister’s friend/coworker, Earl, told me about this curbside haul back in the summer of 2025. I was there specifically for the table (you can see the back of the table to the left of the chair), and I used gel stain and a dollar store solution on it here. But I ALSO SCORED this floral painting and a few mirrors and frames as well. My guess is the homeowners had a garage sale that weekend, and these were the items that didn’t sell. Lucky me. I kind of wish I had grabbed the chair as well.
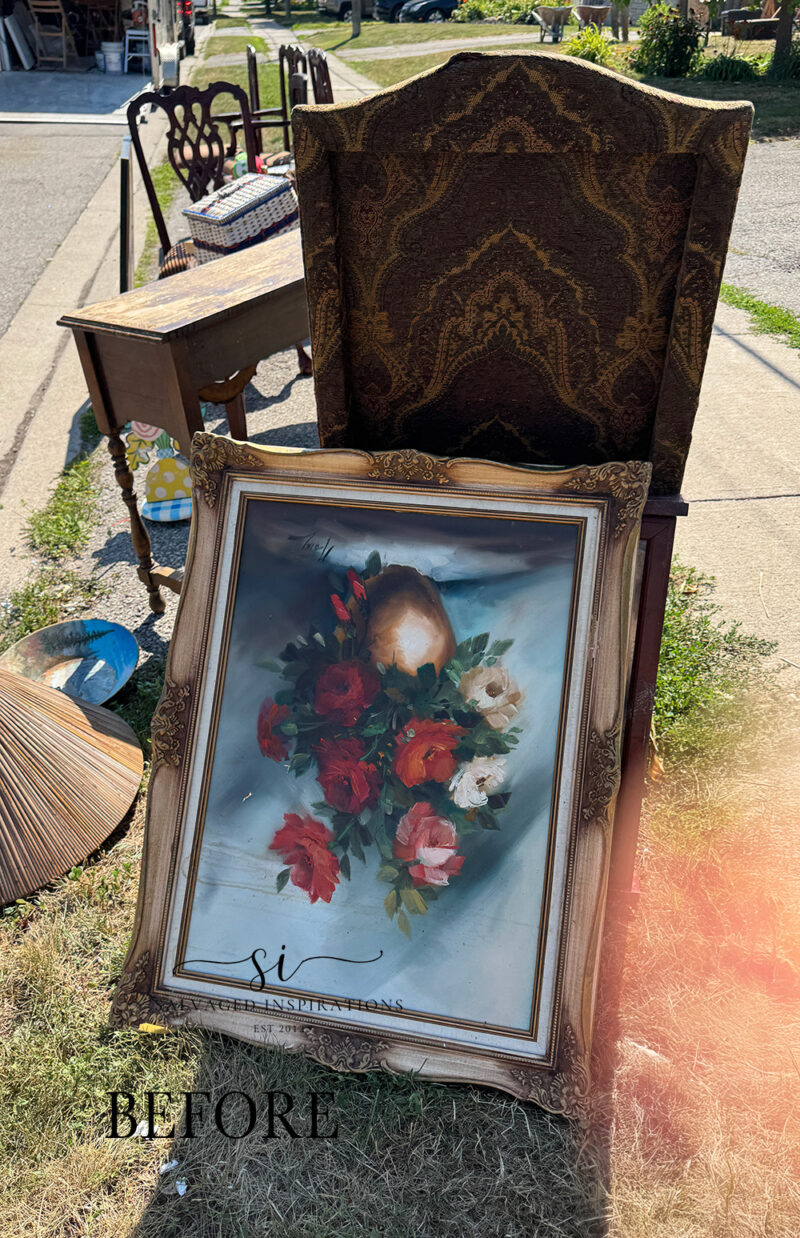
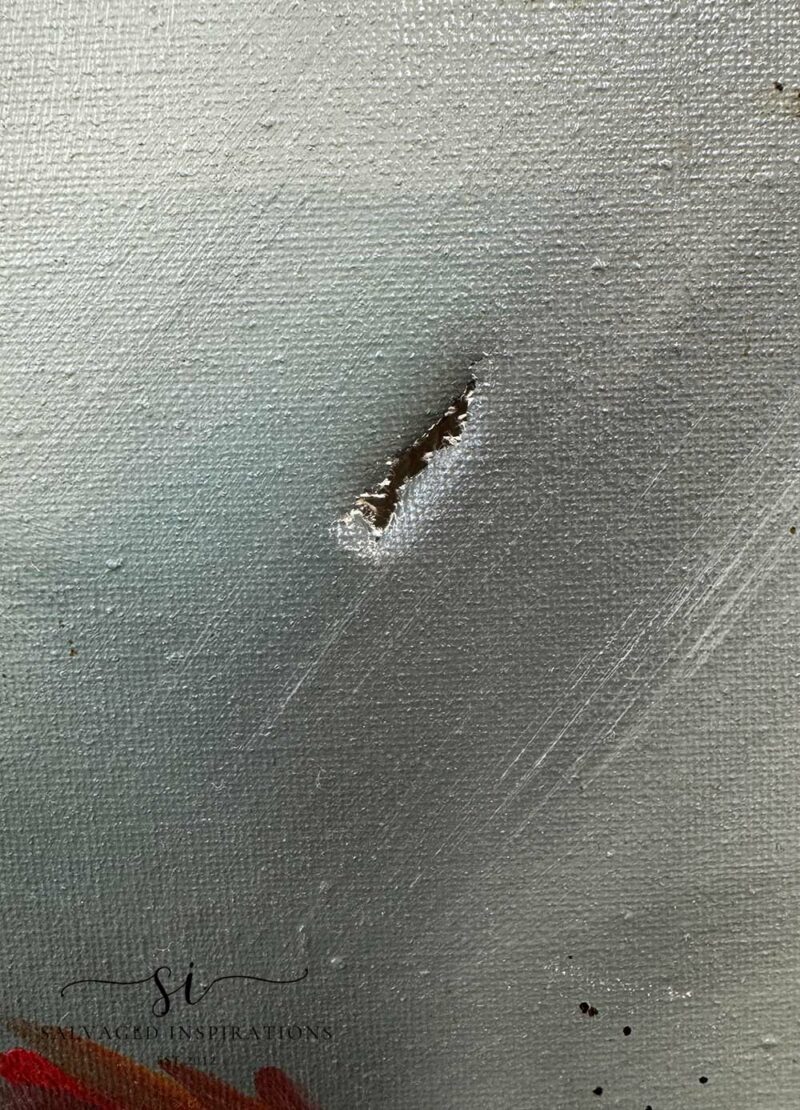
This painting has such a pretty vibe… but it had two tears in the canvas. It also looked like something had been spilled onto it.
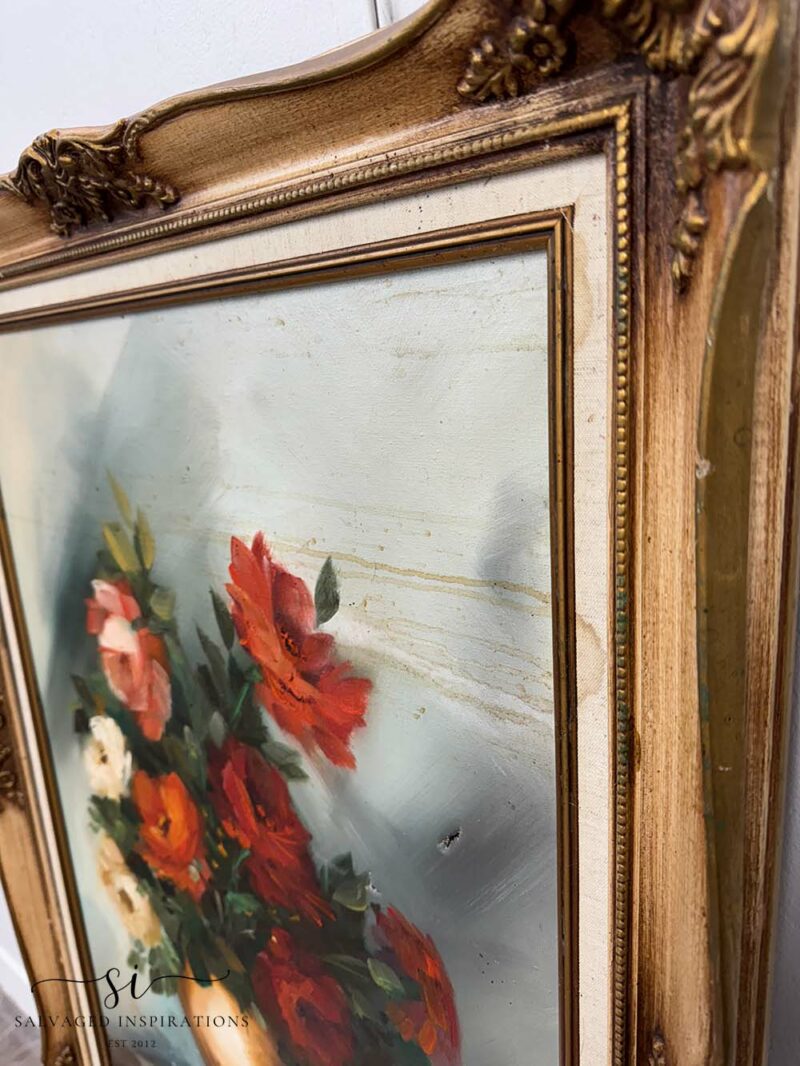
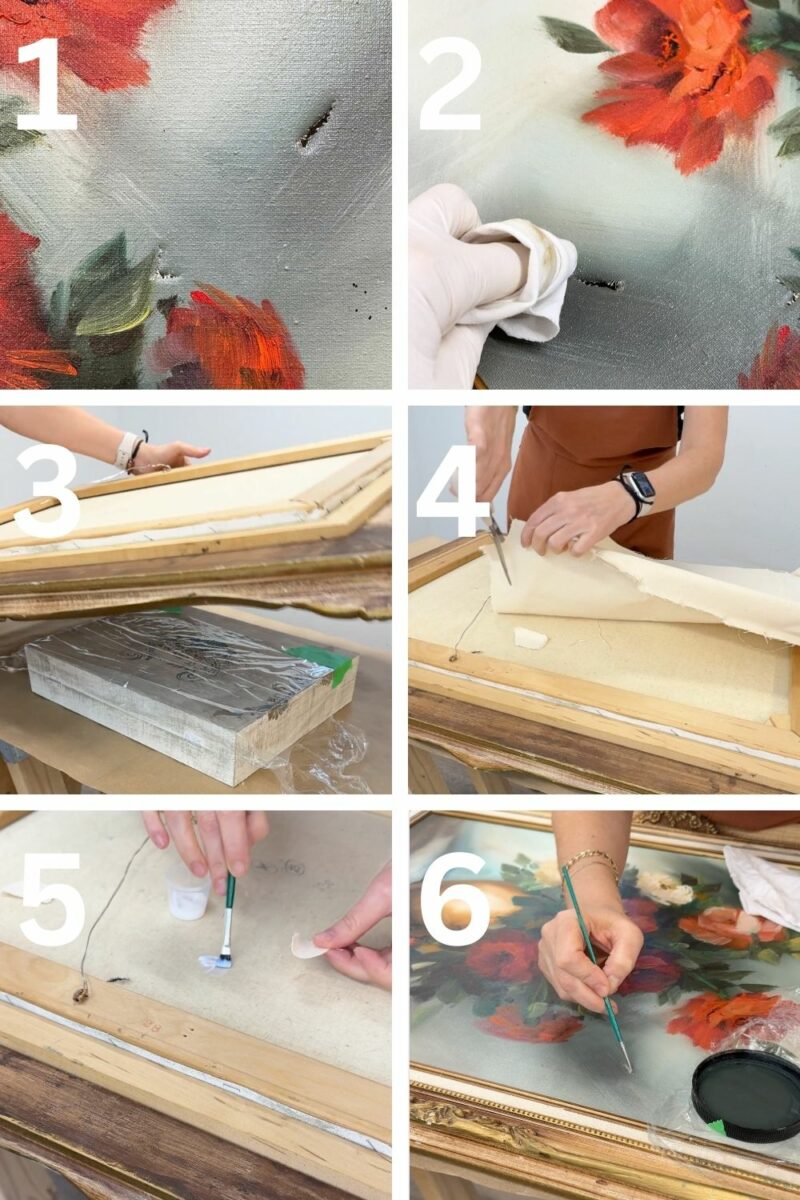
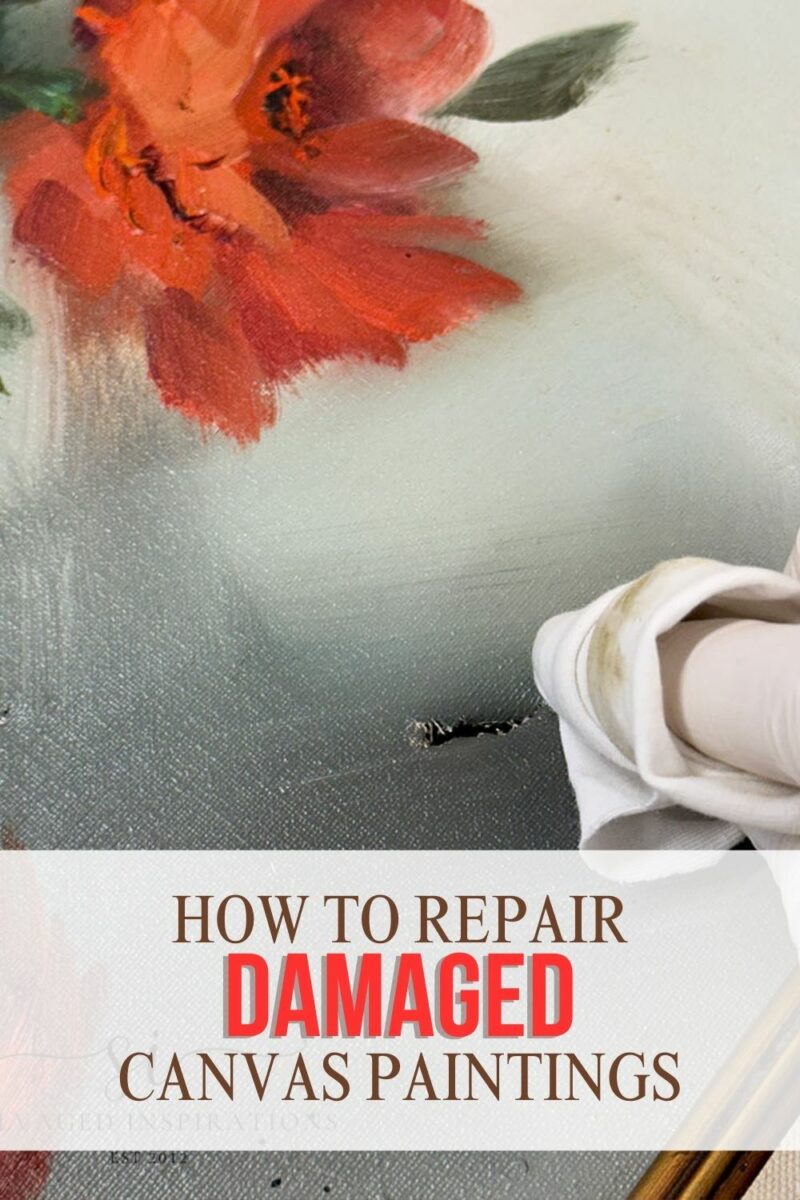
Below is a close-up look at the two tears in the canvas.
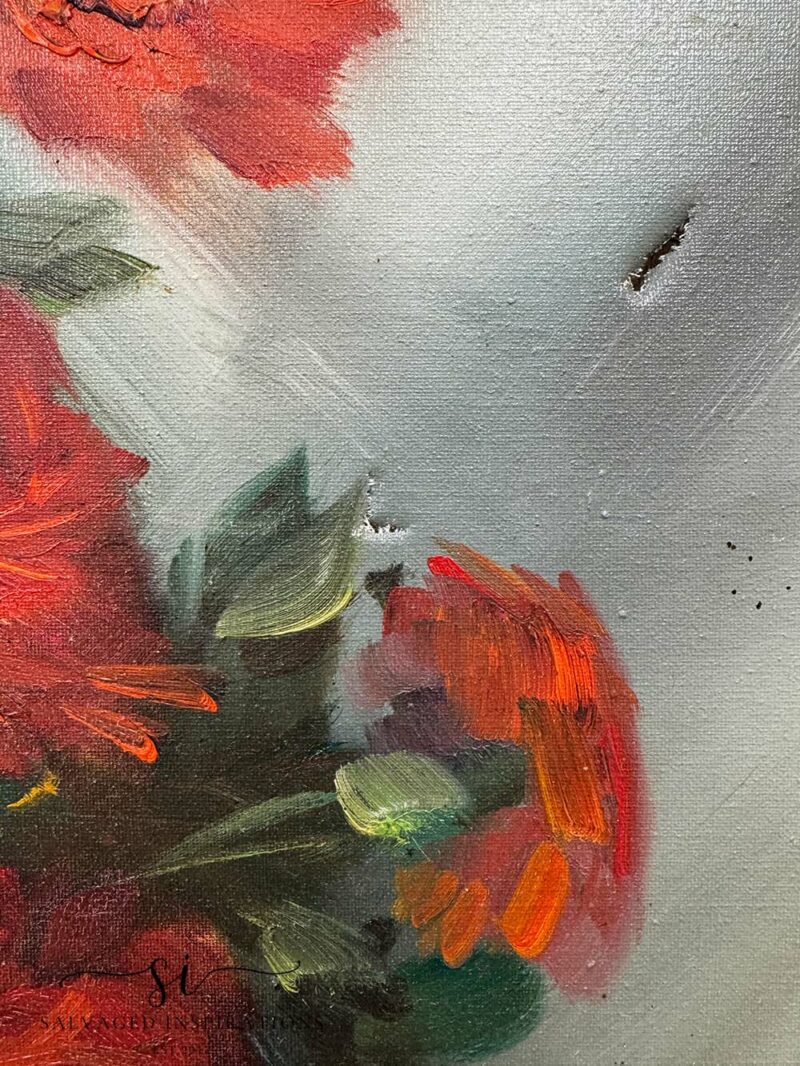
This one was the larger of the two.
THIS POST IS SPONSORED/CONTAINS AFFILIATE LINKS TO PRODUCTS I USE. YOU CAN SEE MY FULL DISCLOSURE HERE.
WHAT YOU’LL NEED
Damaged Canvas Painting – SALVAGED
Water
Mild dish soap
Soft Swiffer Duster
Cotton swabs or cotton pads
Lint-Free Soft Rags
PVA glue or bookbinding glue
Small artist brush
Wax paper or plastic wrap
Heavy books or flat weights
Canvas repair patch or spare canvas
Craft knife or scissors
HOW TO CLEAN AND REPAIR A CANVAS PAINTING
Again, this isn’t museum-level restoration, and it doesn’t need to be. This is a DIY-friendly rescue, and if you love thrift art (or trashed art!) as much as I do, this post is for you…
ASSESSING THE PAINTING
Before touching anything, I took a good look at the painting to assess the damage and the condition of the piece. It had a layer of grime, a yellowed surface spill dulling the colors, and two small tears in the canvas. The good news was the paint itself was stable. No flaking. No cracking.
The cleaning and repair method I used works for both oil and acrylic paintings, but it’s still helpful to know what you’re working with before you start. Oil paintings usually look richer and slightly glossier with raised brushstrokes, while acrylic paintings tend to look flatter and feel more plastic-like. If you’re unsure, lightly dab a hidden area with a damp cotton swab — acrylic paint may soften or lift, while oil paint won’t react to water. You can also check if a painting is oil by dipping a cotton swab into Acetone (often found in nail polish remover) and rubbing it in an inconspicuous area – maybe the side of the canvas. Acetone will lift oil-based paint but water will not.
CLEAN
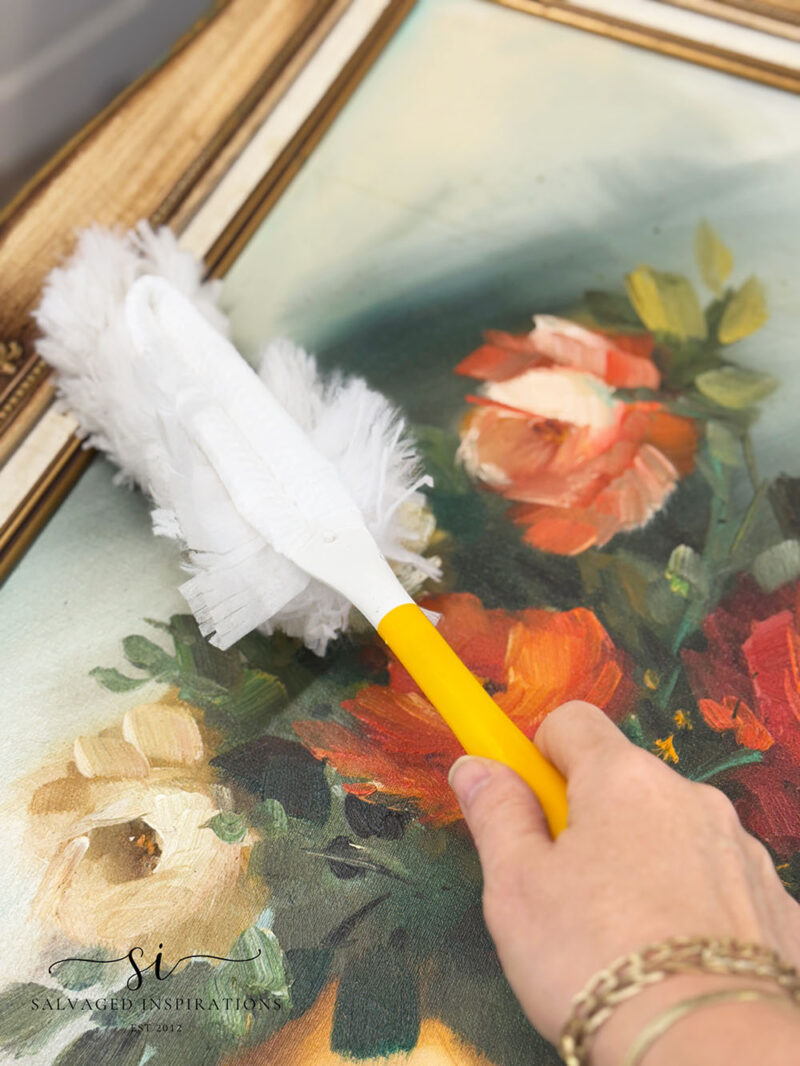
The first step I took to clean this painting and frame was to remove what I could without water. I took a swiffer fuzzy and removed all the dry dirt and dust on this piece. This Swiffer is soft enough so it won’t damage the frame or the painting and does a really good job at removing dust, lint, and all the loose dirt and debris. It also prevents grit from scratching the surface later.
Now it was time for some wet cleaning. I gathered my supplies. Cotton swabs, cotton pads, lint free rag, a cup of water and some Dawn dish detergent. I figure if Dawn is mild enough to wash baby ducks, a canvas painting should be no problem. 🙂
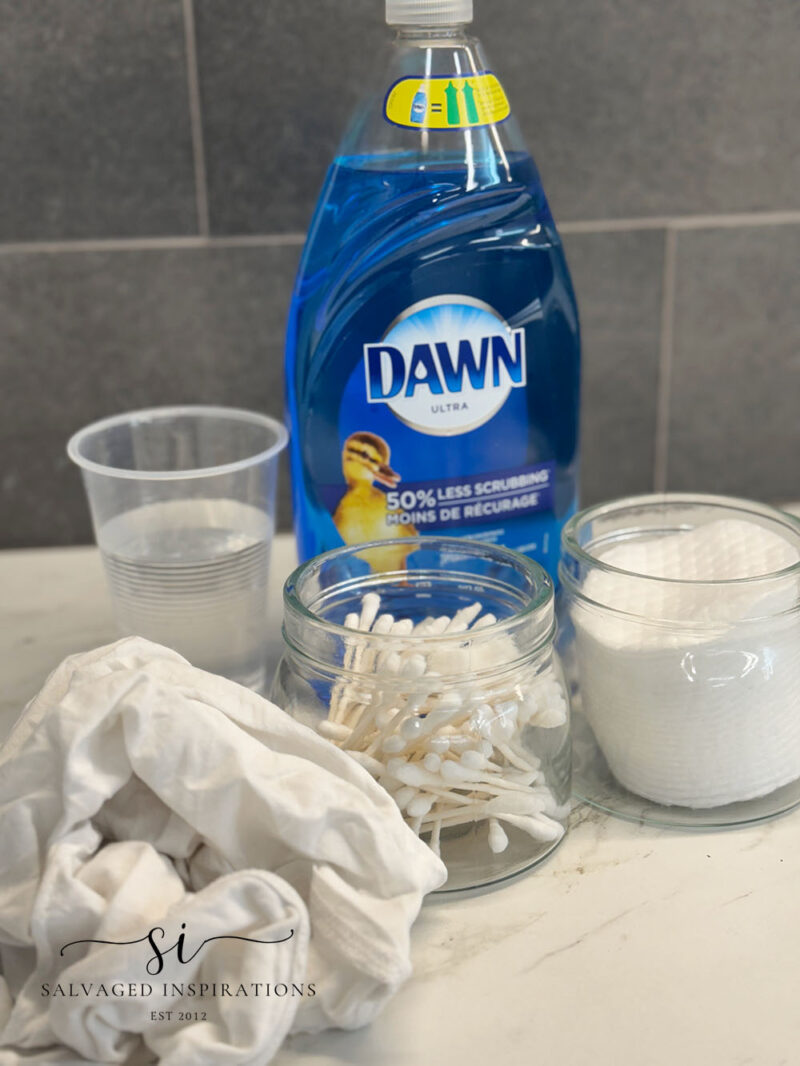
I mixed a cup of water with two drops of Dawn dish soap. Using a slightly damp cotton swab, I tested a tiny corner using very light pressure. Never clean an entire painting without testing first. If color comes off, stop. In my case, the dirt lifted beautifully, and the colors underneath were starting to shine.
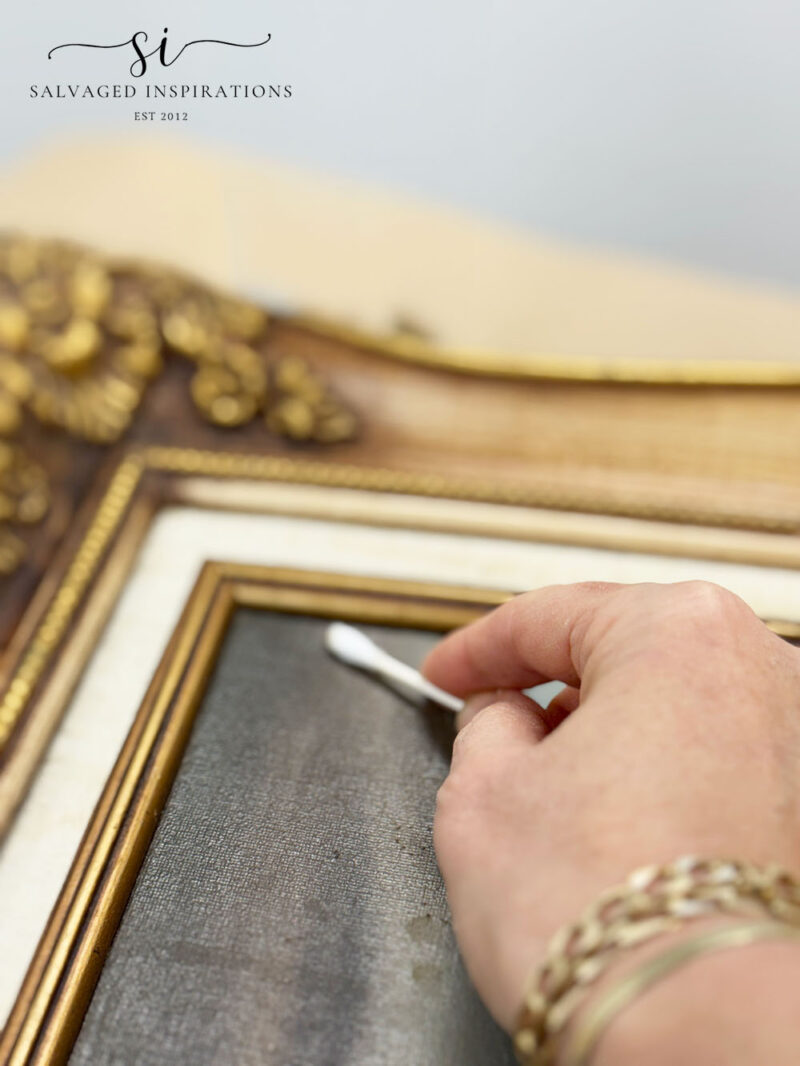
Working in small sections, I lightly dampened a cotton pad and or cotton swab and gently rolled it across the surface. I switched cotton pads and swabs often.
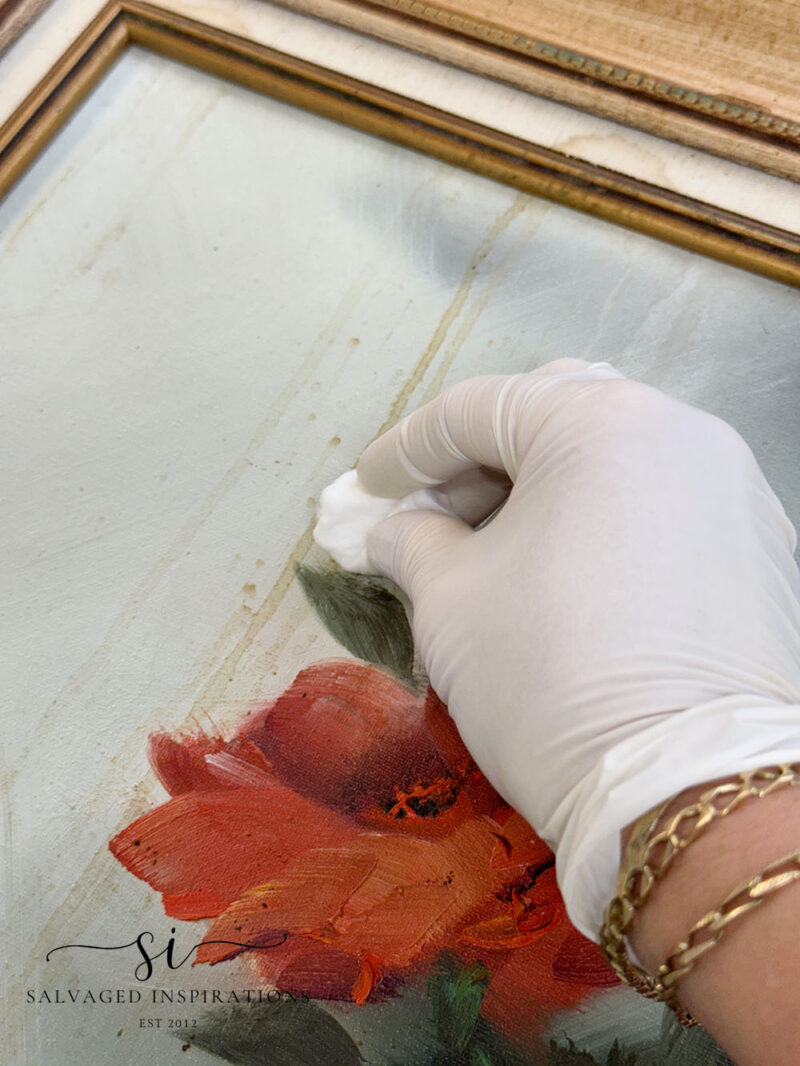
And about halfway through, I started using a soft lint-free rag with my finger. I liked this even better because I could ‘feel’ the exact pressure I was using and the texture of the painting under my finger. I worked in tiny sections, taking my time to go over the areas where the spill stain was more stubborn. This step alone brought the painting back to life.
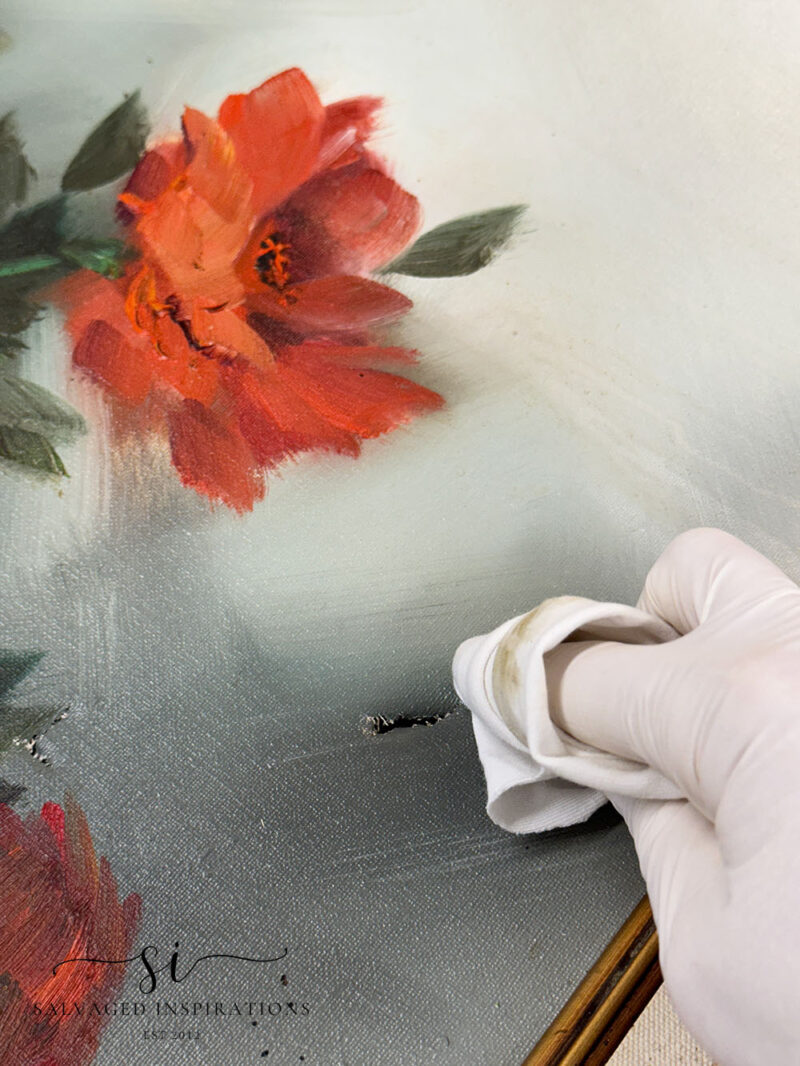
After I was happy with my cleaning results, I let the painting dry completely overnight.
REPAIR THE TEARS
To prep the canvas for repair, I needed something flat and solid to put the painting on. I found this wooden box that was the perfect height and a really good size as well. I covered it with plastic wrap so the glue would not seep through and adhere the painting to the box.

I flipped the painting face down on the plastic-wrapped box and carefully nudged the torn edges together so they met as naturally and as best as possible. Then, using PVA glue and an artist’s brush, I added glue on and around the two tears.
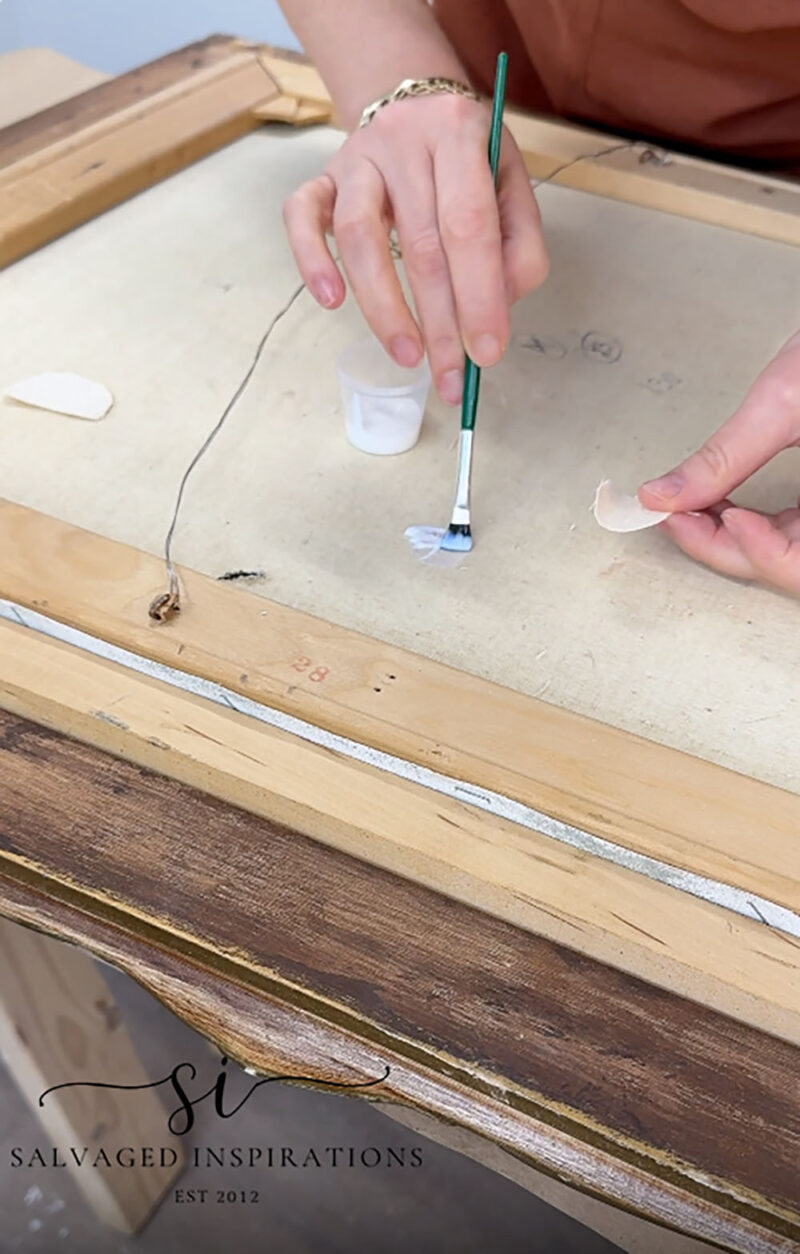
Using some left over canvas, I cut two patches slightly larger than the two tears in the canvas. Using an artist brush, I applied a thin layer of acid-free PVA glue to the patch, and then placed it over the tear on the back of the canvas. So it wouldn’t stick, I covered it with plastic wrap, and weighed it down with books. I let it dry for 12 hours, but 24 hours would be ideal if you have the time.

Once dry, I flipped the painting right-side up. The tear edges were still slightly visible but it already looked sooooo much better! If you have gesso, a thin layer applied to the remaining tear could ‘plump’ out the canvas even further. I didn’t have any, yet I was pretty pleased with how it was all coming together.
TOUCH-UP PAINT
Using some water-based mineral paint that I had on hand, closely matched the surrounding colors on and around the tear as best I could. I used a tiny fine artists’ brush for the detailing of filling in the glued-up tear, and then a larger artists’ brush to blend and feather the edges. Less is more. The goal isn’t perfection — it’s visual harmony and blended as best as you can. If you’d like extra protection, you can apply a varnish, but this is optional for decorative pieces. I left my painting as is.
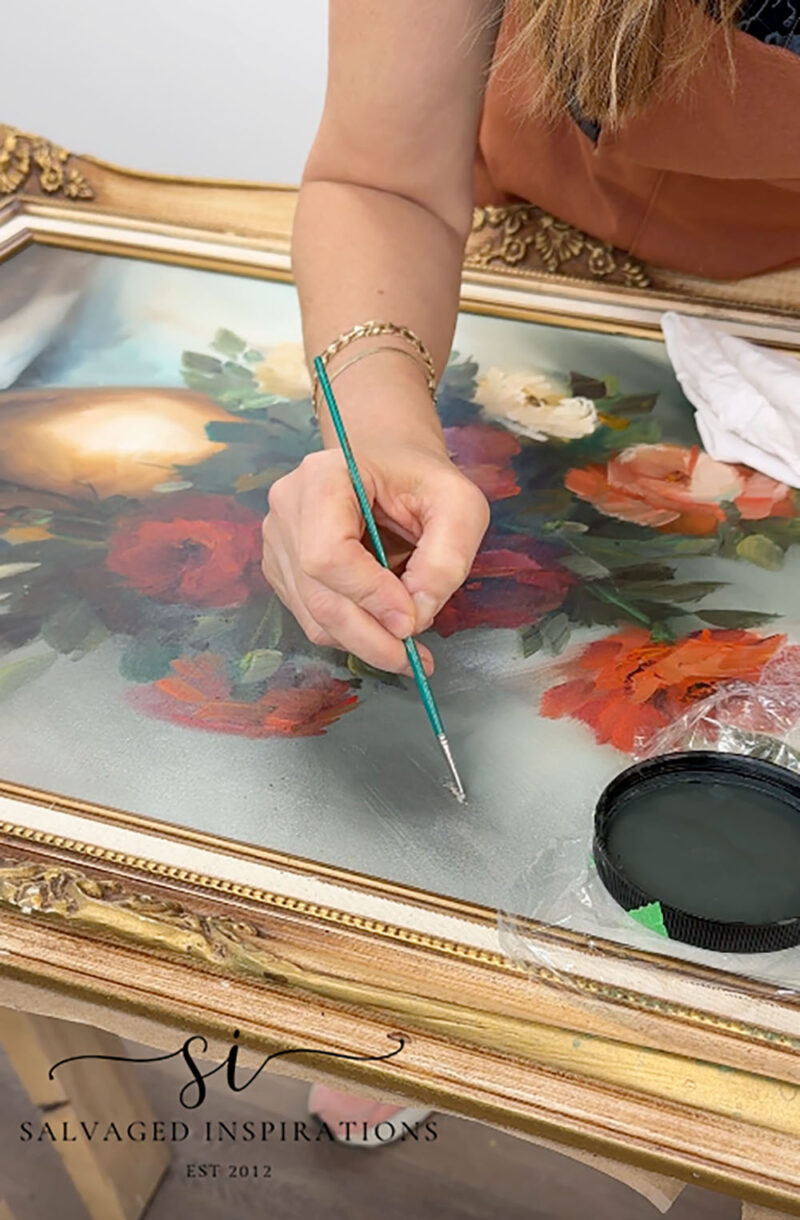
Once everything was dry, I stepped back and admired the transformation. This was a real trash to treasure upcyle and I’m thrilled with how this painting cleaned up. There’s something incredibly satisfying about rescuing art, even if it’s not a ‘valued’ piece of work. Someone once loved this painting. And now, rather than ending up in a trash heap, I get to admire it as well.
PIN AND SHARE 🤗
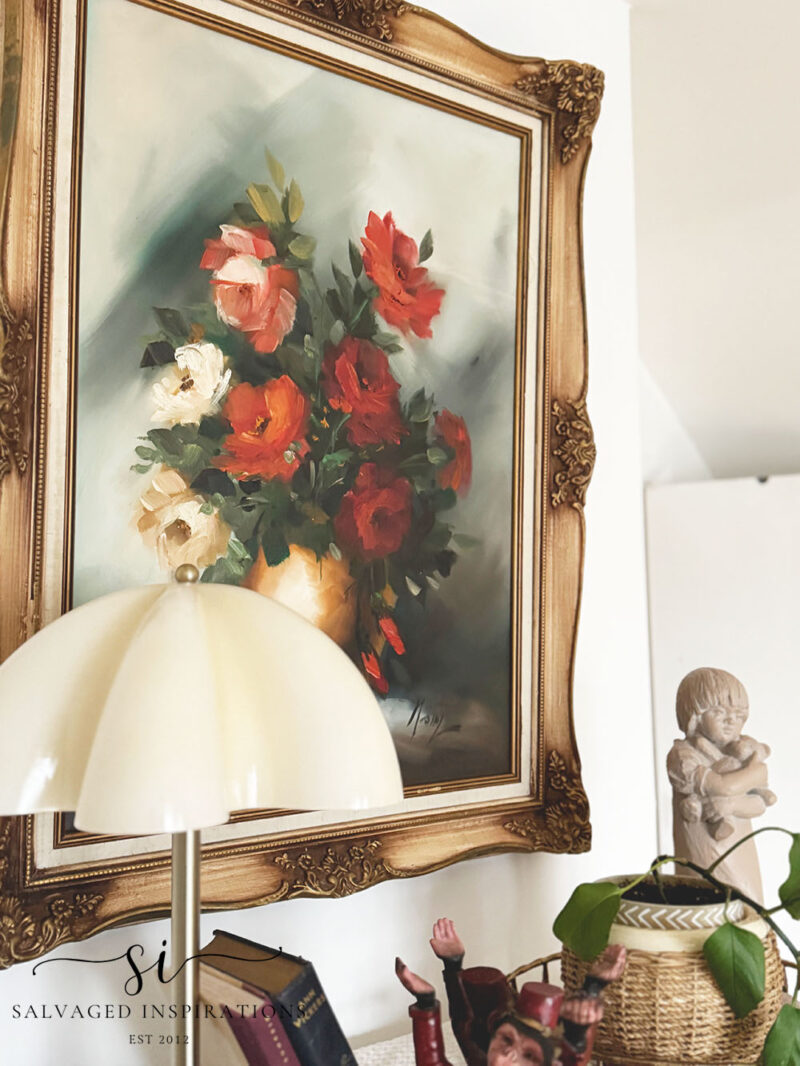
THE BIG REVEAL
Here’s the finished look. Such a simple rescue that made such a difference, and I now have it hanging in my bedroom!
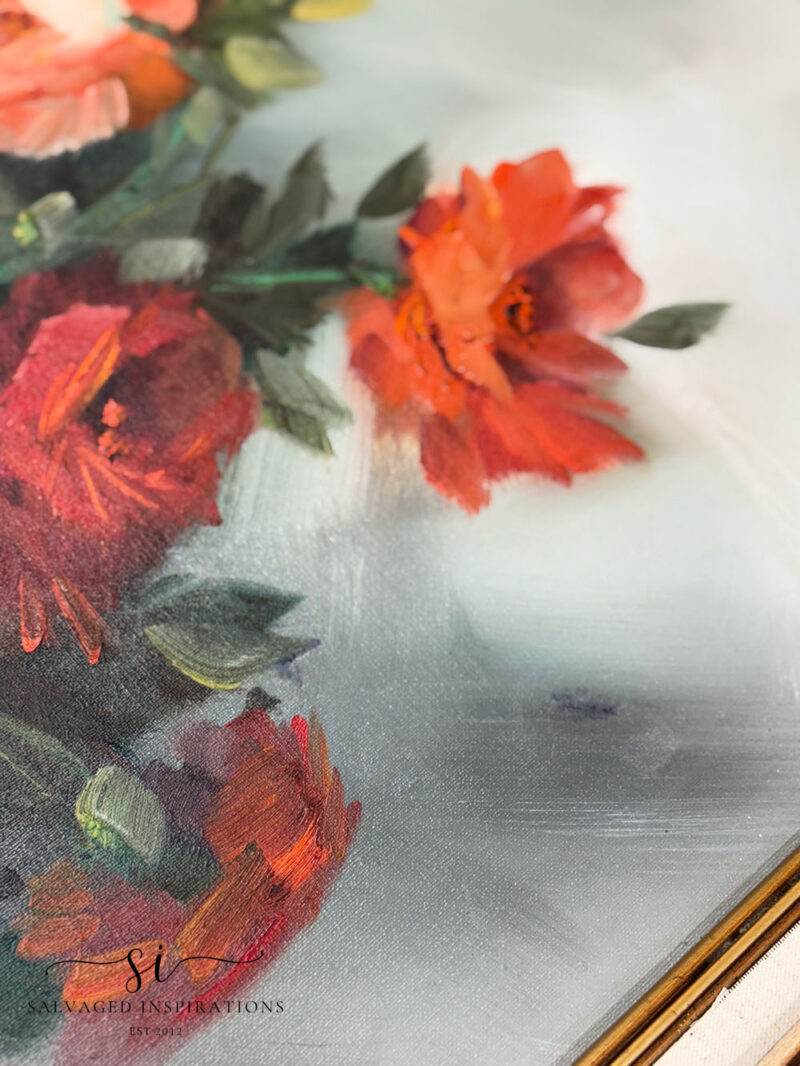
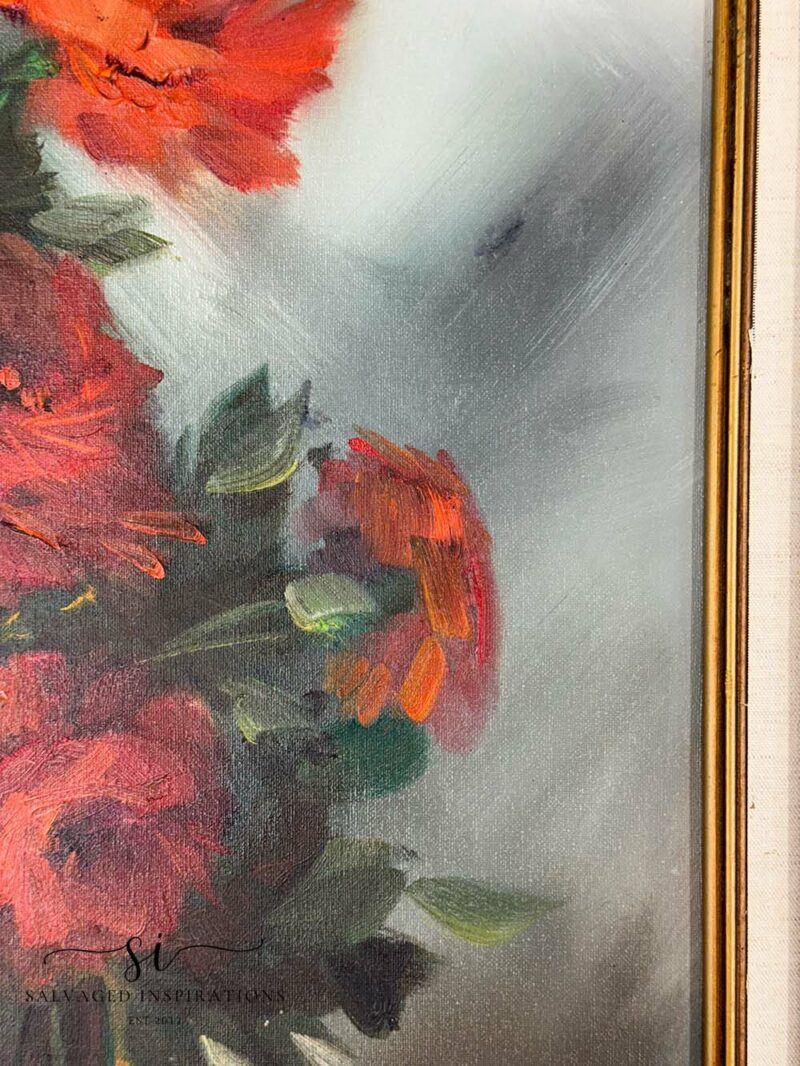
The tear by the leaf is virtually invisible. The repair on the background is still slightly visible. I think if I didn’t know it was there in the first place, I may miss it altogether because I wouldn’t be looking for it. What do you think?
This painting has a vintage vibe and a story to tell.
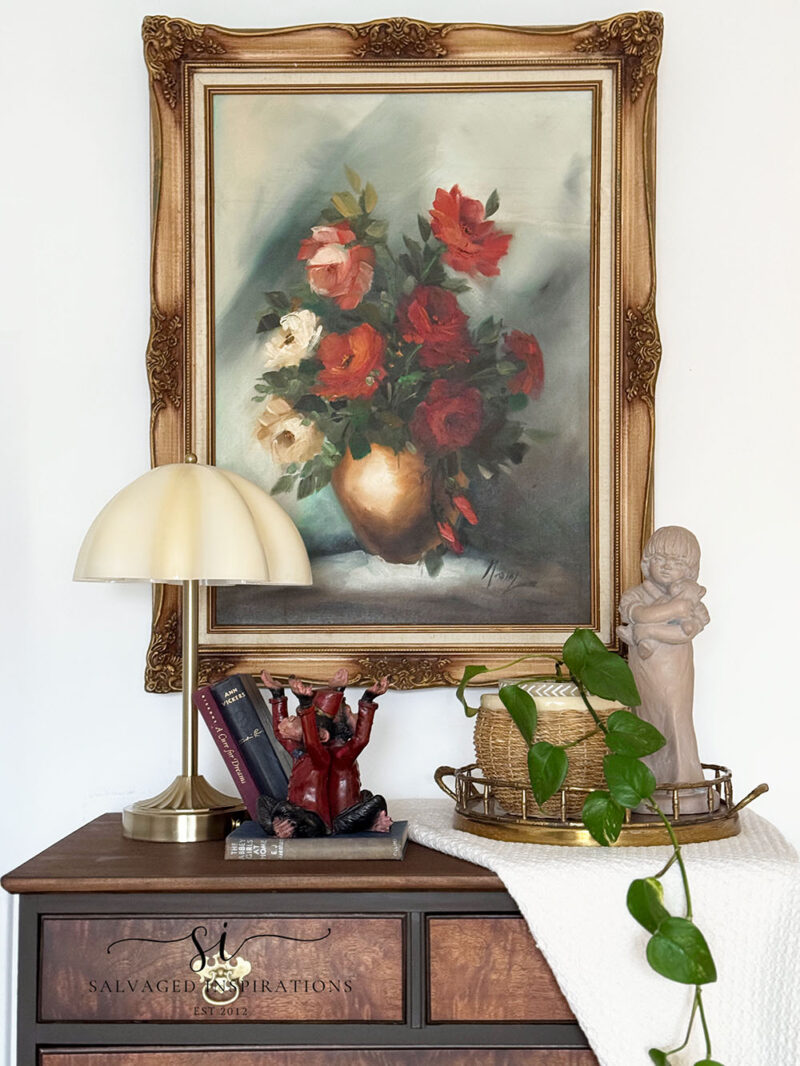
Now that this painting is all fixed up and clean, the gorgeous florals really pop.
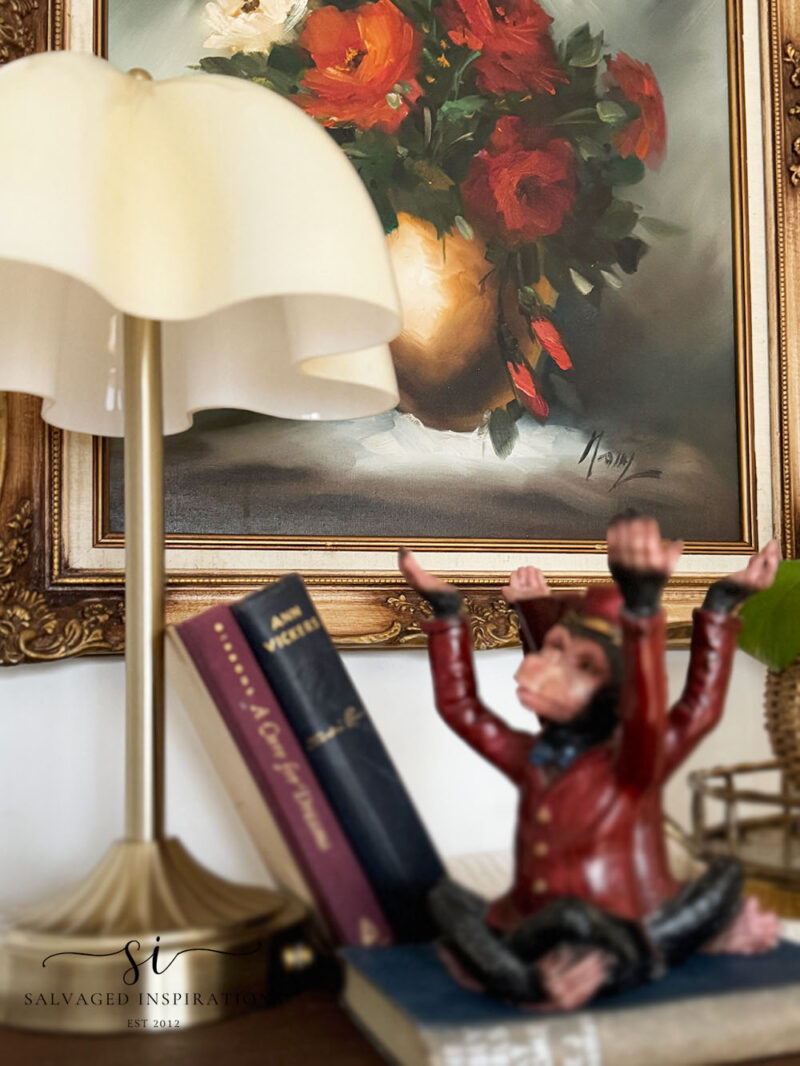
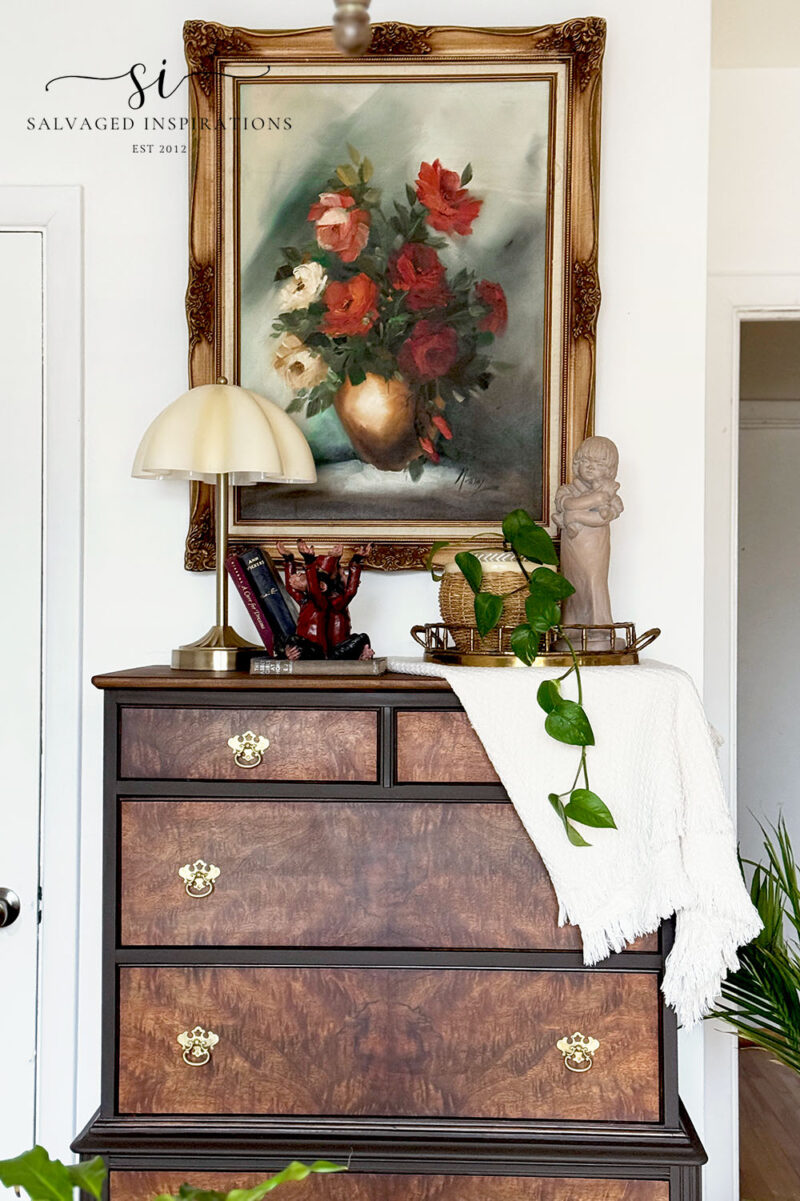
And do you recognize this dresser? It’s the one I found at the Mission Thrift Store that needed the spindle leg repair and refinishing. Its new home is my bedroom! If you’re curious, you can see the full before and after dresser makeover here. Also, I hung this painting and thought it was a great height for styling the painting so you could get a good look. Seeing it now, I’m going to lower it by 3-4 inches. 🙂
YOUTUBE TUTORIAL
Here’s the full step-by-step YouTube tutorial. Our #siyoutubefamily has almost reached 56K, so don’t forget to subscribe if you haven’t already! So exciting, thank YOU!
And now for some Trashy Treasures FUN!
Below are the TTT ladies’ BEFORE photos. Visit the links below to see the amazing AFTERS and learn how they did it! I’m heading over to take a peek as well! x

1. CONFESSIONS OF A SERIAL DIYER
2. SI (HAPPY YOU’RE HERE!)
3. PETTICOAT JUNKTION
4. ARTSY CHICKS RULE
Here’s another look at this before-and-after trash-bound FLORAL PAINTING repair. I hope it inspires and gives you the confidence to pick up some imperfect thrift art. Or maybe keep (and fix up) an old piece of art that has been handed down to you, even if it’s not in its best condition.
If you ever hesitate to bring something home because it looks too far gone, remember this painting. A little patience, a gentle touch, and the willingness to see potential where others don’t. What a great save!
Thanks for joining today’s Trashy Treasures Tuesday makeover. Feel free to drop me a hello and let me know what you think of this upcycle. I always love hearing from you!
Happy painting, my friends!
Denise x
RELATED POSTS:
HOW TO FIX A BROKEN SPINDLE LEG DRESSER
DECOUPAGE ART ON FURNITURE
FRENCH PROVINCIAL DRESSER MAKEOVER
OLD TRASHED TABLE BEFORE & AFTER
12 EASY DIY PLANTER MAKEOVERS!
PIN AND SHARE! 🤗
 Hello again... I'm so happy you dropped by! Let's keep in touch! Follow me on social media or sign up for a dose of furniture painting inspiration and diy tutorials. :)
Catching up on my overloaded in-box, I just came across your January art rejuvenation. It’s LOVELY and I really enjoy learning something new from your projects. Look forward to continue following you in 2026.
Hi Cyndel, I hear you with the overloaded in-box – same! I’m so happy with this art+frame rescue too. Thanks for taking the time to drop by and enjoy your week! XOXO
You did an amazing job! I have to bookmark this tutorial for future reference! Kathy
Yay, thanks my friend! The ‘sisters’ turned out awesome!🥰
You did a great job!!
Thanks Mariele and happy new year to you! XOXO🤗
Beautifully done Denise. Great save. Love your decor too!
Aw, thanks so much Monique! Have an awesome week! XOXO
This is such a great resource!! Saving, will use this in the future, I’m sure! Love the painting, too! xo
Thanks Nancy, and I appreciate the save! XOXO
That frame! 😍 But then that beautiful floral painting. What a wonderful find. The repair is truly impressive and the way you blended the colors was 👌🏻perfect. Well done, my friend! 🙌🏻 Pinned! 📌
Hi Dooooo and thank you! It was a great find and free projects are always my favorite projects!😄😄😄
AMAZING!!! What a great job, Denise. It all just comes together so perfectly. Can’t wait to see the video this Saturday.
Thank youuuuu! It was really nice to work on a project for my home. I’d like to do more so I can get my home looking more like ‘me’ again.😊
Wow. I looks so good! And I agree…that frame is gorgeous, so even if the picture didn’t work out, you’d have that to do something with. And that dresser…OMG! These are lovely together!
Aw, thank you Cyndi and I totally agree, that’s exactly what I thought. If I mucked up the painting, the frame is still awesome! Have a wonderful week my friend! XOXO
I immediately loved the frame, but seeing it in your space on the wall, it is a gorgeous painting, and I’m sure it adds a beautiful pop of color to your space. The repair is fantastic! XOXO
Thanks my friend! I love the florals and the pop of color. I want to lower it by a few inches and maybe create an entire ‘gallery wall’ on that side! Have a great week! XOXO
This post is timely. My brother gave me two large landscape paintings that belonged to our mother. I was going to donate them, but I’ll try this first. Thank you!!! the painting turned out lovely btw!
Thanks Nicki and lucky YOU! I hope you give it a try and your Mums paintings come to life.💙 I’d love to hear how it works out for you if you give this a try! XOXO
Wow, Denise, you did an amazing job on this. I love the frame on that piece, and once cleaned/fixed, I can see why you were drawn to it. Great work!
Thanks so much and I love the frame too!😊 I’ve been buying collecting frames from the thrift store so I can swap out some art. These vintage frames are awesome! Have a lovely week. xoxo