HERE’S HOW I PAINTED AND STAINED THIS THRIFTED MID-CENTURY LAMINATED TOP WRITING DESK | YOUTUBE VIDEO
Hi creative friends, and welcome back! Before we dive into today’s makeover, I want to send a big heartfelt thank you for all the sweet birthday wishes—you truly made my day feel extra special.💛 And speaking of special… wait till you see this find! I scooped up this mid-century modern writing desk at my local ReStore and couldn’t have been more excited. It’s been a while since I worked on an MCM piece. Yes, it had a few dings—some missing veneer, a super slick Formica® top, and the usual chips and scratches—but overall, it’s such a gem with gorgeous design and lines. I can’t wait to share its NEW fresh look with you!
*As an Amazon Associate, I earn from qualifying purchases. There are affiliate links in this post to other companies/products I use and love as well. You will never be charged extra when you purchase through these affiliate links. If you purchase from my links – A BIG thank you for supporting me and the #siblog! To see my full disclaimer, click here.
Bonus, it’s Furniture Fixer Upper Day! If you’re new here, on the fourth Thursday of every month, I join four super-talented friends (Christy – Confessions of A Serial DIYer, Kathy – Petticoat Junktion, Natalie – A Ray of Sunlight, and Gail – My Repurposed Life), and we share our before-and-after furniture restyles. This month, we’re sharing a week early, because next Thursday is Thanksgiving for many of you. The link to all our makeovers is included at the end of this post. I hope you join me in visiting them to see what they’ve created!

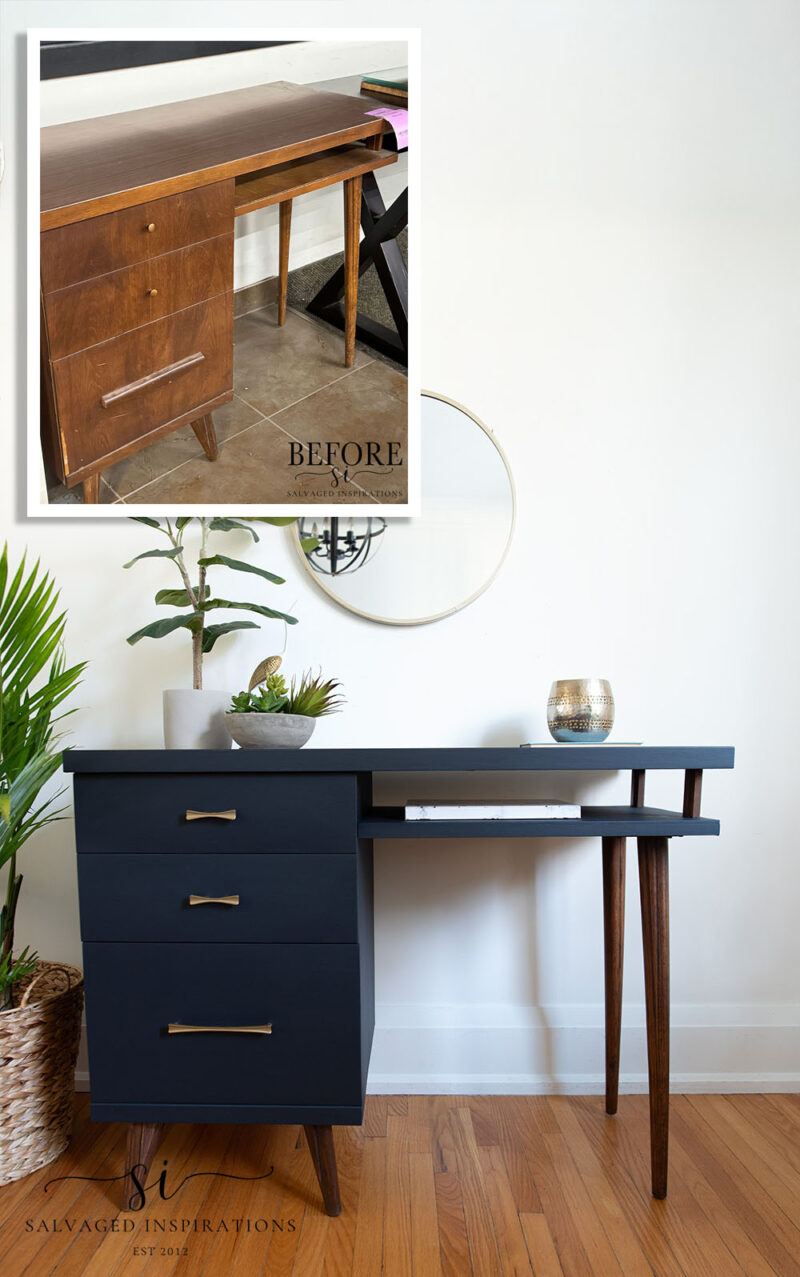
Below is the MCM Writing Desk I found at my local Restore. It was tucked away in a corner with a few other desks, selling for 40 dollars.

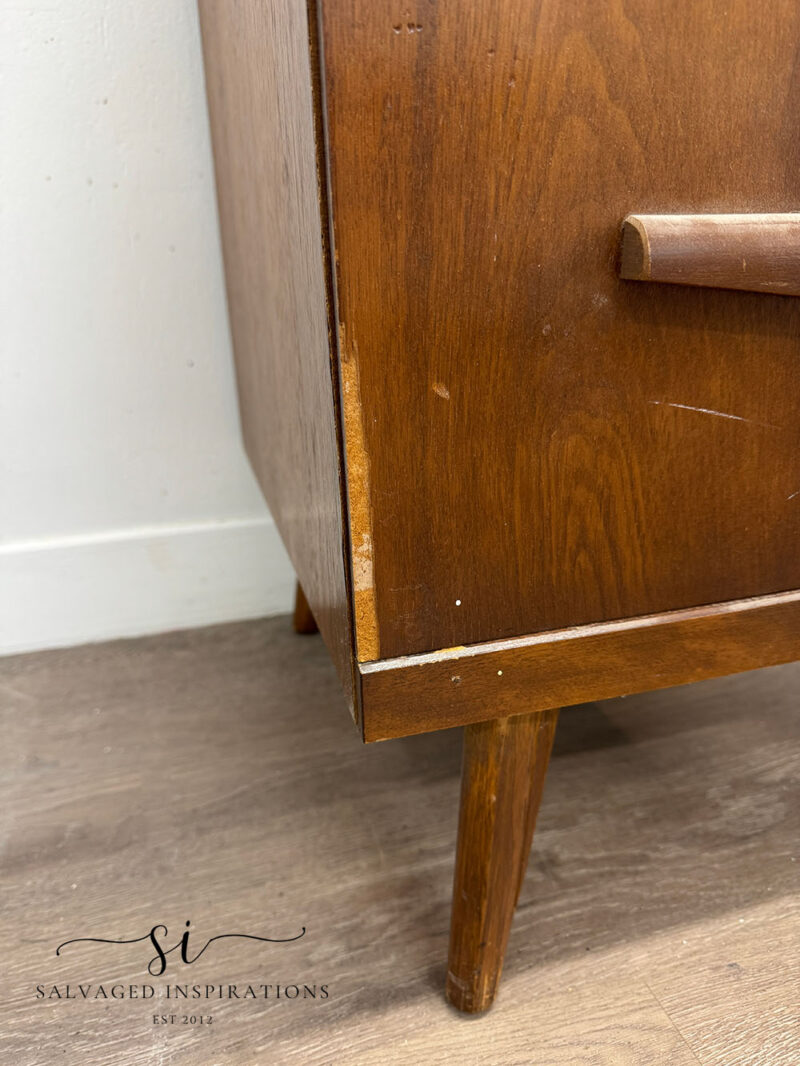
This desk is probably from the 50s or maybe early 60s, so it has some regular wear and tear. Missing veneer. Dings and scratches but nothing that can’t be fixed up nicely.
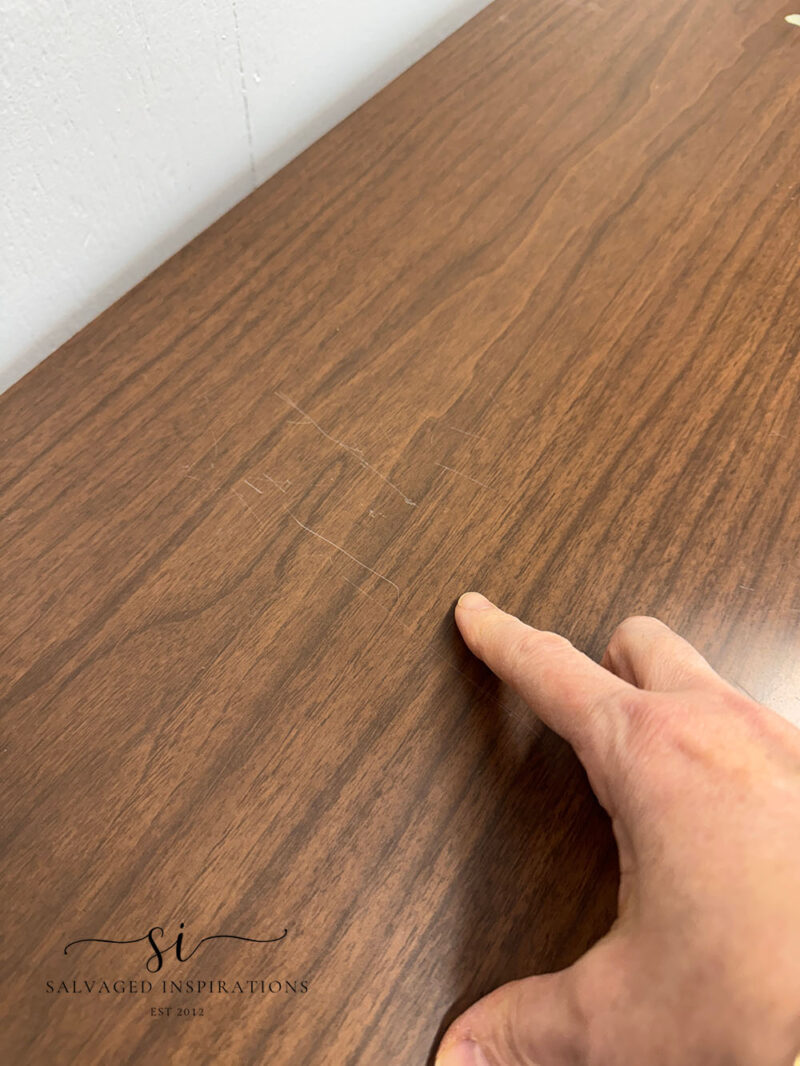
Even the laminate top had scratches, and this type of laminate is usually bulletproof. Growing up, we had a kitchen table identical to this top – except it was round. You could beat the heck out of that thing, and it always looked the same.
THIS POST IS SPONSORED/CONTAINS AFFILIATE LINKS TO PRODUCTS I USE. YOU CAN SEE MY FULL DISCLOSURE HERE.
SUPPLIES
MCM Writing Desk – SALVAGED
White Lightning Cleaner
Auto Sponge
Sanding Sponge
2″ Angled Paint Brush
DB Brown Wood Filler
Walnut No Pain Gel Stain
Deep Sea SILK All-In-One Mineral Paint
Anchor SILK All-In-One Mineral Paint
TOOLS
Heat Gun
Plastic Putty Knife
Bosch Orbital Sander (26% OFF as of writing)
Dewalt Cordless Drill & Impact Driver Set (17% OFF as of writing)
CLEAN | FILL | SAND
To start the prep process, I removed the two knobs and handle from the drawers. Then, using my heavy-duty furniture cleaner, I cleaned the inside and outside of this desk using a large automotive sponge.

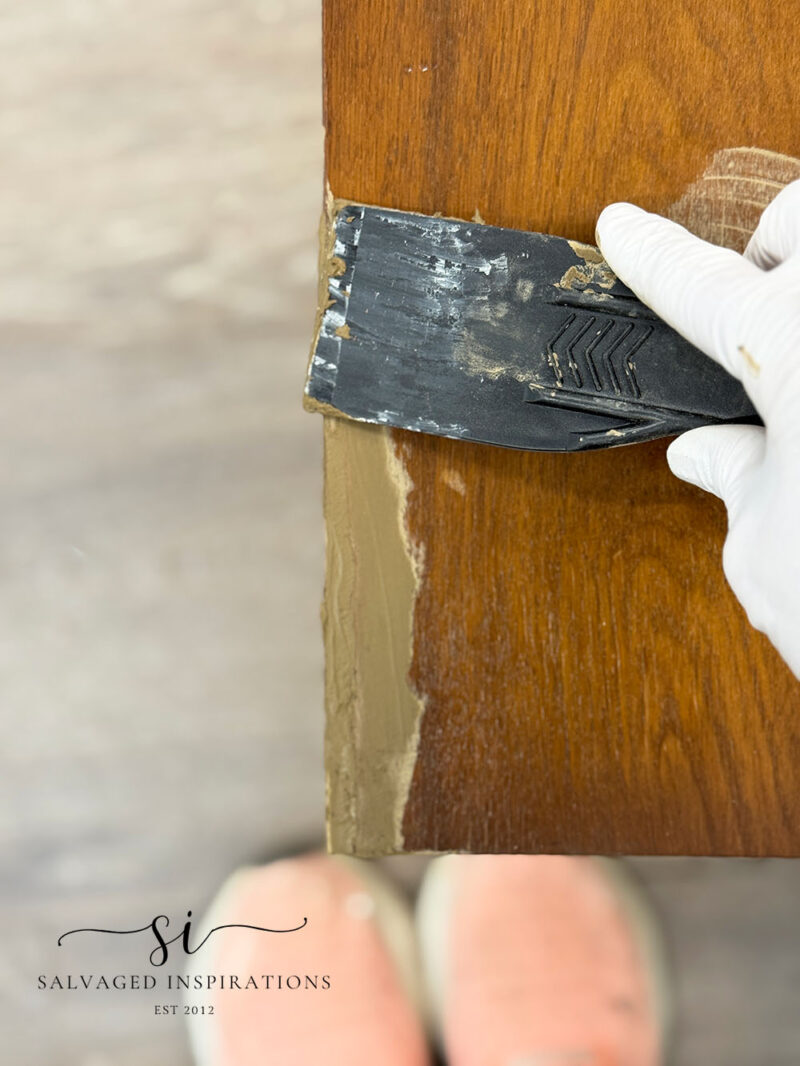
Once the desk was dry, I took some wood filler and filled in the missing veneer, scratches, and dings. I also filled in the hardware holes because I didn’t want to reuse the old hardware on this desk.
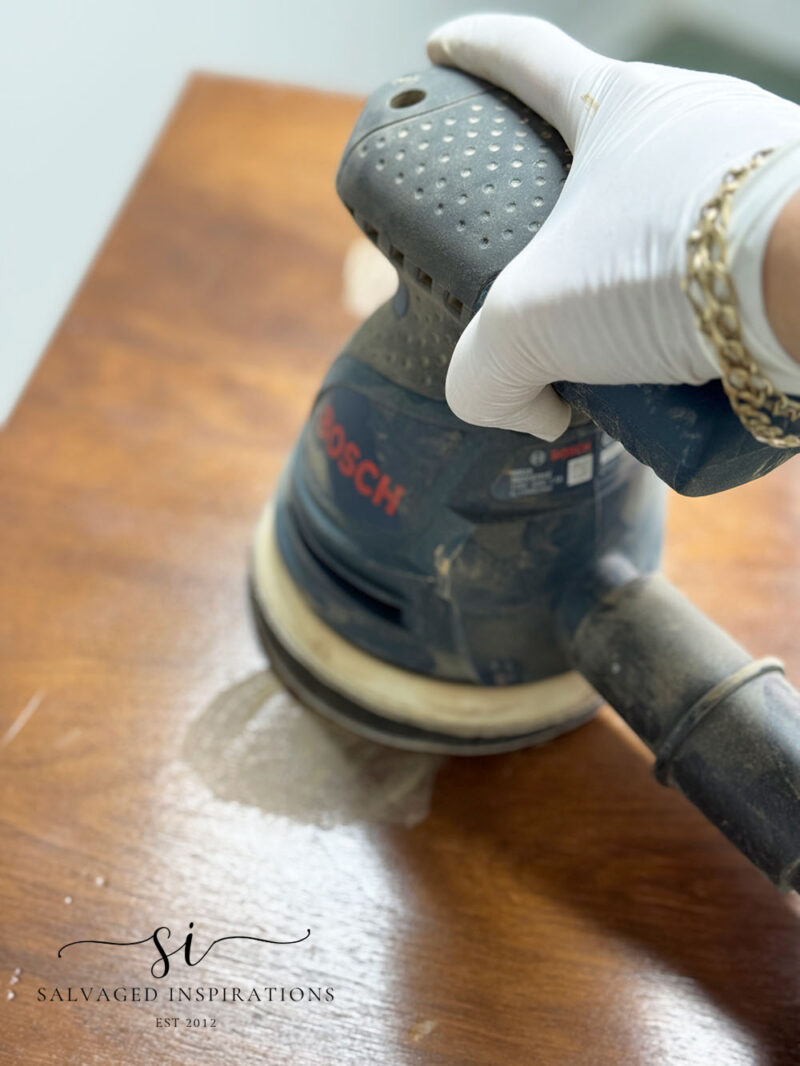
After the filler had dried overnight, I brought the desk and drawers into my sanding room and sanded all the wood filler patchwork smooth. Then I scuff sanded the entire piece, getting it ready for paint and primer. Because this desk is wood veneer, I made sure to use a higher-grit sandpaper (220 grit) on my orbital sander so I wouldn’t blow through the veneer.
WALNUT LEGS
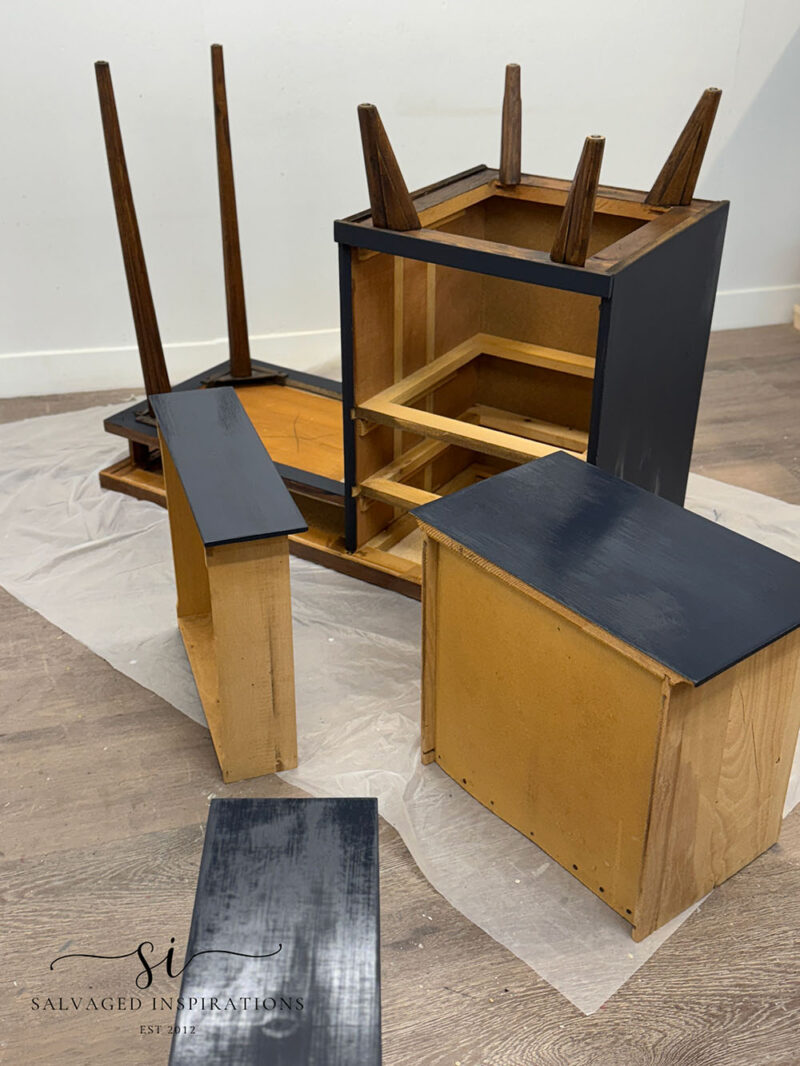
To refresh the old stain on the legs, I gave them a good scuff sanding. I wasn’t trying to remove the old finish, but rather give the existing stained finish a scuff-up so the gel stain has something to cling to. This is because gel stain works more like paint than it does a traditional stain. Traditional stains soak into the wood grain. Gel stains sit on top of the wood grain. I have a full step-by-step tutorial on How To Gel Stain Over An Existing Finish here. For this makeover, I used this Walnut Gel Stain. I applied it onto the legs with a chip brush, and wiped the excess off with a lint-free rag. I’m sharing how beautifully and easily this gel stain applies in the YouTube tutorial below.

CUSTOM PAINT
Now that the legs were stained, it was time for paint. I didn’t have quite enough Deep Sea Blue to cover the entire desk, so I decided to get creative and mix up a custom color using what I had left, plus some Anchor Black. And honestly… it turned out GREAT. That black really deepened the blue into a rich, moody tone that gives this desk such a fresh, sophisticated look.
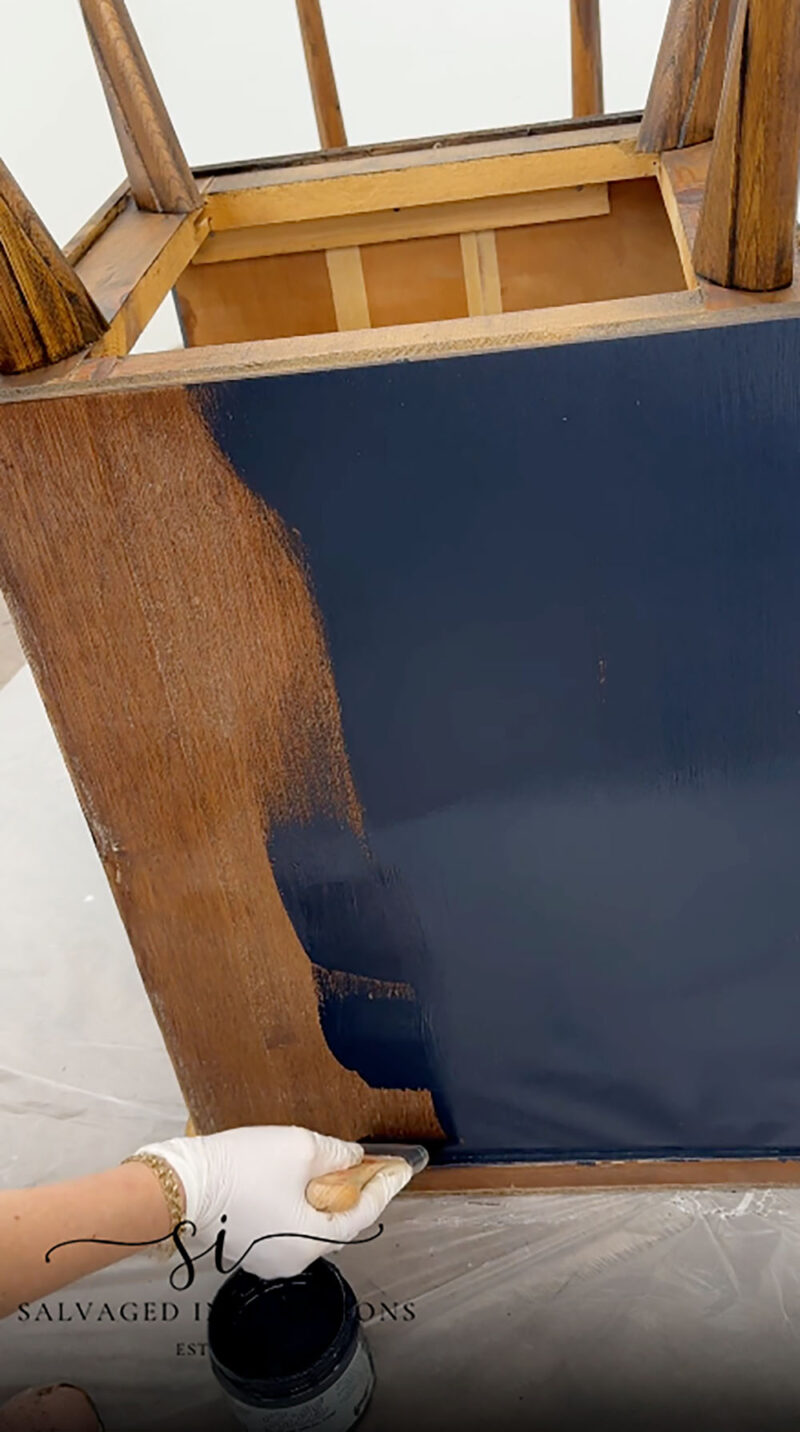
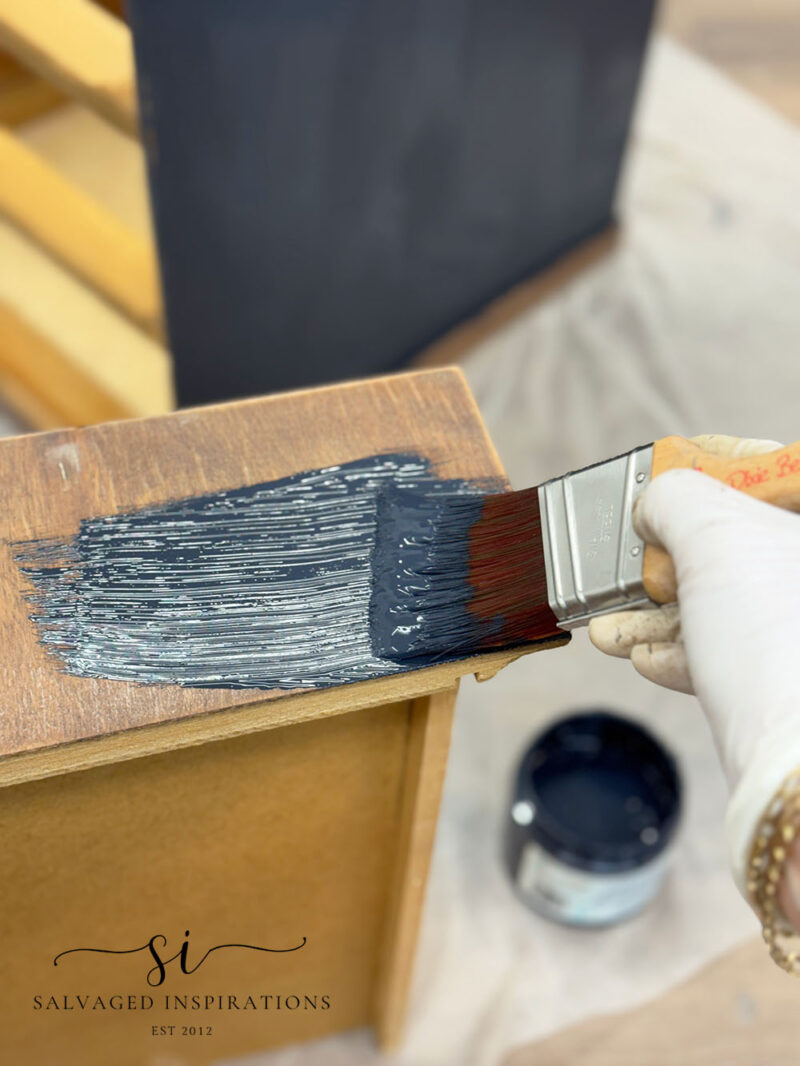
This All-In-One SILK Mineral Paint is a beginner-friendly paint with the primer, paint, and topcoat included, so there is no need to prime the body before painting. It took two coats for full coverage.
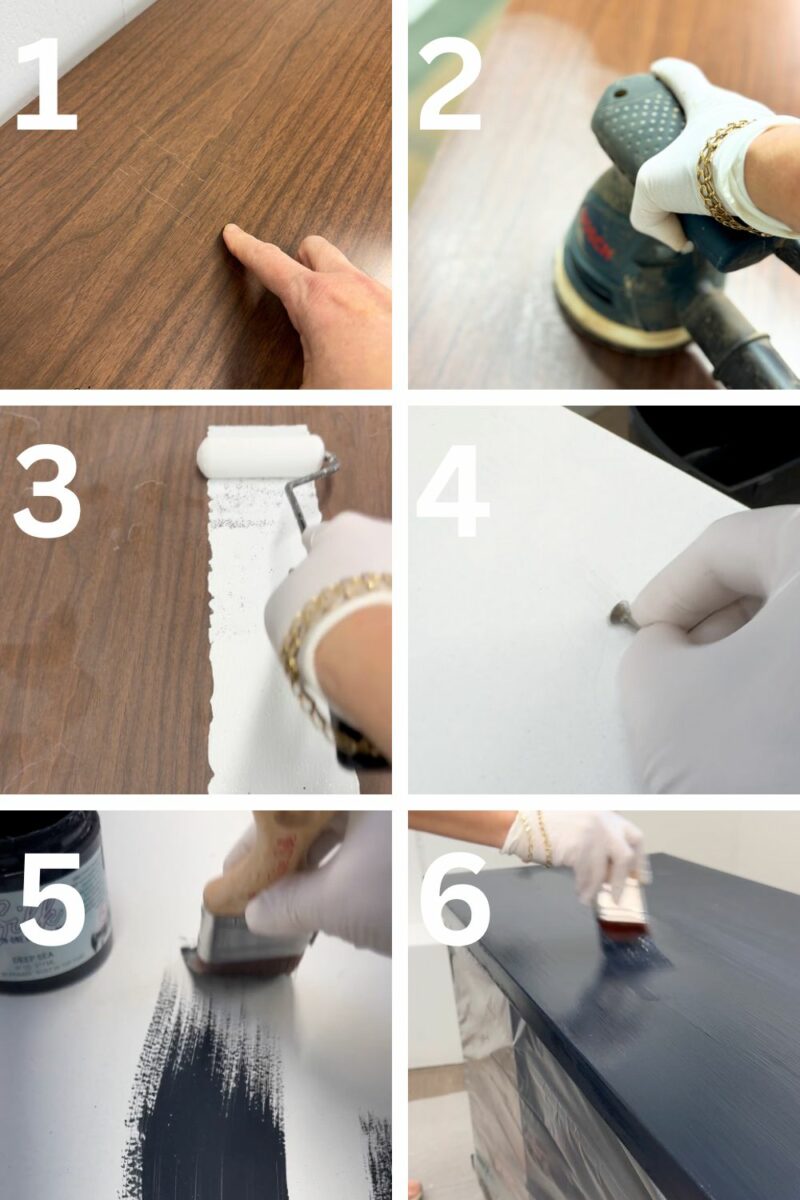
HOW TO PAINT LAMINATE
Painting Formica® is totally doable—you just need the right prep to make it last. Start by giving the surface a really good clean to remove any grease or residue, then lightly scuff-sand to dull the glossy finish so your primer has something to grip. A high-adhesion bonding primer is a must for this slick laminate, so don’t skip this step! Once it’s dry, you can perform a scratch test to make sure it’s adhered properly. Then paint with your favorite furniture paint using smooth, even coats. Finish with a durable topcoat to seal everything in (or use an all-in-one paint like I did!) and you’ll have a beautifully updated surface that looks fresh and brand new.
REPURPOSED HARDWARE
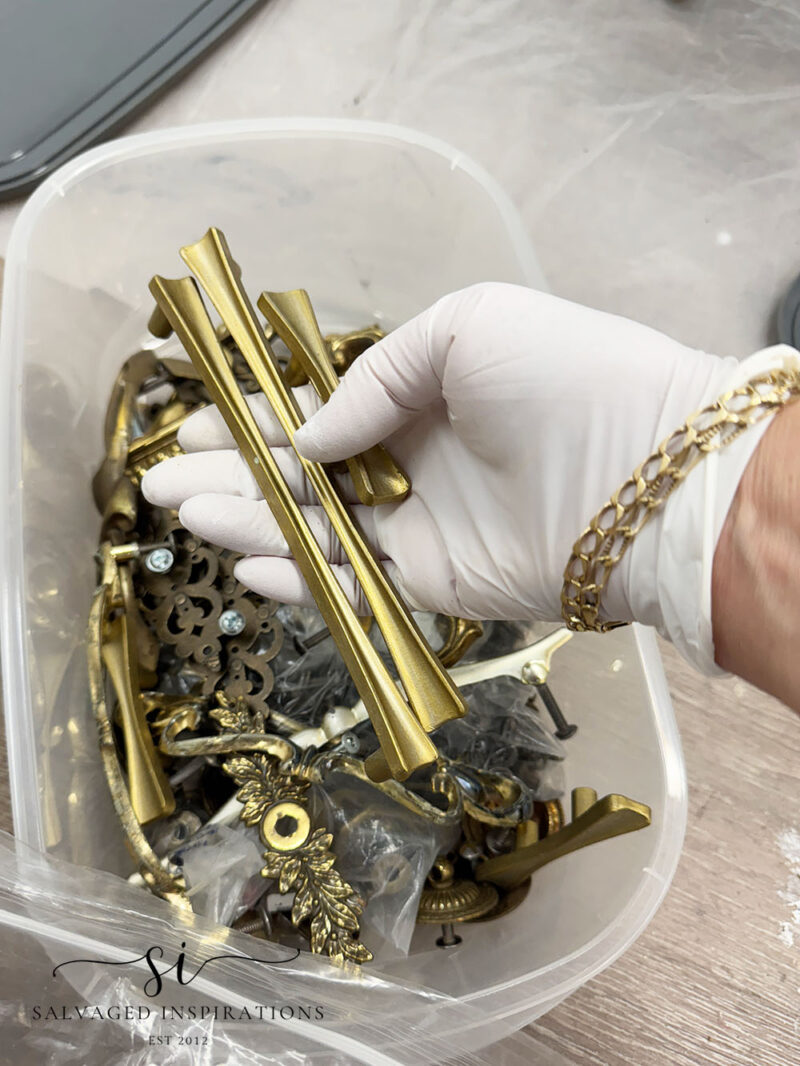
While I was waiting for the last coat of paint to dry on the desk top, I searched my hardware stash for new pulls. I found these sleek handles. I wish I had had three of the 8″ long ones but I only had two. So I ended up using one long one on the bottom drawer and the shorter ones on the two top drawers. I think it was meant to be because they ended up looking great.
THE BIG REVEAL…
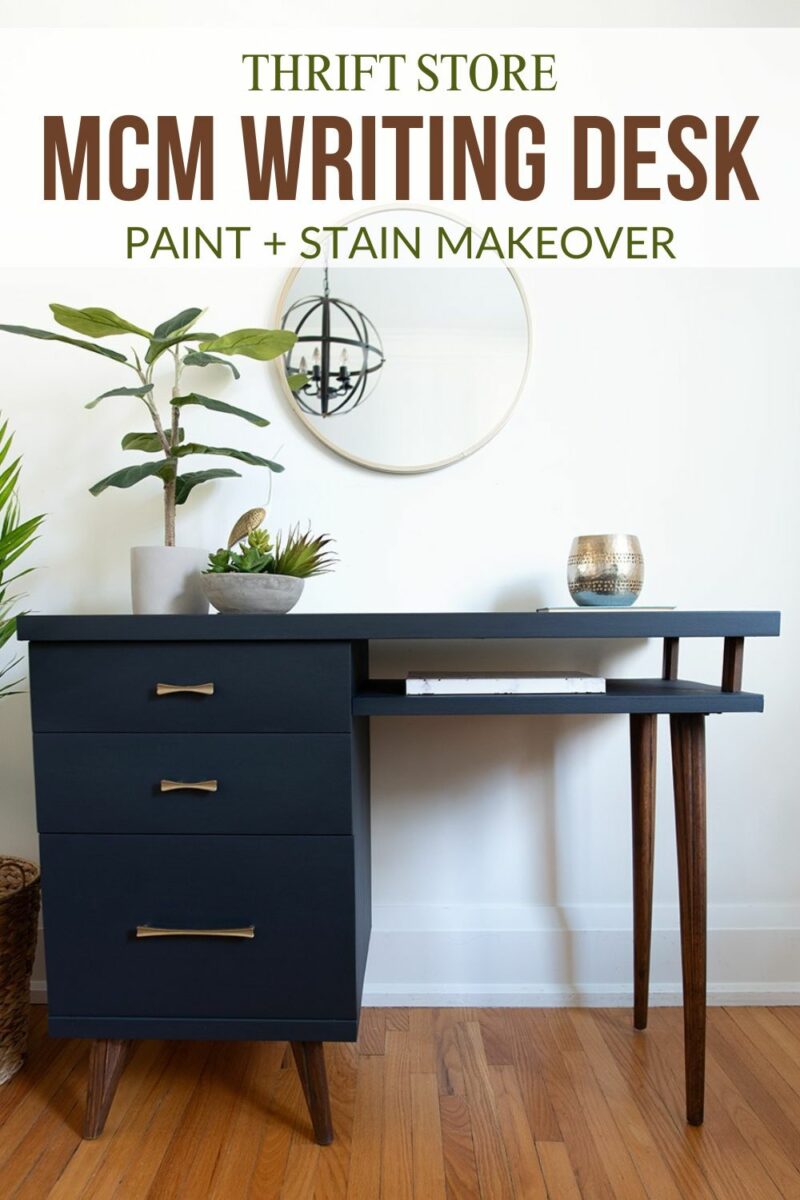
Here’s the finished look!
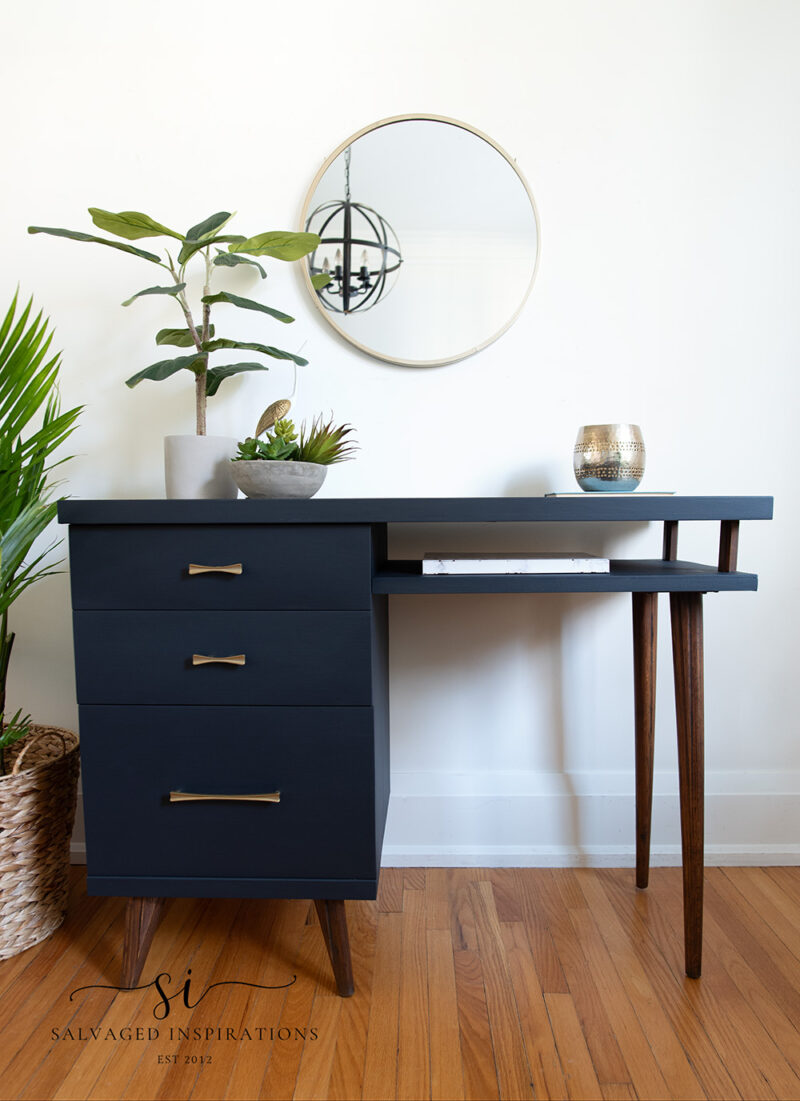
What do you think?!
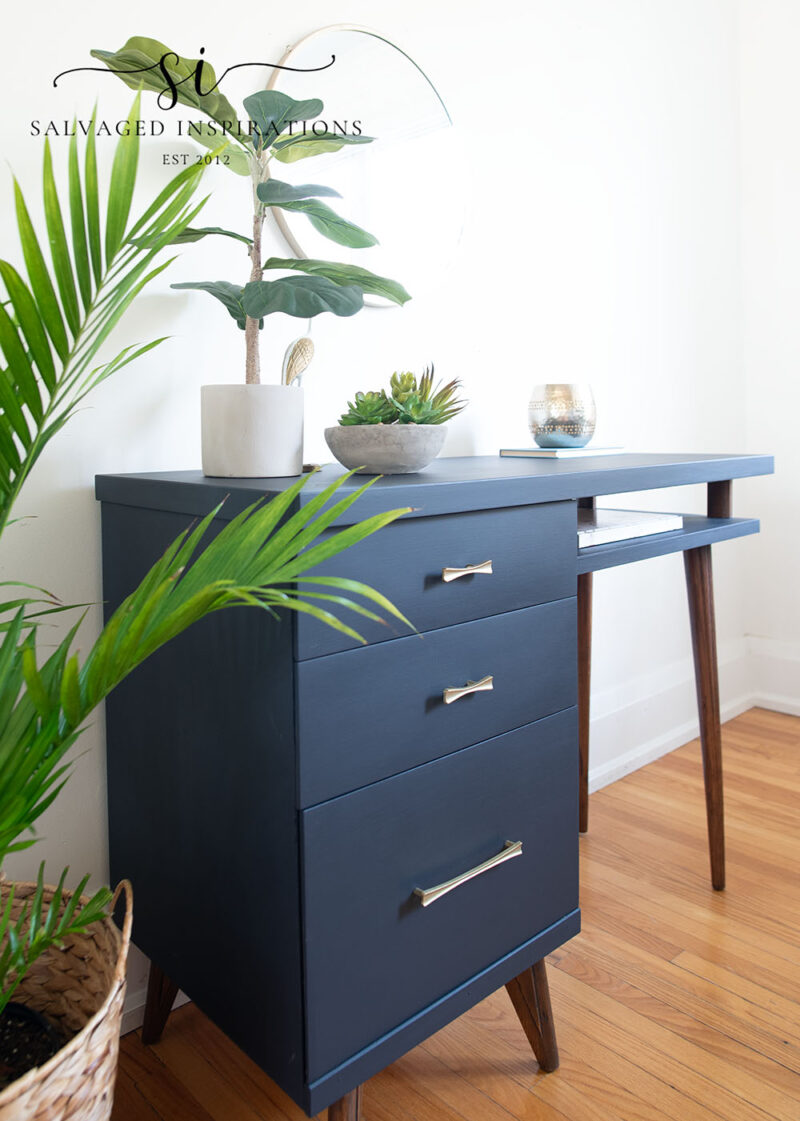
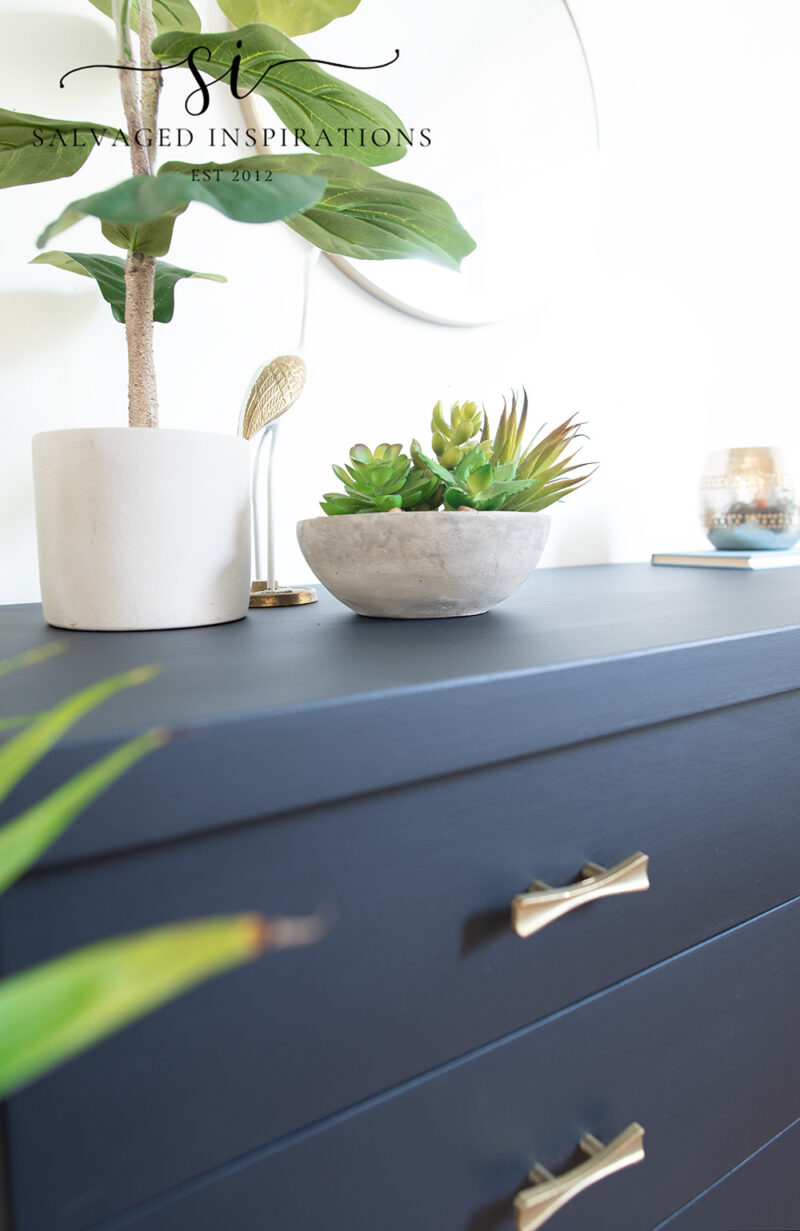
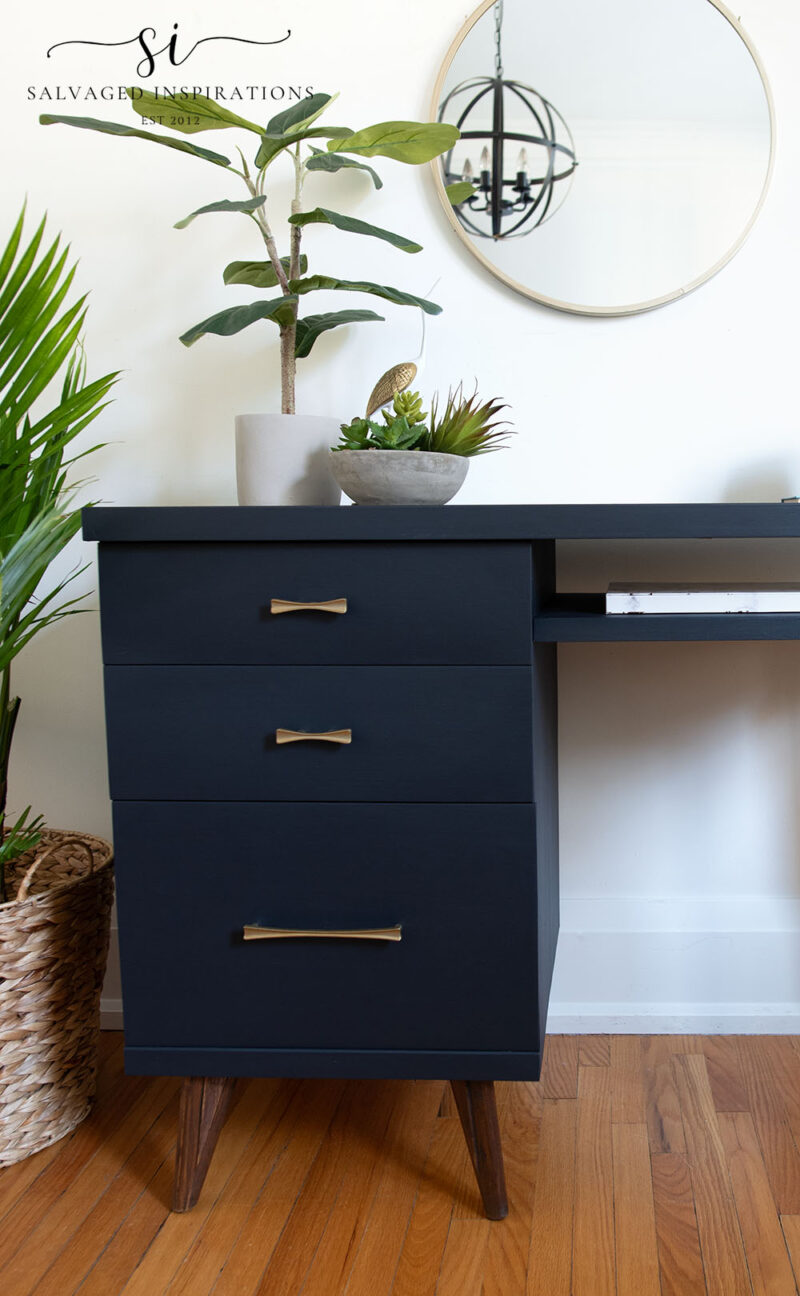
A closer look at the smooth-as-silk paint finish and deep custom blue.
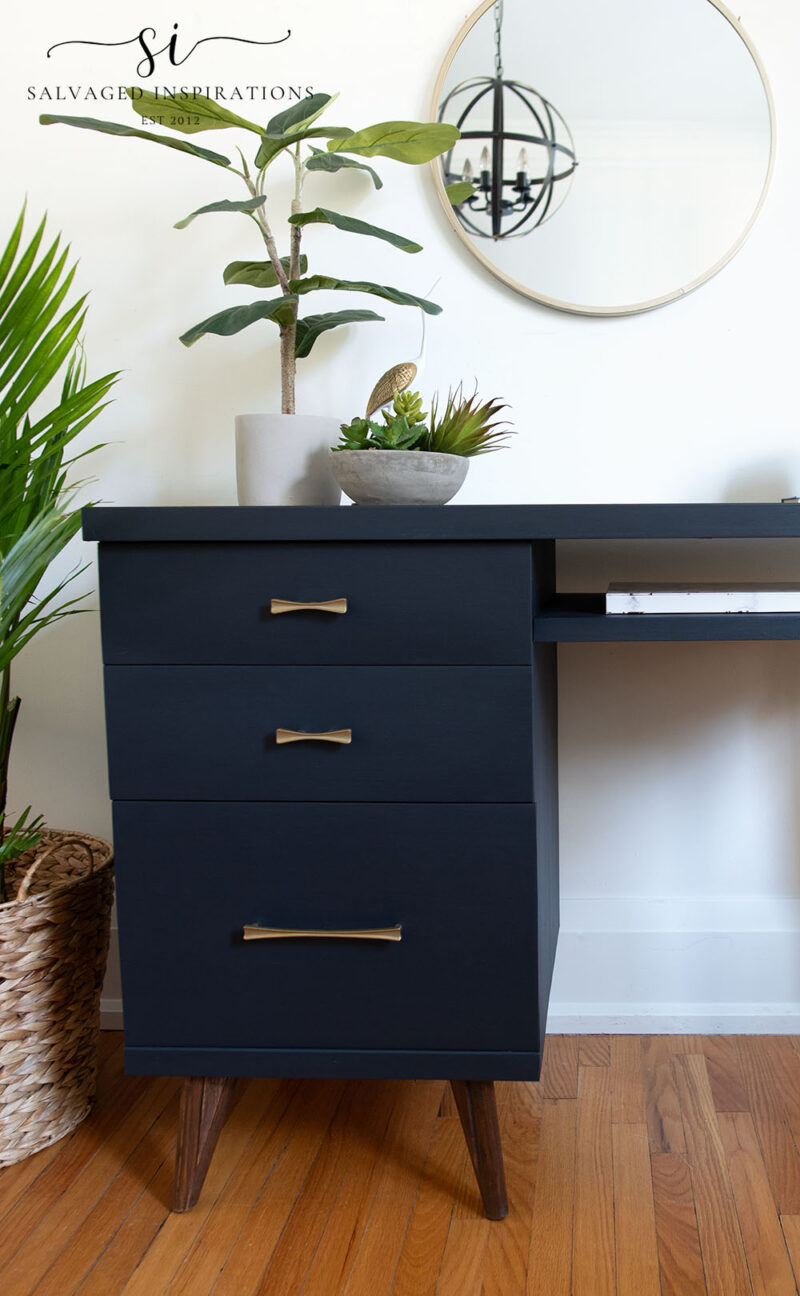
The darker walnut stain looks great on these mid-century legs!
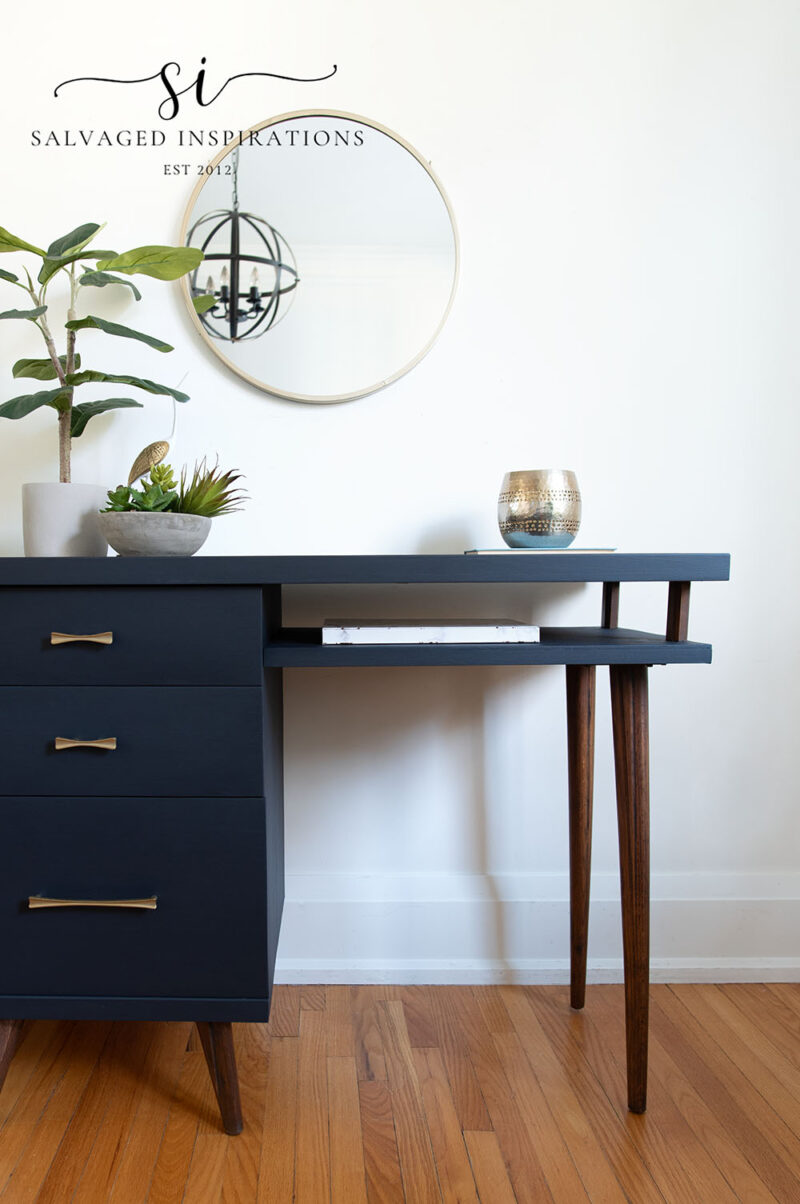
What do you think of the repurposed hardware? I’m thrilled to have found these in my stash, and I’m also enjoying the size difference! They remind me of little bow ties.
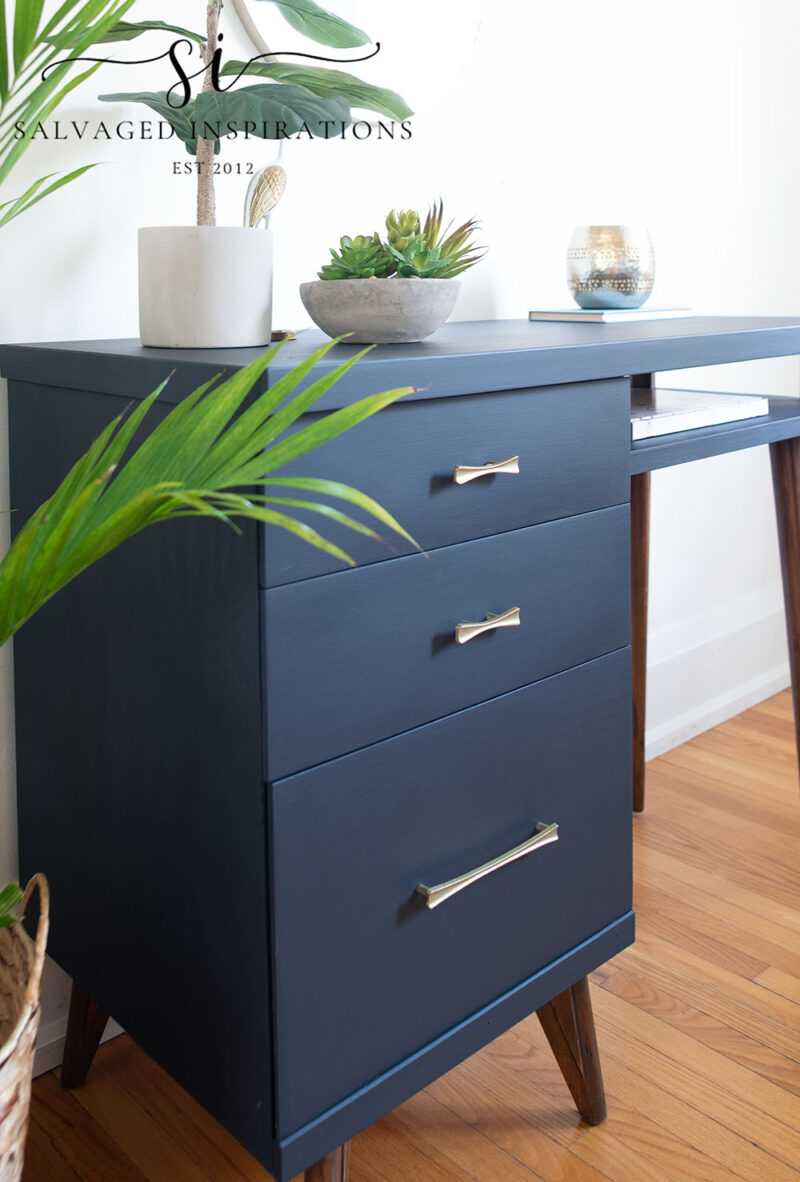
The old heavy-duty laminate top looks sleek and updated as well.
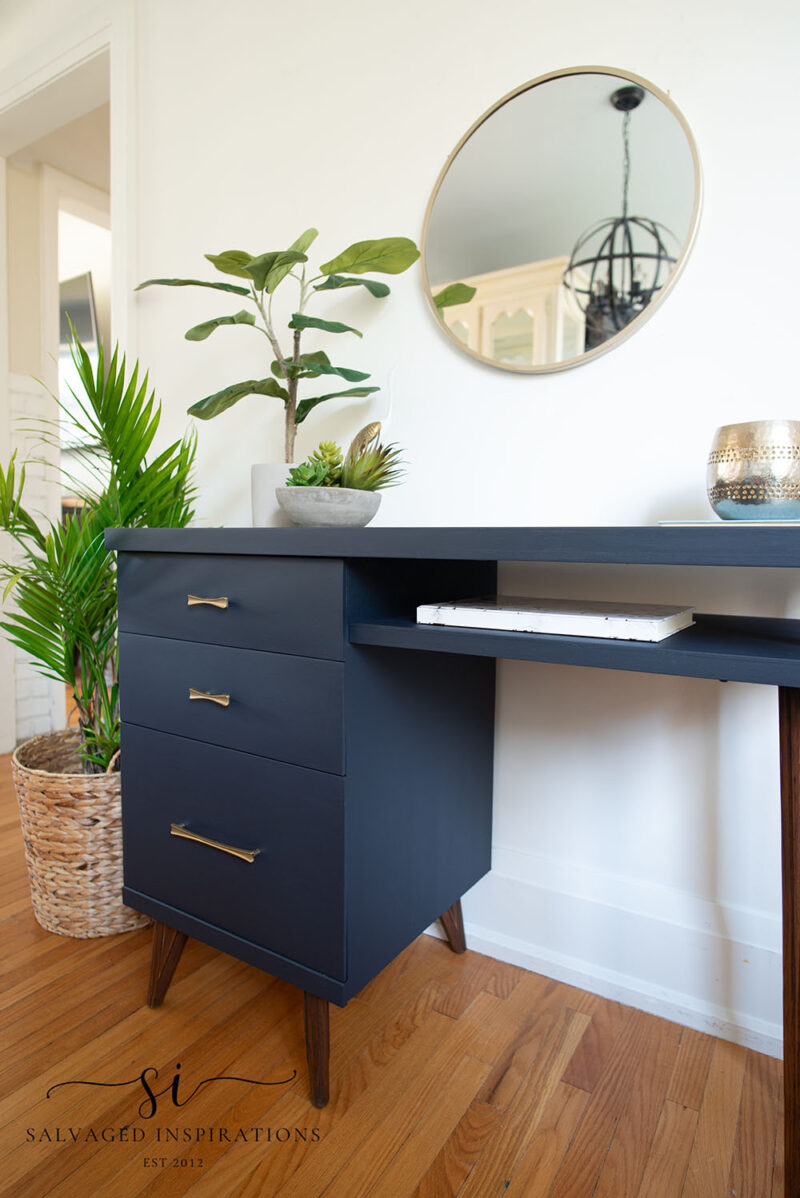
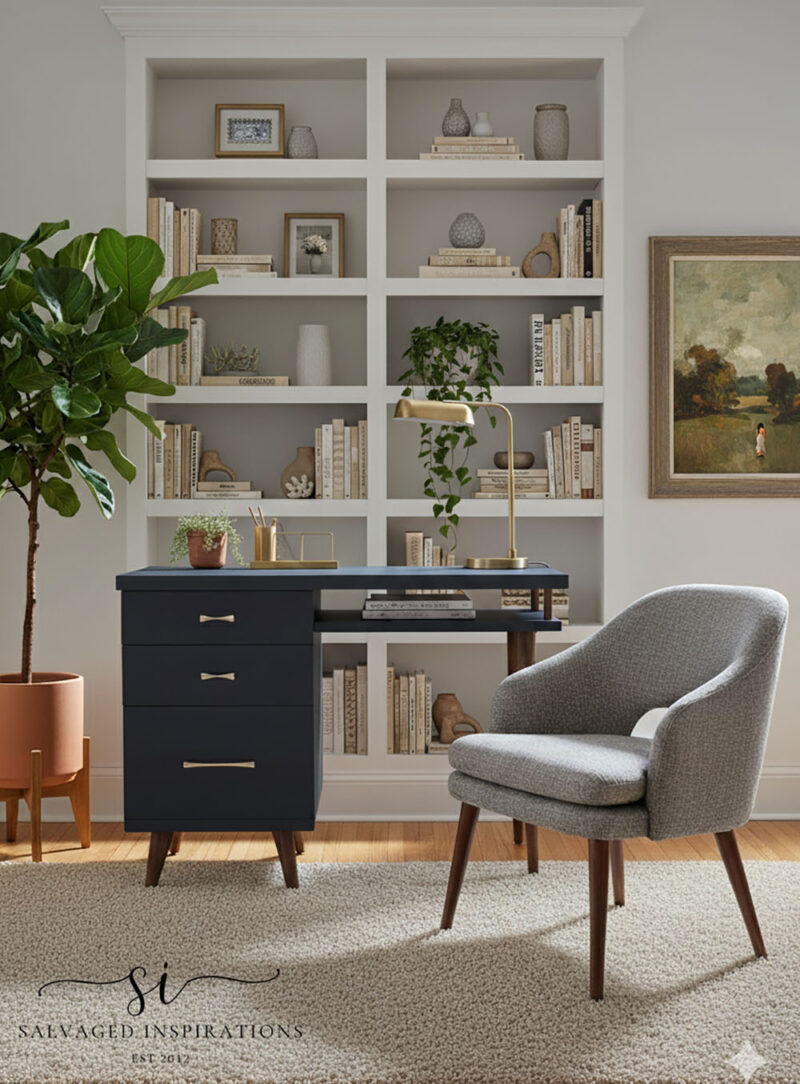
And just for fun, I prompted Ai (aka Aggie to my friend Gail at My Repurposed Life… I think we need to come up with a name – what do you think?!) 😉 to generate a roomscape with the focal point being this restyled MCM writing desk. Here’s what it generated…
YOUTUBE TUTORIAL
Here’s the full step-by-step YouTube video tutorial. Our #siyoutubefamily is already a community of 55.5K, so don’t forget to subscribe if you haven’t done so already. You’re the BEST, and I appreciate your support! 🙂
And now for some FURNITURE FIXER UPPER FUN!
You’re going to LOVE what these creative FFU ladies do! Below are the BEFORE photos. Visit the links to see the amazing AFTERS and learn how they did it! I’m heading over to take a peek as well!

1. MY REPURPOSED LIFE
2. SALVAGED INSPIRATIONS (HAPPY YOU’RE HERE!)
3. A RAY OF SUNLIGHT
4. PETTICOAT JUNKTION
5. CONFESSIONS OF A SERIAL DIYER
Here’s another look at this Restore MCM Writing Desk before and after. I hope it’s inspired you and given you some ideas for your upcoming furniture painting projects.
I had so much fun working on this MCM piece, and thanks for joining me for another Furniture Fixer Uppers tour. I’ve included some Related Posts below, and feel free to leave me a hello or ask any questions you may have in the comments below. I always love hearing from you. It makes my day!!
Happy painting, my friends!
Denise x
RELATED POSTS:
SILK ALL-IN-ONE MINERAL PAINT 101
MCM CHOCOLATE PAINTED DESK
CAN YOU PAINT LAMINATE FURNITURE?
PAINTED MID-CENTURY DRESSER
SMOKEY MOUNTAIN CEDAR CHEST
PIN AND SHARE!
 Hello again... I'm so happy you dropped by! Let's keep in touch! Follow me on social media or sign up for a dose of furniture painting inspiration and diy tutorials. :)
Wow! So beautiful! I just love everything about your makeover. The blue, the wood stain, the hardware. I am a huge fan of MCM furniture. Love what you’ve done — taken a tired old piece and given it a new, better life. Thanks so much for sharing.
Hi Anita! I’m a fan of all old pieces including MCM. They were just built so darn well, weren’t they?!!😃 Thanks for dropping by and so happy you shared this makeover with me. Enjoy your weekend!
Awesome color combo with stained parts! Very cute piece!
Hi Tracey!!!🤗 I like this custom color as well… I’ll def be using it again. Have an awesome weekend. XOXO
I love this so much!!
How do you decide between using Bondo and wood putty?
Tiffany
p.s. I like your staged photos best.
Hi Tiffany and thanks re the staged pics – good to know. My staged pics focus on the piece. Ai gives a glimps of what it ‘could’ look like in an entire room setting. I really appreciate your input! 🤗 And great question. I use Bondo if I’m unsure where the new hardware holes will be drilled because it’s durable enough to drill through and hold a new screw. I use wood fill strictly for esthetic reasons.
Happy belated birthday Denise. Wishing you a year of good health, happiness, and adventure. This little desk turned out to be pure perfection. The custom color, wood legs, and bow tie hardware are so cohesive and stunning together. Great work as always.
Thank you so much my friend! And I’m so happy you like this little MCM desk. I haven’t worked on this style of furniture for a bit so it was a nice change. 🙂
Aggie did a beautiful job generating that photo Denise!
I love everything about this writing desk. First, it’s not too large. Secondly that little shelf-now what do you suppose people used that for back in the day? It’s perfect for a laptop! Third, I love the paint-and-stain combo. and finally–that hardware! It’s amazing how awesome that new (old) hardware looks.
Pinned!
gail
I think ppl used that little shelf for old school laptops aka encyclopedias and books.😆📚 I’m so glad you like the new look and ya, Aggie did a beautiful job! Thanks for the PIN and enjoy your weekend! XOXO
This is absolutely gorgeous! And I LOVE the hardware…the size difference adds so much interest! XOXO
Thanks and I think so too! At first I was so disappointed I couldn’t find the 3rd eight inch one but I like the variety as well. Have an awesome weekend Christy! XOXO
I love the look of this desk! What product did you use on the laminate top so the paint adhered?
A water-based bonding primer called Bonding Boss. I’m sharing how it passed with flying colors with the metal screw scratch test on this weekends video. 🙂
MCM does have a special timeframe / style appeal. But you have upgraded this piece to Timeless appeal.
This color is stunning. Love It ! I hope you saved the recipe.
The wood finish feet give it contrast and warmth. 🙂
I follow you religiously – and you never disappoint.
This piece will be snatched up quickly. It will fit in beautifully so many places
The AI staging is amazing tech for sure. It’s kinda scarry, but still amazing.
Ohhhh, and I love the look of the bowtie handles !!
Aw, thank you so much P!💙💙💙 I didn’t save the exact recipe because I eyeballed it like I usually do. Buuut, I often come back to the #siblog (yes… I read/referrence my own blog)😆 and it jogs my memory. I’m so happy you like it and the Ai staging and I TOTALLY agree. Kinda scarry and super amazing all at the same time.
Holey smokes, Batman! That turned out just beautiful. What a great way to also use up a color and ot have “toomucha” Great job Denise!
It was a happy mistake Robin🤣🤣🤣 but so glad you like it! Thanks for the smile and the email! XOXO
Love the color of the “new” desk. Don’t you wish sometimes though that there was a “filler” that would take a wood stain? I sure do. Adding the black to the blue color was genius! The new hardware really looks great, job well done.
I’m with you Mary…I SO wish there was a wood filler that could take stain beautifully. I haven’t found one yet though. I was thinking replacing that part of the drawer with another piece of laminate wood but because I don’t have a lot of expereince with that, it would have taken me too long and FFU was pushed up a week. But I’d like to try that method at some point as well. So glad you like the desk and new hardware. Have an awesome weekend! Hugs
What a great find! This MCM writing desk would be the perfect addition in a corner of any room. I’m thinking it I would use it as my “bill paying desk” to make my bill paying easier. 😂 Seriously though, I love the deep blue with the dark del stain. Great choice. Thanks for sharing all the great tips and tricks too. Pinned! 📌
xo 😘
Nobody wants a ‘bill paying desk’ Do 🤣🤣🤣 … we could call it a ‘money making desk‘ instead!🤑 I’m just having fun… I totally got your joke -super cute! Have a wonderful weekend and thanks for the PIN my friend! Hugs
Wow! It’s a whole new piece! Great job.
I love a good ‘WOW’ thanks Lizzy! I think it looks new/refreshed as well. Have an awesome weekend my friend. XOXO
Happy belated birthday, Denise! 🎂 This color with the stained legs is pure perfection on this MCM style. I always look forward to your makeovers, you have the eye for what will bring a piece back to life. Thanks for sharing with us! P.S. – I’m also enjoying the AIGenerations.
Thanks so much Nicki, I appreciate it!!! So happy you like the desk and I love hearing what you think of the Ai pics. I’m having so much fun with them so it makes my happy you’re enjoying them as well! XOXO
WOW! Wow! Wow!
Thanks Cyndi, I’m so glad you like it! It was fun working on an MCM piece again.😊
Happy belated birthday! Wishing you the best in your new year full of everything that delights your heart! Thank you for sharing your talents with the world.your posts are like a visit with a great friend. Oh, by the way, the fifties desk turned out adorable:)
Lori, thank you so much and I love the way you phrased that! I’m also wishing YOU everything that delights your heart…even though its probably not your birthday. Thanks for being here and for the support. I so appreciate you.🤗
Just love the new look and the color is beautiful!
Thanks, I like the custom color too. I’m glad I didn’t have enough paint, hehe.
Absolutely fantastic! Holy moly you do good work…no, GR8 work! Thanks for the AI generated picture. so cool
Thank YOUUUU and I appreciate you chiming in re the Ai generated photos! I’m having so much fun with. Its only limit is your imagination which is pretty awesome. For instance this pic started out with a window inbehind the desk but I didn’t like it, so I asked for a bookcase – abracadabraaaa and there it is.😆
Gorgeous as always Denise! LOVE your custom color!
Thanks Diane! I’m really happy with the darker blue/black as well. I would even mix this one up (again) for a future project. Have a great week! xo
I love it, especially how you left the legs unpainted. I always love that look!
Thanks Tania and I agree, these legs are beautiful… all they needed was a little refresh. Have a lovely weekend. xo