HOW TO GIVE YOUR OLD AND BORING FURNITURE AN UPDATE BY ADDING TEXTURE AND DESIGN! [VIDEO]
Happy Tuesday SI family, thanks for joining me today!
I once heard that models and famous celebrities won’t wash their hair before important events. The natural dirt and oils add volume which makes the hair easier to work with. They work in their fancy hair products and voila, gorgeous texture and style!
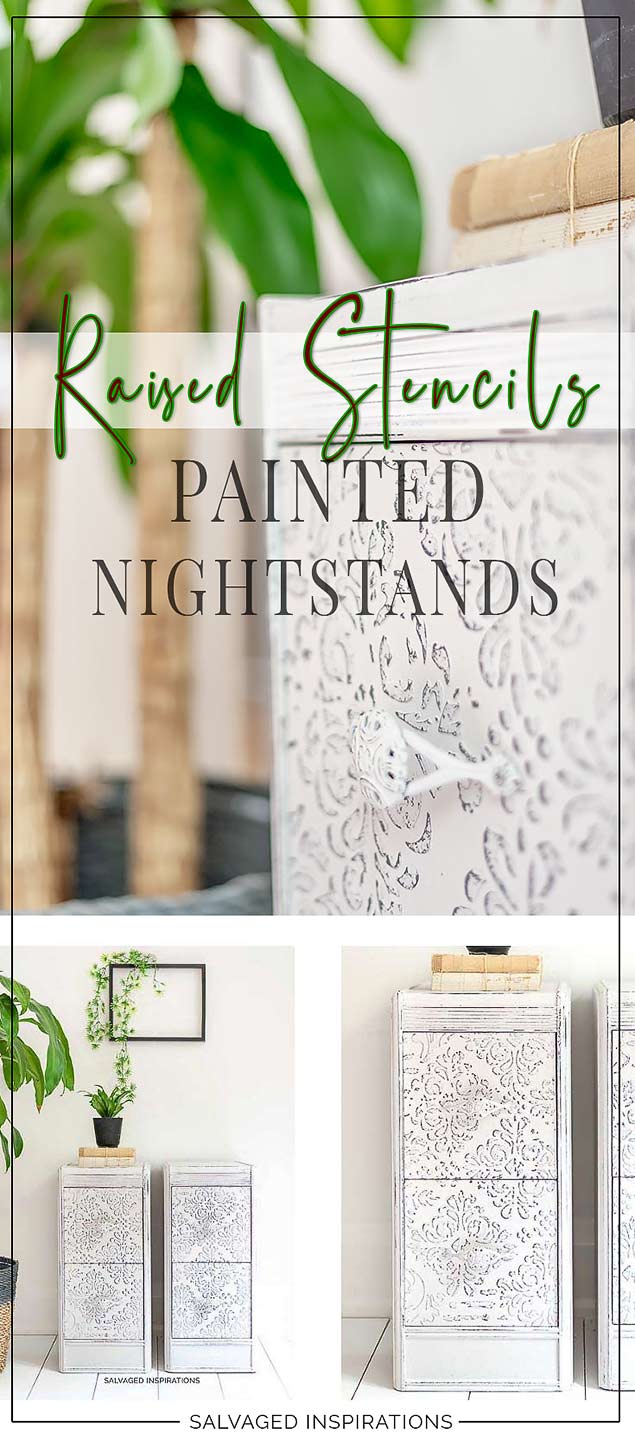
Well, today I’m sharing how to create gorgeous texture and style on your old-boring-flat-furniture. The only difference is I encourage you to give it a really thorough cleaning before you start. I’ve painted plenty of flat furniture with raised stencils and I’ll include some of these 3D textured makeovers in the “Related Posts” below. Today I’m trying a fancy new product to create some dimension and volume on these old flat nightstands. And I have to admit I LOVE the way these turned out!
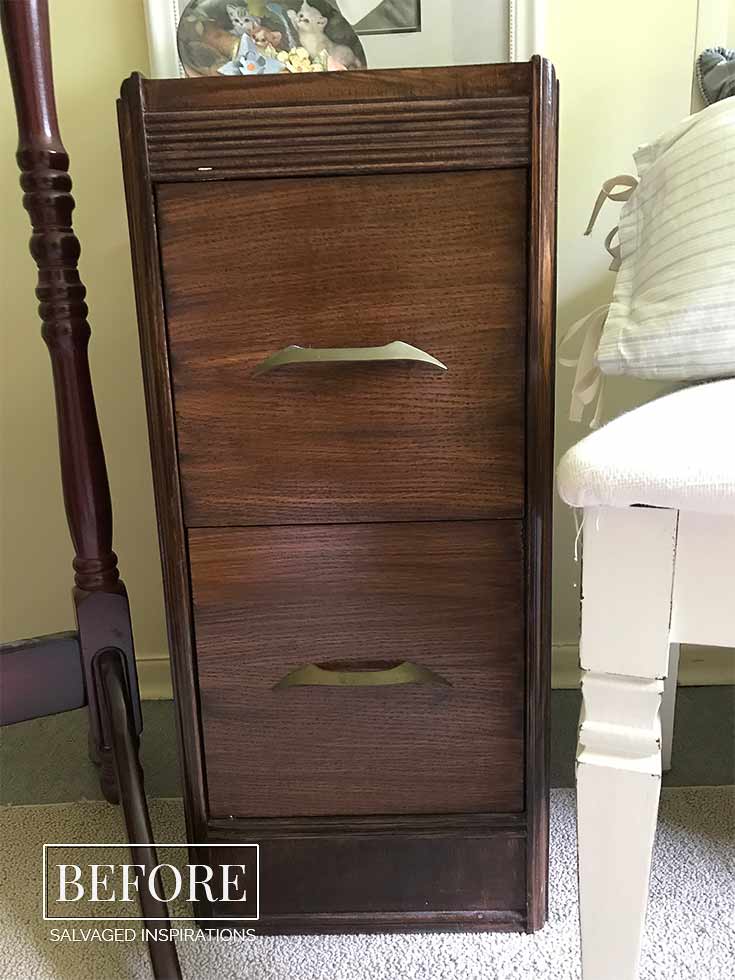
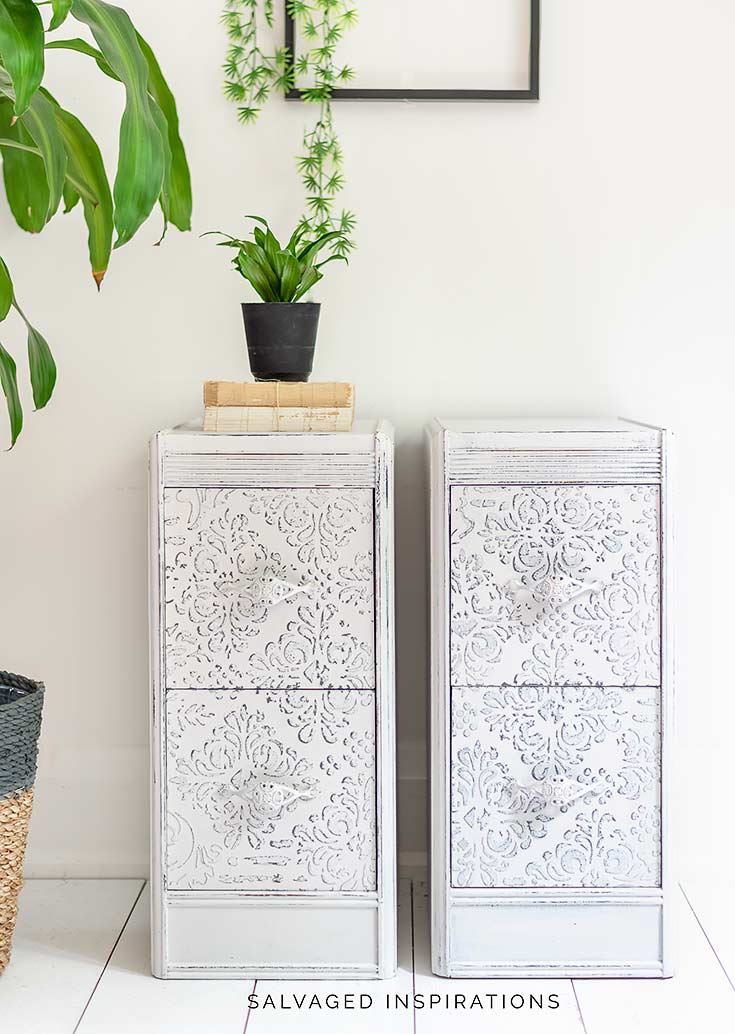
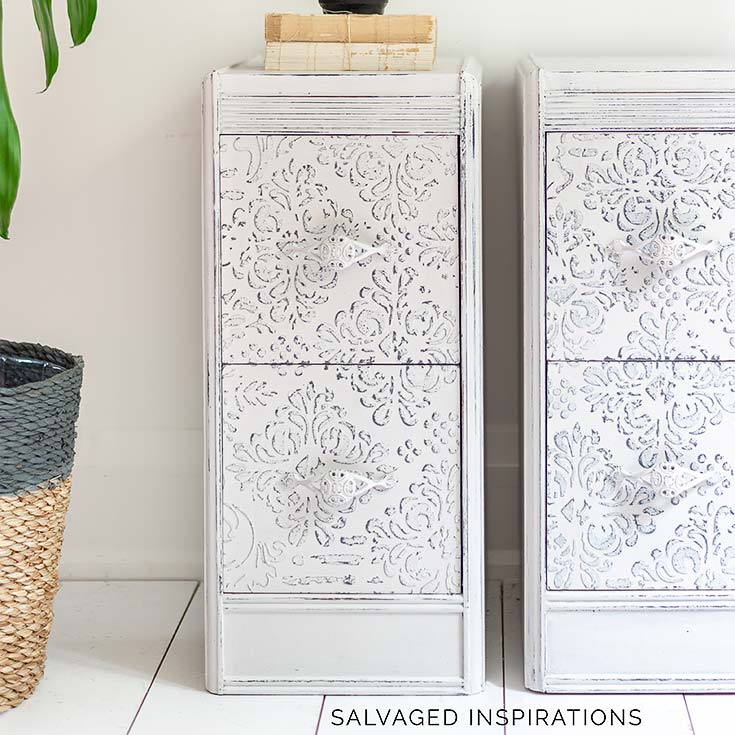
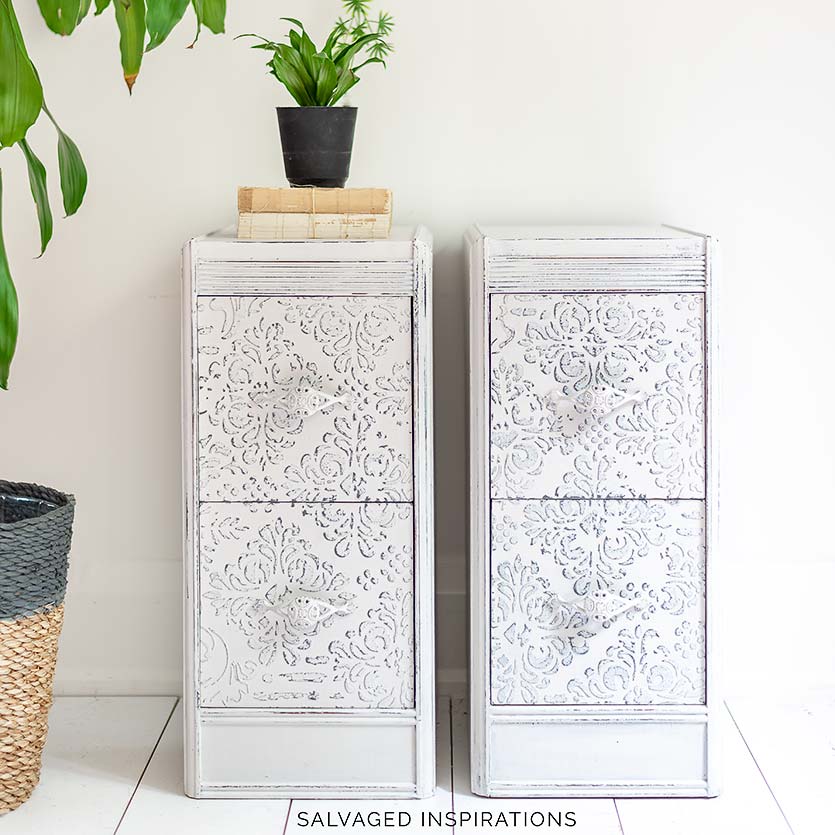
Here’s the before and after. What do you think?
THIS POST IS SPONSORED/CONTAINS AFFILIATE LINKS TO PRODUCTS I USE. YOU CAN SEE MY FULL DISCLOSURE HERE.
SOURCE LIST::
How To Apply A Raised Stencil::
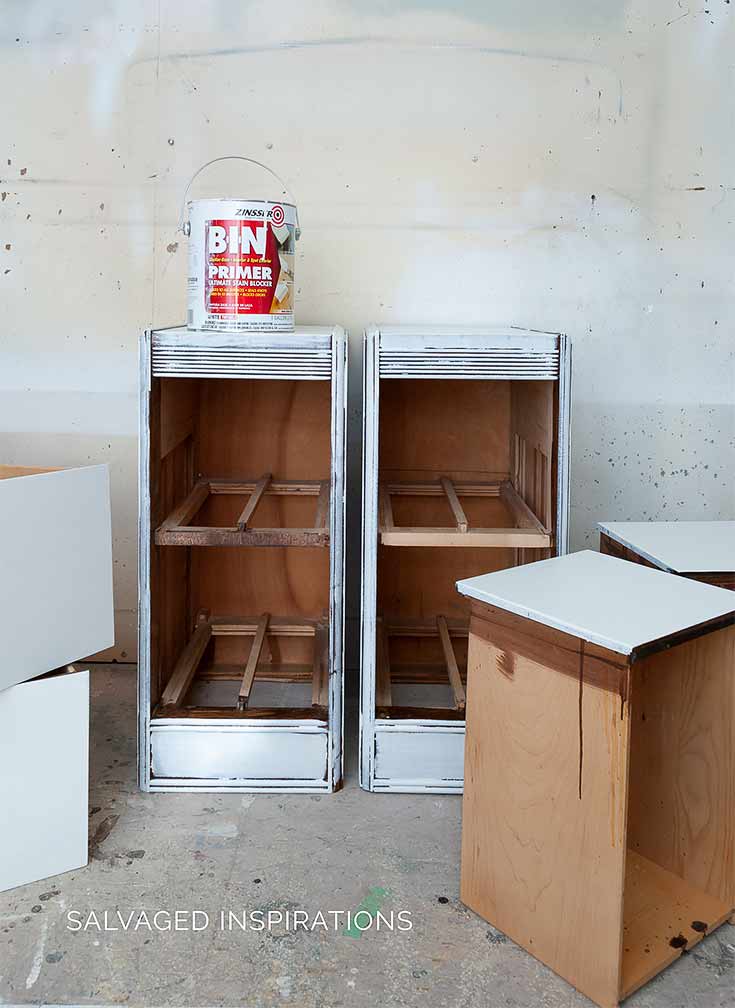
STEP #1:: Clean, Sand and Prime
I started by giving this piece a super good cleaning with vinegar and water, a light sanding and then primed with BIN Shellac Primer.
STEP #2:: Paint
The nightstands were given a base coat of this white and then I added Coffee Bean in the areas I knew I was going to distress with a light sanding. Around the perimeter and edges where a piece would more naturally age.

STEP #3:: Adding The Raised Stencil [Video]
Here’s a video on how to create a textured stencil on furniture. If you haven’t subscribed to my Youtube channel – you can SUBSCRIBE HERE!
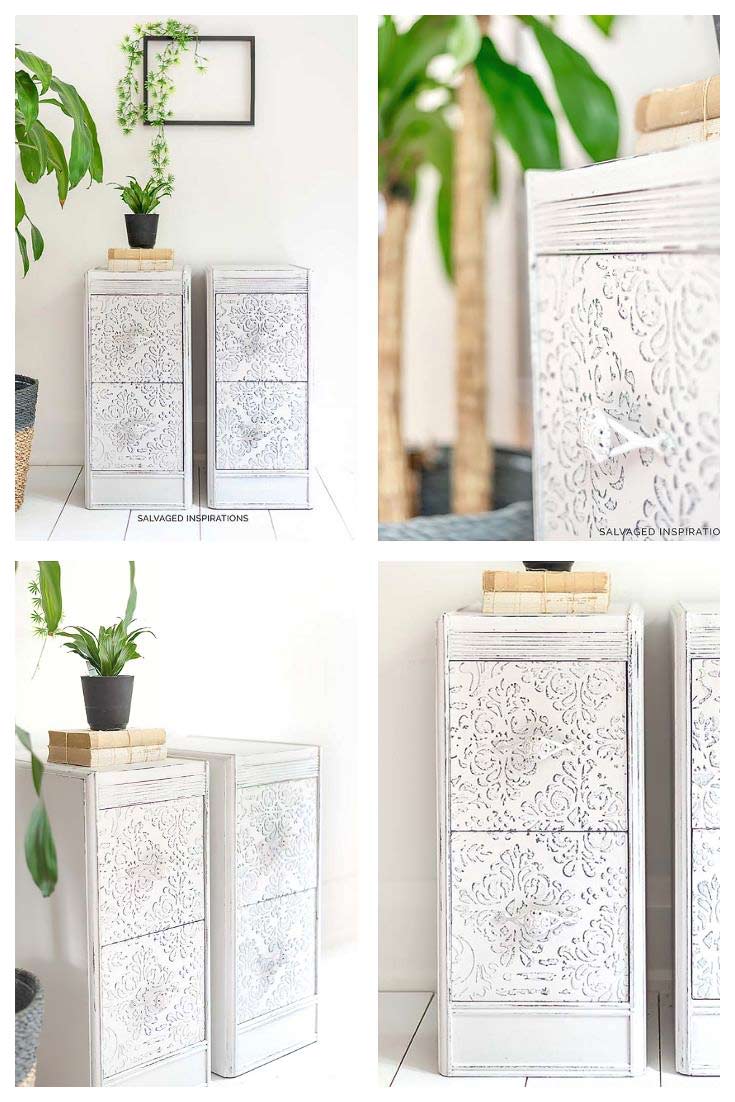
I love the detail it adds to these nightstands!

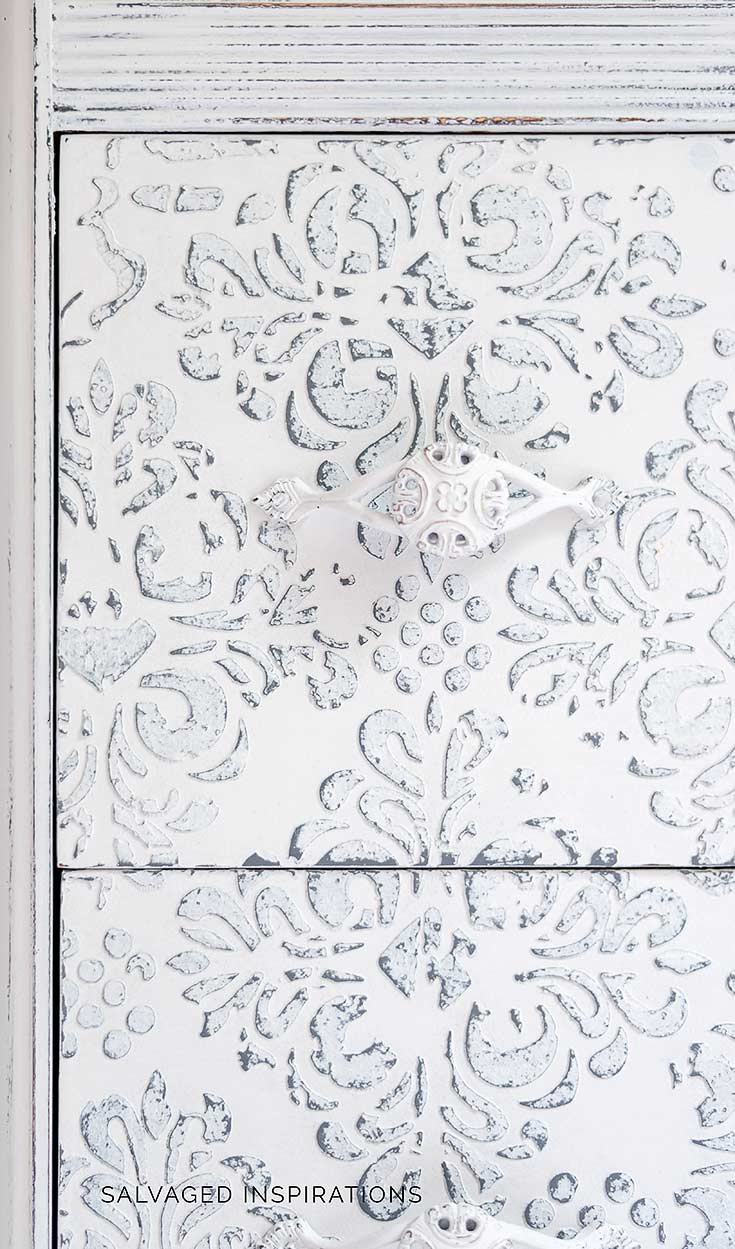
Here’s a close-up.

LET ME KNOW WHAT YOU THINK OF THESE 3D STENCIL PAINTED NIGHTSTANDS. I’D ALSO BE CURIOUS HOW OFTEN YOU WASH YOUR HAIR! I DO MINE EVERY OTHER DAY BUT THAT’S MORE OUT OF LAZINESS THAN WANTING GREAT STYLE…LOL.
CHIME IN… I ALWAYS LOVE HEARING FROM YOU.
Thanks for reading. 🙂
Wishing you a beautiful day filled with inspiration and Happy Painting friends!
Denise XO
RELATED POSTS::
How To Create Raised Stencil – Goodwill Cabinet
Raised Stencil – Fancy Up Your Furniture
Stencil Embossing Makeover – Restore Makeover
Gilding Wax Over Embossed Stenciling
How to Apply A Raised Stencil On Furniture [Video]
PIN AND SHARE!

Hi, plz could you tell me the best alternative to your stencil in the UK, great nightstands
Hi Steve! Hmmm, I’m not sure because I’m not that familiar with the products and brands you have in the UK. Possibly you might find something similar an Amazon though. 🙂
Beautiful nightstand makeover, Denise! Love the stencil you used and the subtle hardware. Your videos are so well done my friend. xo
Aw, thanks. I have to admit I’m have a little fun doing those videos. 😉
#1 – i wear my hair pulled back most days with a ball cap, so i’m wash my hair about twice a week!
really enjoyed the video showing the different products you’ve used for raised stencils. Durham’s Rock Putty would probably be the cheapest, always a consideration in my projects, but I do know how hard it dries and would t be afraid I wouldn’t be able to get it sanded down. This technique could be used instead of purchasing wood medallions or appliques! Another money saver!
I wear my hair in a pony or clip while working too. Dixie Belle sent me a ball cap and I wore it for one of my fb lives… love it for bad hair days but wish I looked cuter…lol. You know how hats reeeeally flatter some people…. I don’t think I’m one of them. :b Anyway, so glad you found the vid helpful and that Durhams Rock Putty works great. 🙂
My hair would be stuck to my scalp if I didn’t wash it every other day, at least! I just retired and love being able to work on furniture projects first thing in the morning when it is at least less than 80 degrees outside! Then, if I am going somewhere , I wash my hair! If staying home…we’ll, bad hair day and don’t care! Love the video and your end tables are beautiful.
When my sister and I visited Savannah in the summer months we were in the middle of a heatwave and nearly melted! The humidity was brutal! My hair was limp and glued to my head… my hair wouldn’t style with the humidity so bad…LOL. Anyway, so happy you like the vid and night tables. It was a really fun project. 🙂
Love it! Great video! Thx!
Thanks so much Pat! 🙂
I love love love the stencil pattern you chose! Your color and design choices are always spectacular! Where would I purchase that exact stencil? Not finding it on Amazon…
Terri, your biggest fan 😇
Thanks so much Terri! I’m loving this stencil pattern too. Sorry you couldn’t find it on Amazon. 🙁 Here’s a list of retailers that carry Redesign With Prima products. 🙂
gorgeous!! i have to play with this soon. your choice of hardware is genius. i would have prob thought of contrast, but the light on light is so elegant. i keep imagining these with bun feet…..
Hi Ruby! Bun feet would be adorable… I don’t even think of that!
These are so pretty, Denise! xo
Thanks Jen! XO
Thanks Denise! These are great! You do such a a great job on your videos.
Aw, thanks Kathy! XOXO 🙂
Denise, these nightstands are stunning. As I looked at them I envisioned how cool this technique would be on old filing cabinets, My mum was an accountant and had an old grey double filing cabinet sitting in her dining room, which I absolutely hated. But now I see how fantastic hers could have looked!!
Excellent Job.
This would be an amazing makeover on filing cabinets… LOVE this idea!
My parents have night tables like this. I would never have thought to do this. Beautiful work as always! ~ Nicki
Thank you Nicki! And I’m not surprised. I see a lot of these types of older nightstands are floating around. I see them in thrift stores and garage sales all the time. They’re super sturdy so they’ll probably still be kicking around in another 50 years..lol
In New to ALL this stuff . How do I find something you did a bit ago
Hi Denise! On the top right of this website is a search bar. If you type in what you are looking for and hit your ‘enter’ or ‘return’ key, it will pull up all my past posts related to your search. Hope this helps and if you need a hand, feel free to reach out anytime. 🙂
Wow, love these. Thanks for the video tutorial, you’re a real pro at it now!
haha…stop teasing me….lol ;)… although I will say I guess I’m having a little fun with the videos! 🙂
Beautiful Denise!!!!
Thanks, my friend! XO
Wow Denise, just love the raised stencil video!! I am so curious now to work on a project that would include a raised stencil! I would like to add a raised stencil use a wax for the finish. Great video….Thank you!
Hi Carli! I ended up using a clear wax because I was liking the look, but you could spiff it up with gilding wax or dark wax… so many options! If you give it a go I’d love to hear how it turns out for you. xo
Hi Denise. Oh. My. Gosh. I am in awe of the transformation of these night tables! The raised baroque pattern brings them up to a whole new level. And the color combination is perfect. WOW! Thank you for your video. It really helps explain how to use the raised stencil technique. Love all your work:)
awwww, thanks, Monique. You’re always so sweet. XOXO
I love these! I am definitely going to have a go with the 3D fibre paste!
Thank you so much for the inspiration 🙂 x
Thanks Viccie! And you’ll love the 3D Fiber Paste… aside from the longer dry time (which I’m sure was my doing re tinting) it’s dreamy to work with. 🙂
Thank you for sharing the different types of mediums you can use and the video! Stenciling can make a world of a difference on plain, flat furniture. Good info on tinting and dry times- I’m always in a hurry! I love how it turned out!
Ya, the dry time shocked me a little but I may have added in too much paint. 😐 I’m like you though, the faster the better! 😉
Simply perfection! I love the simplicity with the texture. Always inspiring. xo, Do
ps… Great minds! I’m working with texture this week too. 🙂
Thanks, Do and can’t wait to see what you do!! 🙂
Love it, it’s great to be able to reuse furniture as it is actually wood instead of composit material….love the raise stencil
Thanks Anne! And I totally agree. These wood pieces last a looong time. 😉