Have you ever had to countersink your furniture hardware because it wasn’t sitting flush against your piece?
When I’m working with different types of knobs and handles from various stores and manufacturers, sometimes it’s not as straight forward as drilling a hole and screwing in. I wish!
Take a look at these handles with a tapered screw shaft.
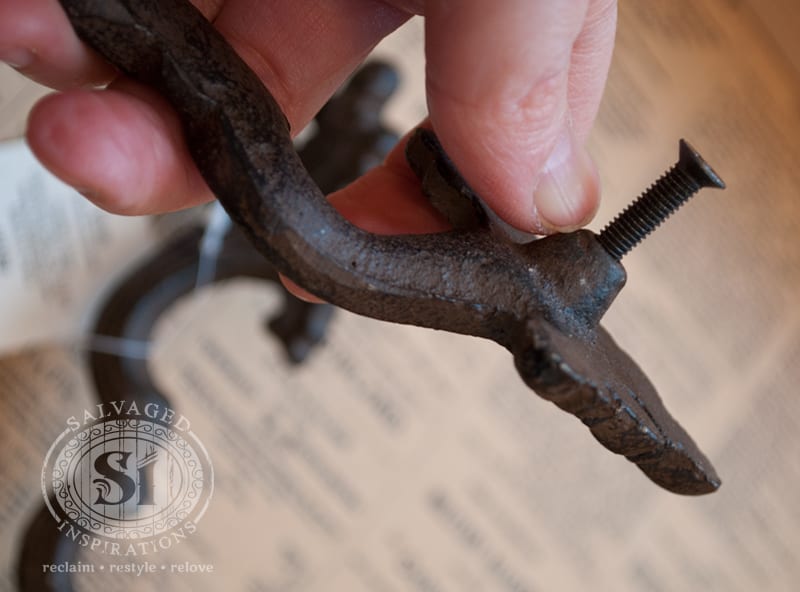
If I were to drill a hole just large enough for the screw then attach them to this dresser, there would be a noticeable gap which just doesn’t look right.
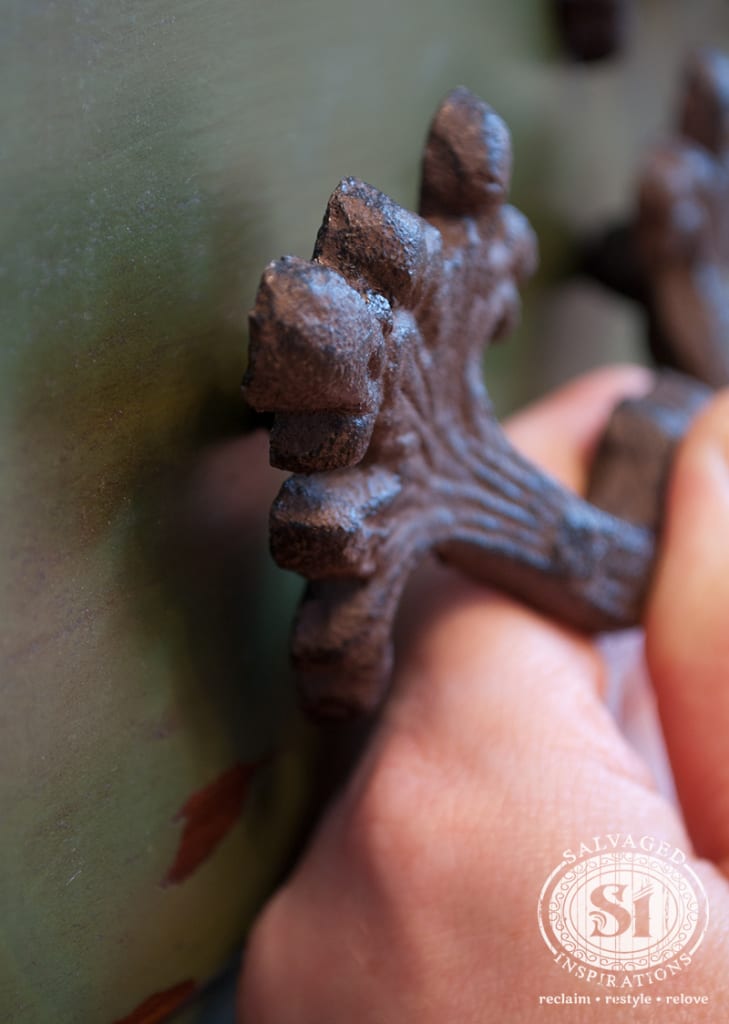
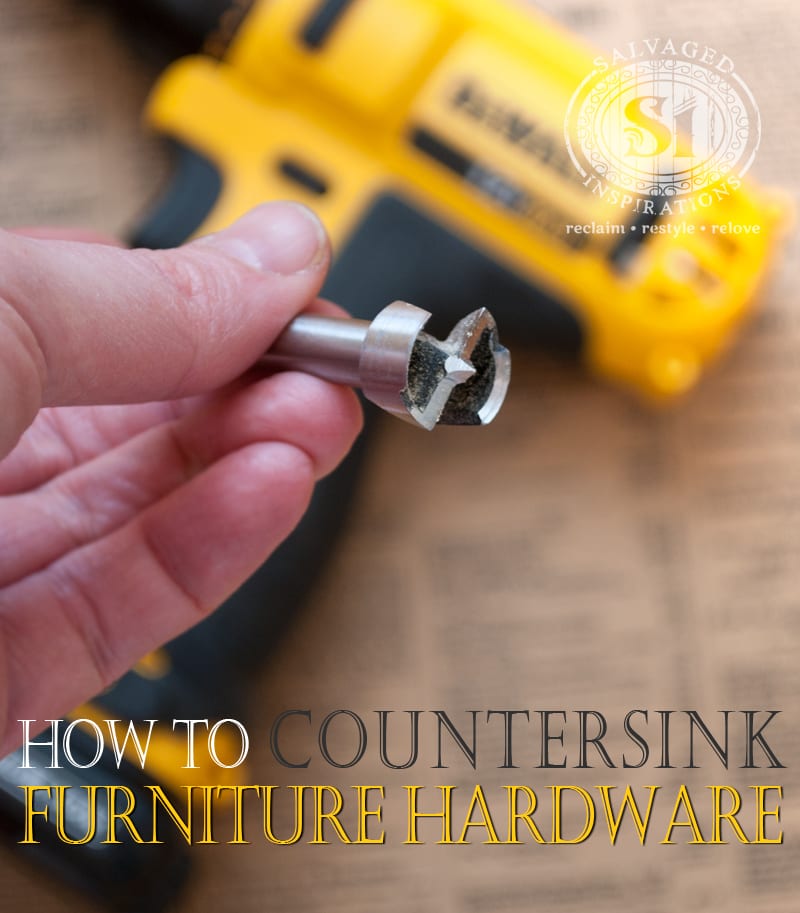
So to get them to sit flush on my drawer, I use a forstner bit to create a hole large enough to fit this tapered screw shaft. A forstner bit is round bit available in various sizes.
It’s sharp round edges easily drill out cylindrical holes for countersinking… like a hot knife through buttaahh! (I love tools that make my job easy!}
A forstner bit leaves me with a clean-flat-bottom-hole that I control the depth of with my drill.
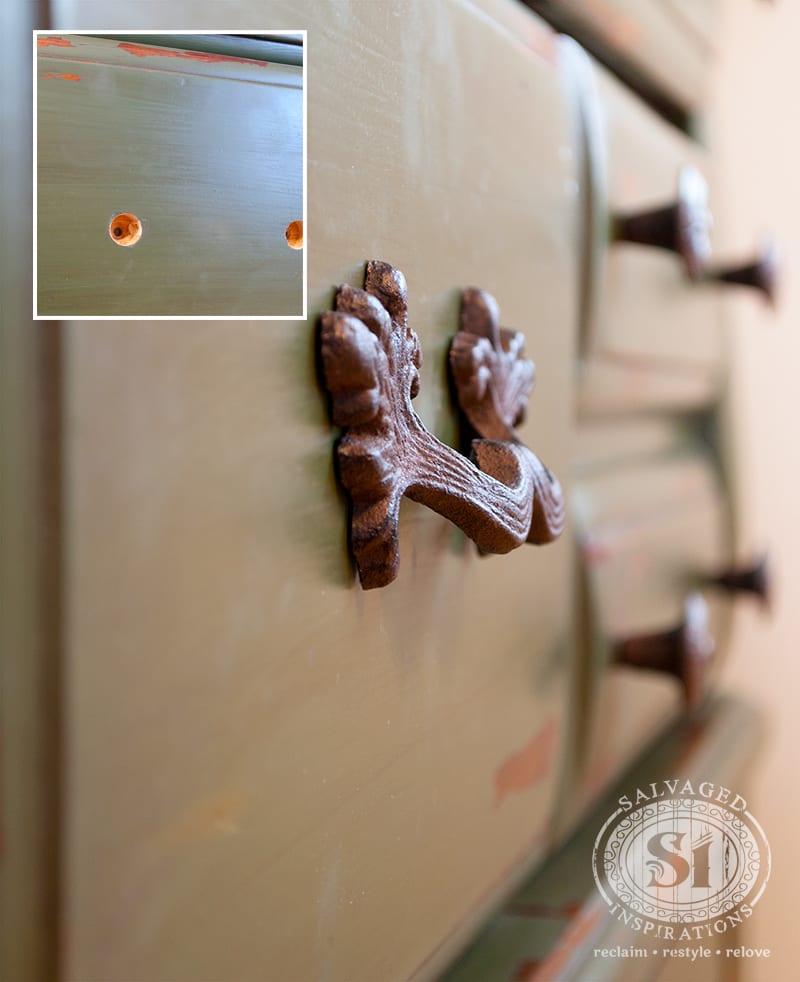
Here’s my process ~
:: Measured out where my hardware is going to be placed on my dresser.
:: Measured the largest part of the tapered screw shaft.
(This is to determine the size of forstner bit I needed. In this case I used a 5/8″ bit. You can go slightly larger but NOT smaller.)
:: Drill a pilot hole.
:: Drill with the forstner bit making sure I only go to the depth needed!
:: Drill my regular screw hole.
I always make sure to carefully drill only to the depth required… not all the way through! This leaves enough wood in back for the screw to bite into to hold my hardware secure!
THANK YOU to EVERYONE who left comments on this finished dresser yesterday! WOW… I appreciate all the support and kudos! 😉
Have you ever had to countersink your furniture hardware? If so, what tool(s) did you use? Chime in! As always, I love hearing from you! x
Catch last week’s Q-T-T here – and if YOU have any ideas or tips you would like to share on the SI Quick-Tip-Tuesday-Series, send me an email!
Enjoy your day and have fun with your next project!
Denise
_____________________________
Like what you see? Subscribe to Salvaged Inspirations so you’ll never miss a post!
Follow along on Pinterest, Google+, and Facebook for more inspiration!

Wow! It is really good info! Thanks for sharing this post 🙂
Awesome post Denise! Very helpful for us over here in the UK too
Thanks Steven… glad you found it helpful. 🙂
Timing is everything!! Thank you so much for this post. I just got to the part of attaching the fronts to my drawers. Low and behold.. I read your post, went to home depot, bought the right bits and attached them correctly. Thank you again. I always look forward to your posts!!
Yaaay! So glad it was helpful Susan… and isn’t it amazing how a $5 or $10 item can make a job soooo much easier! 🙂
i am always really happy with countersink bits b/c then the hole that goes all the way through is exactly centered *and* aligned inside the countersunk cavity, and not prone to user error. plus my countersink bits came with depth stops. pre-drilling then eyeballing depth just never gives me as clean a result. it may seem obnoxious to have to buy a new drill bit for potentially every new project, but if you just accept this as inevitable, and buy *exactly* the right bit, the results are worth it, imho. plus, you *might* very well find you can reuse countersink bits for a lot of things, depending what else you do. i end up using 3 of them quite often.
I’m learning that there are SOOO MANY bits out there that I had NO idea existed…lol! And I so agree Jamie, it’s amazing what a difference the “right” bit can make! On the finish – and on the ease of getting the job done!
What an awesome bit of info! I just learned something new at the end of my day. Love your blog! keep at it!!
Thanks Suz! 🙂
My oh my, what a handy thing! I have always McGyver-ed countersink holes. I use drill bit a tiny bit bigger than the head of my usual hardware screw. It is marked with a black marker at the depth I need to stop at. That is the important part becasue without the black line I have been know to drill just a bit to deep! After drilling a pilot hole I use this larger bit to create “headroom” Not as perfect as your nifty bit. I must go buy one! Thank you!!
Your black marker tip is great! I’ve also wrapped my drill bit with painters tape to show me where to stop! Maybe another tip for another Tuesday! 🙂