HOW TO REPURPOSE A WOOD WINE BOX INTO AN ADORABLE SEED STORAGE HOLDER…
 Hello beautiful and thanks for joining me today! It’s Trash To Treasure Tuesday and I’m sharing this Salvaged Wood Wine Box turned Seedbox! If you know of anyone who loves to garden, this would make such a beautiful and thoughtful handmade gift!
I’m also sharing…
- My favorite pure White Paint
- How To Dry Paint FAST
- How To Get Into Divots with Your Brush
- How To Stencil DIY Font
- And my blogging besties’ Trash To Treasure makeovers as well so be sure to check them out below! 🙂
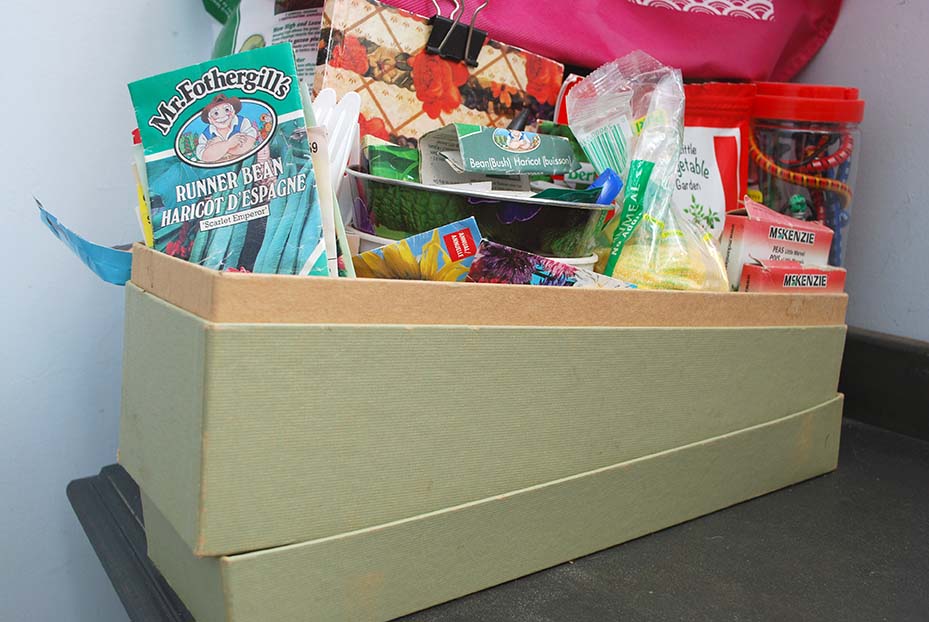
My sister Marzenna was clearing a few things out and offered me this tea cart and a couple of wood wine boxes. I’ve been using the one below to hold some of my furniture sanding pads but when I took a look at my seedbox, I thought it was time for a new one. At the end of today’s post, I’ll share the seedbox I’ve been using to store all my seeds to give you a chuckle. It’s a mess!
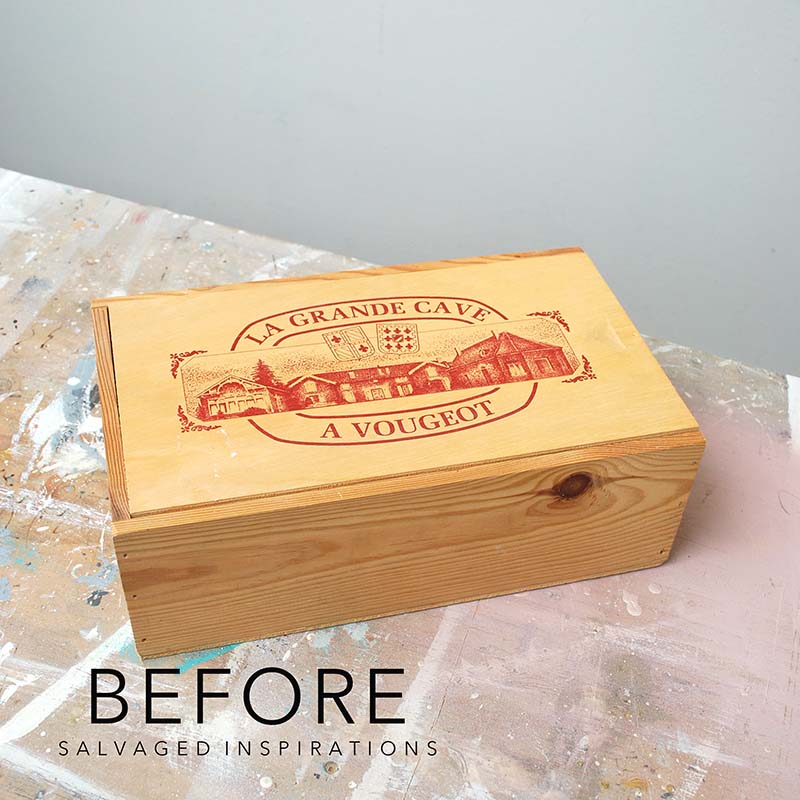
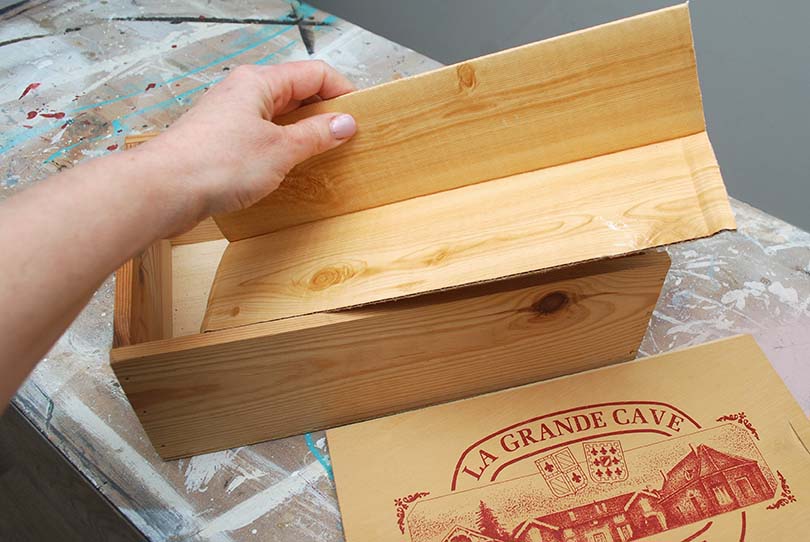
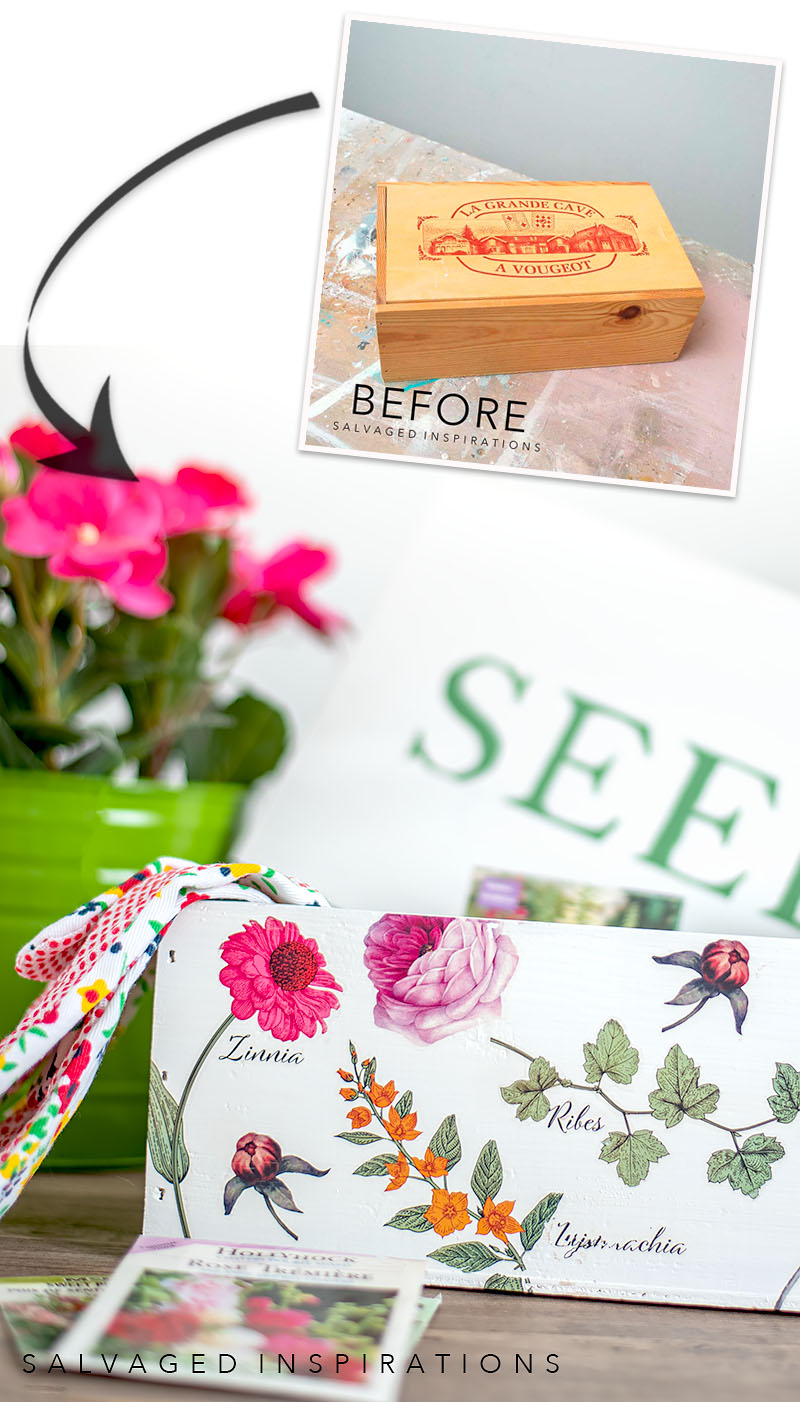
Here’s the wine box I started with. The wood cover slides off and the inside has a divider that housed two bottles of wine.
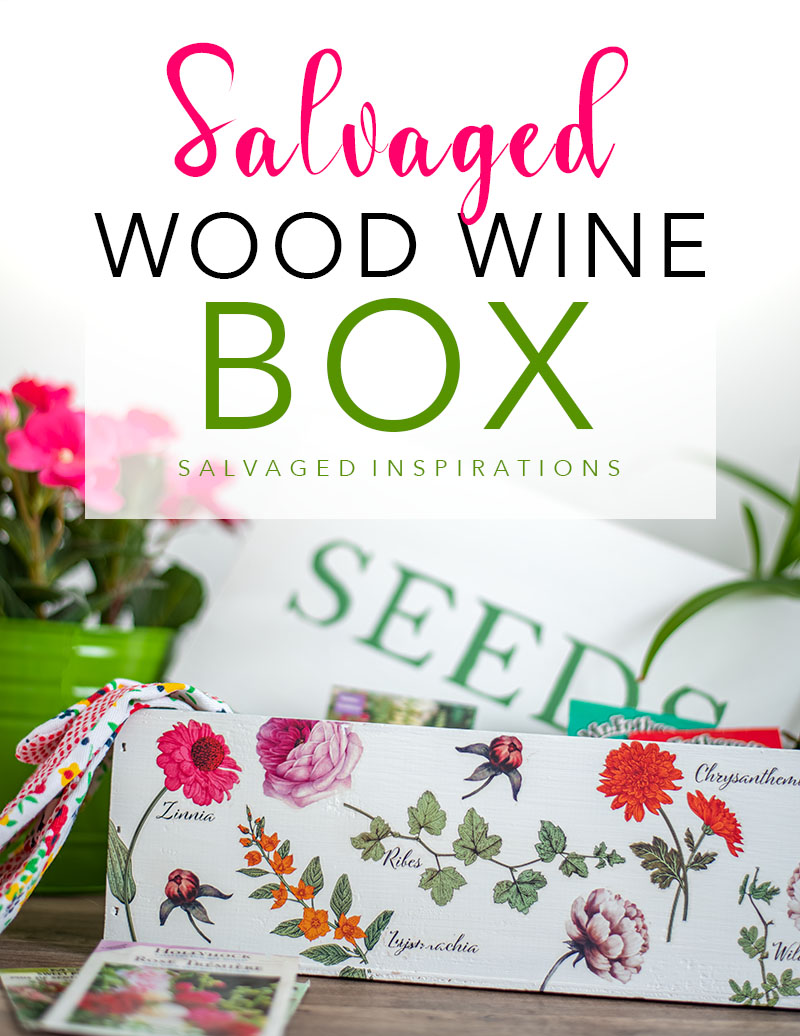
Before I get into the how-to here’s the NEW look! What do you think? Amazing what a little paint and a few transfers can do, right?!
PIN AND SHARE!

THIS POST IS SPONSORED/CONTAINS AFFILIATE LINKS TO PRODUCTS I USE. YOU CAN SEE MY FULL DISCLOSURE HERE.
SOURCE LIST
Wood Wine Box – SALVAGED
Chalk | Scissors | Pencil
White Lightning
Scrubby Soap
Cotton Chalk Mineral Paint
Kudzo Chalk Mineral Paint
Paint Brush
Vintage Floral Transfer
Heat Gun (similar)
SALVAGED WINE BOX INTO SEED STORAGE BOX
I love gardening. And even though it’s still too cold to be planting here in the GTA, I always enjoy taking out my seedbox to start planning. It gets me excited for the season. The box I’ve been storing my seeds in is anything but exciting though. It was time for a refresh!
Here’s how it all came together…
PREP | CLEAN
I removed the divider and cleaned this piece with this TSP substitute.
PAINT
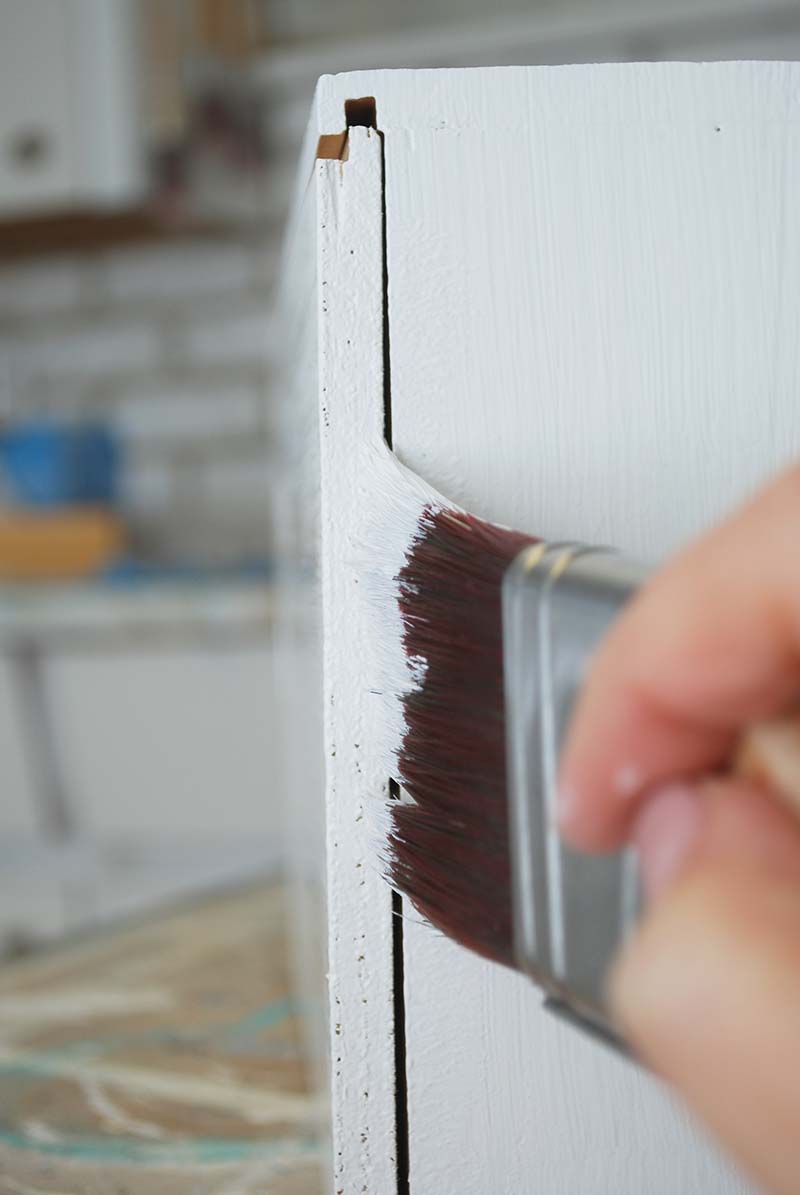
When the box was 100% dry, I painted two coats of my favorite pristine WHITE paint. This is a clean white with no yellow or blue undertones.
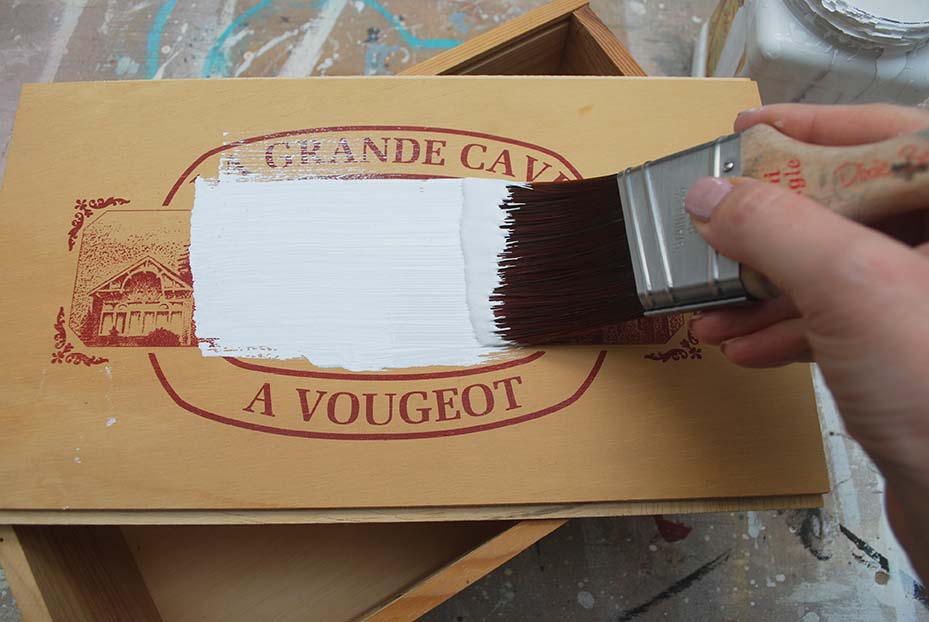
Pro Tip – Parts of this wine box had divots and grooves. To get into uneven areas of your wood projects, pounce the tips of your paintbrush bristles into the area to fill the holes with paint and give it a uniform look. If it is a high-quality brush, it will bounce back to its original shape.
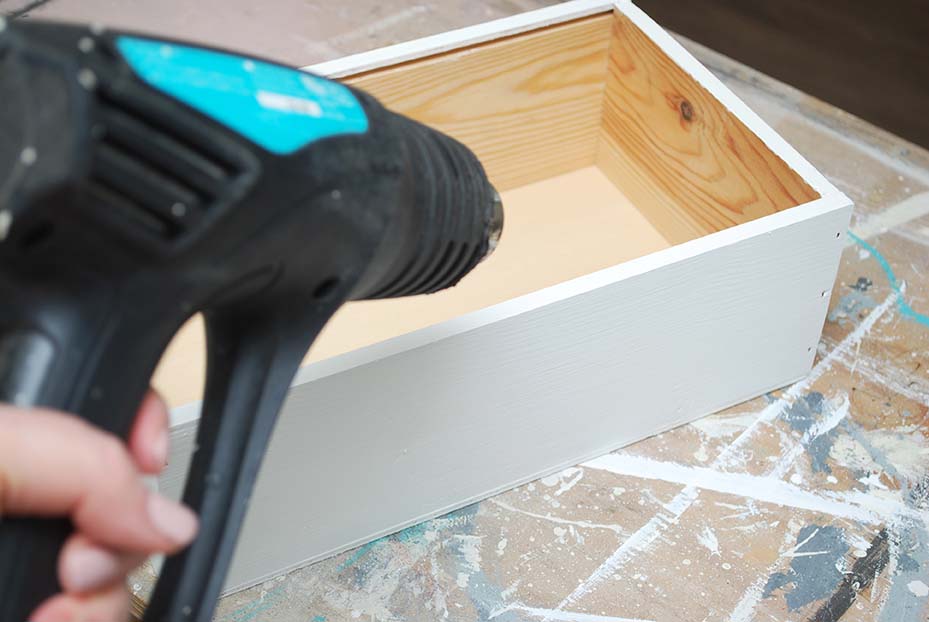
Pro Tip – And here’s a tip if you need your paint to dry fast – USE A LITTLE HEAT! A hairdryer or heat gun will speed up the drying process by at least 50%! Just be careful not to overdo it. Keep the heat moving so the paint doesn’t overheat and bubble.
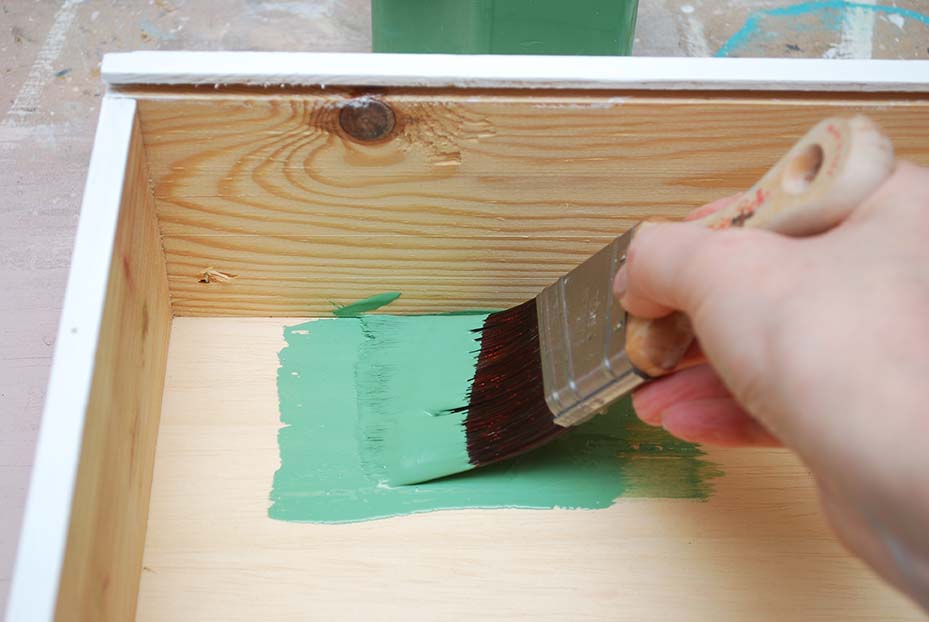
Once the outside was painted white, I added two coats of this green to the inside including the divider.
VINTAGE FLORALS
Do you remember this Black and White Floral Dresser I did two weeks ago? I still had three sheets left over from this transfer and the botany labels and florals were perfect for a seedbox!
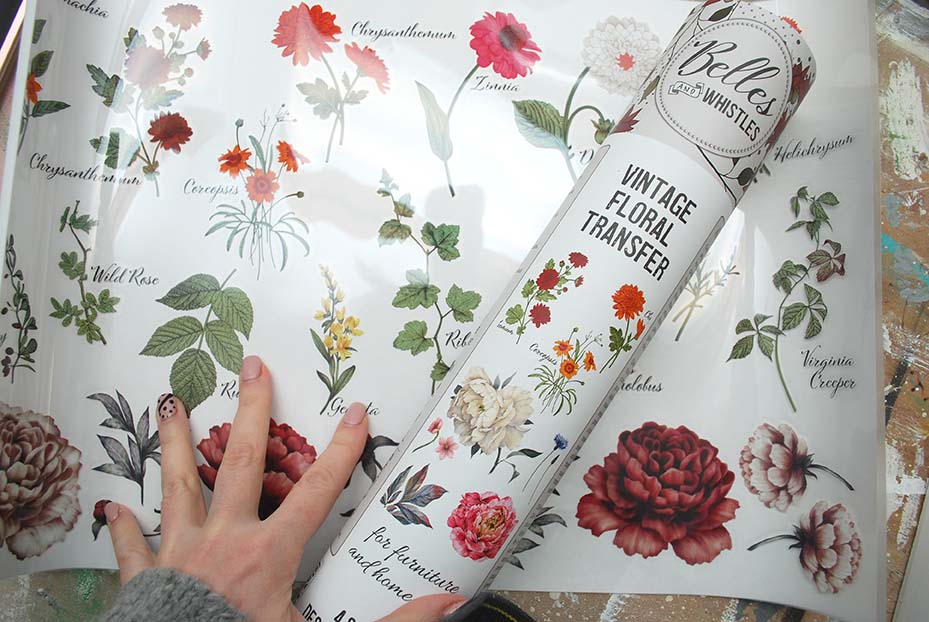
I cut the individual graphics out.
![]()
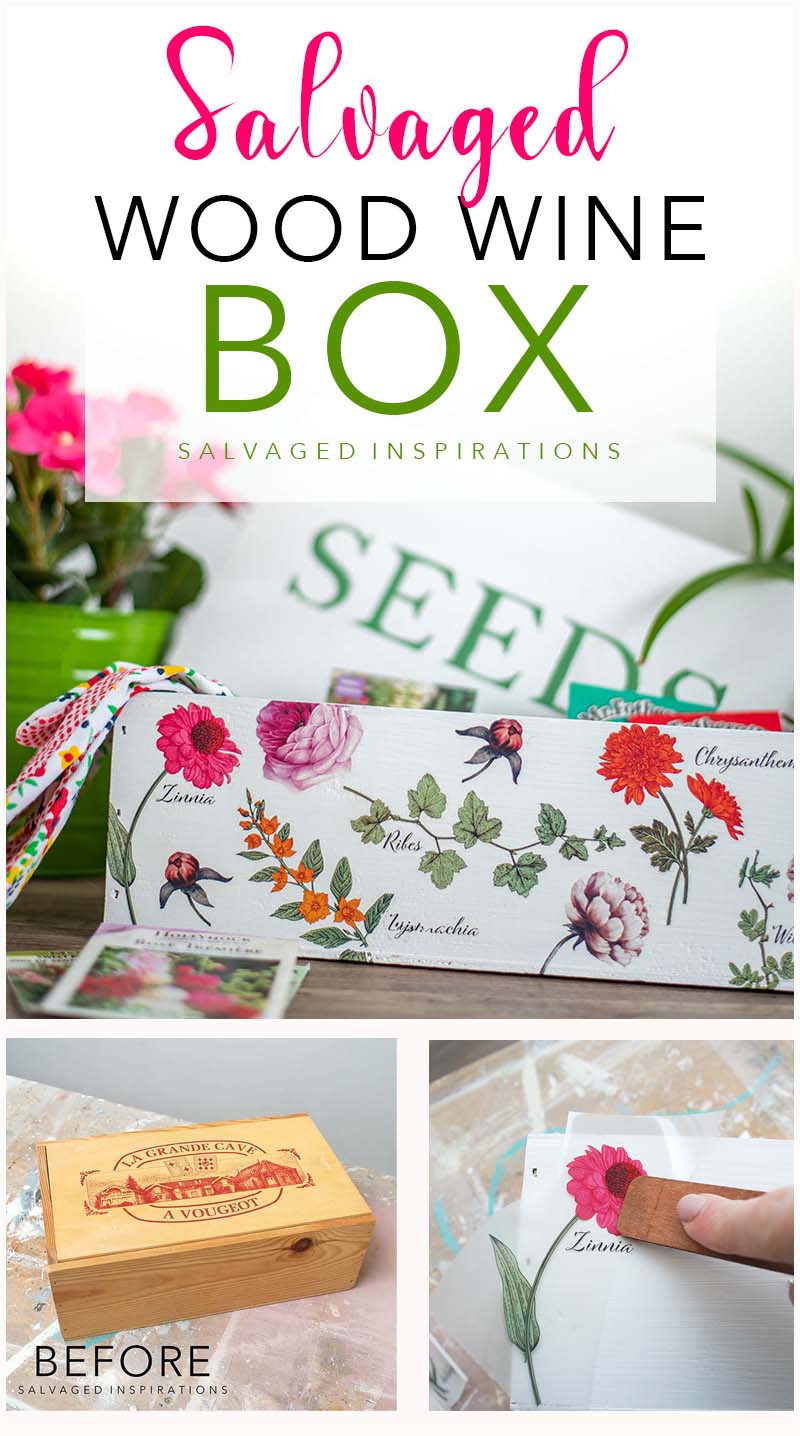
Then using this Rub-On-Method, I rubbed the colorful florals onto all four sides of the painted box, leaving the lid pure white.
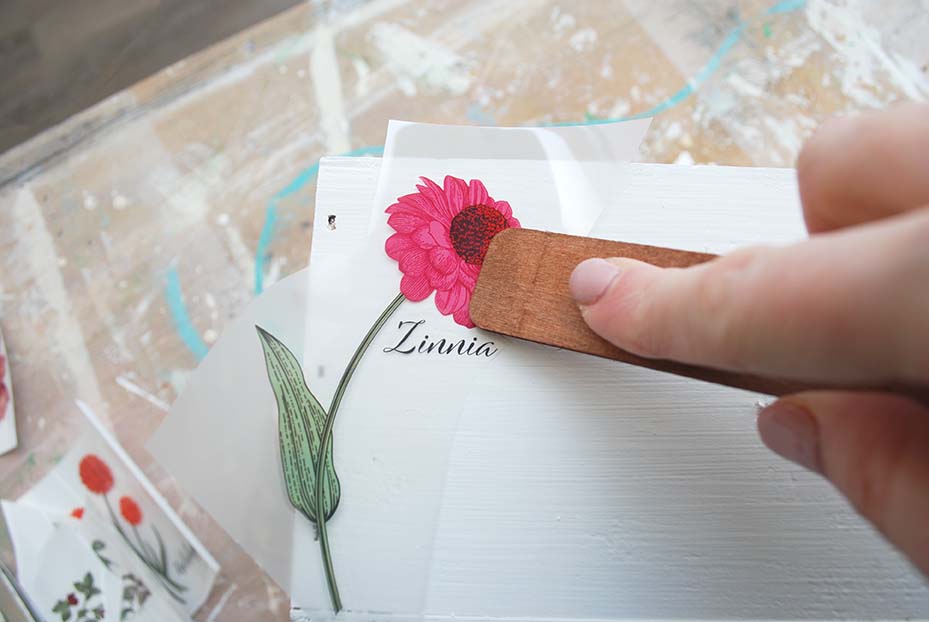
I have a full step-by-step tutorial including a video on How To Apply Transfers here.
DIY FONT STENCIL
I don’t own a Cricut (but I’d love to one day!) and I don’t have any font stencils. So for this project, I went old-school and made my own. It’s really easy to do.
- Using any type of photo editor, pick the size and style of font you like and print it out.
- Measure the placement on your project. In my case, it was centered on the lid.
- Using a piece of chalk, rub the BACK of the paper in chalk before placing it on your project.
- Trace the letters using a sharp pencil or pen.
- Remove the paper and you will have the chalk outline on your project!
- Paint in the color of your choice.
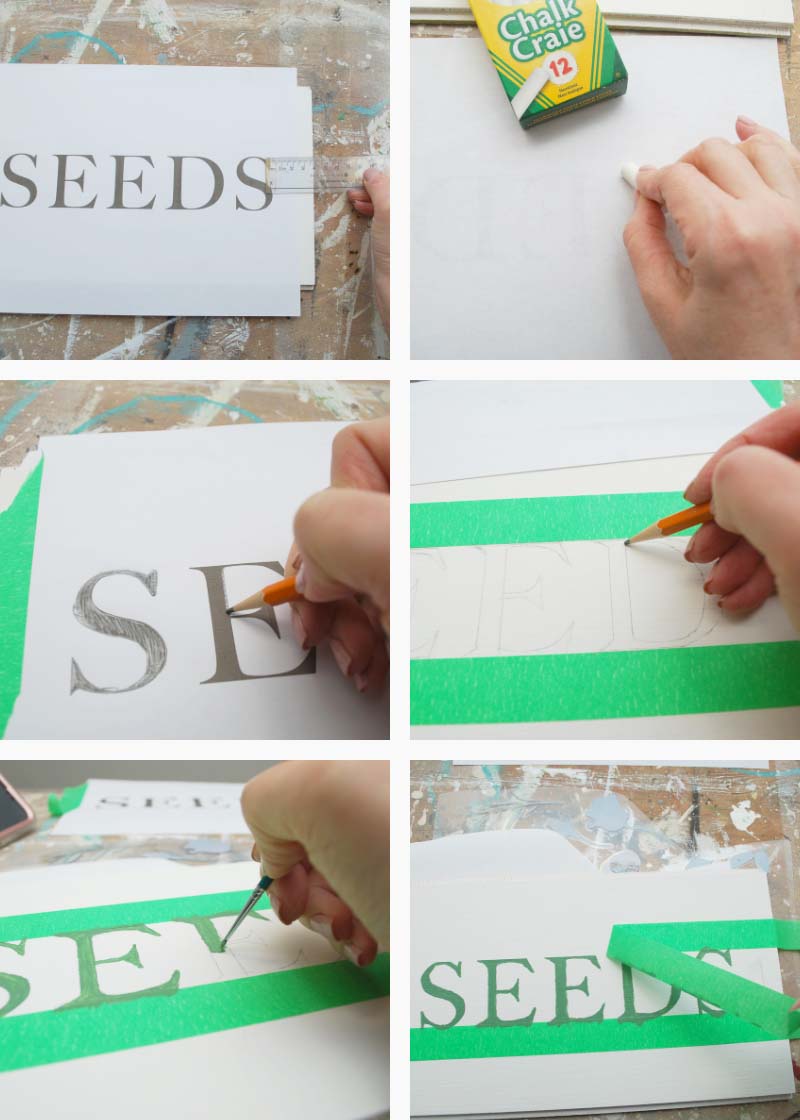
I should have used another color of chalk because the white chalk against the white paint didn’t show up very well. I actually had to pencil it in before painting. And if I’m honest, I was in a rush to get this project finished for our T2T tour so my fonts didn’t turn out quite as clean and neat as they usually do. I’m still really happy with the finished look. It has so much more space and looks so much better than the one I’m using now…
DIY SEEDBOX REVEAL
And here’s the finished look. Super cute and I love all the color against the clean white!
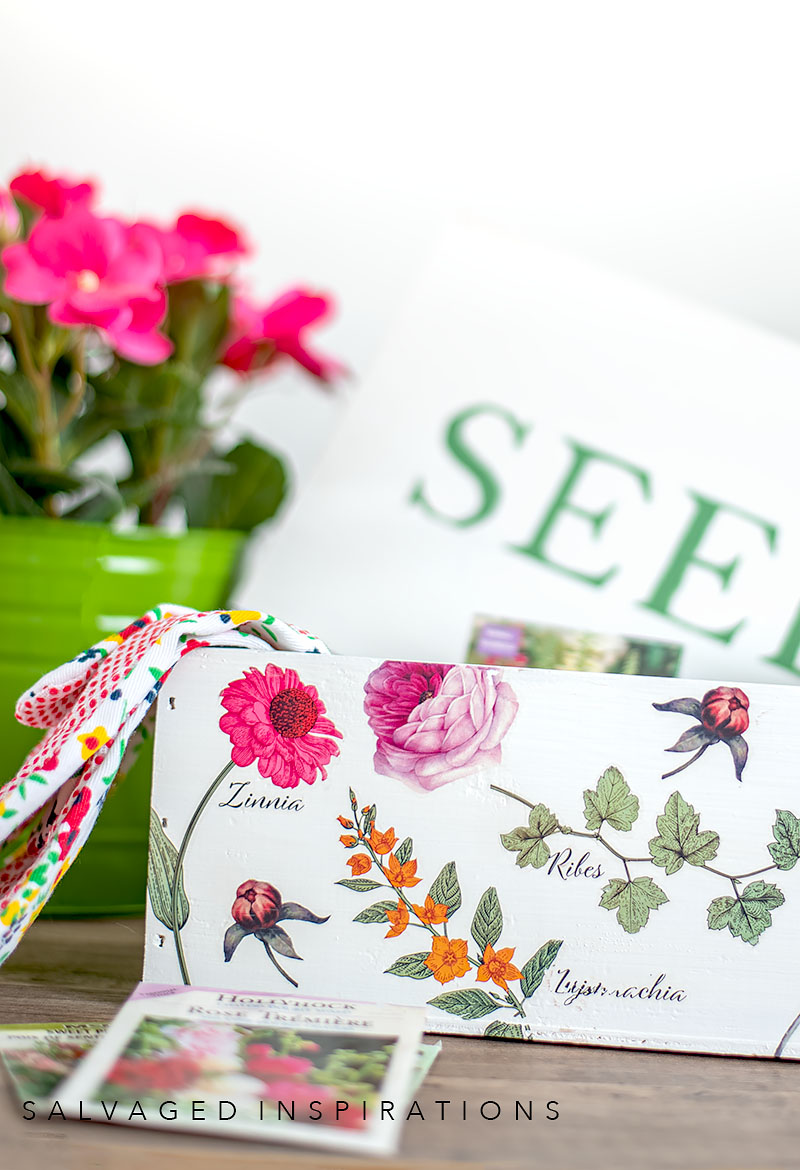
I’ll be able to organize and add so many more seed packets into this seed storage box.
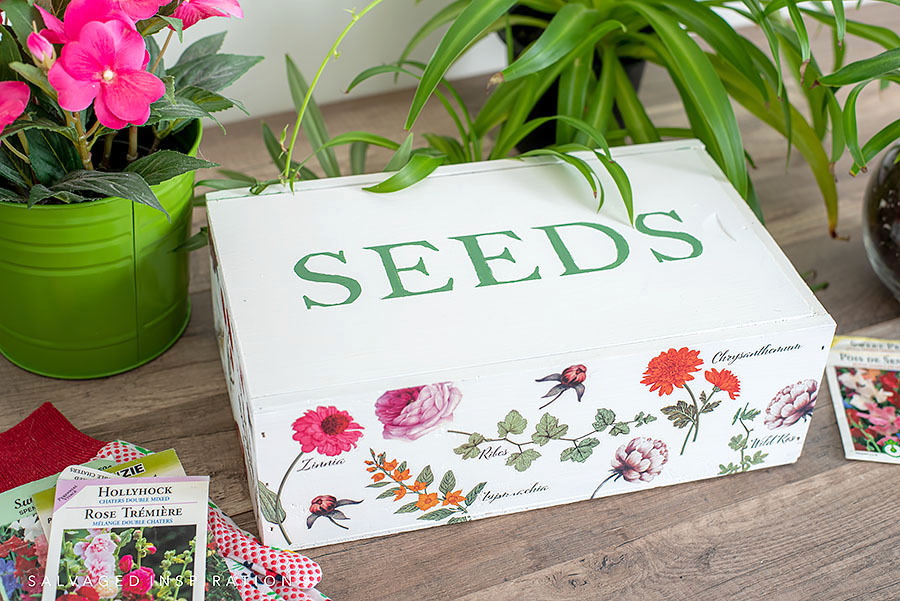

I think anyone into gardening would love this for storage!

AND NOW FOR SOME MORE TRASH TO TREASURE FUN!
You’re going to LOVE what my creative team of T2T ladies do! Below are their BEFORE photos. Visit the links below to see the amazing AFTERS and learn how they did it! I’m heading over to take a peek as well! x
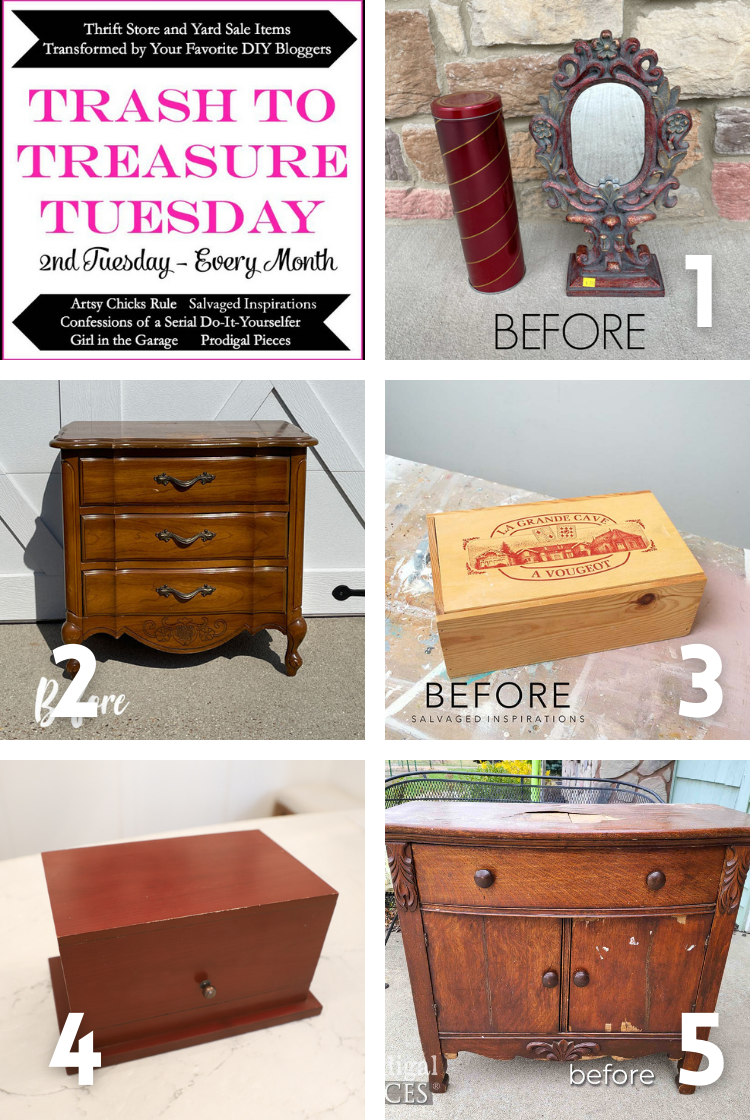
1. GIRL IN THE GARAGE
2. CONFESSIONS OF A SERIAL DIYER
3. SALVAGED INSPIRATIONS (HAPPY YOU’RE HERE!)
4. ARTSY CHICKS RULE
5. PRODIGAL PIECES
Here’s another look at this salvaged wood wine box before and after. I hope it’s inspired you and given you some new ideas for your projects!
LET ME KNOW WHAT YOU THINK OF THIS DIY SEEDBOX STORAGE. FEEL FREE TO ASK ANY QUESTIONS YOU MAY HAVE… I ALWAYS LOVE HEARING FROM YOU. IT MAKES MY DAY! 🙂
Happy furniture painting friends!
Denise x
RELATED POSTS::
DIY ANTHROPOLOGIE DRESSER
CACTUS PAINTED SIDE TABLES
HOW TO PAINT MCM FURNITURE
DIY BOHO NIGHTSTANDS
HOW TO REVAMP YOUR OLD DESK
PIN AND SHARE!

Denise, you are such an inspiration to me! And I read the idea above of filling it with seed packets as a teacher gift – love that! THANKS!
Thanks and yes, I think it’s such a great gift idea! Glad it inspired some ideas! XOXO
So pretty Denise and such a good idea for upcycling a wine box!
Thanks my friend! Hope your Easter weekend is going well! Hugs XOXO
This would be a great teacher gift filled with gardening supplies!! Teacher appreciation week is coming soon! Great idea!
Ohhh yaaaa, this is a GREAT idea!
Very pretty Denise, I love all the vibrant colors! xo
Thanks Jen! Have a wonderful weekend! XOXO
Ooh I love this! thanks for the continued inspiration!
Thanks Terry, so glad you like it!🤗
Super cute!
Thanks Lily! XOXO
I have a few wine boxes and now I know what I can do with them. Thanks for the inspo Denise!
My pleasure and have fun! XOXO
What a pretty little seed box, love it!! xo
Thanks so much Nancy! XOXO
Beautiful!!!!
Thank you Karyn!😊
GREAT JOB!
Thanks Rebecca!🤗
This box is absolutely gorgeous now, Denise! I’m sure it will make you smile every time you reach for it to grab some seeds! XOXO
Yes it will!😃 Thanks, Christy! XOXO
Soooooo pretty! Great job with the chalk outline. I have done it with carbon paper under the font paper, tracing the outline.
Brilliant! Carbon paper would have worked waaaaay better for this because it was challenging to see the chalk lines. Or at the very least a different color chalk!😆
Hi Denise. What a lovely idea for storing seeds. The new seed box is beautiful AND functional. I also love gardening, and must admit that I store my seeds in old plastic coffee containers. Lol. I think it’s my time for a storage glow-up.
Thanks my friend! XOXO And plastic coffee containers would be a great way to store seeds!!!
Yay for garden season! I love your upcycle into a seed box. Happy Gardening!
Thanks my friend! Can’t wait for gardening season!🌱