A TRASHED END TABLE GETS A NEW LOOK WITH A BRIGHT, BOLD COLOR!
Hello, creative #sifamily, I’m so happy you’re joining for another Trashy Treasures Tuesday! This end table was found curbside, and I had a ton of fun with this one. Sometimes you have to pick up the brush and do something for the sheer pleasure of the process, right? I’m sharing how BOLD color can totally transform your dated furniture, and I can’t wait to hear what you think of this bright color and this brand new look!
I’m also sharing –
- How a pop of color can update a piece
- When to use primer… I wish I had used it, but I didn’t
- How to decoupage a drawer
- … and more!
*As an Amazon Associate, I earn from qualifying purchases. There are affiliate links in this post to other companies/products I use and love as well. You will never be charged extra when you purchase through these affiliate links. If you purchase from my links – A BIG thank you for supporting me and the #siblog! To see my full disclaimer, click here.
It’s also the second Tuesday of the month, and this means it’s Trashy Treasures Tuesday! I’m looking forward to seeing what our TTT crew, Christy at Confessions Of A Serial DIY’er, Nancy at Artsy Chicks Rule, and Kathy at Petticoat Junktion, have created. I hope you join me on today’s tour as well! I’ve included their before-and-after links down below.
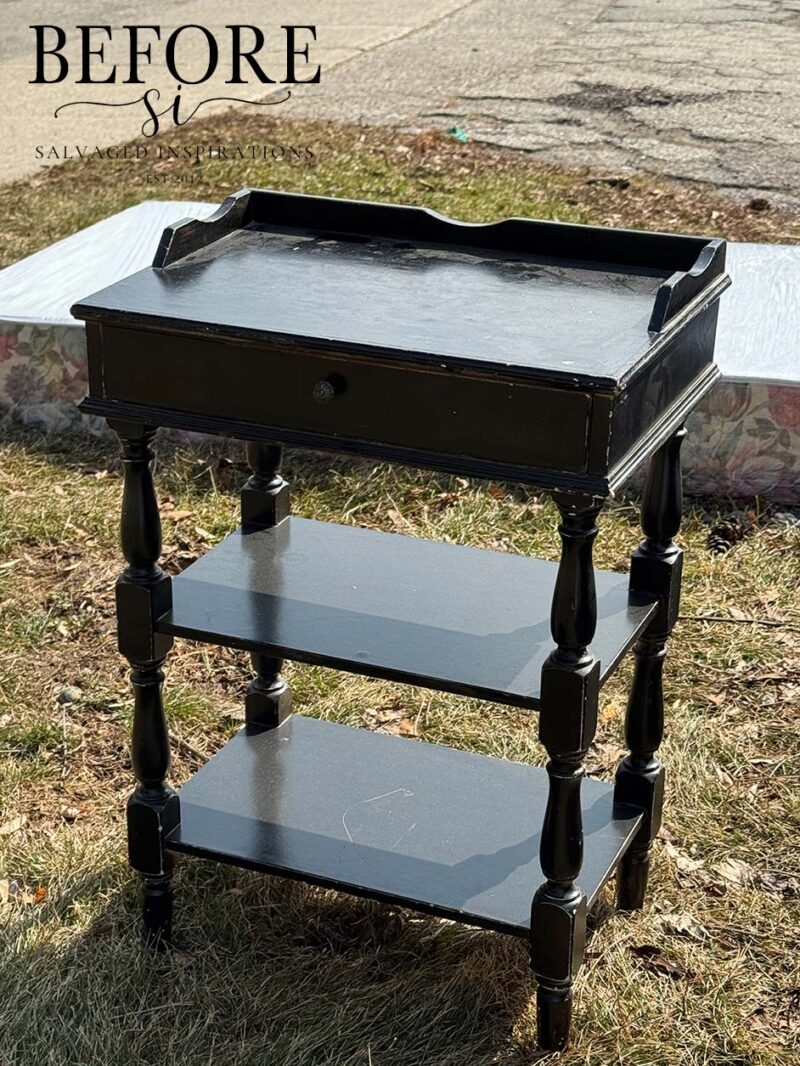
Here’s the end table with a top drawer and open shelving I found curbside on bulk day.
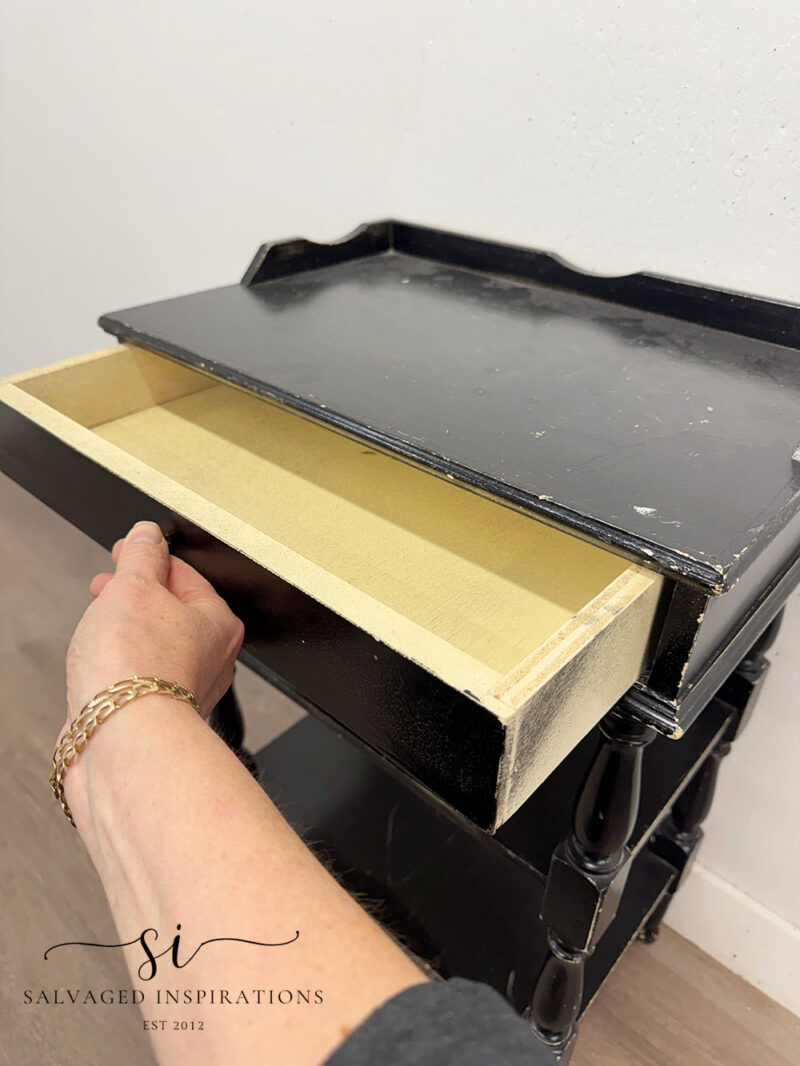
When I brought it home and gave it a once-over, I saw that this piece is a mass-produced reproduction. It’s made from plywood layers, chipboard, and has been constructed with simple butt joints. This piece was probably made between the 70s and 90s. It’s not a highly valued piece, but these are great for refinishing projects!
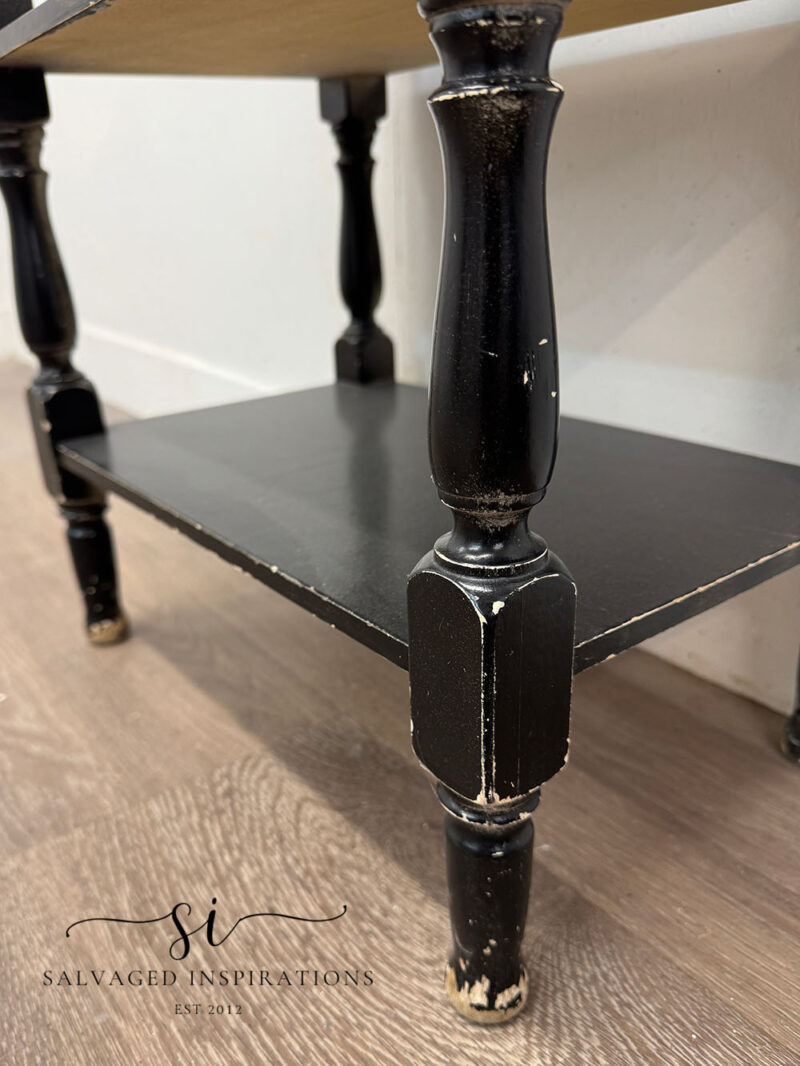
The exterior finish was a little scratched and chipped, but overall, the style is super cute. I like the turned legs and the gallery top detail.
THIS POST IS SPONSORED/CONTAINS AFFILIATE LINKS TO PRODUCTS I USE. YOU CAN SEE MY FULL DISCLOSURE HERE.
EVERYTHING YOU NEED FOR A DIY END TABLE FLIP:
End Table – SALVAGED
White Lightning Cleaner
1.75″ Oval Med Paint Brush
Florida Orange Chalk Mineral Paint
Vintage Oranges Decoupage Paper
Satin Clear Coat (for decoupage)
Gator Hide Topcoat
TOOLS THAT MAKE THE JOB EASY
Sanding Sponge
Utility Knife (to cut paper)
9 in 1 Painters Tool/Putty Knife (10% off as of writing!)
CLEANING & SANDING
To give this little end table a good cleaning, I used a TSP substitute and a large automotive sponge. I also removed the little knob on the front drawer and made sure the underside was all cleaned up as well. I like flipping the piece to get a better look at what I’m working with. Here is another clear view that the shelf is made out of chipboard and the turned spindle legs are solid wood.
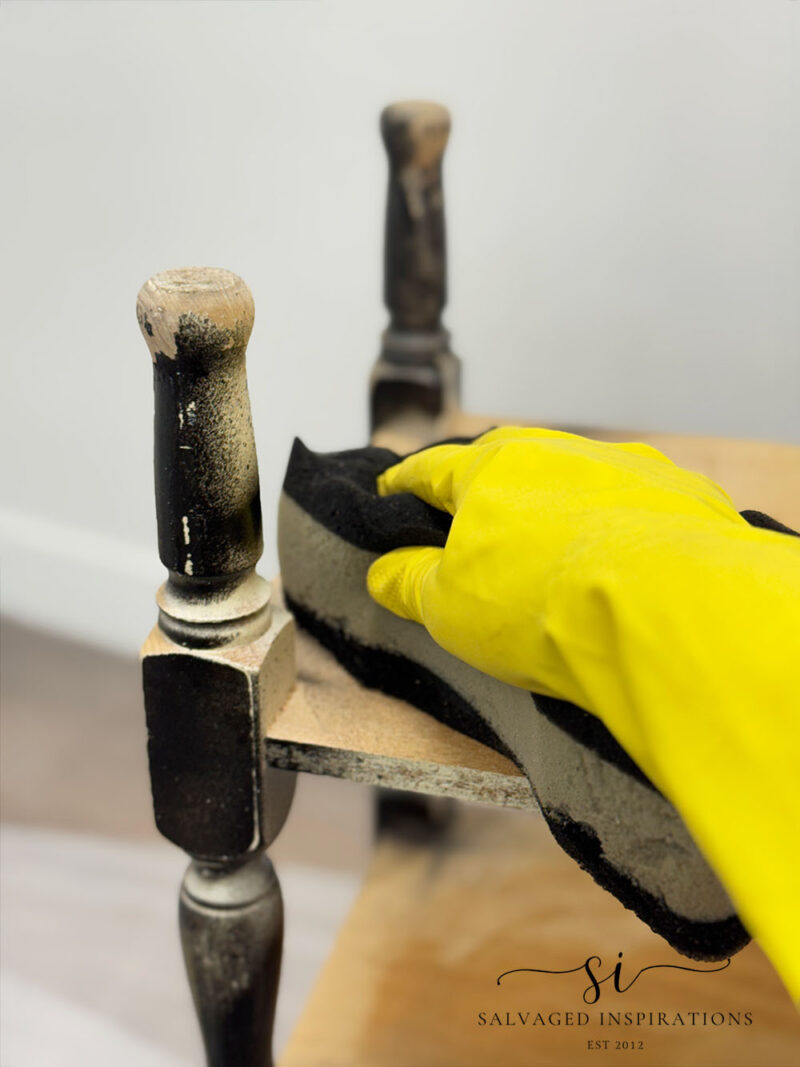
To scuff sand the finish on this end table, I used my handy sanding sponges. These worked really well to scuff up the existing finish and get around all the details on these turned wooden legs.
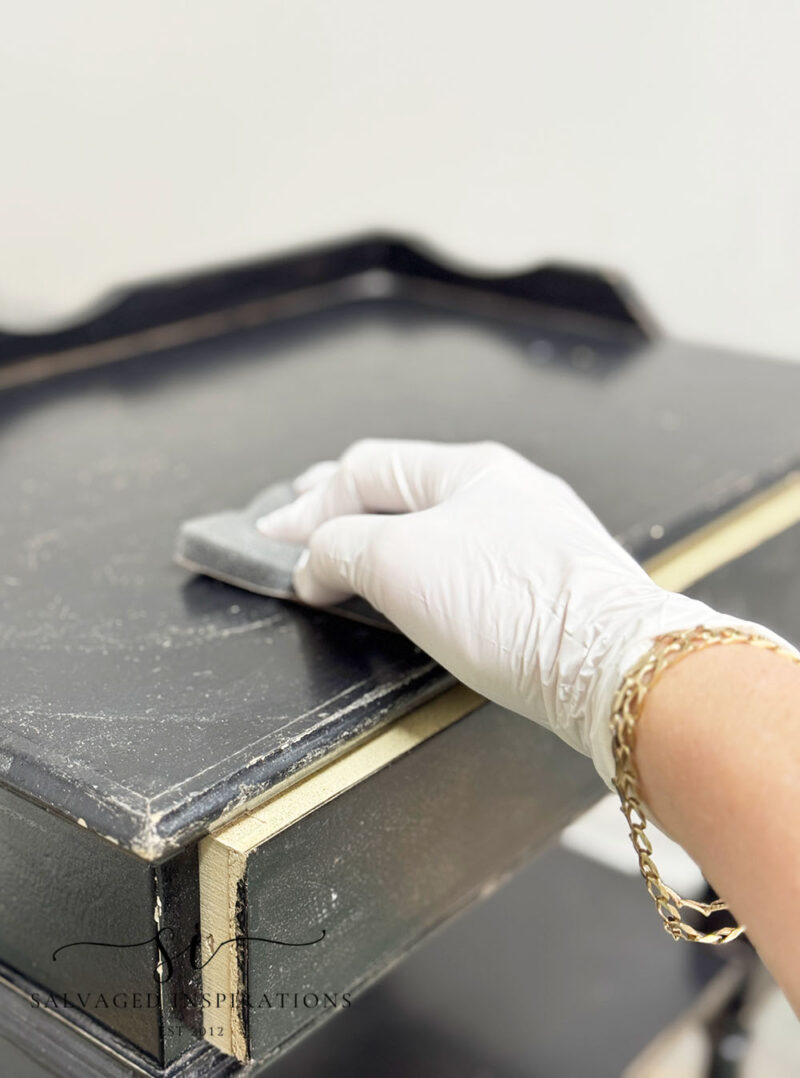
I WISH I HAD PRIMED! … BUT I DIDN’T
I really wish I had primed this piece, but originally, I planned to distress it so some of the black finish would peek through, and then tone it down with a dark wax. If I had gone with my original plan, the dark base would have worked in my favor. But halfway through, I was liking the bright color so much, I didn’t want to antique it or distress it.
Priming isn’t needed in every makeover, but I would say it’s beneficial for MOST makeovers – unless you’re using an all-in-one paint + primer product. Primer helps paint adhere and look all uniform instead of patchy or peeling. Anytime you’re working with tricky surfaces or changing colors significantly, primer creates a stable, even base so your paint adheres properly and performs the way it should.
If you’re just starting on your furniture painting journey, here are a few tips on when to use primer:
- Raw or bare surfaces: Unfinished wood, drywall, or repairs will soak up paint unevenly without primer
- Color changes: Going from dark to light (or vice versa) needs primer to prevent bleed-through
- Stains or odors: Water stains, smoke, or tannins can seep through paint unless sealed first
- Glossy or slick finishes: Surfaces like laminate or old varnish need primer for proper adhesion
- Durability matters: High-traffic areas benefit from primer to reduce chipping and extend paint life
Again, I wish I had primed this piece because it would have saved me a lot of painting… and paint.
FLORIDA ORANGE PAINT
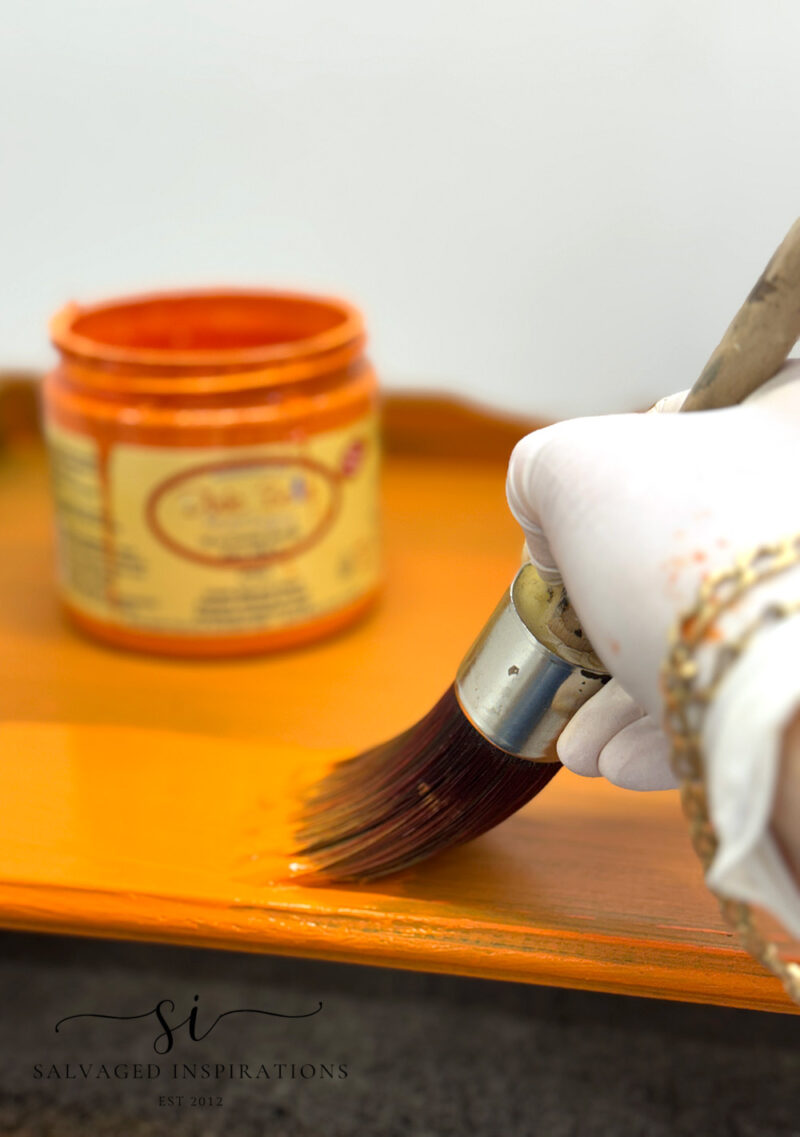
Once the whole piece was scuff-sanded, it was time for the fun part—choosing a color. I kept thinking about my recent trip to Portugal (I shared more about it in this blog post if you’re curious), especially the roadside orange trees where we were literally picking fresh fruit and eating it on the spot—such a highlight! That memory inspired me to go with this bold Florida Orange Chalk Mineral Paint. It’s definitely outside my usual comfort zone (I’ve only used it a handful of times), but wow—it really makes a statement!
Using bold, bright paint colors is one of the easiest ways to completely transform a dated piece of furniture. Instead of trying to hide its age, a bold color can make a piece feel modern and full of personality. A vibrant color can highlight details, create a focal point in a room, and turn something dated into a standout piece—all without changing anything structurally. The vibrant paint does all the work in updating the look.
But once I saw how vibrant and fun the color looked on its own, I changed course. The only downside? Without primer, it took about four coats to get full, even coverage—but totally worth it in the end!
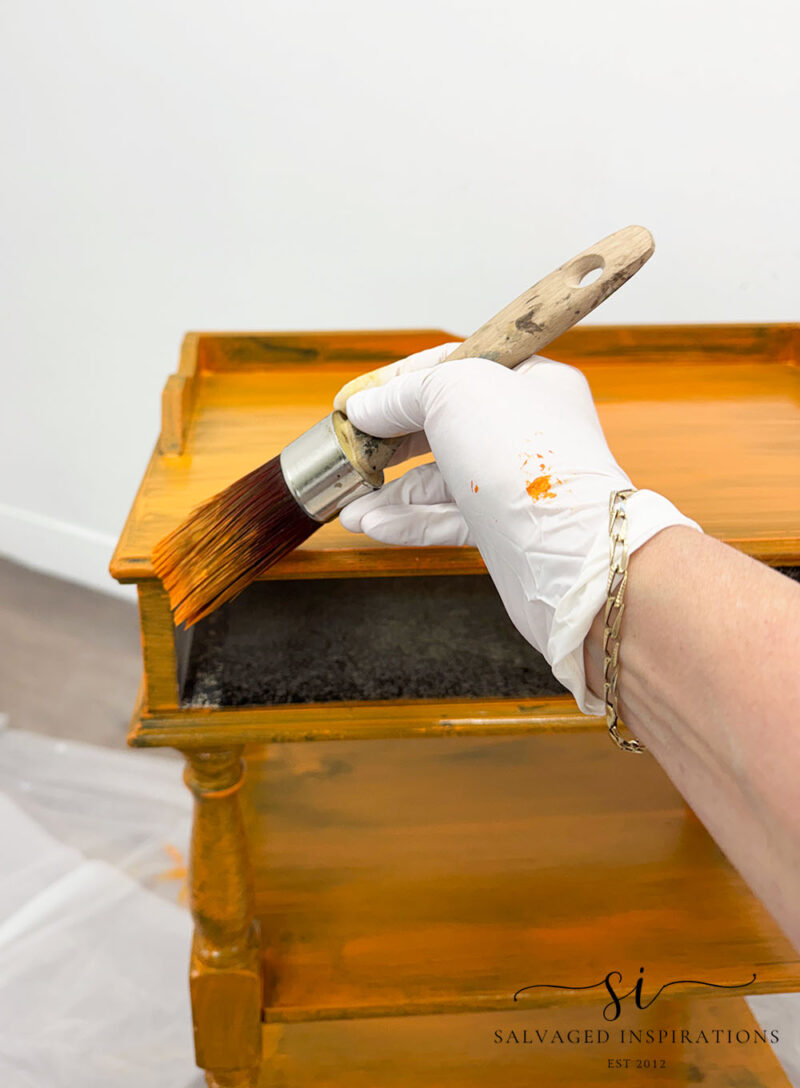
And the first few coats looked scary/hideous!
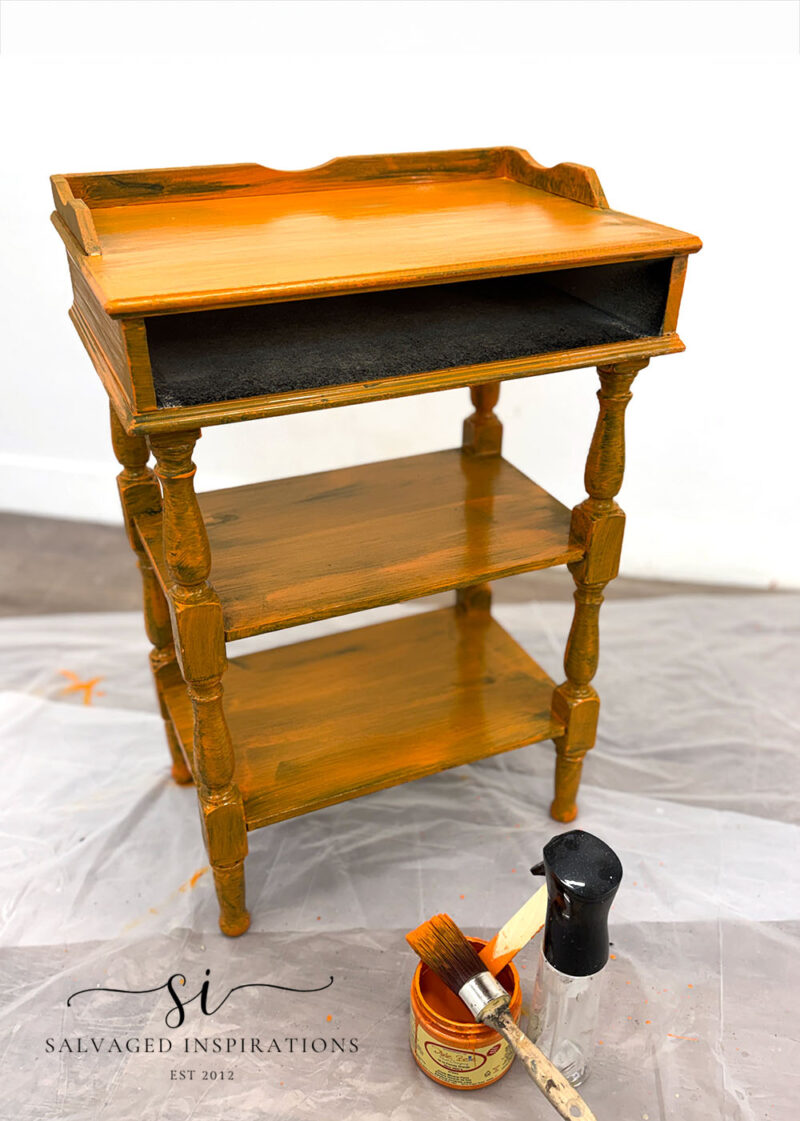
I wish I had used a primer because it would have saved me a few coats. But each coat thereafter started looking better and better!
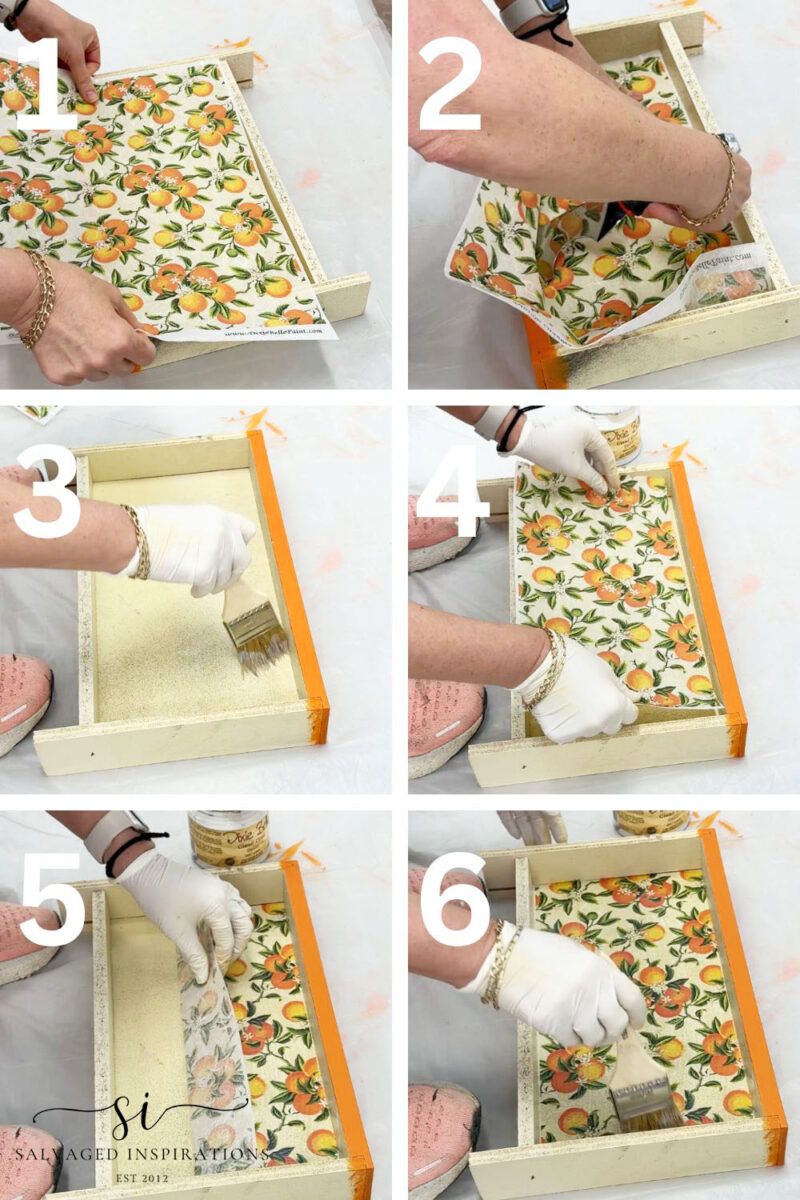
HOW TO DECOUPAGE
Since I was inspired by orange, I thought, why not make this a super sweet table and add this Vintage Orange Decoupage Paper to finish the look!
Decoupaging a drawer with rice decoupage paper is super easy, and you really only need a few key steps to get a beautiful result.
✂️ 5 Easy Steps
- Prep the drawer
Clean and scuff sand - Paint your base (optional)
Apply a light paint color if needed and let it dry—this helps the design pop. - Cut and position the rice paper
Trim (or tear) your paper to fit and do a dry placement to see how it looks. - Adhere it in place
Brush decoupage medium onto the drawer, lay the paper on top, and gently smooth out wrinkles and bubbles. - Seal it
Apply a thin coat of decoupage medium over the top and let it dry completely.
PIN AND SHARE 🤗
FINISHING TOUCHES
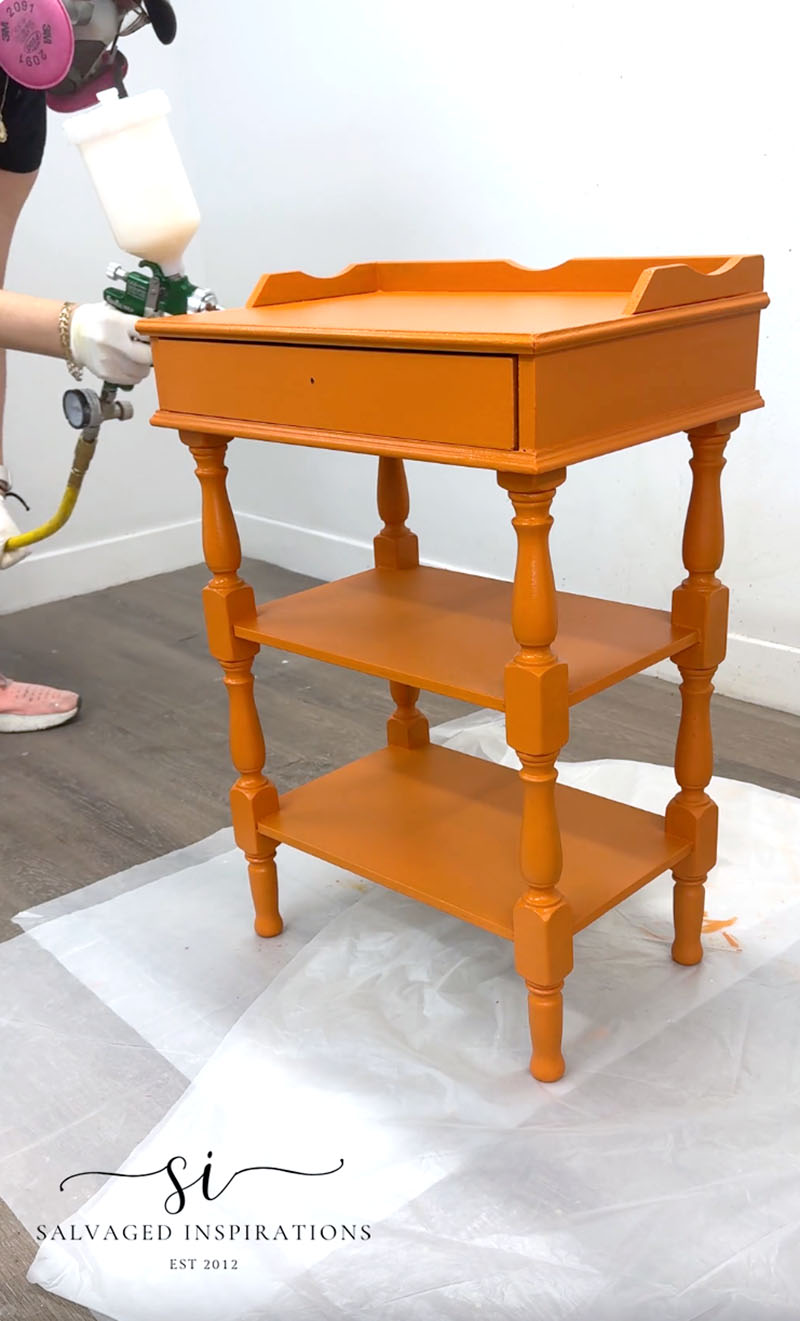
For the finishing touches, I sprayed three coats of Gator Hide topcoat for protection. After it was all dry, I screwed in the original little knob.
THE BIG REVEAL
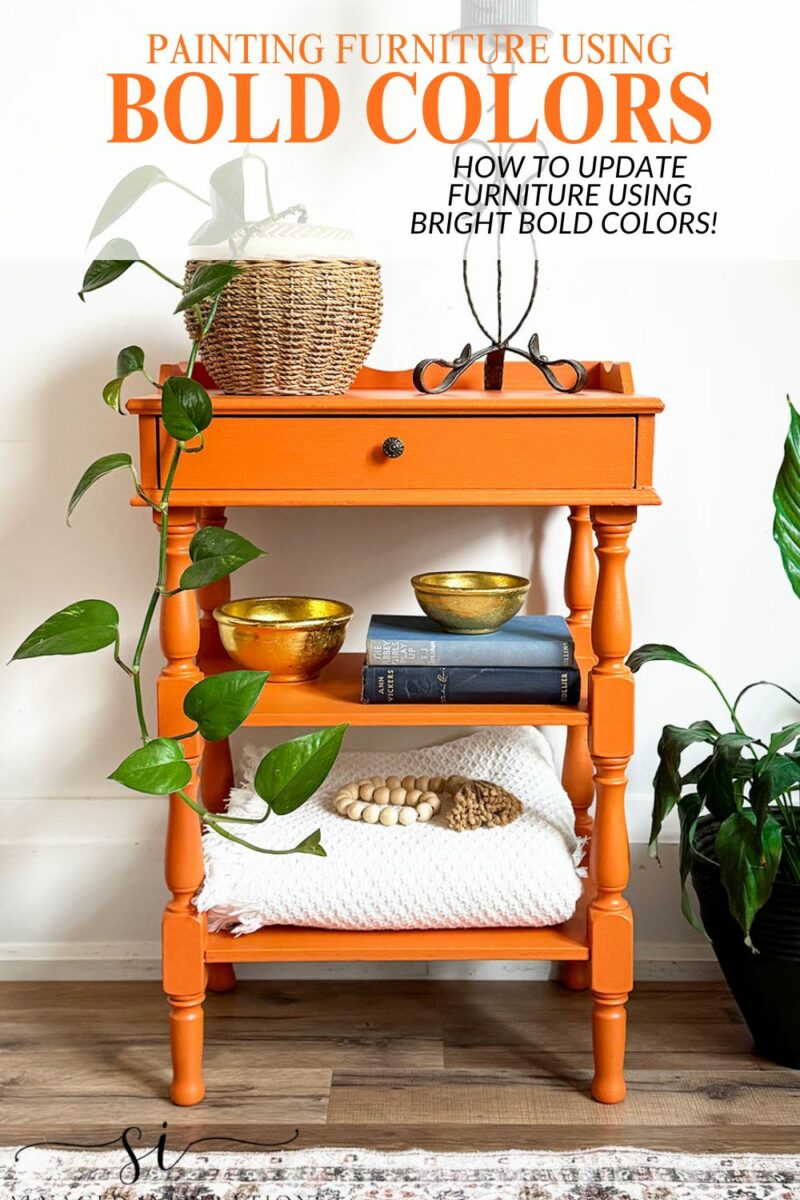
Here’s how this bright and bold restyled end table looks now! What do you think?
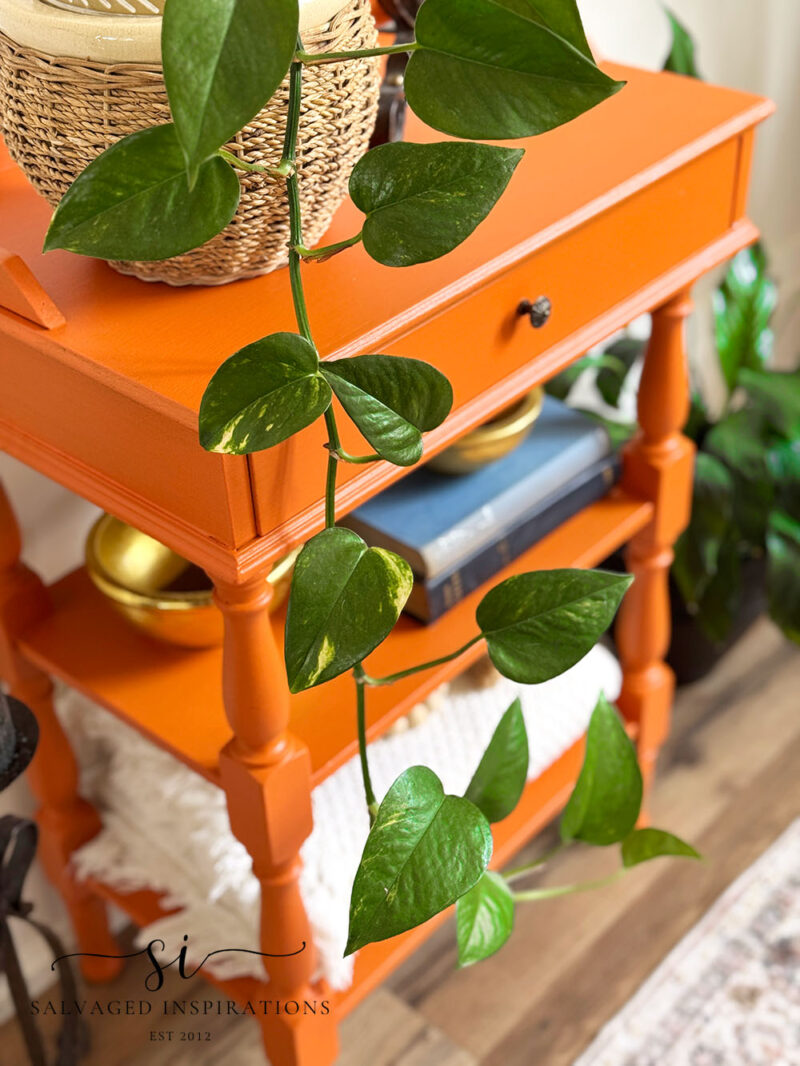
I almost can’t believe what a difference the color made! This table went from looking seriously sad to looking full of energy, fun and cheerfulness!
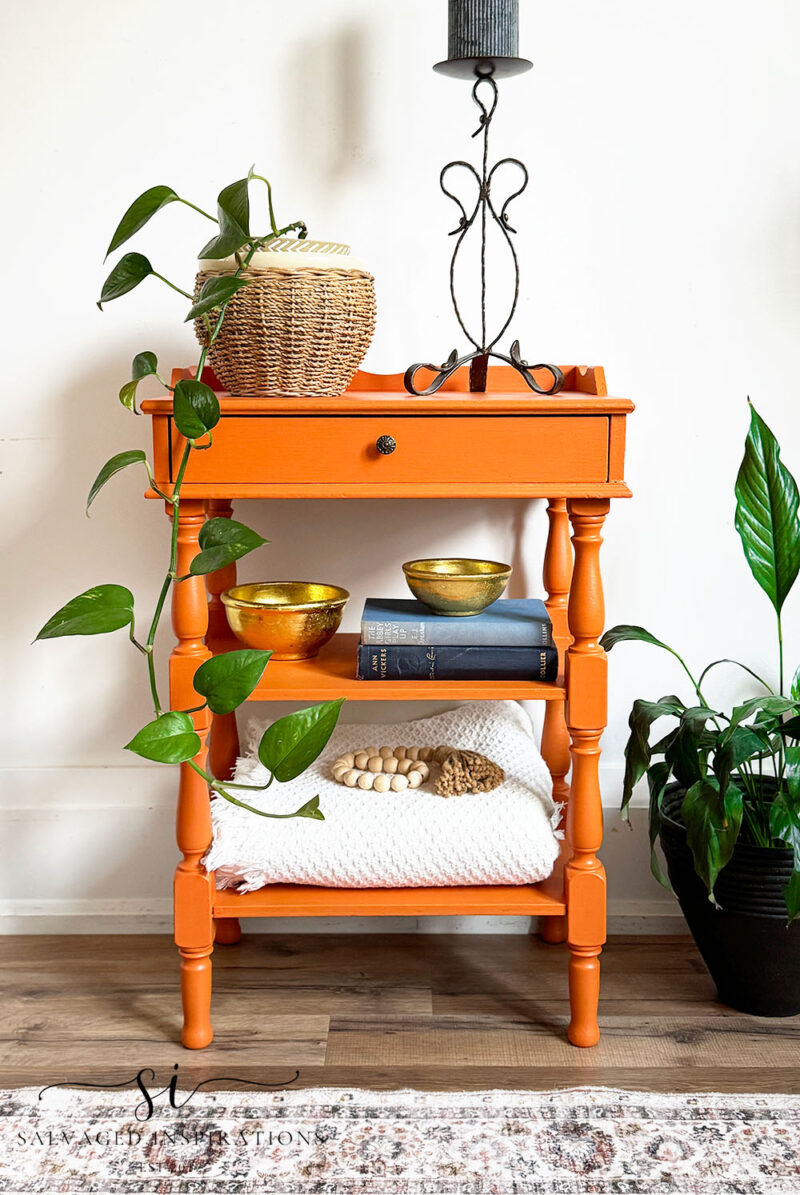
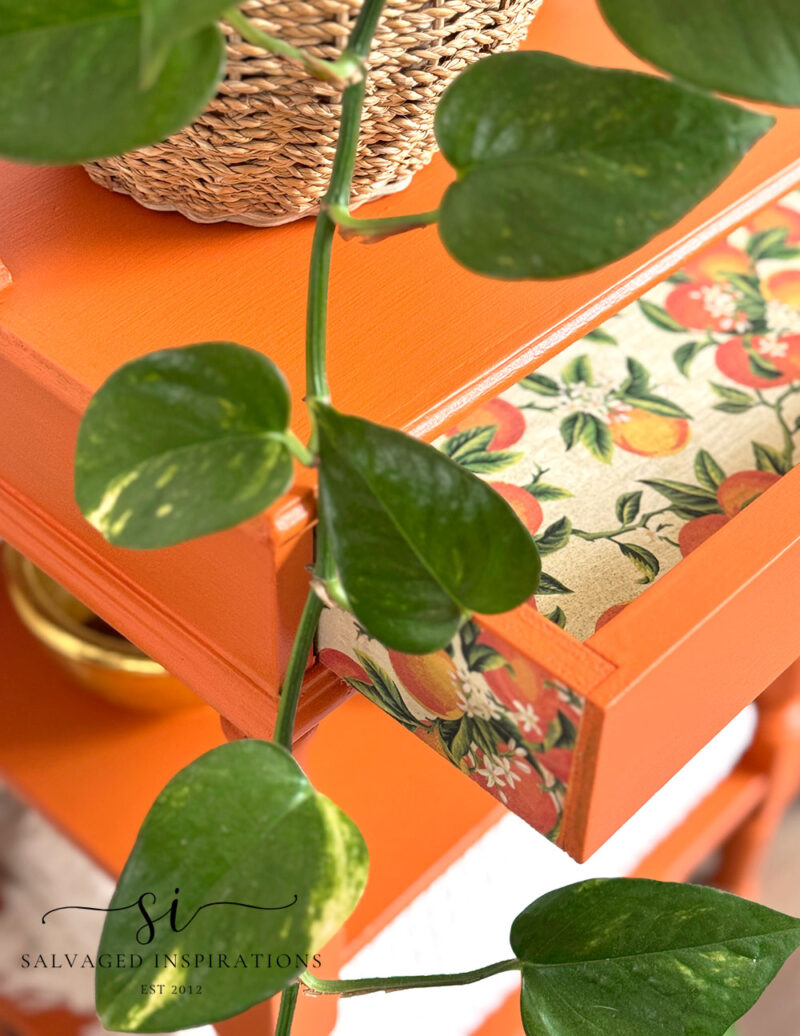
And how adorable is this vintage orange drawer liner?!
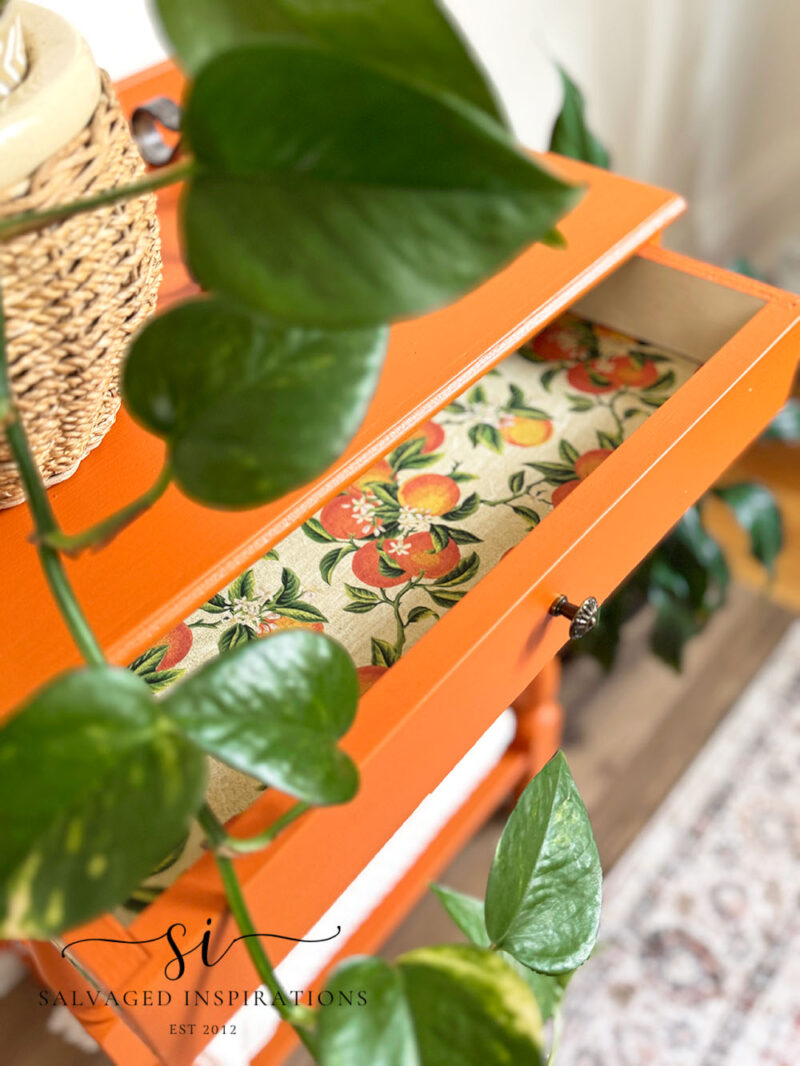
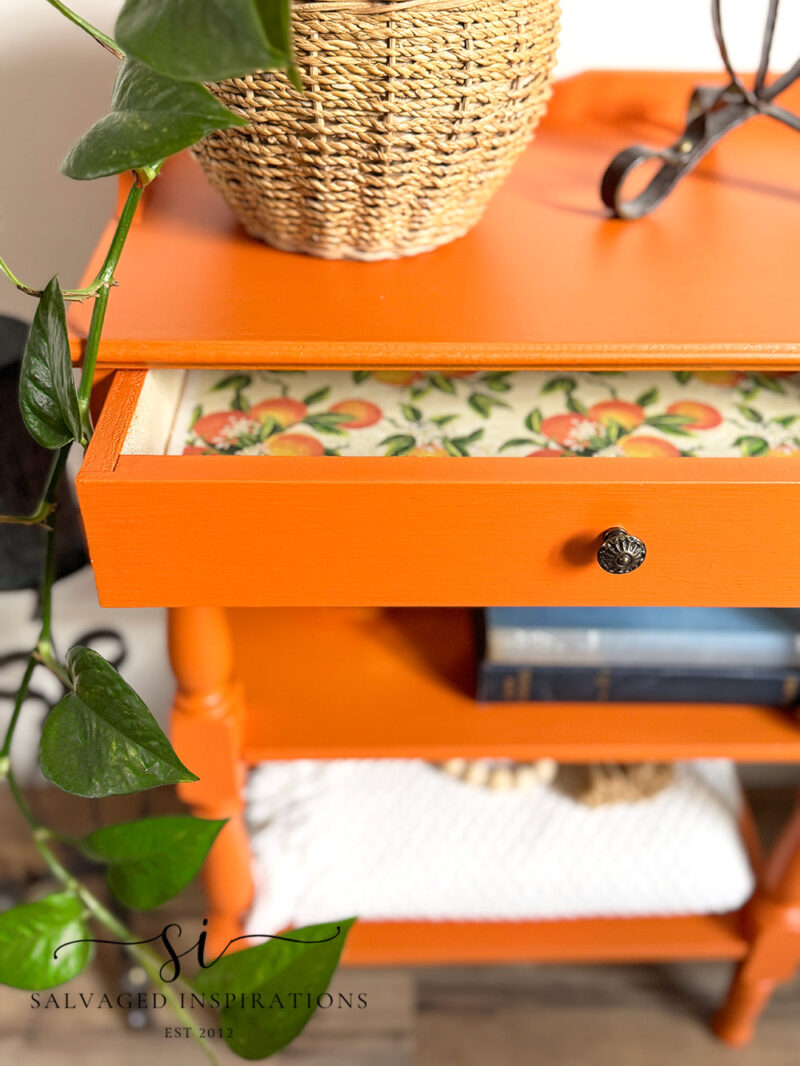
Rather than replace the hardware, I reused the original little knob. Even with the updated color, it was still perfect.
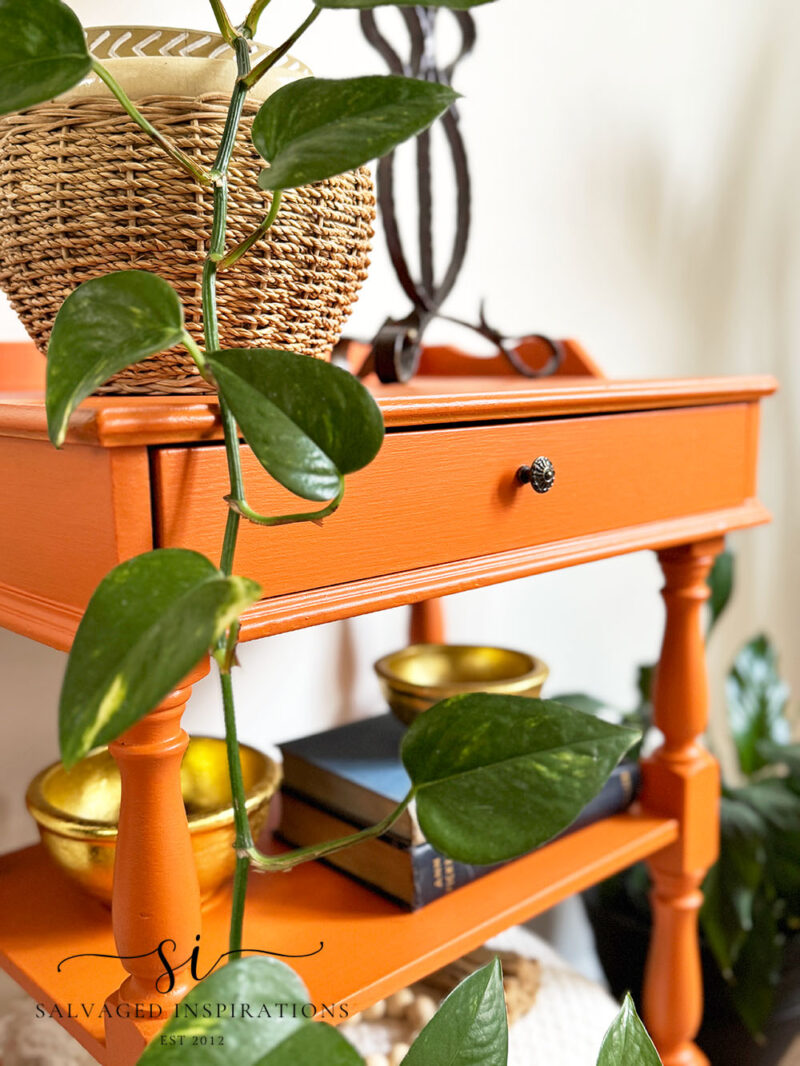
I love the little peek-a-boo side oranges on the sides of the drawer as well.
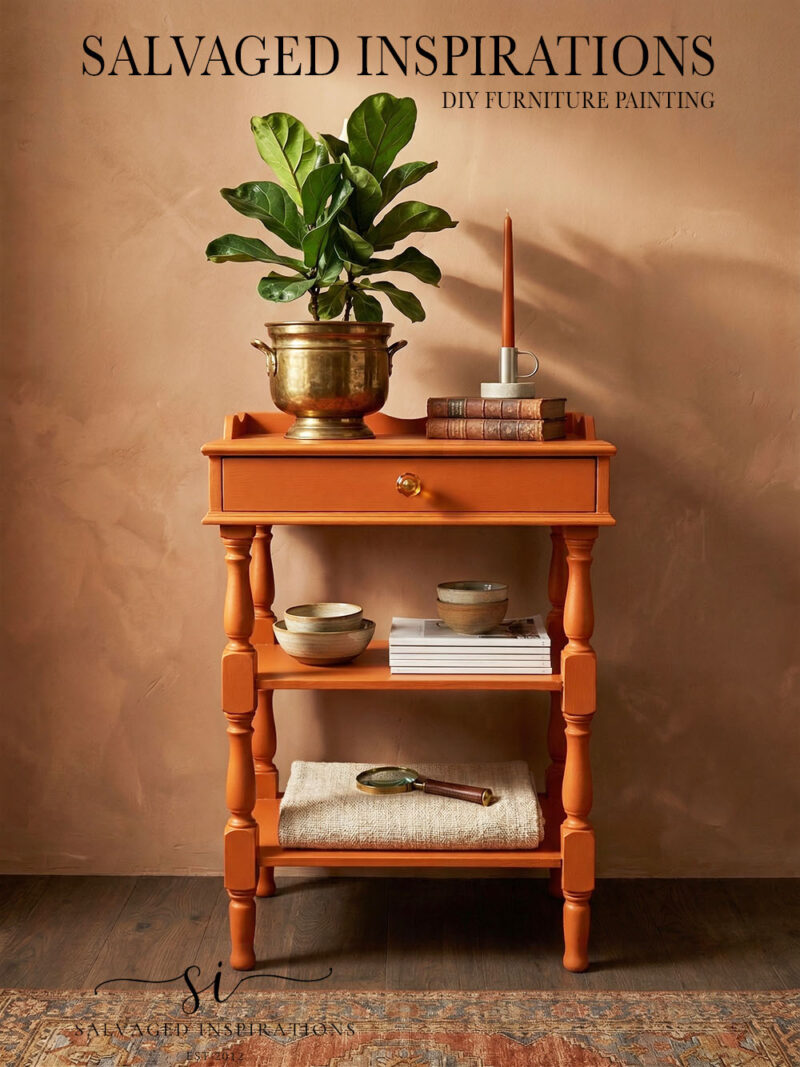
And just for fun, I prompted AI to generate a styling of this end table. Here’s what it generated. I think it muted the orange a little but I REALLY like the dark-washed wall behind this piece!
YOUTUBE TUTORIAL
Here’s the full step-by-step YouTube tutorial below. Our #siyoutubefamily has almost reached 57.7K, so don’t forget to subscribe if you haven’t already! So exciting, thank YOU!
And now for some Trashy Treasures FUN!
Below are the TTT ladies’ BEFORE photos. Visit the links below to see the amazing AFTERS and learn how they did it! I’m heading over to take a peek as well! x
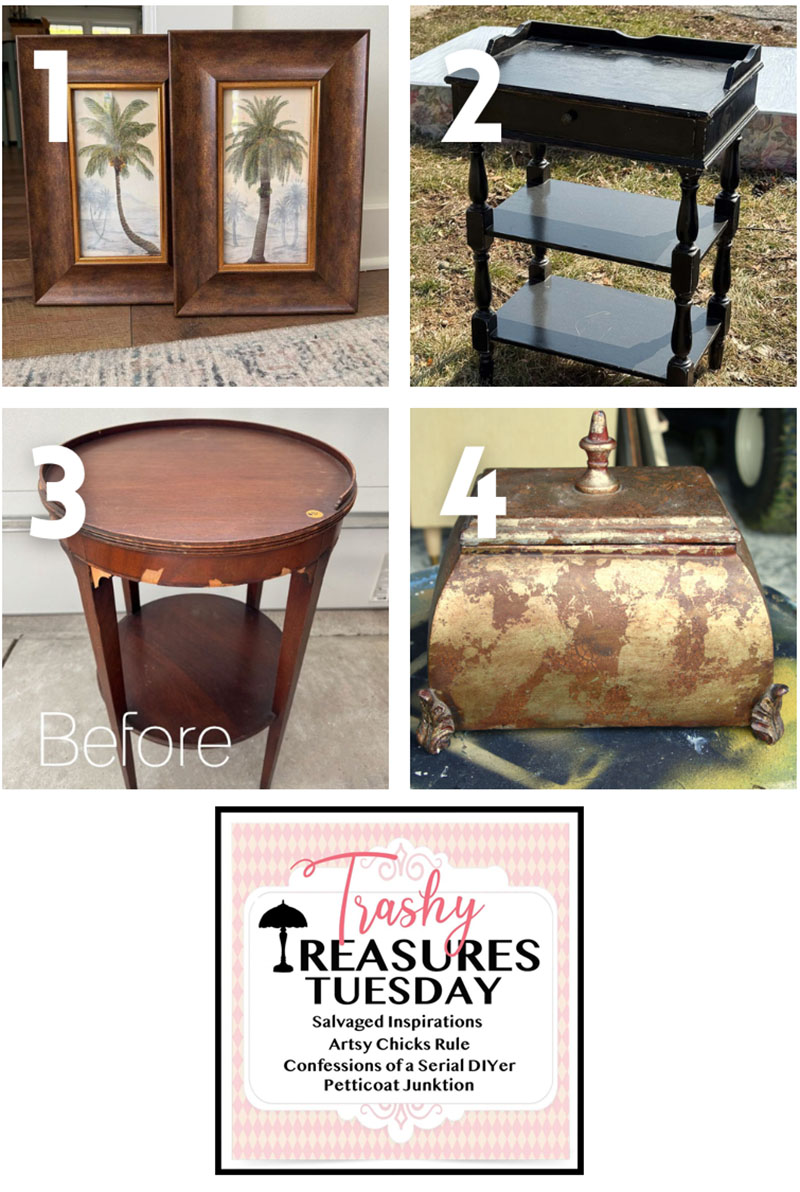
1. ARTSY CHICKS RULE
2. SI (HAPPY YOU’RE HERE!)
3. CONFESSIONS OF A SERIAL DIYER
4. PETTICOAT JUNKTION
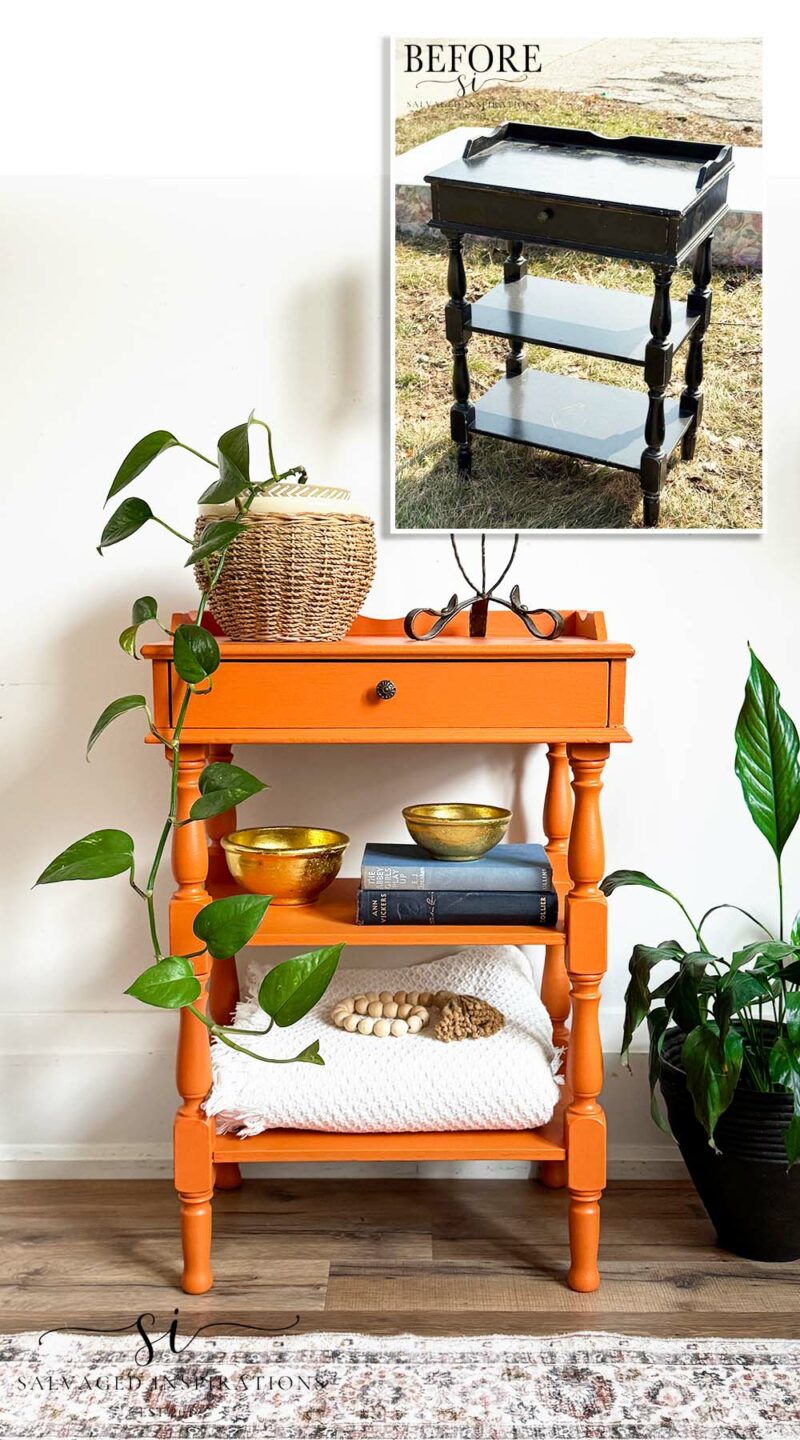
Here’s another look at the before-and-after trash-to-treasure end table makeover. I hope it inspires and gives you the confidence to add some bold color to your furniture makeovers!
Thanks for joining today’s Trashy Treasures Tuesday makeover. Feel free to drop me a hello and let me know what you think of this orange-painted side table. I always love hearing from you — and just so you know, I’m always cheering you on from my end!
Happy painting, my friends!
Denise x
RELATED POSTS:
ORANGE TO WALNUT IN ONE EASY STEP
THE ALGARVE AND EVERYTHING IN BETWEEN
THRIFT STORE PAINTED KEY CABINET
DIY DOLL HEAD PLANTERS
HOW TO ELEVATE FURNITURE BY ADDING TRIM
PIN AND SHARE! 🤗
 Hello again... I'm so happy you dropped by! Let's keep in touch! Follow me on social media or sign up for a dose of furniture painting inspiration and diy tutorials. :)
While that bright orange is NOT my cup of tea, I applaud the move to a bold color. I’d probably lean into spice blue, but again, not a color everyone would love.
Bold works!
Thanks and I agree. When it comes to bold colors, you really have to pick what YOU love because it makes such a statement. Spice blue would be right up my alley as well! 🙂
I absolutely LOVE this makeover! It is fabulous! The orange is bright, but easy on the eyes. I love the coordinating drawer paper. The only thing that I would change is the knob. I feel like it is a bit small for the table. I like the AI generated glass knob option. Or a light wood knob would look nice. Or a colourful ceramic one. Anyway, small detail. I love your work. Thanks so much for sharing!
Thanks Anita, I love this shade of orange as well… for all the reasons you mentioned! I also like the AI generated knob – but not any more or less than the original so I thought why keep what was original to the piece.😀 Wishing you a great weekend!
I would have tried to find an orange (the fruit) knob or even a gator. I love the color
An orange fruit knob would have been soooo cute! 🍊🍊🍊
I really like this color! 🧡 Fresh and Springy! Beautiful makeover and your styling is 👌🏻 !
Enjoy the rest of your week and thanks for always inspiring us to try something different. xo 😘 Pinned 📌
I really like this color too and yet I’ve only used it a few times. It was a great reminder (to myself) not to overlook bolder and brighter colors – they’re awesome, right?!😃 Wishing you a fabulous week as well my friend! XOXO😘
Hi Denise. Very bold and beautiful use of color. This little table looks absolutely adorable orange. I love the added touch of decoupage.
Thank you Monique! I loved painting with this color and I hope it put a smile on your face like it did mine. Have a super week! XOXO
I love that “pop” a piece of painted furniture adds to a room. And since my “style” has a boho vibe, it is perfect. I have a tall side table in the garage with legs similar to your piece. Sadly I chalk painted it bright white a few and hate it! (why would a boho like white)? Can I chalk a bright color over that white? I’d go for more of the DIY Bohemian Blue. If yes, I’d let that poor little table live inside. Always enjoy seeing your magic with various pieces
…”why would a boho like white”😄, you gave me a chuckle Susan. If you give the white chalk paint a light scuff sand and then paint your DIY Bohemian Blue I’ll bet it will be the sweetest focal piece!
That stark white thing turned me into a “boho”! You’ve motivated me. No table should be forced to live its life looking like Casper the Ghost. Thanks!!
🧡
This turned out amazing, Denise! I guessed peony when you mentioned a bold color, but I am loving the orange! The paper inside is a perfect pairing! XOXO
Thanks Christy, and yessss, it is the perfect pairing… I wonder if Dixie Belle did that by design?!! 🍊🍊🍊😄 Have a great week and weekend my friend! Hugs
**that should say the “pictureS” not picture! lol
💙 Thanks 💙
I am not an orange fan at all but I absolutely LOVE this, Denise!! And those drawers are perfect!! (I love the picture with the green plant against the orange also…totally magazine worthy!) xoxo
I’m all over magazine worthy so thank youuuu! And so glad you enjoyed the orange. Have a fabulous week my friend! XOXO
Oh…. that’s a ray of fun sunshine ! Such a happy little pop of color.
I do love me a bit of orange here and there. My craft room is wheat yellow with blue, green, white – and a bit of orange. I’m loving this shade of orange.
So, you have inspired me to paint an old sewing machine square bench with a storage seat – was my moms.
You made my day !! A happy color is a wonderful thing 🙂
You just put a BIG SMILE on my face P! You’re craft room sounds like the perfect creative space with a beautiful color scheme. And what a lovely idea to paint your mums sewing machine bench in a happy color… it is a wonderful thing!🤗
You’re so brave. I absolutely love this little table. Everything about it is just awesome.
Aw thanks Donna! While I was painting this I was wondering why I don’t use bold colors more often.🤔 So happy you like it and thanks again!💙
Your Work is absolutely beautiful. I’m inspired by your creativity; you are so talented. Have a great day.
Hi Catherine!🤗 Thank you I’m so happy you like it. Wishing you a great day as well! xo
I was unsure what I thought about this paint color when you shared the first coat, but WOW – I love this color! Thanks for sharing and always surprising me with your talent and artist’s eye! 🧡
Hi Nicki!🤗 It packs a punch, right?!? It puts a smile on my face and I had a lot of fun with it! Have a great week my friend. XOXO