MY BATHROOM CABINET GETS A NEW LOOK BY ADDING DIY EASY FLUTED BACK BOARD | YOUTUBE VIDEO
Hi creative friends, I hope you had a wonderful week and are staying cozy and warm! Today I’m giving my cabinet a fluted panel update. This project is a budget-friendly alternative to the pricey panels you find online. And if you’ve been reading/visiting the #siblog for a while, you may recall the bathroom cabinet has gone through a few makeovers over the years, but this one? Hands down, my favorite. It’s inexpensive, easy to do, renter-friendly, and instantly warms up the whole space, making it feel elevated and fresh. I’m not usually one to chase trends, but I do love sprinkling in a few that I can DIY and easily change when I get bored—kind of like adding a trendy accessory to a classic little black dress. 😉 I can’t wait to hear what you think!
I’m also sharing –
- My go-to water-based stain color
- How to give any boring cabinet a warm wood character
- My favorite tool that works like an extra set of hands when working with long or heavy materials
*As an Amazon Associate, I earn from qualifying purchases. There are affiliate links in this post to other companies/products I use and love as well. You will never be charged extra when you purchase through these affiliate links. If you purchase from my links – A BIG thank you for supporting me and the #siblog! To see my full disclaimer, click here.
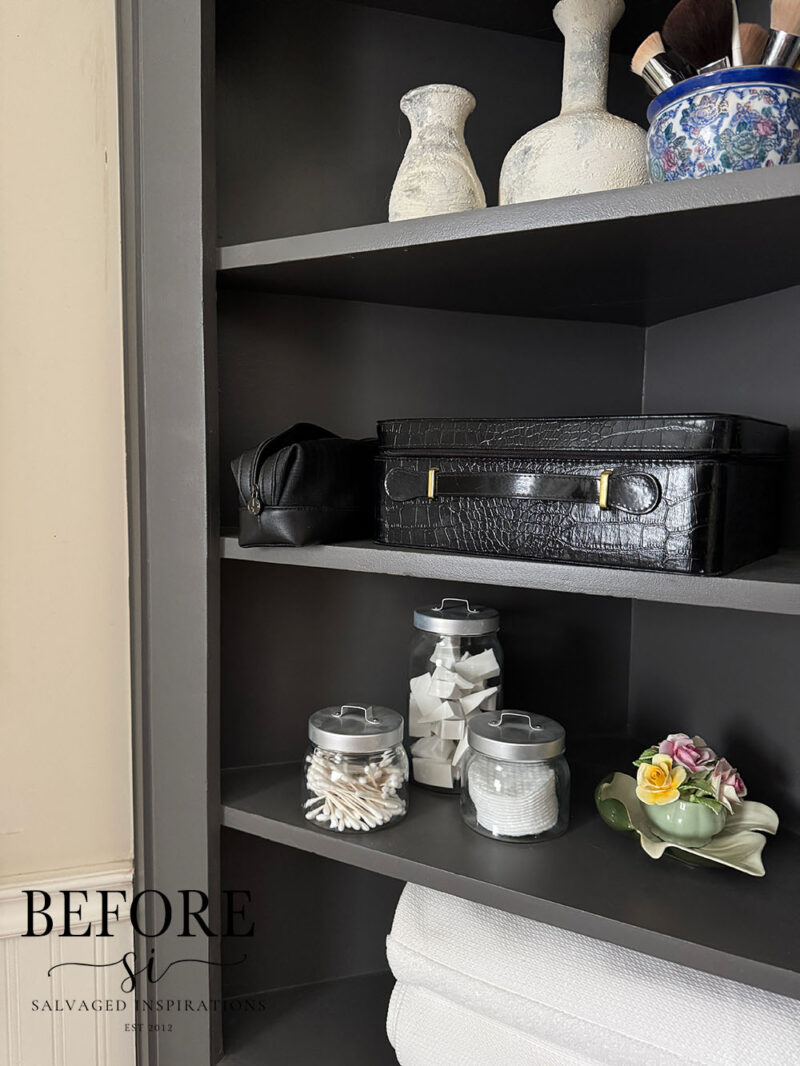
Here’s a look at my bathroom corner cabinet before…
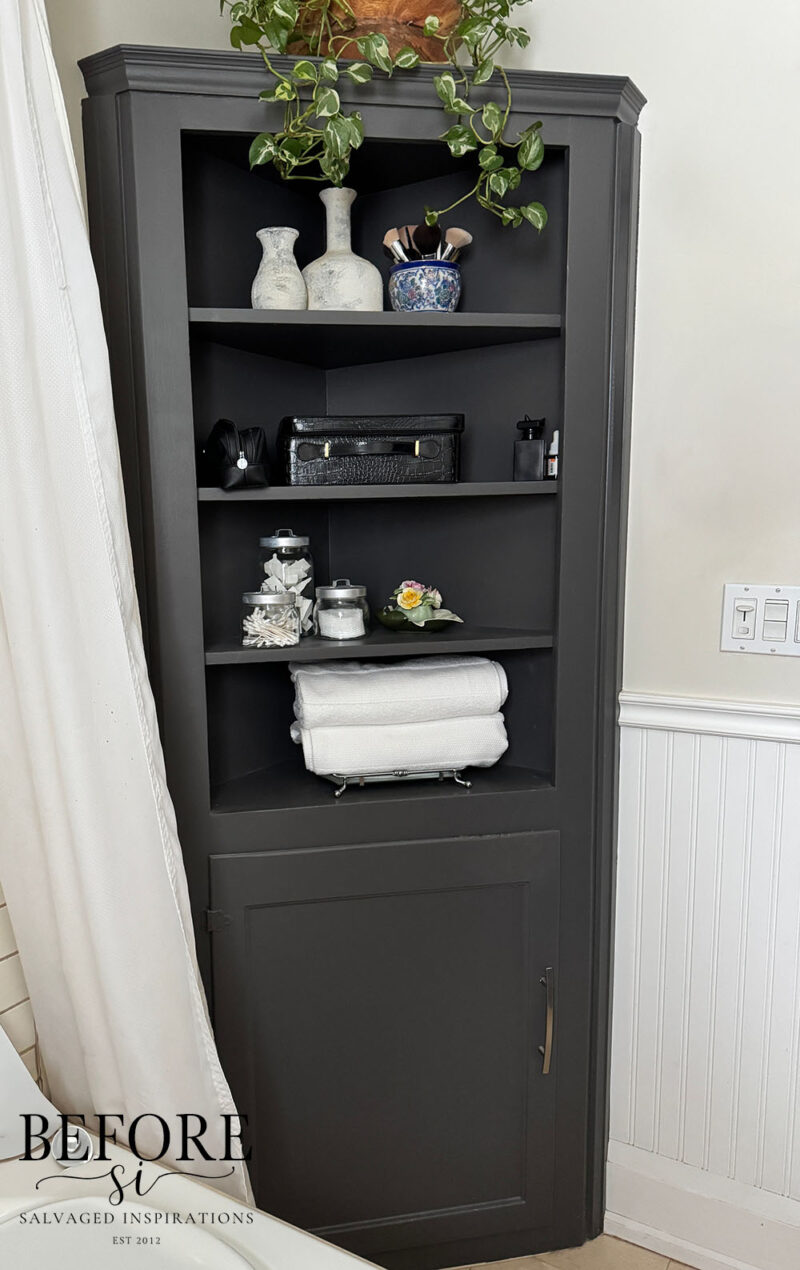
I still love the paint color this Valspar paint I bought from Lowe’s. It’s called “Semi-Sweet” and this paint has held up awesome over the years.
THIS POST CONTAINS AFFILIATE LINKS TO PRODUCTS I USE. YOU CAN SEE MY FULL DISCLOSURE HERE.
SOURCE LIST
Corner Cabinet (Salvaged)
2″ Chip Brush
Water Mister Spray Bottle
Charred Hickory Water-based Stain
8′ Fluted Knotty Pine Shiplap Boards (3)
Adjustable Roller Stand
Measuring Tape + Pencil
Triangle Carpenters Square
Compound Miter Saw
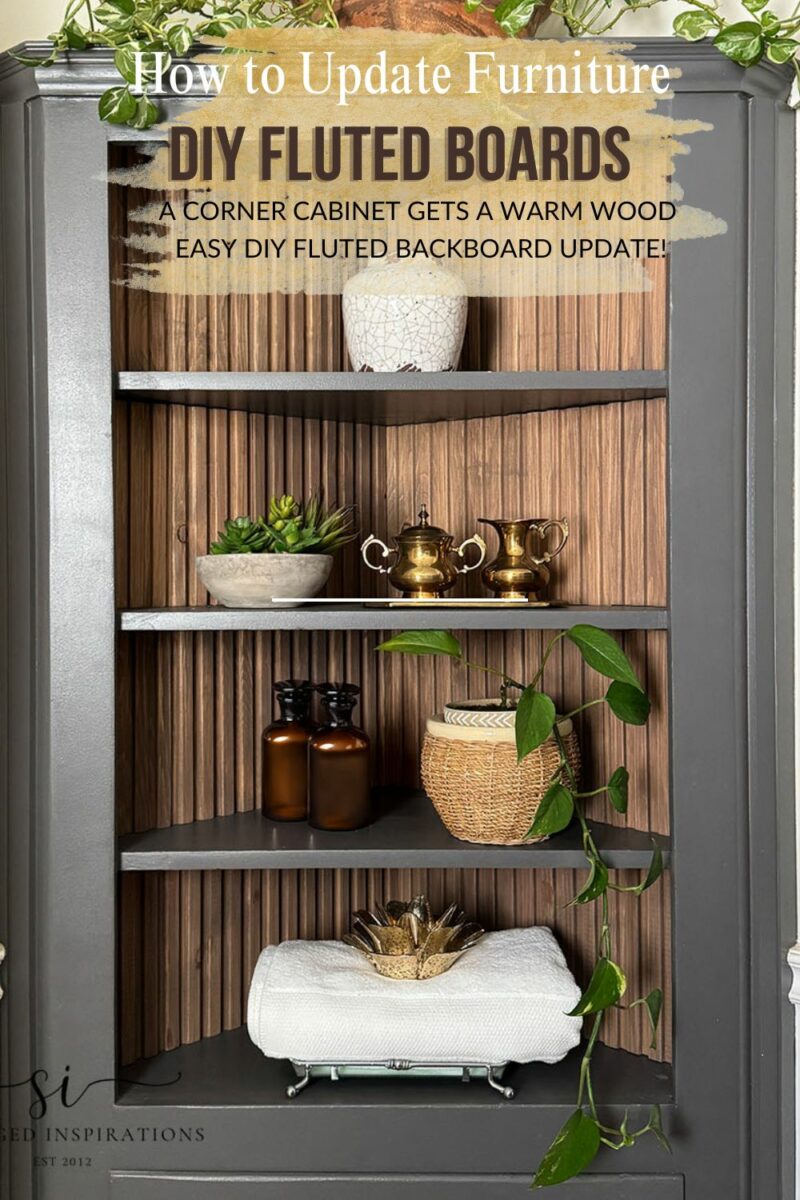
HOW TO INSTALL FLUTED SHIPLAP | EASY DIY
I still love this corner cabinet, and it has great storage space, but it was time for a change. I’m sharing how a few $13 fluted boards from HomeDepot totally transformed this cabinet and gave it some real warm wood character!
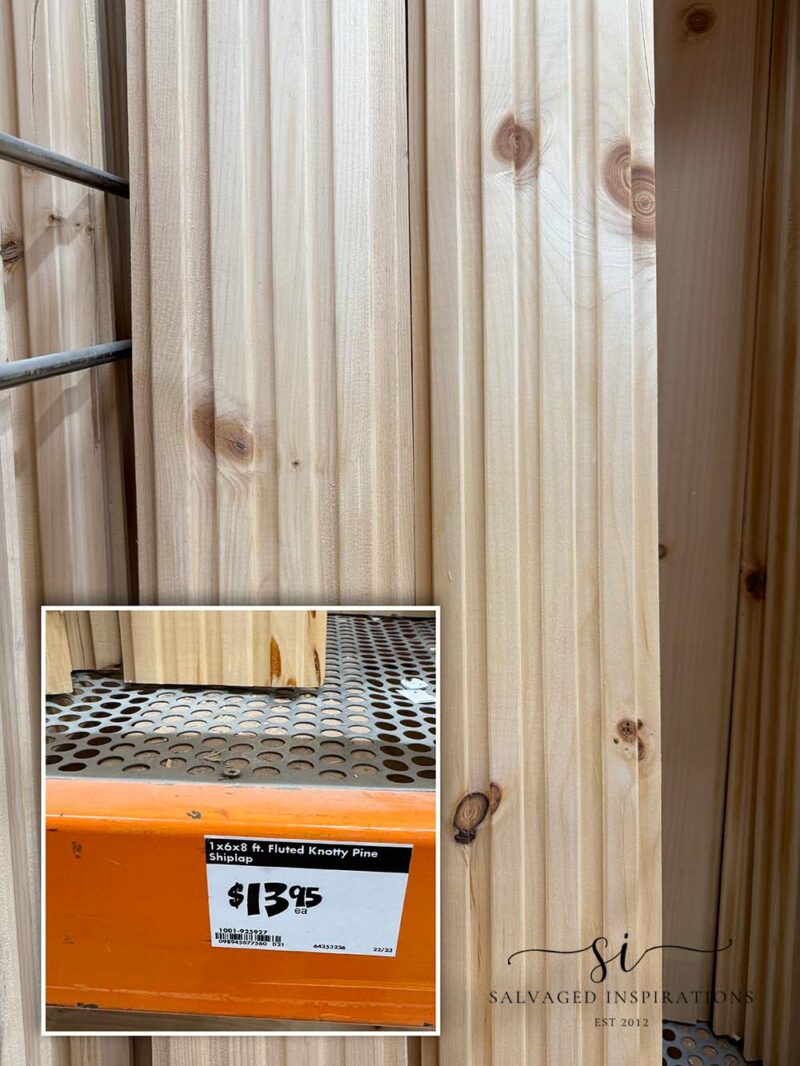
SHOPPING FOR FLUTED BOARDS
When I was looking online for fluted boards, there were a ton of options to choose from – but they were costly! I found some peel-and-stick that looked fabulous, but I wasn’t prepared to pay over $250 to update this piece. I headed to HomeDepot and found this eight-foot fluted shiplap board for $13.95. I bought three boards, which cost around $42 + tax.
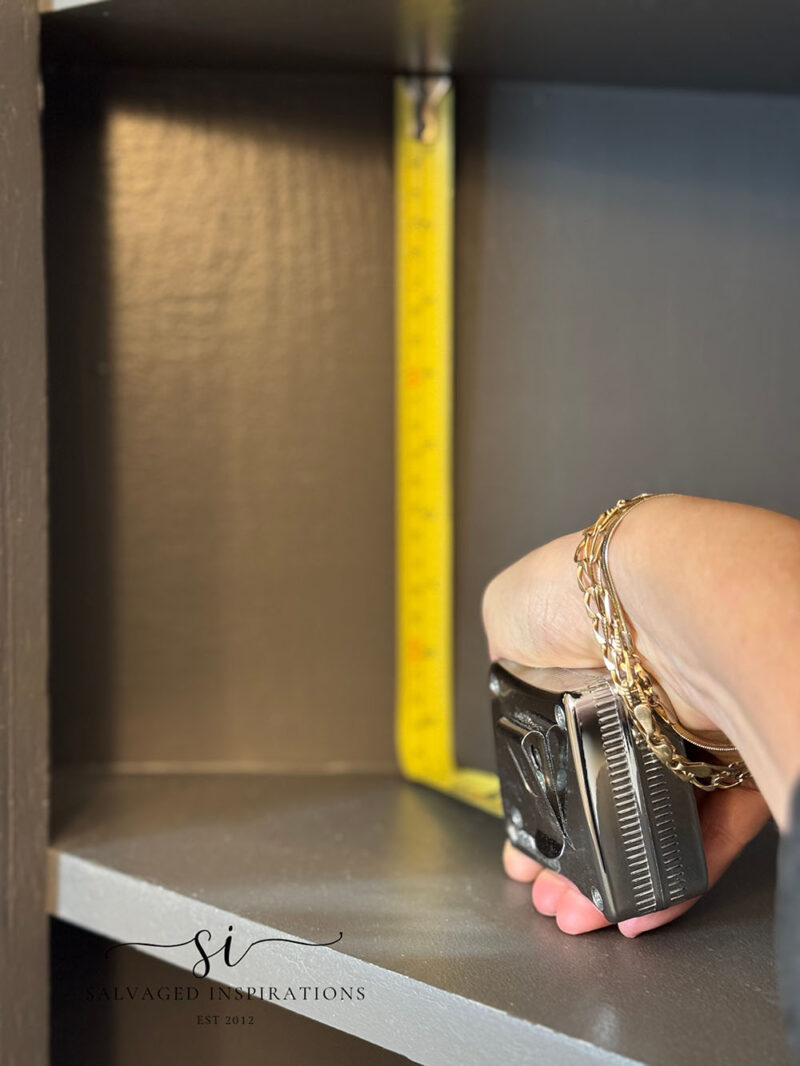
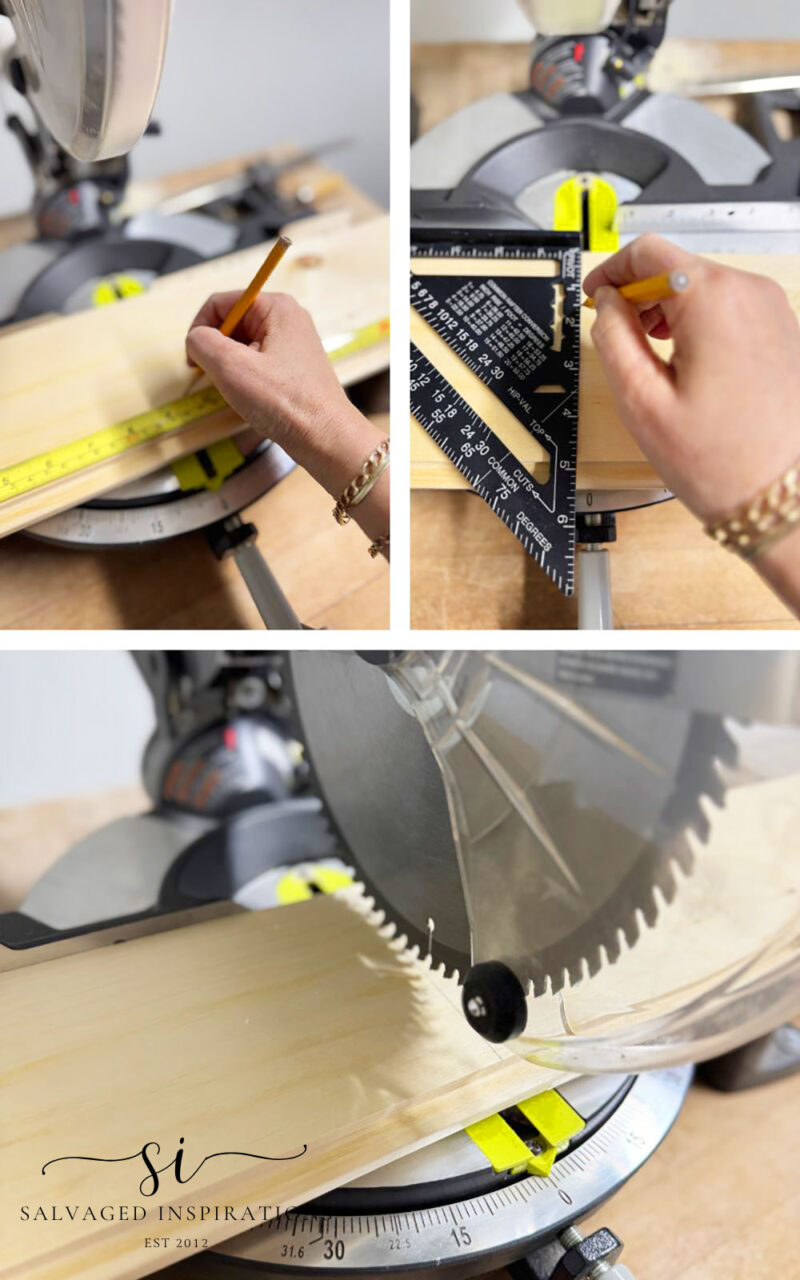
MEASURE
When I got home, I started by removing everything from the shelves. I probably should have done that before taking the BEFORE pic for you, hehe. Then, using a measuring tape, I measured the height of each shelf. These shelves are fixed, so I measured each back section separately to find out what size the fluted board needed to be cut to size. Each section was 9.5″ except the top shelf, which was slightly higher at 11″ high.
CUTTING THE BOARDS TO SIZE
I marked all my measurements with a pencil and a straight edge and cut the boards to size using my compound miter saw. If you don’t have a miter saw or skill saw, any hand saw will do the trick.
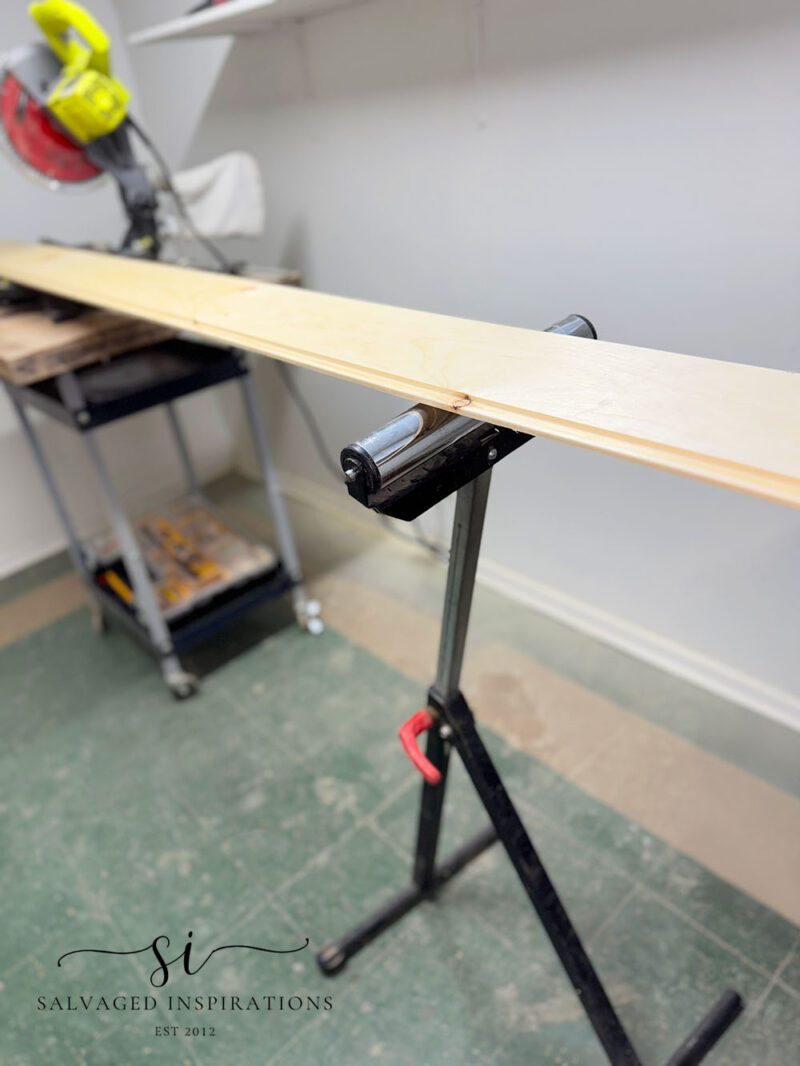
I also want to share a super handy ‘tool’ to use when you need an extra pair of hands while working with super long boards or extra heavy pieces of wood. It’s an inexpensive alternative to a large work table and folds up, taking no space at all. If you don’t have a large work table (which I don’t) this adjustable roller stand is a lifesaver when working with long, awkward pieces of wood. One end rests on my miter saw, and this roller stand holds up the other side of this 8-foot board. It’s easily adjustable, so the board can sit level regardless of what I’m working on, and it folds up and tucks away so it barely takes up any room at all.
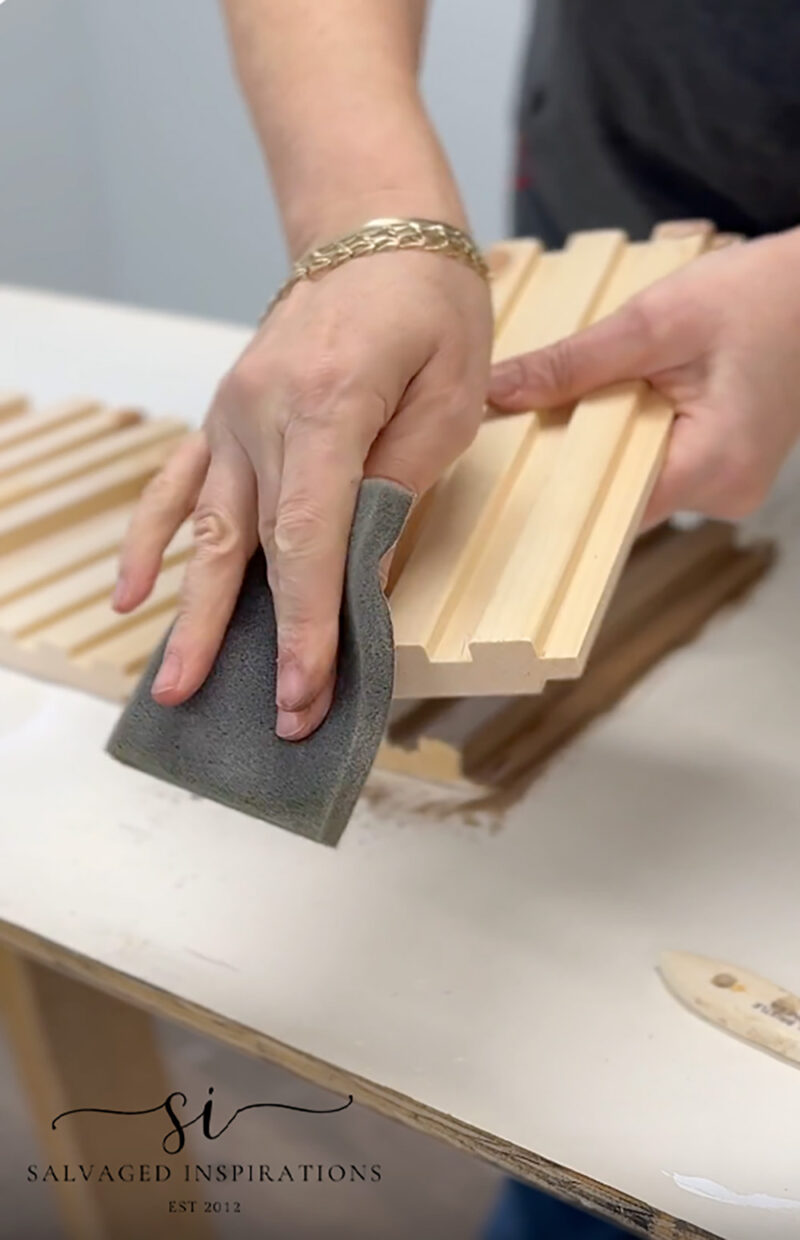
SANDING ENDS
Before I started staining, I smoothed out the cut edges with a 220 sanding pad. This tool took all of a few seconds on each end of the board but made the ends look so much cleaner and smoother.
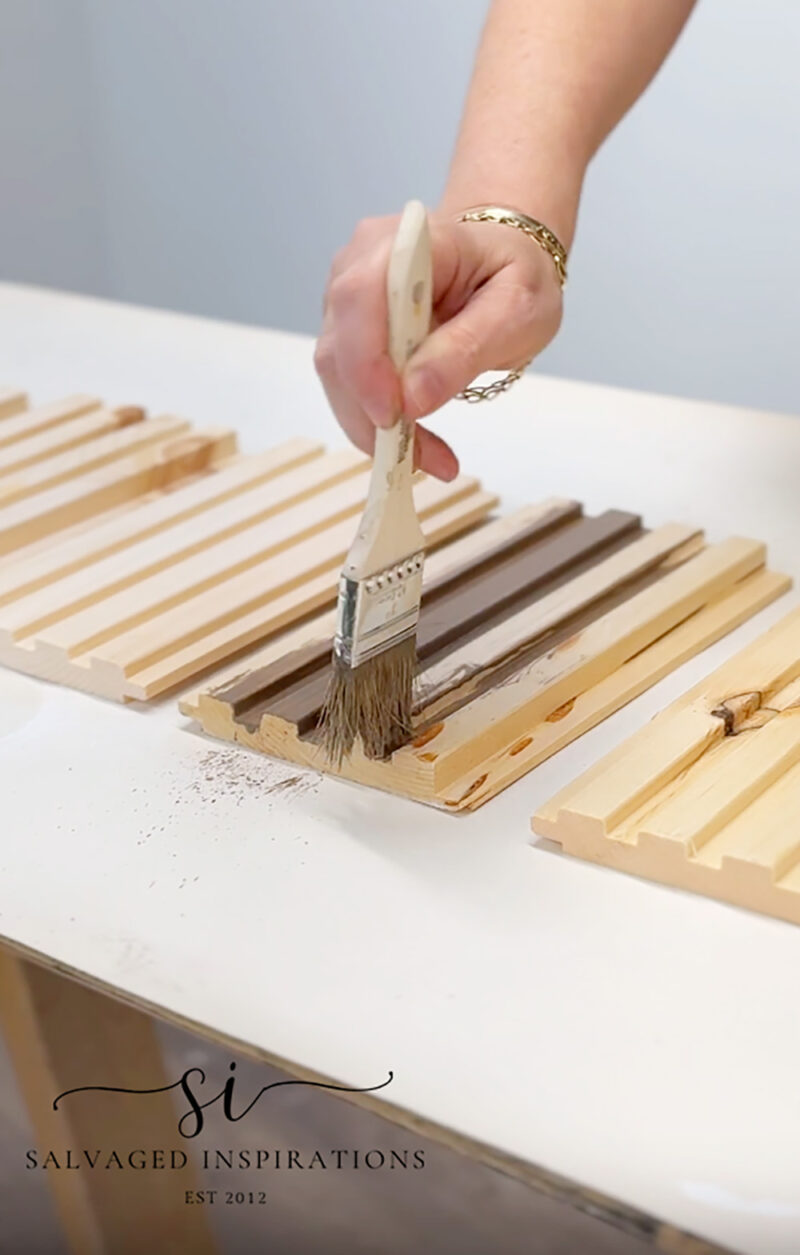
STAINING WITH CHARRED HICKORY
Old Man Winter isn’t going anywhere yet, so I didn’t want to use a stain that has fumes and requires ventilation. Instead, I picked this water-based Voodoo Gel Stain in the color Charred Hickory. A dark, rich brown with a hint of charred wood is my new fave. You may remember I used it on the top of this Gateleg Table Makeover HERE and on this Wood Nightstand Set HERE. On both makeovers, I loved it so much.
It’s easy to use. I squeezed a little into a cup. Then, using my continuous water mister, I sprayed the boards, and using an inexpensive chip brush, dipped the brush into the stain and painted it onto the cut boards. Super easy to apply and it is buildable. I liked the look of one coat, but you can always choose to go darker and apply another coat.
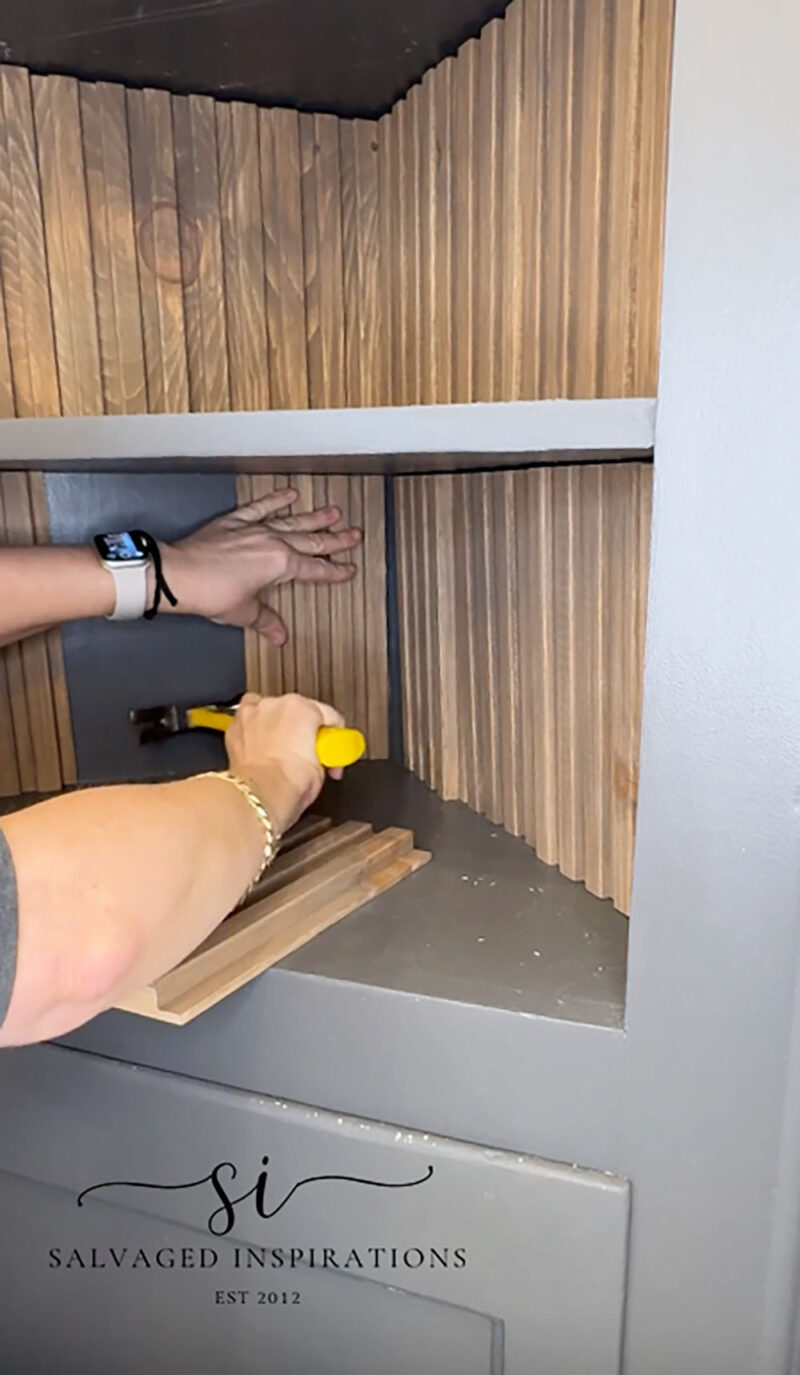
INSTALLING FLUTED BOARDS
These boards fit together really nicely, so the installation was simple to do. I actually thought I was going to need some 3M adhesives on the back to keep them in place, but because they fit so nicely, they aren’t going anywhere. That said, if you find your boards are moving around, a few trim nails, double-sided tape, or 3M adhesives will hold them in place. And the best part is you can just as easily remove the backboards if you’re a renter, or like me, might want to change the look in a few years. It’s a simple solution for the back of cabinets or bookshelves, but if you are doing a panelled feature wall or large area, contractor’s adhesive and nails would be a must for safety reasons.
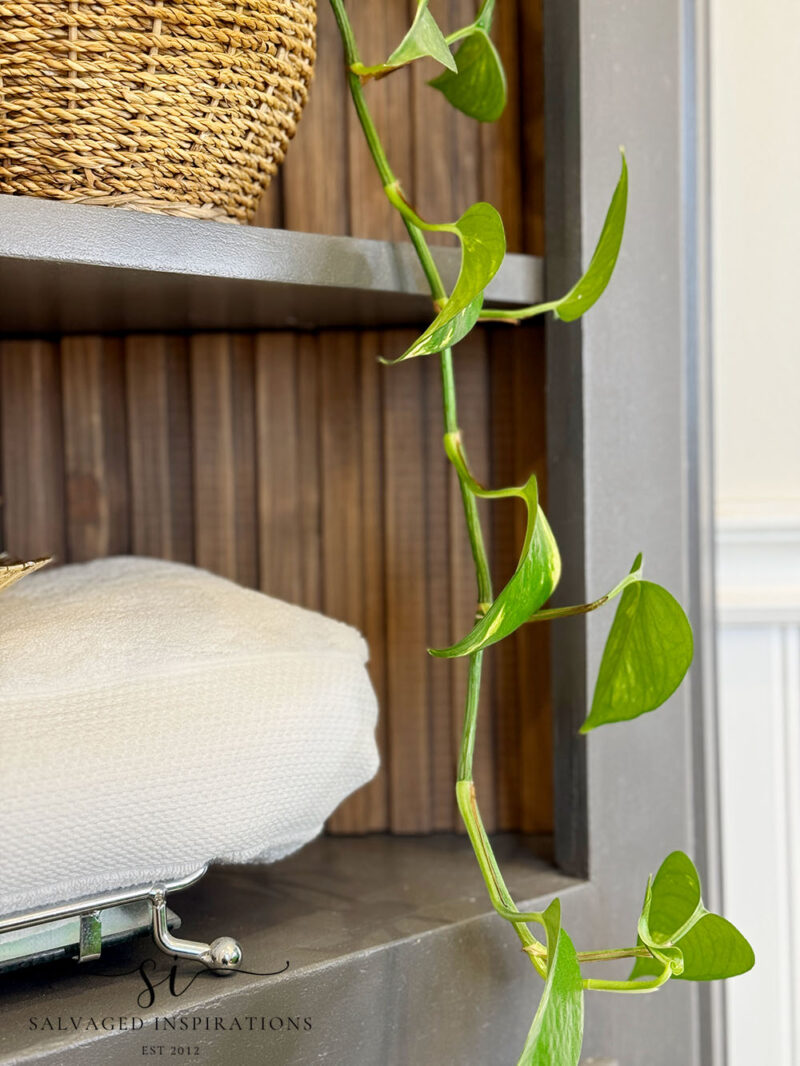
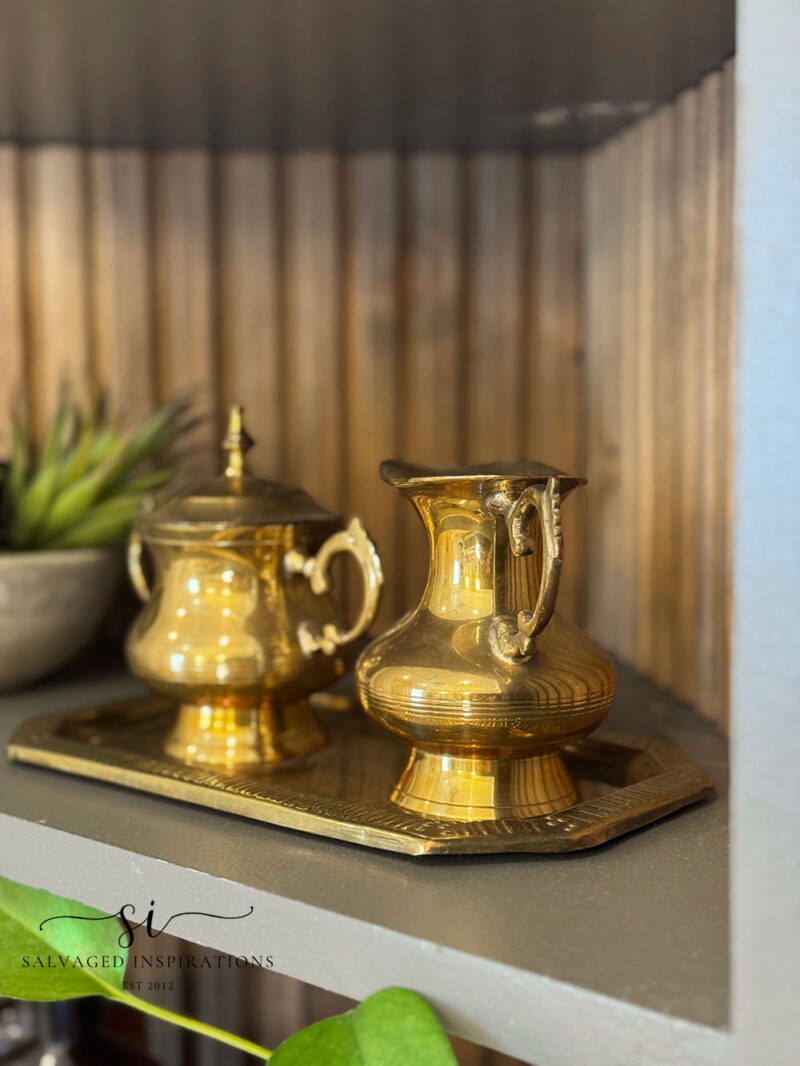
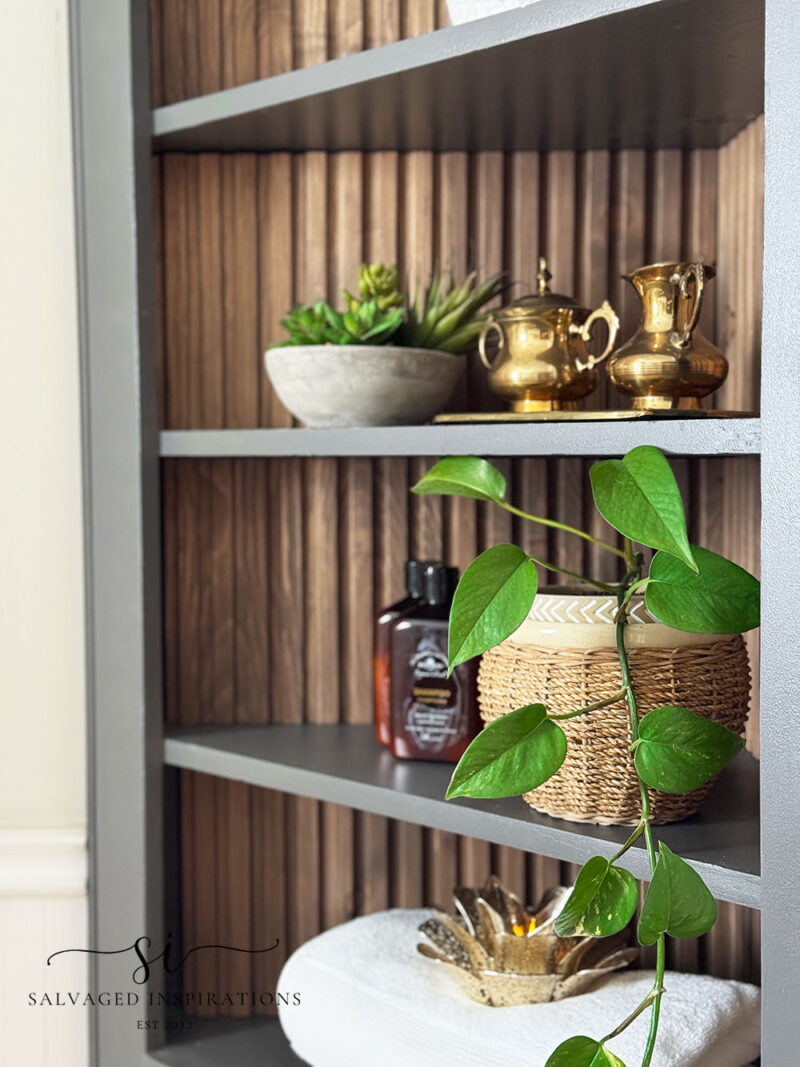
THE REVEAL
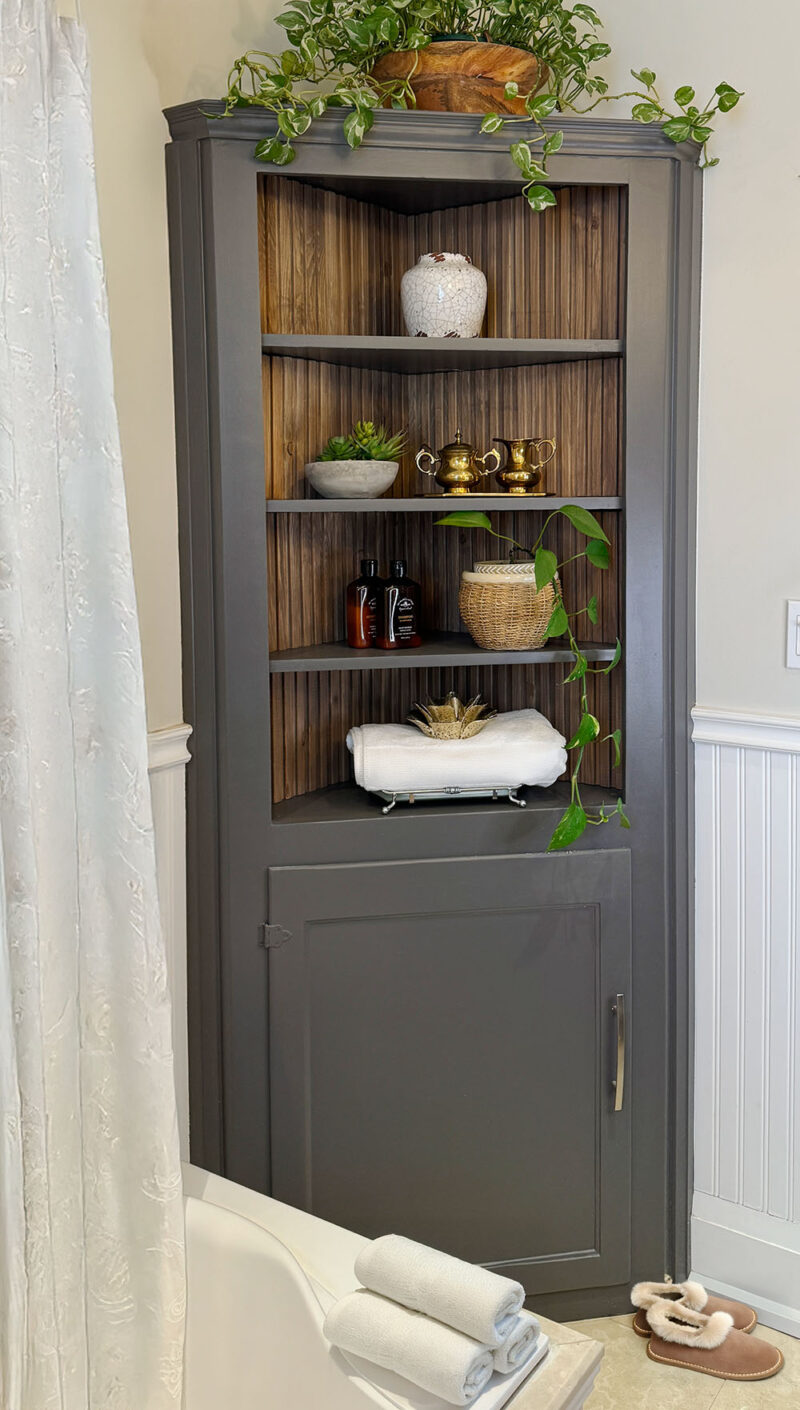
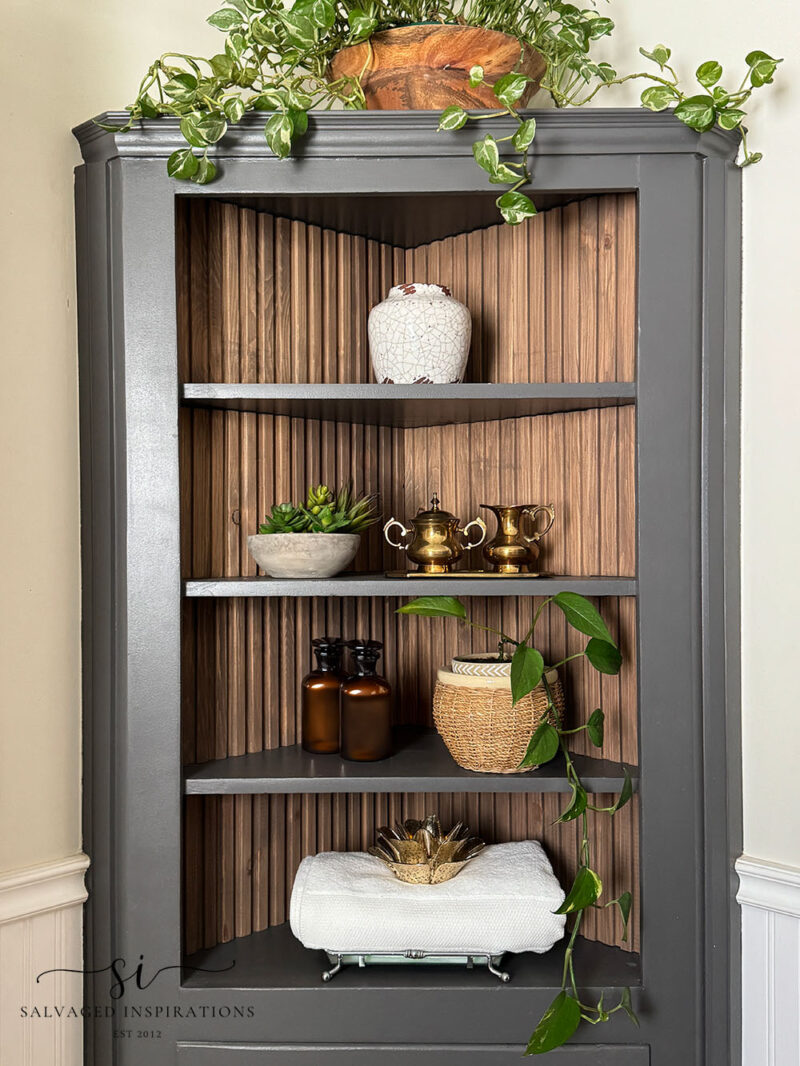
It really warms this cabinet up!
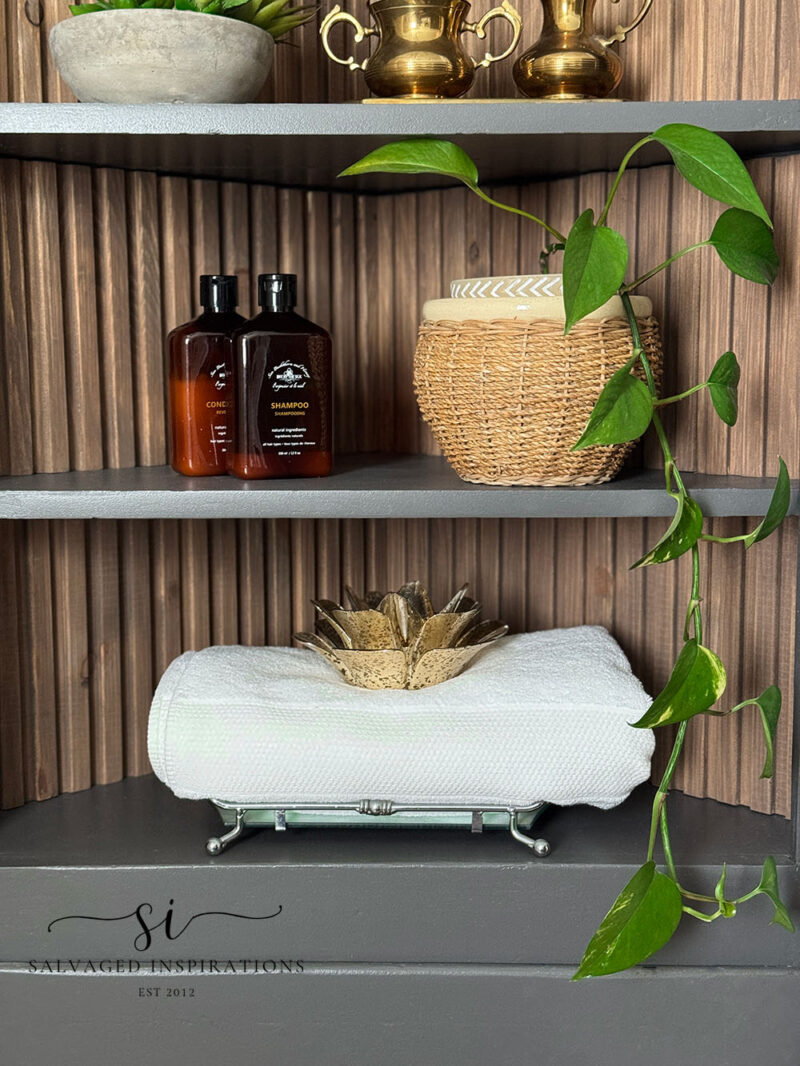
And what do you think of the Charred Hickory Water-based Stain? This is one of my favorites right now!
I did/and still do have a few tiny paint touchups to do. A few of the fluted boards were cut to the exact size so it made installing them super tight, and I rubbed off a little paint in a few areas. This is a good thing, though. Because they are all snug and puzzled together, I won’t have to worry about them shifting until I decide to remove them.
YOUTUBE TUTORIAL
Here’s the full step-by-step YouTube video tutorial for you below. If you have any problems viewing, you can also view it on YouTube HERE. Our #siyoutubefamily is already a community of 56.4K, so don’t forget to subscribe if you haven’t done so already. You’re the BEST, and I appreciate your support! 🙂
Here’s another look at this fluted-backboard corner cabinet, before and after. I hope it’s inspired you and given you some ideas for your upcoming furniture painting projects.
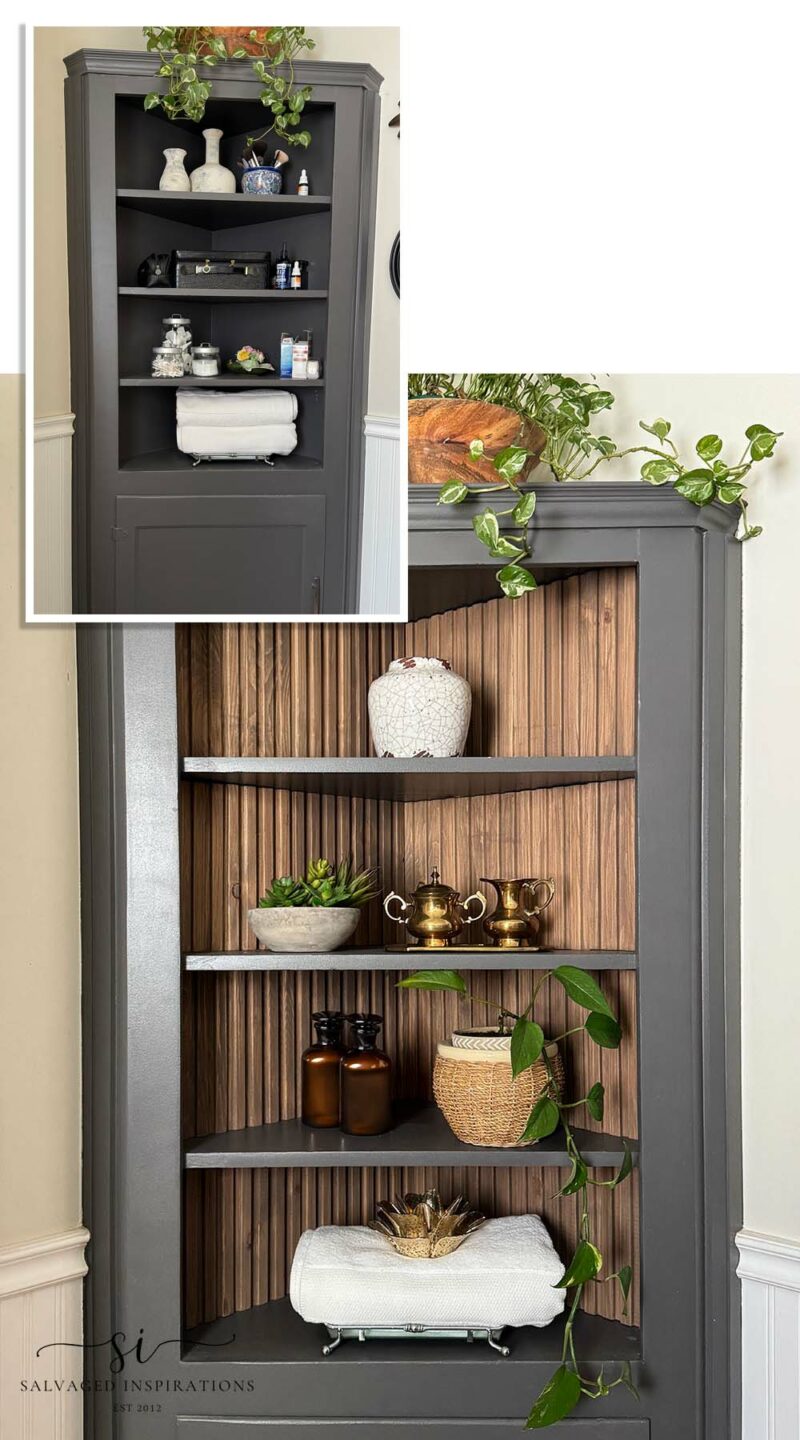
I’m so happy with this corner cabinet. It’s inspired me to update a few more things in my bathroom. And it’s a great reminder that things can always be changed and restyled inexpensively! A $45 investment in fluted trim and a few hours on a snowy afternoon – a great DIY for a ‘new’ looking cabinet.
Thanks so much for joining me in today’s home project. This weather has me feeling a little less than my perky self. Doing a project that brings a smile to my face and sharing it with you has been just what I needed. I’ve included some Related Posts below, and feel free to leave me a hello or ask any questions you may have in the comments below. I always love hearing from you. It makes my day!!
Happy painting, my friends!
Denise x
RELATED POSTS:
BEST PAINT FOR BATHROOM CABINETS
BATHROOM CABINET MAKEOVER
SALVAGED BATHROOM REVEAL
BARNWOOD FLOORING CABINET RESTYLE
COFFEE BEAN PAINT WASHED DRESSER
PIN AND SHARE! 🤗

What a creative way to update a shelving unit!!! It looks beautiful, Denise and you make it look so easy! Thank you for sharing all your tips. 🫶 I look forward to your weekly projects as I always learn something new.
I’m so glad you like it Nicki, thank you! It was nice keeping cozy working on something for my home.🏡 Have a great week my friend. XOXO
I would love the pattern for this cabinet its beautiful. The color is amazing.
Thanks so much Sally!
Firstly, the fluted wood was a beautiful addition. I’m a a fan of charred hickory too and it really gave the wood a beautiful color against the paint. Beautiful update on your bathroom cabinet. 👌🏻
Secondly, cool roller stand tool added to cart! This will be perfect for woodworking when I need an extra hand. Pinned! 📌 Thank you! 😊 Have a beautiful week, Denise. xo
I love my roller stand and I think you’re going to love it too! Super convenient for long pieces that are so awkward to handle. And then when I’m finished with it, it folds up into a corner and you don’t even see it! 😃 Thanks for the PIN my friend and have a great week/weekend as well! Hugs
That simple change looks great. Really like the lighter background.
Thanks Stephanie, I’m loving the warm wood look over the black as well. And ya, simple and cheap! hehe 😉
Hi Denise. What a beautiful and creative way to change the look of a bookcase/cabinet. Love the new warm look. Your home is gorgeous.
Aw, thank you so much! I’m loving the new warm look as well. Have a super week my friend. XOXO
Incredible !!!! 😳😳😳
You’re the greatest !!!!
Congratulations !!!!
Greetings from Malaga, Spain !
Pilar
Hi Pilar from Malaga!🇪🇸 I love knowing where my readers/#sifamily are from so thank you! So glad you like the fluted cabinet and greetings right back from snowy Greater Toronto Area!🇨🇦🤗
A really great upscale look! Inspired do do this in my bath now. Thanks for all the pointers of ” just in case”. Love everything you create.
Hi Jewels and thanks, so happy it’s inspired some ideas for your bath now!🤗 Enjoy your week! XOXO