TODAY I’M SHARING A DIRTY POUR PAINTING TECHNIQUE ON DIY CHRISTMAS ORNAMENTS. A BEAUTIFUL LAST MINUTE GIFT IDEA! [VIDEO]
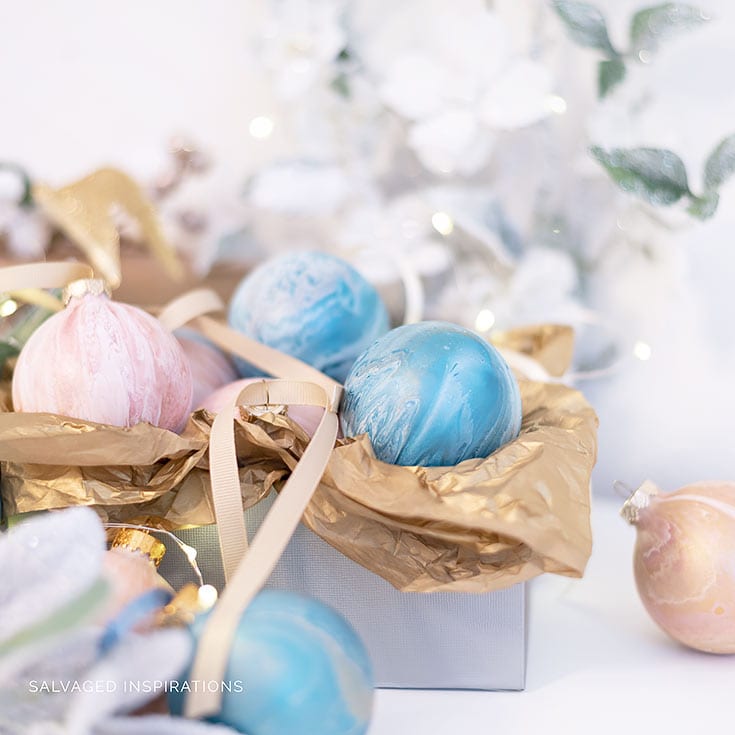
Have you ever seen a painting technique that looks amazing but scares the bejeebers out of you? Dirty Pour Painting is one of those for me. Love the look. But I’m a little nervous attempting it on a piece of furniture. Today I’m sharing my ‘build your confidence’ project creating these Dirty Pour Painting DIY Christmas Ornaments — which is a beautiful last-minute gift btw! It gave me a ‘feel’ of how pouring paint works while creating these adorable holiday ornaments!
I started with these inexpensive glass Christmas ornaments which I bought for 50% off last season. They’re your everyday plain jane Christmas Balls but…
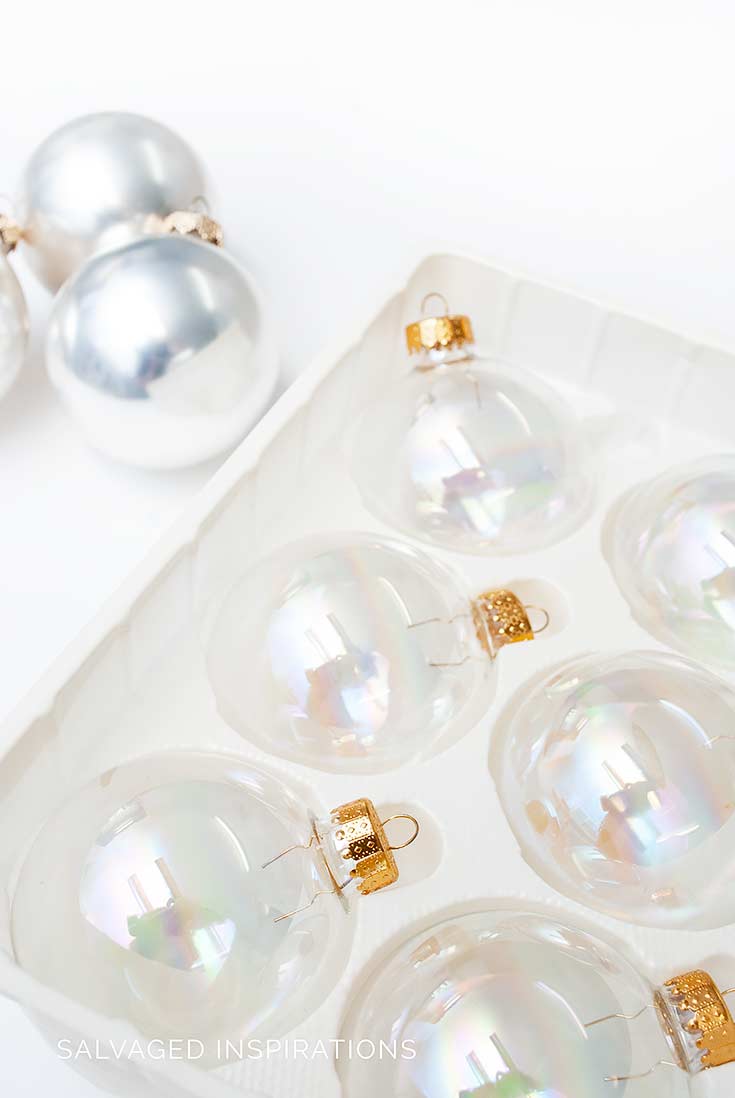
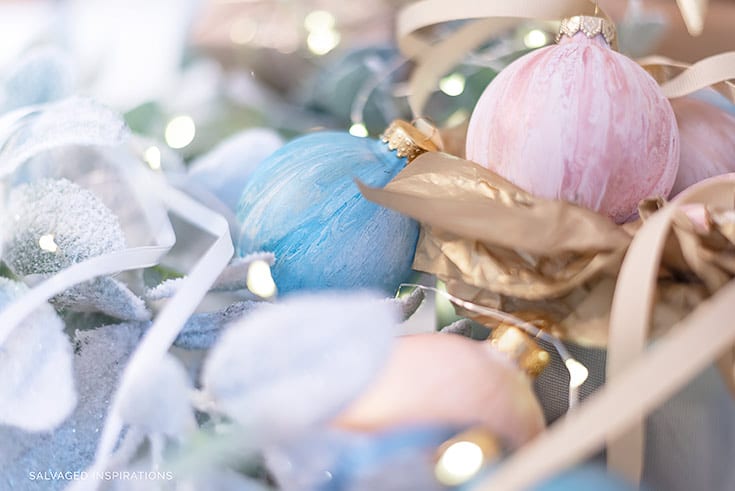
….look at them out NOW!
THIS POST IS SPONSORED/CONTAINS AFFILIATE LINKS TO PRODUCTS I USE. YOU CAN SEE MY FULL DISCLOSURE HERE.
SOURCE LIST
Glass Christmas Balls
Plastic Cups | Gloves
Craft Paper | Shop Towels
Craft Sticks
Cotton Chalk Mineral Paint
Floetrol
Moonshine Metallics
DIRTY POUR PAINTING [VIDEO]
I created a video on how I made these marbled Christmas Ornaments. You can click here to view on Youtube or watch it below. 🙂
STEP #1:: REMOVE HOOK HOLDER
After I set up all my supplies (listed above), I removed the top hook holder from the glass ornament. They pull off really easy. The pins that hold them in the ball are easy to squeeze and remove.
STEP #2:: 50/50 FLOETROL + PAINT
Floetrol is the key to getting a nice pour on your project. This Floetrol paint pouring can be mixed with ANY water-based paint. I mixed a 50/50 mix of Floetrol with my Cotton and Moonshine Metallics. Each color was mixed in a separate cup.
STEP #3:: MIX THE PAINT
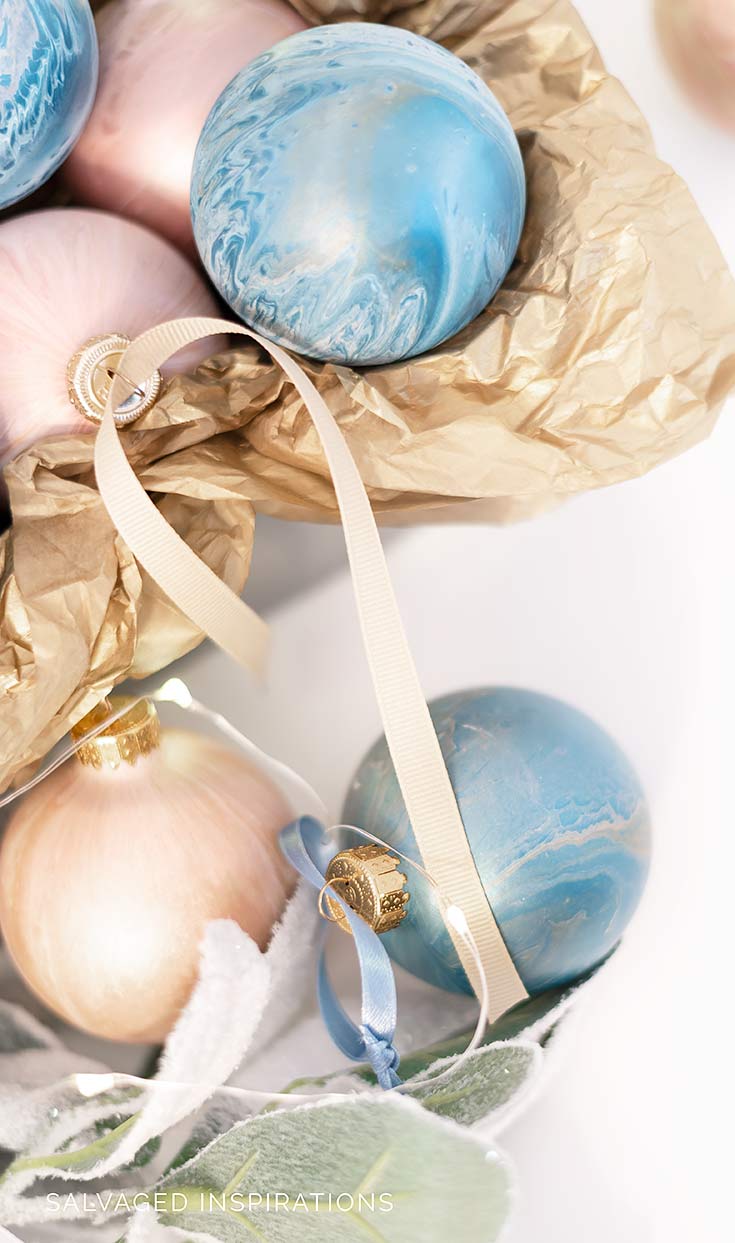
In a new clean cup, I added some white, then some rozay metallic, then some gold followed by some white. I swirled all four colors in to create a marbled look.
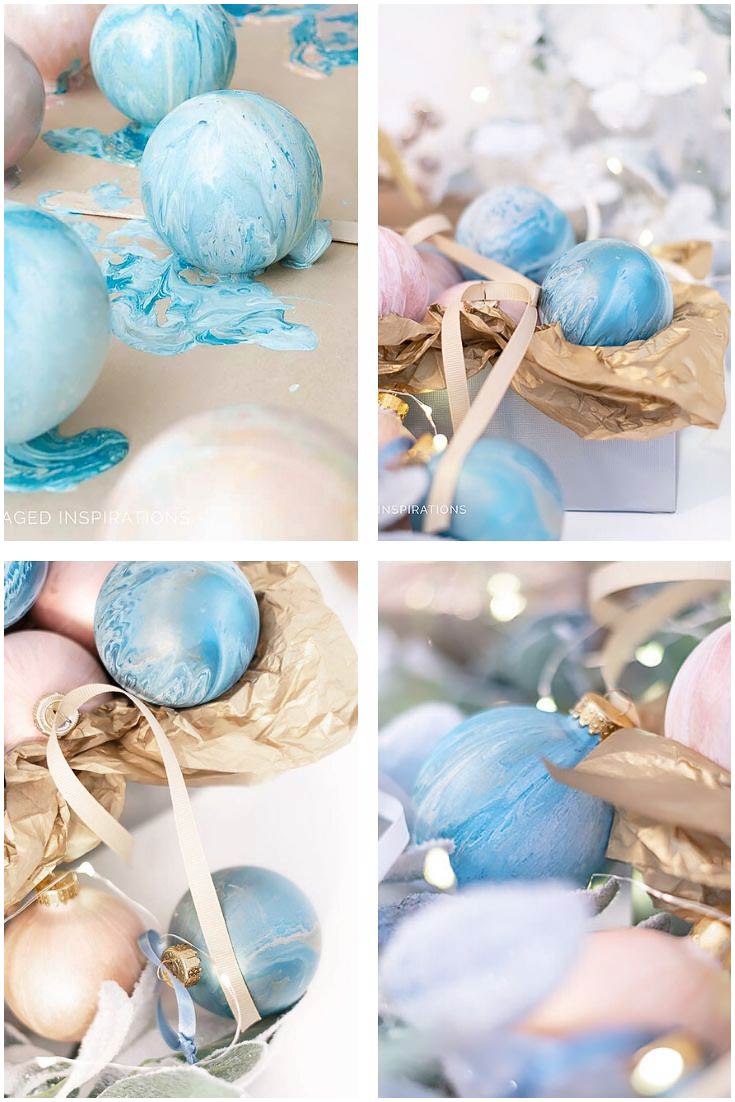
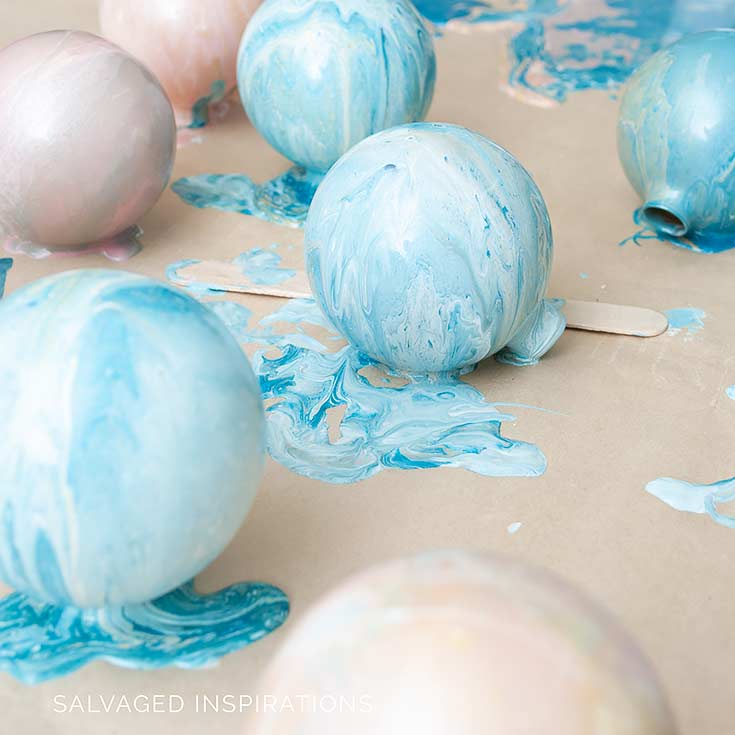
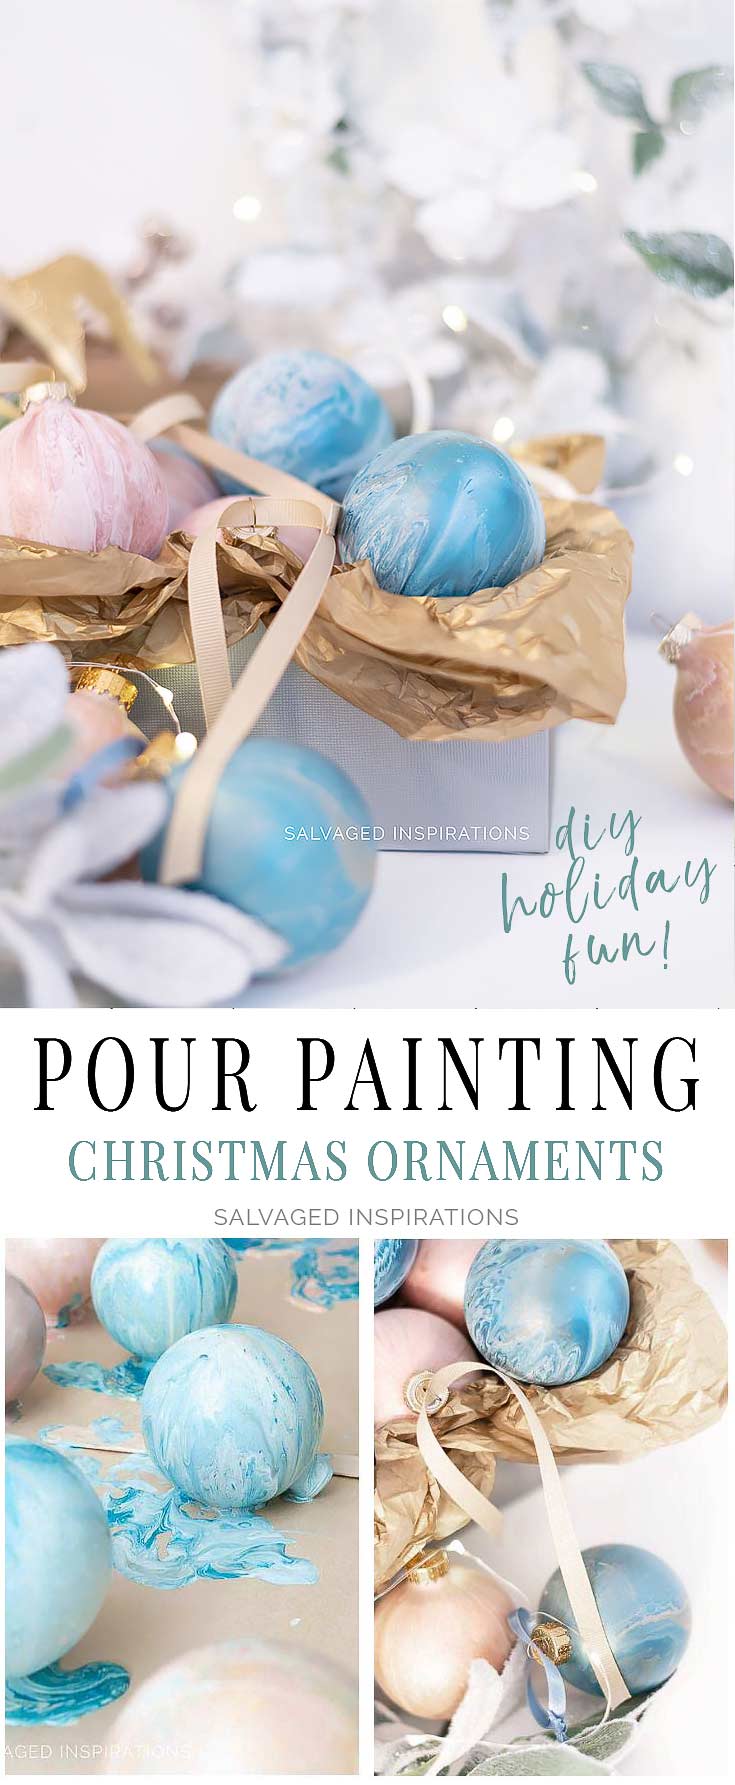
STEP #4:: POUR THE PAINT
This is the fun and dirty part! I placed the Christmas ornament on my finger and poured the paint onto it in a swirling motion to create a marbled effect. Be sure to use craft paper or something to catch all the off flow paint because it will get messy!
STEP #5:: LET DRY
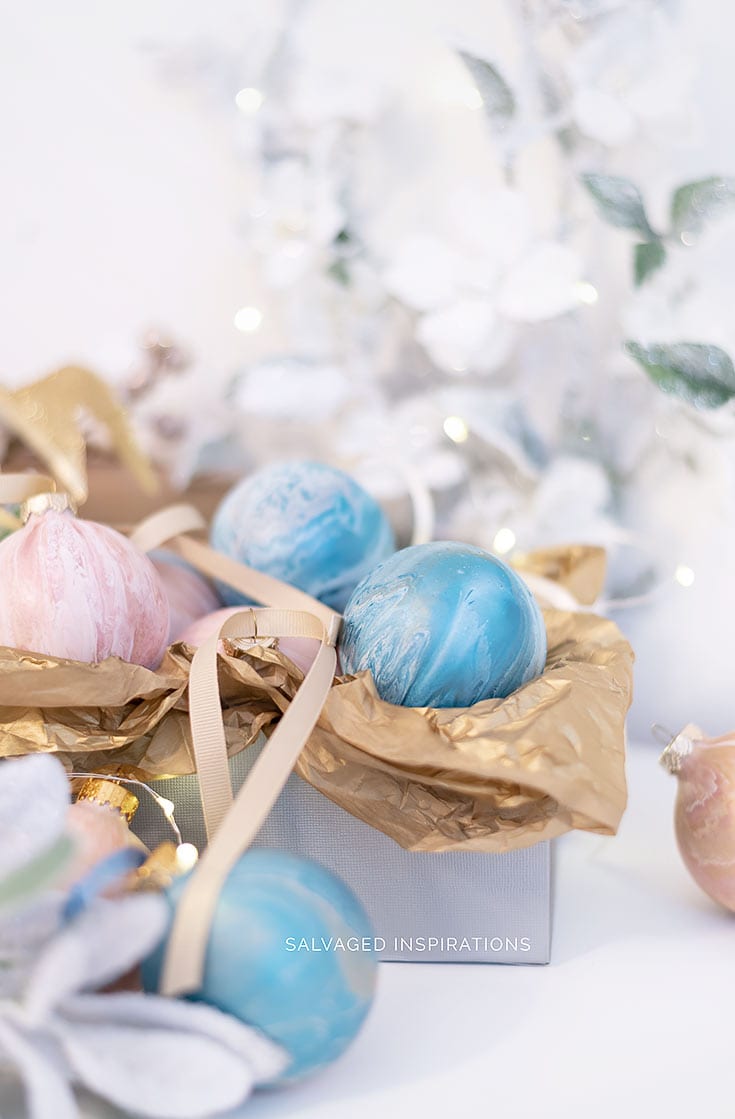
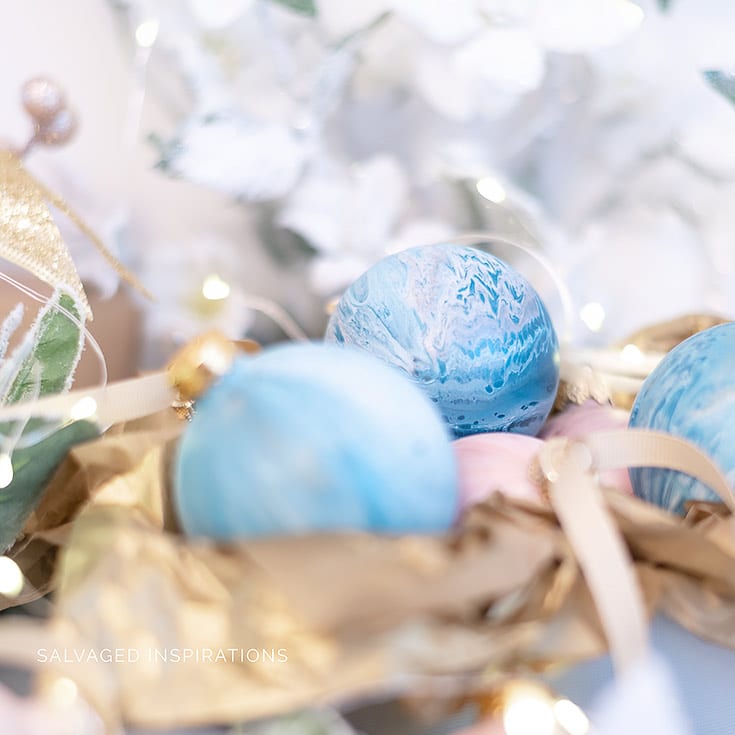
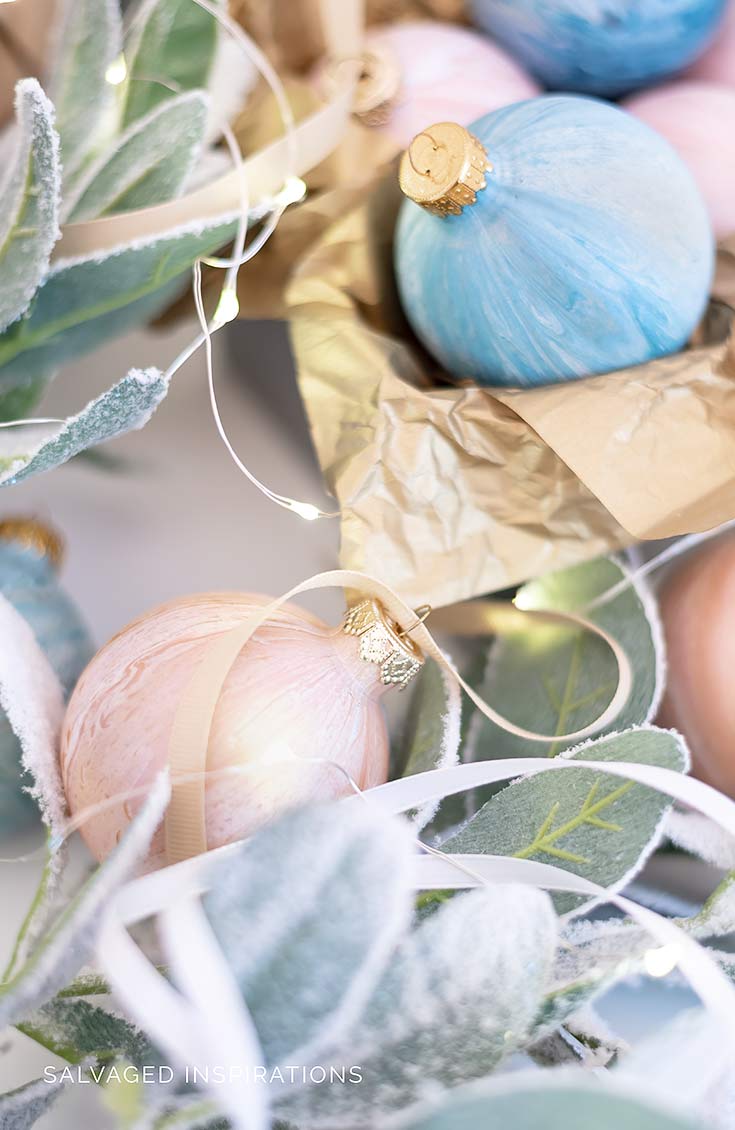
I left these to dry overnight. One they were 100% dry, I added the hook holder back onto the ornament and then added some ribbon to hang.
I’m so glad I finally gave this technique a try!
Chalky paints, mineral paints, latex, acrylic crafts paints, emulsion — any water-based paint will work with dirty pour painting.

I really like that depending on the combinations of colors used, and how it pours, the outcome will be one-of-a-kind every time!

I absolutely LOVE the metallics for the holidays!
A HUGE thank you for all your sweet birthday wishes these past few days. I have the BEST #sifamily in the world. On FB and here on the #siblog, I read every single message and you all made my 50th extra special. Oh, MY HEART… thank YOU!!
![]()
Now for some GIVEAWAY FUN! Thank you to each and every one of you who participated in last week’s DIXIE BELLE PAINT GIVEAWAY!
THE LUCKY WINNERS OF THE DIXIE BELLE PAINT GIVEAWAY ARE…
SHARON D ($100 GIVEAWAY PAINT PACK)
SUSAN M ($50 GIVEAWAY PAINT PACK)
JULIE ($50 GIVEAWAY PAINT PACK)
CONGRATULATIONS!
THE WINNERS HAVE BEEN EMAILED. PLEASE REPLY BACK AND/OR CONTACT ME VIA MY CONTACT PAGE WITHIN 48 HOURS TO CLAIM YOUR DIXIE BELLE PRODUCT PACKAGE!
Thanks again to everyone for joining in on the fun!
LET ME KNOW WHAT YOU THINK OF THIS DIRTY POUR PAINTING TECHNIQUE … OR FEEL FREE TO ASK ANY QUESTIONS YOU MAY HAVE… I ALWAYS LOVE HEARING FROM YOU.
Thanks for reading. 🙂
Wishing you a beautiful day filled with inspiration and Happy Painting friends!
Denise XO
RELATED POSTS::
DIY Wood Tray | Christmas Style
Christmas Champagne Dresser
How To Paint Buffalo Plaid
DIY Christmas Urns in 10 Minutes
Blueberry Color Blending | French Provincial
PIN AND SHARE!

These turned out very pretty! When I pour, I use a tray under my pieces so I can take that “leftover” paint that spilled off and use it on another piece.
That’s so brilliant Renee! Thanks for the tip! 🙂
I also put it inside the jewelry. I started using the egg tray to catch the flow. I like to wear, so I can add jewelry when I work. We’ve been wearing it for a while now, and we love it. When we’re done, we put the excess paint in a plastic cup under the open side of the jewelry to hold overnight, then we turn to the right to keep it from drying out.
Brilliant Bella!
Love this!
I have all of the supplies to create these and now I believe I can also do this.
Thank you for always being such an inspiration!
Thank youuuu! I think you’d have a lot of fun with this Jewels. I hope you give it a try!!🤗
i have a friend who creates beautiful art using this technique on canvas board. The ornament idea is so cool!! Your colors are just lovely and the ornaments will be a treasure for someone to have and think about you. Happy pouring!!
Hi Cecilia!! I’ve seen some GORGEOUS art created using this technique. Does your friend sell them or have an Etsy store?
Hi Denise. What a lovely idea for a DIY Christmas gift, Your ornaments turned out beautifully. I can’t wait to see you use this technique on a piece of furniture. I’m so glad to hear you had a wonderful birthday. 🙂
I can’t wait to see what it’s going to look like on furniture too! And thanks so much, Monique! XO
Do you have issue with the paint peeling? Sobering if there is a clear coat involved
I didn’t clear coat them but you definitely could! And so far so good. Paint seems to have adhered nicely. 🙂
Gorgeous! I think I found my homemade gifts for next year!
Yaaay! It’s a lot of fun! Thanks Donna. 🙂
How fun, they’re beautiful, Denise! Love your soft metallic color combinations.
Thanks, my friend! Your repurposed jewelry box ornament inspired me!!!
What a fun project! Dirty and messy is my style. FABULOUS LOOK! xo, Do
I can’t keep my paint space clean even if I tried…lol
Thank you for the video tutorial! I’m inspired to give these a try!
My pleasure! It was more fun than I thought!
I love the paint colors you used for your ornaments! Our family just made some of these this past Sunday. We have been making these paint pour ornaments for a few years now, and we love it. We have never used the Floetrol, just paint, so I’ll have to get this to try next time we make them. Here is a tip for you, when we are done we place the ornament open side down into a plastic cup to catch the extra paint overnight, then we turn them right side up to continue drying. It’s a little less messy and you won’t get any paint on the outside of the ornament.
Ohhh, so you’re pouring the paint INSIDE the ball, right? I’d like to try that too! 🙂
I also pour inside the ornament. I started using egg trays to catch the overflow. I like pouring inside, this way I can add embellishments after I’m finished. Such as an initial or jewels or whatever looks pretty. I don’t have to worry about the paint coming off because it’s under glass!
I had someone asking me this question on Youtube and I wasn’t sure if it would work on the inside – so I appreciate this Mikki! I love the idea of embellishing with initials!
Very very pretty! I wonder if you dipped them in a shallow container or dish of paint if you would get less wastage?
Can’t wait to see how it looks on a piece of furniture! It would be a lot of fun to experiment with different colours. The metallics are gorgeous!
Thanks! I love these metallics too! And ya, I wonder if it would save some paint doing it that way ???
Oh yes please! I’ll take 3 dozen. ….Great tutorial. I’m putting this on my must-do list.
3 dozen eh?…lol. I have to admit this was messy but FUN!