Congratulations! You’ve painted a piece of furniture and you’ve done a smashing job. It looks great. But now you’re wondering what distressing technique is right for you? What’s going to give you the EXACT look you’re after?
Well… I’ve distressed my fair share of furniture over the last 3 years so today I’m sharing my thoughts.
Rather than write another “How To” tutorial (I have included links to prior projects if you’d like more info!) let’s focus on Which Distressing Technique Is Right For YOU … so let’s dive right in!
Simple Distressed Edges and Time Worn Areas
Do you want a beautiful finish with simple distressed edges? Definitely the most popular way of distressing painted furniture is simply sanding down the furniture’s edges, corners and areas where the finish would naturally wear with time. Good ol’ fashion sand paper is the way to go! You control how much paint is removed by the grit of sandpaper and the pressure applied. A #400 grit sandpaper or sanding sponge work nicely for a softer distressed look. And a #220 works great for a more pronounced look. The cons of sanding – it’s dusty and a mask should be worn for your protection.
Authentic Primitive Chippy or Cracked Finish
Are you swooning over those authentic primitive chippy pieces that Miss Mustard Seed is so well known for? One of the easiest ways to get an authentic and gorgeous chippy or crackle finish is to use 100% all natural Milk Paint. This Chippylicious Dresser is a great example… and the wonderful thing about milk paint is it does all the work for you!
For the chippy effect, let the milk paint do its thing. For a crackle effect, just add heat while the paint is drying. If you’re not into the unpredictable chippy finish, a bonding agent can help you control where the distressing occurs by acting as an adhesive/primer.
Old World Antiqued Finish
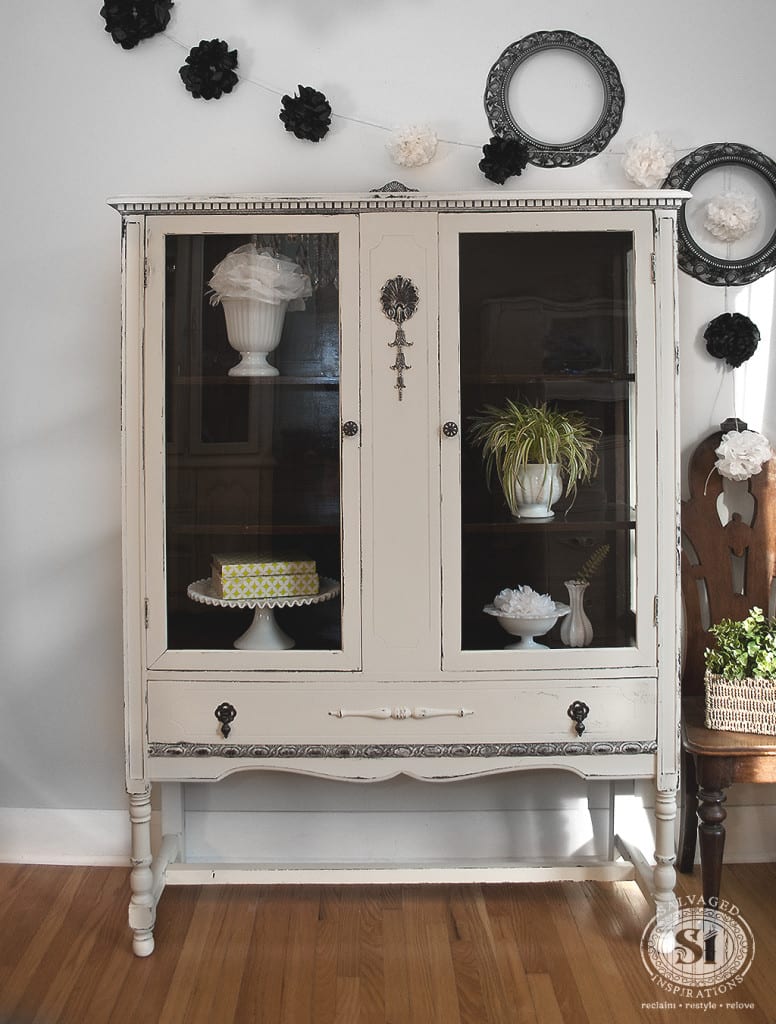
Looking to create a convincing antiqued old world finish? Dark wax or glaze will highlight and age details like it did on this China Cabinet. This distressing technique will immediately create depth and make your new paint job look old! Seriously, it will add years!
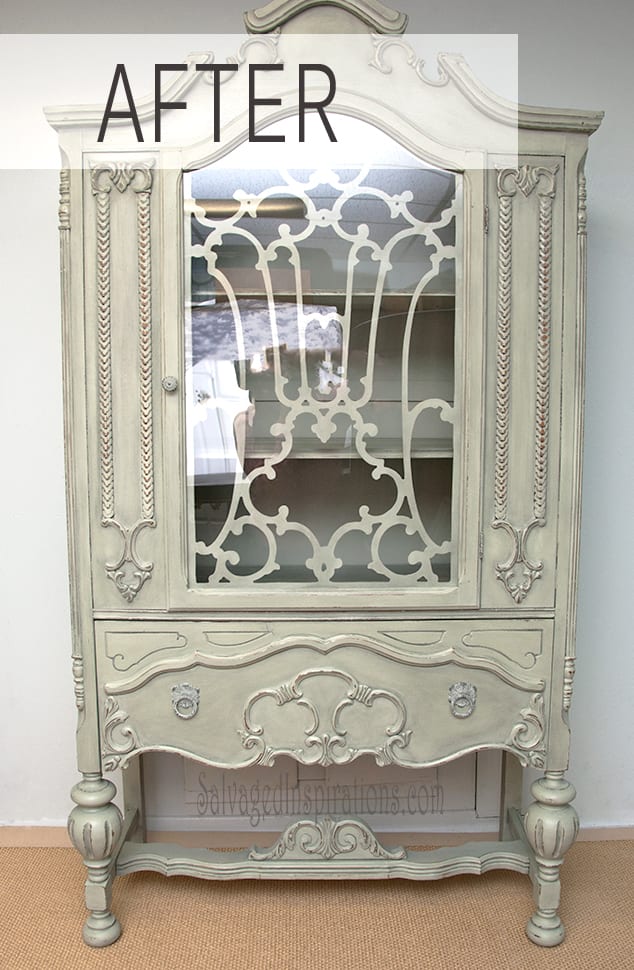
It can be used on an entire piece or simply to highlight your paint’s texture, grooves and decorative moldings. Wax and glaze work amazingly on ornate detailed pieces! You control the intensity of the finish by how much product you apply and wipe off… and also how many coats you use.
Two Toned Color Distressing
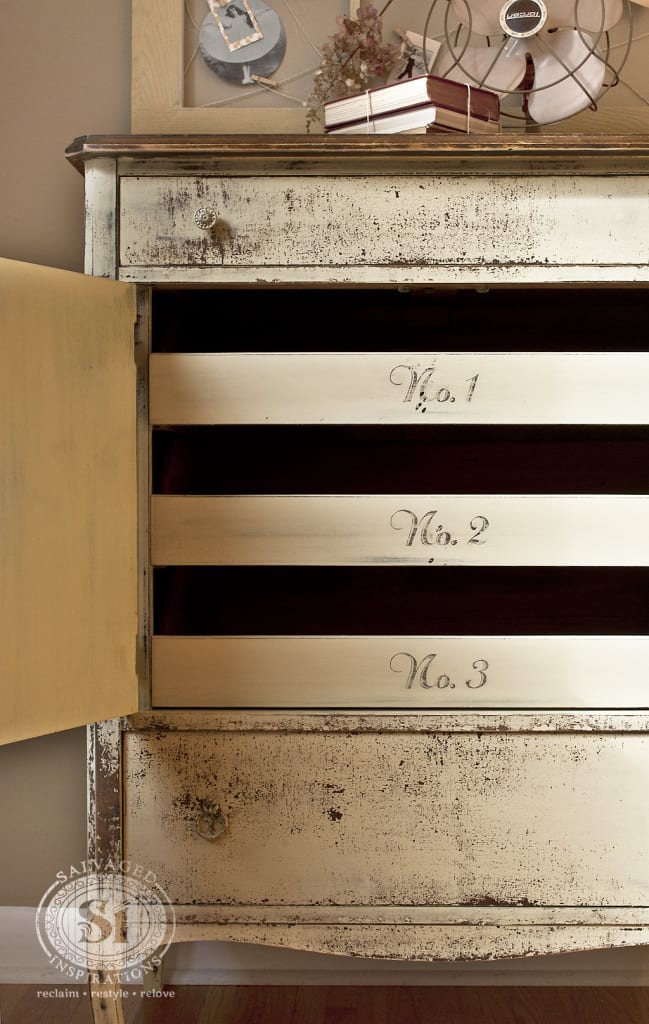
So you want to create interest with a color on color distressed piece? I did just that by painting this desk green and having some dramatic black show through.

Trying to get this effect by sanding is difficult. It’s too easy to sand through both colors of paint right down to the original surface. By using a resist method (ie. using a Wax Puck or Vaseline) it’s easy to achieve this look. You control the soft or hard edge by using a soft rag or sand paper. The resist method can also be used on bare wood or stained surfaces.
Weathered Distressed Finish
If you love that light weathered distressed look, dry brushing is the way to go. Here’s my most recent restyle – a romantic Valentine’s Dresser that I used this technique on.
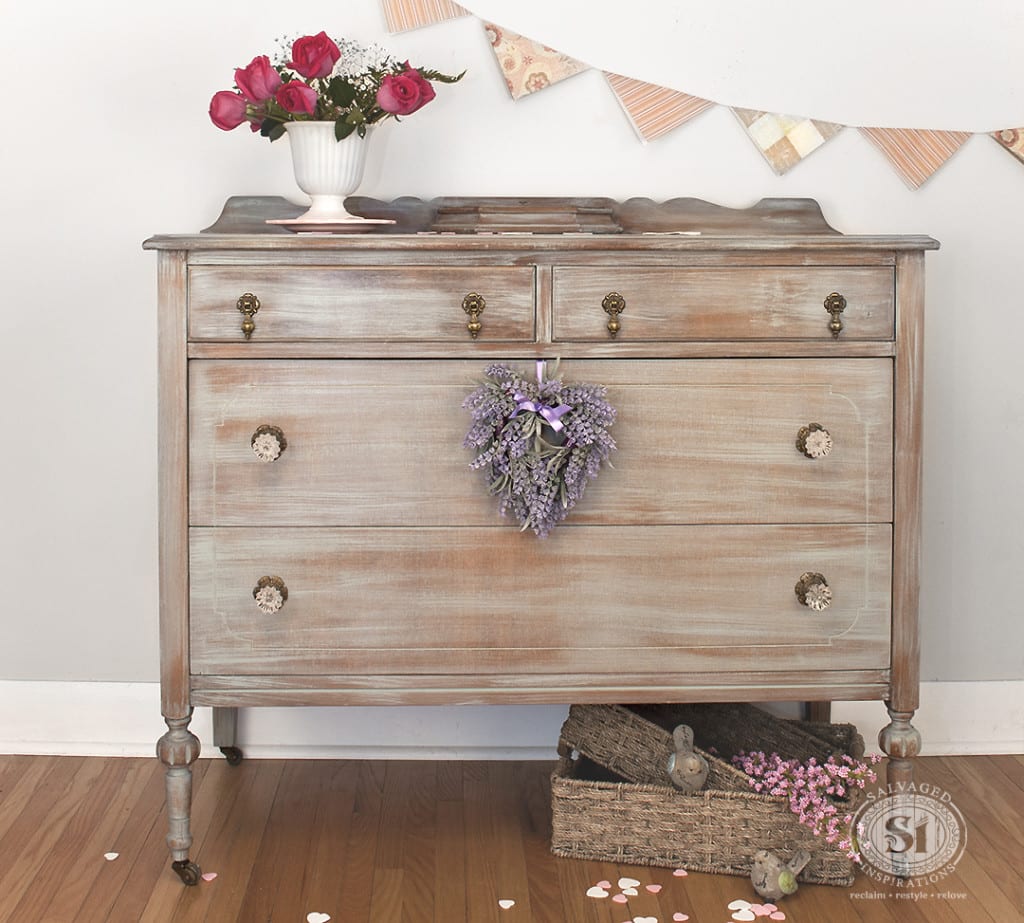
Dry brushing creates interesting lines and a transparent effect. This looks like a complicated technique, but it’s actually really easy! It can be used over a paint color or applied over natural or stained wood. Use it on small areas of furniture like decorative moldings and details or an entire piece. Dry brushing uses very little paint, is quick to apply and just as quick to dry. It’s also easy to soften and change the look by sanding.
Wash & Show Off Some Wood Grain
Want to add color to your furniture while still showing off some beautiful wood grain? White-wash, grey-wash, blue-wash… I love this look! Here’s an example on a French Provincial Dresser I painted.
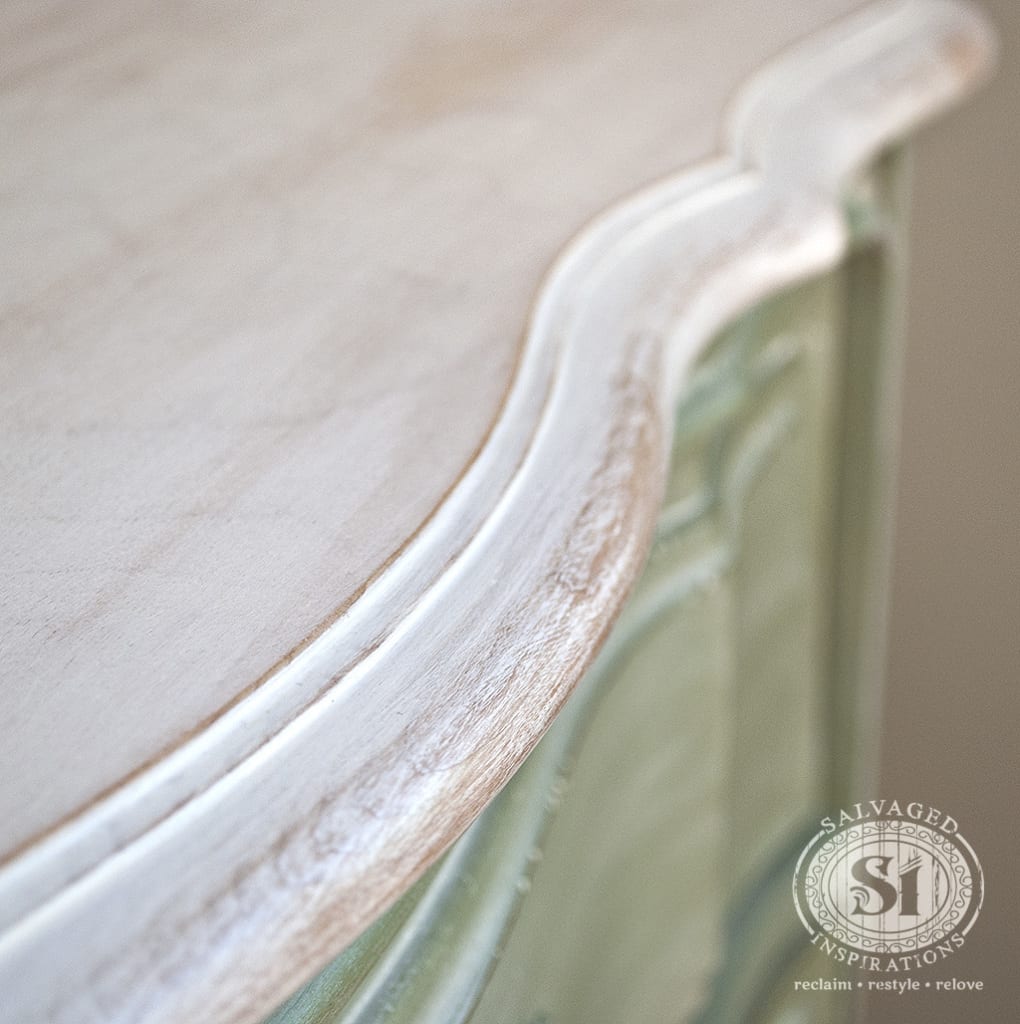
You can control how transparent you want your wash to be by the water/paint ratio and how many coats you apply. A wash adds depth and tone while giving an outdoor beach faded look. Like the dry brushing, it uses very little product and is simple to apply.
Wet Distressing
With the popularity of chalk paints, wet distressing has become a trendy option and the big benefit is – no dust. Here’s an example of wet distressing on this General Finishes Chalk Style Painted China Cabinet.
I have to admit this is probably my least go-to method. Because I sand all my pieces for a professional finish, I already have sand paper in hand so I just go to it! However, you can achieve a soft muted effect by gently rubbing with a damp cloth.
All distressing works well on imperfect furniture. The above styles can hide irregularities and flaws while giving your furniture a ton of character. I hope this helps you decide which paint distressing technique will give you the EXACT look you want.
What’s YOUR favorite distressing technique? Which of the above would YOU like to try? And ohhhh, if you haven’t entered the Bluestone House™ $150 Chalky Paint Giveaway yet – you can check it out HERE!
Happy painting…have a wonderful day.
Denise x
_____________________________

Hi Denice I have an old black wooden chair very plane looking I would like it white with a grey wash this is my first time at this and am not sure on what to use or where to get the paint or wax from could you help me in simple terms thanks so much Bev
.
Hi Denise,
I have bought a dresser that is already refinished (painted and sealed). Can I make it look distress by sanding it down, or is this tricky to do, depending on the varnish used, etc.? And if so, do I have to put a new finishing coat/sealer over the whole dresser, or just over the parts that I sanded (or not at all). I would really appreciate your help.
Sofia
Hi Sofia! I have conflicting answers for you depending on where you want it distressed and how much distressing you want. My sister recently picked up some black kitchen chairs. She ever so LIGHTLY distressed the edges of the chairs and then used a qtip with some stain to get a wood look. Worked fine and looks great. That said, if you’re looking to distress more than the very edges, I wouldn’t recommend it with an existing topcoat. You’ll be able to see where the topcoat was sanded down and it will look messy – even if you try to topcoat those areas again. Hope this helps.
I want to maintain the look of an antique table but just add some colour where it has been damaged. Is that possible without painting the whole thing?
I really enjoy the information you supply, it really clarifies a lot of issues I run into. Old World is my favourite as well.Is there a reason I cannot pin this information?
Thanks Barb… and you’re right…where did my PIN IT button disappear to? Thanks for bringing this to my attention! 🙂 I’ll look into it.
I like the Beach Glass silky color!!
I love the Old World Antique Finish…..it may be my favorite.Thanks for sharing the information…..Have a great day!!
Old World Antique Finish is a classic isn’t it! You have a great day and weekend too Charlotte. 🙂
Once again, very helpful information. Thanks Denise. I’ve always admired how you seem to know just how to make a piece of furniture antiqued and classy.
Thanks Monique!!! 🙂
You are always so creative and inspirational. I love this post. I get so confused about the different painting techniques. This post helps to explain and I can’t wait to try milk paint. Thank you.
Pleasure Beckie. 🙂 If you give Milk Paint a try, I’d love to hear how it goes for you!
This is a well written article. Just wanted to say, how much I look forward to my Tuesday emails, always informative, and inspiring,
Thanks for all you do for us just beginning this journey!
This touches my heart. Thank YOU for being here Connie! x
Thanks for this awesome post!!! Not all distressed techniques are created equal, so thank you for sharing it all! It’s a great reference for future projects!
My pleasure Blake. There are so many more distressing techniques… and I promise when I learn more – I’ll share more. 🙂
great blog post today….very very useful….:) I have probably used them all and it usually depends on what I am working on as to how I will distree
Thanks Lynn! And I agree, often the furniture ‘tells’ us what type of distressing will work best.:)
This is so true, i have had a pieces that i discussed with owners pf whAt idea or technique i was going to use, and get half way through the project and something totally different hit the old brain., completely redirect ! Luckily that owner of furniture happened to be my baby brother!😎
I bet your brother loved your finish – even though it wasn’t the ‘original’ plan. 😉
This is a great post, thank you for all the information! It’s nice to have all of them in one area for reference.
Thanks Lia! I remember how confusing it was for me when I first started – so I hope this helps a few people out. 🙂