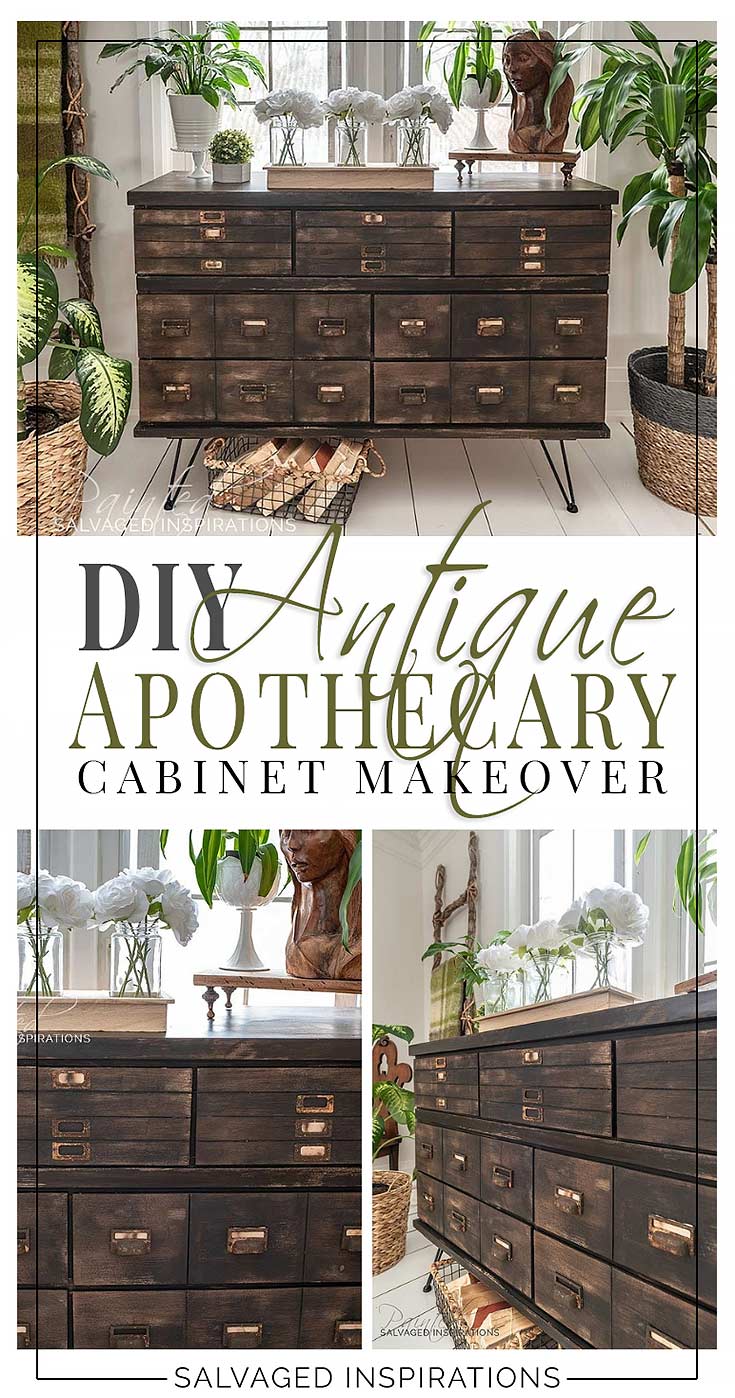
DIY FAUX DRAWERS TURNED THIS FLAT-FACED-BOXY DRESSER INTO A GORGEOUS INDUSTRIAL ANTIQUE APOTHECARY CABINET. TODAY, I’M SHARING THE TOOL THAT MAKES CREATING FAUX DRAWERS EASY!
This makeover couldn’t be any more different than last weeks… but variety is the spice of life, right?! 😉
It started out as this boxy-flat-dresser. Those of you who follow me on Facebook know how uninspired I was starting this piece. Once I figured out what I wanted to do with it, it turned into a REALLY fun project!
[Oh, and before I get into today’s restyle, thank you to everyone who participated in last weeks giveaway. We had a great turnout and I’ll be announcing the lucky winner at the end of today’s post.]
Okay, here’s what I started with…

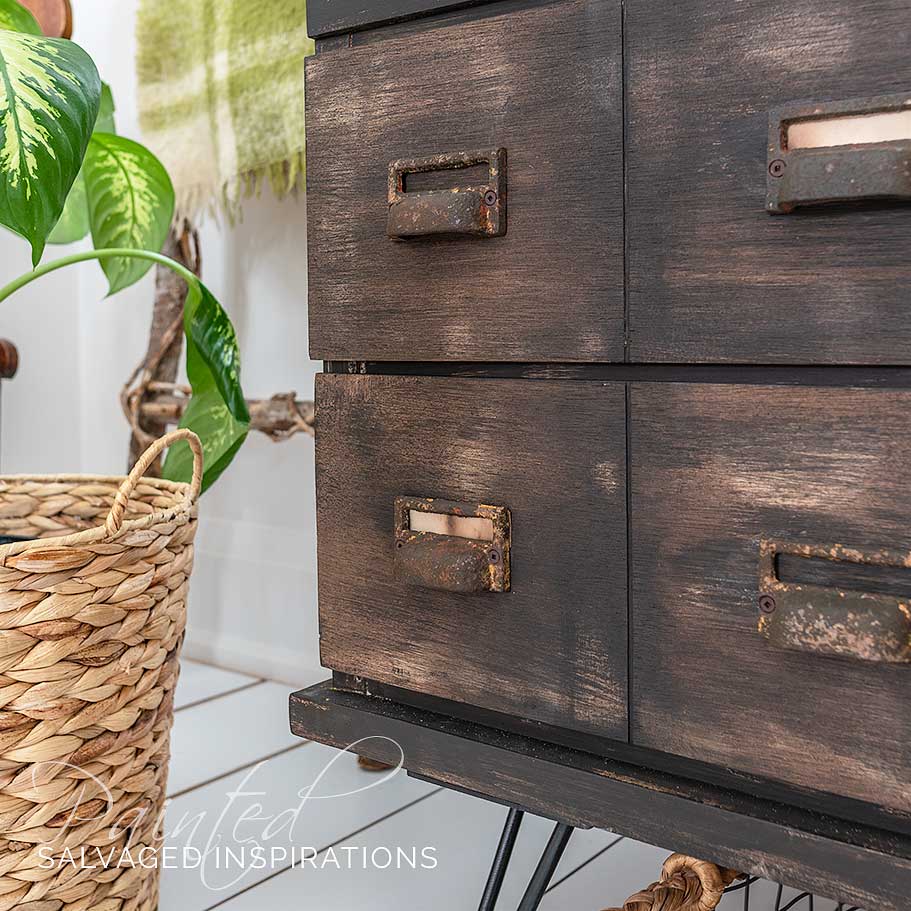
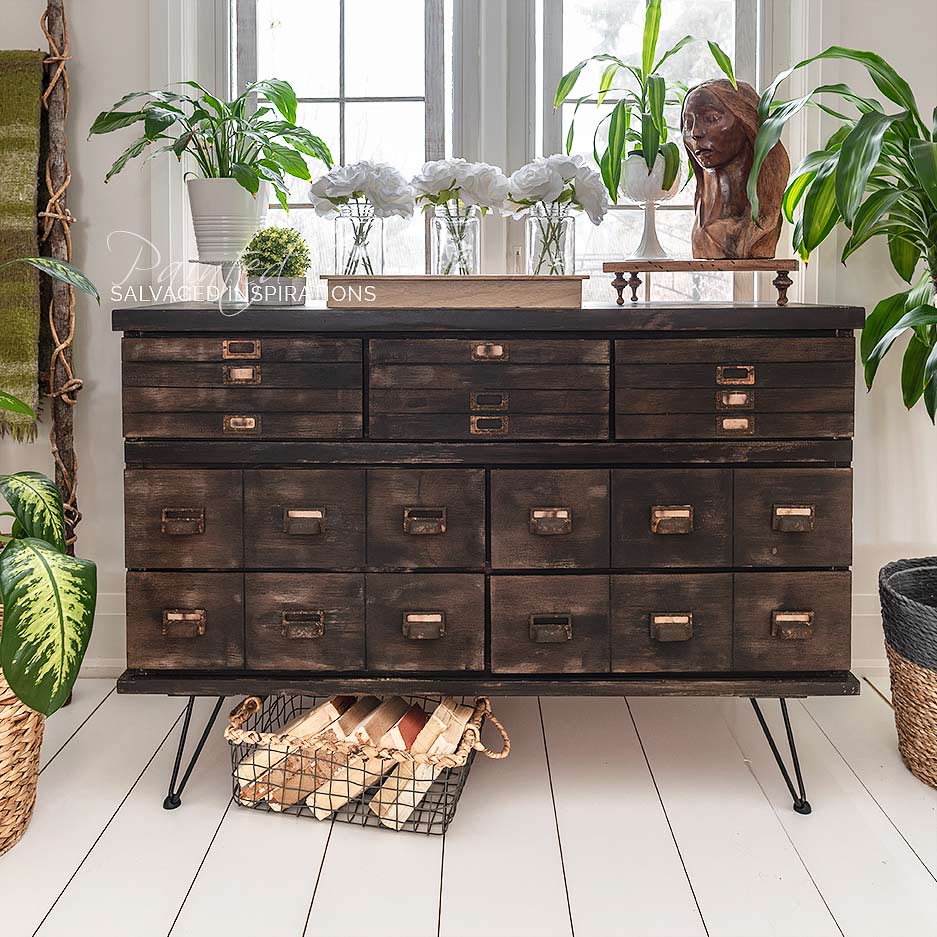
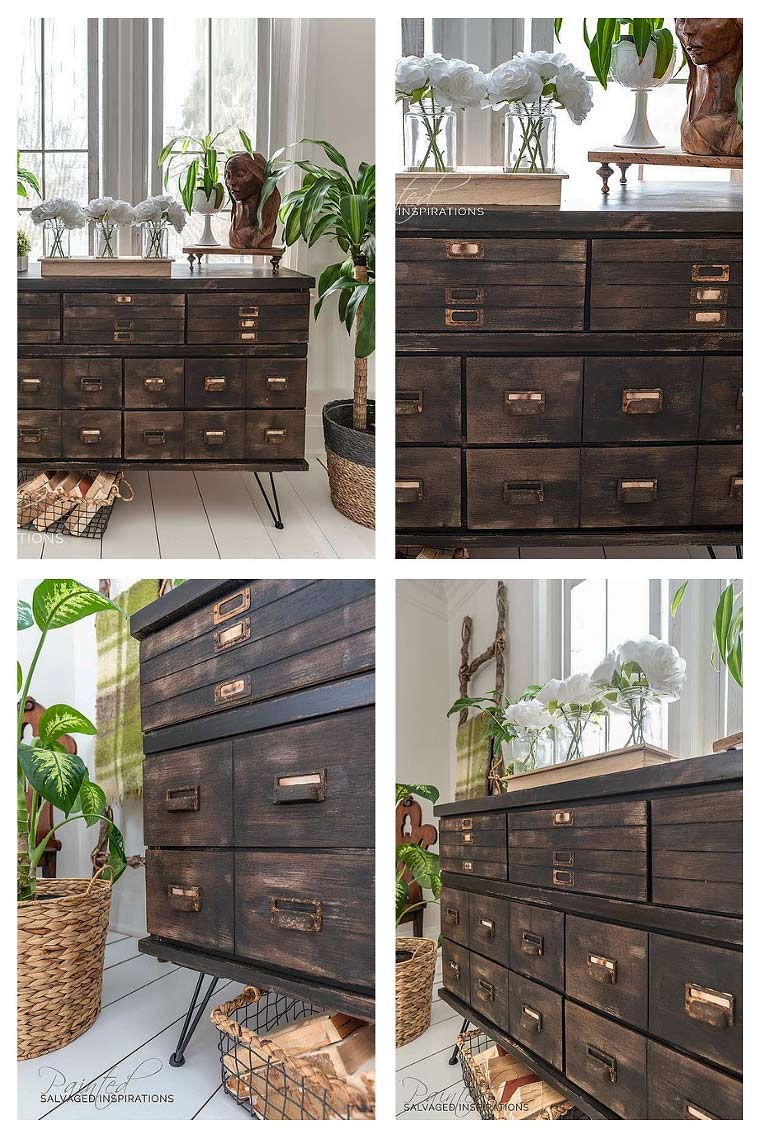
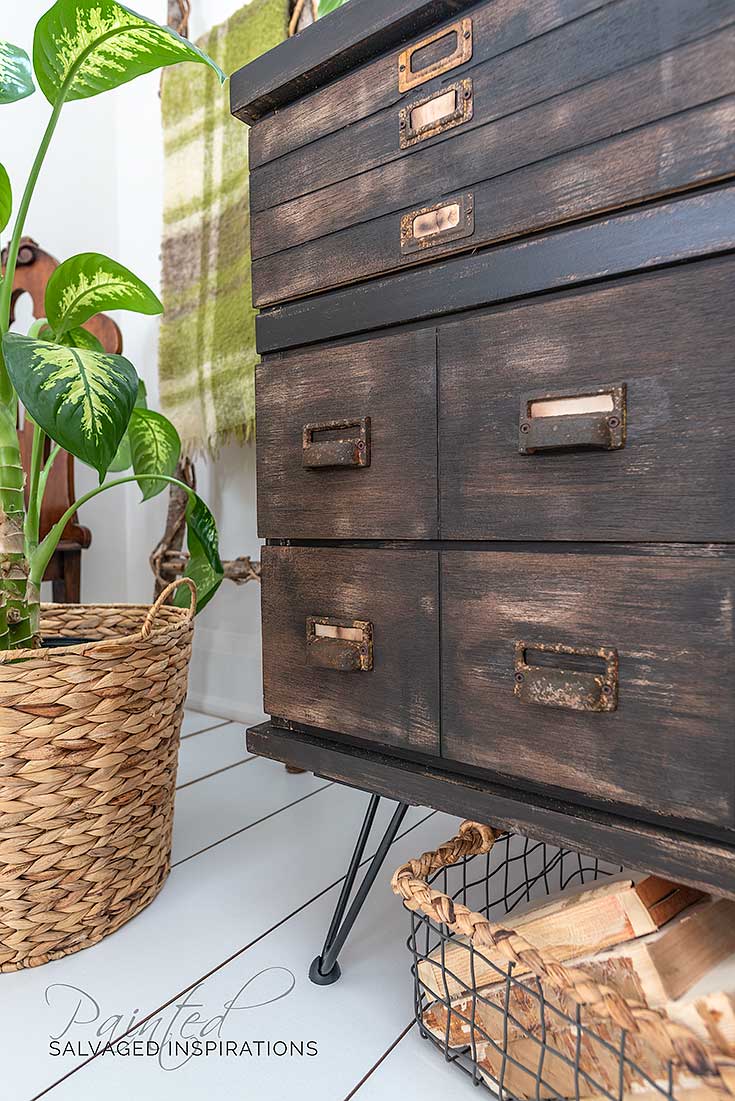
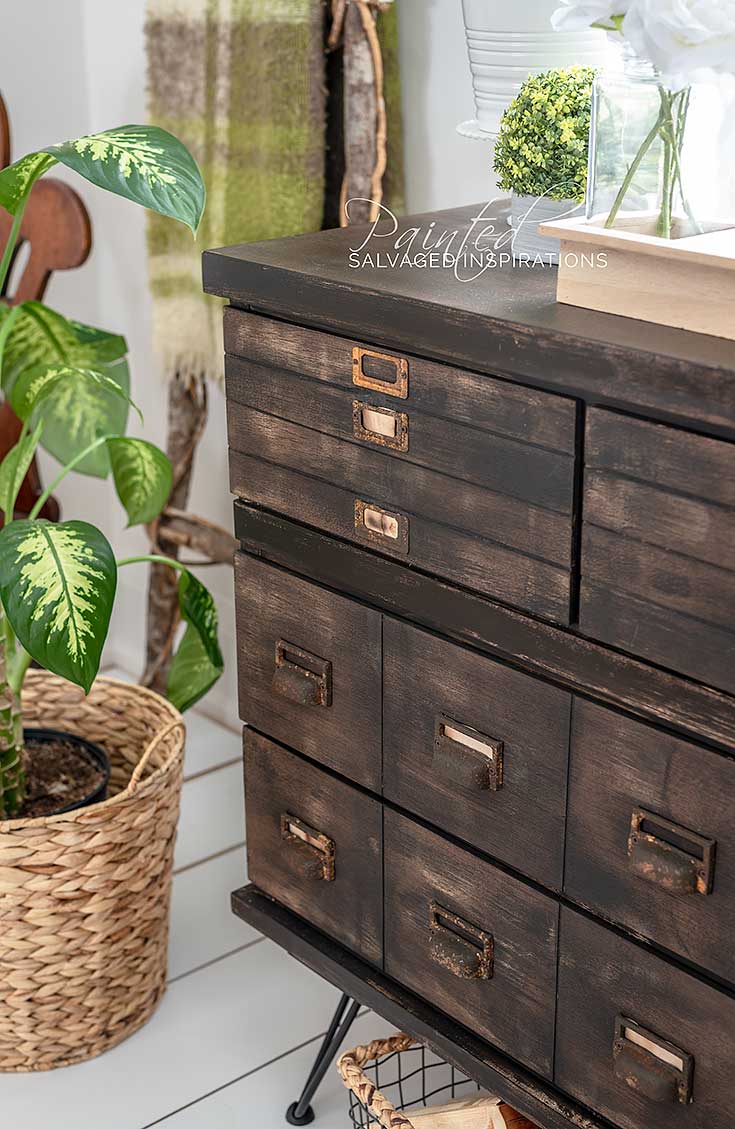
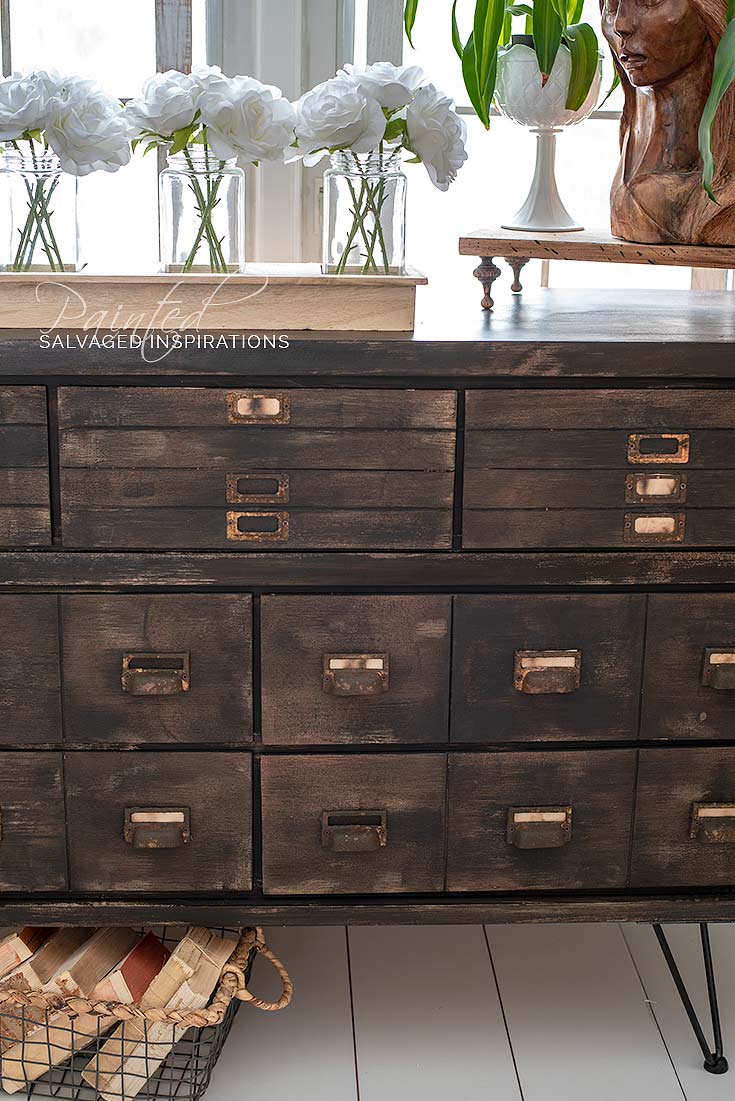
And now … an Antique Apothecary Cabinet! Check out all this rustic character!

THIS POST IS SPONSORED/CONTAINS AFFILIATE LINKS TO PRODUCTS I USE. YOU CAN SEE MY FULL DISCLOSURE HERE.
SOURCE LIST::
-
- Dresser – SALVAGED
- Sponge + Water + Shop Towels
- Bondo
- Straight Edge + Measuring Tape
- Furniture Clamps
- Sandpaper + Tack Cloth
- Dewalt Sander
- Dremel Rotary Tool
- Paint Brushes
- Tobacco Road Gel Stain
- Coffee Bean Chalk Mineral Paint
- Gator Hide
DIY FAUX DRAWERS::
Step #1:: Clean – Sand and Fill
After I gave this piece a really good clean and sand, I filled the old hardware holes with Bondo. If you’re new to the #siblog, I prefer using Bondo over wood fill. It dries really fast. Within 10-15 minutes it’s ready to sand and prime so it saves a ton of time.
Step #2:: Measure & Mark
I decided to divide the top drawers lengthwise which created four (4) 1 3/4″ skinny drawers. The bottom drawers, I divided into three (3) 8 1/4″ drawers.. You can create ANY size faux drawer you like so long as the math evenly divides into the actual drawer size.
Step #3:: Rotary Tool ***
I’ve seen a lot of faux drawer makeovers where [they] actually cut wood to size and then add it onto the face of a dresser to make the illusion of numerous drawers. An easier way [imo] is to use a rotary tool.
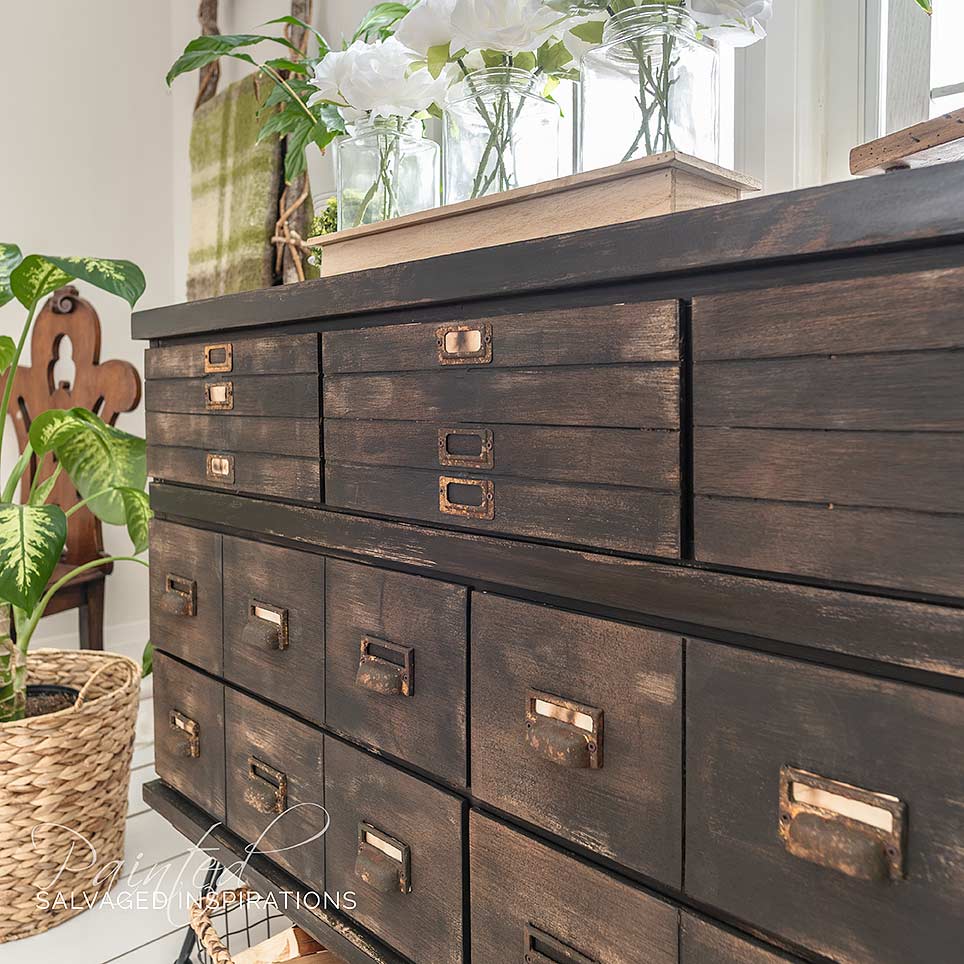
A Rotary Tool comes with bits and attachments. Each attachment allows you to do different things ie cutting, buffing or sanding just to name a few. For these faux drawers, I used a wood cutting bit set at an 1/8″ depth which rotors out a line right on the actual drawer! All you need is a straight edge to glide the Dremel along.
I’ve created a super short video showing the rest of the steps to this makeover. I’m not a video guru but I’m learning. Feel free to let me know if you find these short vids helpful or if you prefer images and step by step tutorial. I can’t promise to make a vid for every post (because they take me forever…lol) but I’ll do my best. 😉
As a side note, a Dremel is a SUPER handy tool if you restyle furniture. I use it to shorten screws, sand tight areas, buff hardware, create faux drawers etc etc. It’s an amazing tool to have and works for SO MANY applications. As of writing this, Amazon has the DREMEL on sale HERE! 🙂
Step #4:: Paint & Finish
To give this apothecary cart the industrial antiqued look, I stained with Tobacco Road and then layered on Coffee Bean.The hardware was rusted out using DB Iron and Patina Spray The legs were swapped with 8 inch hairpin legs which added some extra height.
I have to say I’m in totally in love with this piece. I’m thinking I’m due for an office makeover so I might just keep this one for myself. 🙂

And now for the winner of last weeks furniture transfer giveaway.
CANDACE S.
CONGRATULATIONS!
Please contact me within 48 hours to claim your ReDesign With Prima® Furniture Transfers.
I HOPE YOU ENJOYED TODAYS MAKEOVER AND HAPPY LONG WEEKEND FOR THOSE OF YOU CELEBRATING! FREE TO CHIME IN AND LET ME KNOW WHAT YOU THINK OF THIS ANTIQUE APOTHECARY CABINET… I ALWAYS LOVE HEARING FROM YOU.
Happy furniture painting my friends!
Denise x
RELATED POSTS::
How To Apply Furniture Transfers
Adding Graphics | Vintage TeaCart Makeover
Milk Painted French Country Armoire
Stop Bleed Through When Painting
Furniture Romance Makeovers
PIN AND SHARE!

This is absolutely gorgeous!! My husband and I are attempting this!! Can you please tell me if this dresser was laminate or wood? Also what was the paint technique you used?? This is absolutely stunning!! Thank you for the inspiration!!
Thanks Jamie! It was wood, not laminate and after it was ‘mostly’ sanded, a dry brush technique was used. 🙂
Another jaw-dropping furniture transformation, Denise! Wow, what a difference. You truly are a furniture whisperer and your vision and styling of your pieces are outstanding every.single.time. Pinned 🙂
Thanks so much Marie! I really like this one too. 😉 Thanks for the share my friend. XO
Oh, I just love this, I want to attempt this so badly…not sure I have the nerve, this is simply gorgeous
Thank you! And Cindy, you can SO do this… its a fun project to try!!! 🙂
Wow, what a transformation!! You do beautiful work!
Thanks Deb!!! xo
SO COOL!! I’m sure when people go to open it they will be so confused!! It really looks so old!!
Thanks, Suzanne!!! and ya, they will…lol. Those patina products are AMAZING!!!
That was such a clever idea!! I love it!!
Thanks so much, Mary Ann! 🙂
Oh my gosh woman! What an amazing transformation! Also, your posts are always so timely, it’s like you can read my mind. This is not the first time I’ve been in a quandary and then your email arrives in my inbox with the perfect solution to my problem! SO glad I found your blog <3
Thanks Jenna! And so glad the timing is good for you… if you try DIY faux drawers on one of your pieces, I’d LOVE to hear how it turns out for you! 🙂
I am totally freaking out at this transformation, like totally mind blown! It gives me new inspiration for the future ugly pieces that come my way, and how to give it new life!
Awww, thanks Lauri… appreciate it!!! And ya, it kind of inspired me to take a more imaginative look at those plain pieces too. I’ve been avoiding some of my ‘plainer’ inventory for years.
LOVE this!! Auch a cute idea
Thanks Alanna! xo
NAILED IT!!!! You hit this one out of the park…..I just love it!
Thanks Teri! I love it too! 🙂
Where did you find your hardware for this?
Hi Kerri! The upper tabs were bought at Hobby Lobby and the lower handles at a really neat boutique/shop called Mermaid In Elora. Then both were ‘rusted-out’ using Dixie Belles Patina.
What can one say about an astonishing transformation.? I will never look at a flat MCM piece of furniture the same. One of the tools I inherited from my Dad is a flex shaft Dremel with so many attachments. You really hit it on the nail about all it can do..
You generosity sharing all your fantastic visions is just remarkable.
My profound thanks!
Hi Mollie! Aren’t all the attachments amazing! And it’s so nice that you inherited your Dads. I love using my Dad’s tools… gives me such a good feeling. 🙂
Wow, Denise – that is a remarkable transformation! I just love it. I’m going to go find a piece of furniture….. LOL
LOL… I’m looking forward to trying this on another flat faced piece too! Thanks so much Marcia and wishing you a beautiful day. x
That came out AMAZING! Love it!
Thank you Shelley! XO
Absolutely LOVE this!! One question: where did you get the “legs” for the finished piece? They totally complete the look!
Hi Lori! I purchased the hairpin legs at Rusty Design but they also sell them on Amazon if you don’t have this type of shop in your area. I included the link under the “Source List”. 🙂
You are so imaginative Denise. to have envisioned this great style. Love this look & around here this style sells really well.. Great video too showing the need to sand down the grooves. Don’t blame you for wanting to keep this one.
Tracy!… in a roundabout way you helped me come up with this idea girlfriend! When I posted on FB not knowing what the heck to do with it, I couldn’t get those stained/stenciled pieces [you posted] out of my mind. I wouldn’t have even USED STAIN on this piece if it wasn’t for you. 🙂 Thank you!
WOWZA! You rocked that one Denise. What a transformation!
Thanks my friend. Glad you like it! Hugs XO
Hi Denise, where di you source the hardware from ?
Hi Kerri! The upper tabs were bought at Hobby Lobby and the lower handles at a really neat boutique/shop called Mermaid In Elora. Then both were ‘rusted-out’ using Dixie Belles Patina.
Wow I LOVE this one!!!! You nailed it! Thanks so much for the video and details! Def. won’t let one of these pass me by again!
Thanks, Karin and so glad you found the video helpful! 🙂
Wow! Every time you do a piece that I think you can’t do anything else to top it, you come along with another unique, amazing makeover of a different kind. So far, I think this one is my favorite. I love, love, love it. Your video helped also to be able to see what you explained in your steps In the video, there is a blue thing clamped to the drawer while you’re cutting with the dremel tool. It seems to ‘give’ as you’re cutting. How are you able to keep the line straight since it gives? Thanks for sharing another great makeover!
Hi Debra, thanks so much!!!:) If you’re referring to the blue straight edge, it’s metal and doesn’t give at all. And once it’s clamped down securely, it doesn’t budge. That said, what you may be seeing is a shadow or my not so great video taking skills LOL. 😉
Are you kidding me? Holy cow, I love it! This is why I follow you woman – always an inspiration!
Awwwwwwwww, thanks, Allison!!!!!! You made my day! XO
You always amaze me!! What a beautiful piece and such a makeover! I am clearly impressed! I want one!! Lol
….”I want one!!” is the biggest compliment you can get so thanks so much Shirley!! 😉
Really really love the look of this piece down to the hairpin legs. Curious how you pull out those top drawers however It’s absolutely beautiful I would keep it for myself as well!
Hi Liz! The drawers pull out really easily by pulling on the side or the bottom. But that said, I actually had 24 random round knobs that I rusted with the Dixie Belle Patina fully thinking I was going to add them onto the sides of each faux drawer. But once I added on the tabs – all those knobs were just waaaay too much. I didn’t like the look at all.
Yay! So excited I won!! Can’t wait to try them out on a piece of furniture. Thanks again for having the contest!!
Congratulations Candace!!!! I know you’re going to LOVE playing around with those beautiful transfers.:)
Brilliant! I’ve always loved the look of an apothecary, but thought them to be impractical. I mean, unless you run an apothecary, who needs that many small drawers? Your video was great! Thanks for sharing,
Thanks, Laurie! Ya, I don’t know what I would do with all those small drawers either…lol. Better to have the big ones to stuff full of junk LOL 😉
Wow Denise! An incredible makeover. I cannot believe that beautiful apothecary cabinet was once an ugly, dated, plain old dresser. How do you do it? You amaze me with your vision. I’m absolutely loving the finish, the unique hardware, and those hairpin legs. Wow! Love the video (and the glimpse of your studio:D).. What an interesting work space. You make my Monday mornings brighter.
Aw, thanks Monique… and so glad you like the video. You make my Monday mornings brighter girl! Hugs to you and have a super duper week!!! XO
The video is good but I really like the step-by-step pictures. Those legs really are clever!! The entire dresser is fantastic and you make such lovely photos of all your pieces.
Thanks so much Cecilia! And thanks for chiming in about the step-by-step pics. I want to keep things as easy to follow as possible for you! 🙂
I second that!
Thanks Jenna! I love the input! x
WOW! This is quite possibly my favorite of all your posts—I’m blown away by this gorgeous transformation!
Thanks so much, Merli! xo 🙂
You’re amazing!!
You’re sweet Kimberly, thank you. 🙂
Gosh I LOVE your style! Your vision for your pieces is so inspiring and I can see it truly comes from your heart. Keep up the great work Denise! 😍
xo, Do
Thanks so much, Do! xo And ya, this one was soooo much fun – loved every minute. 🙂