Here’s how I transformed this thrift footstool into a one-of-a-kind Bunny-Cat stepping stool | Youtube Video!
Hello sweet SI family and thanks for joining me. Did you see the solar eclipse yesterday? We had totality here in the GTA around 3:15pm yesterday and it was truly amazing!
Today I’m sharing this thrift DIY footstool makeover… for a fur baby. My sister Andrea has been looking for stepstools for her cat. Bunny has arthritis in her back legs and tail, so having a few stepping stools around the house will help keep her comfy when going up and down on her favorite spots.
It’s also Trashy Treasures Tuesday and I can’t wait to see what my TTT crew has been up to. I’ll share links to their before and afters at the bottom of today’s post. I hope you join in too!
*As an Amazon Associate, I earn from qualifying purchases. There are affiliate links in this post to other companies/products I use and love as well. You will never be charged extra when you purchase through these affiliate links. If you purchase from my links – A BIG thank you for supporting me and the #siblog! To see my full disclaimer, click here.
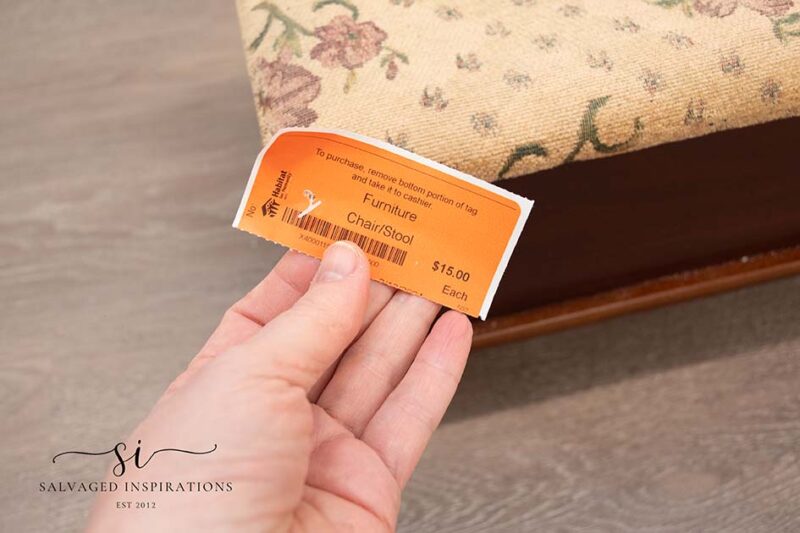
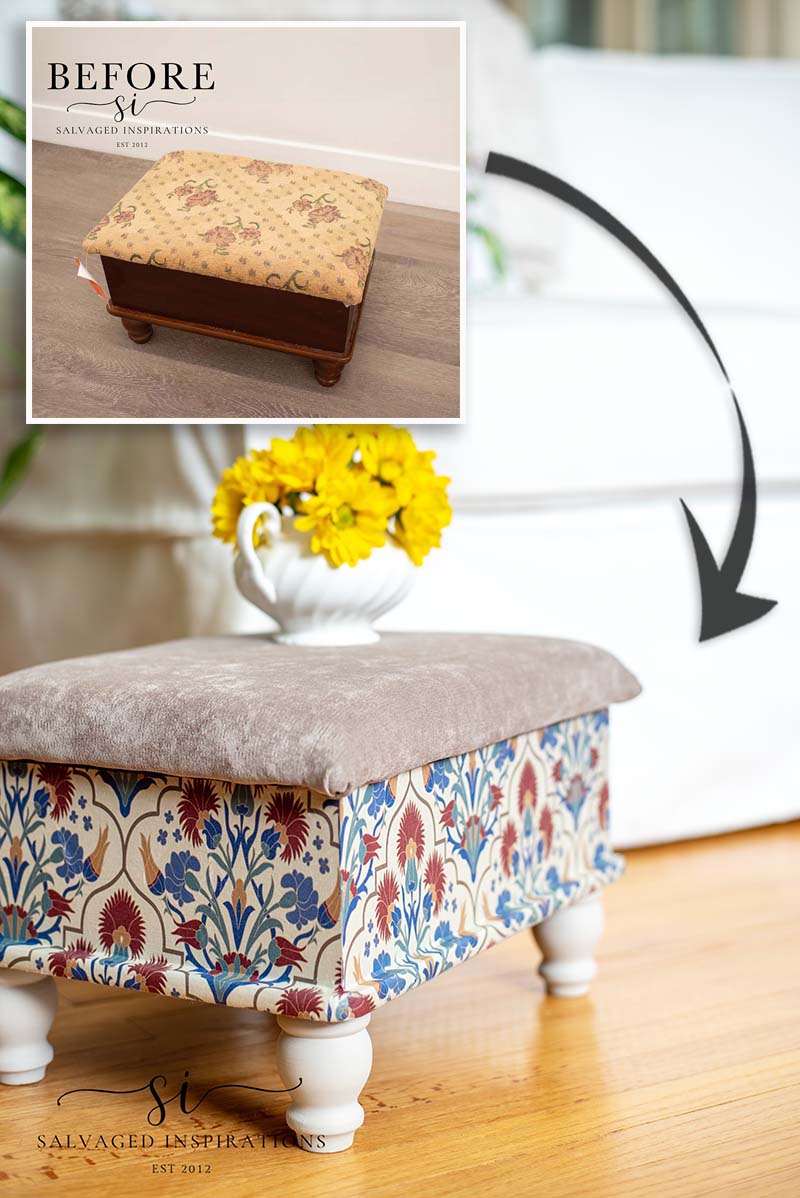
I found this Foot Stool at my local ReStore.

It was selling for $15. Compared to what these little footstools are selling for brand new (anywhere between $60-$150 here in the GTA) I thought it was a bargain.
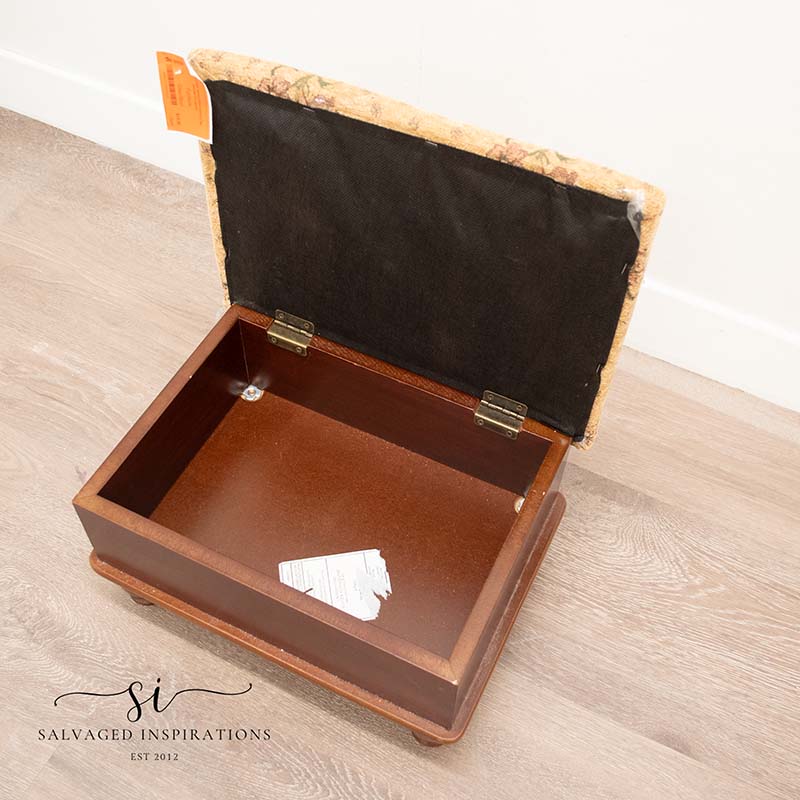
It is in great condition. As a bonus, the top lifts and can be used for additional storage – or maybe some Bunny toys!
THIS POST IS SPONSORED/CONTAINS AFFILIATE LINKS TO PRODUCTS I USE. YOU CAN SEE MY FULL DISCLOSURE HERE.
WHAT YOU’LL NEED
Foot Stool – SALVAGED
White Lightning Cleaner
Shop Towels
Sand Paper
Water Misting Bottle
Paint Brushes
Bonding BOSS Primer
Nautical Silk All-In-One Mineral Paint
Sawmill Gravy Chalk Mineral Paint
Whimsical Mediterranean Decoupage Paper
Clear Topcoat in Satin
Pneumatic Upholstery Stapler
DIY FOOT STOOL MAKEOVER
Here’s how this thrift foot stool all came together…
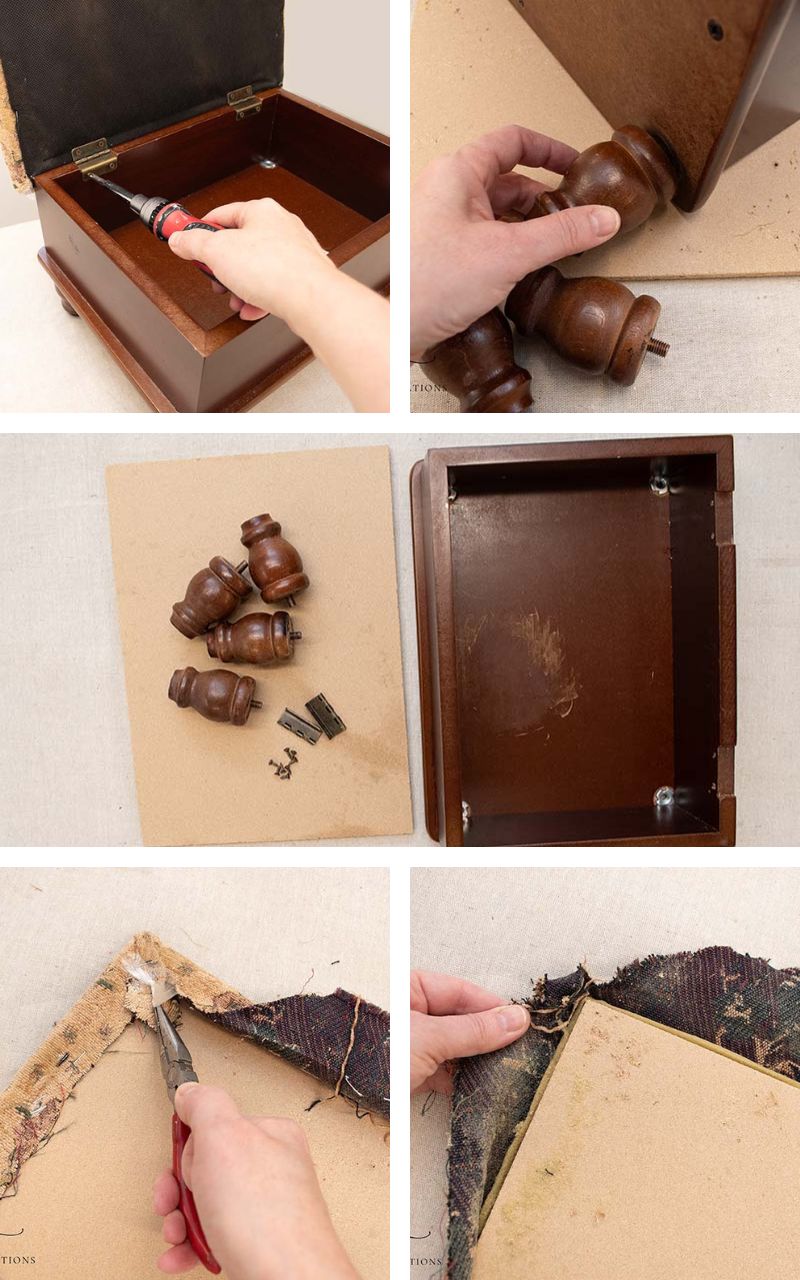
DISASSEMBLING THE FOOTSTOOL
I started by disassembling the footstool. I unscrewed the top hinges and removed the feet and upholstery. The upholstery took me a good half an hour as there were a lot of staples to remove.
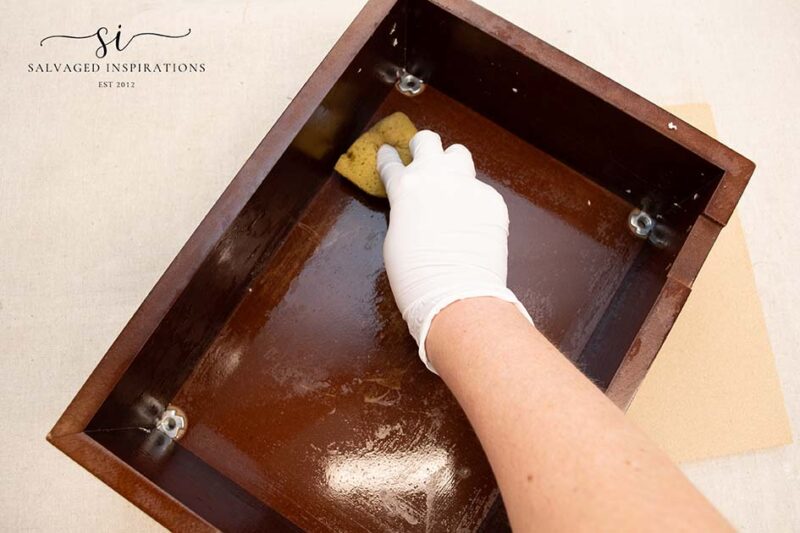
CLEANING
I sprayed everything with White Lightning Cleaner and used a smaller sponge to wipe it down. Then I left it in my paint room to dry.
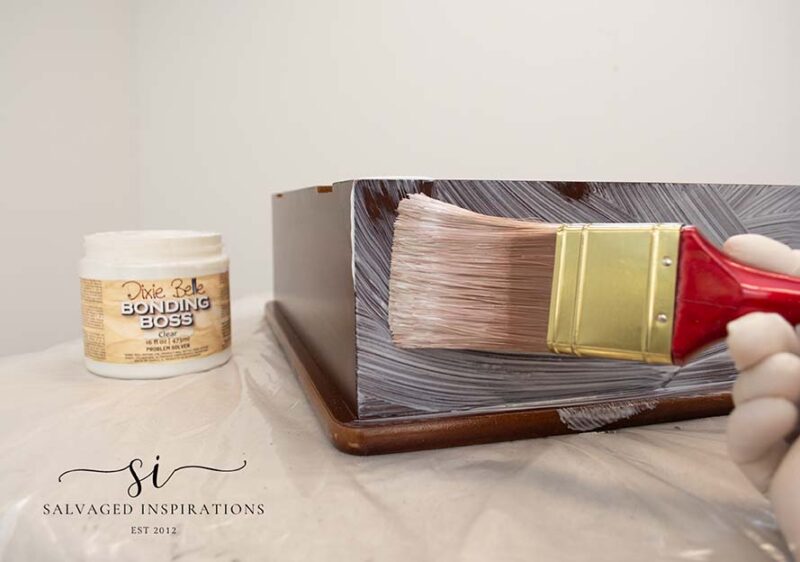
PRIMING
Since this piece is staying in the family, it’s a perfect project to put to the test. I’ve used Bonding Boss Primer on my last few makeovers and have had amazing results. That said, I’ve scuff-sanded every project before priming.
The slick factory finish on this stool is the perfect project to TEST this bonding primer’s limits. Rather than scuff sand, I primed two coats right over this factory finish. As per directions, I waited 24 hours before painting.
The next day I came down and gave it a scratch test. It passed with flying colors. I”m sharing more on the YouTube video below. In the future, I can also give you an update on how everything held up.
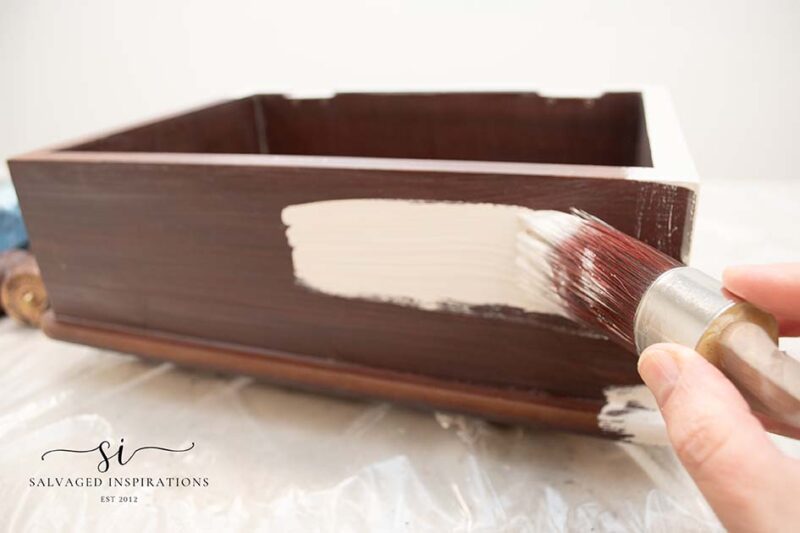
PAINTING
NOW for the FUN PART! I painted this foot stool in this gorgeous neutral called Sawmill Gravy. It only required one coat because I planned on decoupaging over this base coat.
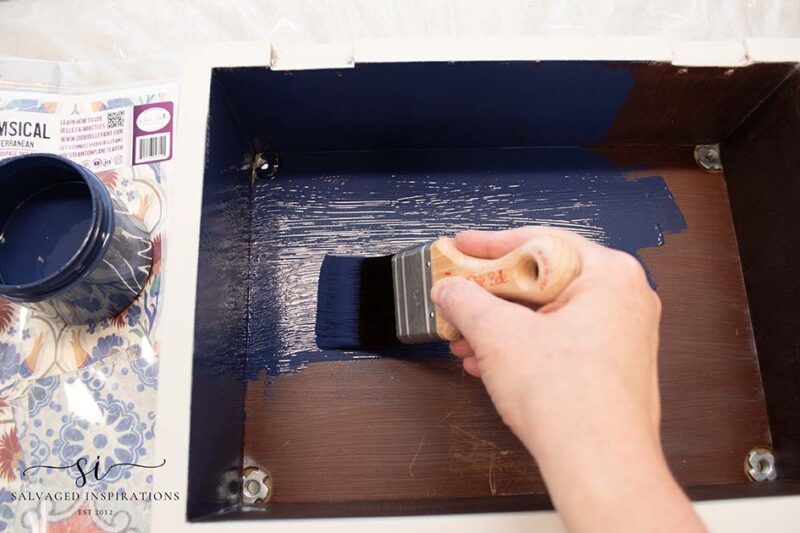
I then also added a pop of color to the interior storage space in Nautical Blue.
HOW TO DECOUPAGE WITH TOPCOAT
Decoupage can totally transform the look of your project as you’ll see below. I used this fun Whimsical Mediterranean Paper to tie in with my sister’s colorful and Boho decor. This decorative paper easily sticks to furniture using any regular topcoat – no extra Modpoge or gluing products are required!
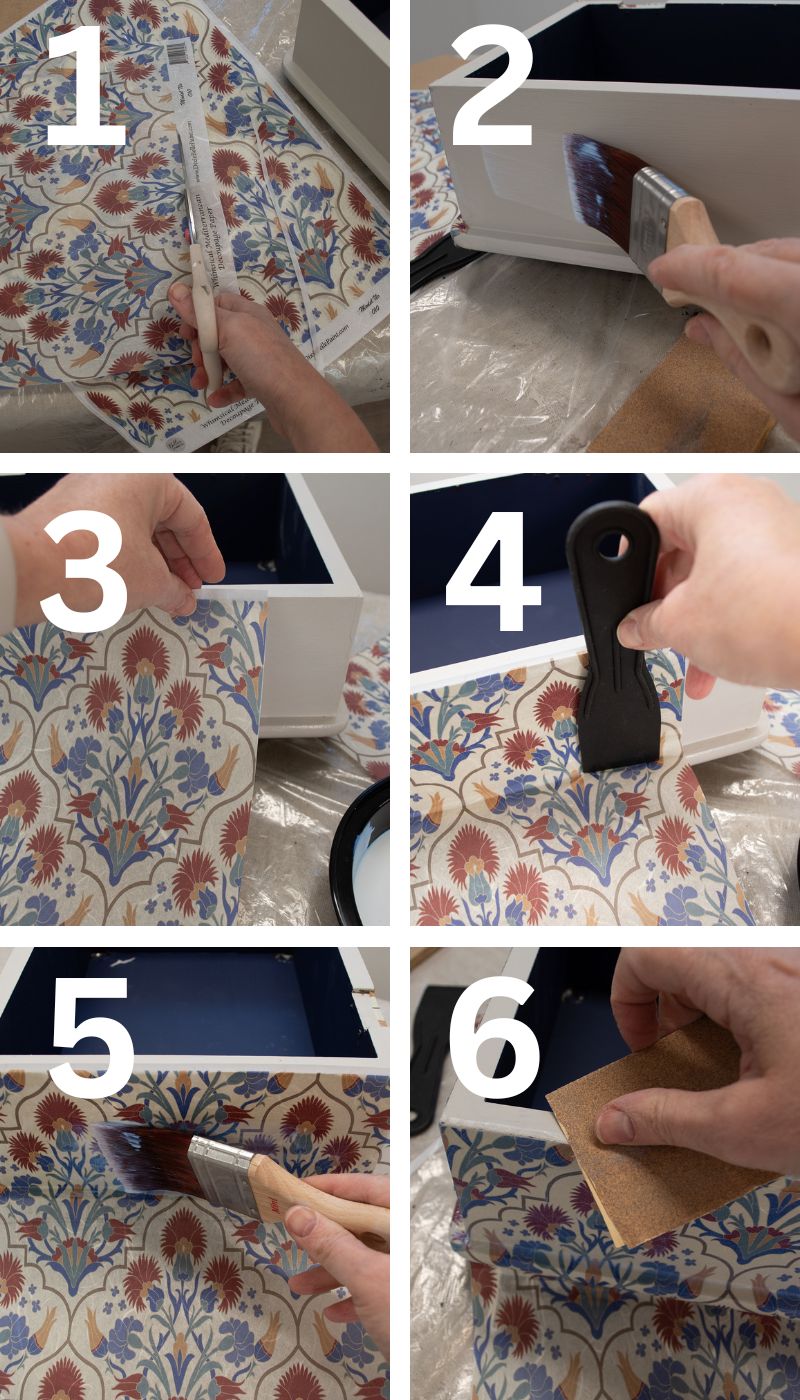
Here are the steps …
- Pick a decoupage design and cut it to size
- Brush on a layer of clearcoat where you want the design to adhere
- Adhere it to your project
- Mold it to any rounded edges or details and smooth out any creases or bubbles
- Once in place and smooth, brush on another layer of topcoat
- Cut off excess decoupage paper with a piece of sandpaper along the edges
TIP ~ To blend the decoupage paper seamlessly onto ANY color of painted furniture- apply a paint wash in a matching color. I have a great example of how to do this with this Decoupage Nightstand Tutorial here!
TIP ~ Rice Decoupage Paper is a great alternative to transfers if you’re on a budget. They are less than half the price!
HOW TO REUPHOLSTER
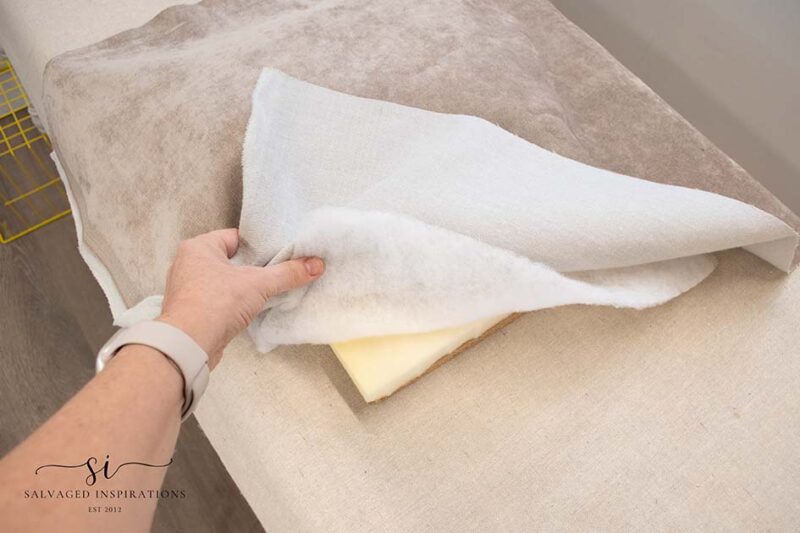
To reupholster the top of this stool, I used a piece of leftover foam, cotton padding, and a neutral fabric. I didn’t have the exact size of cotton padding available so I pieced it together. You’d never know once it was all attached. This velvety fabric is no slip and soft for Bunny’s little paws.
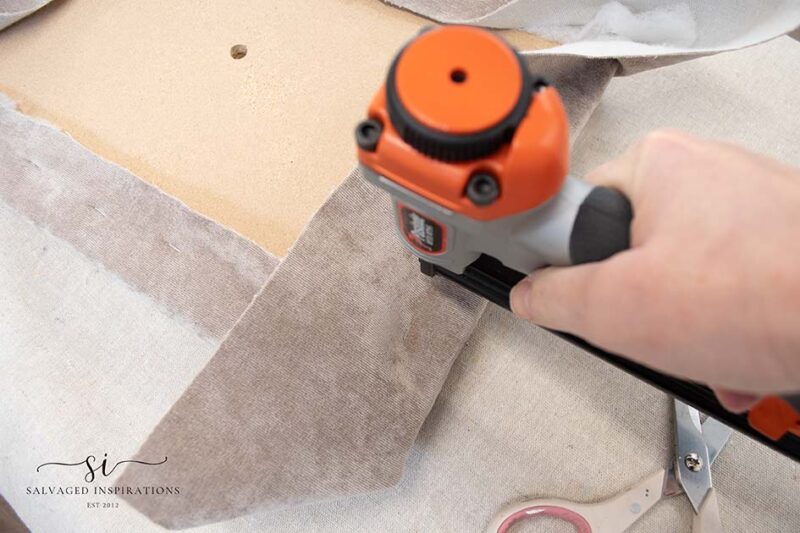
I used a pneumatic upholstery stapler to attach the foam and fabric to the top of the footstool. If you have a compressor, this is an awesome tool to have as it saves a TON of time.
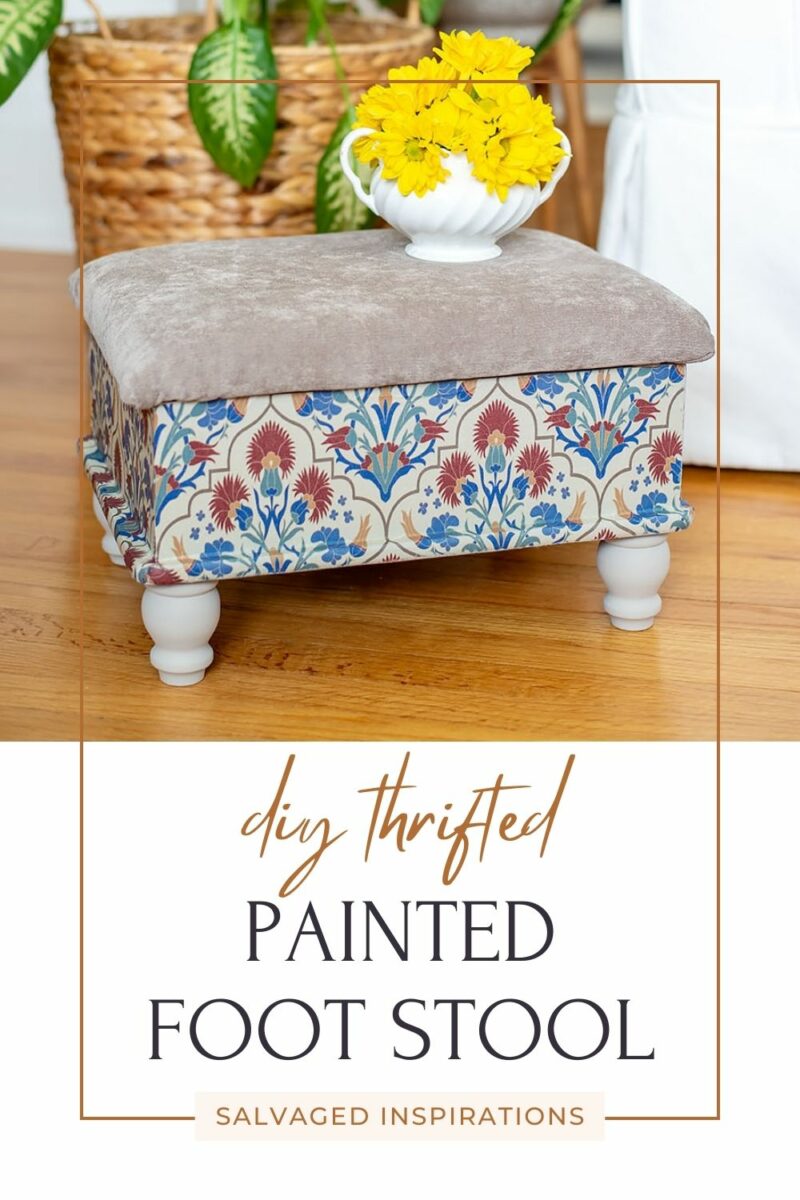
BUNNY’S NEW STEP STOOL *AFTER*
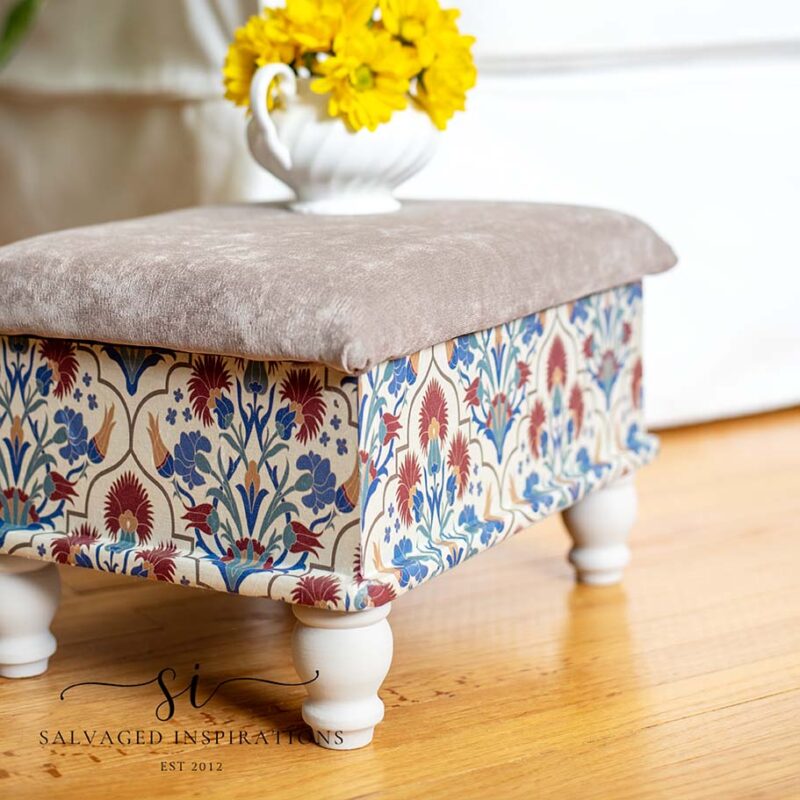
Here’s the finished look.
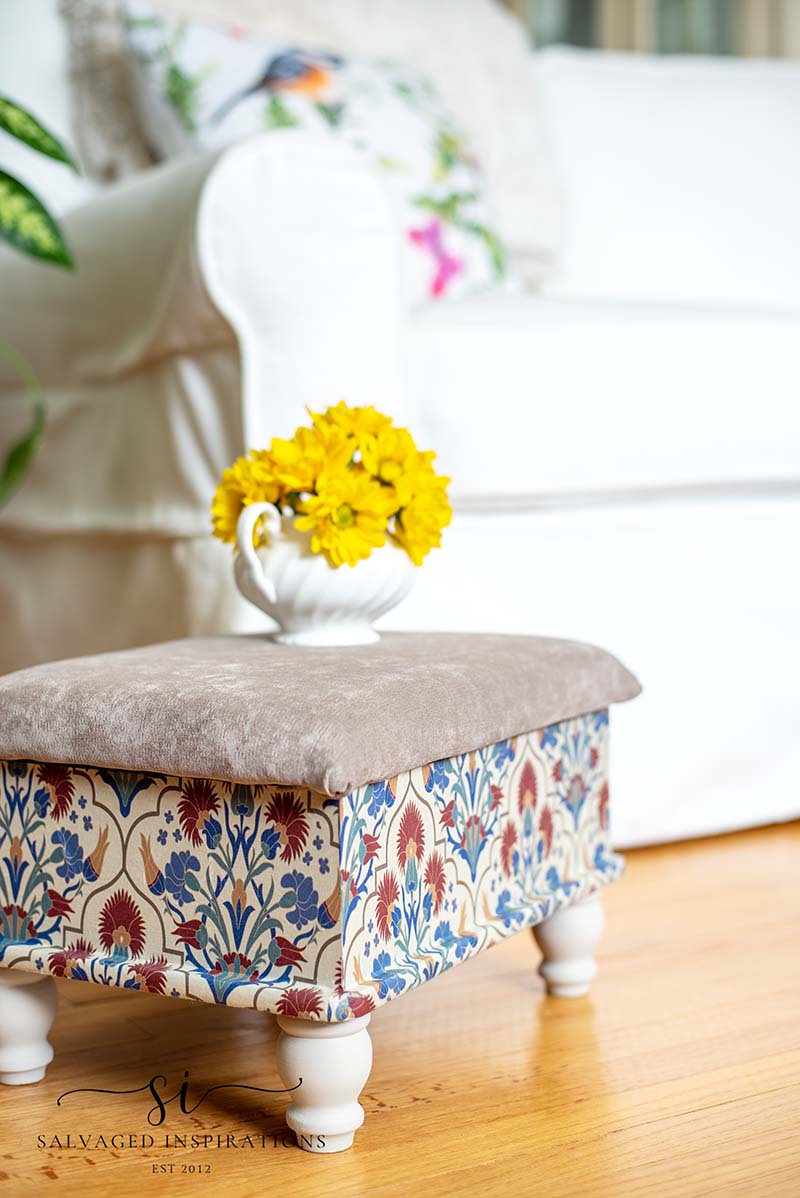
I think it’s super cute and eclectic!
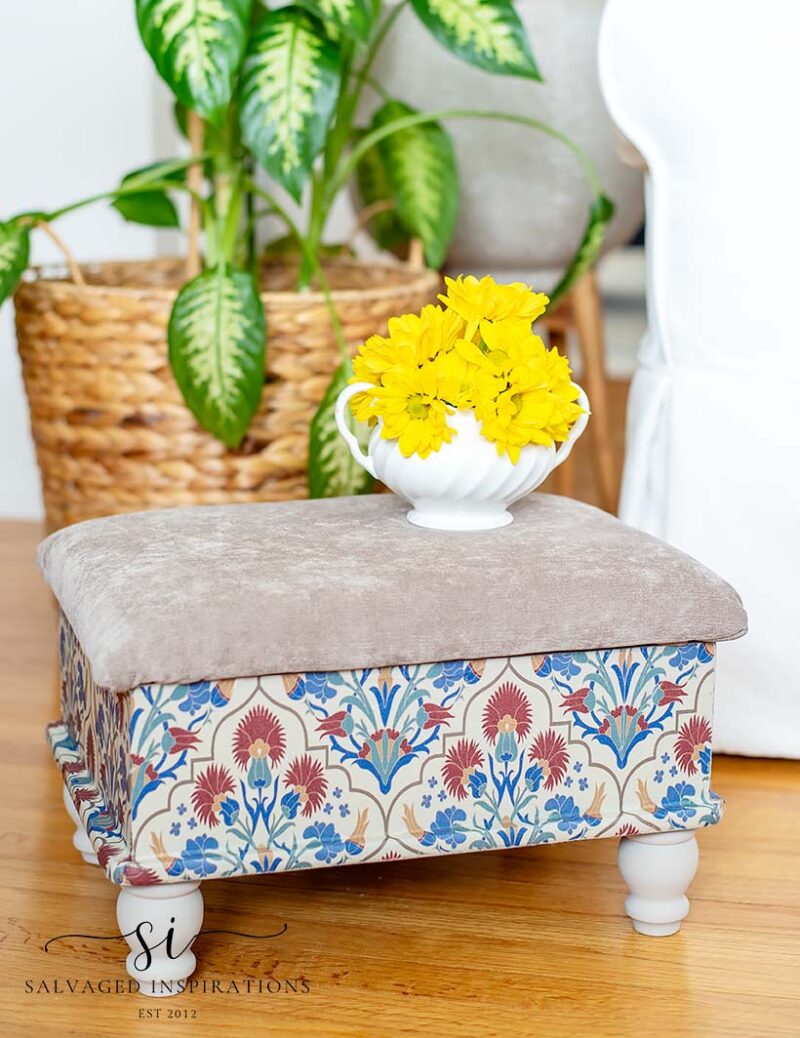
I chose a fabric that would be soft on Bunny’s paws and gripping rather than slippery.
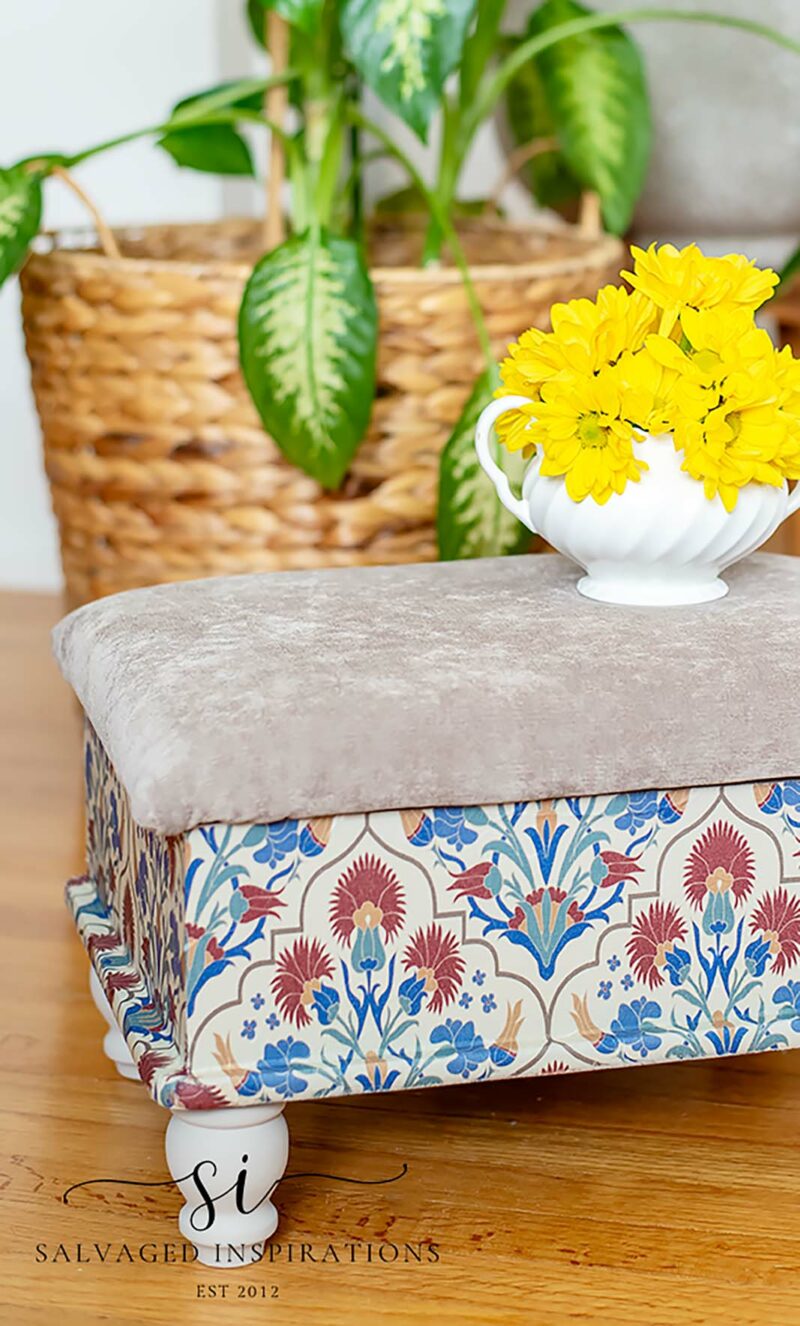

I love this Whimsical Mediterranean vibe and the colors will tie in beautifully. What do you think of this color and pattern?
I hope Bunny likes it and it’s easier for her to jump up to watch the birds!
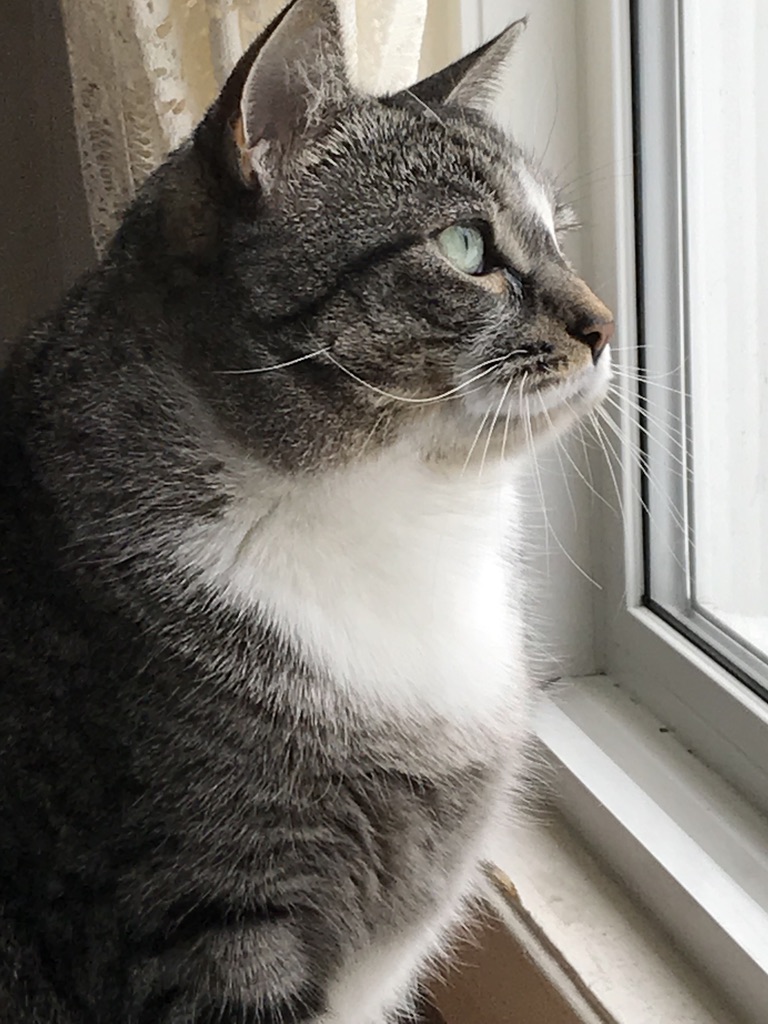
I mean look at this little face…
SHARE TO PINTEREST FOR LATER 🥰

YOUTUBE TUTORIAL
Here’s the full step-by-step YouTube tutorial. Our #siyoutubefamily is already a community of 44.5K so don’t forget to subscribe if you haven’t done so already! So exciting, thank YOU! 🙂
And now for some Trashy Treasures FUN!
You’re going to LOVE what my creative Trashy Treasures ladies do! 🙂 Below are the BEFORE photos. Visit the links underneath to see the amazing AFTERS and learn how they did it! I’m heading over to take a peek as well! x
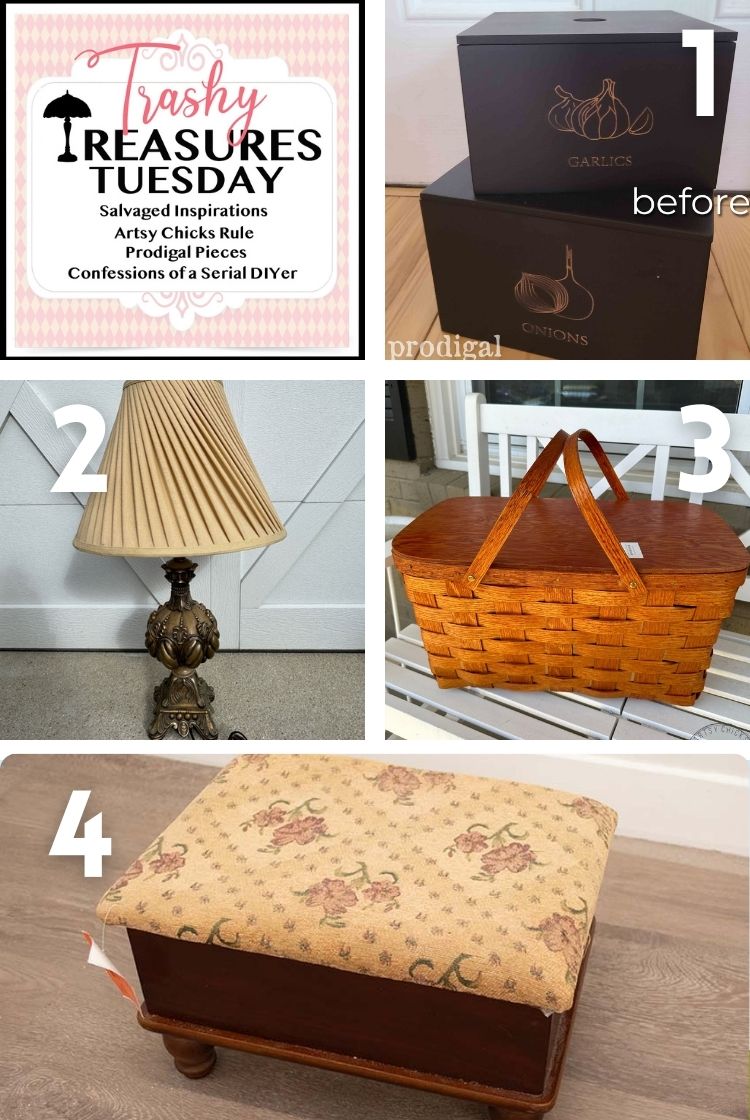
1. PRODIGAL PIECES
2. CONFESSIONS OF A SERIAL DIYER
3. ARTSY CHICKS RULE
4. SALVAGED INSPIRATIONS (HAPPY YOU’RE HERE!)
Here’s another look at Bunny’s stepping stool before and after. I hope it’s inspired you and given you some ideas for your painted furniture projects!
Wishing you a fabulous week!
Let me know what you think of this thrift makeover or feel free to ask any questions you may have. I always love hearing from you, it makes my day! 🙂
Happy painting my friends!
Denise x
RELATED POSTS::
DIY TUFTED FOOT STOOL
HOW TO DECOUPAGE FURNITURE
HOW TO APPLY TRANSFERS TO FABRIC
2 BEST WAYS TO PAINT LAMINATE FP DRESSER
REPURPOSED ‘SPRING’ MAGAZINE RACK
PIN AND SHARE!

So sweet, Denise!! I love the colors!!😍 xo
Thanks Nancy! XOXO
Been there many times, so I hear you about how many staples previous owners use. Sometimes it can take literally days to remove them all. I love these little benches that offer extra storage. Yours turned out really cute. Nice tip on using clearcoat to adhere papers over curves. I’ve done the clearcoat iron on paper method on flat surfaces.
I’ve never tried clearcoat iron on paper but I’d like to! And ya, a LOT of staples…lol.
Another one of my all time favs!!!
Aw, thank you Cara!!
Thanks for all the good advice
thanks for being here Barbara! XOXO
Hi Denise. This little step stool turned out absolutely adorable. Your sister and her cat Bunny are going to love it. And what a great idea to put step stools around the house for a pet that has trouble getting up on the couch, bed, etc. You are very thoughtful.
Aw, thanks Monique! What we do for our fur-babies, right?!! 💜 I had my LhasaPoo for 18 years before Gidget and we had made some stepping stools for her as well. I hope Bunny uses it. XOXO
Enjoy all you do.
Thanks so much Lois!
Loved the stool makeover. I was a bit surprised by the cushion cover though, I would have loved to see a matching royal blue. Nice job, as always.
Royal blue would have looked awesome as well! Thanks Donna
Where’s the after? Did I miss it?
Are you seeing it now Lizzy? Everything is showing up on my end.
Yes! It looks fabulous!
Oh I’m so glad, thanks Lizzy! I appreciate you checking for me!! XOXO
I also don’t see the finished product. No pics after the numbered photos.
Can you see them now Pam? Everything seems to be working perfect on me end. ??
How about an “after” pic of inside and outside?
Yesss, I forgot to take an after pic of the inside painted Nautical Blue!
Bunny is so cute and this piece is just perfect for that purpose! Love the electric new look! XOXO
Thanks my friend!XOXO I hope Bunny like it and uses it!🐈
Did I miss the finished footstool? Nothing that I can see after talking about decoupage.
Thanks
Ohhh noooo! Thanks for the heads up. You should be seeing the finished footstool. I’ll look into the back end and maybe try clearing your cache or refreshing on your end Sandra. Thanks for letting me know!
Such a pretty makeover. I’m sure Bunny will love it. Thanks for showing us a picture of that pretty feline!
Isn’t Bunny sweet?! Thanks so much Mary Jo! XOXO
What a sweet gift for a sweet fur baby. Bravo, Denise!
Thanks so much Larissa! I hope she likes it! 🙂