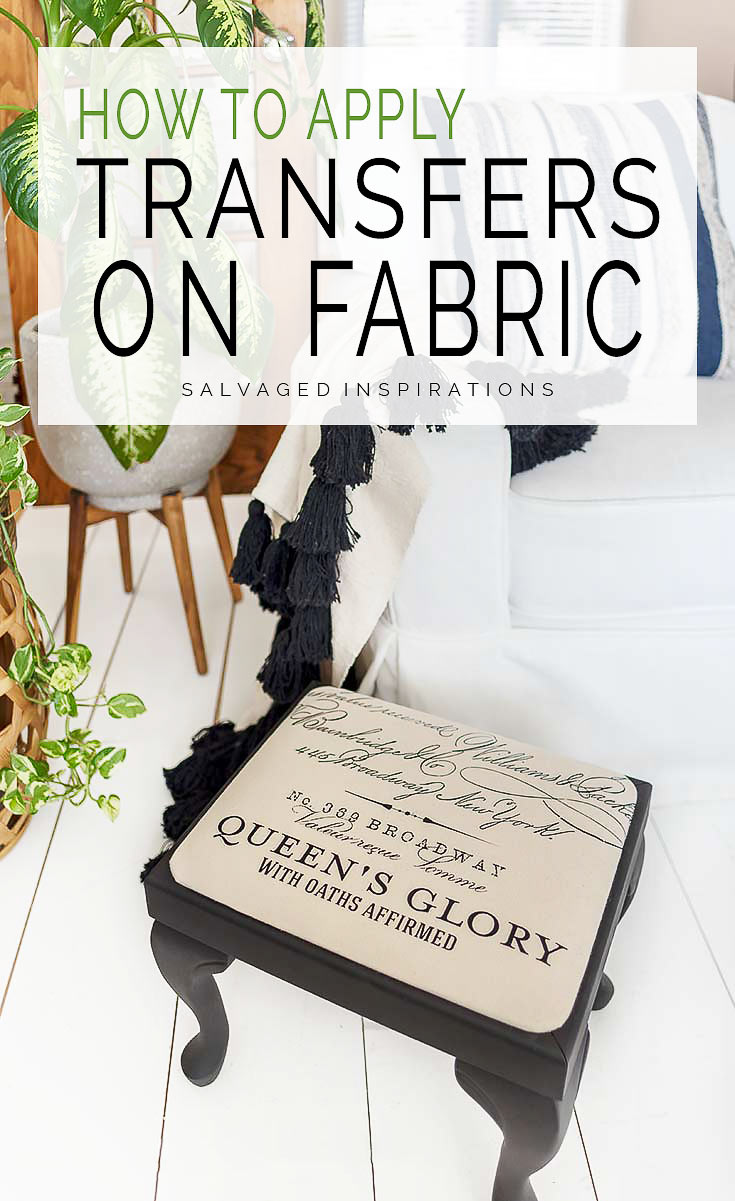
A FABRIC TOPPED FOOTSTOOL GETS A MAKEOVER WITH CAVIAR PAINT AND THIS GORGEOUS PARISIAN FURNITURE TRANSFER!
This is a PERFECT Build Your Confidence Project. Simple enough for a total beginner, yet fun enough for an old pro! 😉
I can’t wait to share how decor transfers can fancy-up your boring fabric… and how EASY decor transfers can be applied to upholstered furniture!
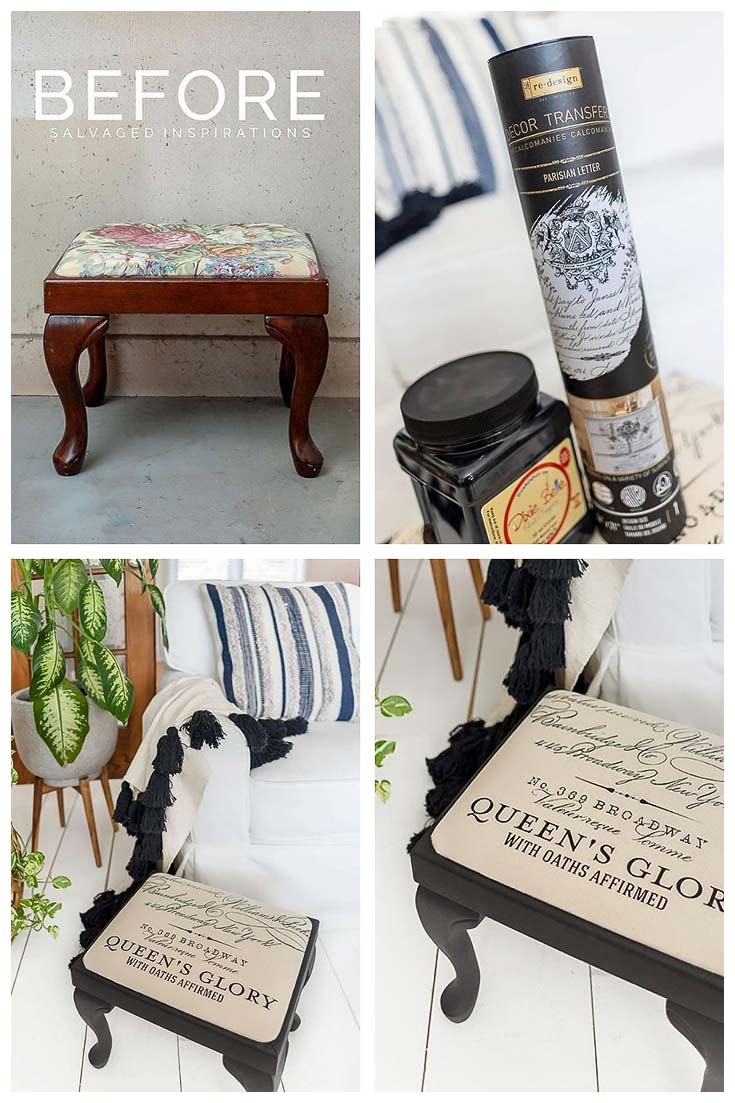
Here’s what I started with. A Bombay Company footstool that my Dad recovered years ago…
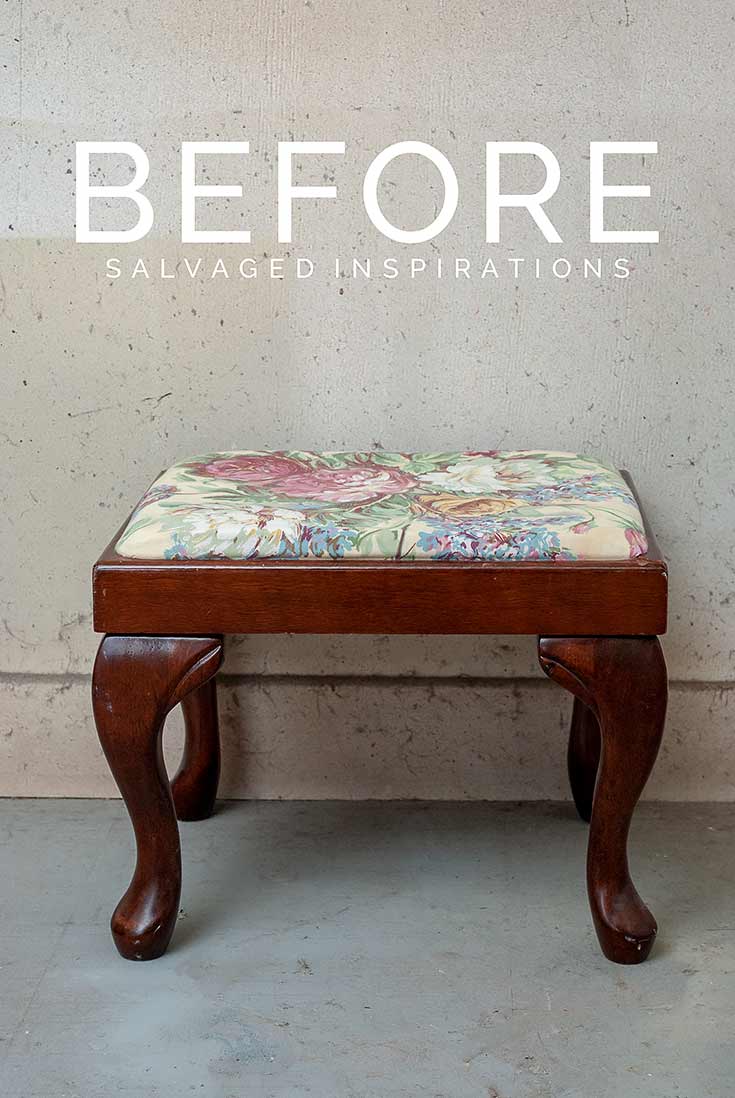
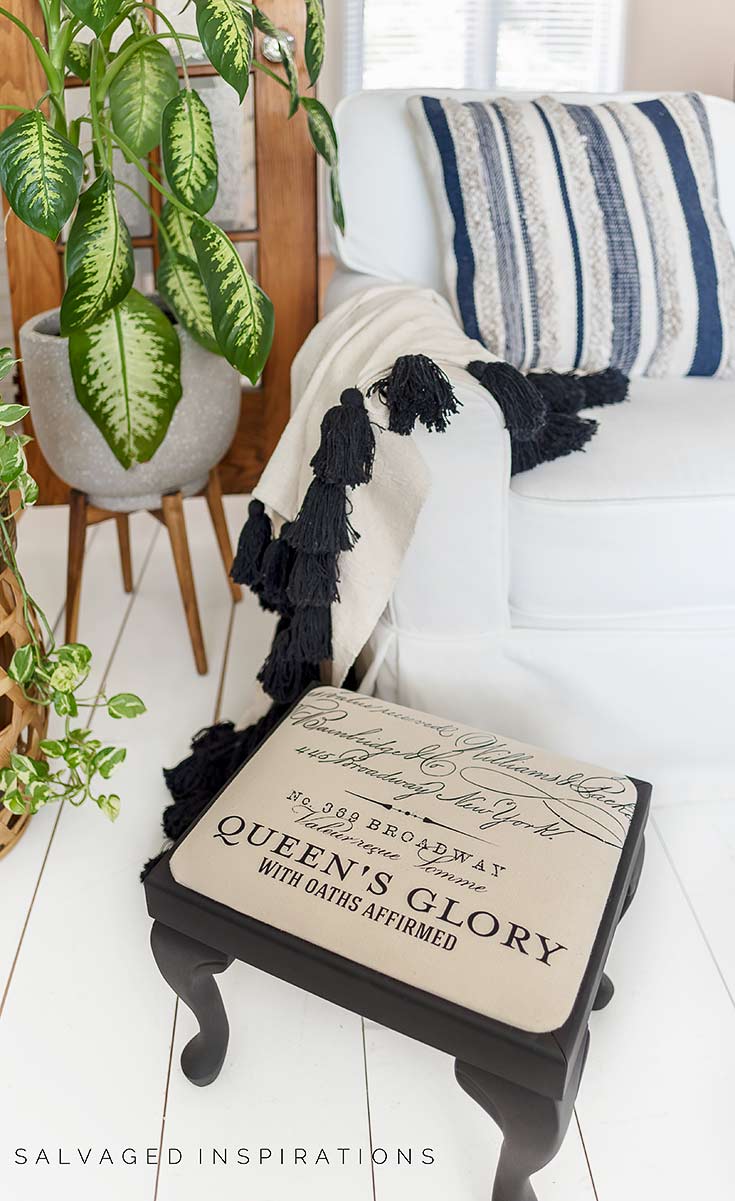
My sister was getting tired of the floral so we updated it with this Parisian Letter Transfer and a black on black base. What do you think?
Looks like a brand new footstool, right?!
THIS POST IS SPONSORED/CONTAINS AFFILIATE LINKS TO PRODUCTS I USE. YOU CAN SEE MY FULL DISCLOSURE HERE.
SOURCE LIST::
-
- Footstool – SALVAGED
- Round Paint Brushes (similar)
- Pneumatic Staple Gun (similar)
- Canvas Cloth or Drop Cloth
- Cotton Batting
- Caviar Chalk Mineral Paint
- Parisian Letter Prima Transfer
APPLYING DECOR TRANSFERS TO FABRIC::
Before I get into the How-To’s, a big thank you to ReDesign With Prima for providing the supplies for this project. Sometimes I have products and designs sent to me that I wouldn’t otherwise try. I feel super blessed and grateful to test new products and share them with YOU!
Here’s the full video makeover. If you have any trouble viewing it in your browser, feel free to click on my Youtube Channel here… and don’t forget to subscribe! 🙂
I started by removing the fabric top from the base and removing all the staples that held the existing floral fabric.
I had this plain canvas/drop cloth left over from another project. I measured by eye and cut the fabric about 3-4 inches larger than needed to cover the footstool. This gave me plenty to work with! Then using my pneumatic upholstery stapler I stapled the cotton batting and fabric making sure the corners were nice and neat and the excess fabric was cut off.
Tip – If you work with upholstery every now and then and own a compressor, a pneumatic staple/upholstery gun is SO much faster easier than a manual staple gun and costs about the same. It’s a huge time saver. Mine has paid for itself 10 fold and I wouldn’t want to be without it!

Once the footstool was reupholstered, I measured for the center. Depending on what type of transfer you’re using this may or may not be necessary, but it gave me an idea of where to place the transfer because I wanted to keep the lettering all straight.

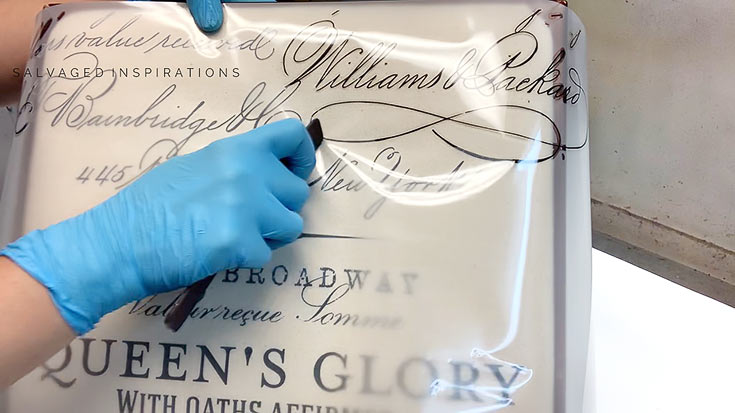
I removed the transfer’s backing and laid it onto the fabric. I smoothed it down with my hand and then started this rub-on method to adhere the design. Rubbing the transfer onto fabric is just as straight forward and easy as it is to rub onto wood.
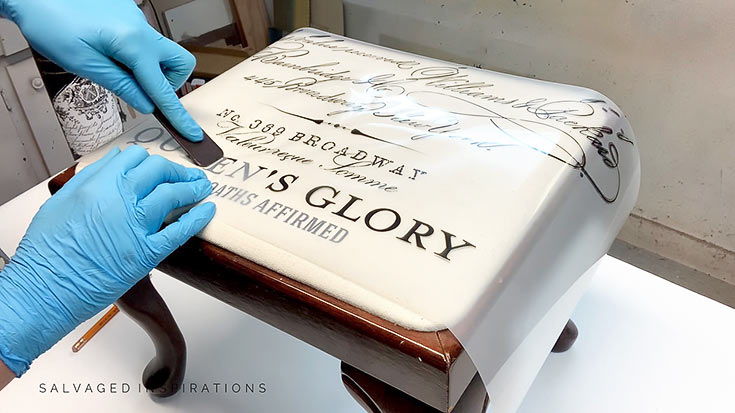
Below, you can see where the transfer has let go and adhered to the fabric (the plastic has detached and lifted and looks milky) and where the transfer is still adhered (the font looks darker).
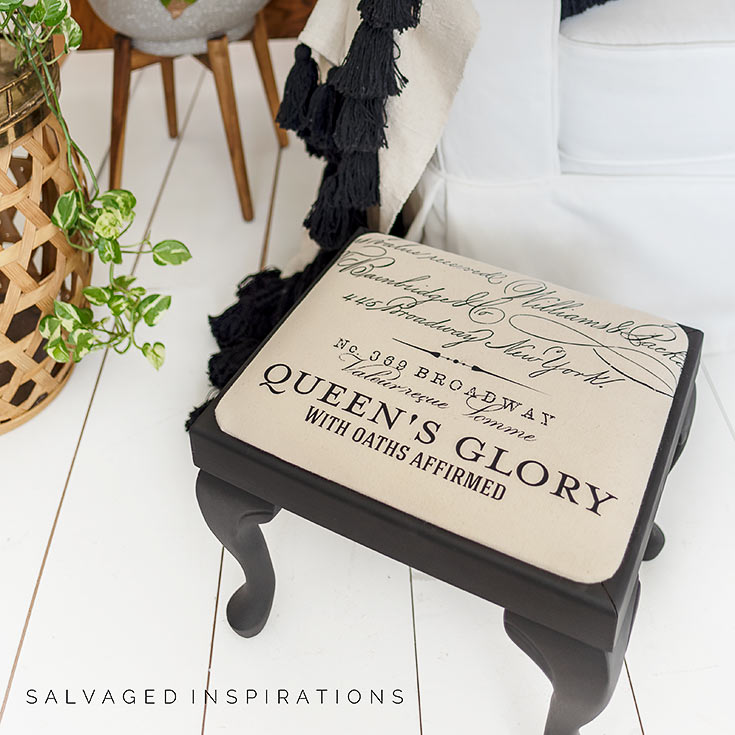
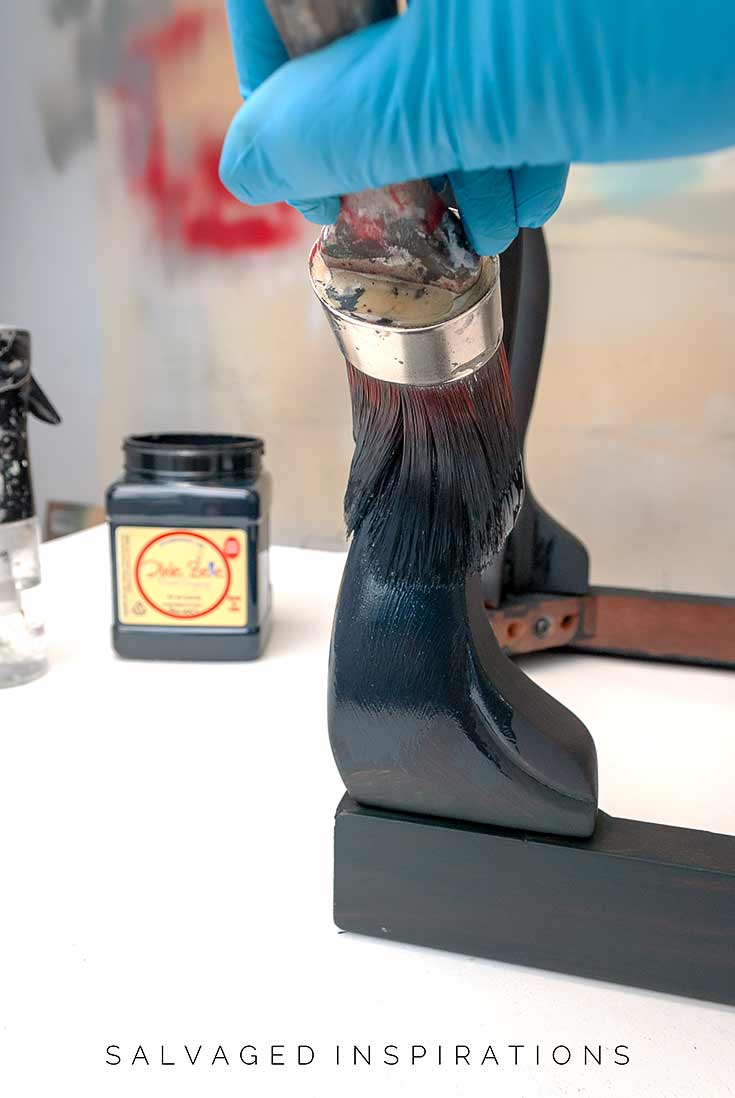
I used Redesign with Primas Parisian Letter and Dixie Belle’s Caviar to transform this footstool.
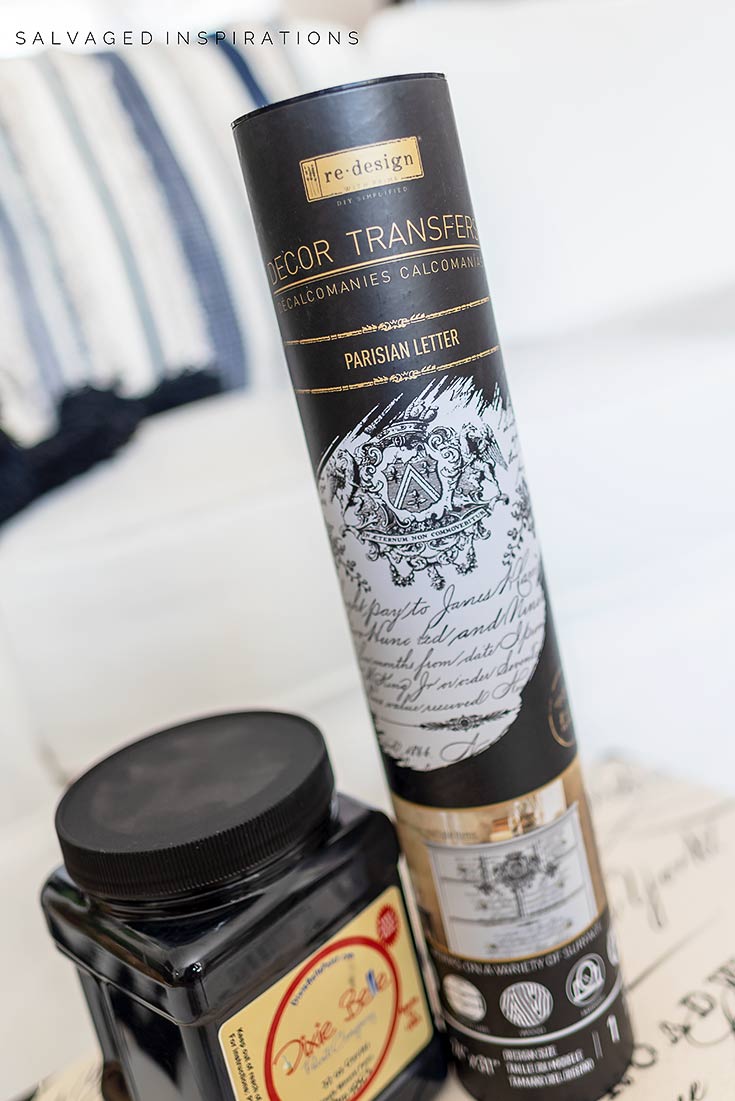
Caviar is a true deep black and one of my favorites and on my list of BEST Black Paints to work with. Two coats gave it perfect coverage.
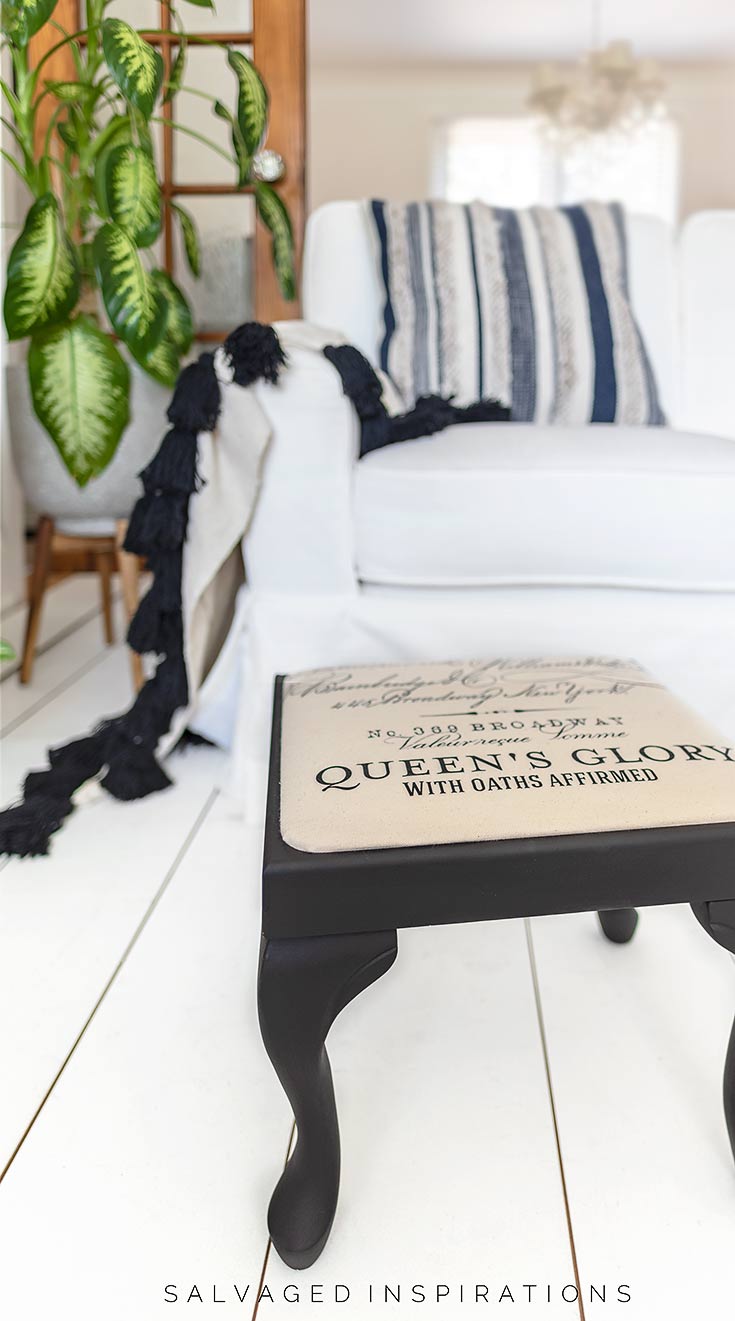
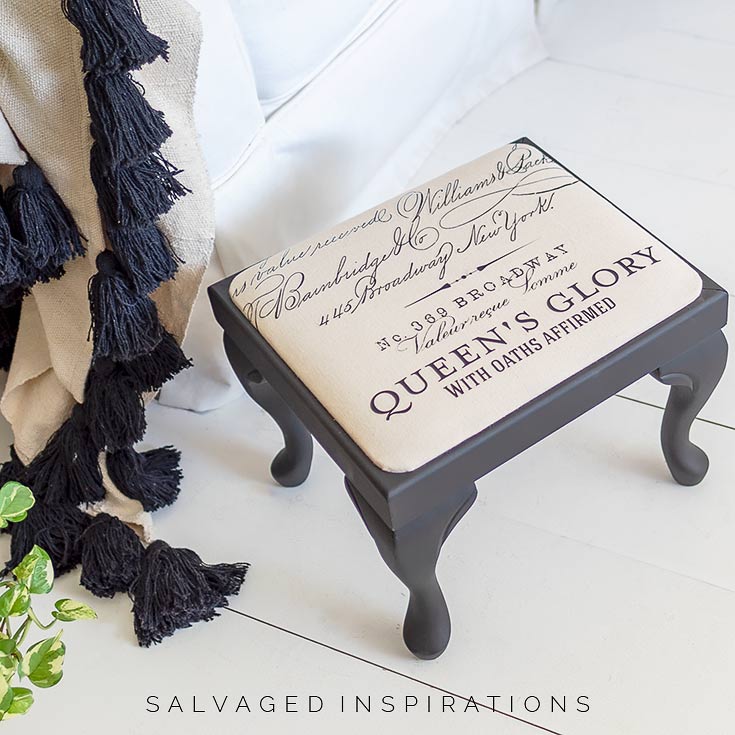
And here’s the finished look!
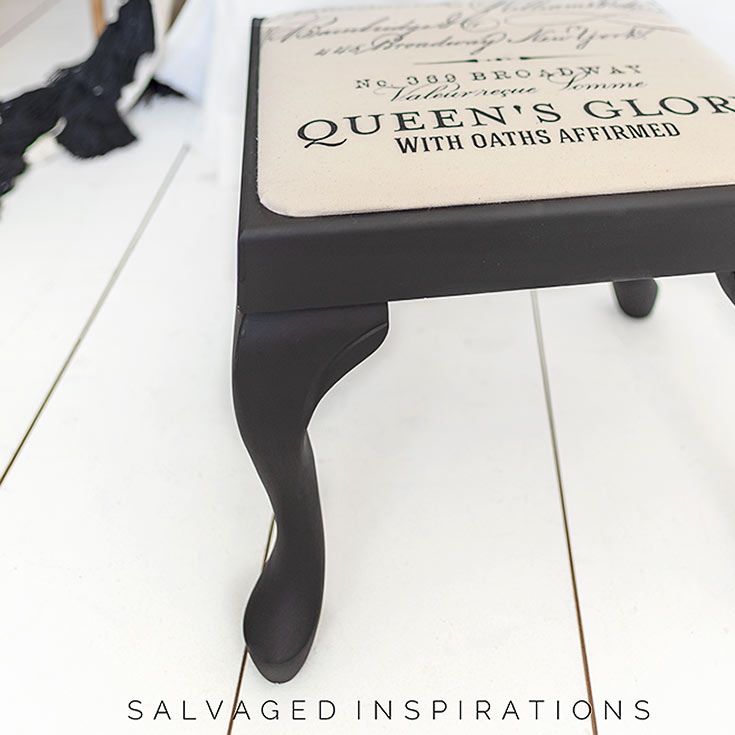
For low traffic or decorative upholstered furniture, applying a transfer is a great way to add a one of a kind design!
Also, if you looking for a top coat for upholstered fabric, this spray wax works amazing. It dries with a matt finish and can be sprayed on the painted wood AND fabric and is super easy to use. It even holds up with outdoor fabric!
LET ME KNOW WHAT YOU THINK OF THIS FOOTSTOOL MAKEOVER… OR FEEL FREE TO ASK ANY QUESTIONS YOU MAY HAVE… I ALWAYS LOVE HEARING FROM YOU!
ALSO IF YOU GET INSPIRED BY ANY OF MY MAKEOVERS AND GIVE THEM A TRY, BE SURE TO TAG ME ON IG OR FB WITH #SIBLOG — I’D LOVE TO SEE WHAT YOU’RE UP TO AND POSSIBLY FEATURE YOUR WORK!
Happy furniture painting my friends!
Denise x
RELATED POSTS::
How To Apply Furniture Transfers
Adding Graphics | Vintage TeaCart Makeover
Prima Transfers On Fabric
BEST Black Paint For Furniture
Furniture Transfers 10 FAQ’s Answered
PIN AND SHARE!


I wonder if you’ll see this comment being posted 4 yrs later that your original post. There was a link to using transfers on fabrics under the stool you repurposed for Bunny.
I plan to paint a chair and the fabric has some texture to it. Do you think a transfer will go on without a problem, or would you avoid it? The texture is not deep, just a little raised and uniform all across the fabric.
Thanks in advance!
Hi Mary Jo! I’ve transfered over slightly textured fabric and it’s worked well. If the textures not too deep, you should be just fine. I’d love to hear how it turns out for you!
Looks great; I would not think to use a Transfer on fabric. If you were going to sell it, how would you prep the wood before painting?
Hi Sara!!! I would give it a meticulous cleaning and then a light sanding. That said, my sister has been using the stool this entire time (or I should say her cats have been using it…lol) and it’s held up perfectly. 🙂
Hi! Thanks for doing this. Did you seal the transfer? You mentioned the spray wax but not sure if you used it. Thanks.
Paula
Hi Paula! I didn’t topcoat or use the spray wax because this is decorative and won’t get much use at all. But yes, if I were to topcoat the spray wax would be an easy way of doing it.
Thanks Denise for posting this…I have a perfect foot stool, just waiting for a technique like this. And I am interested in the spray wax to use as a sealant for the fabric. Thanks for sharing!
Thanks, Beverly, I’m glad this has sparked some idea for your foot stool. Have fun!
I love the new look for the stool! You’ve updated it brilliantly!
Thanks, Jennifer! 🙂
Hi, Quick question – I’d be worried to paint the stool after doing the upholstery – just wondering why you did it that way? I’m sure theres a great reason 🙂
Cheers
Emma
Hi Emma! I wasn’t sure if it would look best with a soft grey/black or a true black so I applied the transfer to the fabric first and then decided. But so long as the ‘seat/fabric’ is removed, you can paint before or after… whatever you prefer. 🙂
Super adorable Denise! I didn’t know transfers can be used on fabric! Thanks for sharing. ~ Nicki
Thanks so much, Nicki! 🙂
A foreign language was a requirement in high school,;Spanish or French Being a young, stars ⭐️ in eyes, romantic girl which language do you think I chose? All it took was noticing the name of the French teacher, Mr. Martini. I was hooked. Even now after all the passing years, Anything French themed gets my attention. I love ❤️ this little stool. You gave it a total new lease on life. . I have a small stool and it will soon, hopefully, look something like yours. Keep inspiring us.
Was it really Mr. Martini’s “name”… or was it Mr. Martini himself… wink wink lol. I remember in high school I hated gym. BUT I nearly took gym class because of Mr. Campanaro.😍 Anyway, I’m so glad you love the transfer fabric and footstool Shirley. And thanks for the smiles. I haven’t thought of Mr. Campanaro in years!
That’s simply stunning! I think I need one of those pneumatic staple guns, thanks for the tip. !
They are such a time saver and so easy to work with! 🙂
Denise, this is such a great idea! I love the black, the transfer and covering the stool in a drop cloth canvas! So adorable. I have a couple of footstools that belonged to my late mother-in-law and I can’t wait to get started! Thanks for the inspiration.
Thanks Sue and have fun with your MIL footstools… they are fun projects! 🙂
I love the look of the finished product. I would love to try this but wondering if the transfer holds in place and does not slide while ashes ring it onto the fabric
thanks Robin! The transfer can be taped down before rubbing onto the fabric. This may help if you’re having trouble keeping it in place while applying. Hope this helps. And if I misunderstood your question, feel free to let me know. 🙂
Oh goodness, I had no idea it could be that simple! Thank you for inspiring me today. I am wondering though, if you prepped the wood in any way before painting and did you seal it ?
Super simple, right!? 🙂 I did not prep the wood prior (although if this piece was going to be sold I would have) and I did not topcoat. My sister is going to be using as decor but if it were going to be used/sold, I would have used the spray wax. Really easy to spray on the fabric and the wood.
You are always are on your game. You give us so much inspiration. and confidence. Keeping us inspired during this time is so vital to our well being…so Thank You! Can’t wait to see what you’re up to next.
Aw, thanks Kathy you’re too sweet! 🙂 I wish I always FELT I was on my game…lol. 😉 I’ll be back this Thursday with my Furniture Fixer Upper friends so hopefully I see you then. I’m working on curb-shopped nesting tables. 🙂
WoW! that looks great! So am I right to think that one should have a flat and sturdy base under the fabric to get the transfer to apply? I’ve never worked with transfers but I’m anxious to try.
They are pretty easy to work with Cate. A firm surface is helpful but they can be applied to almost anything. The fabric I was working with was a little ‘cushy’ and I had no problem. My friend Roz has applied them to leather boots and shoes (which is super cute btw) and she works around the creases and soft leather. They stick really well and once they are laid down, you can’t pull them up because they are so sticky. 🙂
Great idea! I would have never known this was a transfer. Beautiful salvage. ❤️ xo
Looks really good, right?! 😉 Have a great week my friend. XOXO
Hi Denise. What a sweet little footstool. I’m sure your sister will be delighted with the results. I love the lettering on fabric, and always thought (wrongly, lol) that it could only be done by silk screening or fabric paint. Brilliant:). I also found the video very helpful.
Thanks Monique! And ya, silkscreening and stenciling are also fun ways to design plain fabric. Redesign with Prima has a few beautiful silk screen stencils I’ve used and they work great.