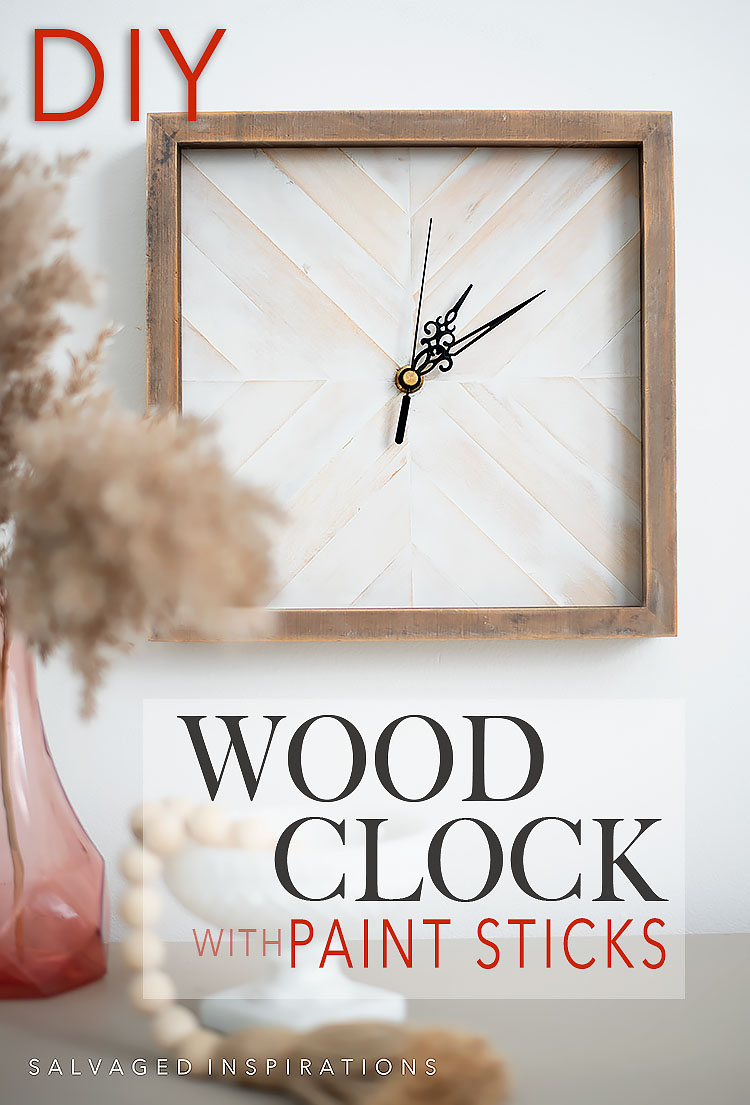
HOW TO MAKE AN EASY DIY WOOD CLOCK USING PAINT STICKS!
It’s Trash to Treasure Tuesday friends – the first of 2022 and I’m excited to share this EASY DIY with you! Here’s how to create a DIY Wood Clock Using Paint Sticks. This turned out amazing — even better than I imagined! I’m also sharing my blogging besties T2T makeovers below so I hope you check them out as well. Oh, and if you read last week’s 2021 Furniture Stories | Where Are They Now? I haven’t forgotten about those 90’s cherubs. I’ve decided to give those a makeover in the warmer weather so I can style them in my garden. 🙂
Here’s the ‘trash’ I started with. A cheap dated clock. Hobby Lobby art that was half falling out of the frame. And some free paint sticks from Home Depot.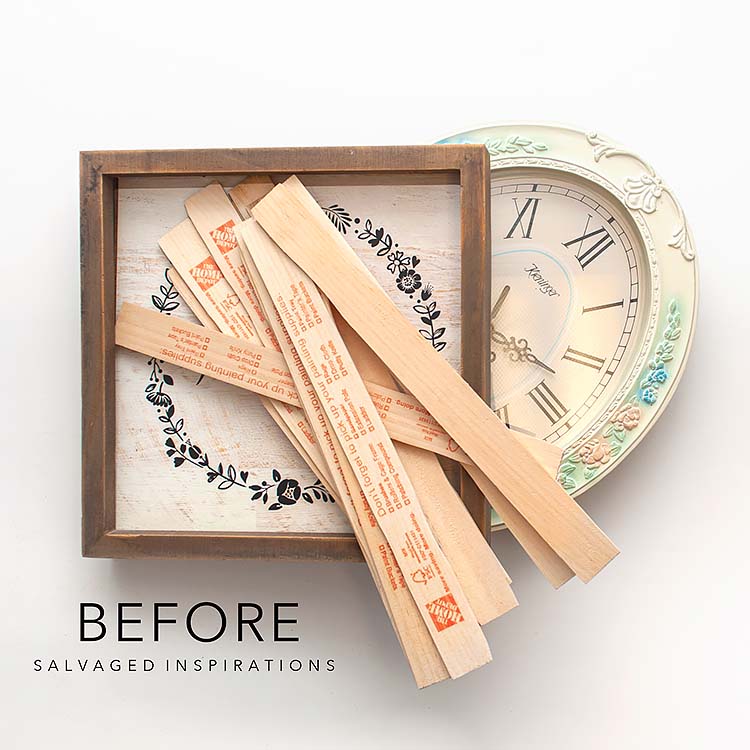
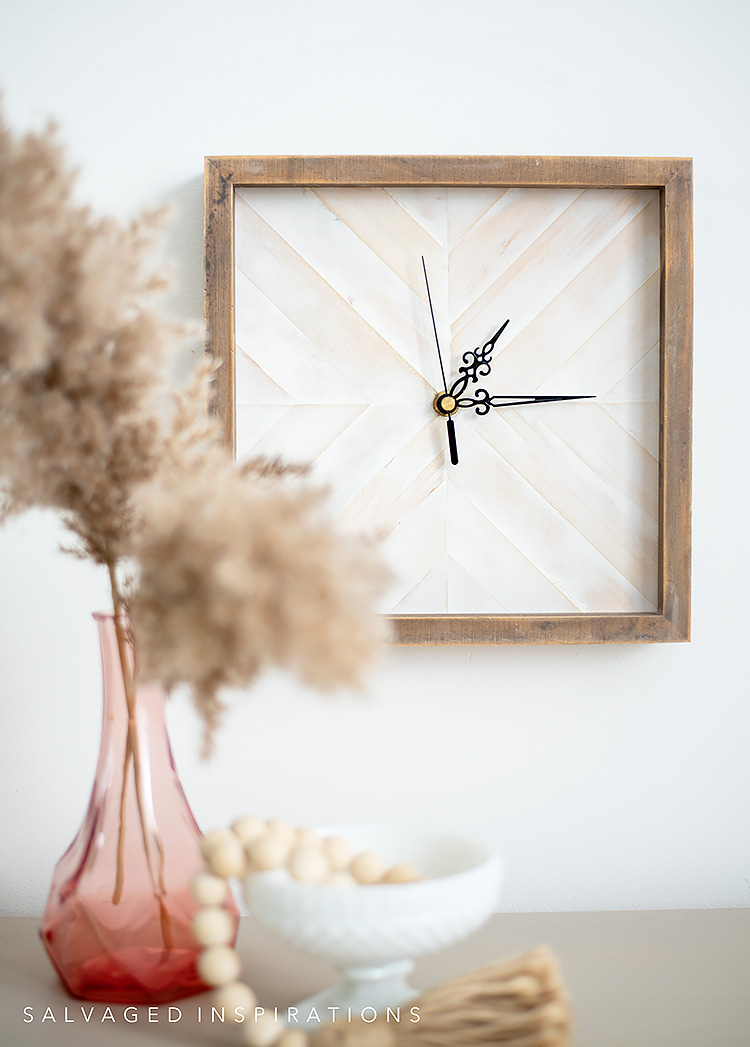
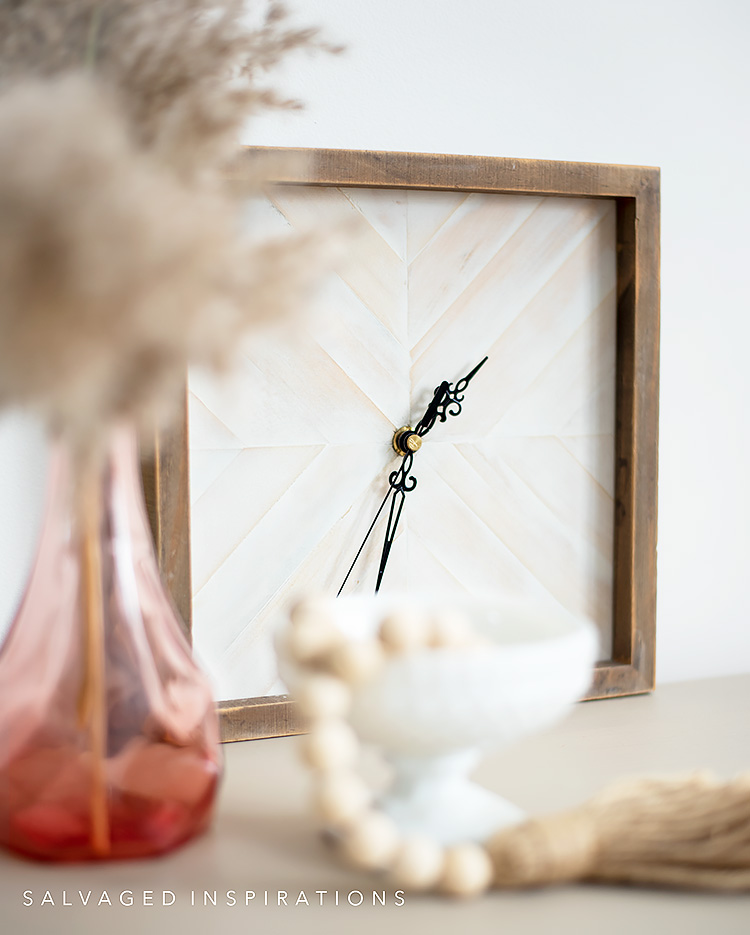
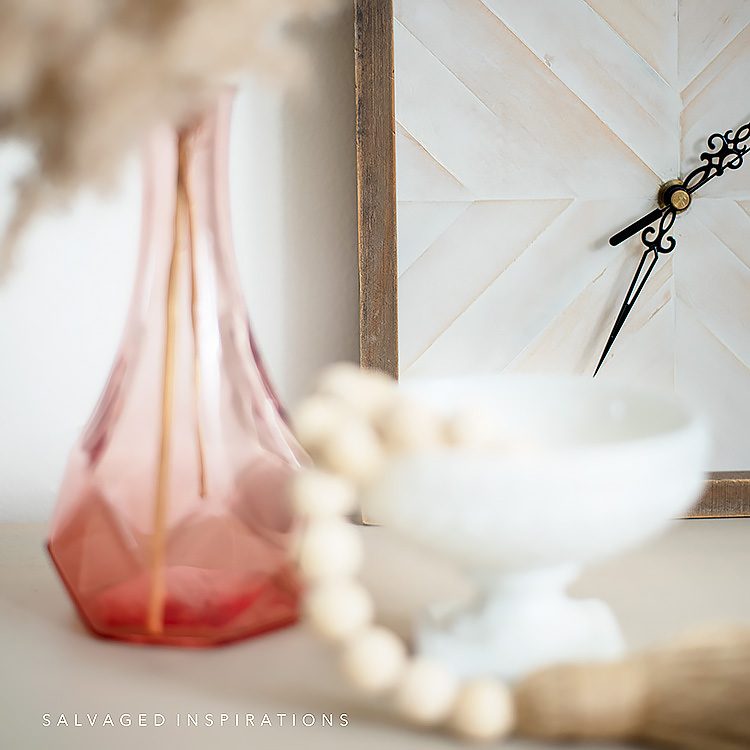
Check out my NEW clock. Doesn’t this looks amazing?!
This was such a fun upcycle and I’ll definitely be playing around with paint sticks again. It’s given me a ton of ideas!
THIS POST IS SPONSORED/CONTAINS AFFILIATE LINKS TO PRODUCTS I USE. YOU CAN SEE MY FULL DISCLOSURE HERE.
SOURCE LIST
Old Clock + Frame + Paint Sticks – SALVAGED
Woodworking Square
Scissors | Craft Knife
Pencil | Glue | Drill
White Wood Filler
CLOCK MAKEOVER
This clock can be made for under $5! Any dated clock from the thrift store or your home will work for this project and it really doesn’t matter what the clock looks like so long as the clock mechanism works and you like the look of the hands. I also see these types of frames and old clocks selling at thrift stores and garage sales for a dollar or two.
Here’s how it all came together…
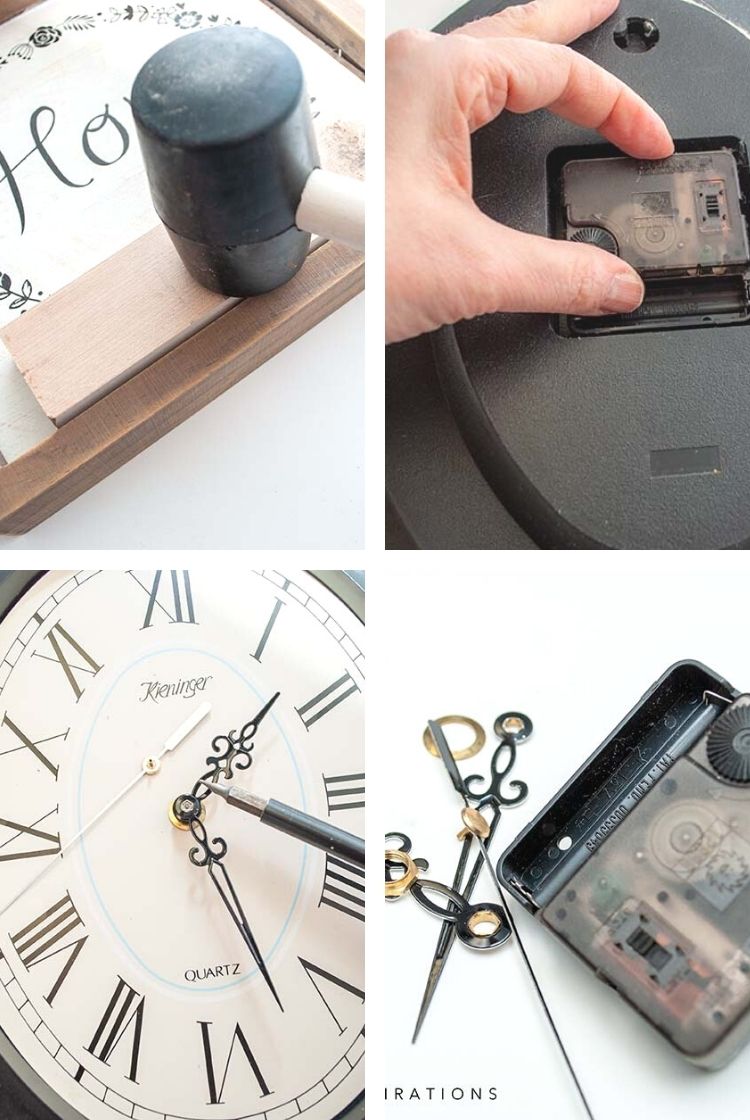
DISASSEMBLE
This Hobby Lobby art was already half out of the frame so rather than throw it away, I thought it would make a perfect frame for my new clock. A few taps with a hammer and it popped right out.
For the clock mechanism, I thought removing it would be easy but I spent a half-hour trying to figure out how to get the clock hands off. It turns out, the hands just pop off with a screwdriver. I should have watched the Youtube tutorial 29 minutes earlier.
DESIGN AND CUT
Paint sticks are thin enough to cut with a sharp pair of scissors – no fancy tools are required. For my chevron design, I cut the paint sticks at a 45• angle. I used this carpenter’s square to draw out a perfect angle which I found very helpful.
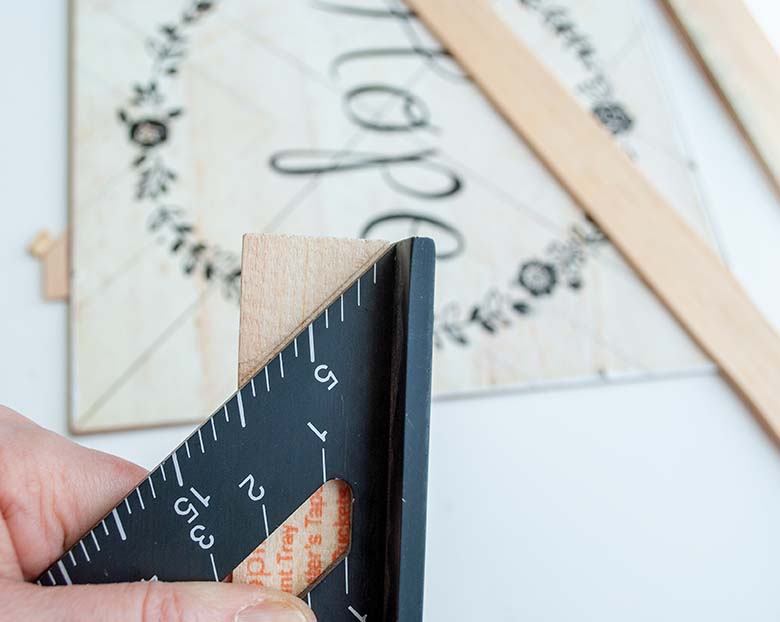
Once I penciled in my 45• cut line, I used a pair of scissors to cut the paint sticks. A craft knife also works nicely which I’ll share later in the post.

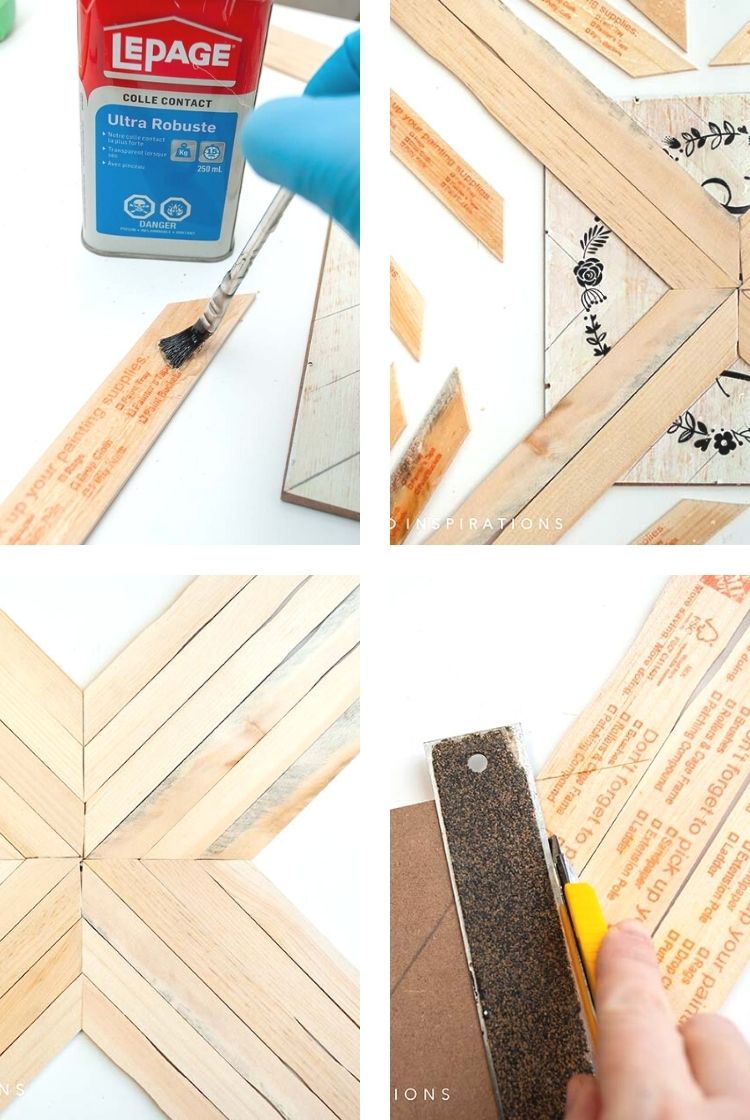
Once I had the paint sticks cut, I mapped out my pattern before starting to glue.

GLUE
I used contact cement to glue down my pattern. Once all the paint sticks adhered, I flipped the board over and used a utility/craft knife to cut all the excess off. This created a perfect square that fit back into the original frame.
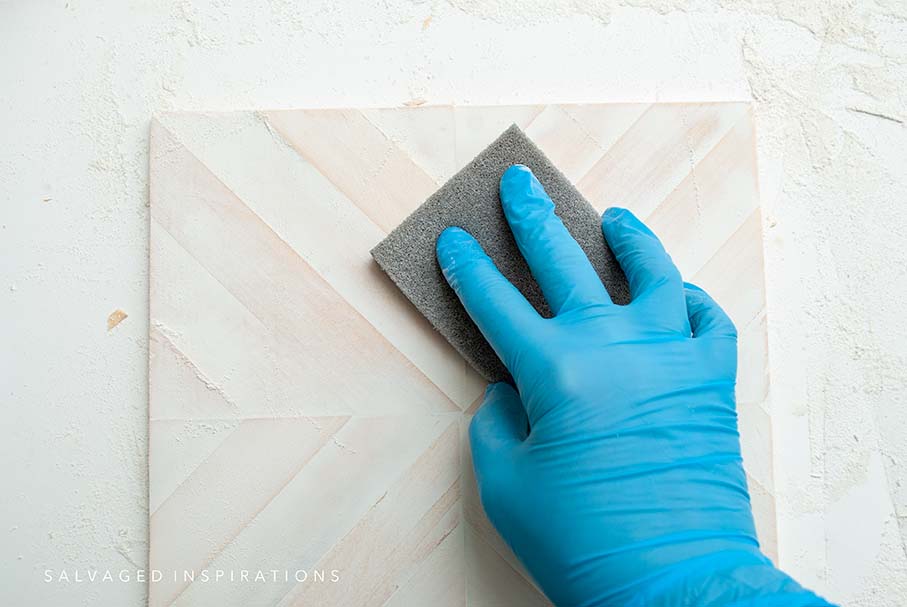
PUTTY AND SAND
Using this White Mud, I filled in all the cracks and skimmed a thin layer onto the design.
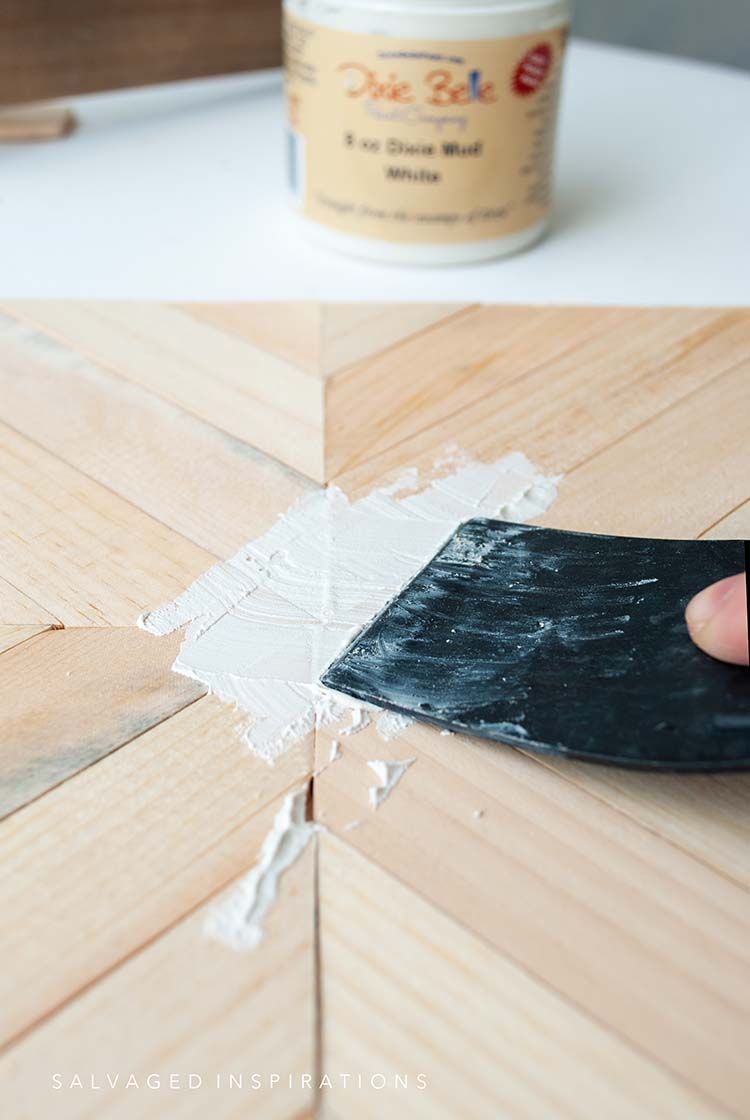
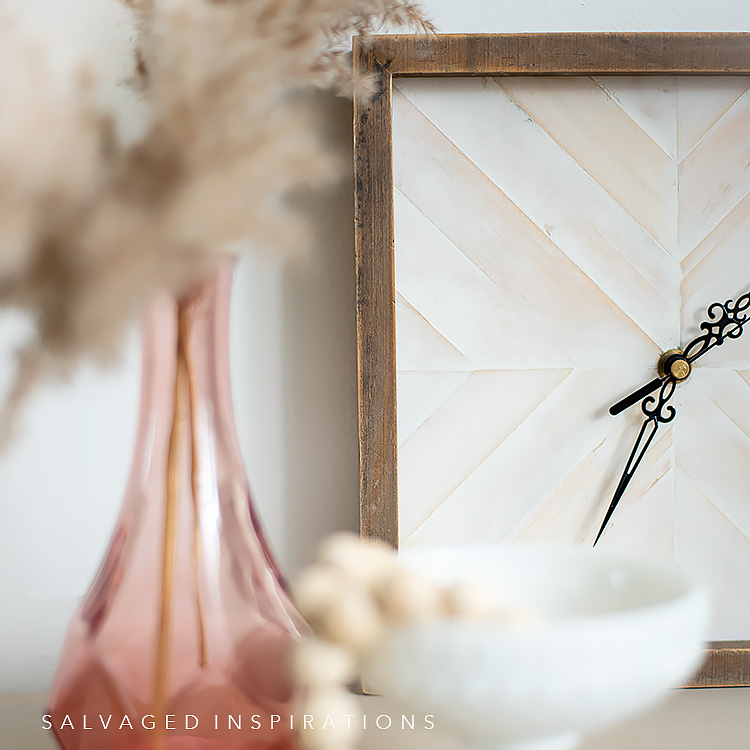
I had originally planned on staining this clock in white, but once I started sanding I LOVED the finished look. The White Mud gave it a really gorgeous finish once sanded down.
ASSEMBLE CLOCK
To assemble the clock mechanism into my new DIY Wood Clock, I found the center of the back and drilled a hole large enough to allow the clock mechanism to go through.
TIP – I used a wood board underneath while drilling the hole to stop any tear-out.

Once the hole was drilled, I screwed in the clock mechanism and re-installed all three hands.
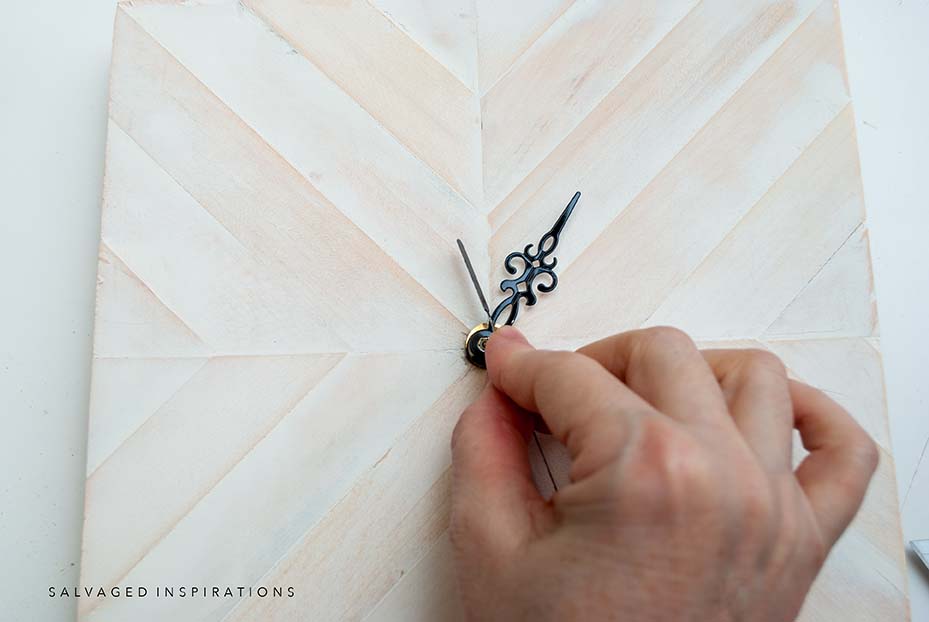
I’m really happy with how it all came together…and it’s keeping time perfectly!

AND NOW FOR SOME FURNITURE FIXER-UPPER FUN!
You’re going to LOVE what my creative team of Furniture Fixer Upper ladies do! Below are their BEFORE photos. Visit the links underneath to see the amazing AFTERS and learn how they did it! I’m heading over to take a peek as well! x
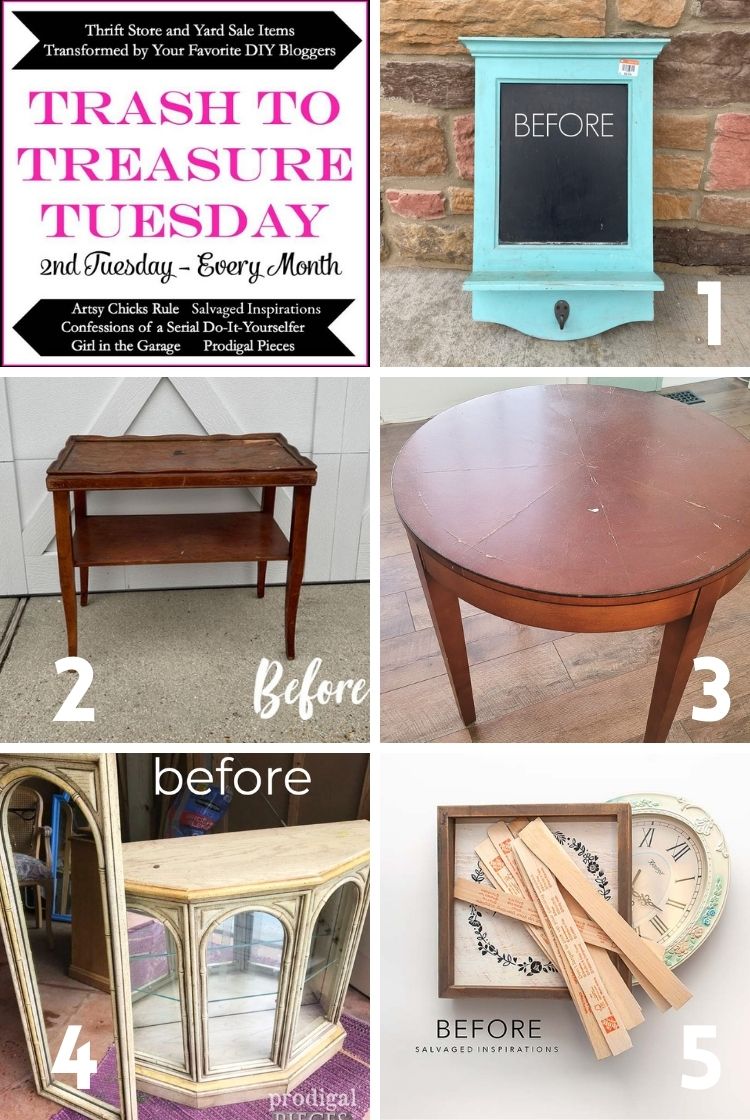
1. GIRL IN THE GARAGE
2. CONFESSIONS OF A SERIAL DIYER
3. ARTSY CHICKS RULE
4. PRODIGAL PIECES
5. SALVAGED INSPIRATIONS (HAPPY YOU’RE HERE!)
Here’s another look at this before and after. I hope it’s inspired you and given you some new ideas for your projects.

LET ME KNOW WHAT YOU THINK OF THIS DIY WOOD CLOCK PAINT STICK PROJECT. FEEL FREE TO ASK ANY QUESTIONS YOU MAY HAVE… I ALWAYS LOVE HEARING FROM YOU. IT MAKES MY DAY! 🙂
Happy furniture painting friends!
Denise x

I love how you used repurposed finds to make this lovely budget-friendly clock. Very clever idea my friend!
Thanks Marie! My brain is going a mile a minute with what else I can do with these paintsticks.😜
What a great project that turned out gorgeous, Denise! xo
Thanks so much Jen! XOXO
Ingenious & Brilliant!!!!!
Thanks Elisabetta!🤗
Fantastic! I love a good DIY wood decor project. This turned out so well. I’ll have to add this to my list of DIY to-dos. Thanks for sharing, friend. 🙂 xo
Thanks, I really like this one too! It turned out better than I thought it was going to!🙌 XOXO
The clock turned out beautiful! This has given me so many ideas! Table tops? Thanks!
Right!?!… sooo many ideas! I think a tabletop done like this would look amazing!😃
That turned out so good!! So creative!! xo
Thanks my friend! XOXO
Hi Denise. I love this beautiful little clock. You really did turn trash into treasure. Your creativity and talent always amaze me. Thanks for sharing.
Hi Monique and thanks so much! I’m pretty pleased with how it turned out as well.🤗
Girl…this is amazing!! I love it so much!! And I love how the mud added so much to the finish! XOXO
Thanks!🤗 And I’m impressed with this mud finish as well. It saved me a step!
Love, love, love this new clock!!! What a great idea. Isn’t amazing what you can do with paint sticks. Gives me ideas…
Lorri😚
Thanks Lorri! My mind is full of ideas as well! 🤗
So fun and clever! This turned out so beautifully. Thanks for sharing!
Thank you Dana! XOXO
WOW what an amazing makeover Denise. I love this idea and what a perfect way to reuse these trash-bound items.
Thanks Nicki… so glad you like this. It was a fun makeover!
Love how this turned out! The whitewashed look the mud left on the paint sticks is perfect! I love your touch on restyling two items that were probably trash bound!
They were definitely trash bound…lol. Thanks so much Holly!
Wow! How do you come up with such a clever idea to use the paint sticks. I love it! And the mud! DB should love you!
Thanks Janie!🤗 Doesn’t it look great!? It saved me from staining… I wasn’t expecting the mud to look so good!
gah! I love making clocks. This is beautiful!! Now you’ll always be on time. 😄
Ya, this was fun! I’m just so happy it keeps time after tugging and pulling to remove the hands.😅