 Happy Monday friends! I hope you all had a beautiful weekend.
This past weekend we celebrated my Dad’s 83rd Birthday {yes…83… you go Dad!!!} and remembered and honored my Mum – which is something I do everyday, not just on Mother’s Day, and celebrated my 12 year anniversary with M-M-M!
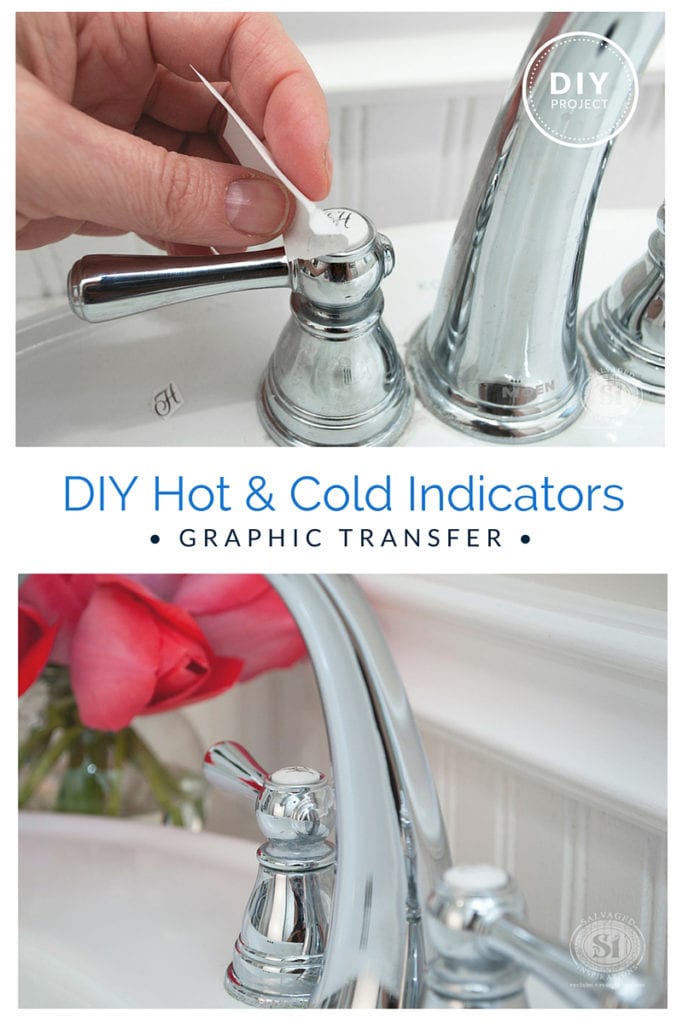
I had also planned on transferring a graphic onto my bathroom corner cabinet but with all that was going on, not very realistic time wise. So instead, I turned my attention onto something much smaller; my worn out Hot & Cold Faucet Indicators.
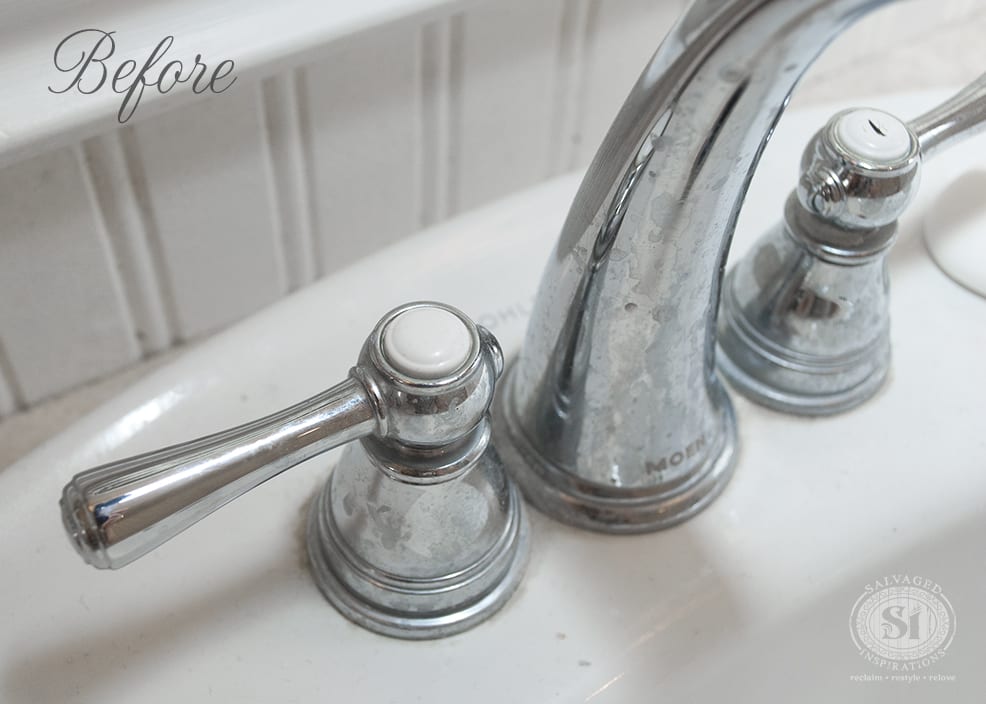
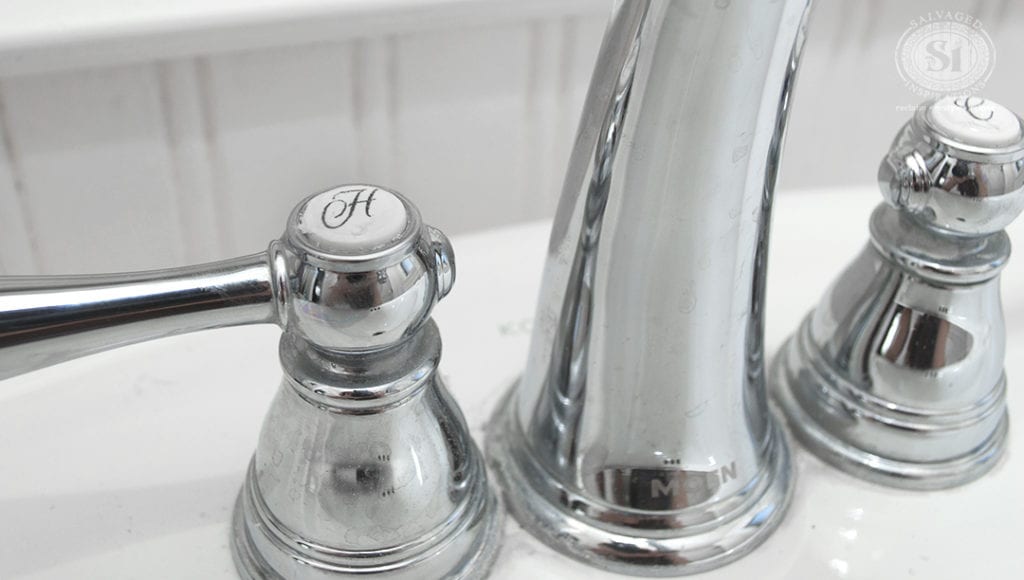
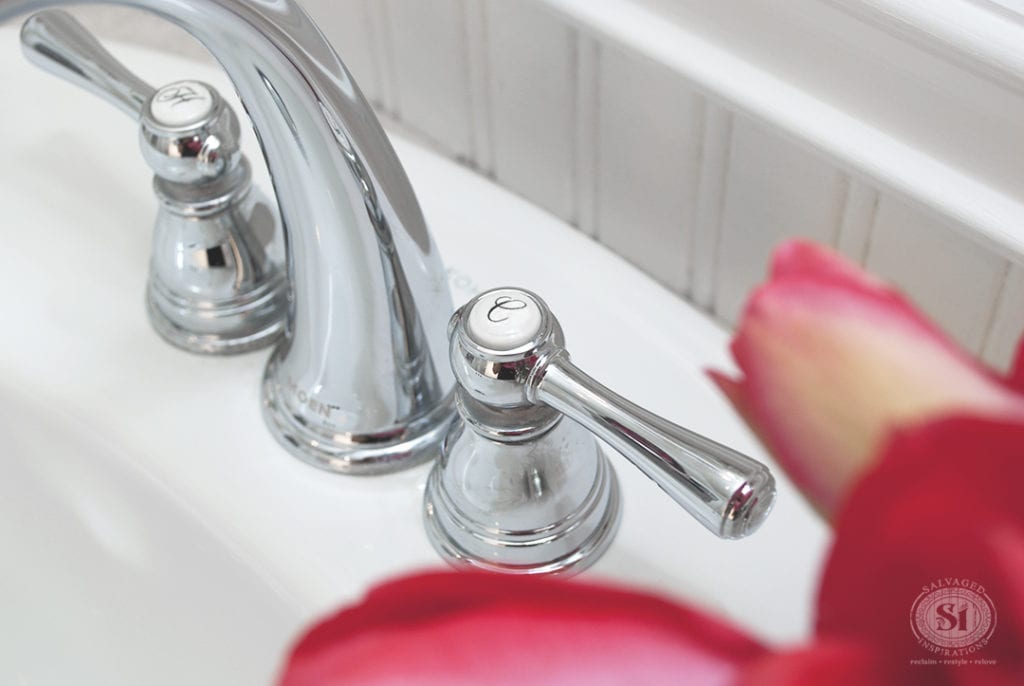
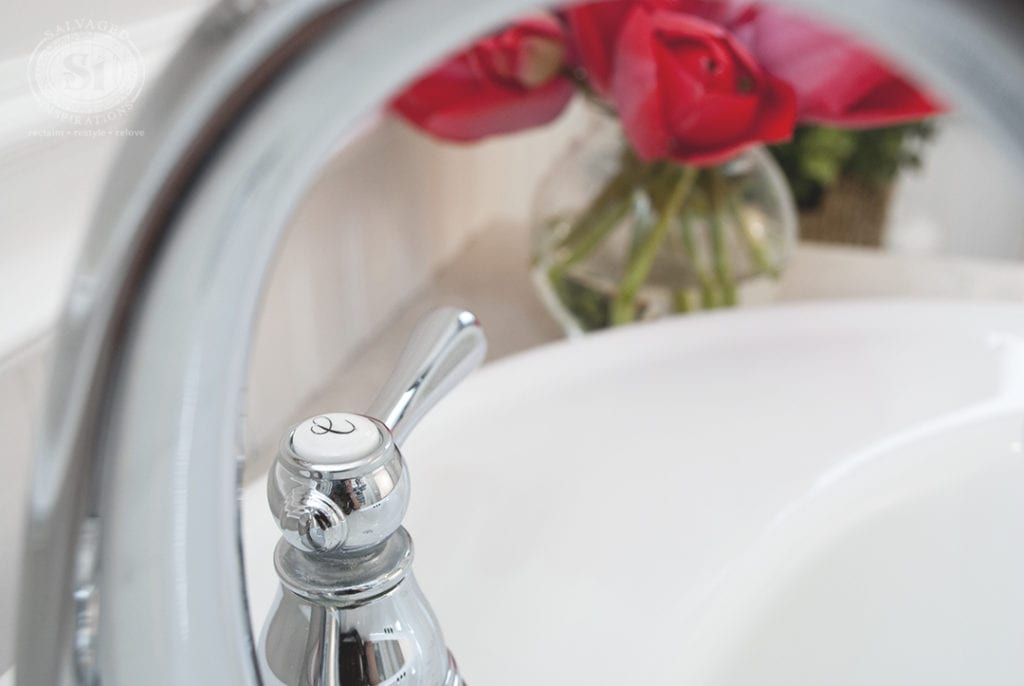
Does the pic below look familiar?
My ‘H’ is totally worn away and the ‘C’ is slowly disappearing as well.
I was going to order replacements from Moen but then thought – why not try a DIY quick fix first?
Transfers work really well on furniture, furniture hardware and other surfaces like fabric, glass, and metal – so why not try on porcelain or plastic indicators?
I’m so happy with this easy font transfer – it’s too good not to share! First I cleaned the surface of both indicators with rubbing alcohol.
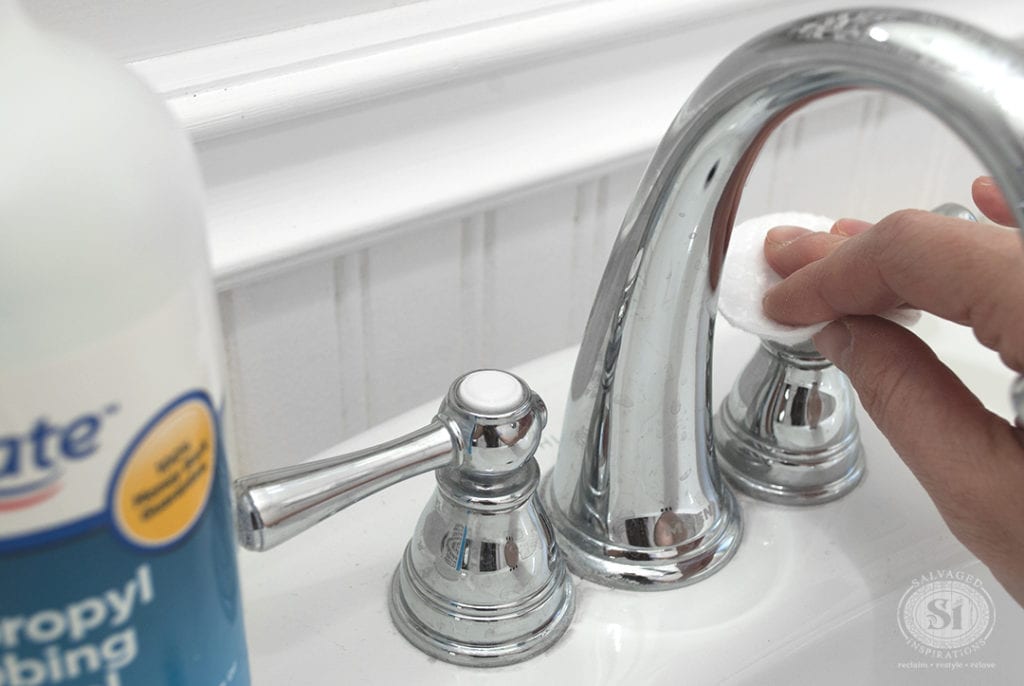
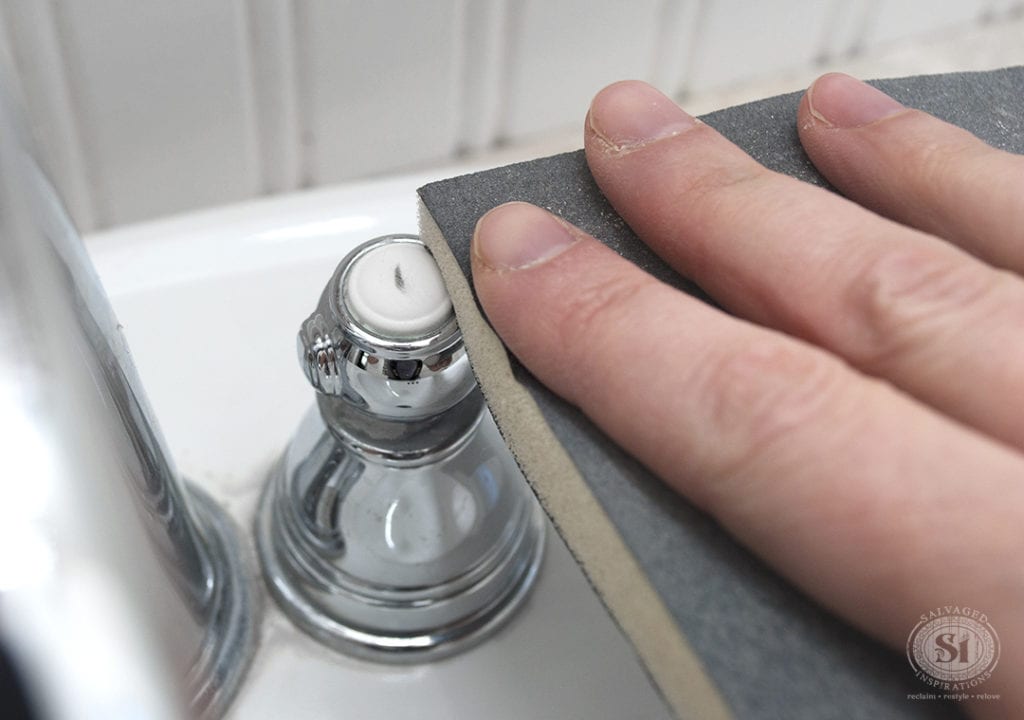
I removed what was remaining of the ‘C’ with a high grit sanding sponge and then sanded both indicators to create some tooth for good adhesion.
Using a regular ink jet printer and online photo editor, I picked a few fonts I liked and then tested them out for size and design on my faucet.
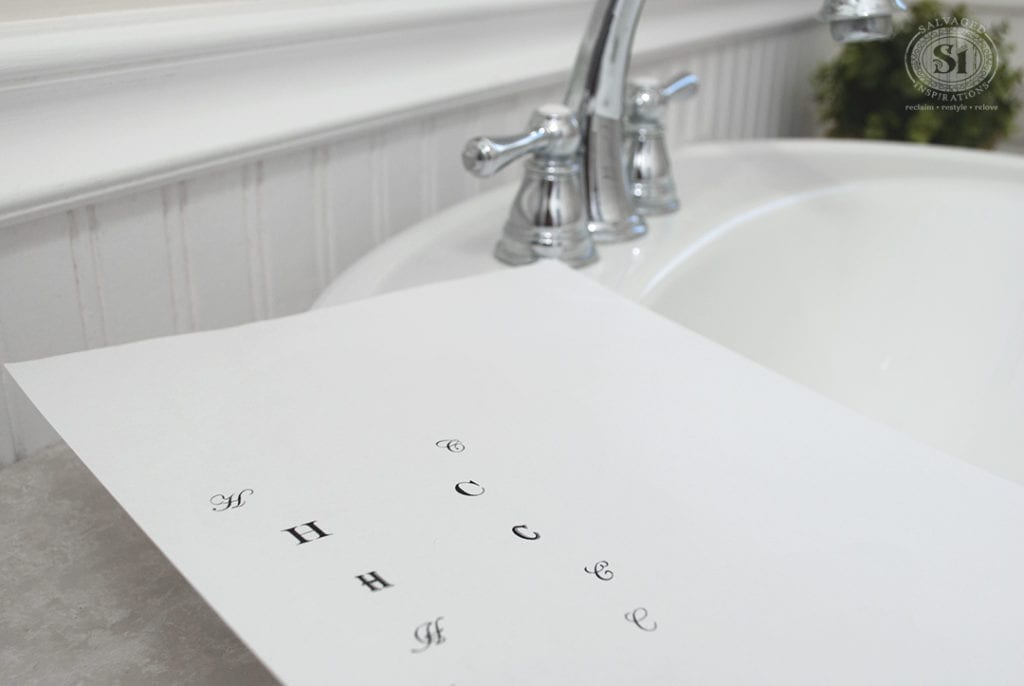

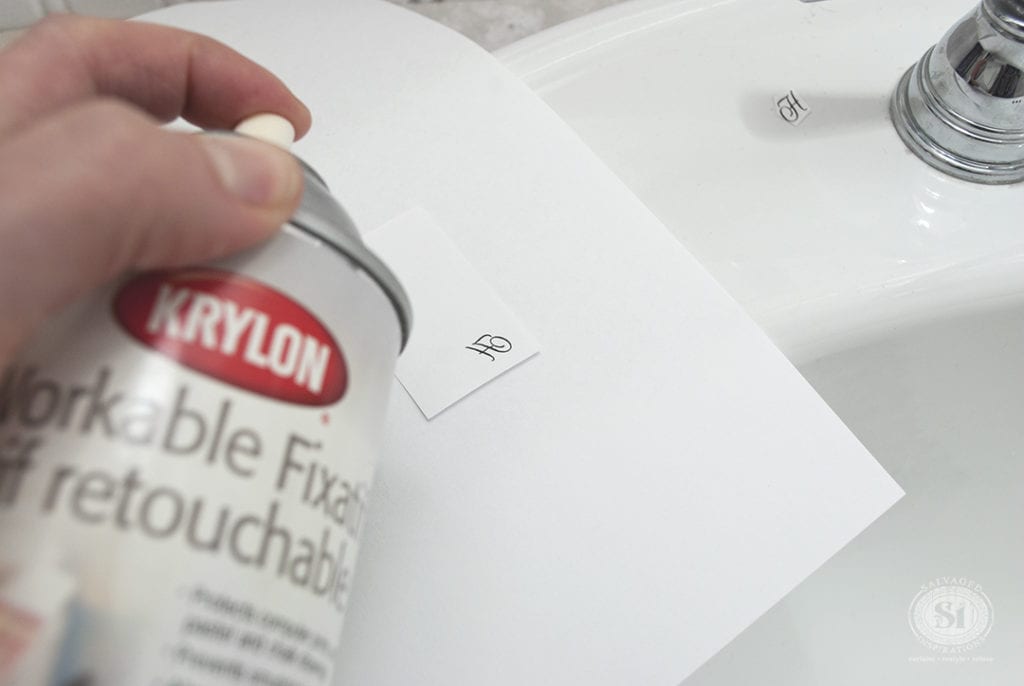
Once I picked the font I liked, I printed it out in REVERSE and then sprayed the printed side with Krylon Workable Fixatif. This stuff is amazing. I used to use it a lot when I drew charcoal and graphite portraits for fun.
It protects prints and drawings and it’s acid-free, archival-safe and non-yellowing.
The interesting thing is, it also works as a transfer medium – but it’s NOT water based.
Perfect for faucet indicators that will be getting a ton of use numerous times a day!
While the paper was still wet from the Krylon Fixatif, I placed my letter(s) in the center and rubbed it on with the cap of a BIC pen.
*Note – My first attempt on the ‘H’ turned out crooked so don’t worry if your first attempt turns out less than perfect. I just removed the off-centered ‘H’ by sanding and started again.
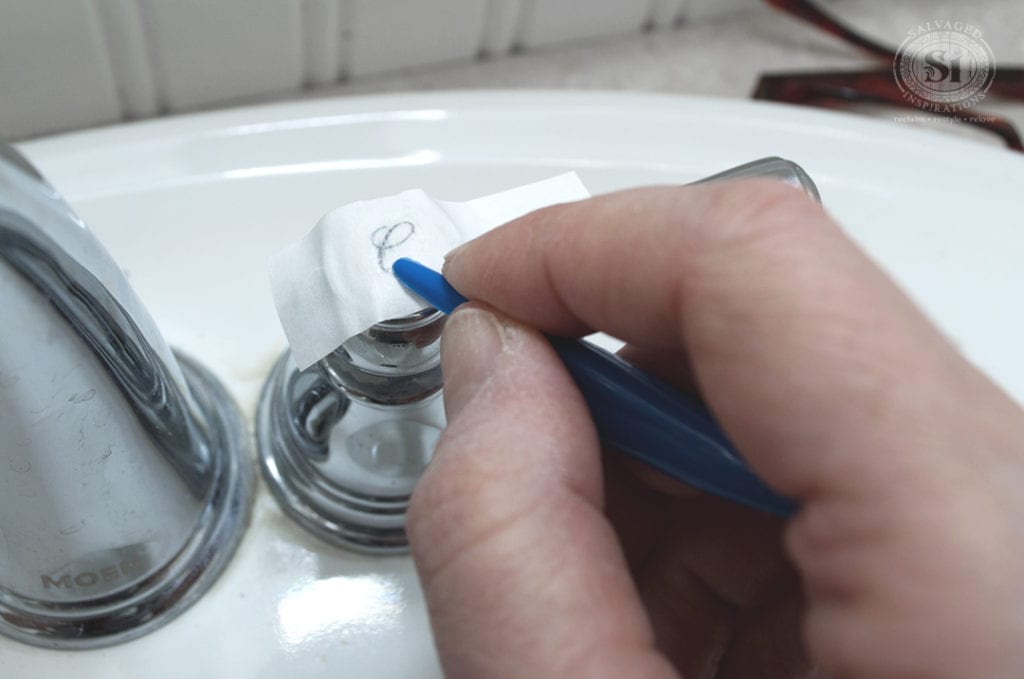
Any sort of burnishing tool will work including a coin, butter knife, popsicle stick or even your fingernail.
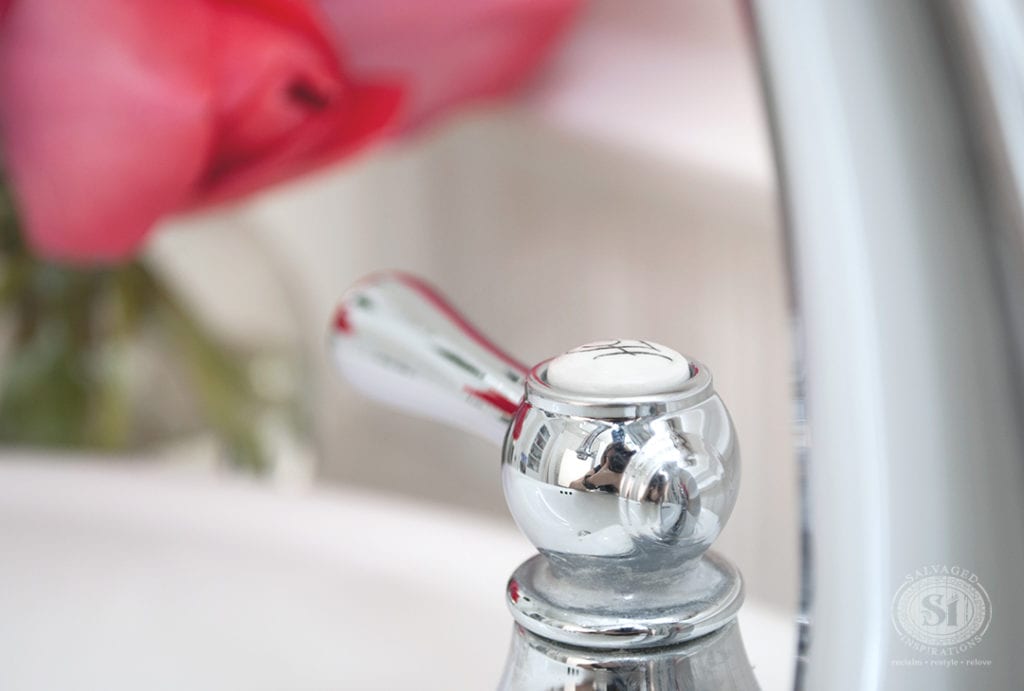
I rubbed for a minute or two and then pulled the paper back leaving the majority of the ink on the indicator plug.
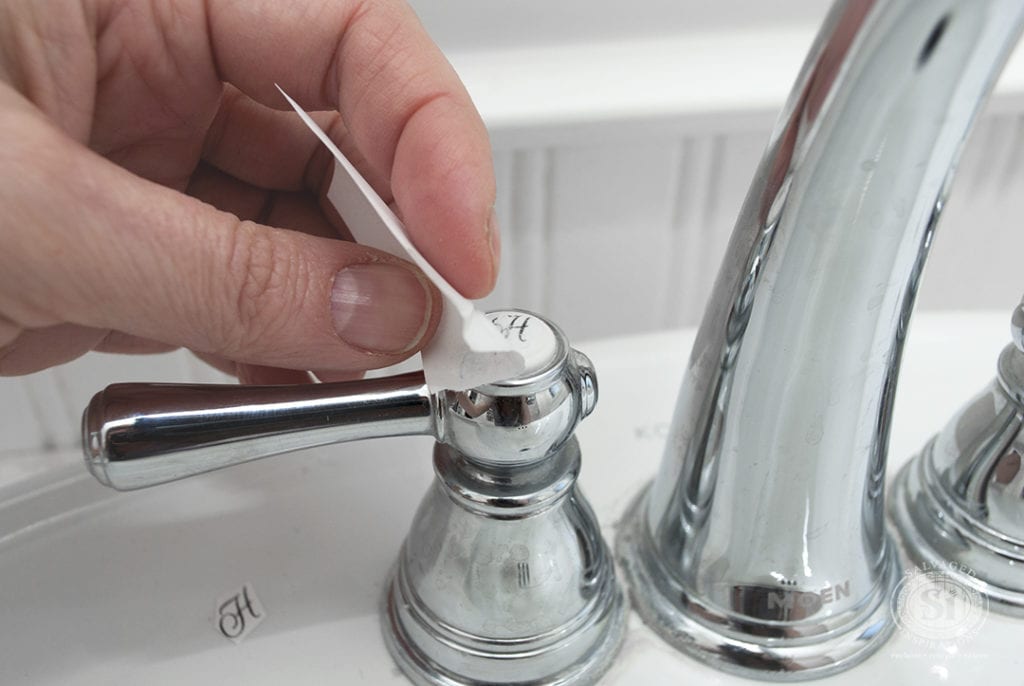
There was a small amount of paper residue left over. It came of easily when I wet my finger and gently rubbed. Then I cleaned with rubbing alcohol. The ink did not budge!
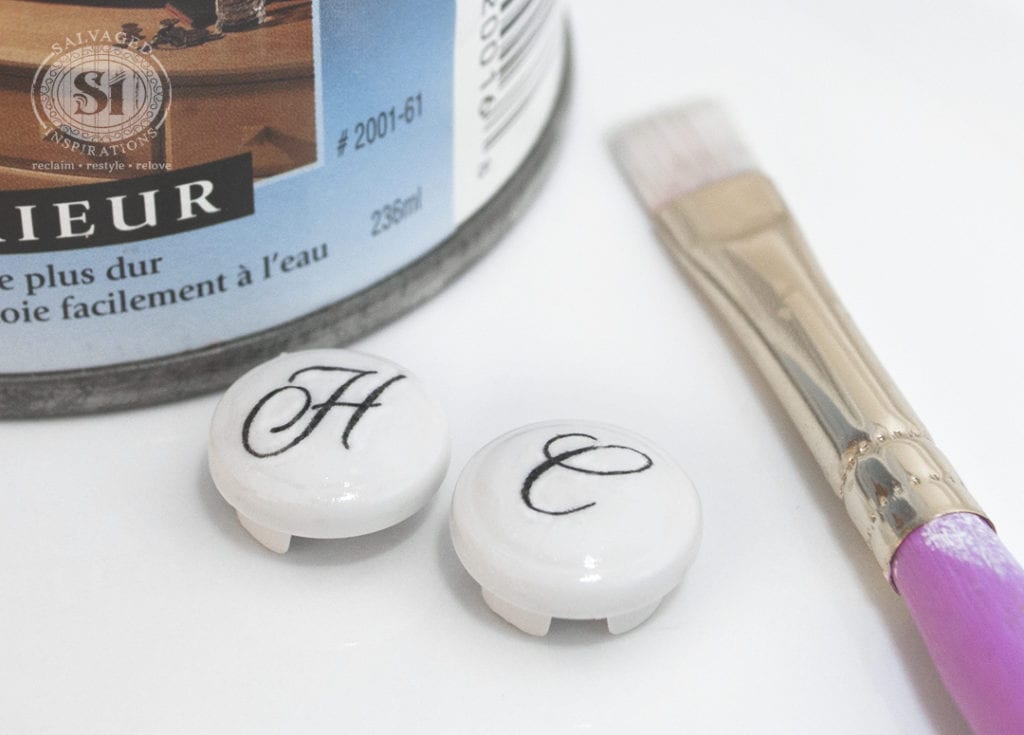
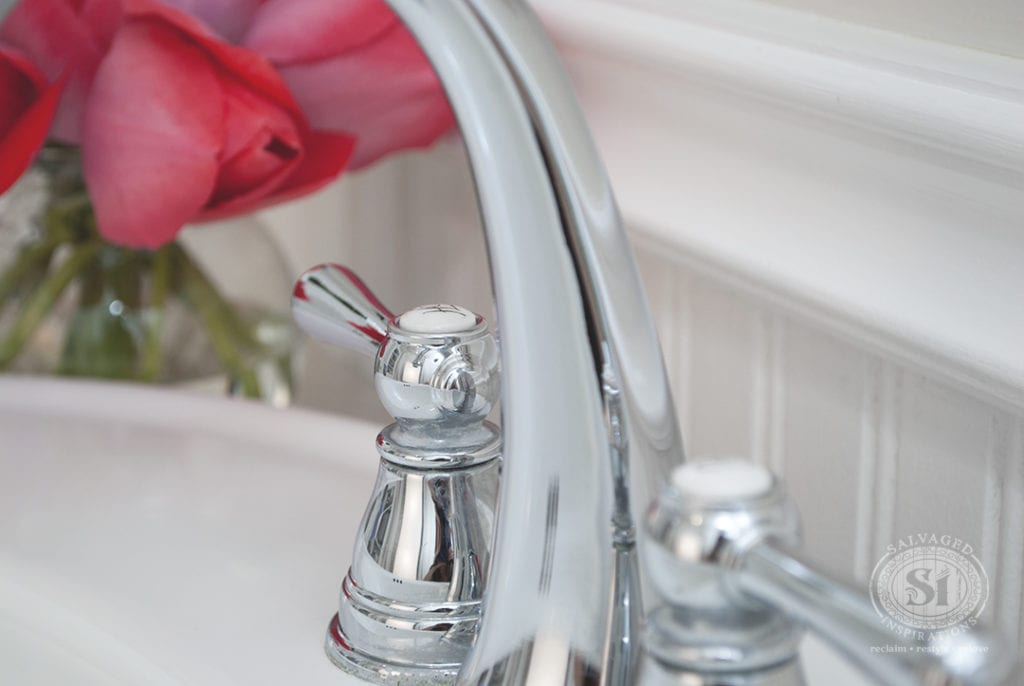
After it was all clean and residue free, I top coated and protected with a Non-Yellowing Varathane. When top coating, it’s important to apply very carefully making sure not to over brush because the ink may bleed. Another great option is to apply a few coats of spray-on topcoat.
While I waited for the topcoat to dry, I took the opportunity to clean all the residue from around the Moen faucet. For those of you looking for an easy way to cut through hard water and calcium buildup around your taps, Hydrogen Peroxide works amazing!
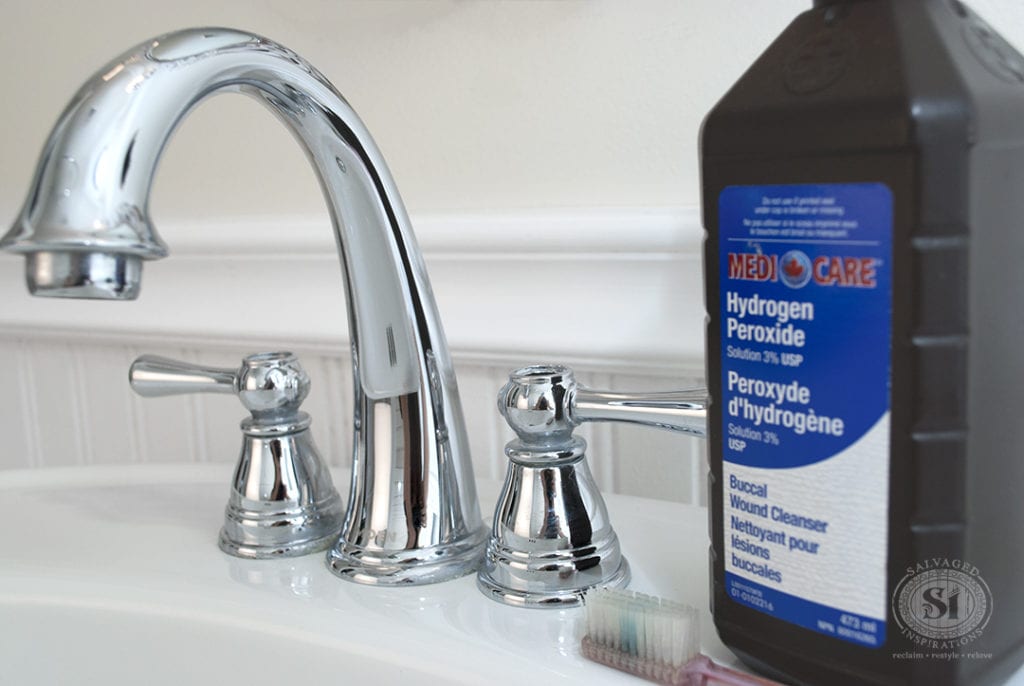
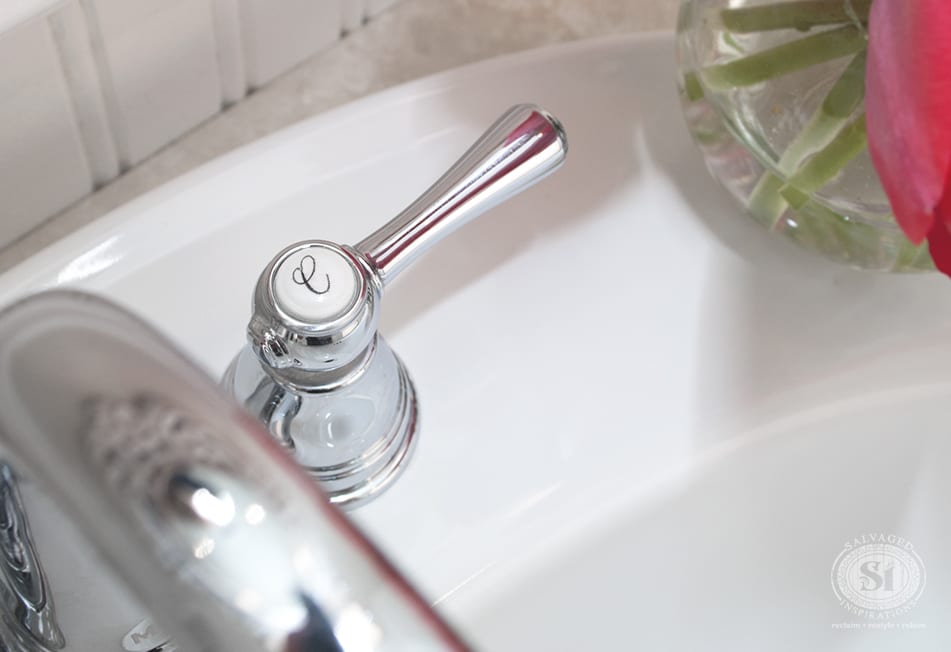
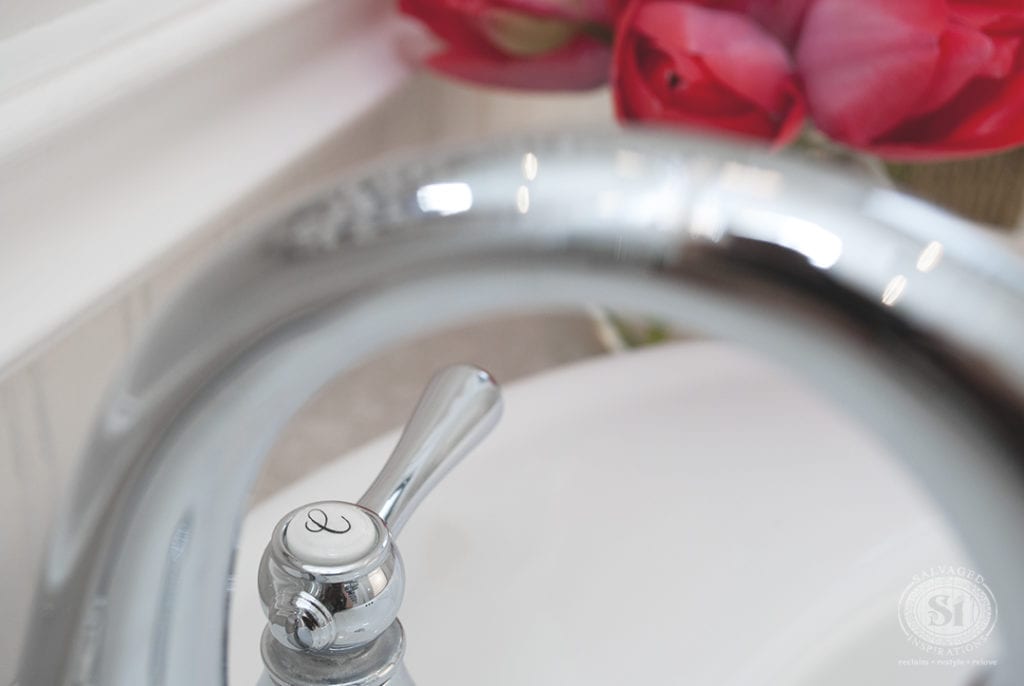
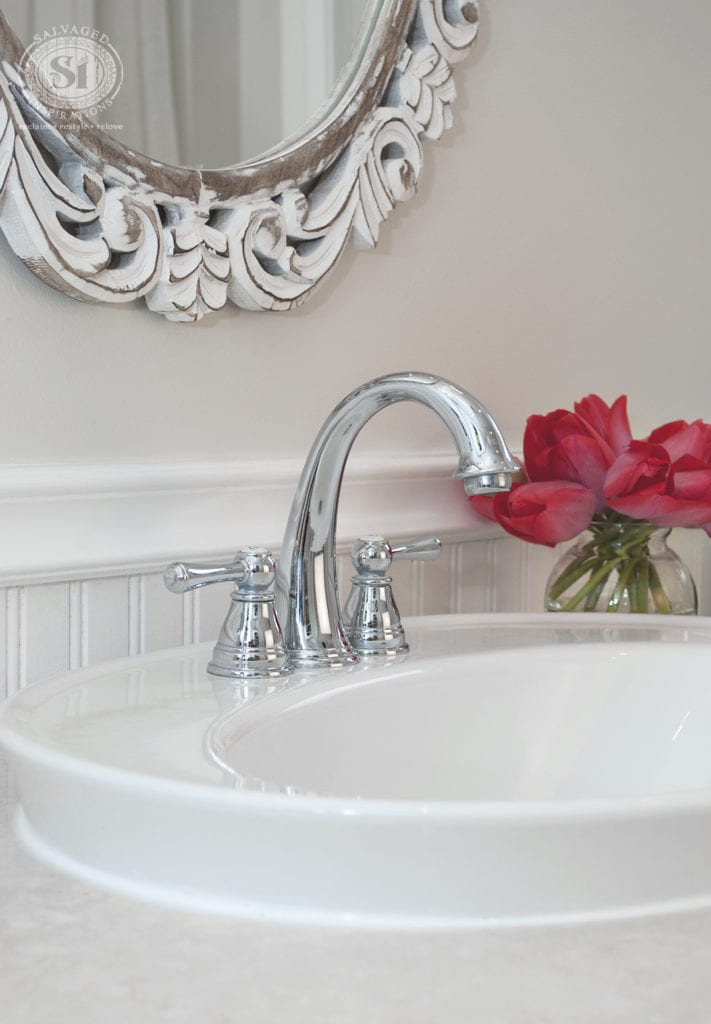
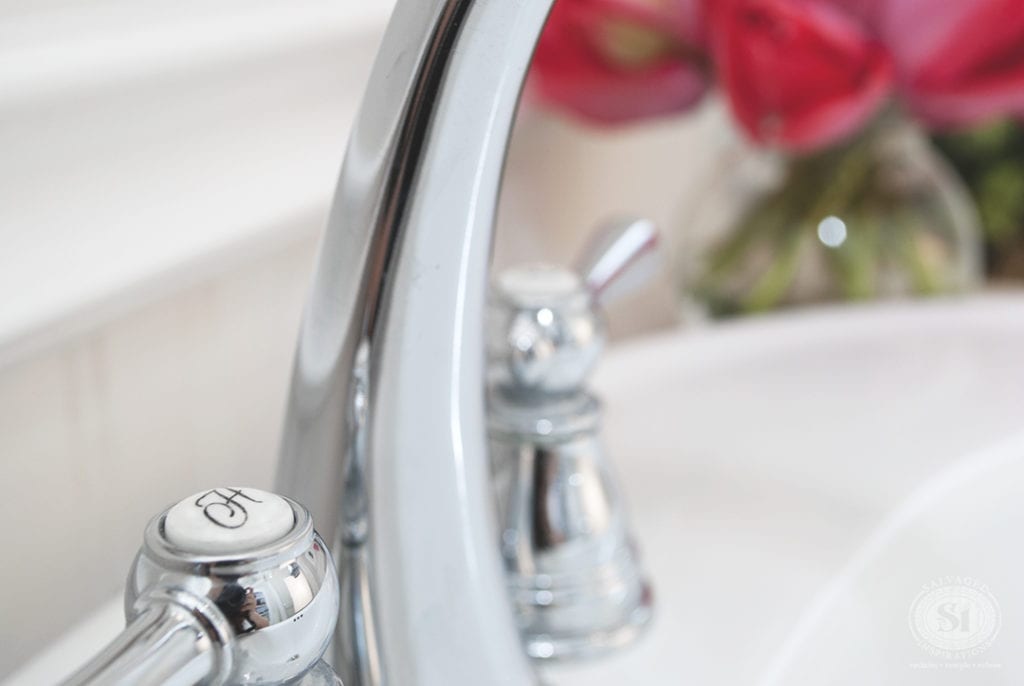
My sink and faucet look brand new and I’m loving my Easy DIY Hot & Cold Indicators.

I’m hoping to work on by bathroom some more this week. Loving my restyled vanity with my new mirror! And as I mentioned, I’d really like to transfer a graphic onto my corner cabinet!
I’ll be sure to keep you posted… and feel free to chime in on what you think of this easy transfer! I’m also curious what you like to use to transfer graphics and images?
***Update- It’s been almost a year since I’ve written this post so I thought I’d share an update. I use these hot and cold diy transfers countless times per day and it’s held up perfectly. They look the same as the day I applied them. Nothing has worn off or faded even though they get wet and are get cleaned regularly…well pretty regularly. 😉 If anything changes, I’ll be sure to come back an update again but so far so good. And if you haven’t seen the end result, you can see my completed Salvaged Bathroom Reveal here.
Have an amazing day.
Denise x
_____________________________
Like what you see? Subscribe to Salvaged Inspirations so you’ll never miss a post!
Follow along on Pinterest, Google+, and Facebook for more inspiration!

Love that bathroom with the burlap bag spilling greenery. I have used both chalk & graphite for transfers but not the fixatif. That has piqued my interest! Thanks for sharing the graphics too.
My pleasure my friend, thank you!💕
Which side of the paper did you spray the fixative on, the print side or back? Thank you, love the Hot Bath sign!
Hi Patty! I printed it out the “H” and “C” in REVERSE and then sprayed the printed side with this Workable Fixatifthis Workable Fixatif.
Oh my goodness, Can I say you are a GODSEND! I use this stuff ALL THE TIME! But had NO IDEA you could use it for a transfer agent! I have been going crazy trying to find ways to transfer things like this! I have Lupus, MS and fibro so I cant always make a quick trip to the store. I have a photo paper, an ink jet printer and most supplies here at my home and well I have tried MANY methods! Let me say your blog has been a wonderful help to me! Thank you so much! Your others transfer methods for your wooden signs worked like a charm (Main St, Bath .25 Cents), I made a Beer sign for my Dad’s “man cave”, and used that method. Again thank you SO MUCH! This has just made a lot of my transferring my artwork and my photography so much easier.
Hi Maria! I bet your Dad LOVES his beer sign in his man cave! I’m so happy these transfer methods have been working for you. x
Will this method work with a laser printer? Thanks in advance.
It sure will. 🙂
Hi Denise. I love your design! I want to try the bath (25¢ sign). I looked on Amazon for the Krylon Fixatif. They have it, but I noticed on the can you used it says “retouchable”. I don’t see that on the cans for sale on Amazon. Is there a difference? Is it important to find the “retouchable” type to do this project?
(P.S. You do beautiful work! I hope mine will turn out half as cute. I’m pretty sure I’ll have to do a little experimenting first! But, thanks for the tips!)
Hi Rhonda, pleasure and thanks for the kind words. 🙂 I don’t think it will make any difference whether you use the retouch-able Krylon or not. I had the retouch-able on hand because I use it to seal my graphite drawings, which often need touching up lol. Have fun with your sign project.
I love doing photo transfers but hate the time it takes and the mess or rubbing all the paper off, looking forward to trying out your idea. Do you think it will work on tile?
I’ve been wanting to try the tissue paper printing idea but to save my marriage I decided not to try it yesterday incase I ended up jamming up the 10,000 office printer again like I did when I tried wax paper Hubby was not happy.
Thanks so much for taking time out to share this idea.
Hi Tammy! I’ve never tried transfer on tile but I can’t think of a reason why it wouldn’t work. Just don’t jam the printer 😉 I think issues that may arise would be in the sealing and what it may be used for. For instance, decorative tiles vs floor tiles. Having said that, I know of bloggers who have stencilled floor tiles/sealed, and it holds up really well. I’d love to hear how it works for you. 🙂
Denise I want to transfer the bath sign to rustic wood. Any specific type of paper that you suggest over another? Your work is awesome and very inspiring.
Linda
Hi Linda! thanks for you kind words. 🙂 I used 8×11 plain copy paper that you can buy at Staples, Walmart or even a Dollar Store… and my pallets were really rustic and uneven. So I think any paper will do. 🙂
Love your ideas and creativity! How do you do “reverse graphic transfer”?
Thanks Teresa! Here’s my favorite site for graphics and a good tut on reverse graphic transfers. 🙂
Thank you for the great tutorial. I have to ask because I’ve been looking for ages – where did you get your mirror?? 🙂
You can see better pics of the mirror here and I found it at HomeSense. 🙂
What type of top coat do you use? Just came across one of your posts on Instagram and I love your work!
Thank you Misty! For this project I used Varathane’s Non-Yellowing Poly and for my furniture projects, it just depends on the piece. Here’s an article on how I decide which topcoat to use. 🙂
Hi Denise. You’ve given me the idea to try this on my round dresser drawer knobs. I’m thinking of monogramming my initials. Thanks so much for the idea and the step-by-step instructions. And of course, gorgeous pictures! Great post.
Monogramming dresser knobs is a brilliant idea Monique! Feel free to let me know how it all turns out! x
I love your ingenuity! Brilliant idea ?
Thanks Jamie! x
What a clever idea, thanks so much for the post! The result is so elegant. <3 <3 Would the fixative work for transfers onto wood or plastic, too, I'm wondering?
Thanks Zovesta… and it sure does!I think I may use it for my corner cabinet and if I do, I’ll post the results. Hope you have a great week. 🙂
Awesome, the wax paper method was such a nuisance to do because of loading it into the printer… I’ll definitely be trying this! =D
grrr..I know! I’ve used the wax paper method and I always tape it onto a piece of paper before feeding it though my printer otherwise it just doesn’t work. I also find I make a mess of my skin because I end up rubbing up against the ink…lol.
Denise, you have an ongoing “bag of tricks”!
Thank you!
Thanks Phoebe! I’d like to think I have an ongoing “bag of tricks.” The reality is I’m an Impatient Thriftista Addicted to DIY’ing! {Hey, maybe that’s what my blog should have been called!…lol} If I was to order these from Moen I’d be waiting a week or two. Aside from dry time, this project took me all of 15 minutes. 🙂