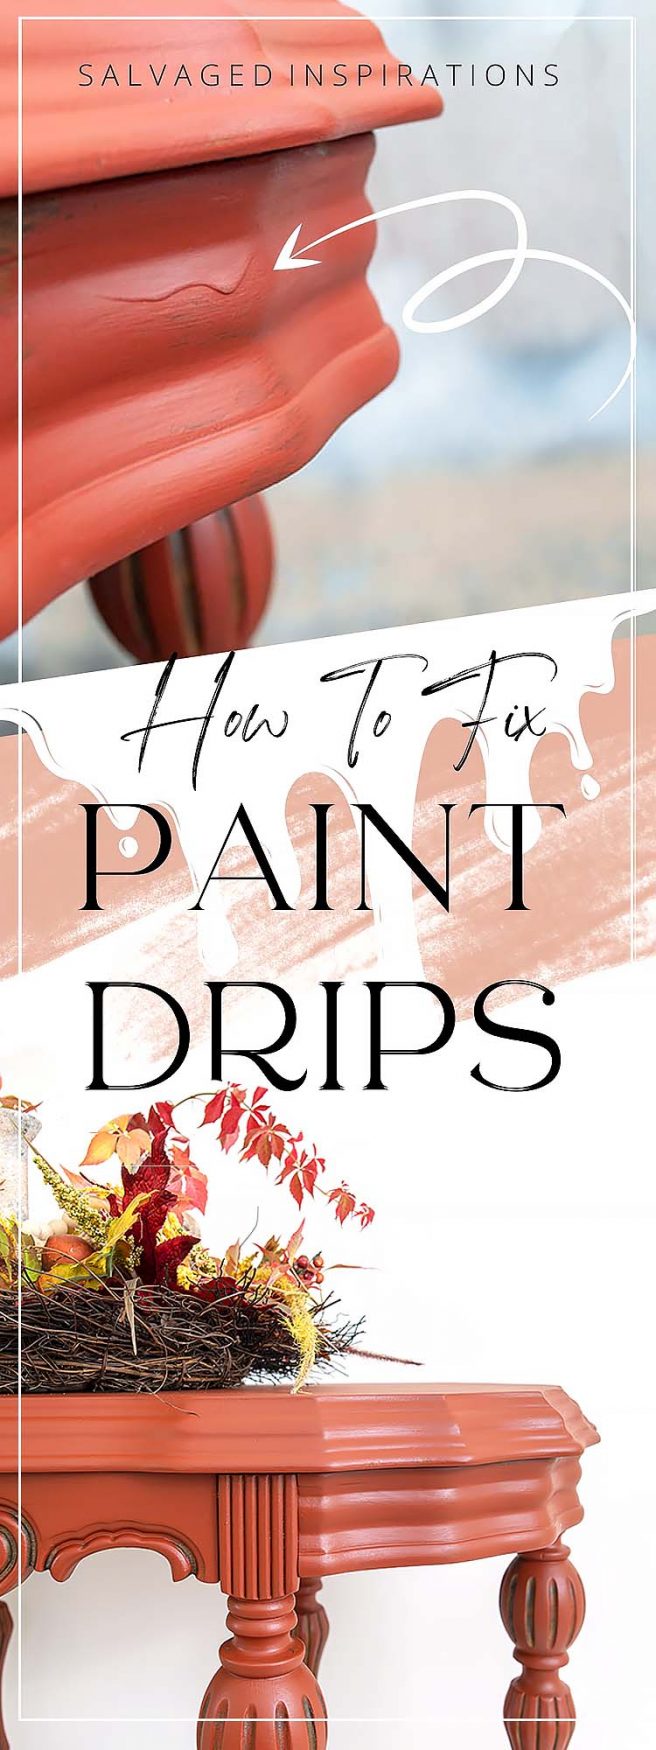
TODAY I’M SHARING HOW TO FIX THE DREADED PAINT DRIP FOR A PERFECT FLAWLESS FINISH | VINTAGE TABLE MAKEOVER
 Hi, creative SI family! When painting, it doesn’t matter how experienced or careful you are, mistakes WILL happen. Because paint is fluid, it spills, splatters, and drips are inevitable. But remember, it’s JUST paint! So no need for worry. There’s always a way to fix it! Today is all about the dreaded paint drip and how to eliminate it for a perfectly flawless finish. It’s a simple fix and believe me, no one will ever know it was there!
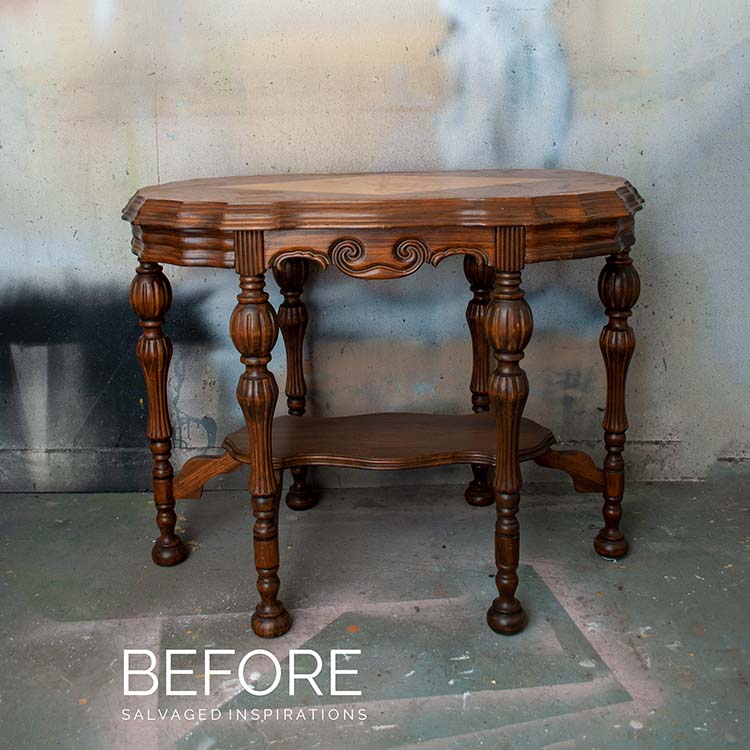
Here’s the table I started with. Isn’t she gorgeous? Look at those legs and all this detail!
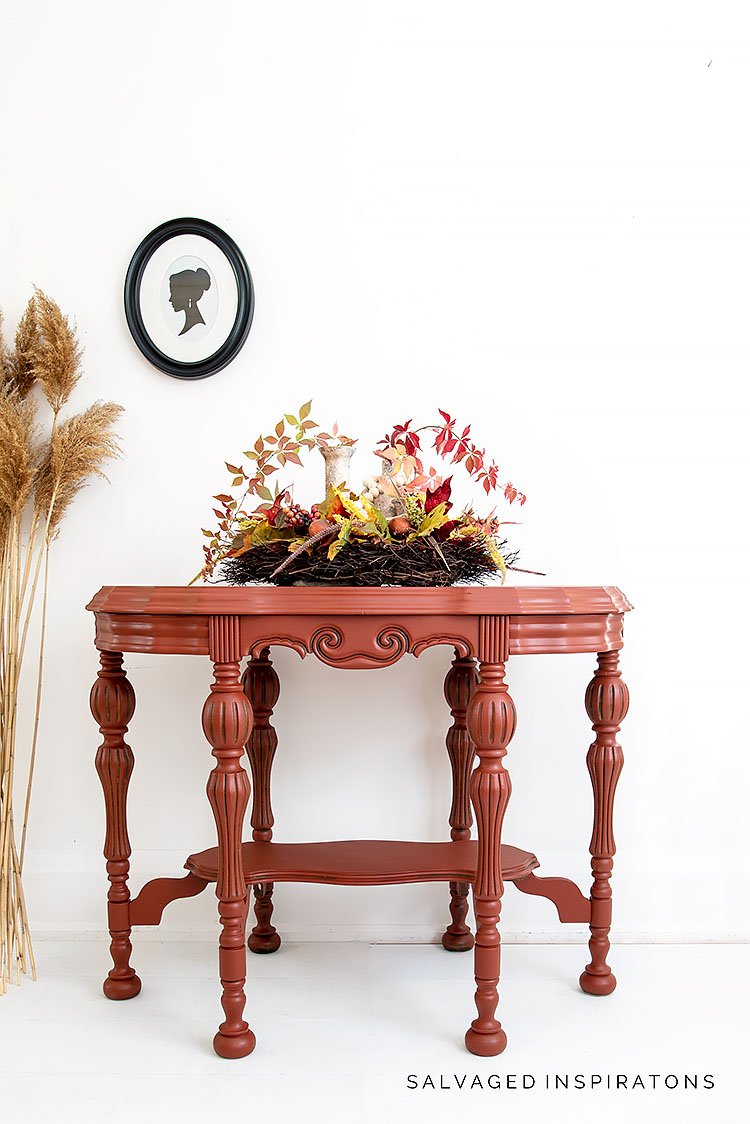
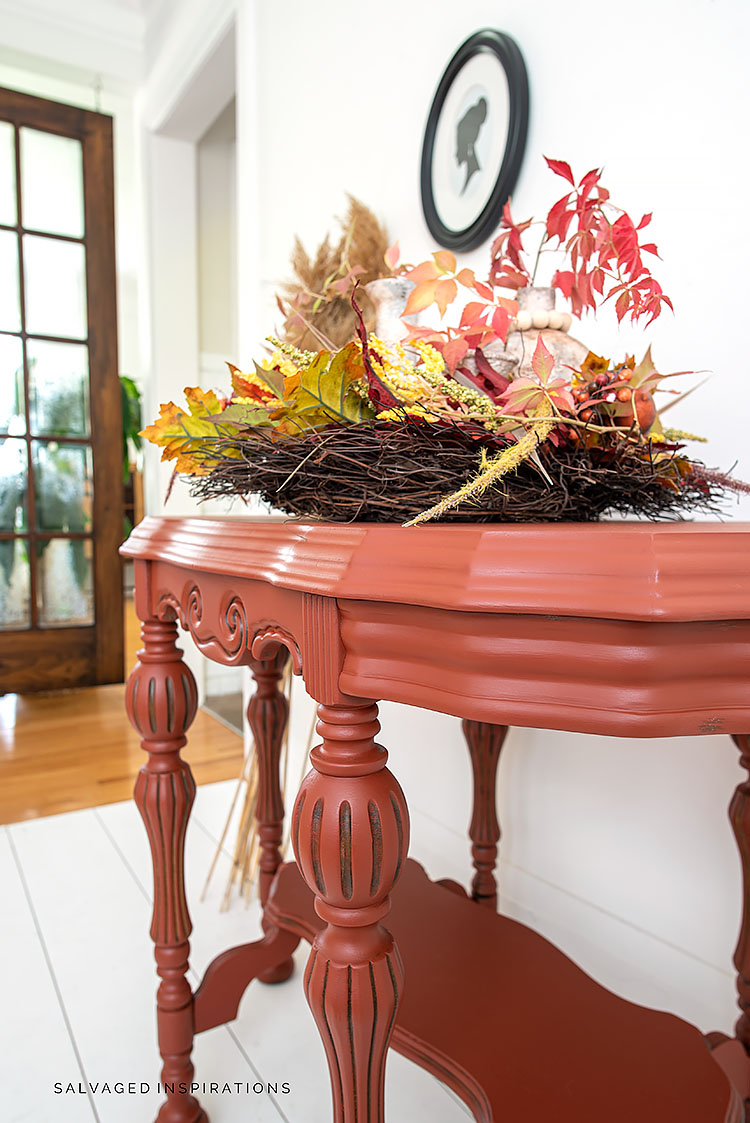
And because I can’t wait to show you the after, here she is decked out for the Fall season. This Merlot color is absolutely perfect. It’s a toned-down red with orange undertones… so beautiful, don’t you think?
THIS POST IS SPONSORED/CONTAINS AFFILIATE LINKS TO PRODUCTS I USE. YOU CAN SEE MY FULL DISCLOSURE HERE.
SOURCE LIST
Vintage Hallway Table – SALVAGED
3″ Wooster Paintbrush
Shop Towel
White Lightning
Dewalt Orbital Sander
Sandpaper | Tack Cloth
Water Mister
Rustic Red Chalk Mineral Paint (similar)
Satin Clear Coat
PAINT DRIP TOOLS
Utility Knife
Razor Blades
Glass Scraper
6 in 1 Painters Tool
HOW TO FIX PAINT DRIPS
Regardless of how many years I’ve been painting furniture, the odd drip still happens. And if you work with paint whether it’s painting walls, furniture, or kitchen cabinets to name a few, I’m sure you’ve experienced paint drips as well. Today is all about the paint drip quick fix to leave you with a flawless finish!
WHAT CAUSES PAINT DRIPS
Paint drips occur when you overload your roller or brush with too much paint. Runs and drips can also happen when spraying. If your spray gun settings are incorrect or too much product (paint) gets applied on the surface when using a spray can, runs and drips will happen. Gravity does its thing and the next thing you know your perfect paint finish isn’t so perfect anymore.
PROACTIVE PREVENTION
The BEST way to fix paint drips is to catch them right away and brush them out while they are still wet. This is why I always do a once over (and then a twice over) while I’m painting. If I see any areas where the paint looks heavy or starting to droop, I’ll smooth it out with a paintbrush. Done.
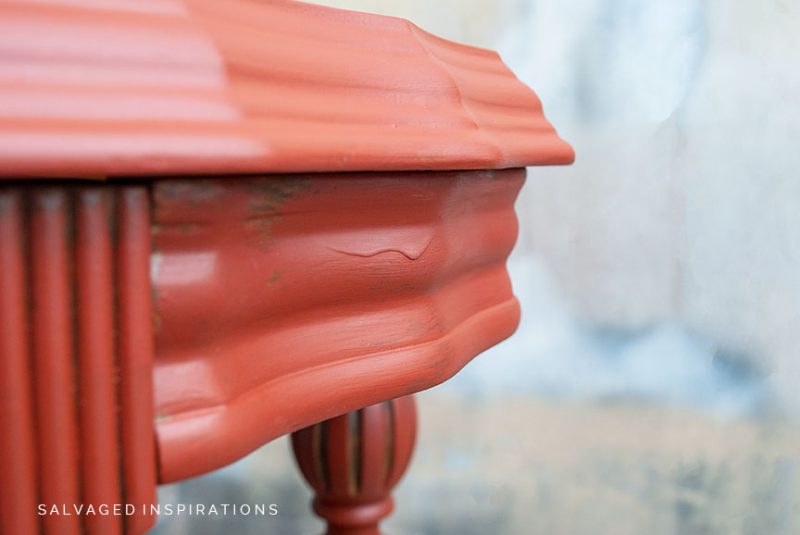
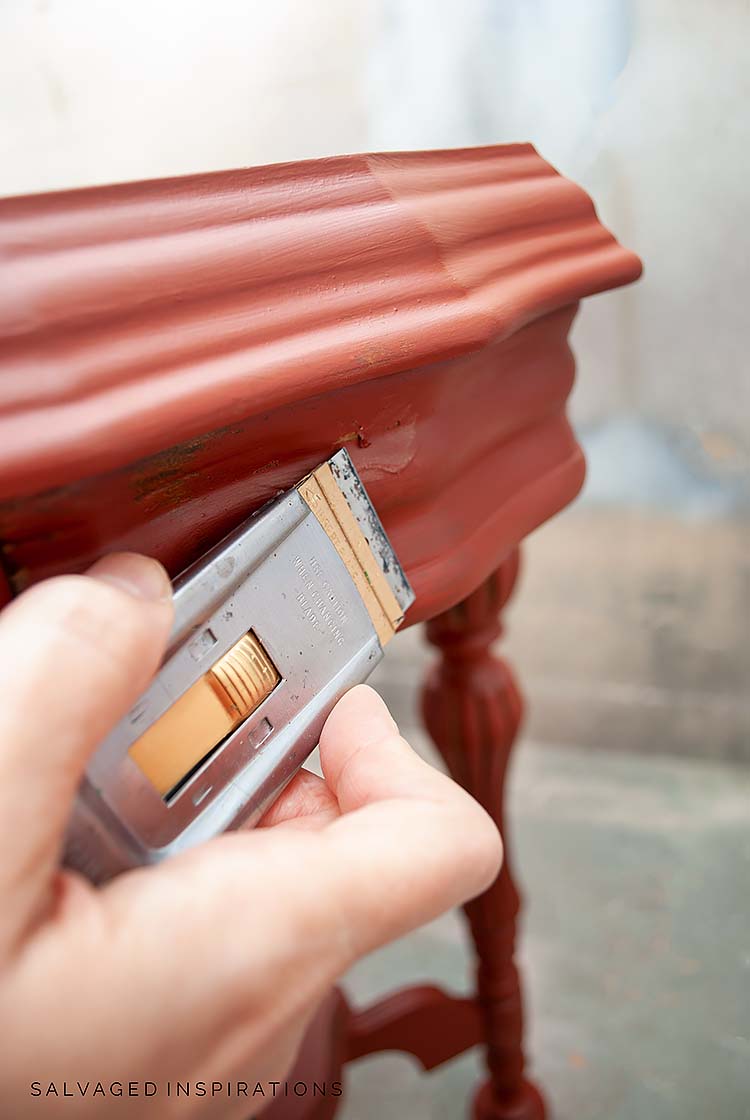
But as in the case of this table, I was rushing the process. I wasn’t paying as much attention as I should have. And unfortunately, I came back to a DRIED PAINT DRIP as seen below. Ugggh.
TOOLS TO FIX A PAINT DRIP
The easiest way to fix a dried paint drip is to scrape the dry drip off with a razor-sharp tool.
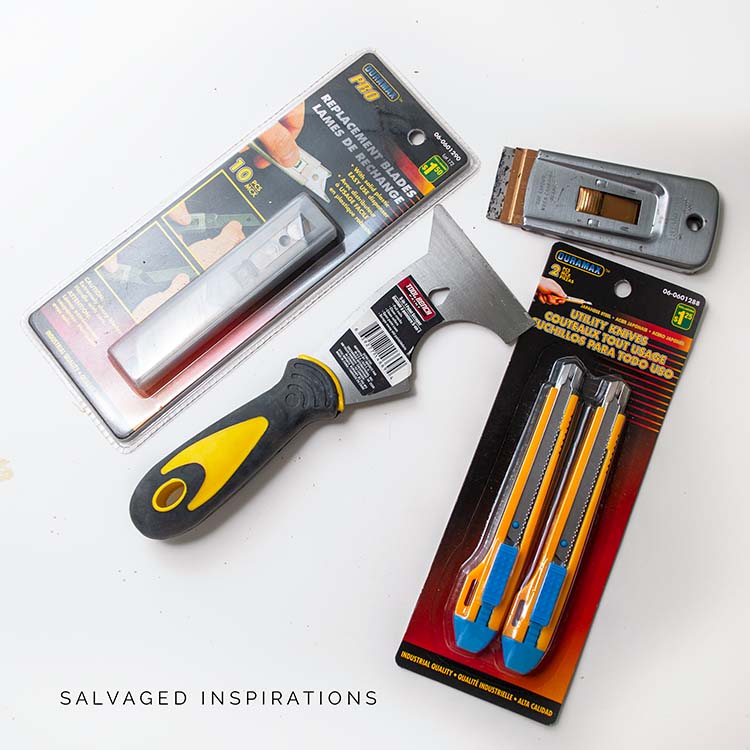
My Go-To Tools Are~
Anything with a razor-sharp edge will work. But be careful. Always remember safety first when using tools of any kind! Be sure to scrape AWAY from you, not towards you.
HOW TO REMOVE A PAINT DRIP
Once a paint drip has dried, I use one of my razor-sharp tools to remove it. Little by little I smooth out the drip by scraping it flat. Don’t rush this process. These tools are super sharp and its easy to slip up and gouge the wood. Keep the scraper flush with the wood and slowly scrape off the excess paint.
SAND THE AREA SMOOTH
After I’ve scraped or cut off the excess paint drip with a razor-sharp tool, I sand the area smooth. The area you just worked on is not going to look good but this is okay. The point is to create a fresh flat surface.

Once the area is all smoothed out, it’s time to RE-paint! Apply one or two coats and you’ll never know the drip was there in the first place! Take a look…
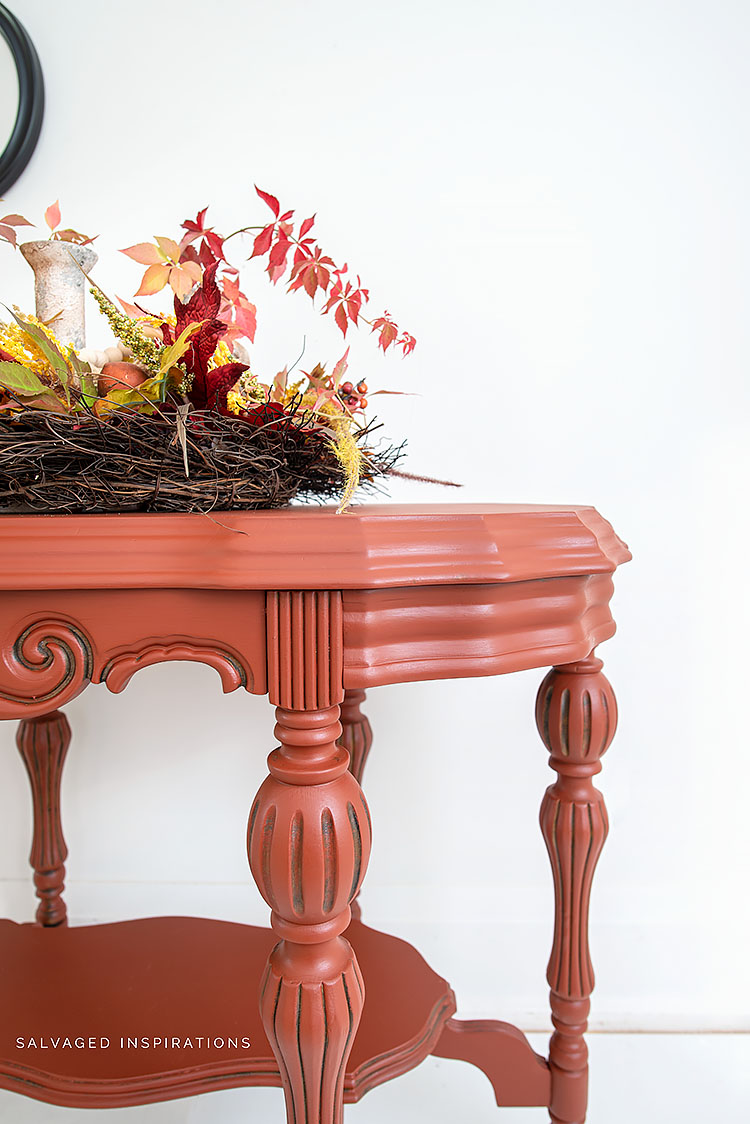
Can you see where the drips were?
I know some sites say just to sand it out, but that’s never worked for me. By the time I sand down the drip, the entire area around the drip has been sanded down as well. Including sanding off the primer or right to raw wood in some cases.
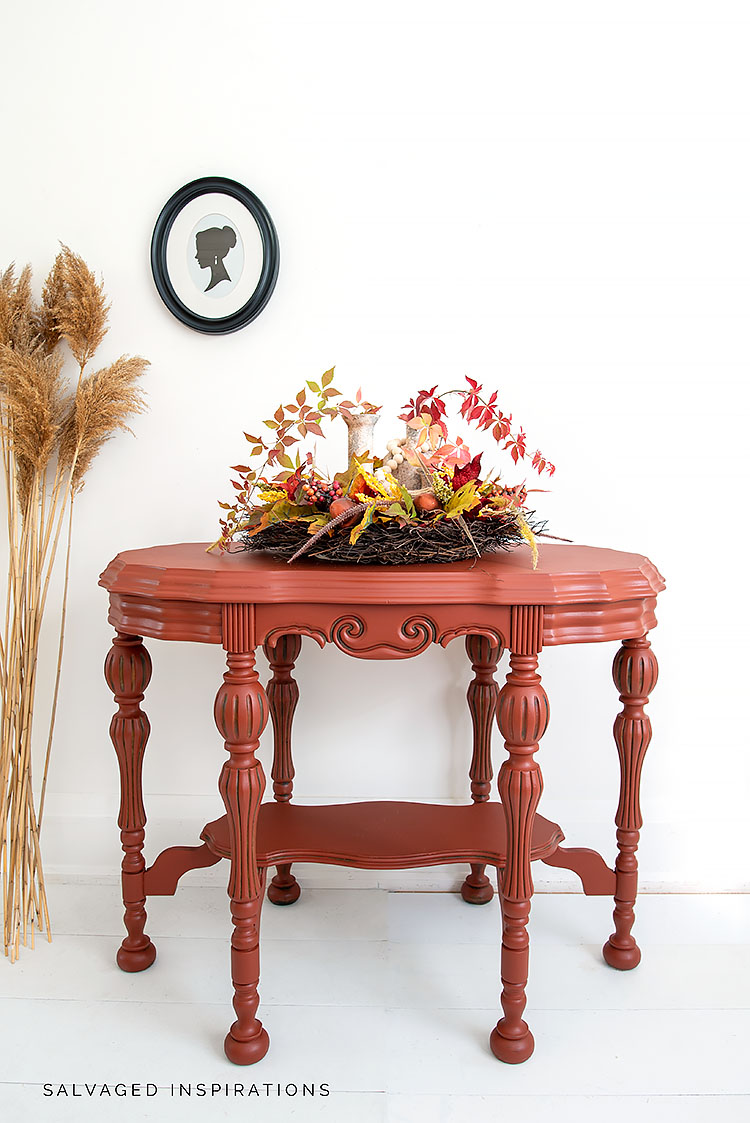
I feel so blessed when I come across curvy detailed pieces like this. I mean look at these legs, right?! I wish mine were this shapely!
Here’s the 411 on how simple this makeover was…
PREP
I cleaned the table with this White Lightning and then gave it a scuff sanding with a 180 sandpaper. I know a lot of furniture painters wipe off sanding dust with a damp or wet cloth but I much prefer using a tack cloth like this so I don’t raise the grain before painting. I find this creates a smoother painted finish.
PAINT
I painted two coats of Merlot. This is another one of Suzanne’s Fall Colors Limited Editions but a great substitute is this Rustic Red. I believe they have already sold out of this collection so I’m also working on a recipe card for you. This way if you like any of the colors in the fall collection but don’t have a local retailer still selling them, you can create and mix your own!
SLAP ON TECHNIQUE
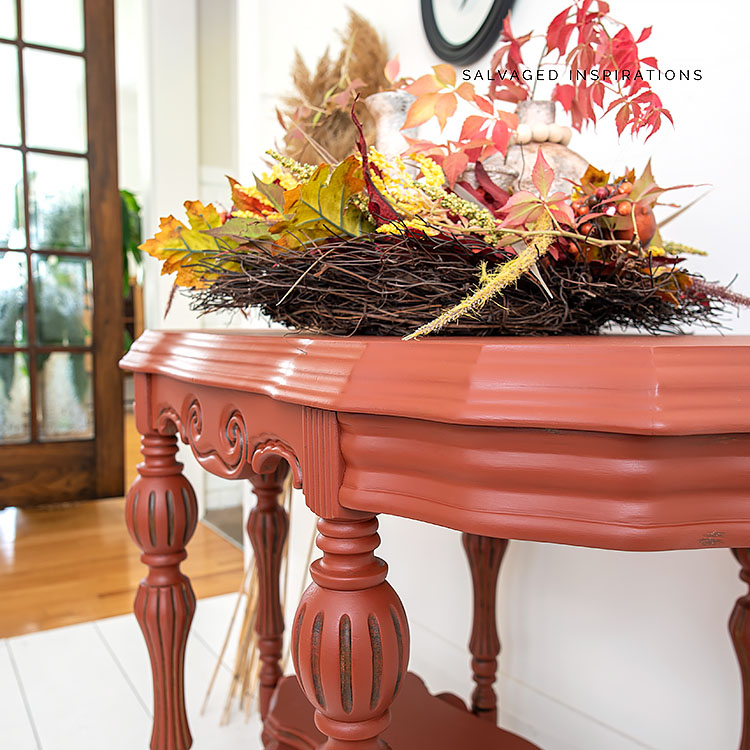
To get a nice clean and seamless finish on these gorgeous legs, I used my slap-it-on technique. I take a wide paintbrush, in this case, my 3″ Wooster Paint Brush, add a small amount of paint so it doesn’t splatter. Using some wrist action, slap the brush from side to side on the circumference of the legs. Below is a video of this painting technique in action.
YOUTUBE TUTORIAL
Here’s the step-by-step on Youtube. If you have any problems viewing below, feel free to watch it on my Youtube Channel here… and don’t forget to subscribe! 🙂
TOPCOAT
I’ll be spraying 2-3 coats of this Satin Clear Coat for protection.
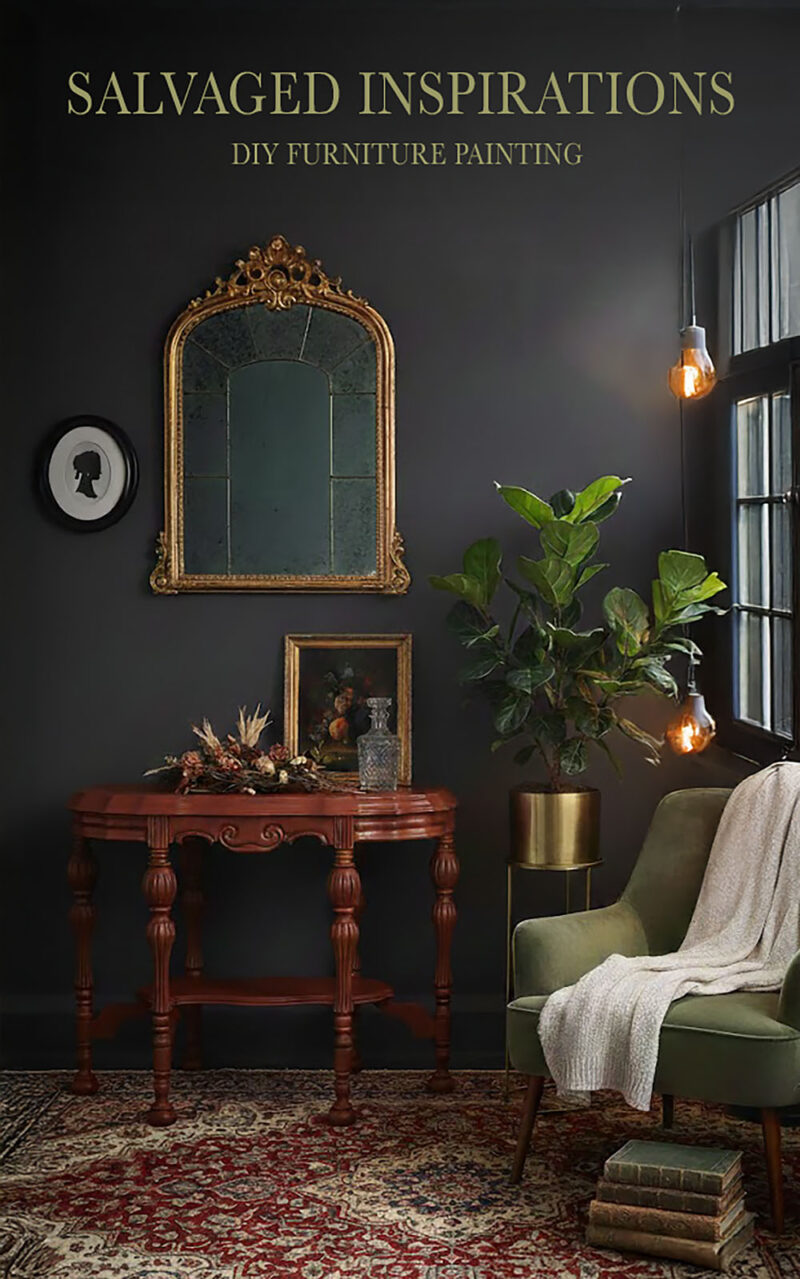
Here’s another look at this before and after. I hope it’s inspired you and given you some new ideas for your projects.
LET ME KNOW WHAT YOU THINK OF THIS FALL TABLE MAKEOVER. FEEL FREE TO ASK ANY QUESTIONS YOU MAY HAVE OR CHIME IN HOW YOU GET RID OF PAINT DRIPS… I ALWAYS LOVE HEARING FROM YOU. IT MAKES MY DAY! 🙂
Happy furniture painting friends!
Denise x
RELATED POSTS::
TRAY TABLE MAKEOVER
RESTORE ENTRY HALL TABLE
FAUX DRIFTWOOD NESTING TABLES
SINGER SEWING TABLE MAKEOVER
PAINTED KITCHEN TABLE DIY
PIN AND SHARE!


Great tip, thanks for sharing!
Denise-What perfection! Live the color😊 I love how you use so many different colors on your projects. Thank you for always listing products you used and the step by step instructions. Have a blessed Thanksgiving!😊
Thanks Lisa and Happy Thanksgiving! XOXO
Well you did it again! Love it. Going to do this to mine but going to extend the paint color onto legs. Thank you so much for your tutorials, and all the yummy info you give us. Love coming on to see what you did. Thank you for your inspirational ideas and wonderful work. Don’t know how you even have the strength or time to give us all you give. ! Huge fan of yours. Have a good day 😊
You just put a huge smile on my face Sue… and it’s comments like this and good people like you that keep me loving what I do! Thank YOU! 💙
I love the picture of finished product, but the actual paint color on DB site is a very deep color. Did you dilute the product to get the lighter color. If so what was the combination. Deep colir to deep. Please let me know
Hi Bev! Colors can look slightly different depending on the lighting the image was taken in. But NO, this Merlot has NOT been diluted – this is 100% Merlot. 🙂
Thanks so much. I really needed this tutorial. I just finished making over a hutch and didn’t notice the drip until after the clear coat was on and dried. It may be the drips are actually from the clear coat. Is it possible to use this method and sand. I am guessing I may need to repaint to touch up. Will it still come out smooth to then repaint even if there is clear coat around the sanded areas?
The table is so pretty. It looks like darker color to accent the detail. Is there a dark wax or a dark paint or something in the recessed areas?
Thanks.
So glad this tutorial is helpful and ugggh, sorry to hear about your hutch, and yes– the topcoat drips can be fixed the exact same way. All the dark you see on this table is the original finish. Only the Merlot Paint was used. 🙂
Denise,
Beautiful as always!!!! I love the table and LOVE the COLOR!!!! Did I read your post right, the paint has been discontinued and you will be making a formula? I’m just in awe of how your talent speaks volume. You are so spot on and love how you explain your process of painting, sanding, all of the above!!! I’ll look forward to seeing what you will bring us next week; I also keep your post so I can go back and look at some of the furniture transformations. Amazing
jean
Thanks so much Jean! And YES, tomorrow’s blog post I’ll be publishing a recipe card so you can create this gorgeous Merlot along with the other four colors in Suzanne’s Limited Edition Fall line.😊
I know I’m late with my post but I just had to tell you that this table is beautiful. The color and details with the dark finish is stunning! Everyone will want this accent table. Keep posting; we so look forward to see what you create each week. I love the old posts just as much and your tips are so fabulous. Fall is definitely in the air! Happy Fall. See you next week.
Happy Fall to you to Kathy – and thanks for your kindness! Much appreciated.🤗
Thanks Denise, great tip!
My one question is, Did you only slap-paint the legs which left the inset detail the original dark wood?
The piece is absolutely stunning!
Great question Gwen and YES! So easy with all this gorgeous detail. I just used the Merlot and no other products. All the dark is the original wood peeking through. 🙂
Hi Denise,
Thank you for all your tips and insights! Your paint drip fix, am wondering if this would work on a primer coat? I used the Zinsser 1-2-3 primer, and on my second coat I noticed what looks like may be “specks” of primer that dried and now looks like lumps, drips, which unfortunately I did not notice until it dried, ugh! Any advice on if I should attempt fixing this primer coat with your tip. And if you think it’s worth a try, I assume I would put another primer coat over the whole surface (it’s a desk top).
This does work with primer Lynnell! And yes, you would scrape the drip down with a razor sharp tool, give it a sanding and then run your fingers over the area. I like to do it with my eyes closed. If it’s smooth as silk, it’s ready for you to apply the spot primer. Good luck and hope this helps. 🙂
Great tips and beautiful table! Pinned!
Aw, thanks so much Nicki! Appreciate the PIN! 🙂
Oh Denise! This will be a game changer for me! Love the table before and after the make over! You have such lovely pieces.
Thanks my friend… I feel lucky when I find beautiful pieces like this!
Beautiful job. Did you use some wax to emphasize the depressed areas, or is that just shadow?
Thanks Nette! No wax, glaze or dry brushing… that’s all the original finish showing through. 🙂
This is just beautiful, Denise! Those curves!! And great information as always!! XOXO
Curvy-Licious, right?!? 😉 Thanks so much, Christy! XOXO
Thank you so much, very very helpful.
I’m so glad, thanks Mary! 🙂
Great tip Denise ! I have always tried to sand my drips and with no success. While I have improved my technique over the years, sometimes drips just happen !!
Thanks again for this and all your helpful hints and techniques !
Janice
Hi Janice and my pleasure.🤗
Gorgeous color, Denise! I’m guilty of sanding drips with sandpaper so I’ll remember your awesome tip next time.
I’m loving this Fall color too! Thanks my friend. XOXO
Hi Denise!! That is a great tip!! I have always sanded and like you said, before you know it you have sanded a huge spot all the way to the wood. Thank you
I know, the sanding only never really worked for me either.😐
I agree that sanding doesn’t work for me for drips! And the 6-in painter’s tool is one of the best tool purchases I’ve ever made. Every home should have one. :o) Thanks for these great tips, Denise! Such a pretty little table.
Thanks and I agree! I love that 6 in 1 tool!!!
Great technique, thanks! Also i love how your table turned out, perfect color. Nice!
Thanks Desire! XO
THANK YOU SO MUCH FOR THE TIPS AND YOU DID AND AWESOME JOB!
My pleasure Rebecca and so happy you like it! 🙂
Hi Denise. What a beautiful makeover. The orange/red color is perfect for autumn (my favorite season btw). Love how this table turned out!
Thanks… and Spring and FALL are my favorite seasons as well! 🙂
How beautiful 😍 I love the color and can’t wait for you to make a recipe for recreating it! Great tip for fixing drips! And I wish my legs were that sexy too! 😂 I always look forward to all your posts🌞
Thanks so much Angee and right?!?… lol…they sure are SHAPELY aren’t they?!🦵🤣
Hi Denise – two questions: did you use a dark glaze on this piece? also where do you sell your finished products?
Hi Carolyn! I did not use a glaze. This piece had enough details that everything you see other than the Merlot is the original finish. And I sell my pieces from direct inquiries (here on the blog and social media) and also on Facebook Market Place and Kijiji.
Great Job ! Love the fall color ! Thank you for all your advice, I’ve learned so much from you, again thank you.
Thanks so much, Kelly Lee! I’m pretty smitten with this FAll color as well. 🙂
Love this color. Your factory-finish techniques are always on point. This one is no exception. ~~ Susie from Chelsea Project
Susie!!!… I was just thinking of you the other day! Hope all is well and thanks so much!🤗