HERE’S HOW I PAINTED THESE SALVAGED WOOD SHUTTERS WITHOUT REMOVING THEM FROM MY VINYL SIDING GARAGE WALL
Hello beautiful SI family and thanks for joining me today. If you’re one of my neighbors south of the border – Happy 4th of July! I’m also coming off a relaxing long weekend celebrating Canada Day. Today I’m sharing a home project I’ve been wanting to do for the last few years and I have YOU to thank. I’ll explain below. 🙂 Years ago, Nick found these cute shutters which were salvaged from a home he was working on. We installed them onto the side of the garage paired with a DIY planter. Over the years, the factory finish on these shutters has flaked and chipped. Today I’m sharing how I painted these shutters without removing them. This is such a time-saver! I’m also sharing the best paint-to-use on shutters and a few tips on how NOT to mask off when painting with a brush.
Here are the shutters I started with. They are on the side of my vinyl garage and as you can see were in desperate need of a new coat of paint.
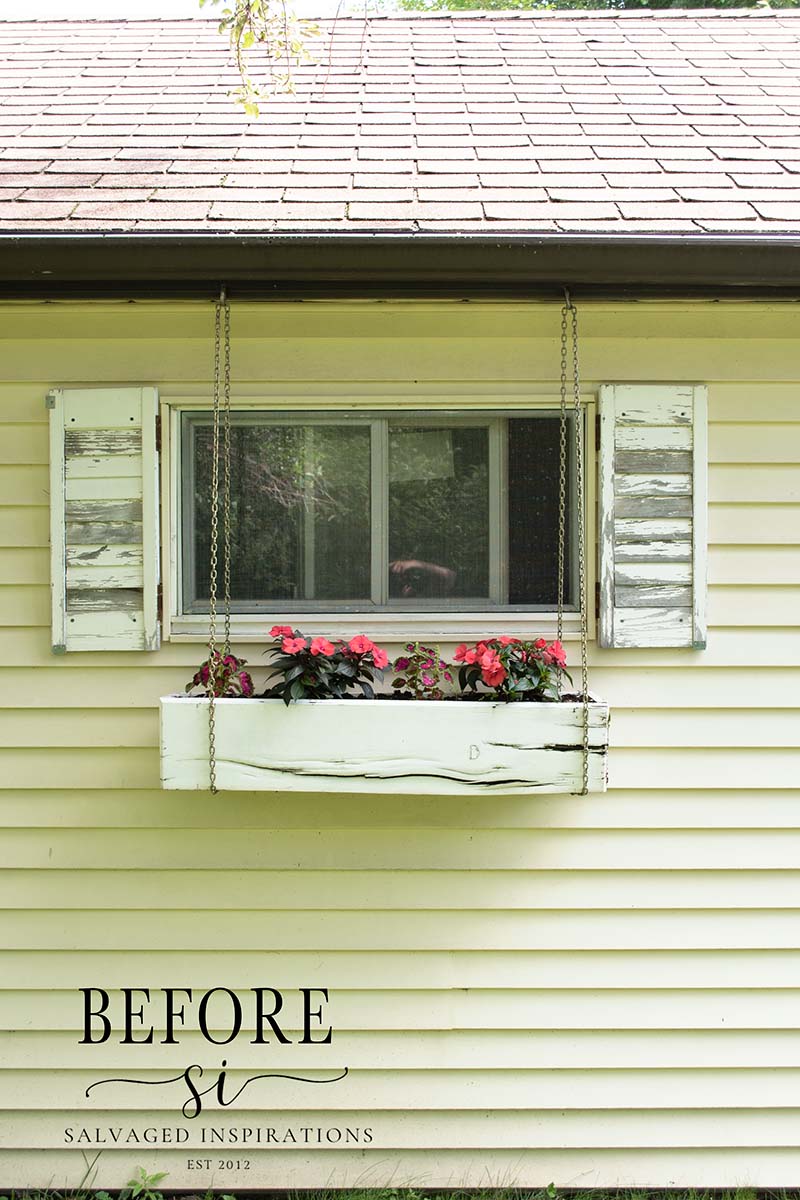
When these shutters were originally installed, they had a white manufacturer’s finish on them.

The weather here in the Greater Toronto Area goes from one extreme to another. From humid hot summers to freezing cold winters and everything in between. Over the years the seasonal weather has caused the finish on these wood shutters to flake and crack.

THIS POST IS SPONSORED/CONTAINS AFFILIATE LINKS TO PRODUCTS I USE. YOU CAN SEE MY FULL DISCLOSURE HERE.
WHAT YOU’LL NEED
Shutters – SALVAGED
Shop Towels
Bosch Sander (37% OFF as of writing this!)
120 Grit Sandpaper
Tack Cloth | Shop Vac (54% OFF as of writing this!)
Cardboard
Valspar Outdoor Paint & Primer “Semi-Sweet”
Purdy 1″ Angle Paint Brush
HOW TO PAINT SHUTTERS… WITHOUT REMOVING THEM
As I mentioned above I have YOU to thank for me actually moving on this project. When I posted this Garden Buddha project a few weeks back, I was taking pics of it in my herb garden, and I noticed just HOW shabby my shutters and planter looked through the lens of my camera! I was so embarrassed I made sure NOT to include them in the styled pics. Sometimes I need to see things through a different lens to give me a kick in the butt to get things done. 😉
PREP
I started by grabbing a paint scraper tool and scraping off all the loose flaking paint. These 10 in 1 Paint Scrapers are fabulous to have around and come in handy for pulling nails, cleaning rollers, opening cans, gouging, and more! They work fabulously at scraping off old paint. Way better than a putty knife which is what I used to use.

Once I had the majority of the loose paint scraped off, I used my Bosch 1/4 sheet sander (37% off as of writing this post!) and 120 grit sandpaper to smooth out the remaining paint finish.

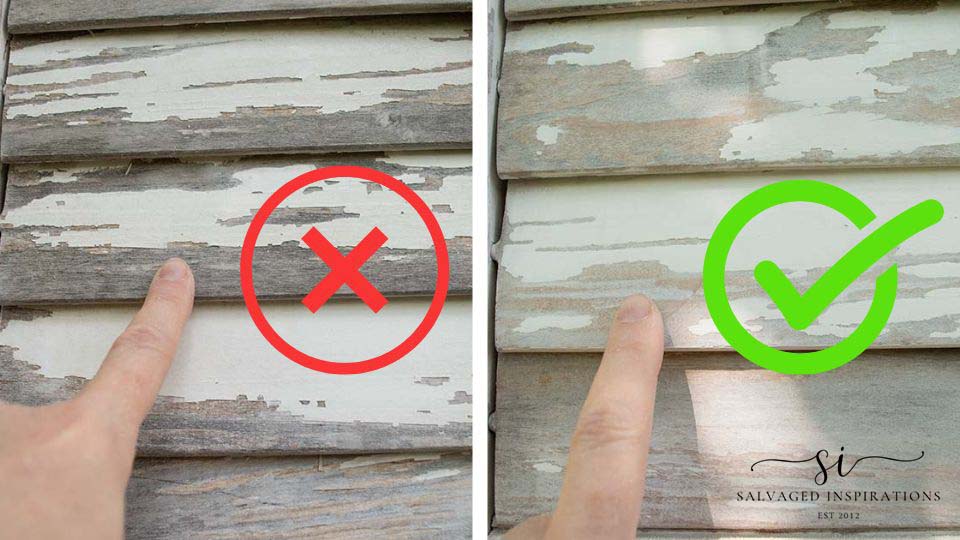
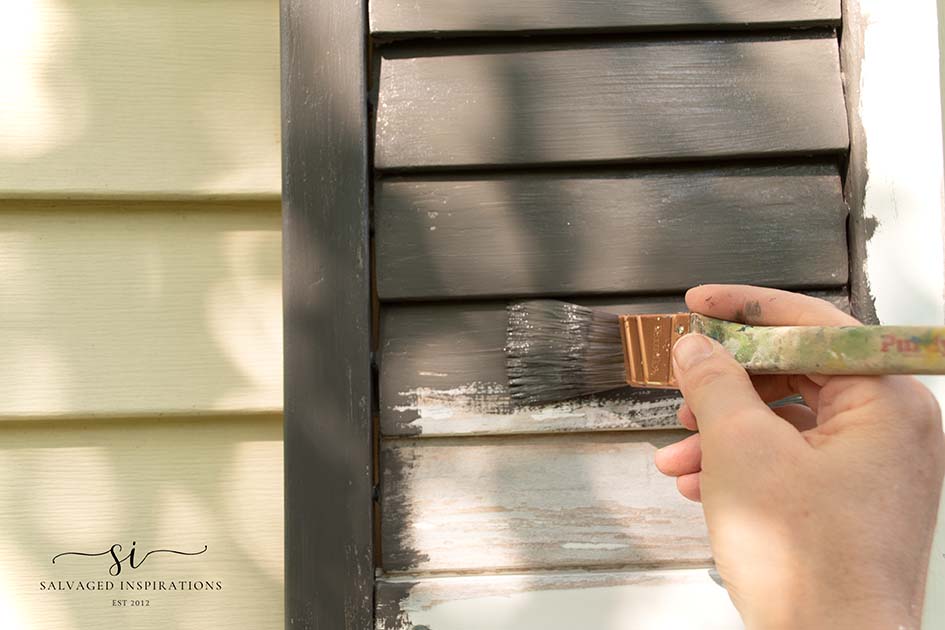
Whether your shutters have flaking paint or not, you DO NOT need to sand off the entire finish before repainting. It’s sufficient to smooth out and scuff up the old paint. In my case with all the flaking paint, it was super important to get any flaking or cracked paint off and then sanded smooth so the new paint looks smooth when applied. Below, you can see the first pic with flaking paint and the second pic is sanded smooth.
CLEAN DUST
To clean the dust I used a shop vac with a brush attachment. This sucked up all the dust and any remaining paint chips. If you don’t have a shop vac, these tack clothes work really well too!
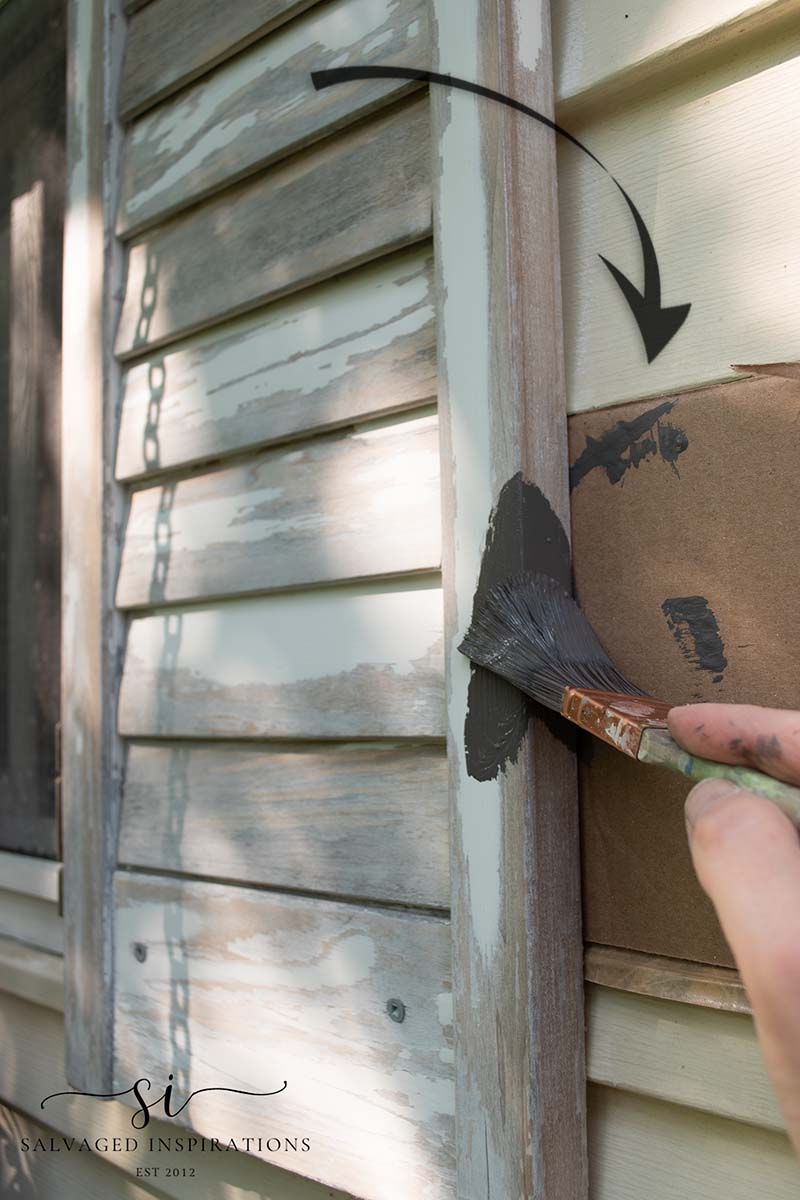
PROTECTING YOUR WALL
Because I wanted to leave my shutters on while painting them, I needed to protect the vinyl siding of my garage. I could have used painter’s tape or pre-taped masking film to cover a larger area, but that takes time to mask everything off. So instead I like to use my quick and dirty version – FREE cardboard! I used an Amazon box and I cut off the flaps. Then I placed the cardboard flap in behind the shutter while painting the edge. This stops any paint from getting onto the brick, stone, vinyl, or wall in-behind. As I move my brush up, I move the cardboard up. Super easy.
THE BRUSH
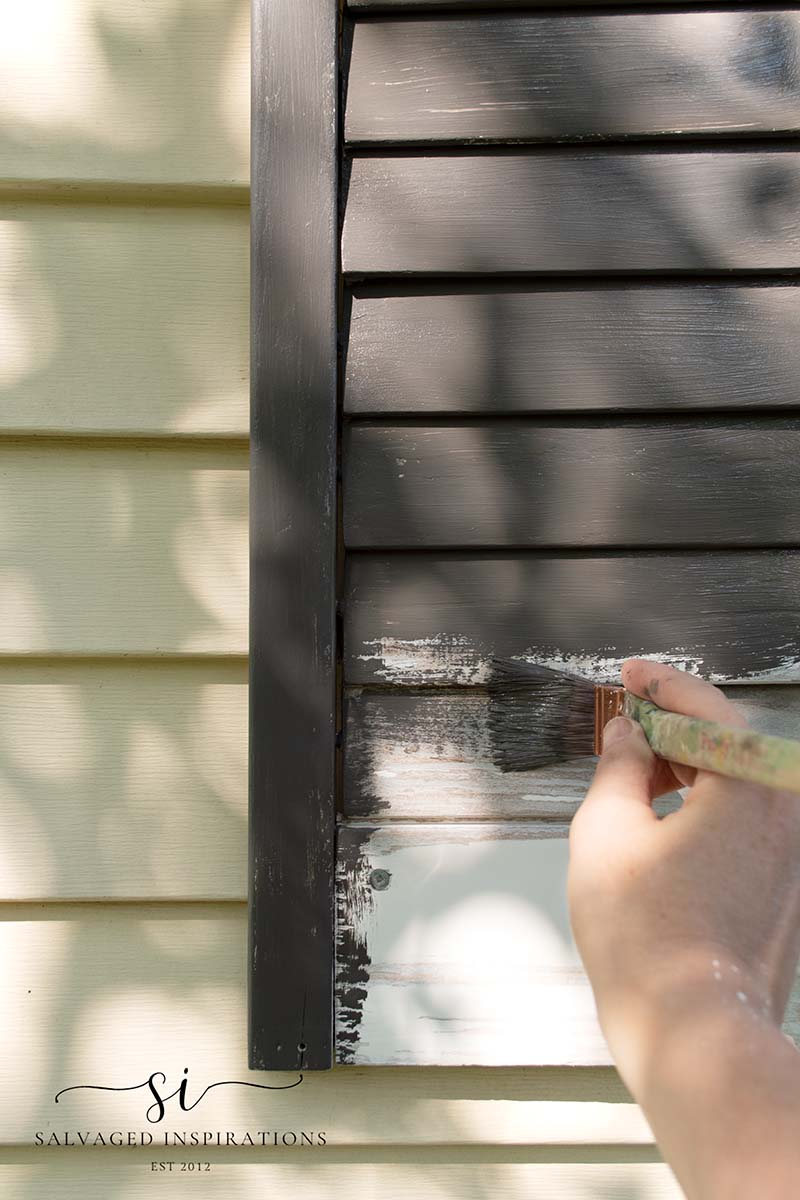
The best paintbrush to use will depend on the size of your shutters. These are small shutters so I opted for my 1″ Angled Purdy Brush. This was the perfect size to get into all the slats and create a clean paint job on the sides. Whatever brush you use, be patient and take your time. Since the shutters are being painted while on the wall, take your time to prevent paint splatters or mishaps.
PAINT
Using this Semi-Sweet Valspar paint, I painted on two coats. This is an outdoor paint and primer in one so no priming was required. It’s also an outdoor paint specifically made for outdoor projects so it will hold up to the elements.
I believe the BEST paint to use for shutters, outdoor fences, and projects is latex/acrylic paints that are specifically made for the outdoors. They will last longer and hold up against all types of weather.
STEP-BY-STEP RECAP
1. Prep the shutters and the area with drop cloths, plastic sheets, painter’s tape ect. You don’t want to get paint splatters on your walls or patio etc.
2. Clean and prep the shutters by giving them a good cleaning to remove any dirt, grime, loose paint, etc. Prime if you’re not using a 2-1 paint and primer.
3. Sand the shutters by giving them a little scuff sanding or “tooth” for the paint to cling onto. This will also knock off any loose or cracked paint.
4. Prime the shutters if you’re not using a 2-in-1 paint and primer paint. Use a brush or roller and follow the manufacturer’s instructions. this will give the paint good adhesion and a smooth finish.
5. Paint the shutters with a brush or roller. I suggest a brush if you have slatted shutters and a roller if it’s all one piece with no slats. Apply thin even coats in the direction of the grain if you’re shutters are wood. After the first coat is dry, apply a second coat. You can repeat until you have the perfect finish.
6. Touch up and clean up. If there are any small spots that need touching up you can do this with a small brush. Clean up the area and you’re done!
Painting shutters without removing them requires a little extra attention to detail and some patience and care but it can easily be done. Don’t rush. Take your time.
FINISHING TOUCHES – PLANTER
I also painted my box planter to match my shutters. I’m going to have to retire this planter next year and build a new one but it still looks cute. I added a few more plants and a couple of flags. We recently had a long weekend to celebrate Canada Day and the day and this post is being published on Independence Day for my neighbors south of the border. Happy 4th of July!
Canada has been battling forest fires in Quebec, Northern Ontario, and the West Coast. My heart goes out to the residents and wildlife in the areas affected. I’m not situated close to any of them however the air quality here in the GTA is poor. Almost 700 firefighters from South Africa, Australia, New Zealand, and our neighbors south of the border in the United States have arrived in Canada to help with the unusually severe fires. Sooooo grateful to all!!! And so blessed and grateful to have you (the US) as neighbors. 🇨🇦 🇺🇸
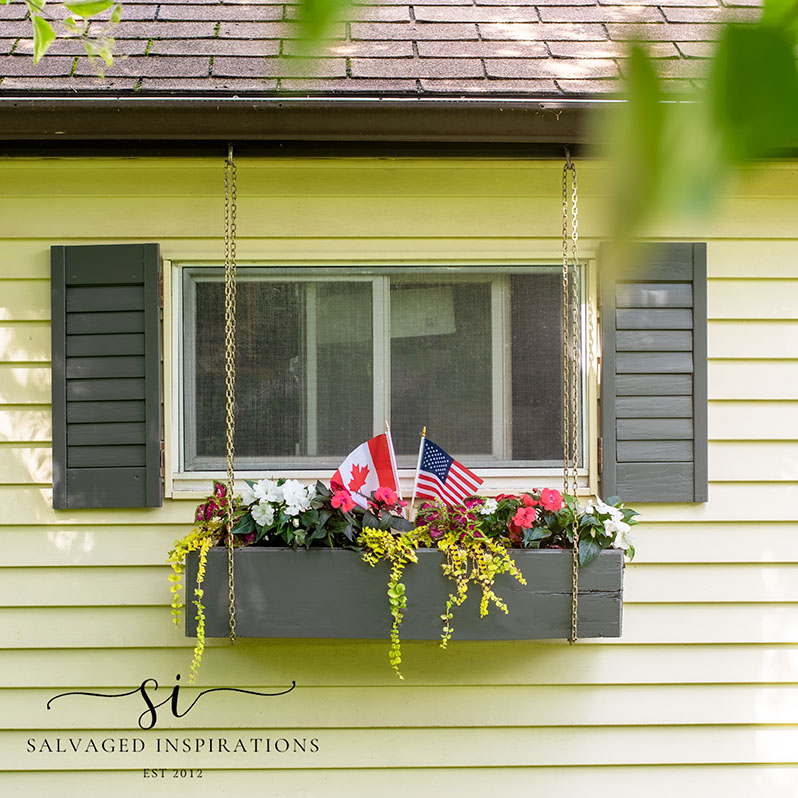
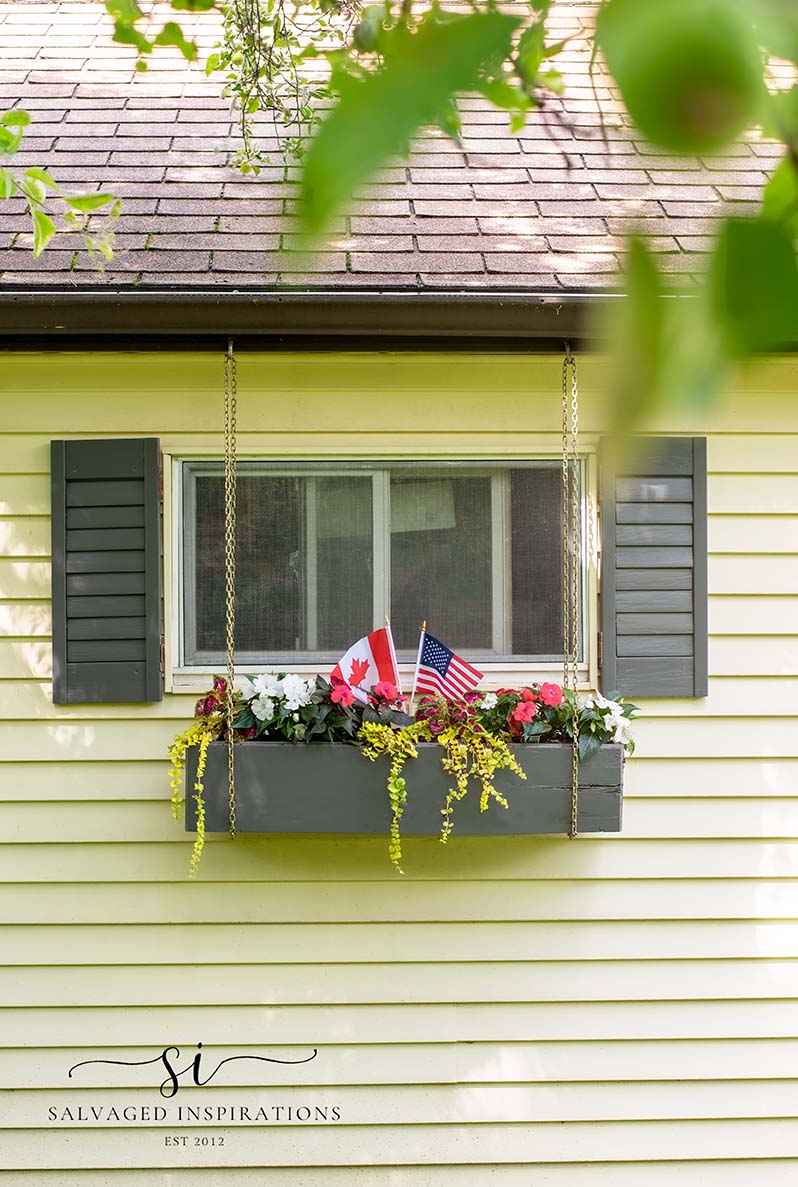
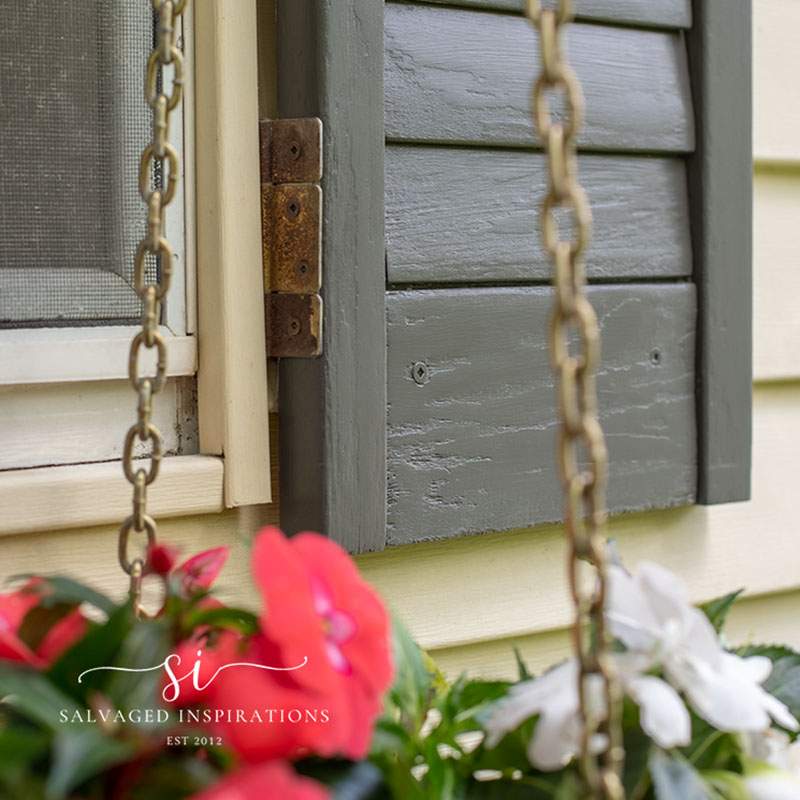
FINISHED PAINTED SHUTTERS
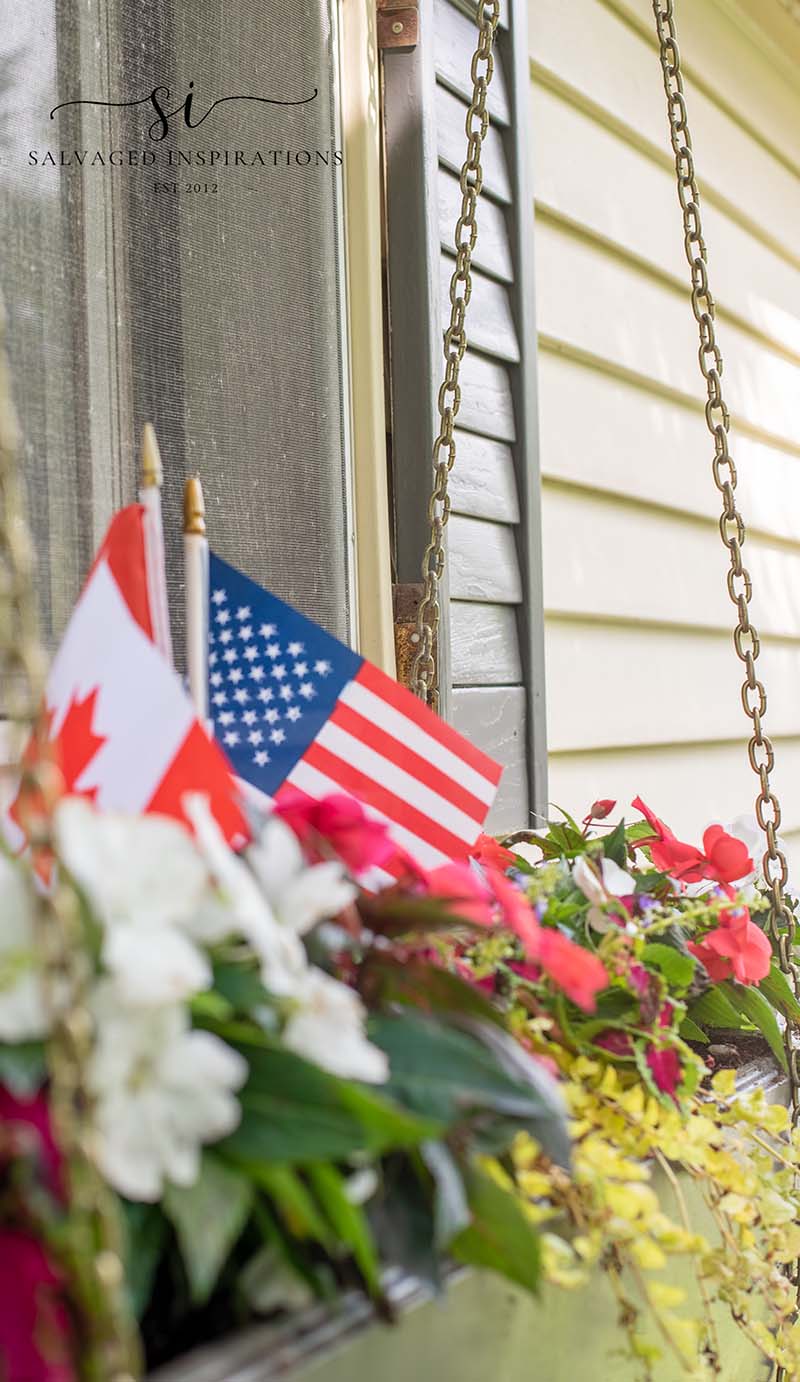
And here’s a close-up of the finished look.
Now that these shutters are repainted, I’m loving them again. Super cute, don’t you think? And the Semi-Sweet makes them look a little more modern with the contrast.
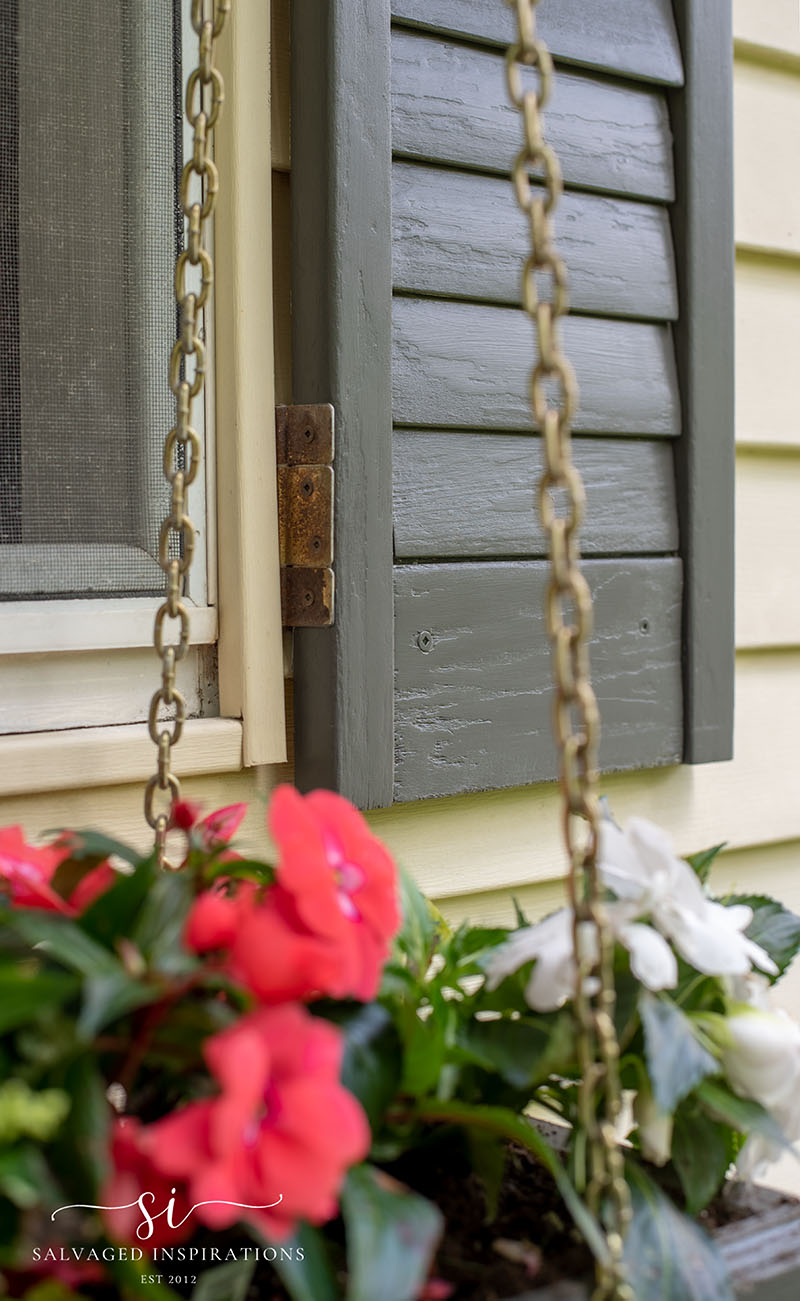
Here’s a closer look and I can’t wait to hear what YOU think!
LET ME KNOW IF YOU’VE EVER PAINTED YOUR SHUTTERS… DID YOU TAKE THEM DOWN OR LEAVE THEM UP AS YOU PAINTED? FEEL FREE TO ASK ANY QUESTIONS YOU MAY HAVE… I ALWAYS LOVE HEARING FROM YOU. IT MAKES MY DAY! 🙂
Happy painting friends!
Denise x
RELATED POSTS::
DIY FAKE STONE BUDDHA MAKEOVER
BEST PAINT FOR BATHROOM CABINETS
PAINTED BACK FENCE | PAINTERS MITT
MAGNOLIA GARDEN DRESSER MAKEOVER
HOW TO PAINT FRENCH DOORS BLACK
PIN AND SHARE!

Great job! Love how you simplify things for people like me who overthink everything.
love the color too.
Thanks my friend. This gallon of paint is getting a ton of projects done! 😉
When I painted the shutters on our mobile home down in Florida, I slipped newspapers under them and taped them down and then I could either brush the paint on buy spray paint. Worked like a charm.
Yessss, this is so good Barbara! Thanks for the tip!!
Hi Denise. I love how you refreshed your shutters with just some paint and a bit of “elbow grease” as my Mum used to say. Your yard looks fabulous. From the orange chandelier you painted last summer for your patio tent, to your herb garden with your sister’s Buddha, to your garage shutters….I’m jealous. Beautiful space.
Awww, thanks so much Monique! My yard (and home) feel like work in progress so I appreciated this! Hugs XOXO
You did a great job and I really like the new color.
Thanks Lizzy! I’m so happy I finally did them!! XOXO
We may also be kindred spirits. I can’t bare to recycle a cardboard box. My roommate thinks I am a hoarder. Our Oklahoma winds are ferocious. I use the large ones as paint shelters and always place my projects on cardboard to paint. Lost a beautiful paint tent to the wind and painting on tarps was impossible. They would blow up and spoil my paint job if I didn’t lug around heavy blocks to hold them down. Your shutter look fantastic and the darker color really pops. Thanks for all the good advice and wonderful tutorials you share with us.
Your idea is a brilliant way to recycle and reuse cardboard boxes Ione! I’ve also been using them for my no dig vegetable garden. I lay down the cardboard. Then add 3-4″ of organic compost and plant right in that. NO WEEDS!! So many uses for those boxes, right!😃
Well, aren’t they cute! Love the color, Denise. I like the idea of using the cardboard. Hope I can do that time-saving trick on mine when I finally decide on a color–lol.
I know, picking a color is sometimes the most challenging part lol!
Absolutely L O V E this.
My, I would leave them up and paint.
If I where to take them down and paint, hubby wouldn’t get them back up again and who knows how love they would sit around before they did get back up again.
You done a great job and Thanks for the wonderful inspiration.
I just may put a planter box outside my kitchen window.
After all, I do have a hummingbird feed right outside my window, so why not a planter box by planting flowers that the hummers can enjoy as well. :} (double my pleasure, double my fun.
Have a safe and enjoyable holiday.
I have 2 hanging baskets of Blue Eye Trailing Fuchsias’ on the front of my garage and the hummingbirds LOVE them. It’s such a treat when I get to see them but they’re soooo fast!😂 It would be AMAZING to have them right outside your window!!! Enjoy your holiday! XOXO
Love the new color!
Thanks Nancy, me too! This Semi-Sweet color is getting a lot of use around my house!
Very nice. Love the darker paint. Good tip to use the cardboard! Just getting ready to throw a box away and I will definitely save some of the inside cardboard packing sheets.
Thanks Mary Jo! And yes, save those boxes… sooo easy! 😉
You and I are on the same wave length, I swear.! I just finished building new shutters for our house. Beautiful update and I like your color choice. A fresh coat of paint changes everything. Have a great week and thanks for sharing. xo 😘
We are kindred spirits hehe! I can’t wait to see your new shutters/windows. I know they will be SPECTACULAR! XOXO
You did a great job “refreshing” these shutters. The previous “chippy” finish would work for some folks, but I like the painted, clean version.
Thanks so much Karen!😊
Thanks for the great cardboard idea 😉! Wanting to paint mine and the front door but I’m having the worst time deciding on a color 😩
My pleasure, the cardboard makes it soooo easy! And I hear you. Sometimes picking the right color is the hardest part of the entire project!🤦♀️
This looks amazing. Stay safe my friend. Julie xo
Hi Julie and thanks so much! You as well! XOXO