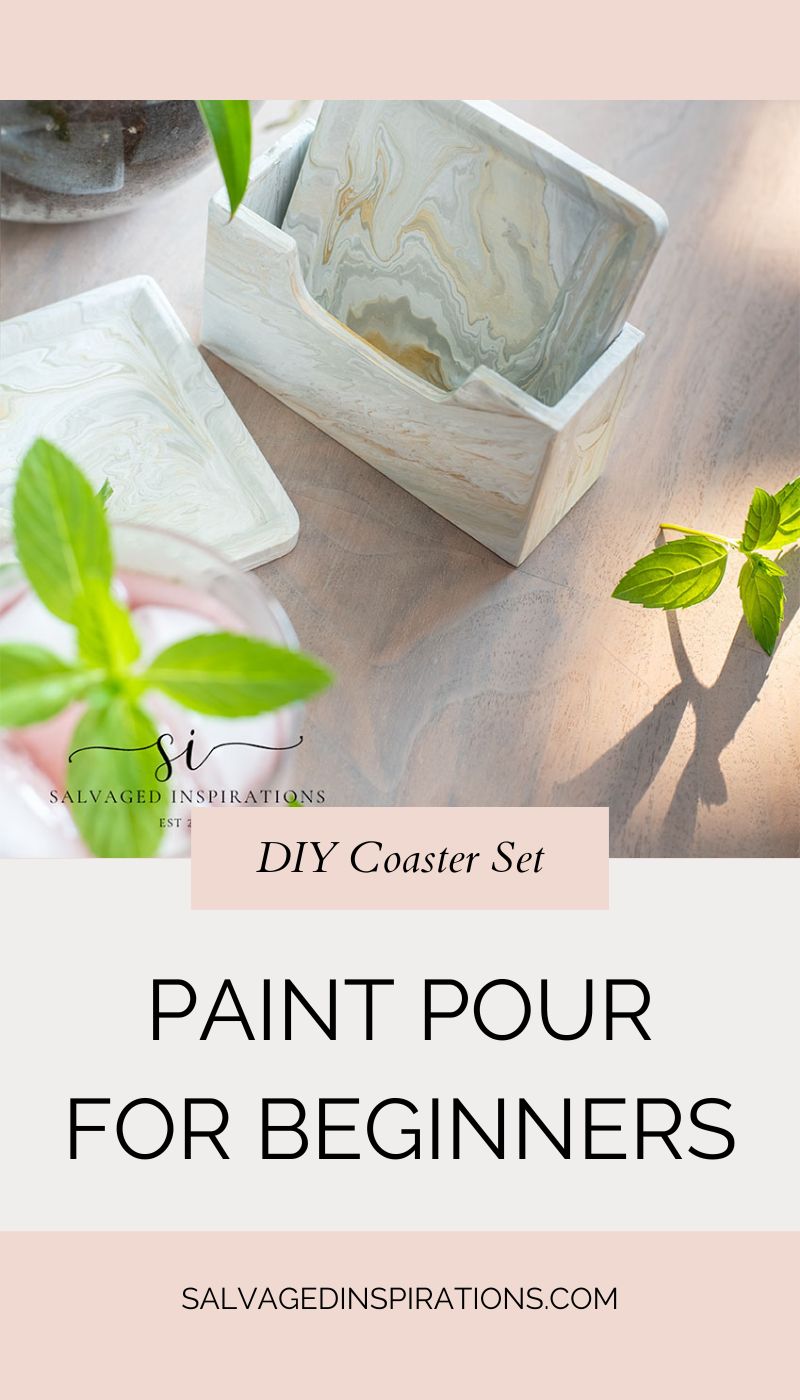
HERE’S HOW I UPCYCLED AN OLD COASTER SET INTO THESE GORGEOUS DIY MARBLE COASTERS USING THIS PAINT-POURING TECHNIQUE FOR BEGINNERS | YOUTUBE VIDEO
HI creative SI family and thanks for joining me today. Today I’m sharing this 101 beginner-friendly paint pour technique that *anyone* can do! This is a perfect build-your-confidence project and it turned out so darn cute. I’m upcycling old thrift coasters into gorgeous faux marble coasters. I can’t wait to hear what you think of the new look!
It’s also Trash To Treasure Tuesday. I’m joining my T2T crew and sharing links to their projects down below. Larissa is doing something with an old cassette holder, Christy an old cabinet, Nancy a mantel clock, and Jen some suitcases. I’m looking forward to seeing what they’ve created and I hope you join me on the tour as well!
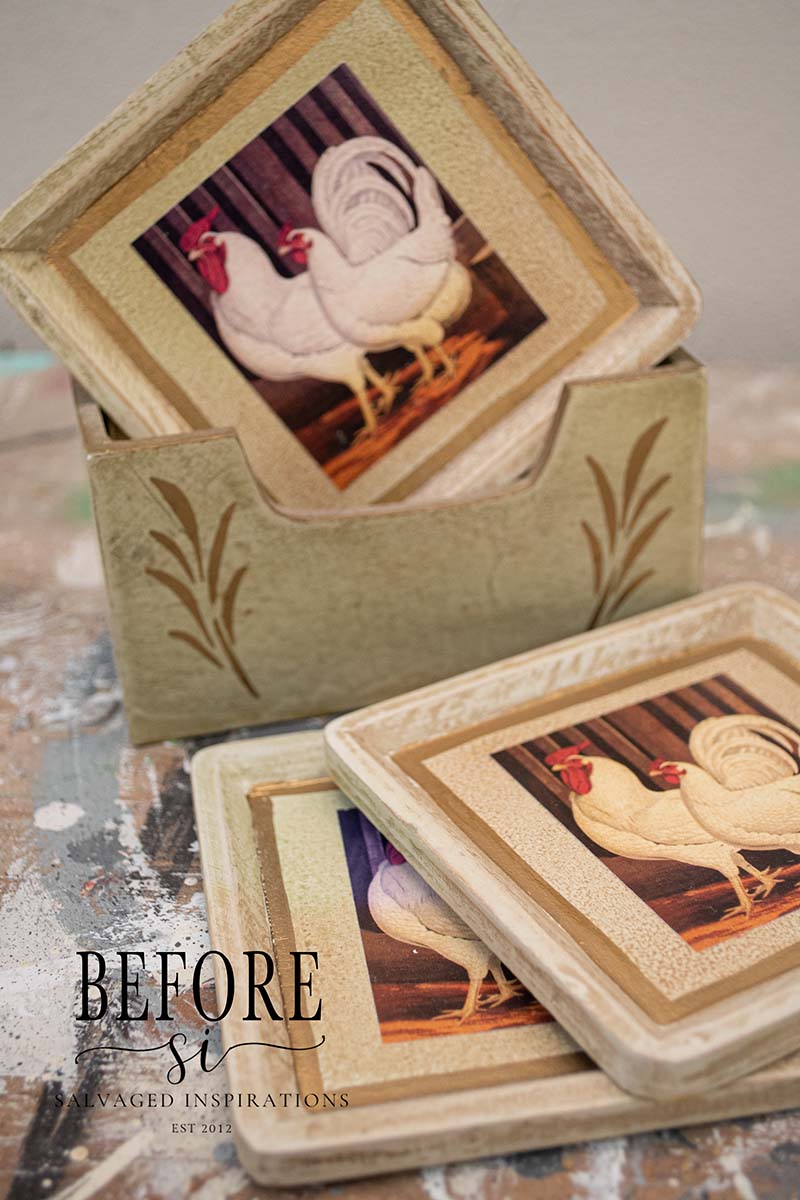
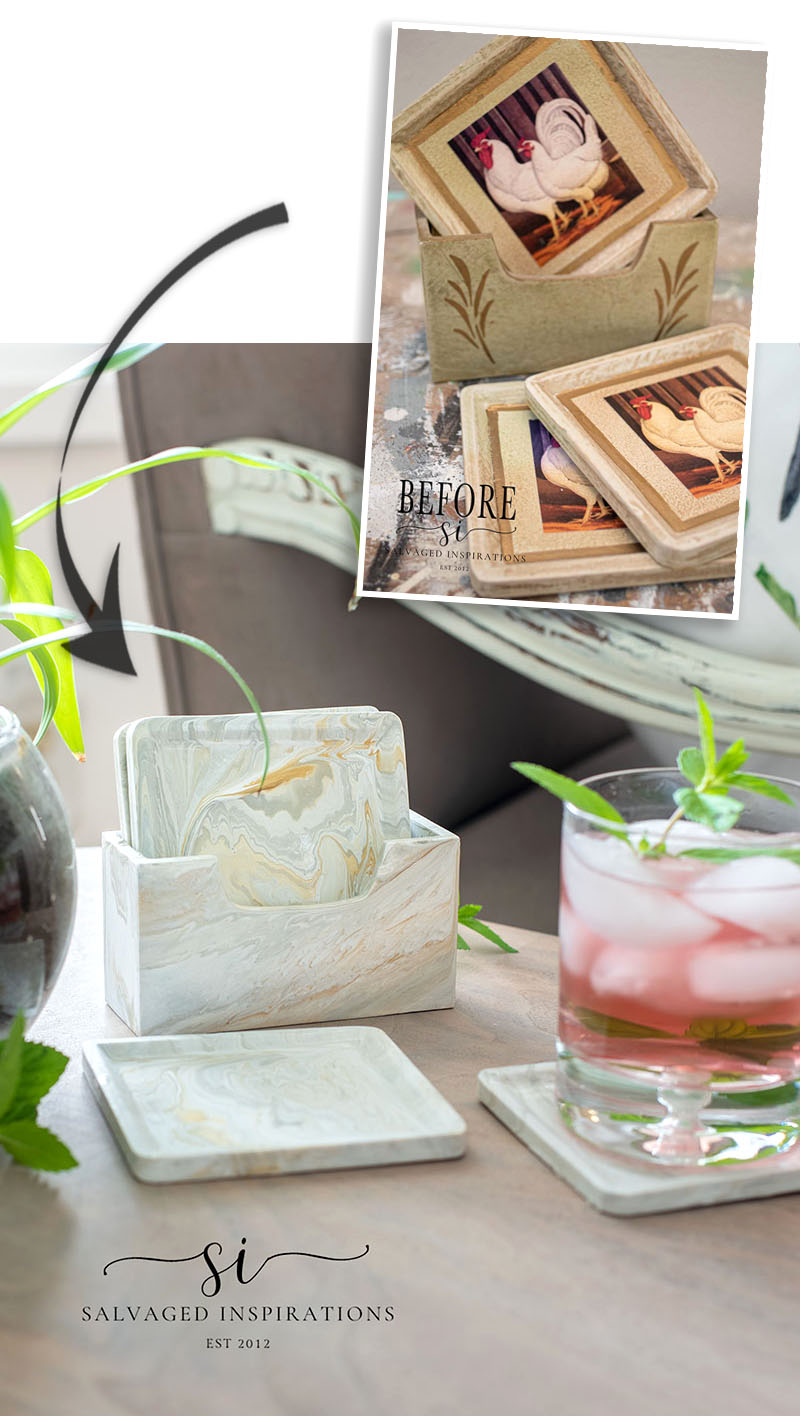
Here’s the thrift store coaster set I started with. A little dated but super cute. I mean who doesn’t like adorable roosters, right?!
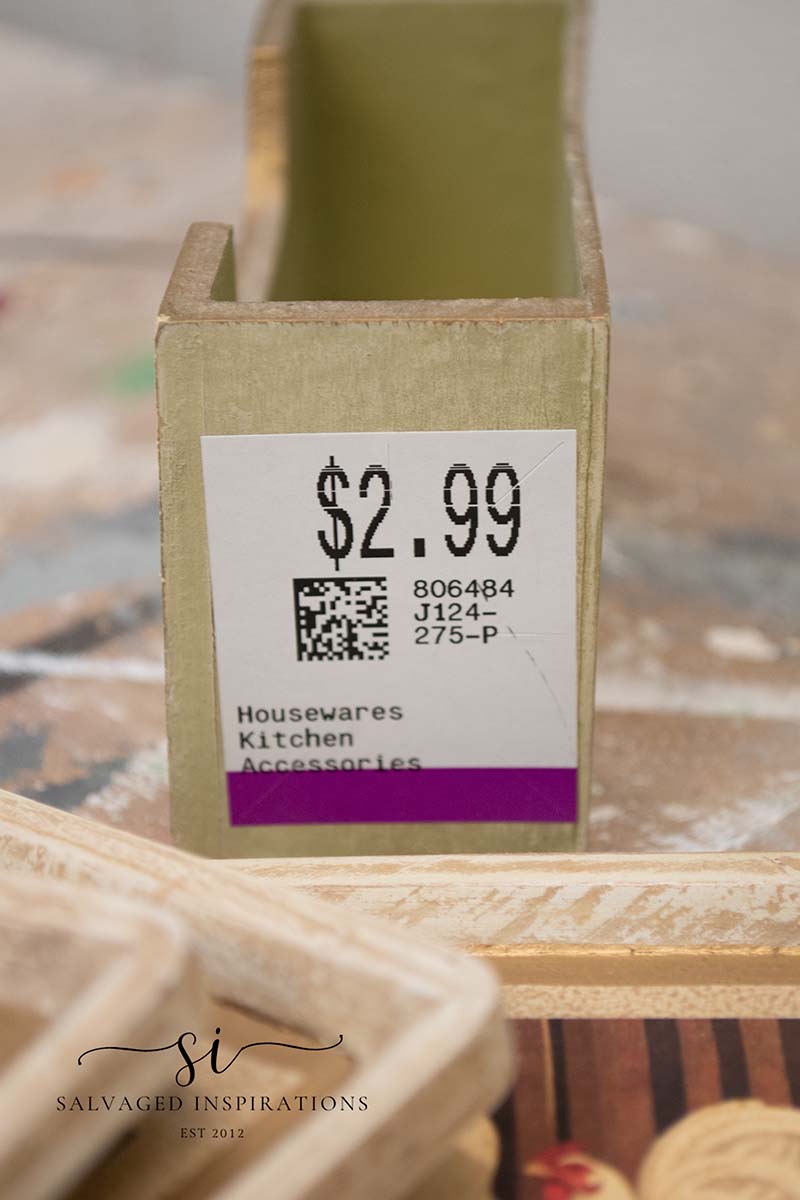
The set was selling at the thrift store for $2.99.
I didn’t realize how these roosters’ (or is that a chicken?…lol) were attached which caused a little oopsie… I’m sharing it below.

THIS POST IS SPONSORED/CONTAINS AFFILIATE LINKS TO PRODUCTS I USE. YOU CAN SEE MY FULL DISCLOSURE HERE.
WHAT YOU’LL NEED
$2.99 Rooster Coasters – SALVAGED
White Lightning Cleaner
Heat Gun | Painters Tool (35% OFF as of writing!)
Slick Stick Primer
Cotton Chalk Mineral Paint
Baja Gray Silk Paint
Metallic Gold Paint
Floetrol
Shop Towels
Easy Peasy Spray Wax
PAINT-POURING FOR BEGINNERS
Here’s a beginner’s guide on how to paint pour with water-based paints. ANY type of water-based paint will work with this technique.
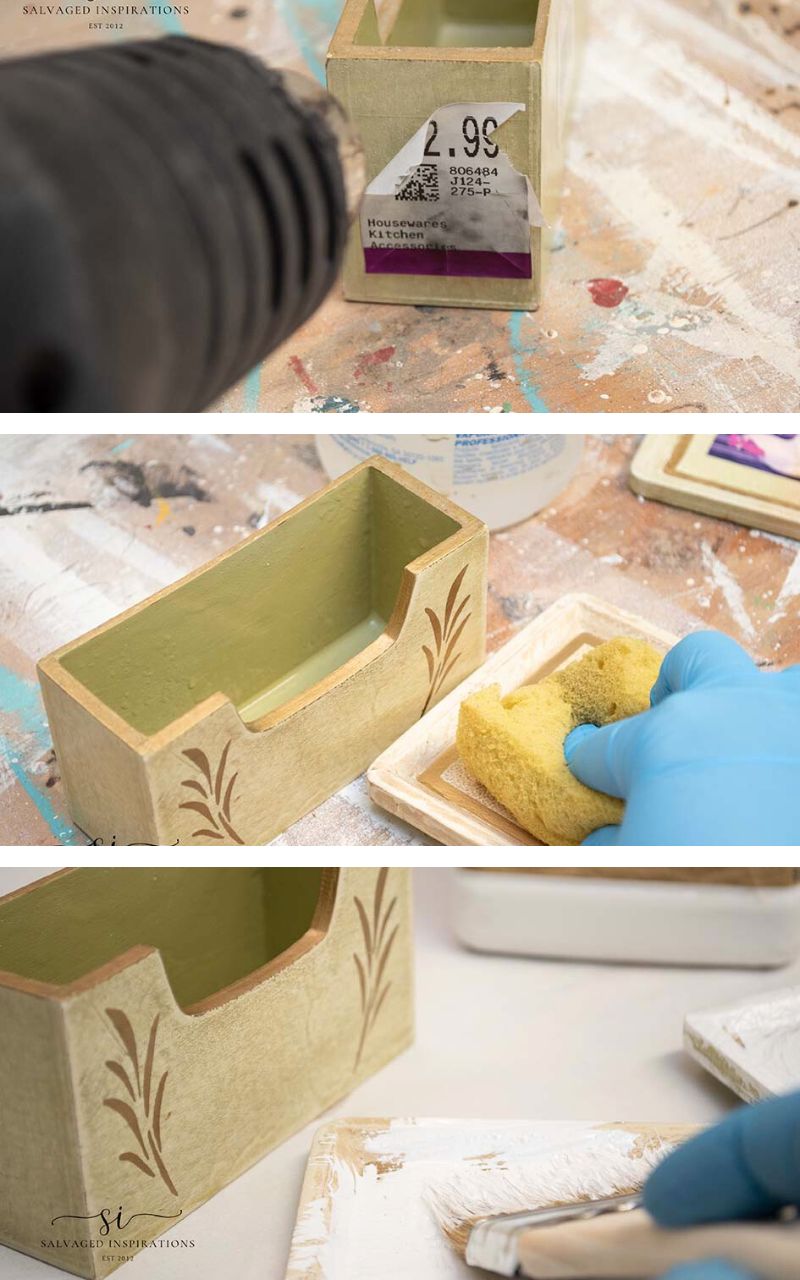
CLEAN & PREP
For a beautiful paint pour project, a little cleaning and prep are required. I started by removing the price tag with my heat gun and then cleaning this set with some White Lightning. I made sure to rinse my sponge and wipe the coasters with clean water to remove any residue before priming. I opted to use Slick Stick (which bonds to anything) rather than sand but a light scuff sand and primer would have worked equally well.
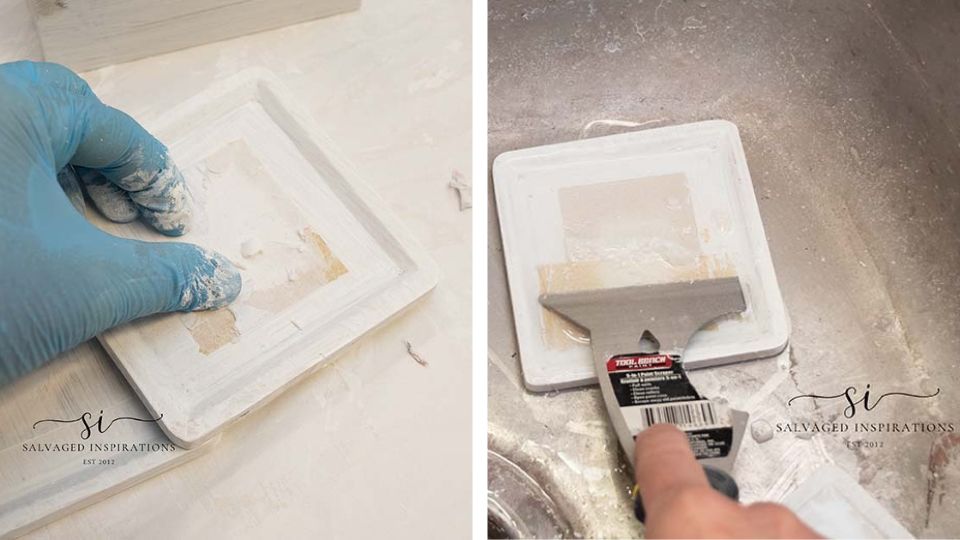
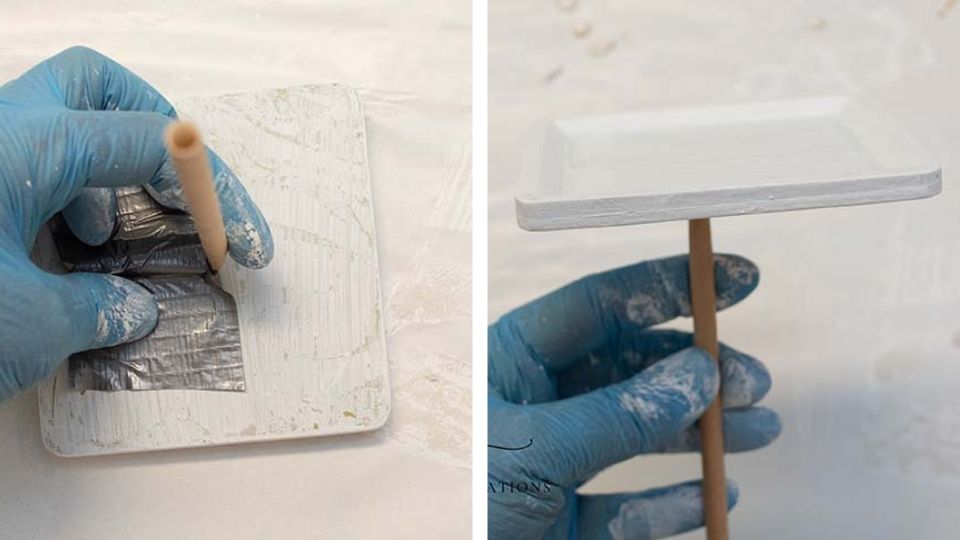
ROOSTER OOPSIE
Here’s where my little oopsie came in. Once I applied the Slick Stick I realized that the rooster image wasn’t part of the coaster. It was actually a printed image that was glued on. I’m not sure how I missed this. My brain must be baked from spending too much time in the garden. Even though I had applied my first coat of primer, I had to wet these coasters down and use a Painter’s Tool to scrape the image off.
HOW TO PAINT POUR
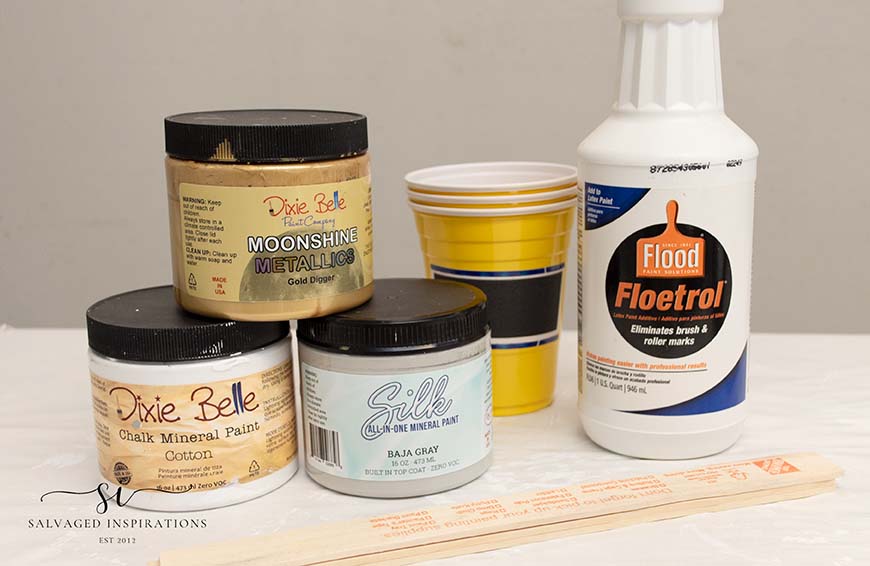
GATHER SUPPLIES
Before starting my pour I gathered all my supplies. I picked my paint colors for the marble which are Cotton White, Baja Gray, and Gold Metallic for a little sparkle. To get the flow the paint needs for this paint finish, I mix it with Floetrol. It’s generally used to give paint a longer open time to eliminate brush and roller marks but it works AMAZING for paint pouring as well. Along with the above, I also made sure to cover and protect my work surface, and have plastic cups and stir sticks on hand.
QUICK STRAW HANDLE
Before I started mixing my paints I made a quick DIY paper straw handle using a straw and duct tape. This is so I would have something to hold onto while I poured the paint onto the coaster.
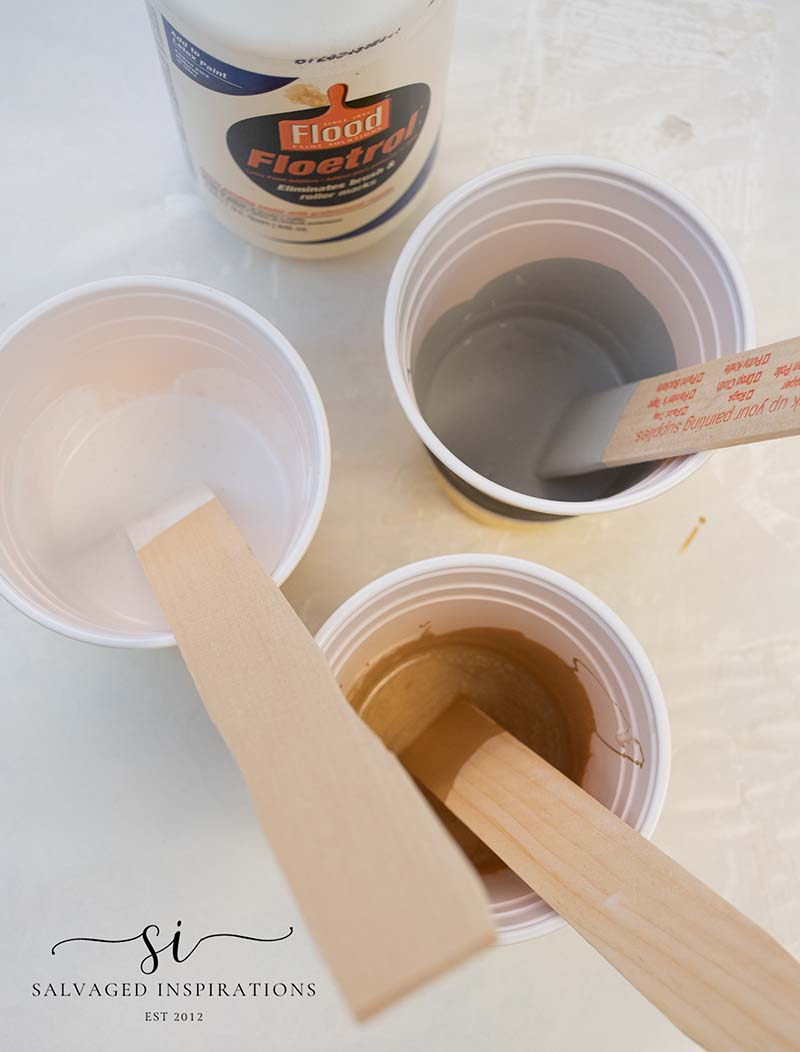
MIXING PAINTS INTO FLOETROL
To get a really nice flow, I like mixing a 50/50 mix of paint and Floetrol in separate cups. Floetrol is an amazing pouring medium and very cost-effective. I’ve had this bottle for years! I just eyeballed my 1:1 ratio but you could measure it if you feel more comfortable.
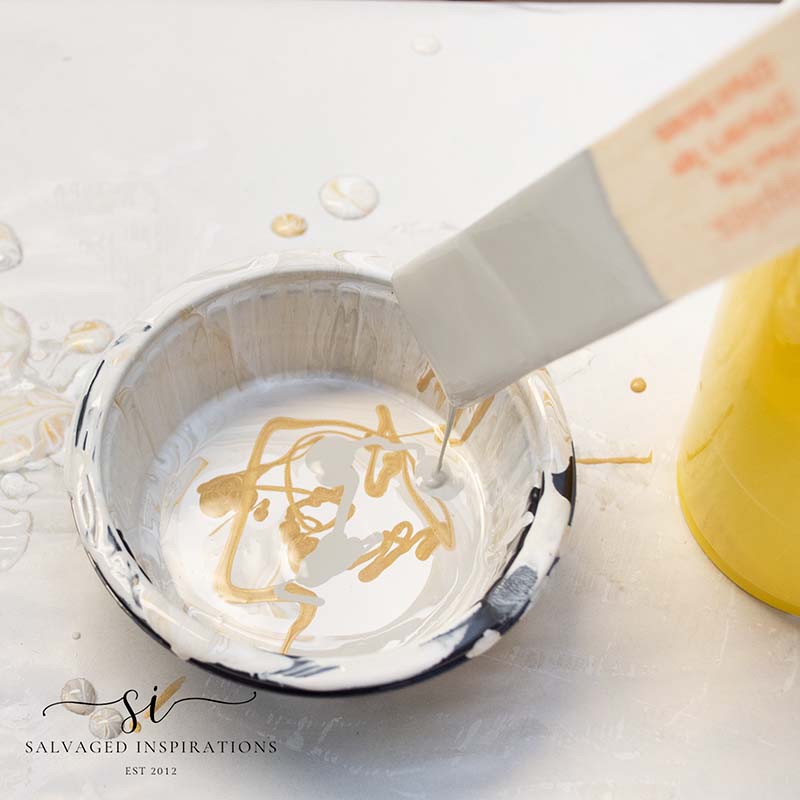
LAYERING PAINT DESIGN
Now for the fun part! I grabbed a new container and started layering the paints to create a design. I added some white paint. Then dribbled in some gold and gray. If you want a color to be more prominent (in my case white), that is what you use more of.
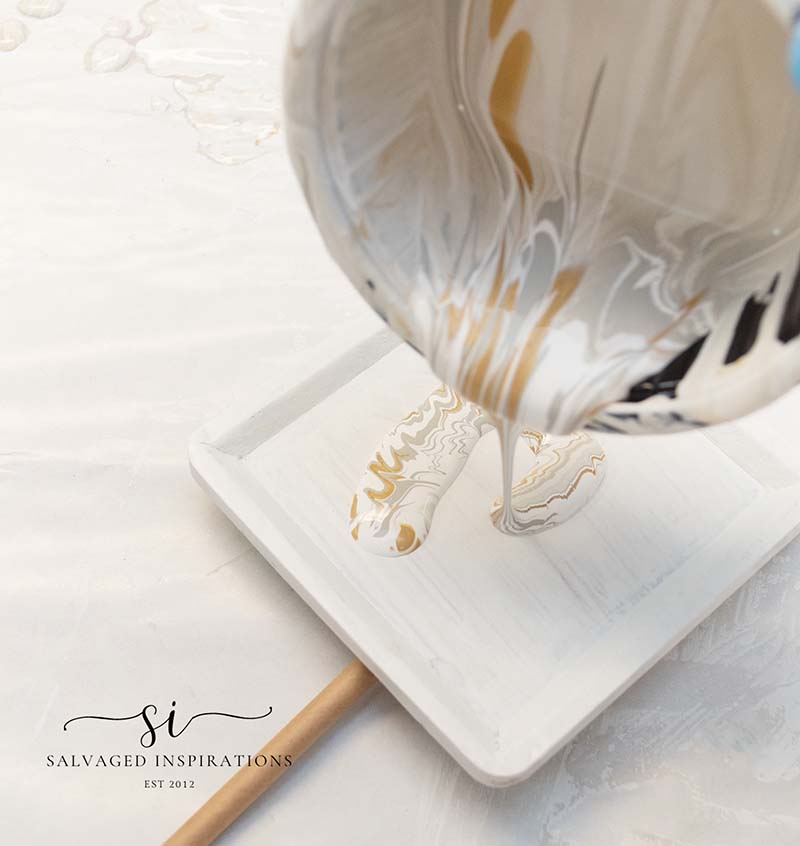
POURING THE PAINT
Once I layered my paint, I poured it out onto a coaster. The consistency of your paint should be superfluid but still have some body – not too thin or watery. This is difficult to show with images but I’ve included the full Youtube video tutorial down below so you can see it in action! Once the paint is on, tilting the coaster in different directions to let the paint move over your projects creates a unique design!
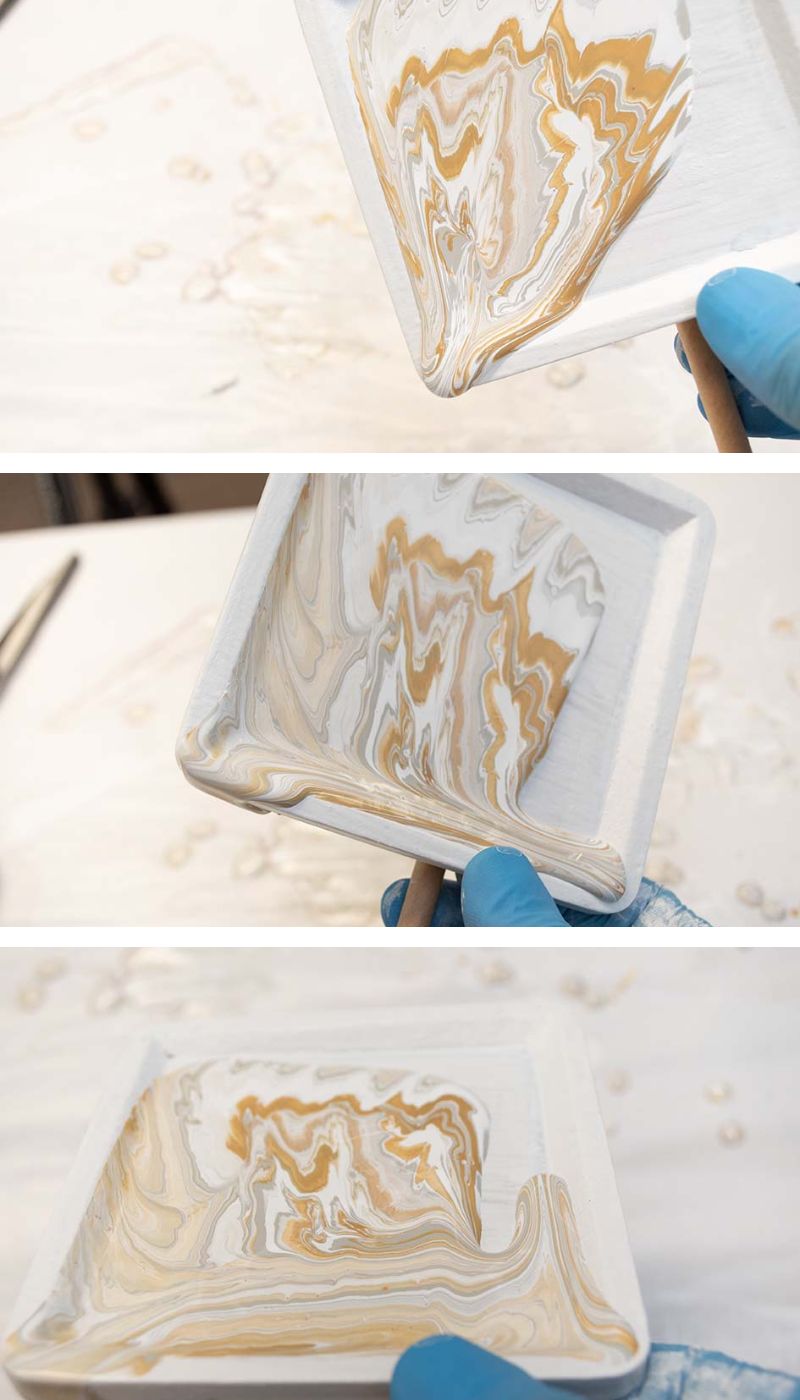
Check out how the design changes and develops as the paint glides over the coaster! I have to admit, even though this process is a little messy it’s soooo much fun!
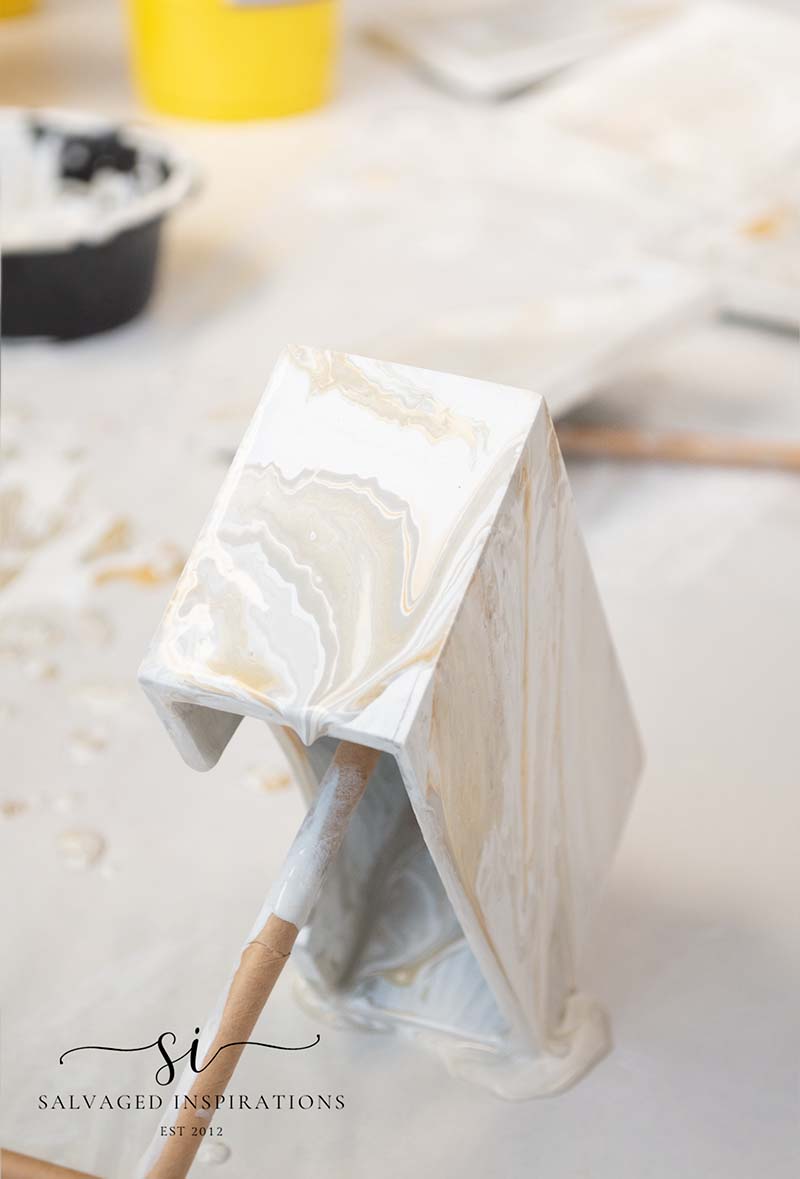
I went ahead and repeated the exact same process for the other 3 coasters and the coaster holder. Doesn’t this look neat!!?
DRY TIME
Dry time will take longer because the Floetrol was added. It’s best to wait overnight before top coating and protecting your project. Between 24 and 48 hours is ideal.
TOPCOAT
I left this T2T project until the last minute so they haven’t been topcoated yet. As I mentioned above, I’ve been spending more time outdoors in the garden. Our gardening season in the Toronto area is super short and I’ve been taking advantage of it. But once these coasters are 100% dry, I’ll be using this Easy Peasy Spray On Wax to protect them.
STEP-BY-STEP SUMMARY
- Prepare and protect your workspace and gather your paints, pour medium, plastic cups, stir sticks, and project.
- In separate cups, mix each color of your paints and Floetrol (pour medium) in a 50/50 mix.
- Be sure the consistency of your paint pour is like warm honey – not too thin and not too thick.
- Using a new cup, pour some of your dominant color and then drizzle in a little of the other colors. Do NOT mix.
- Holding your project, pour the colors in a circular motion onto your project and then tilt and rotate to distribute the paint pour.
- The paint pour design will appear and the excess paint will run off your project.
- Wait 24-48 hours for the paint to dry 100%.
- Topcoat and protect with a wax or poly.
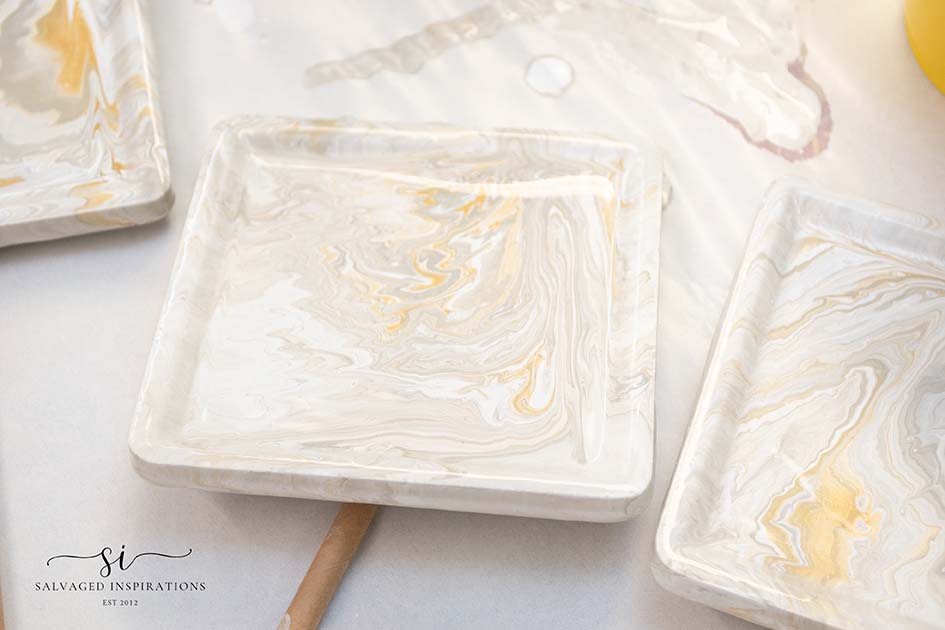
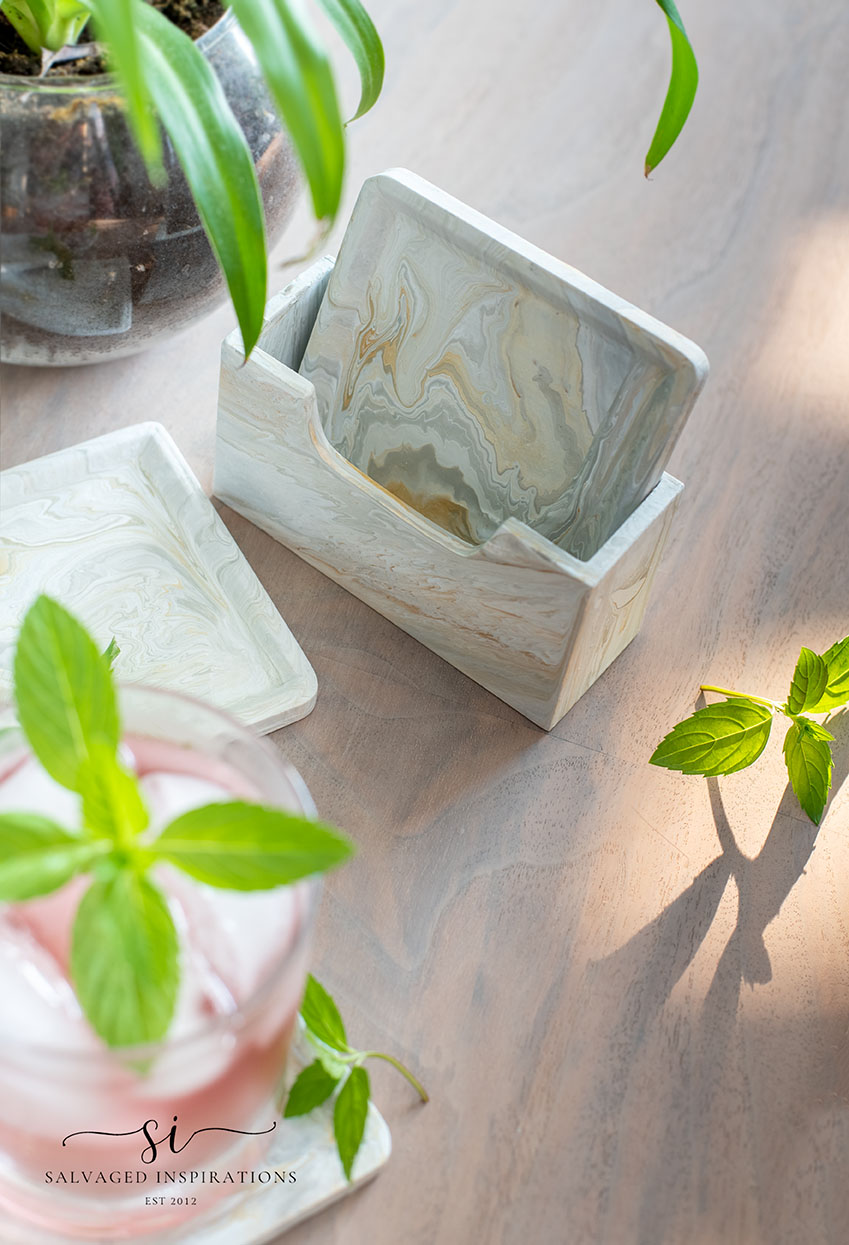
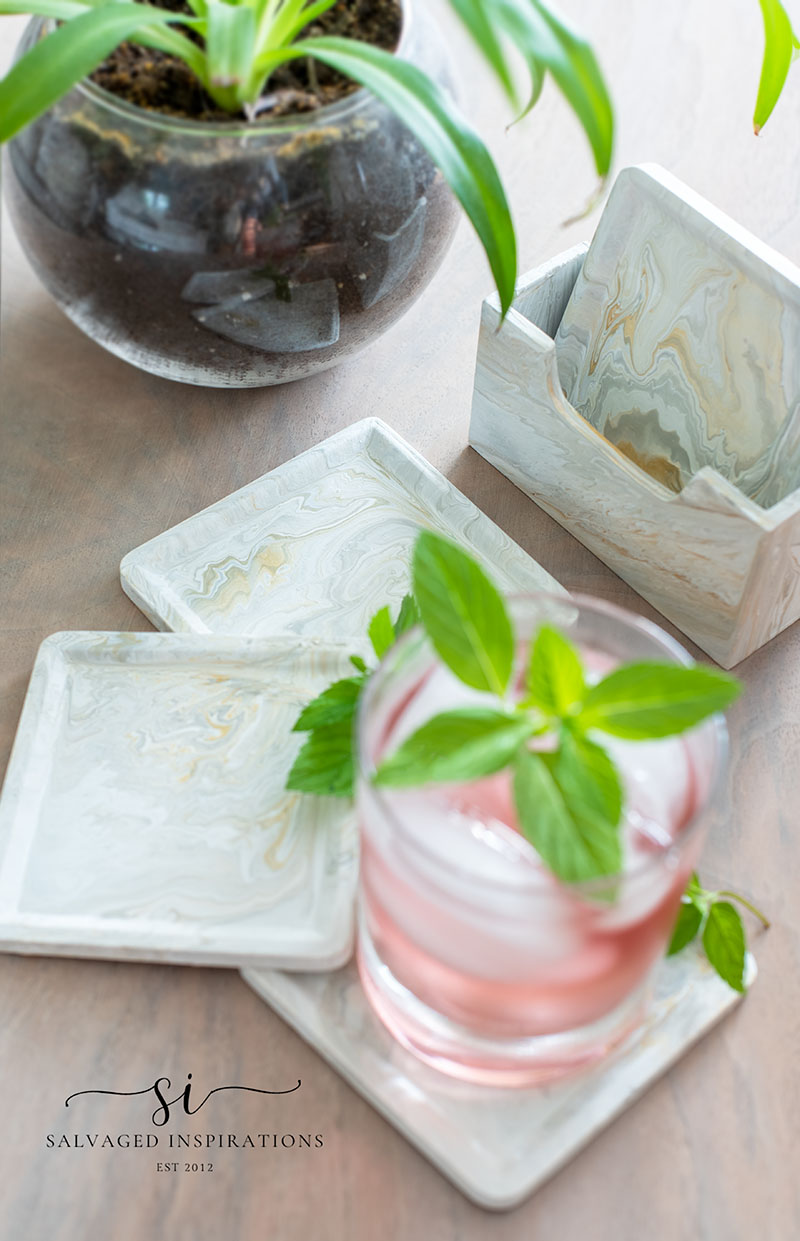
FINISHED MARBLE COASTERS
Here’s the finished look.
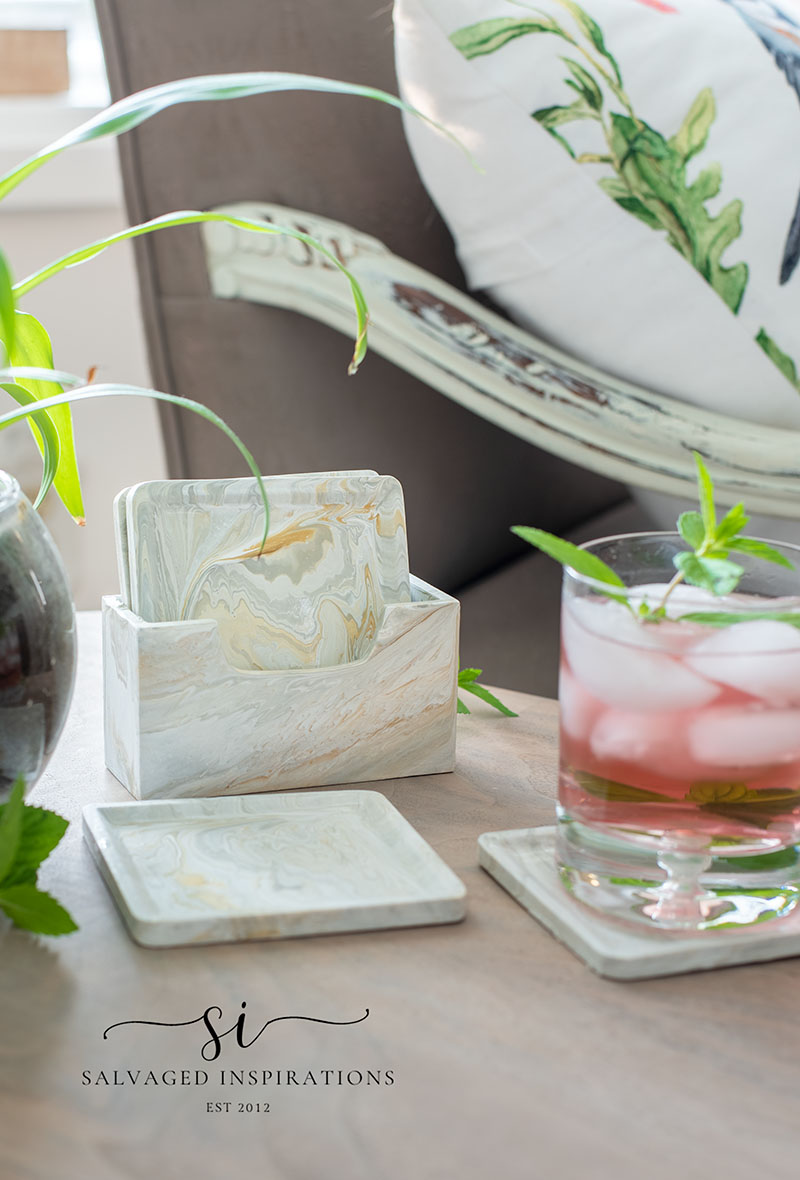
They look sooooo much better than the roosters, don’t you think?
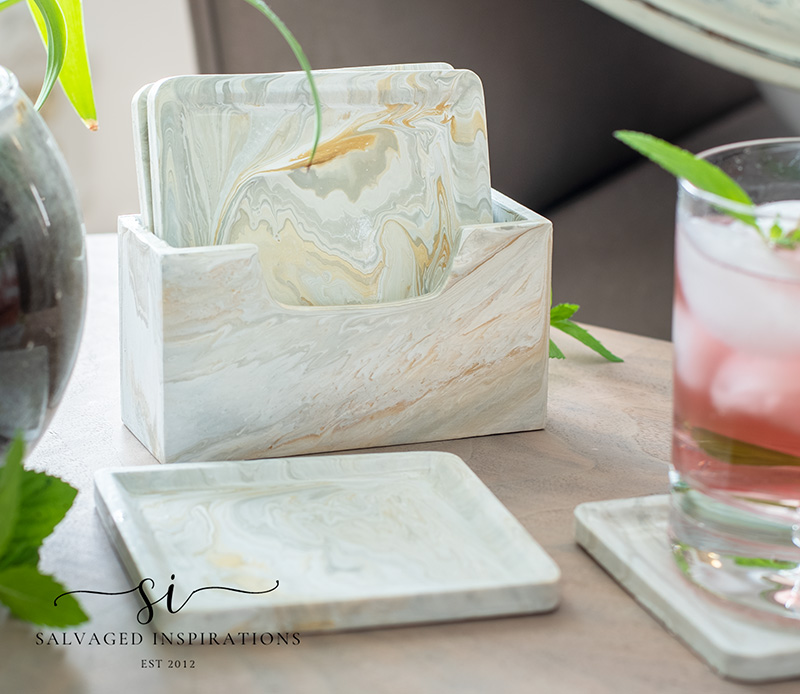
I had to test them out with a cold glass of rhubarb cordial and fresh mint from the garden. 😉
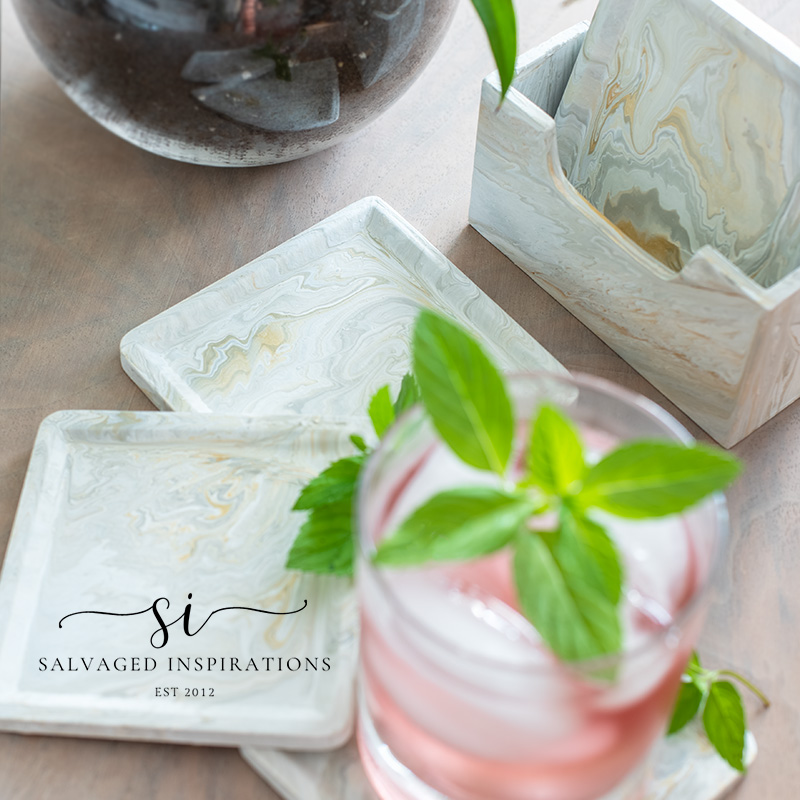
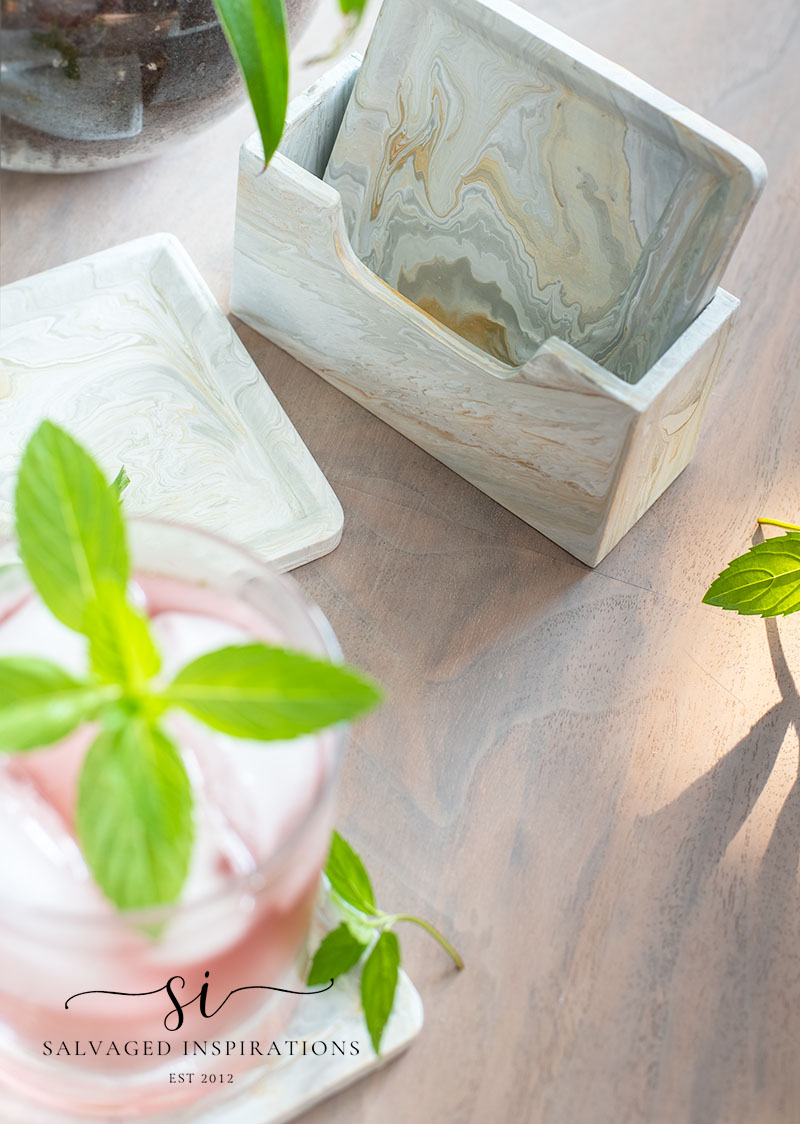
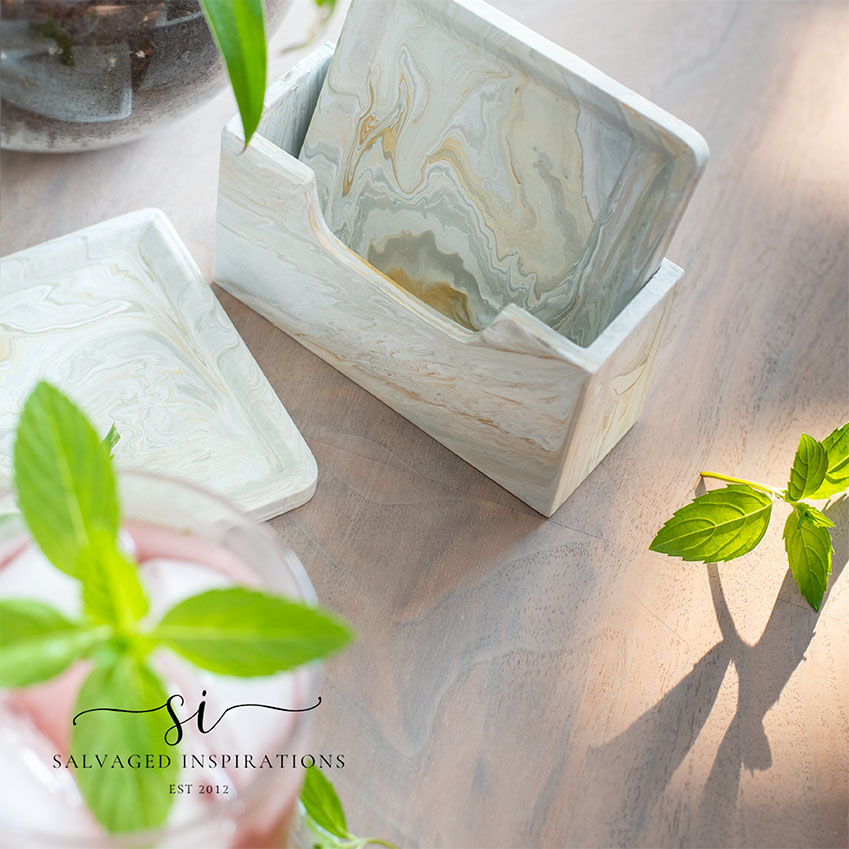
Here’s a closer look and I can’t wait to hear what YOU think!
YOUTUBE TUTORIAL
Here’s a step-by-step tutorial on Youtube. If you have any problems viewing it below, feel free to watch it on my Youtube Channel HERE. Our #siyoutubefamily is already a community of 39.5K so don’t forget to subscribe if you haven’t done so already! So exciting, thank YOU! 🙂
And now for some Trash To Treasure FUN!
You’re going to LOVE what my creative Trash To Treasure ladies do! 🙂 Below are the BEFORE photos. Visit the links underneath to see the amazing AFTERS and learn how they did it! I’m heading over to take a peek as well! x
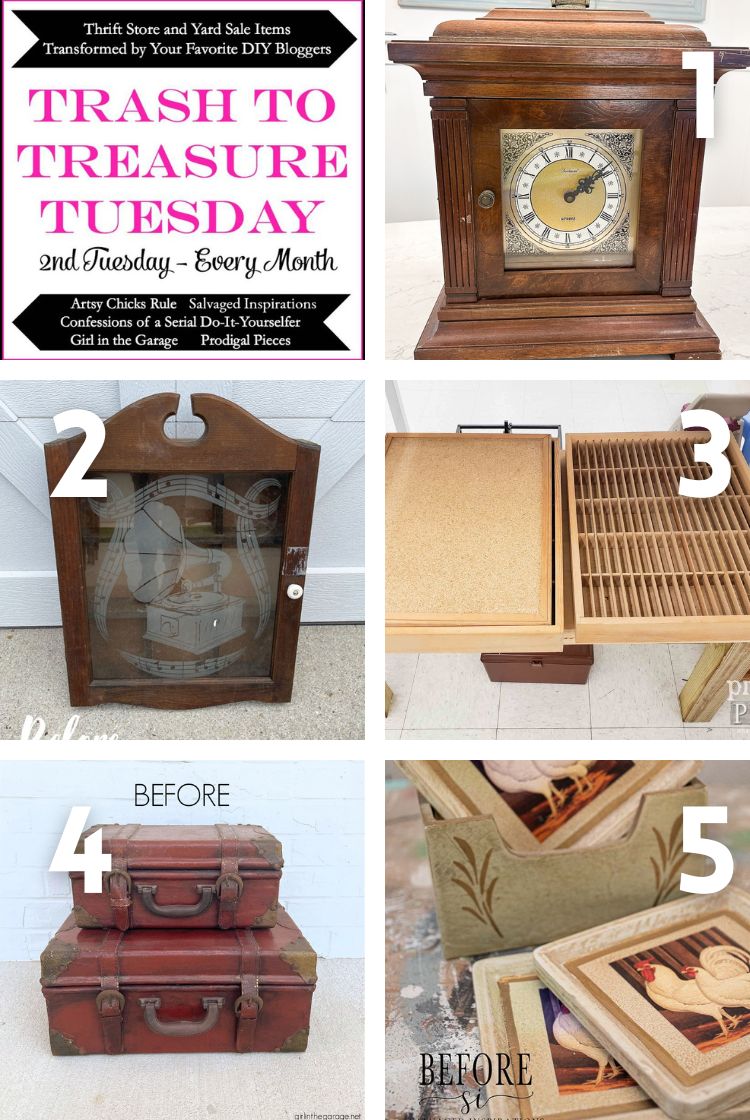
1. ARTSY CHICKS RULE
2. CONFESSIONS OF A SERIAL DIYER
3. PRODIGAL PIECES
4. GIRL IN THE GARAGE
5. SALVAGED INSPIRATIONS (HAPPY YOU’RE HERE!)
Here’s another look at this thrift coaster set before and after. I hope it’s inspired you and given you some ideas for your projects!
LET ME KNOW WHAT YOU THINK OF THIS MARBLE PAINT-POUR IDEA OR FEEL FREE TO ASK ANY QUESTIONS YOU MAY HAVE… I ALWAYS LOVE HEARING FROM YOU. IT MAKES MY DAY! 🙂
Happy painting my friends!
Denise x
RELATED POSTS::
DIY STONE-AGED VASES
FAUX STONE TABLE MAKEOVER
SUPER EASY COPPER PATINA
MARBLE POUR PAINTED TABLE
DIRTY POUR PAINTING CHRISTMAS ORNAMENTS
PIN AND SHARE!

Denise, these look fantastic and so modern now! Great job updating them! xo
Thanks my friend! Have a great weekend! XOXO
Did you coat the paint on your ornaments after they were dried so the paint wouldn’t scratch off
No I didn’t topcoat the Christmas ornaments and they are holding up perfectly. I will be topcoat the coasters though. 🙂
I may be a country gal but chickens and roosters belong in a coop and not on home decor. 😂 The paint pour was the perfect choice for this coaster set. I love them now! Have a beautiful week, my friend and thank you for sharing your talents. 🙂 😘
You’re too funny! At least you know a chicken from a rooster… i was confused! 😆
These are GORGEOUS, Denise! Absolutely beautiful! XOXO
Thanks so much my friend! XOXO
These are very subtle and classy! I really like them, they turned out great.
Thank you Jacy!😊
I love these! I have a collection of coasters that I want to change in our beach house. This will be perfect. Thanks so much – again!
I’m so glad it’s sparked some ideas Carol! Thank you!
Hi Denise. What an adorable project. Your coasters turned out beautifully. Much better than the rooster/chicken, although I must admit my kitchen was decorated with roosters for many years:)
I think roosters might STILL be a thing…lol. Thanks so much Monique, so glad you like them!
What a funtastic change and update, Denise. They’re so pretty!
Thanks you Larissa! XOXO
Ever so cool. I would have bought those coasters as well to redo. They look so nice next to your tasty drink. Did you make the Rhubarb cordial?
Thanks Lorri! I boil mine. I take a bunch of rhubarb stocks,cut them into 1″ pieces and boil them in water + sugar. Then I let it cool and then strain the mixture. I like pouring it over ice and then adding some sparkling water. If it’s after 5pm somewhere in the world, maybe some wine or vodka finds it’s way in as well.😆
OMG, these are incredible! Gorgeous!
Thank you Cyndi! XOXO