If you can hold a pen, you can do this! Discover how to add gold metallic accents to painted furniture using a simple gold marker that’s mess-free and beginner-friendly! | YouTube Video

Happy New Year, sweet friends, and welcome back! I just want to start by saying a HUGE thank you for all the kind holiday wishes, messages, and notes I received over the past couple of weeks. Every single one meant more to me than you know, and I’m so grateful for this amazing, supportive community.
And can we talk about how strange it feels to write 2026?! I swear I still pause every time I type it or write it out — anyone else doing a double take, or is it just me? Time flies, but I’m so excited to kick off a brand new year with fresh ideas, creative projects, and lots of salvaged DIY’s and inspiration to share with you. Let’s make 2026 a creative one! 🙂
Which brings us to our very first project of the year. If you’ve ever wanted to add a little wow-glitz to a painted furniture piece without pulling out fancy tools or learning a new technique, this is one of my favorite easy upgrades – gold metallic pens and markers. Seriously… if you can hold a pencil, you can do this.
Gold markers make it incredibly simple to highlight details, trace raised or recessed designs, or add delicate patterns right on top of painted furniture. There’s no mess, no brushes to clean, and no complicated steps — they glide on smoothly and dry quickly, giving you immediate impact with minimal effort. This is one of the most beginner-friendly ways to elevate a piece.
It’s fast, it’s fun, and it’s such an easy way to make your furniture feel special — even if you don’t consider yourself “artsy.” Trust me, once you try it, you’ll start seeing gold-pen potential everywhere!
*As an Amazon Associate, I earn from qualifying purchases. There are affiliate links in this post to other companies/products I use and love as well. You will never be charged extra when you purchase through these affiliate links. If you purchase from my links – A BIG thank you for supporting me and the #siblog! To see my full disclaimer, click here.
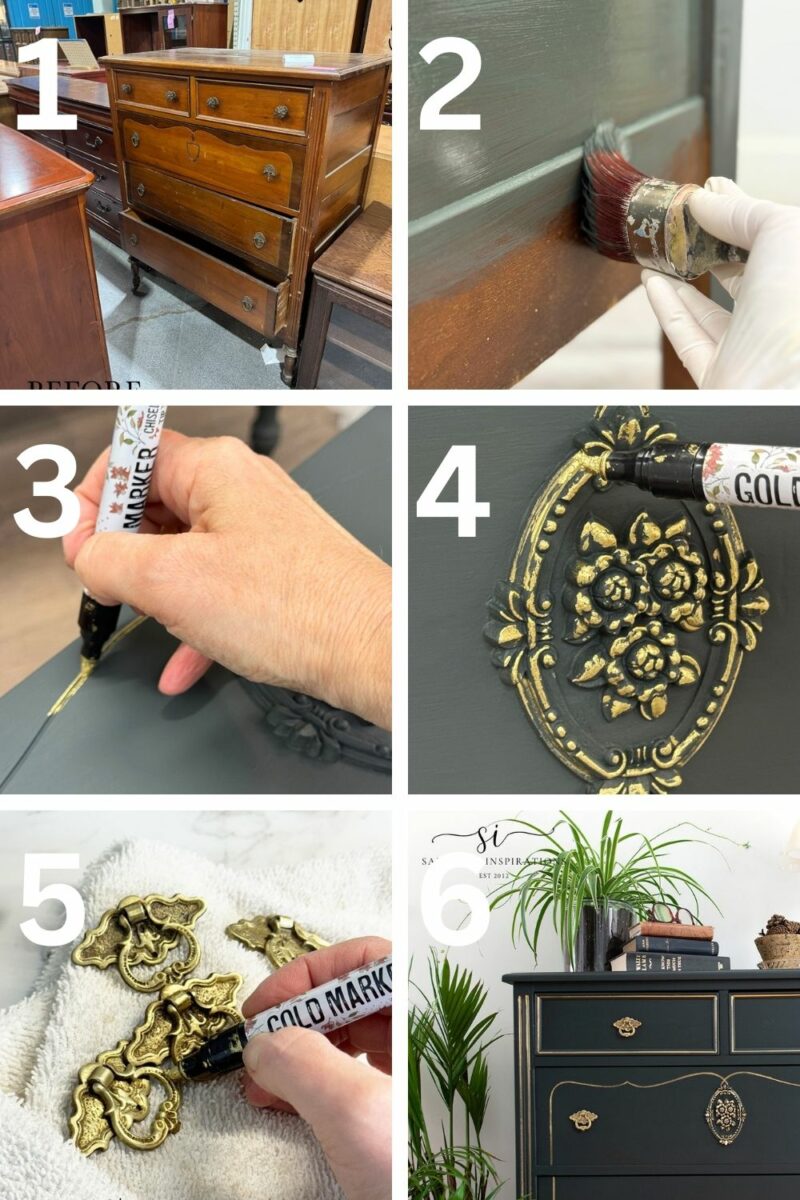
Below is the Vintage Dresser I found at my local Restore. It was the oldest piece in a sea of furniture. Even though the drawers were a bit wonky and the finish a bit worn, I had a vision for this tall dresser.
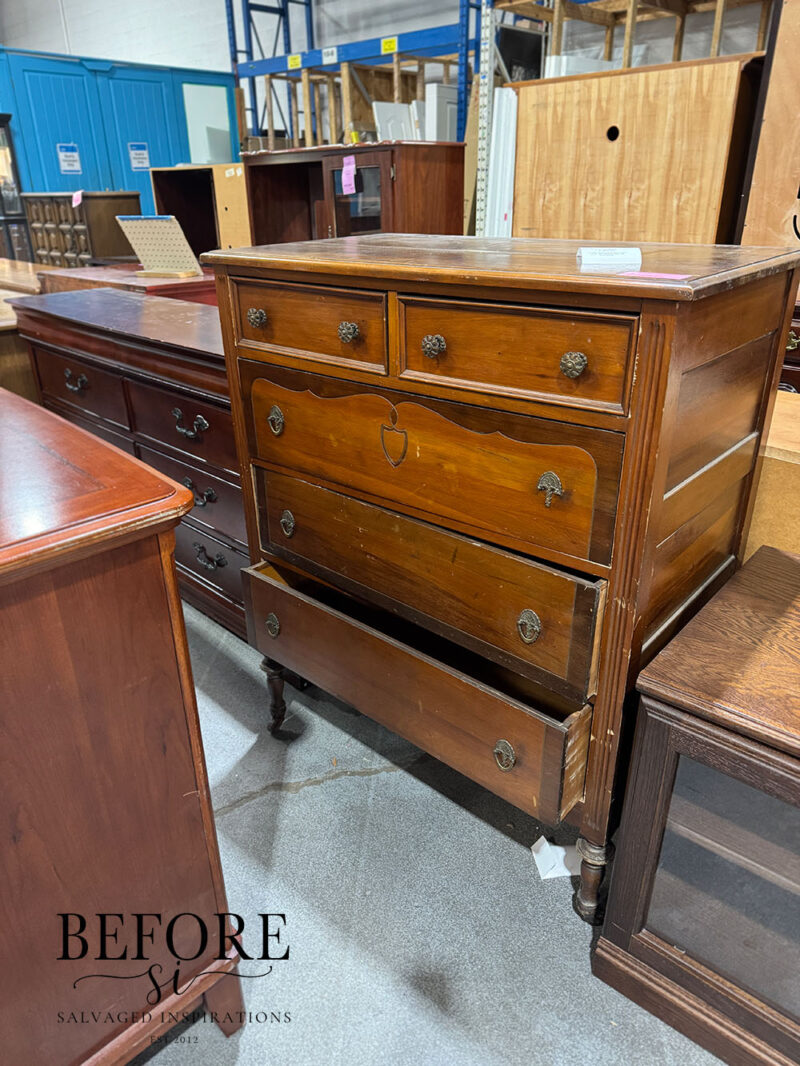
This dresser was in good shape but I was disappointed one pull was missing a piece because the original hardware was gorgeous. The drawer was a little wonky as well but luckily, the drawer guide was included. And look at those gorgeous legs. I knew they were going to look so good once they were all cleaned up and highlighted with the gold metallic marker.

THIS POST IS SPONSORED/CONTAINS AFFILIATE LINKS TO PRODUCTS I USE. YOU CAN SEE MY FULL DISCLOSURE HERE.
SUPPLIES
Tall Vintage Dresser – SALVAGED
White Lightning Cleaner
Auto Sponge
Sanding Sponge
2″ Angled Paint Brush
DB Brown Wood Filler
Woodubend Flower Plaque (20% OFF as of writing!)
Chisel Tip Gold Marker
Acadia SILK All-In-One Mineral Paint
Anchor SILK All-In-One Mineral Paint
Gator Hide Topcoat
TOOLS
Heat Gun
Plastic Putty Knife
Bosch Orbital Sander (26% OFF as of writing)
Dewalt Cordless Drill & Impact Driver Set (17% OFF as of writing)
Astro Euro HVLP Paint Sprayer 1.7mm Nozzle
CLEAN | FILL | SAND
To start the prep process, I removed all the hardware from the drawers. Then, using my heavy-duty furniture cleaner, I cleaned the inside and outside of this dresser using a large automotive sponge.

Once the dresser was dry, I took some wood filler and filled in the top hardware holes and the pin nail holes on the bottom three drawers. I also added this Floral Woodubend Plaque. To add Woodubend, I warm the plaque with my heat gun. Once it is warm and bendable, I add wood glue to the back and apply it to the dresser pressing it down into place. Once I have it perfectly positioned, I blast it with more heat from my heat gun and remove any wood glue that has seeped out from the side using a toothpick. I have a full tutorial on How To Apply Woodubend HERE.
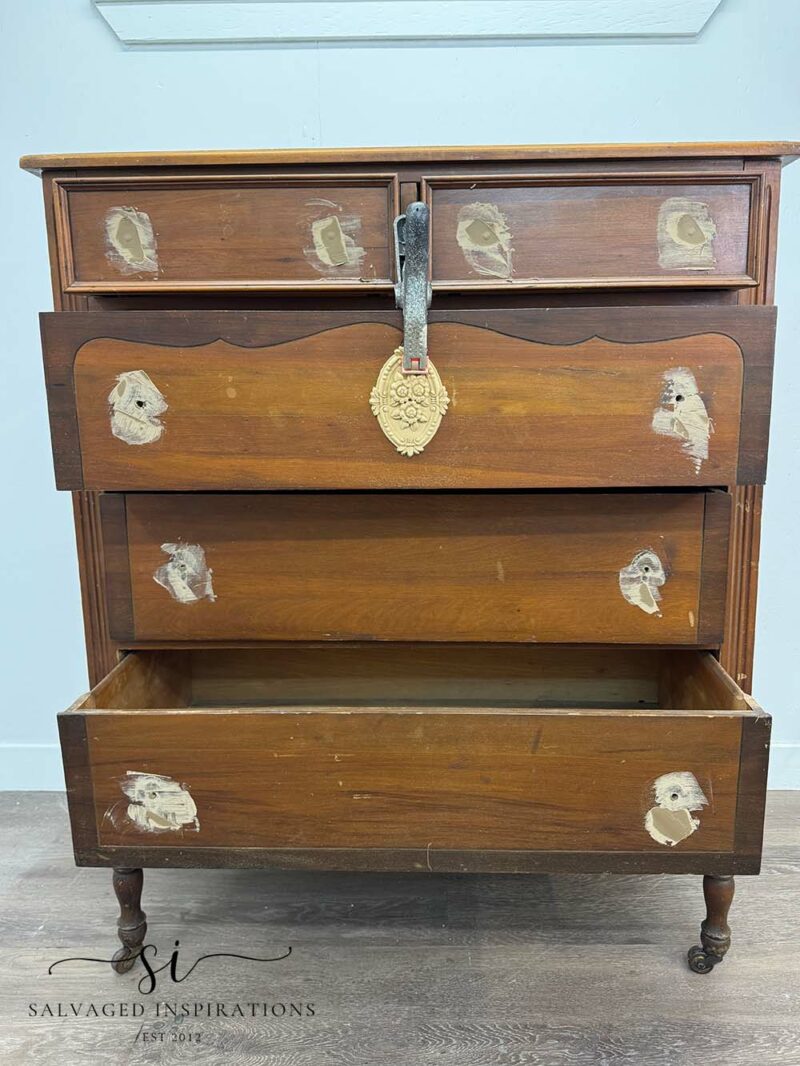
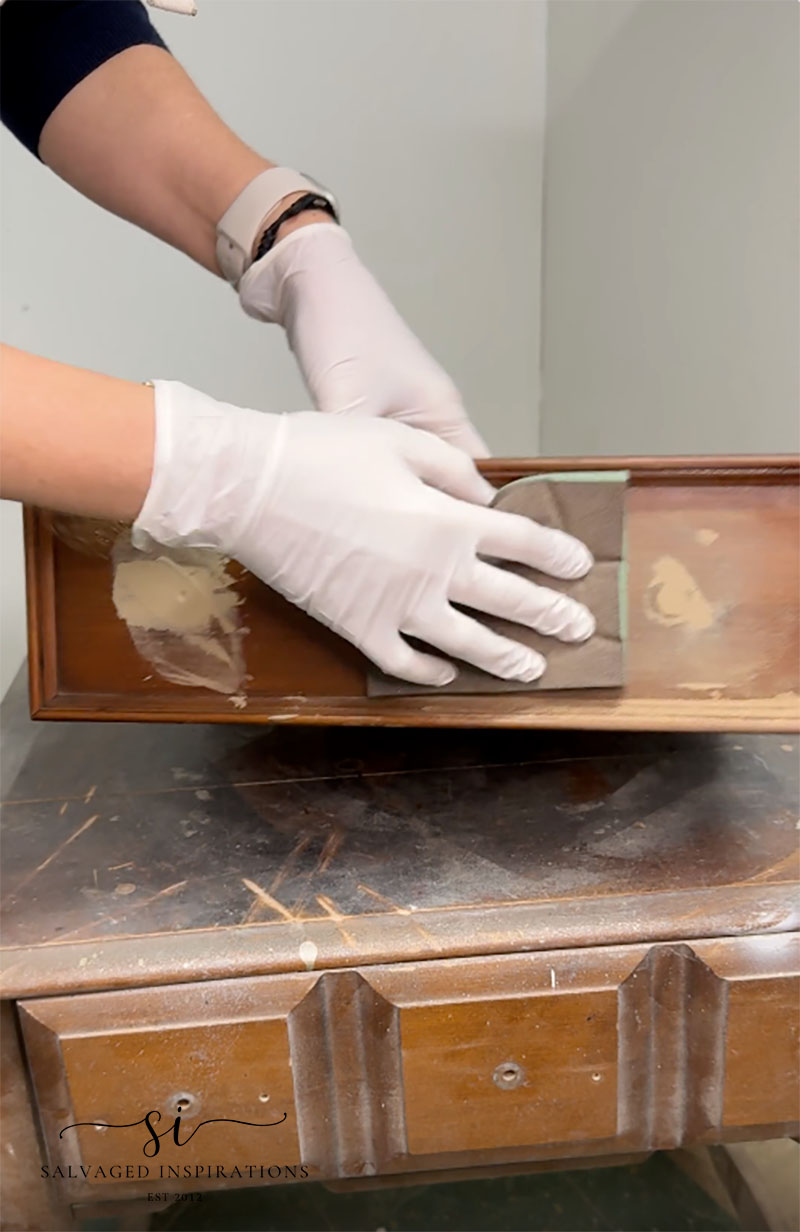
I let the Woodubend and Wood filler dry overnight. The next morning I sanded the filler smooth using a 220 sanding sponge. This wood filler comes in White, Brown and Black and is awesome if you don’t have a sander, as it sands easily by hand.
REPAIR DRAWER RAIL
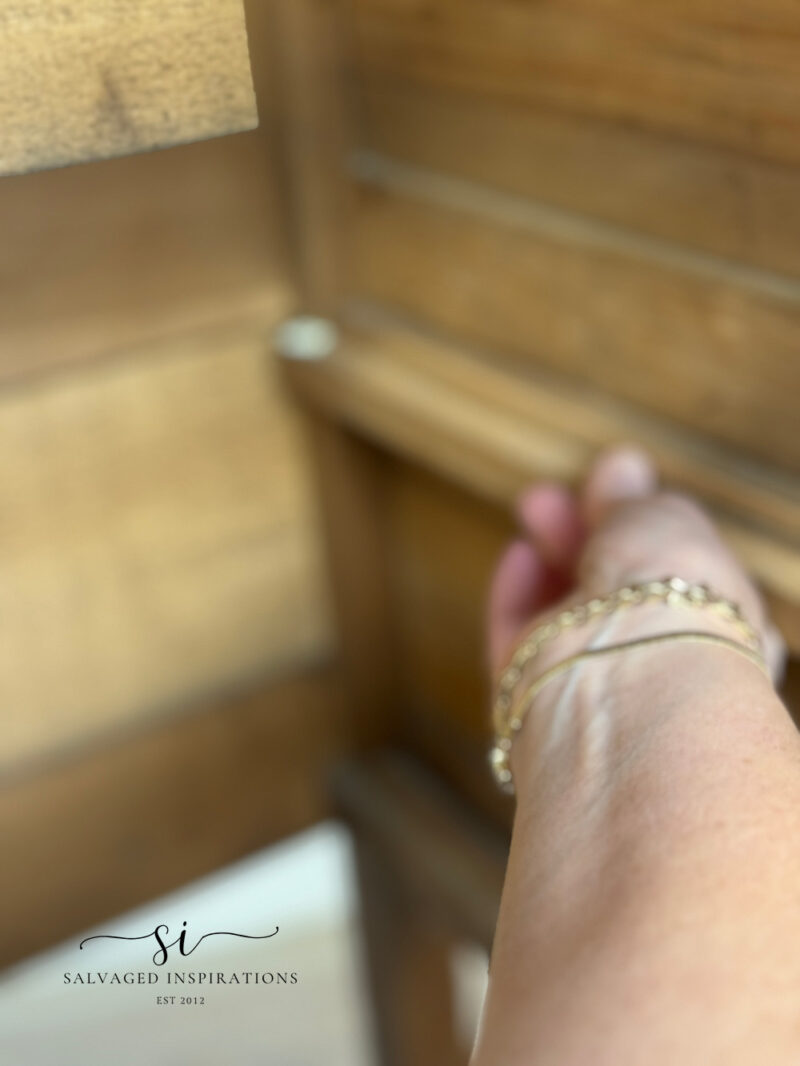
To repair the drawer rail was easy. Everything was intact; it just needed some wood glue and to be positioned properly.
CUSTOM MOODY GREEN PAINT
To create a dark, moody green, I mixed this Acadia Green with some Anchor Black. I didn’t measure but I would guess it was 2/3 Acadia Green to 1/3 Anchor Black.
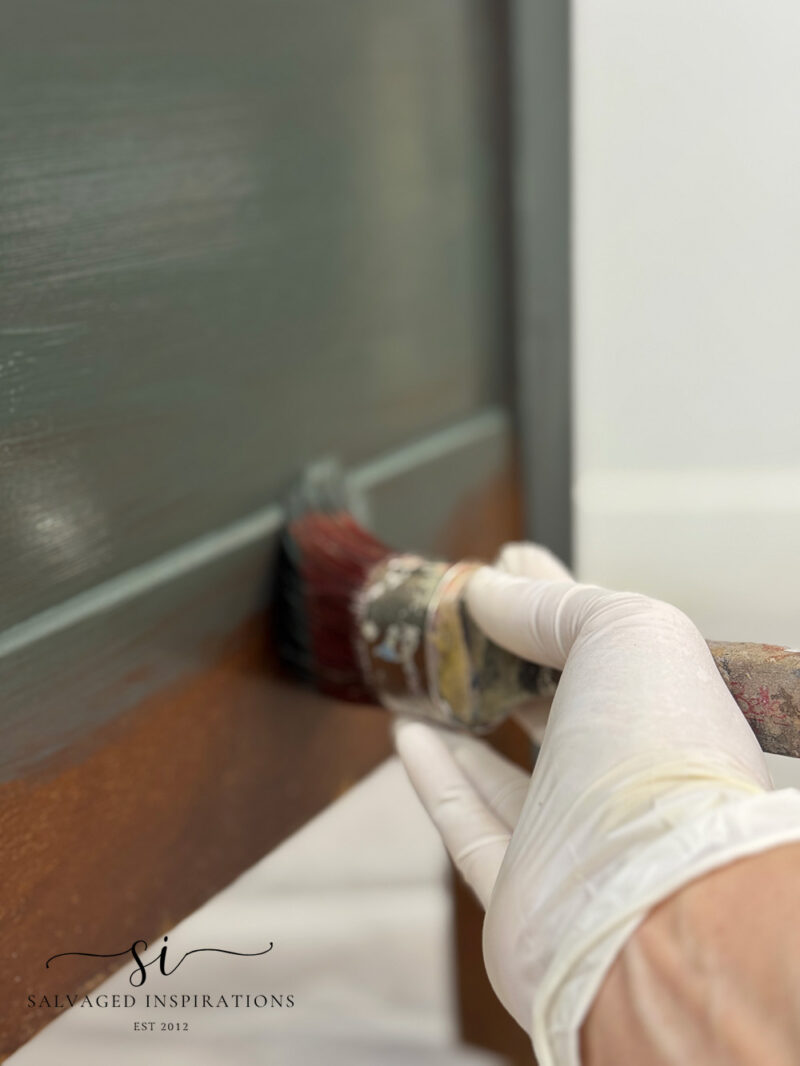
To get a super smooth finish on these shapely legs, I used my slap-it-on paint technique. I’m sharing the demo in the YouTube tutorial at the end of this post, and you can also check it out in this video here. The benefits of using this paint technique are a super smooth spray like finish without using a sprayer!
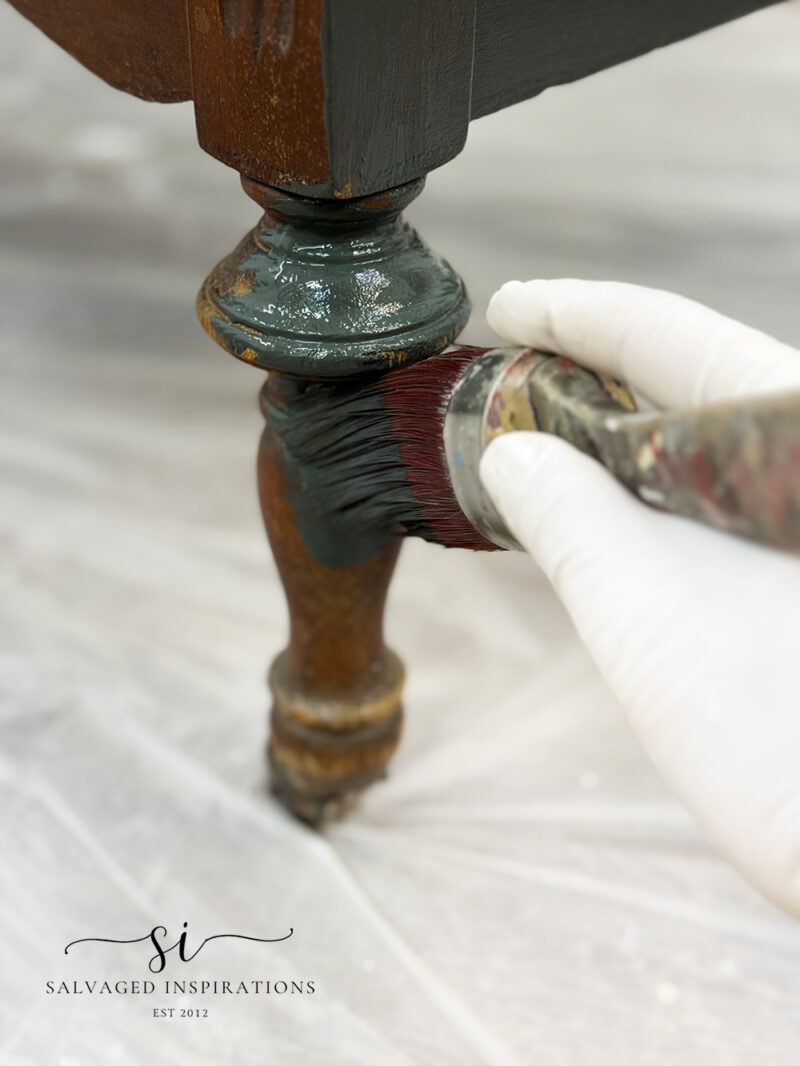
This All-In-One SILK Mineral Paint is a beginner-friendly paint with the primer, paint, and topcoat included, so there is no need to prime the body before painting. This custom dark green color took two coats for full coverage.
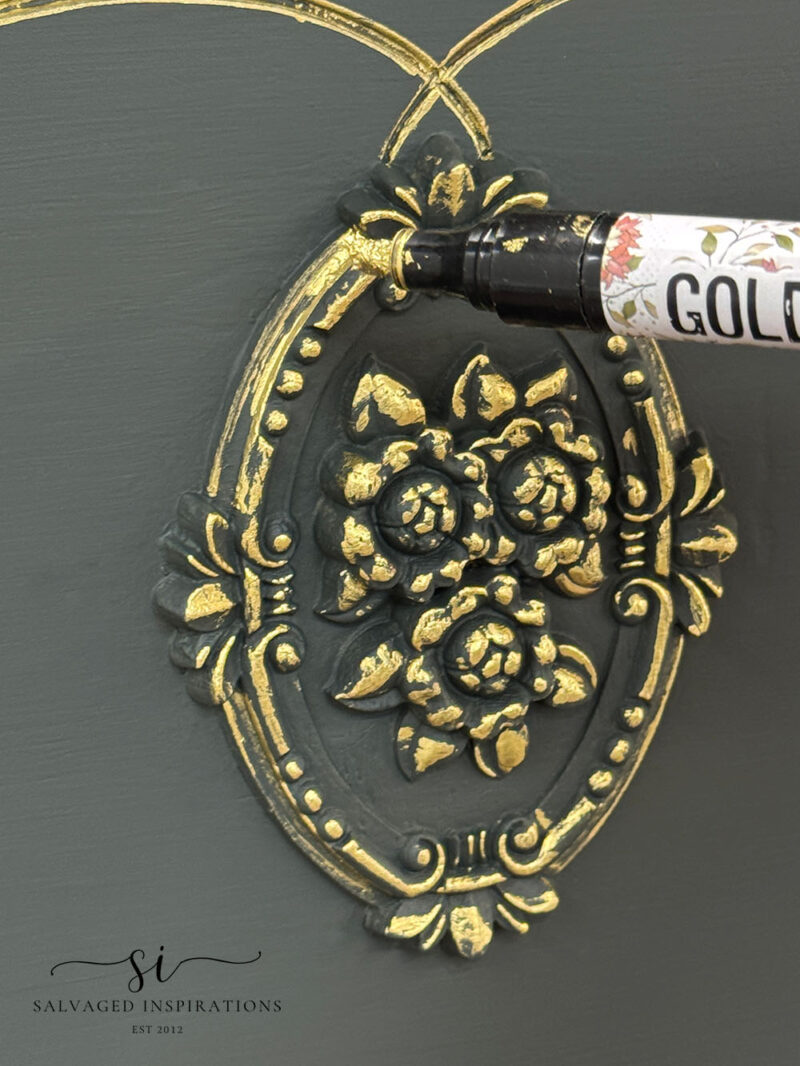
HOW TO USE A GOLD METALLIC MARKER
(Step-by-Step)
This is one of those techniques that looks fancy but is actually so easy. Don’t overthink it — you’re basically drawing with a marker.
Step 1: Start with a Fully Painted & Dry Surface
Make sure your furniture piece is completely painted and dry before you begin. Gold pens work best on a smooth surface, so if needed, lightly sand or wipe away any dust first.
Step 2: Shake & Prime the Pen
Give the gold pen a good shake to mix the metallic pigment inside. Then press the tip down on a piece of scrap paper or cardboard until the gold ink starts to flow evenly. This helps prevent blotches on your furniture.
Step 3: Practice First (Highly Recommended!)
Before going straight to your piece, do a quick practice run on scrap wood or a hidden area. This lets you get comfortable with the pressure and see how thick or thin your lines will be.
Step 4: Lightly Trace or Highlight Details
Using a gentle hand, trace raised details, edges, or designs. Let the pen glide — no need to press hard. For thicker lines, slightly angle the pen; for finer details, hold it more upright.
Step 5: Build the Color Slowly
If you’re not 100% happy with your first try, remember you can always go over the same line more than once! If you want the gold to look richer, thicker, or more pronounced, let the first pass dry and then go over it again. Thin layers give you the most control and the cleanest finish.
Step 6: Let It Dry Completely
Gold markers dry quickly, but give them a little extra time before touching or moving the piece to avoid smudging.
Step 7: Seal for Durability
Once everything is dry, seal your design with a clear topcoat to protect the gold accents, especially on tabletops or high-traffic pieces.
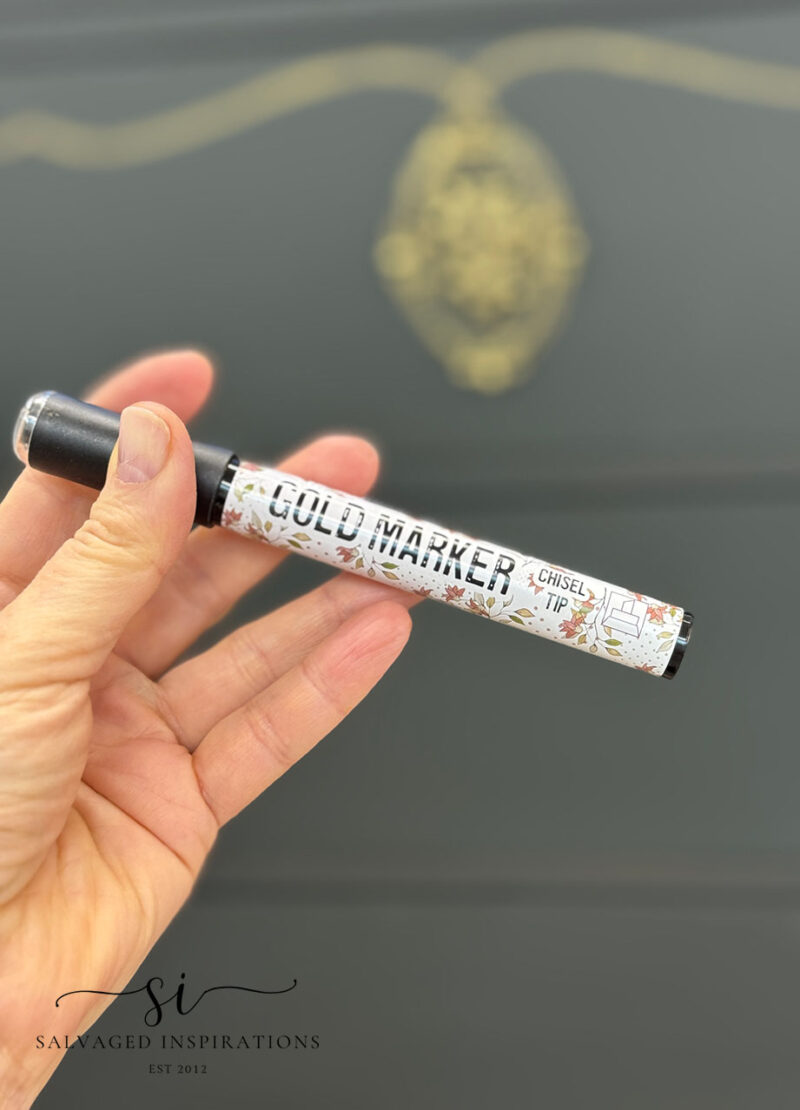
Pro Tip – If your lines aren’t perfectly straight, don’t stress. That tiny bit of “imperfection” is what gives painted furniture its charm. This technique is meant to be fun, relaxed, and forgiving. Here’s the Chisel Tip Gold Metallic Marker that I use. Love it! But there are many brands on the market to choose from. Experiment and pick what you like best.
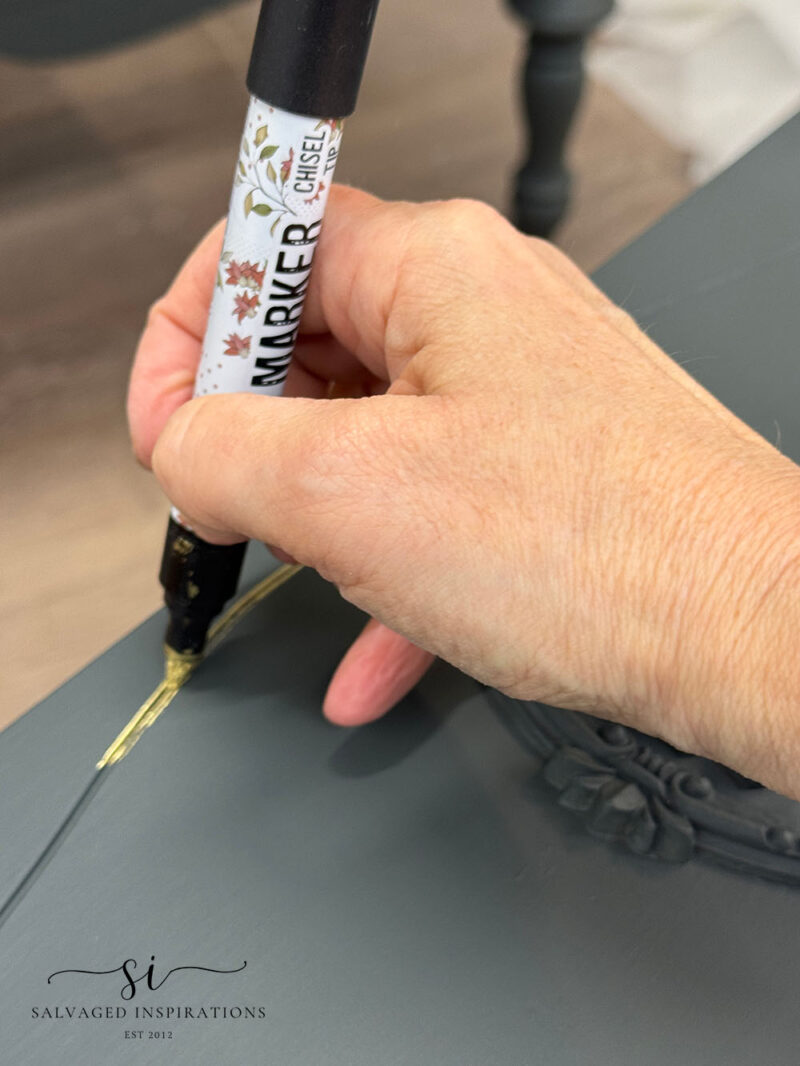
TOPCOAT
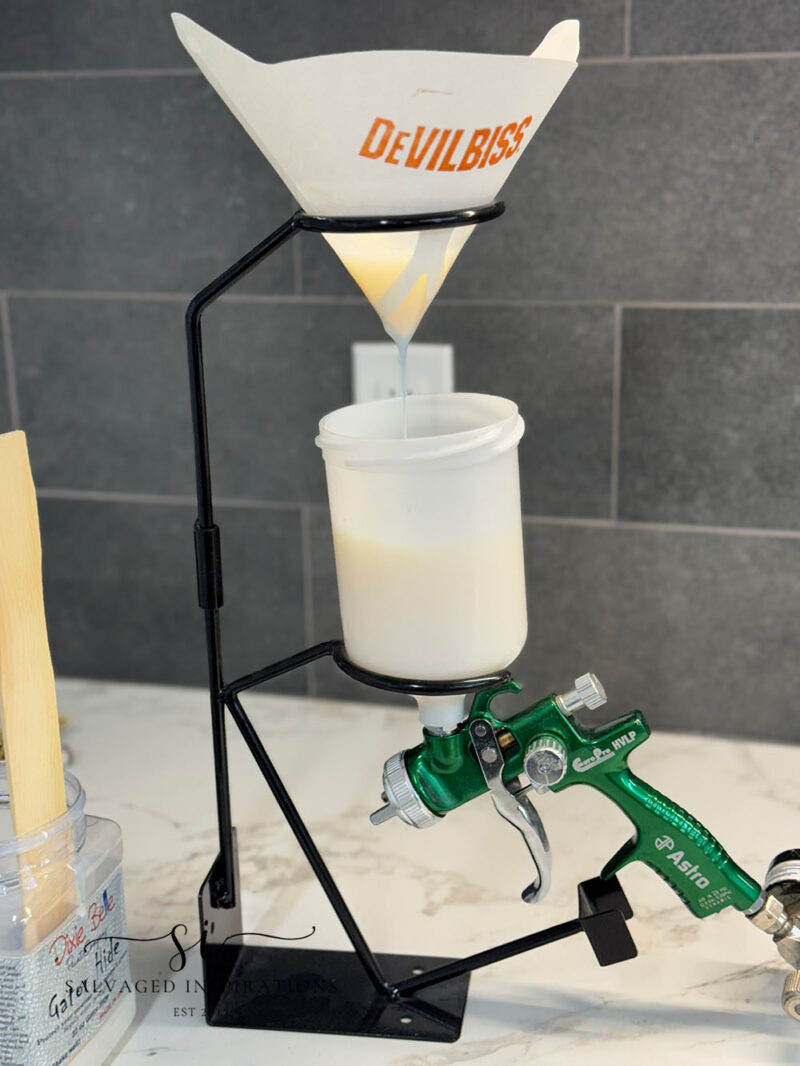
I used an All-In-One SILK paint that has a primer and topcoat included, but I decided to spray this Gator Hide topcoat as well. I wanted a little more sheen on this dresser. The gold gilding highlights are shiny and catch the light beautifully, I thought the paint looked too matte in comparison. Gator Hide can be sprayed through a paint gun or applied using a sponge or brush. I use this Astro Euro HVLP Paint Gun with a 1.7mm nozzle.
REPURPOSED HARDWARE
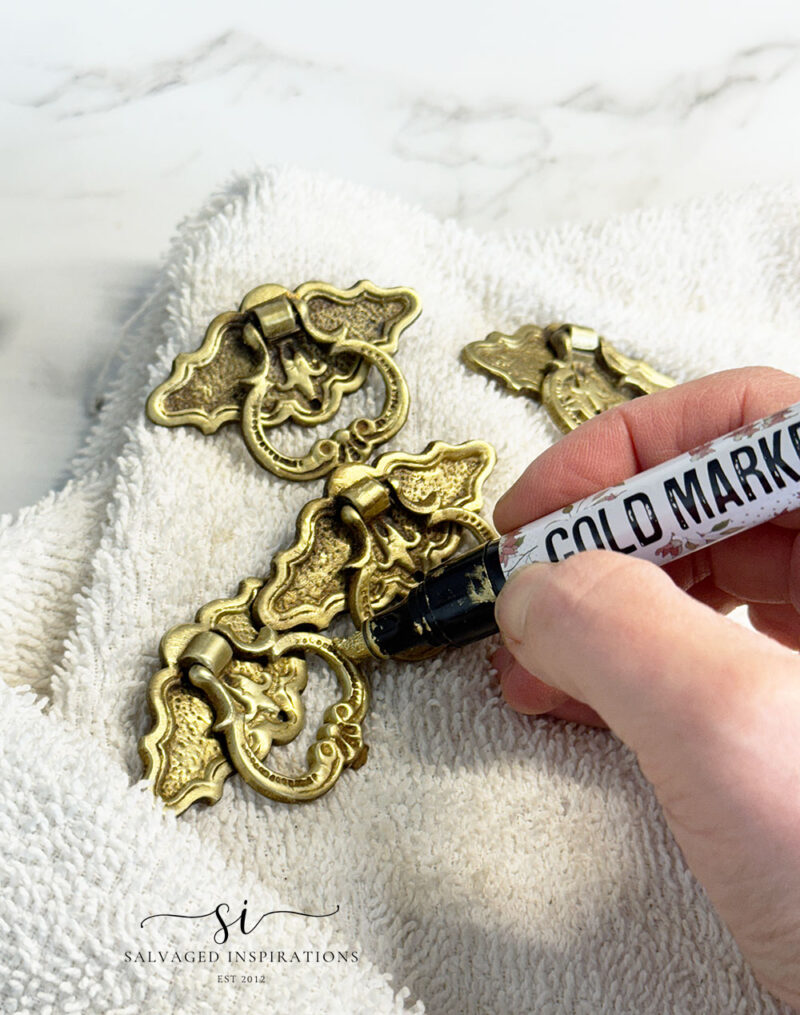
While I was waiting for the topcoat to dry (it dries quite fast!) I looked for replacement vintage hardware. I found eight of these gorgeous brass vintage pulls. I gave them a good cleaning by boiling them in an old pot with water and vinegar and then scrubbing them with a brush. I like leaving a little of the patina on my hardware, but to tie everything together, I used the gold marker pen to highlight the hardware as well.
PIN AND SHARE 🤗
THE BIG REVEAL…
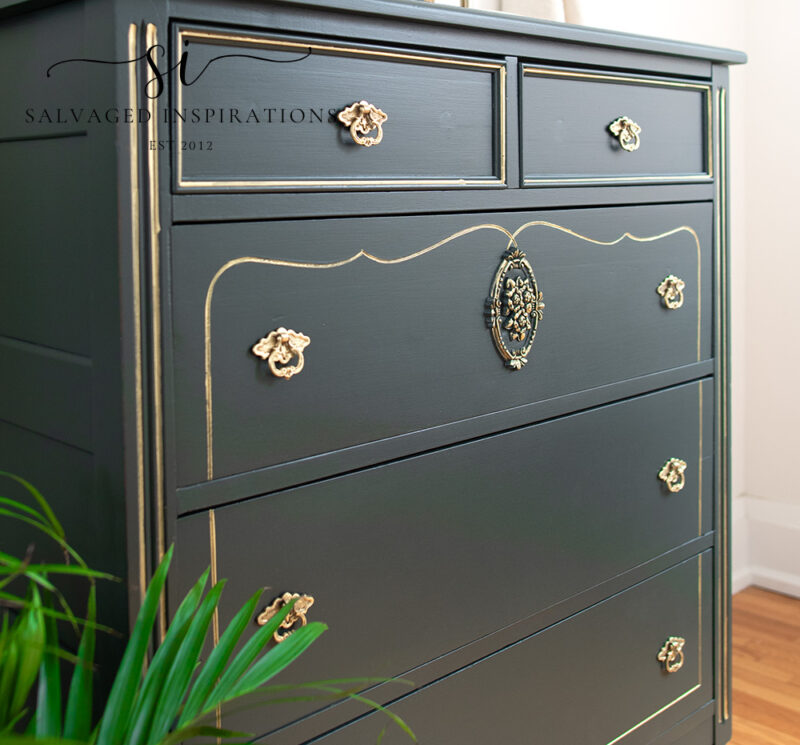
Here’s the finished look! What do you think of the custom green with the gold gilding?
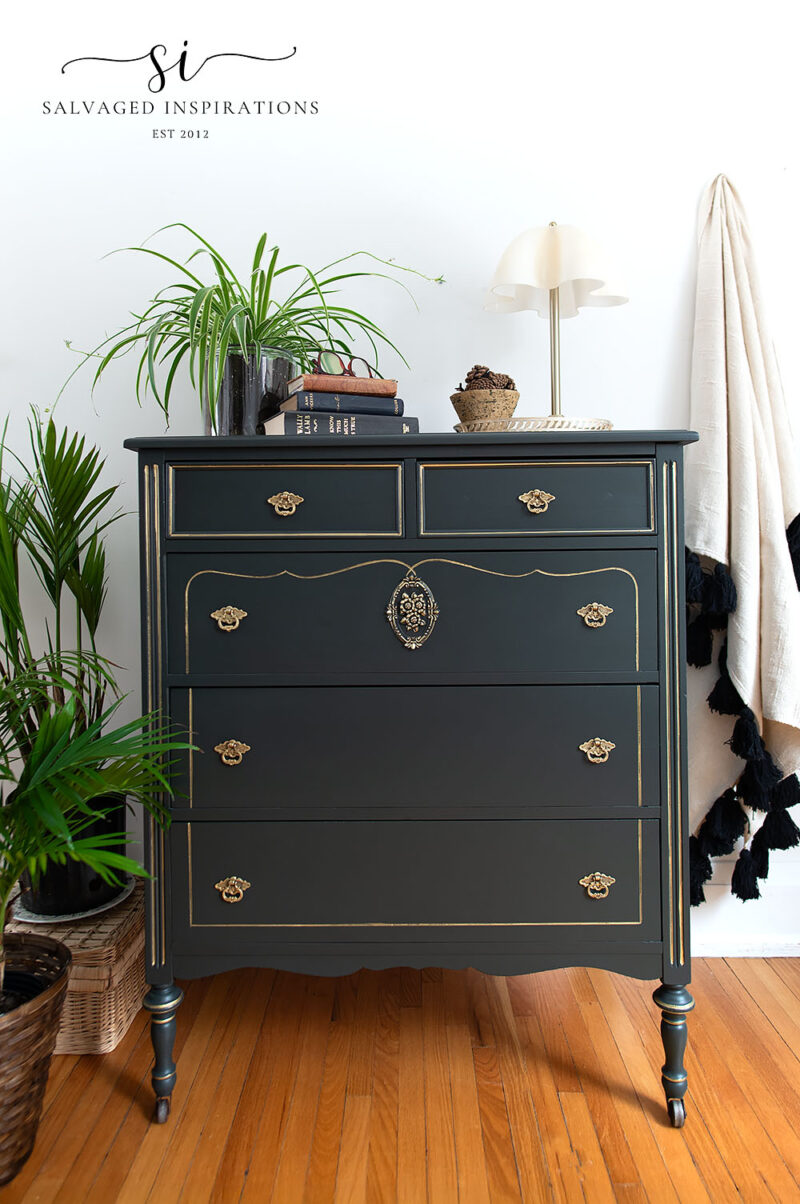
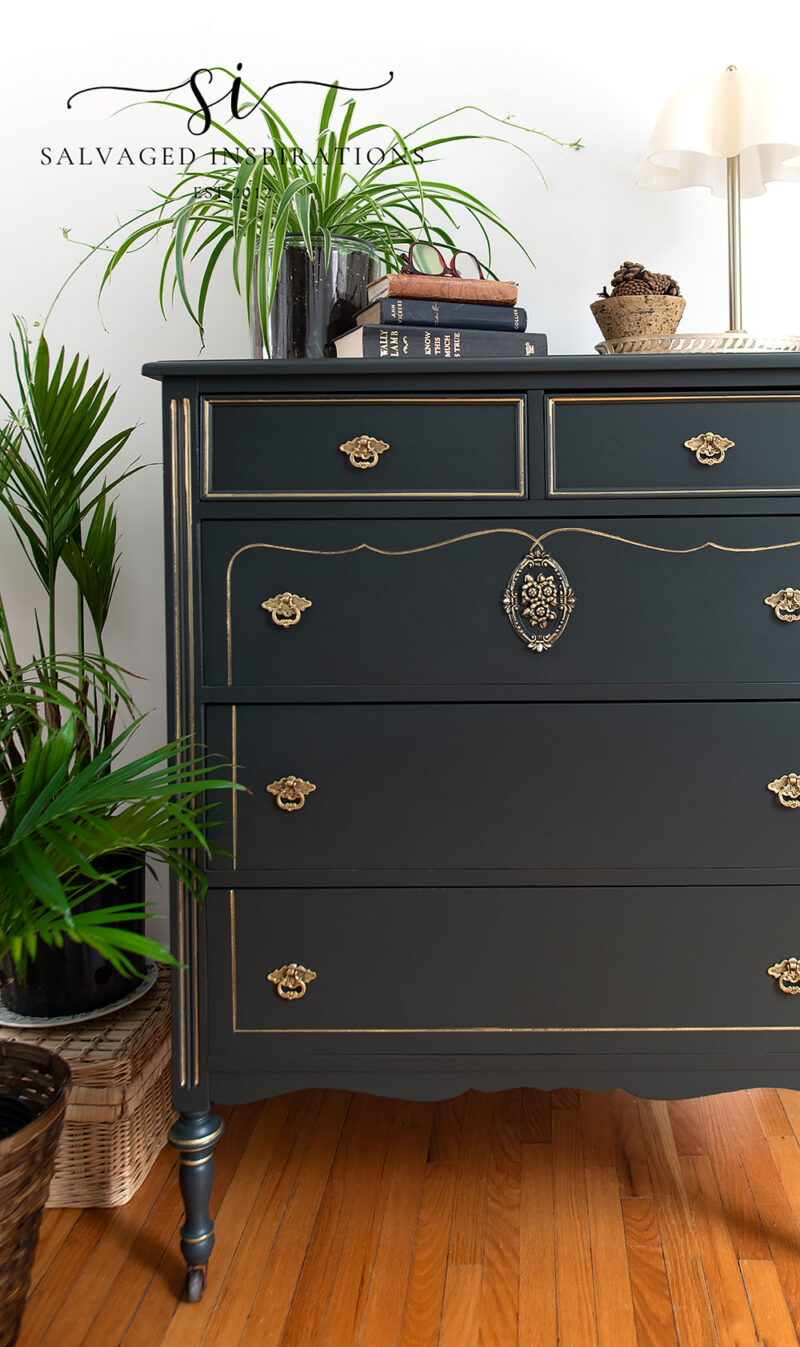
Gilding always looks amazing when the light hits it just right. It gives the furniture a warm glow’ee feeling!
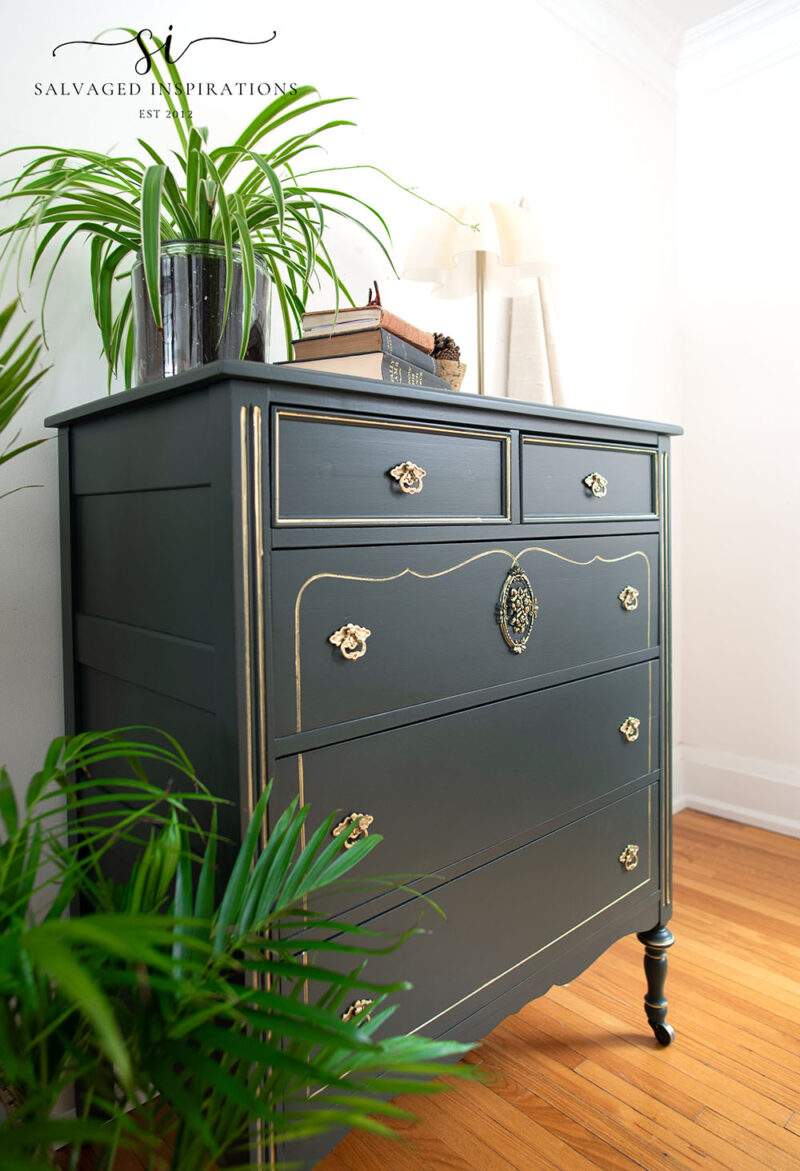
The small Floral Woodubend Plaque really added to this piece as well. It goes to show that you don’t need a huge appliqué to make a huge difference. Sometimes less is more.
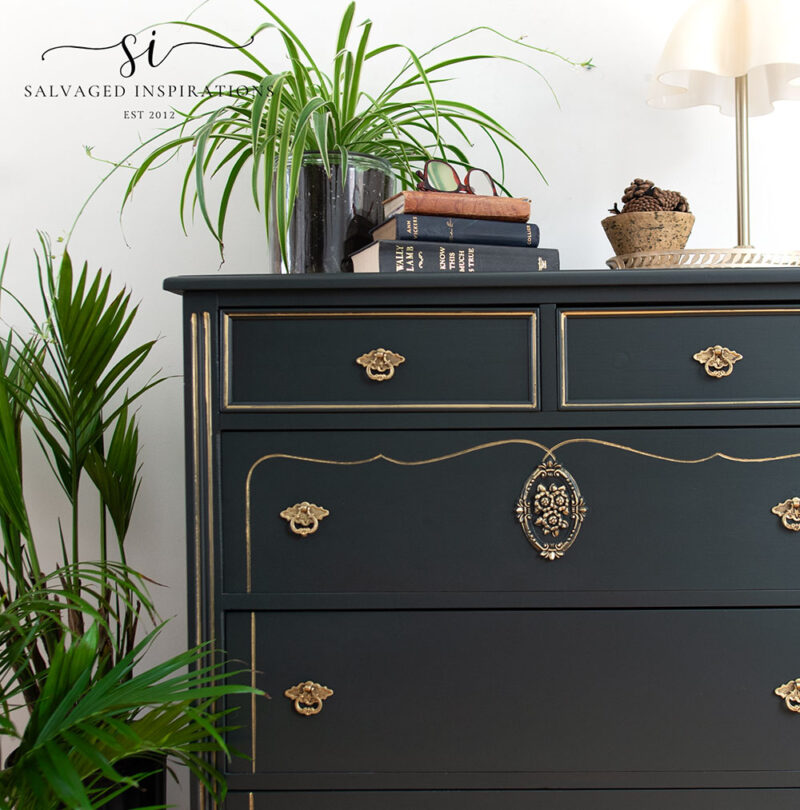
A closer look at the smooth-as-silk custom paint finish.
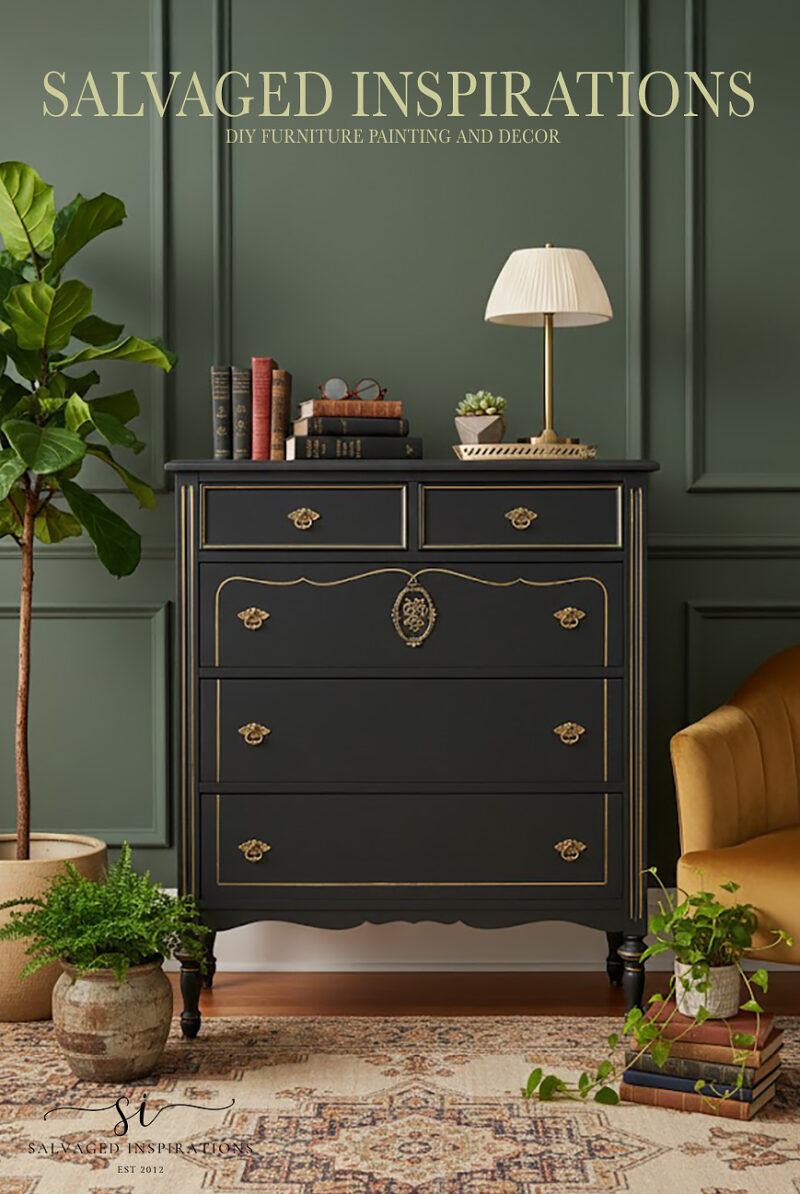
And just for fun, I prompted Ai to generate a roomscape with a green background. Here’s what it generated… This makes me want to paint my space green. I think it’s GORGEOUS!
YOUTUBE TUTORIAL
Here’s the full step-by-step YouTube video tutorial for you. Feel free to sign up for our email list HERE so you can be notified and won’t miss out! Our #siyoutubefamily is already a community of 55.9K, so don’t forget to subscribe over on YouTube as well. You’re the BEST, I appreciate your big-hearted support! 🙂
Here’s another look at this Restore Vintage Dresser before and after. I hope it’s inspired you and given you some ideas for your upcoming furniture painting projects.
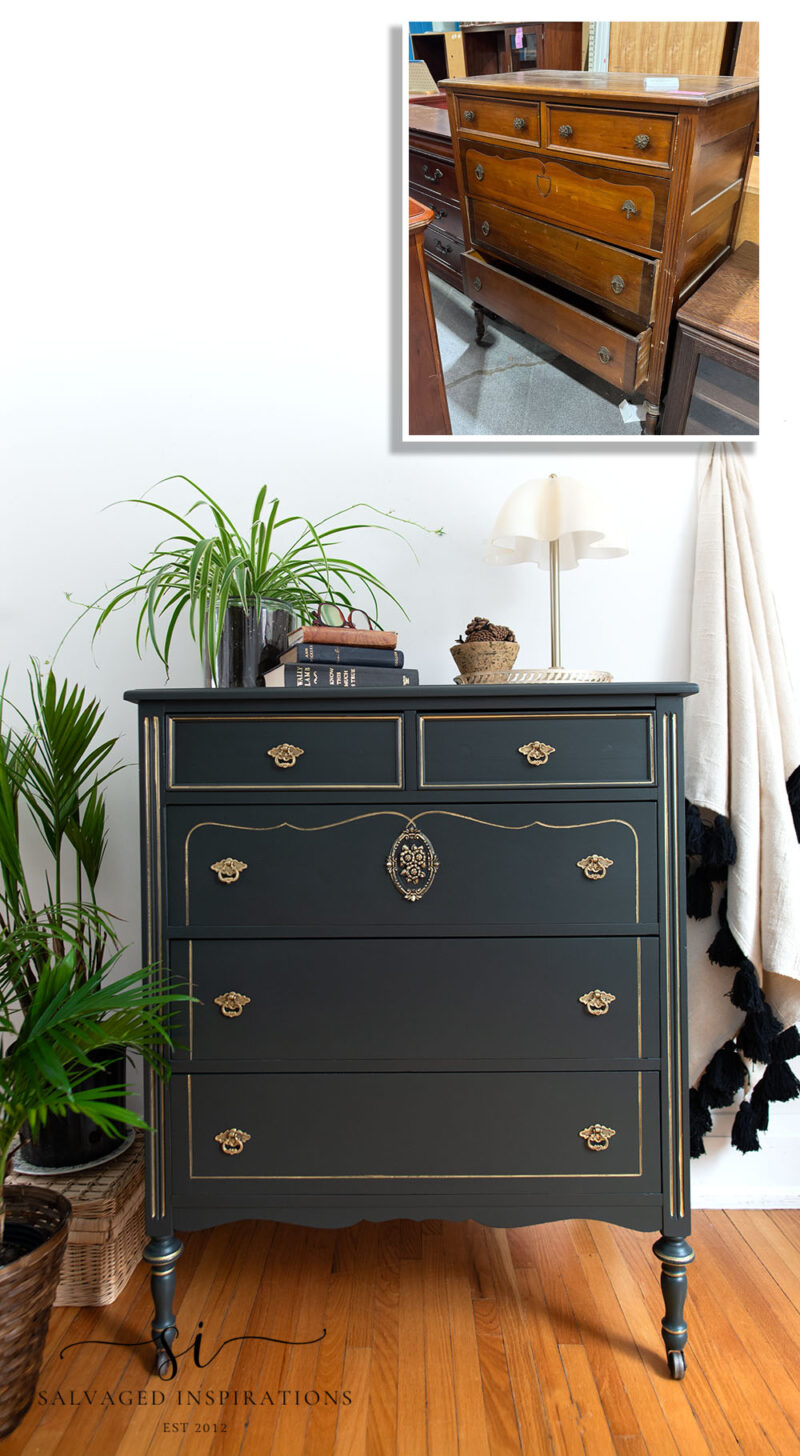
Adding gold details with a pen is one of those small touches that makes a big difference. It’s quick, it’s simple, and it instantly gives your furniture makeovers that extra layer of character and charm. Whether you go bold or keep it subtle, this is such a fun way to put your own creative spin on a piece. Don’t be afraid to experiment, trust your instincts, and most of all — enjoy the process. That’s when the real magic happens.
Thanks for joining me today. I’ve included some Related Posts below, and feel free to leave me a hello or ask any questions you may have in the comments below. I always love hearing from you. It makes my day!!
Happy painting, my friends!
Denise x
RELATED POSTS:
SILK ALL-IN-ONE MINERAL PAINT 101
EASY GOLD ACCENTS – GILDING PEN 101
CAN YOU PAINT LAMINATE FURNITURE?
BEGINNERS GUIDE TO GOLD GILDING WAX
SMOKEY MOUNTAIN CEDAR CHEST
PIN AND SHARE!

 Hello again... I'm so happy you dropped by! Let's keep in touch! Follow me on social media or sign up for a dose of furniture painting inspiration and diy tutorials. :)
Another winner, Denise! I LOVE the color, and the pulls you found are spot on. Great job!
Happy New Year Catherine, I hope your holidays were spectacular!🤗 I was hoping to find an exact match to the original hardware but even with bins and bins of salvaged pulls, no luck. I’m pleased I found this vintage set though. Thanks so much!
This piece turned out beautifully. I especially like your custom color. That dark green and gold are perfect.
Thanks, I’m a huge fan of green too… and its a great way to use up left over paint! 😀
I swear you are a miracle worker. That piece is beautiful!
I’m so glad you like it Mary, thank you!💙
You outdid yourself this time!
This green is so classy and the gold sets it off nicely. Thanks for the tip on spraying Gator hide I plan to do this sometime. Your finished piece is fantastic as always.
Thanks Jewles! I hope you give it a try. Gator Hide sprays beautifully! If you have a smaller spray gun nozzle (mine is 1.7mm) you may need to thin it out with a tiny bit of water.
This piece is so stunningly beautiful I do not have the words to say how elegant and lovely it is. The gilding just sets it apart from any and every thing else. What a wonderful talent put into this piece. Really, really, breathtaking piece. Thank you so much for sharing with the rest of us.
You have the perfect words … you just put a HUGE smile on my face Sue! Thank you and so glad you like it.🤗
What a gorgeous piece of furniture, Denise! You have such a good eye. Great way to kick off the new year – love it!
So glad you love it and thank. Happy New Year Marcia! XOXO
Beautiful!
Thanks Lizzy!💙 Have a great week! xo
This dresser has come alive with the gold details! Thanks for sharing.
The gold pen really brightened it up for sure! Thanks Nicki and Happy New Year to you! Hugs
Absolutely stunning (as always for you). The color and the gold accents are perfection.
Thanks so much Diane! xoxo
Hi Denise. I’m absolutely in love with this dresser. So elegant and what a gorgeous moody deep green you created. Love the gold accents and drawer pulls too. Well done as always:)
I’m really loving this custom green as well – but then again I’m a huge fan of all shades of green!💚💚💚 So happy you love it and Happy New Year to you. XOXO
Happy New Year, Denise! Glad you’re back! I freaking LOVE this gold marker. I just ordered another. This will be my 3rd. I love how you used it on the hardware.
🤔 I have a tarnished pair of earrings that I think I’ll try it on. Can’t hurt, right? So many uses if you’re a gold lover. ⭐️
Thanks for sharing another lovely makeover. Pinned 📌 Looking forward to what 2026 brings our way. xo 😘
Hiiiiiii Dooooo – so good to be back and Happy New Year to you my friend! Yes, I’m ordering another one of these pens as well – it’s already in my basket for check out. They are so easy to use and I LOVE your idea about trying it on tarnished earrings – brilliant!😃
I have been following you for a very long time and have learned a great deal (the dresser is beautiful). Would it be at all possible to include Canadian alternatives for the US products. It becomes a little frustrating when you can’t buy the product as it is in the US and often not here.
Hi Barb and Happy New Year!🤗 The Amazon links are supposed to automatically link to whatever country you clicking from. For the DB products I believe we have retailers here in Canada as well. I’ll look into where they are located for you. Even if they aren’t driving distance, I’m sure they would ship. That said, we have a TON of AMAZING brands available here in the GTA and across the country so if you’re ever looking for anything specific, feel free to reach out and I can suggest a similar product in another brand. Hope this helps. 🙂
Have you ever used a Sharpie paint pen with brush tip or a regular type tip ? I have read that they work very well.
The furniture piece you painted and did the gold trim is outstanding.
Thanks Rita! 🙂 And I have not but now I’m curious to try. I have a ton of ‘regular’ Sharpie markers but I’ve never tried the paint pen.