A THRIFT CHAIR GETS A SIMPLE NEW LOOK BY PAINTING THE ARMS AND LEGS | YOUTUBE VIDEO

Hi sweet friends, thanks for joining me for today’s makeover. I have a super simple project for you – painting chair arms and legs. I hope this project gives you ideas on how to update older furniture. Something I keep learning is it doesn’t always have to be all or nothing. Sometimes updating half a project (like I did here with my kitchen table) can make all the difference!
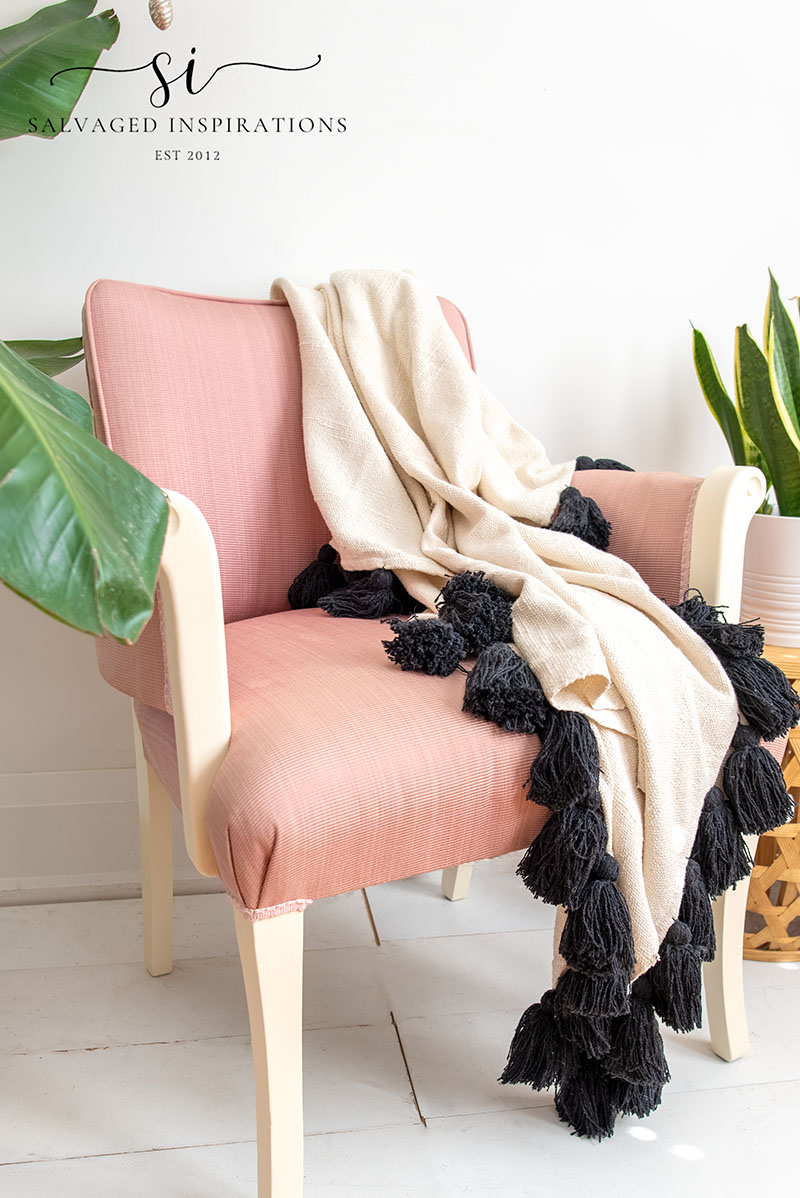
Here’s the thrift chair JoAnne found at her local thrift store. Perfect for her upcoming bedroom makeover. FYI – JoAnne is my sister’s sister-in-law. 🙂

The chair is in good shape and condition. And someone loved it enough to reupholster it in this pink fabric. They did an impressive job with the piping too!

JoAanne also sent me this drawer from a bedroom set she bought online and asked me if I could match the color.

THIS POST IS SPONSORED/CONTAINS AFFILIATE LINKS TO PRODUCTS I USE. YOU CAN SEE MY FULL DISCLOSURE HERE.
WHAT YOU’LL NEED
Thrift Chair – SALVAGED
White Lightning Cleaner
1″ Purdy Paint Brush
Slick Stick
Sun Kissed SILK All In One Paint
JOANNE’S THRIFT CHAIR MAKEOVER
Here’s how it all came together…
CLEAN
I started by giving the arms and legs on this chair a good cleaning with this White Lightning Cleaner. I didn’t use my usual spray bottle technique because I didn’t want any of the solution to get onto the fabric. Instead, I sprayed a small amount onto a sponge and wiped it down that way.

SLICK STICK
Instead of sanding and priming, I used Slick Stick to create a bonding surface for the paint. Using my 1″ Purdy Brush, I painted the legs and arms of this chair making sure not to get any on the fabric.

Pro TIP – Using the right size brush for a project is KEY. I never try painting small areas with a large brush or large areas with a small brush. I always try to pick my paintbrushes wisely. It makes the job so much easier.

MATCHING THE PAINT COLOR
Now to find a close match in paint color to the sample drawer she gave me. I pulled out these three colors which were a pretty good match. Before you scroll down, can you guess which one I picked?

I used the middle one. This Sun Kissed SILK All-In-One Mineral Paint. Because paint always dries slightly darker than what you see in the jar/can. The Sun Kissed was my favorite choice.

HOW TO PAINT AROUND FABRIC
To paint cleanly around the fabric, I used the same 1″ Purdy Brush. I made sure to take my time and not overload my brush with too much paint.

I also found it helpful to flip the chair upside down to get underneath and into tighter areas.

To create a seamless where the fabric meets the arms and legs, I pulled the fabric away from the arm. Then painted right under the fabric. In the pic below you can see how a little paint got on fabric because I painted so low. But wait for it…

Once the fabric is released it looks flawless!

FINISHED PAINTED CHAIR
Here’s the finished look. I really hope she likes the lighter arms and legs on this chair!
What do you think? It looks way more feminine, right?!

And I think it turned out to be a pretty good match! The drawer pic was taken in my paint room and it’s always a bit of a challenge for me to catch the ‘true’ colors when I’m photographing in my studio/paint room, but this chair turned out pretty darn close!

YOUTUBE TUTORIAL
Here’s the full step-by-step YouTube tutorial. Our #siyoutubefamily is already a community of 41.2K so don’t forget to subscribe here if you haven’t done so already! So exciting, thank YOU! 🙂
Here’s another look at Joanne’s thrift store chair with the lighter arms and legs. I hope this simple makeover has inspired you and given you some ideas for your home projects!

LET ME KNOW WHAT YOU THINK OF THIS PAINTED CHAIR MAKEOVER OR FEEL FREE TO ASK ANY QUESTIONS YOU MAY HAVE… I ALWAYS LOVE HEARING FROM YOU. IT MAKES MY DAY! 🙂
Happy painting my friends!
Denise x
RELATED POSTS::
HALF A KITCHEN TABLE MAKEOVER
HOW TO PAINT FRENCH DOORS BLACK
REPURPOSED DESK INTO NIGHTSTANDS
FALL INSPIRED PAINTED FURNITURE
PAINTED SECRETARY DESK
PIN AND SHARE!


The chair looks so pretty and feminine – what an improvement painting the wood white made! Kudos to you for being so brave to paint the chair without protecting the fabric. Knowing me it would’ve been a hot mess. Sweet find – sweet makeover!
I live on the edge Marie!😉😅😂 Thanks so much my friend. Wishing you a fabulous weekend! XOXO
Denise, I love this look! I did something similar once and used tape to keep the paint off my fabric. It worked very well for me.
Thanks so much Jean! XOXO
You did a really nice job on that chair.
Thanks so much Donnita!
I was hoping that you’d paint over that dark wood. 🙌 You matched the color perfectly. I think Joanne will be very happy with the results. xo 😘
I hope she will. Thanks my friend! XOXO
Nice !! A great contrast to the pink fabric, and looks like a nice match to the drawer too.
Sometimes a little goes a long way – and this surely proves it. 🙂
For sure and it’s something I have to keep reminding myself – it doesn’t have to be all or nothing. Thanks so much P! XOXO
Much better than the brown. Now it’s a classy adult Barbie chair! Cute! I have done this for someone in the past, but they had the forethought to have it painted before new upholstery went on, making it much easier. I would definitely try this if I liked the upholstery on a chair.
YES, Barbie chair!!! Oh, ya and painting before the upholstery is soooo much easier!
Hi Denise. You have a very lucky family. I’ve noticed over the years your talent gets called upon often;). Joanne’s chair looks fabulous. Perfect for a reading nook or bedroom. I enjoy seeing how such a small change can make a big impact. Beautiful.
Aw, thank you Monique! I really hope she likes it! XOXO