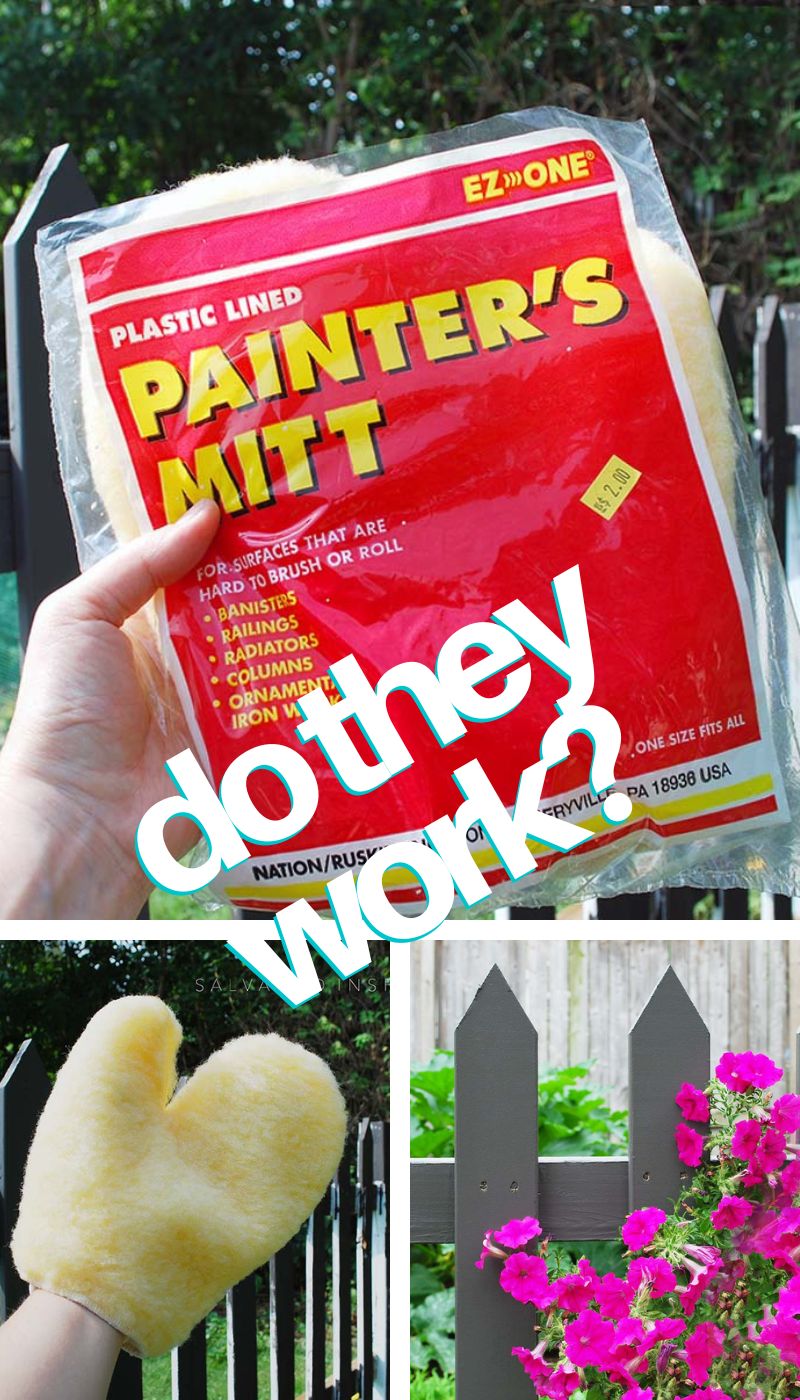
TODAY I’M TRYING A PAINTER’S MITT FOR THE VERY FIRST TIME AND SHARING MY THOUGHTS ON HOW IT WORKS | YOUTUBE TUTORIAL COMING THIS SATURDAY!
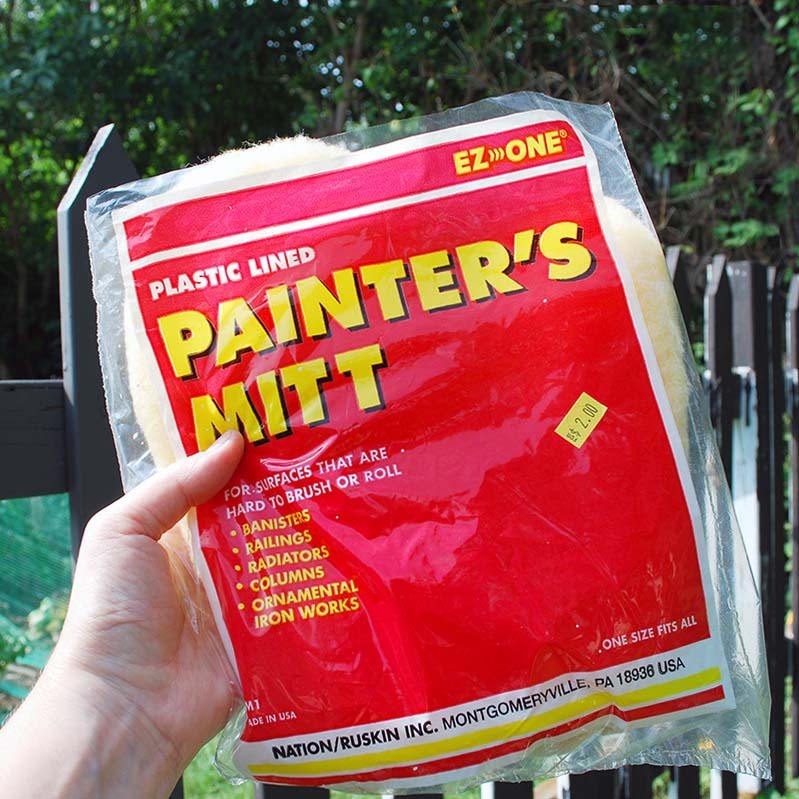
Hi sweet friends! Today I’m sharing how I painted my fence using a gadget I picked up from the ReStore – a $2 Painter’s Mitt! I’ll admit I wasn’t brave enough to try it for the first time on my furniture. But I have a good idea of how it works now that used it to paint my picket fence. I’m sharing my thoughts on using a paint mitt to paint spindles, fences, railings, and other hard-to-reach areas.
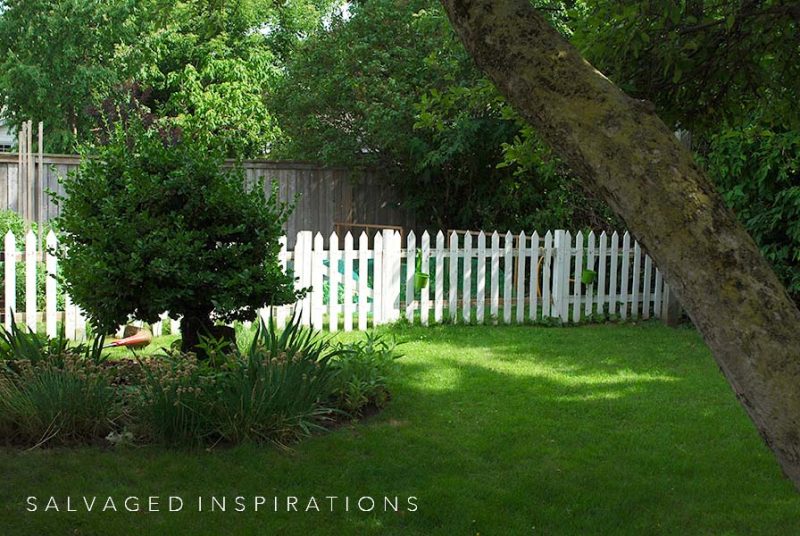
Here are a few pics of my picket fence after I prepped it for paint with a power wash. My brother-in-law built this fence when I first moved into this house 18 years ago and it’s still standing strong!
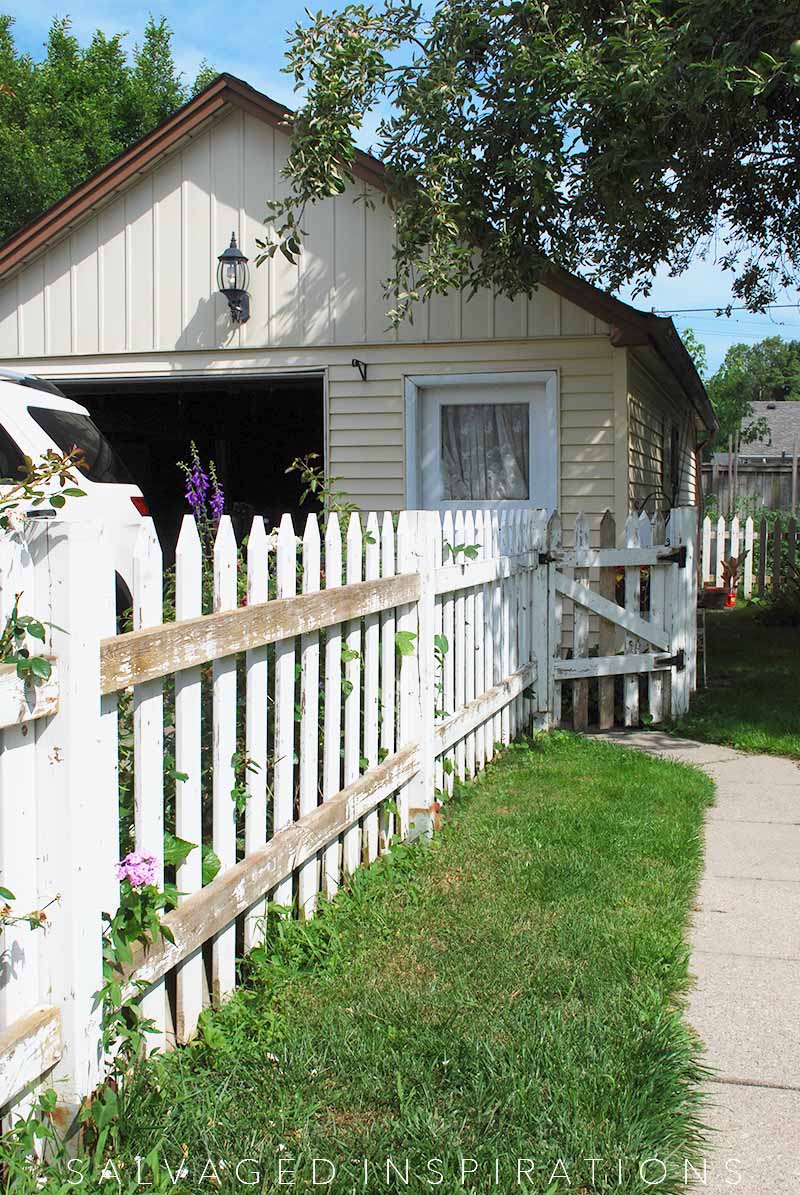
It also does a great job of keeping the dogs in while separating the fur babies from my vegetable garden in the back portion of the yard. Too bad it doesn’t help with the bunnies, chipmunks, squirrels, birds, snakes, and skunks as well. teehee
THIS POST IS SPONSORED/CONTAINS AFFILIATE LINKS TO PRODUCTS I USE. YOU CAN SEE MY FULL DISCLOSURE HERE.
SOURCE LIST
Picket Fence
Painters Mitt
3″ Wooster Paint Brush
4″ Lint Free Rollers
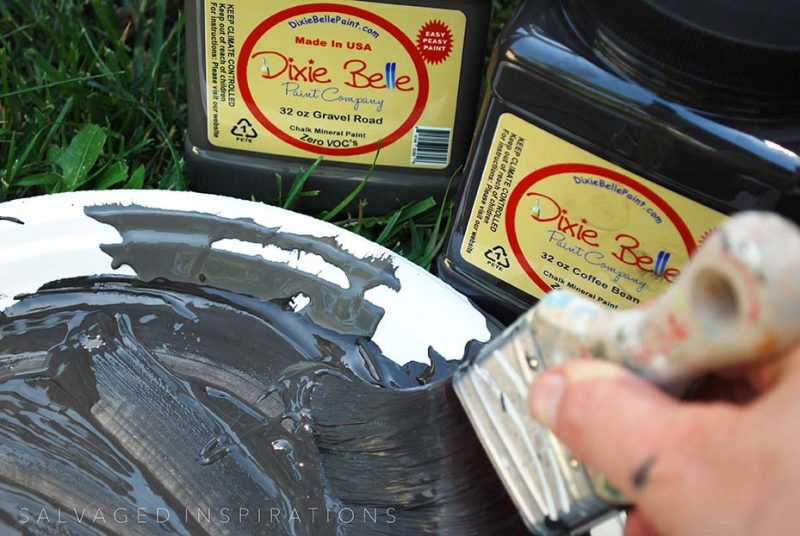
Coffee Bean
Gravel Road
USING A PAINTER’S MITT
After I powered-washed the fence and let it dry for a few weeks (lol), I finally had the urge to get out there and paint. I tested a few of my favorite furniture paint colors. I was positive this Coffee Bean was going to be the exact brown/black I wanted to update the fence but it turned out to be much too dark. When I tried Gravel Road, it looked like a soft black on the fence – exactly what I was looking for. Outdoor lighting can make all the difference so if at all possible, I strongly recommend testing colors before buying.
I went to Lowes and picked up a gallon of Valspar’s Duramax Exterior Paint + Primer in the color “Semi-Sweet”. It’s a really close match to the Gravel Road but slightly warmer.
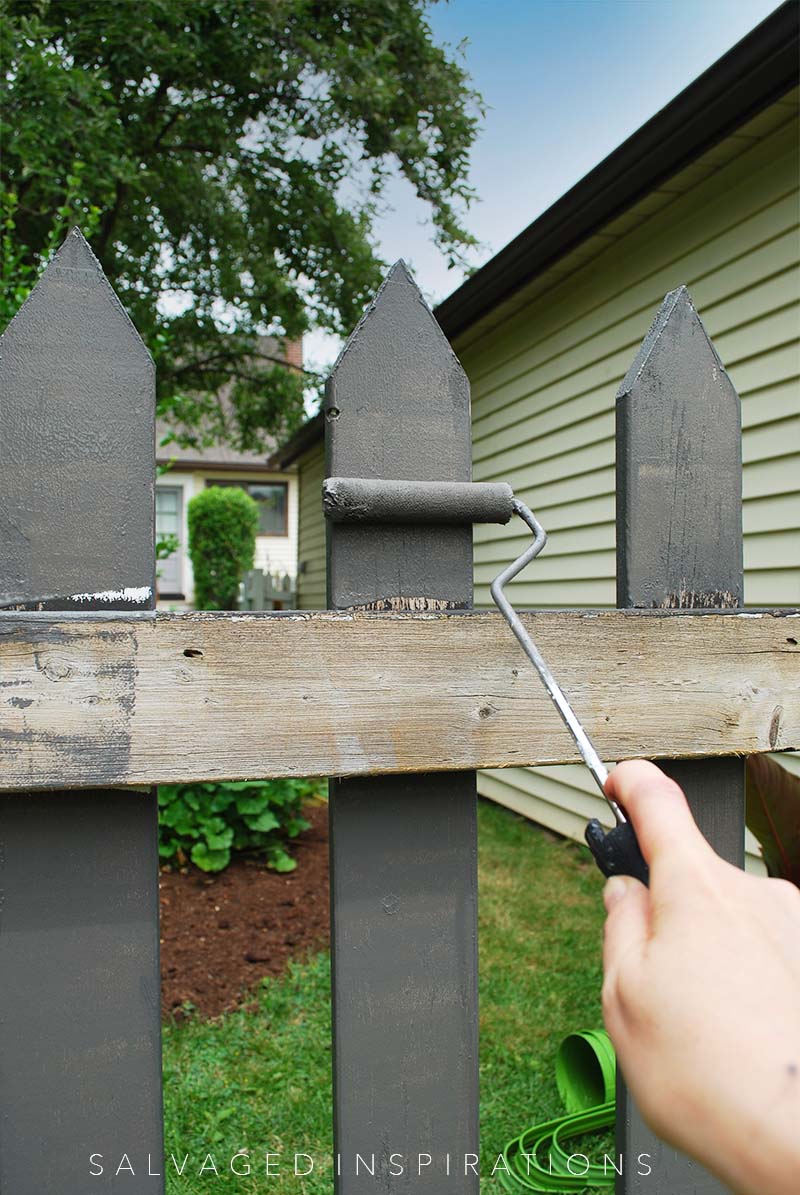
When I got home I busted out my painters’ mitt and tried it on for size. They come in one-size-fits-all but my little hand was swimming in this mitt.
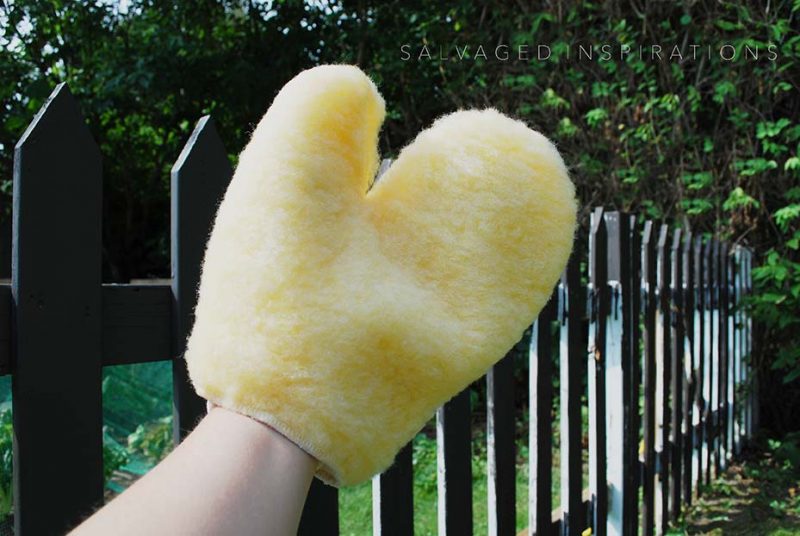
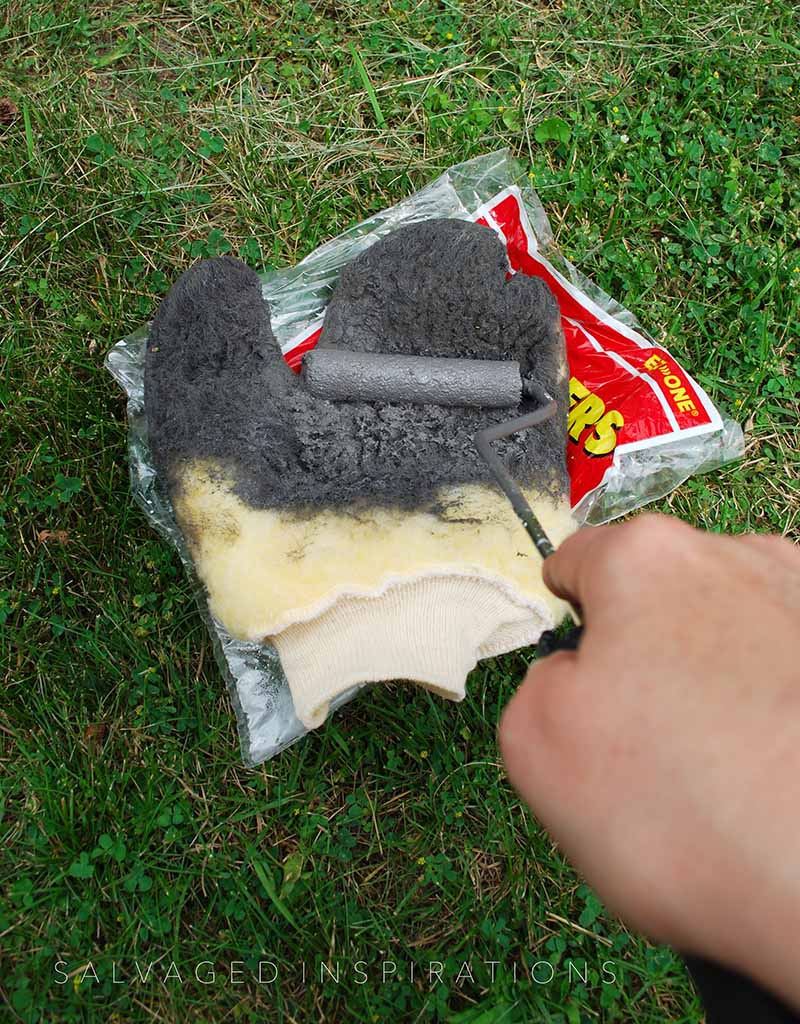
It was super loose. Also, the inside is lined with plastic so the paint doesn’t sink through to your hand — but I found it challenging to get a grip and be precise. Next time I will try wearing one of my nitrile paint gloves underneath, and that may help a little. I didn’t feel comfortable or confident enough to dip the mitt into the paint tray to pick up the paint so instead, I rolled some paint onto the mitt to load it up.
Once it was loaded I gave it a try. It worked! I really found it helpful and a time saver to get in between the pickets and paint the sides of the boards. And if this was as simple as a straight board going up and down without the cross boards getting in the way, it would have gone even faster! I did shoot a short video so you can see it in action which I’ll be publishing this Saturday.
Just as with a roller or paint brush you definitely need two or three coats but these painters’ mitts do work! Depending on what you’re painting they can be a time saver. I would say it saved me some time painting the sides of the boards but I didn’t find it any faster than a roller painting the front and back of the boards.
In my opinion, these painter’s mitts are great for saving time on ROUNDED edges but don’t work as well as say a roller or brush on flat surfaces.

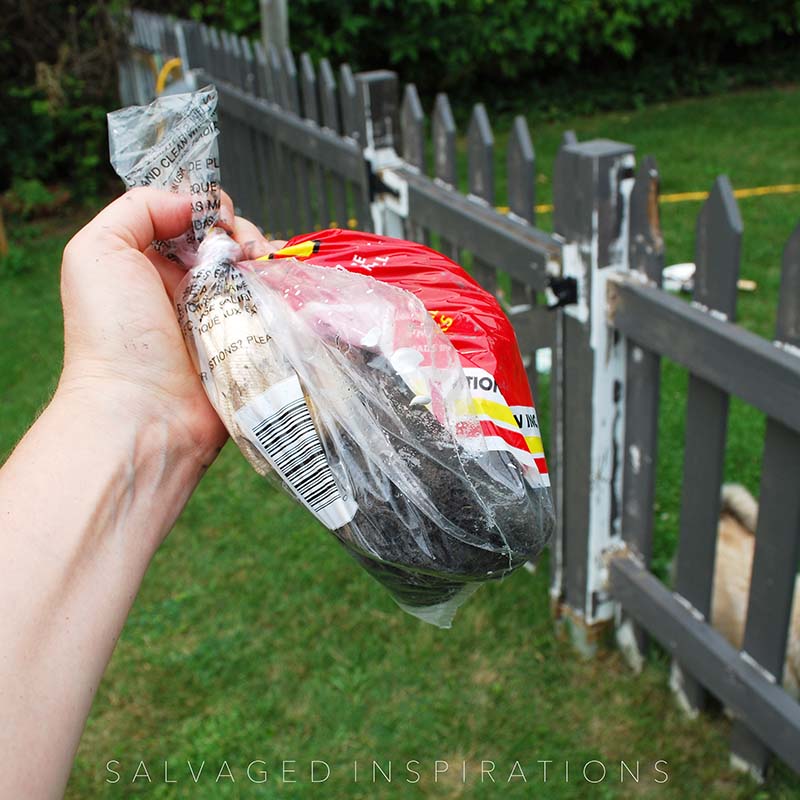
When I went inside for a break, I put it back into its original plastic bag (just as you would wrap your roller or brush in plastic) so it wouldn’t dry out.
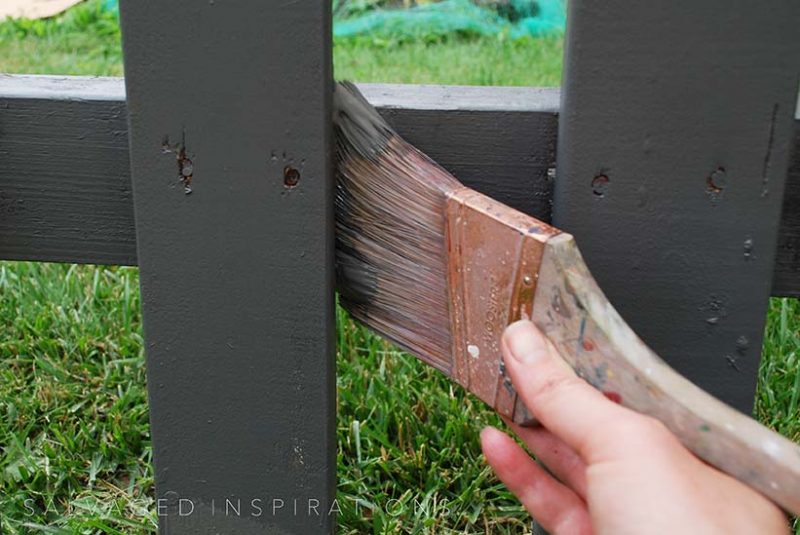
And because the mitt was so ill-fitting and I couldn’t get into the details, I still needed to use my 3″ Wooster paintbrush to get into all the crevices.
And I found painting the front and back of the boards quicker and cleaner with a 4″ lint-free roller.
I believe these painters’ mitts would be AMAZING if they came in different sizes. There would be much more control and I could get into the details. That said, if you have larger hands and don’t have too many obstacles around what you’re painting, these can be a time saver.
Off-topic but some of you ladies may appreciate this. What these painters’ mitts work amazing at is a mitt for self-tanning! I’ve been using my other mitt to apply this self-tanning mousse all summer and it works great because it covers such a large area! Then when I’m done, I don’t clean it. I just stuff it back into the plastic bag until my next use.
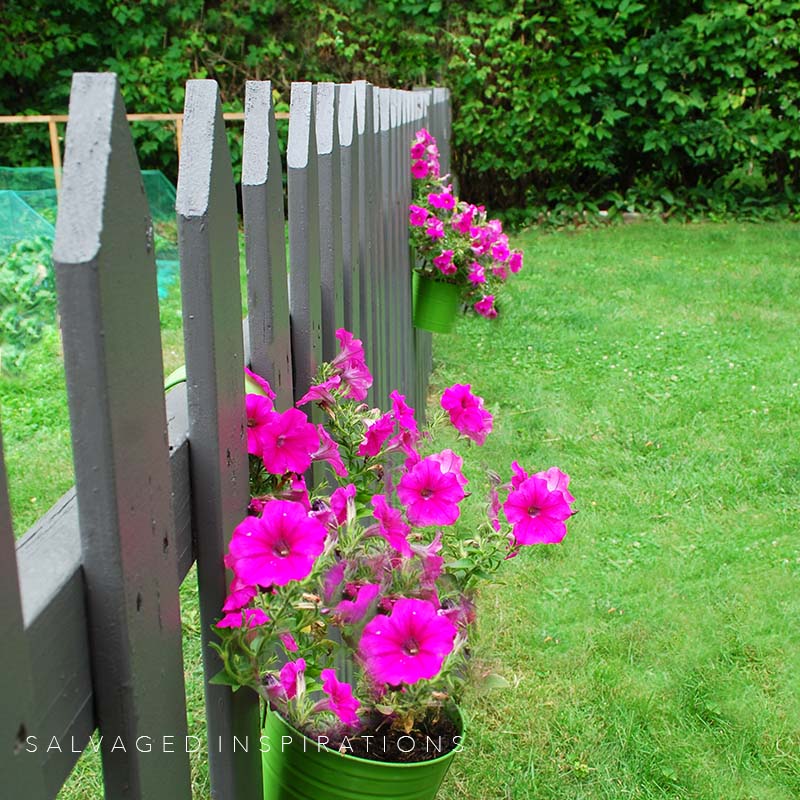
The weather turned and I only ended up finishing the back garden fence. Luckily the rain held out long enough for the paint to dry. When I paint the picket fence on the driveway side this week, I’ll have to look at the weather forecast to make sure I have a couple of sunny rain free days before I start. There is still a lot of work to do in the yard but here’s where I’m at now…
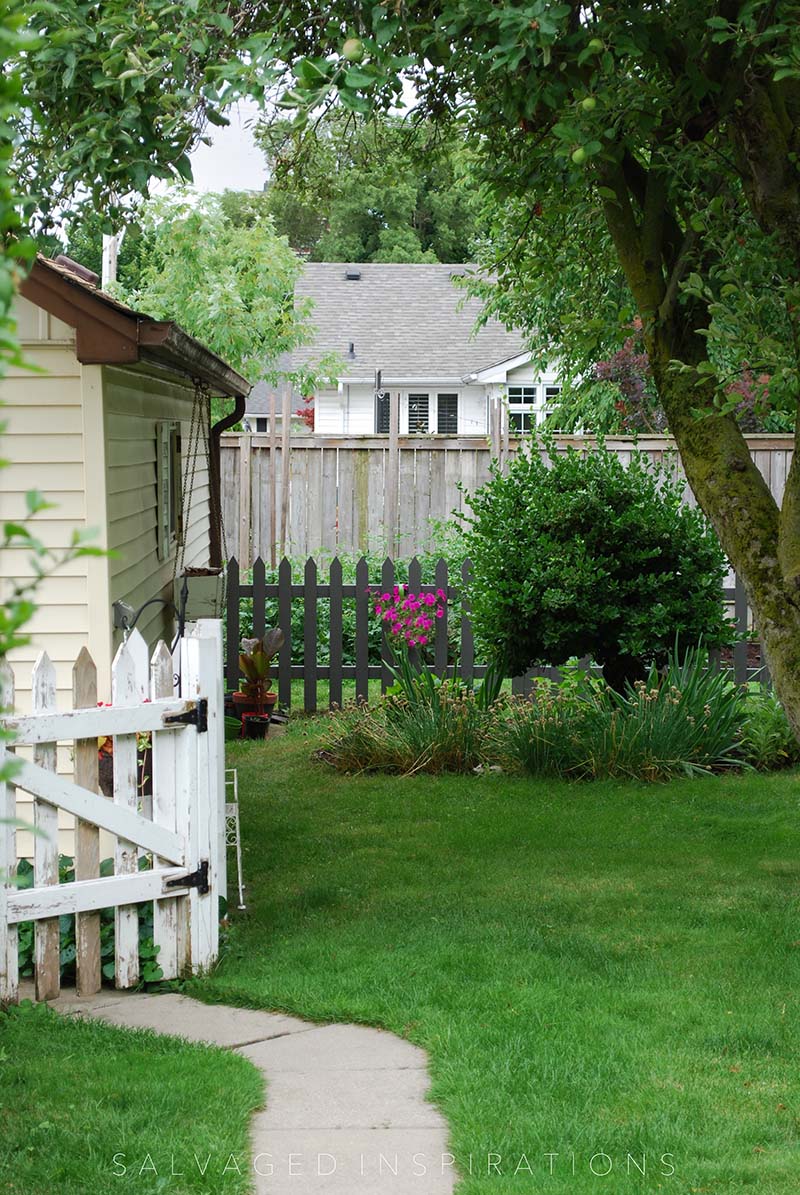
But check it out. Doesn’t it look updated and beautiful with the Semi-Sweet paint!?!
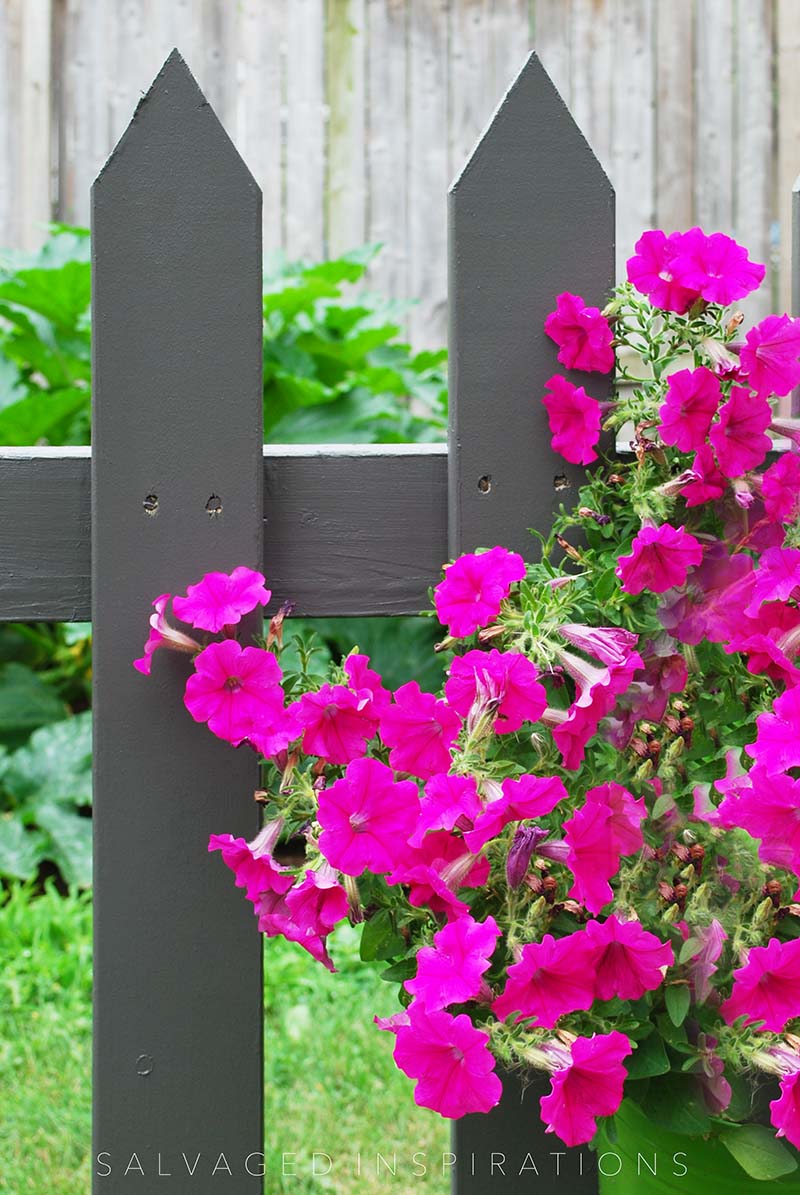
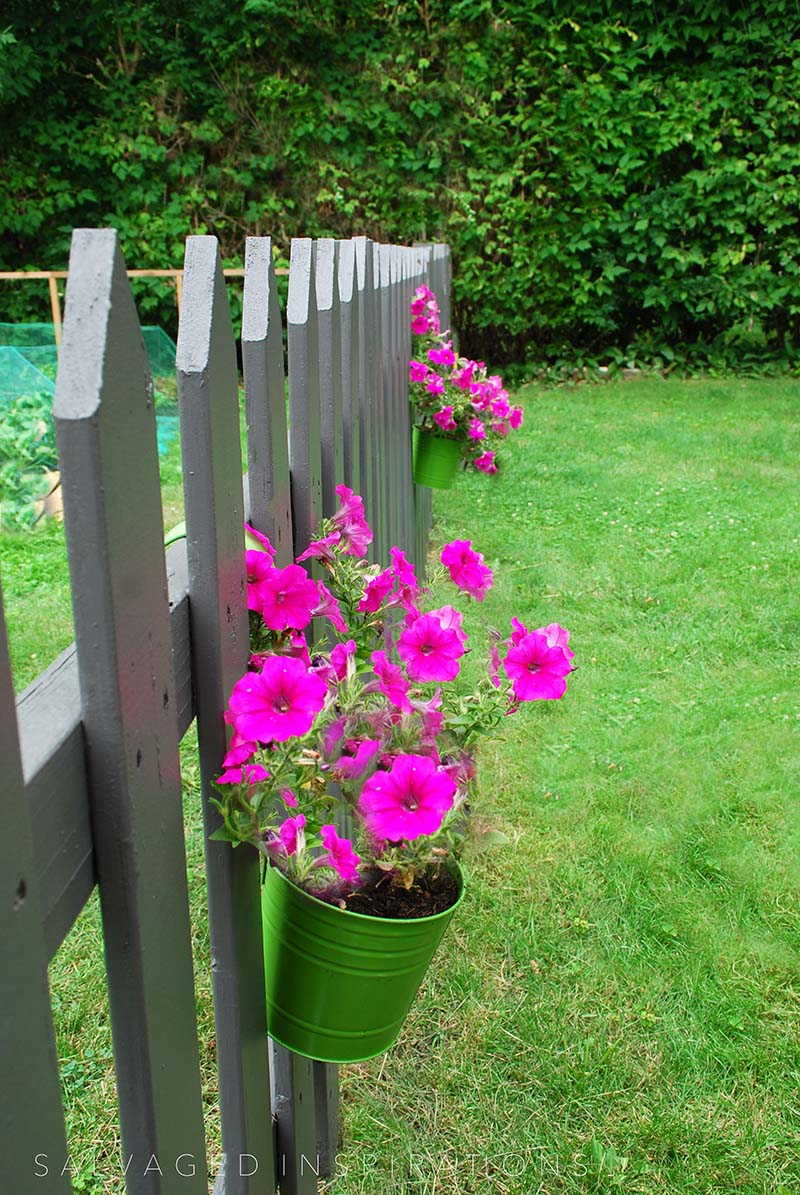
I love it! It’s a big change from the traditional white-picked fence but it certainly adds more drama to the yard.
YOUTUBE TUTORIAL
Here’s a step-by-step tutorial on Youtube. If you have any problems viewing below, feel free to watch it on my Youtube Channel HERE. Our #siyoutubefamily has hit 14.5K so don’t forget to subscribe if you haven’t done so already! So exciting, thank YOU! 🙂
I’ll be back next week with a fun inspiring round-up on Tuesday and a gorgeous furniture makeover along with my Furniture Fixer Upper Crew on Thursday. Have a super week and see you then!
LET ME KNOW WHAT YOU THINK OF THIS PAINTER’S MITT OR FEEL FREE TO ASK ANY QUESTIONS YOU MAY HAVE… I ALWAYS LOVE HEARING FROM YOU. IT MAKES MY DAY! 🙂
Happy furniture painting friends!
Denise x
RELATED POSTS::
DIY ANTHROPOLOGIE DRESSER
CACTUS PAINTED SIDE TABLES
HOW TO PAINT MCM FURNITURE
DIY BOHO NIGHTSTANDS
HOW TO REVAMP YOUR OLD DESK
PIN AND SHARE!

I use socks over a latex glove all the time. Primarily for things that are rounded. Spindles for sure.
Great idea! Thanks for the tip!
WOW! That colour really is dramatic and is perfect for your fence.
Aw, thank my friend! 🤗 I’m slowly trying to update the outside of my home/yard so I’m really liking this updated look as well. XOXO
I love the dark paint colour you chose. It adds some sophistication to the picket fence. As for the paint mitt approach, I read about using ankle-high gym socks over vinyl gloves to stain fence spindles and I bought a cheap bundle of them, in an appropriate size for my hand, at Walmart to try. I will be dipping my hand into the stain.
Thanks Robin! And ya, I’ve used socks to wax and apply stain as well! It works great and would probably work equally as well painting a picket fence!😃
I used a paint mitt on some pressed back chairs (the ones with all those detailed spindles!! 😳😳). I dipped it right in the paint bucket! It worked great! It was too big for my hand so I had to pull it tight with the other hand to get in nooks and crannies but I would recommend at least trying that when you paint the other part of the fence. The paint on the seam part of the mitt will get right in those hard to reach places and you won’t have to go back and forth between the mitt and roller.
FYI: I tried to wash mine instead of just storing it… That didn’t work so well! Lol
I’m soooo happy you’ve chimed in… thanks Heather! Okay. I’m going to try pulling it tighter and adding more paint on the next part of the fence!
I LOVE the dark fence – very very pretty. I’ve always been a big fan of white picket fences, but that looks gorgeous! And it’s funny, as soon as I saw the mitt I thought “self tanner!” LOL I can see how it could be useful though for painting and waxing, etc., if it fit better…. Good luck with the rest of the project, and with the weather!
I’m a big fan of a classic white picket fence as well but I love this new look as well! And thanks. I was hoping to get out there and paint the rest today but this heat wave would have dried up my paint before it hit the fence.😂🌞
Don’t know how i really feel about the painter’s mitt, but love the difference the color made on your fence. I am using a close color on my pergola and really like it so far. Can’t wait til you try the mitt on funiture. I’m just nosy by nature. I might have been tempted to buy the mitt at Restore to try it. I wouldn’t have bought it at Lowe’s cause I’m CHEAP!!! Glad of your input. Saved me from temptation!!!!
I think this color or something similar would look amazing on a pergola. It creates a mood and some drama, doesn’t it!? And ya, I’m the same. I probably wouldn’t have tried this painter’s mitt if I hadn’t seen it at the Restore.
I never heard of a paint mitt so thanks for sharing! I can think of a few things around my house where this might really come in handy.
I hadn’t heard of them either. If you decide to give them a try, I’d love to hear what you think!
We’re painting the trim on our house soon so we’ll be on the hunt for a painting mitt. I can think of a number of places it’ll be useful. Thanks for the tip Denise!
I’d love to hear what YOU think if you get to use one!
I have wondered about those mitts and if they really work. Thanks for being the tester on this one. As you suggest, it would be amazing if they were made even in general sizes like X-large, large, medium, small. Maybe they’ll see your article and take the hint! :0)
Hi Caye! 🤗 I don’t think my little blog has that much ‘clout’😂 but yes, that would AMAZING!!! I also went on Amazon and read a few reviews for these painter mitts and a few people resized them by using either elastic bands or actually sewing them. I don’t think I’d bother to put in the effort of actually sewing them smaller but I bet it would make a HUGE difference!
I like the mitt idea but know I would use way to much paint. I agree with you, if the mitts came in different sizes, it would be time saving and less paint usage. Thanks for sharing. I’ve never noticed them before. They’d probably be awesome for waxing though, LOL.
YES… I never even thought of them for waxing!!! It would have to be a lint-free one for sure.
Hi Denise. I didn’t even know there was such a thing as a painter’s mitt. Thanks for the information. Your fence looks amazing in the new darker color. I heard the weather can change many times a day in Canada, from cold to hot, sunny to rainy, even snow in the summer. Is this true???
Hi Monique! I didn’t know these existed either… until I saw them in the Restore. I wasn’t even going to buy them but my sister encouraged me to give them a try. And yes, we have extreme weather from season to season. Our winters are extremely cold and snowy but our summers here are hot and humid. Especially in central Canada (I’m in Ontario). We’ve never had snow in the summer though. Thank goodness…lol.
An idea for keeping the wild beasts (the bunnies, chipmunks, squirrels, birds, snakes, and skunks) out of your garden, try putting 2 foot poultry netting along the garden side of the fence. Get the 1″ mesh, not the 2″. Well, maybe it wont keep the snakes out, but they are beneficial critters. And it wont keep the birds out, so you may have to cover your strawberries.
Thanks Michael! I don’t know if you can tell in the pics but we started making a frame around the inside of the garden for just this reason. We just haven’t had a chance to put the mesh up yet. And I know it sounds like I’m complaining but I actually LOVE seeing all the wildlife.💕 And if I have to share my homegrown goodies, I don’t really mind.🥰
I’m wondering how a dark-painted wooden picket fence will look after a few years’ weathering. (Had no idea DB was exterior paint!!!) But it surely does make a good impression from what I see here, and in a few years, will it matter anyway? Might as well enjoy what pleases us here and now. Have a ball girlfriend,, and enjoy every day in every way,
Hi Maria! 😊 I’m not sure how the dark paint will hold up but I agree, so long as I’m enjoying it now I’m happy. As for the Dixie Belle Paint, YES it can be used outdoors but it’s recommended to seal it so it doesn’t fade and holds up to rain and snow. I used the DB Coffee Bean and Gravel Road to experiment with the exact color I wanted. Once I figured it out I went to Lowes and bought a paint and primer outdoor fence paint. 🙂