A PAINTED FABRIC CHAIR GETS A PART II USING PRIMA TRANSFERS!

One of the best things about being a creative is experimenting with new ideas while mixing and matching products. One of the not-so-great things — it doesn’t always turn out. Luckily, what takes the sting out of the latter is I ALWAYS learn something new. And often it’s when things don’t turn out as I had hoped that I learn the very most!
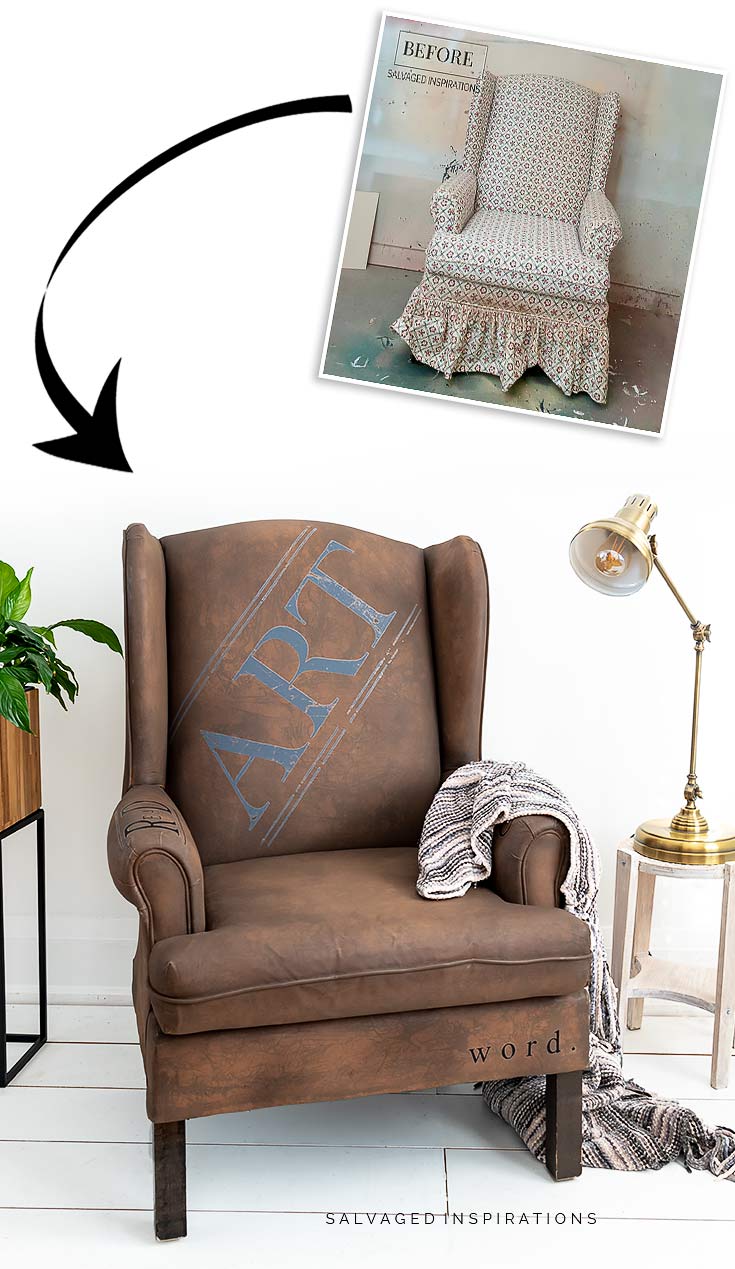
Today I’m sharing what I learned using Prima Transfers On Painted Fabric! You may remember I painted the fabric of this 90’s wingback chair using a faux leather technique. (video below) Well, today it’s getting a Part II with leftover furniture transfers.
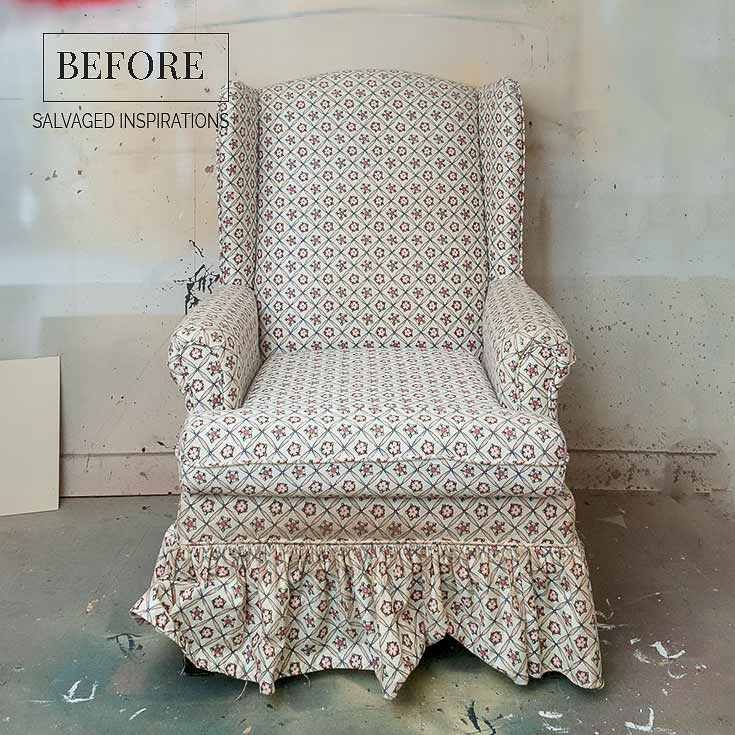
It’s also Furniture Fixer Upper day my friends! I can’t wait to see what my talented group of friends have in store for us today. I’ll be sharing their makeovers and tutorials at the bottom of today’s post. But first, let’s take a look at what this chair looked like before it was painted.
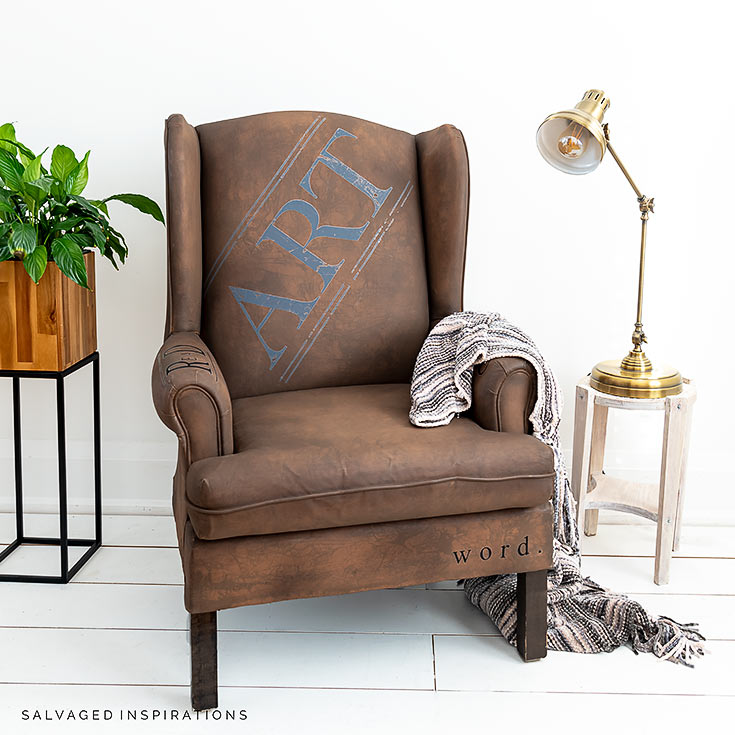
Here’s where we’re at today! 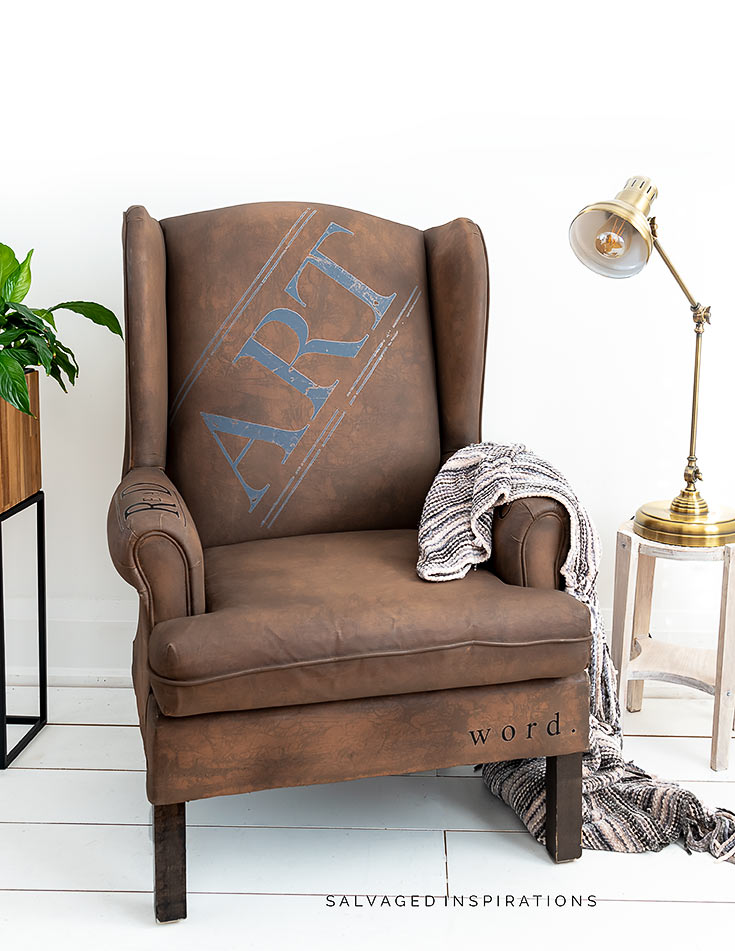
I thought adding some leftover furniture transfers might make the chair look more modern and interesting.
What do you think?

THIS POST IS SPONSORED/CONTAINS AFFILIATE LINKS TO PRODUCTS I USE. YOU CAN SEE MY FULL DISCLOSURE HERE.
SOURCE LIST
-
- 90’s Wing Chair – SALVAGED
- Trust In The Lord (transfer)
- Hope (transfer)
- Market (on clearance!)
- Clear Wax
- Sandpaper | Shop Towels
TRANSFERS ON PAINTED FABRIC
Last July, this 90’s wingback chair received a total makeover. I shared How To Make Fabric Look Like Leather. You can watch the full step-by-step-video below or if you’re having trouble feel free to watch the YouTube Video Tutorial here.
MIX, MATCH & CUSTOMIZE TRANSFERS
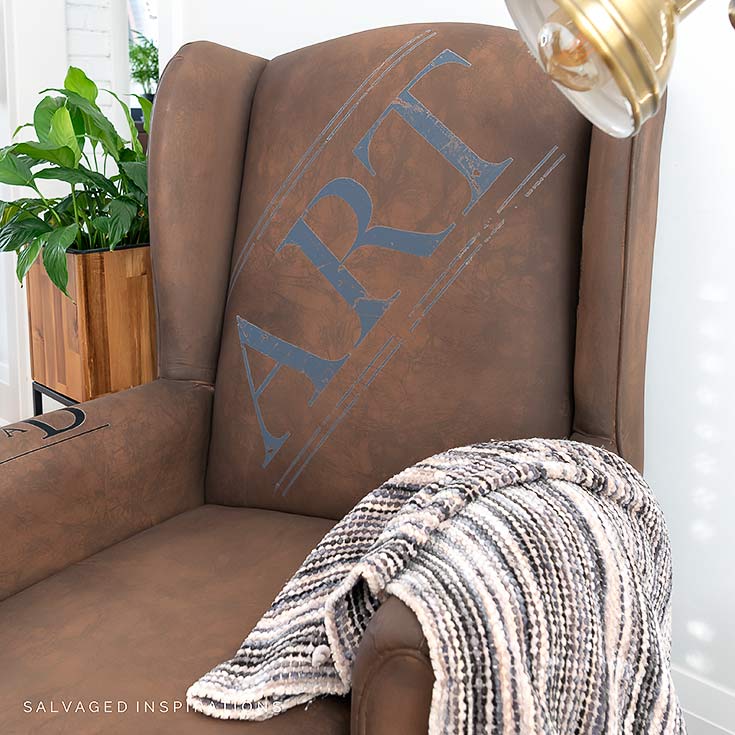
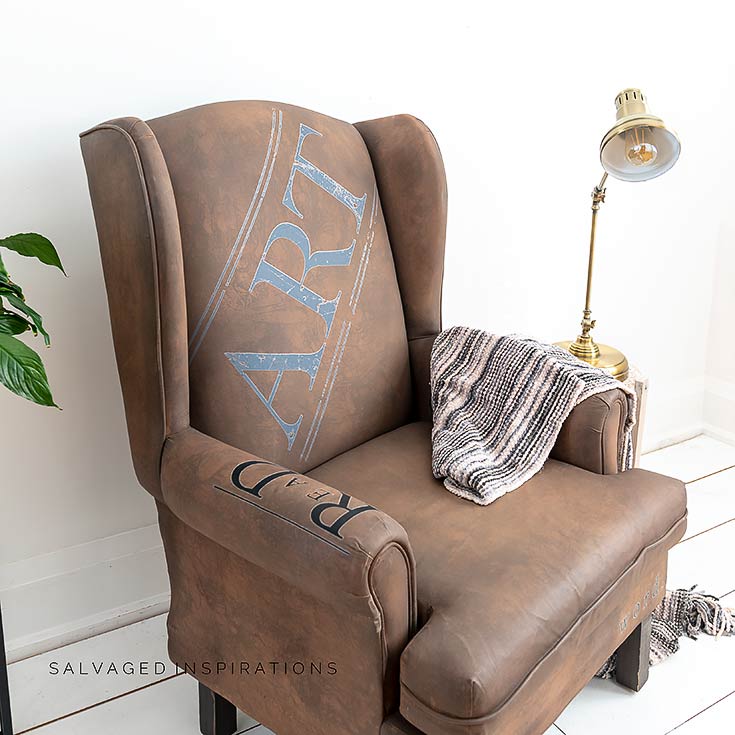
I love using pieces of transfers and mixing and matching them to fit different projects. I had leftover pieces from ‘font-type’ furniture transfers and thought it would be fun to add some lettering to this chair. After playing around with different combos, I decided on “ART” across the back along with a few other words I pieced together.
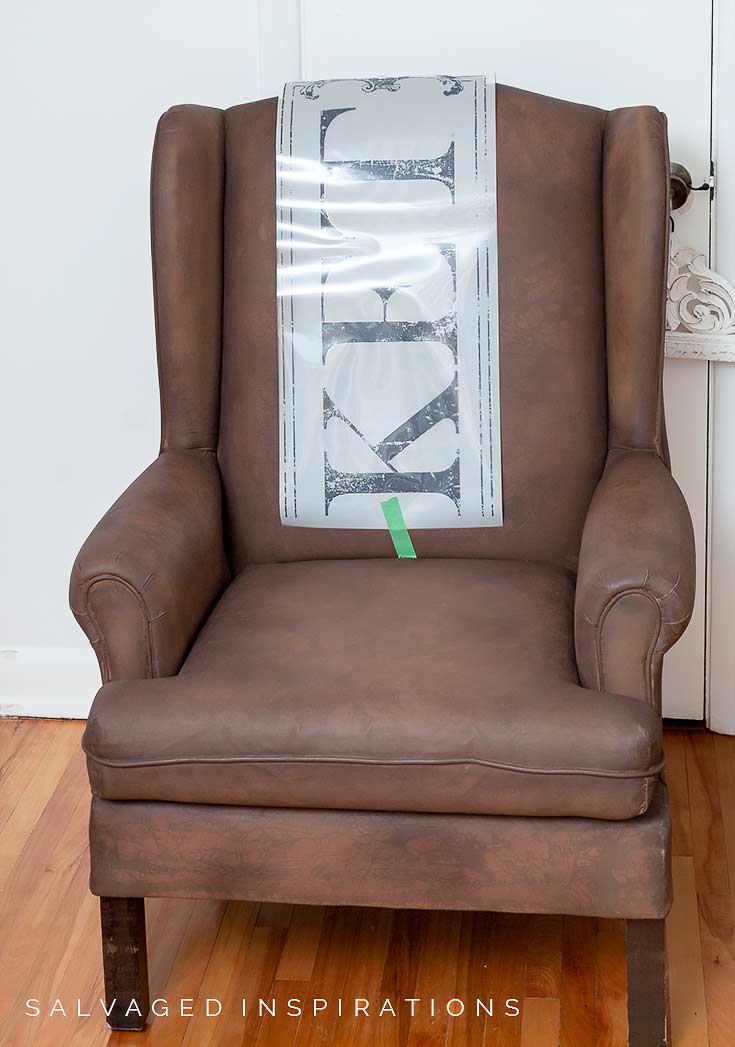
If you’re interested in these FONT type furniture transfers, Scrapbook.com is having a huge clearance sale. (as of the writing of this post) The large M*A*R*K*E*T transfer I used below is on clearance for just $2.99. Maybe they’re trying to get rid of inventory or they’re going to stop making them ??? …because they’re usually $25! You can check out their selection here!
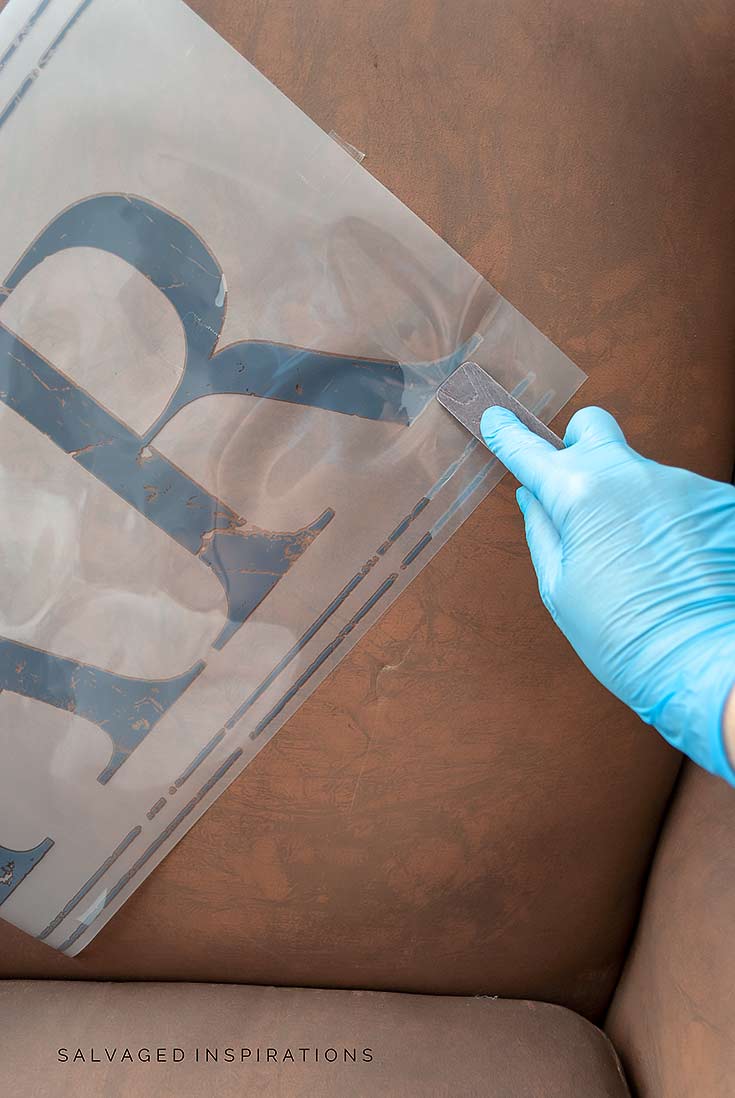
I used this easy Rub-On-Transfer Method to adhere the font to this finish. If you’ve never used furniture transfers, it’s as easy as peeling off the plastic backing, laying the piece down where you want it, and rubbing with the wood applicator provided. I have a full tutorial on How To Rub-On Transfers here and I’ve also included it in the ‘Related Posts” section below.
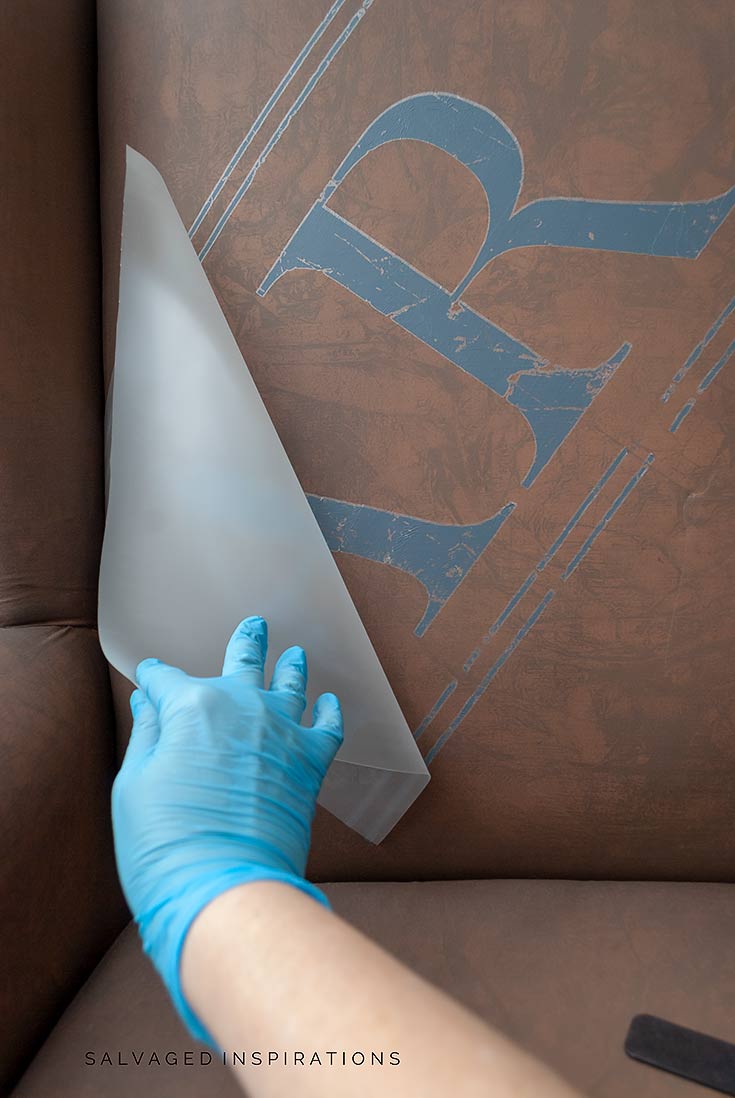
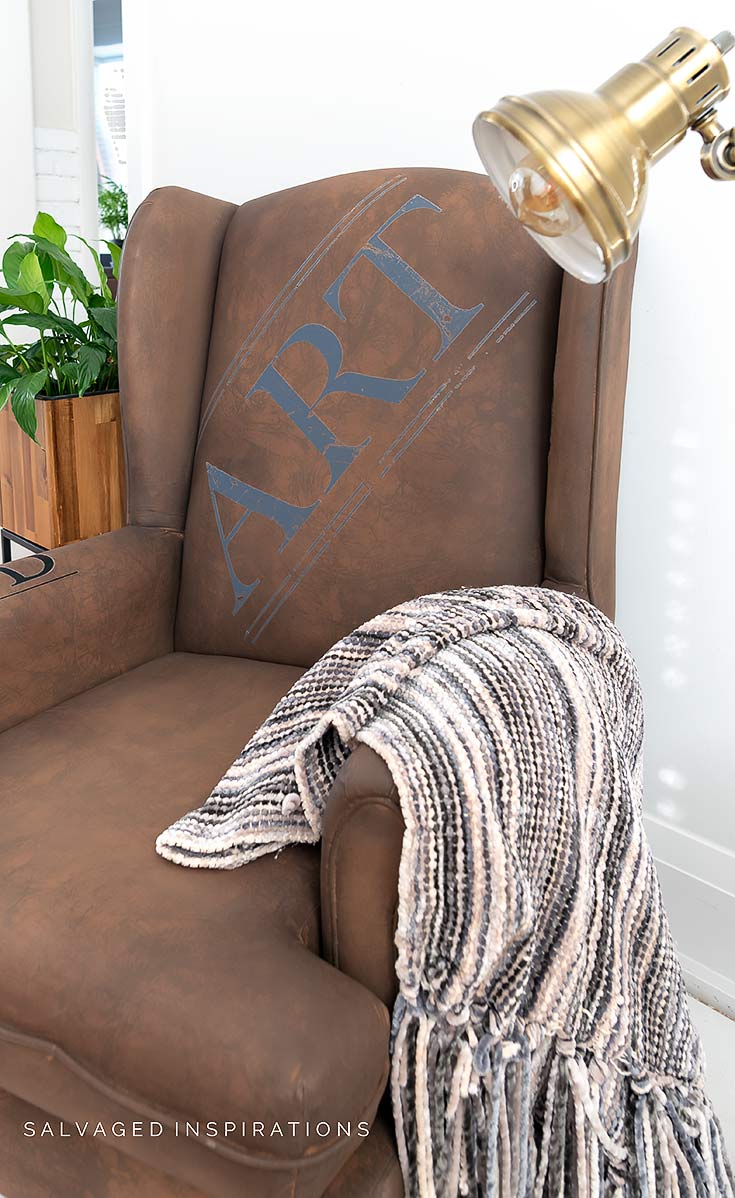
I was really happy with how the “ART” looked on the back of the seat.

But then…… I pieced together “READ” from another transfer. It was a black font but my thought was to sand it down and distress it so it would look worn-in and lighter to tie in with the gray “ART” font.
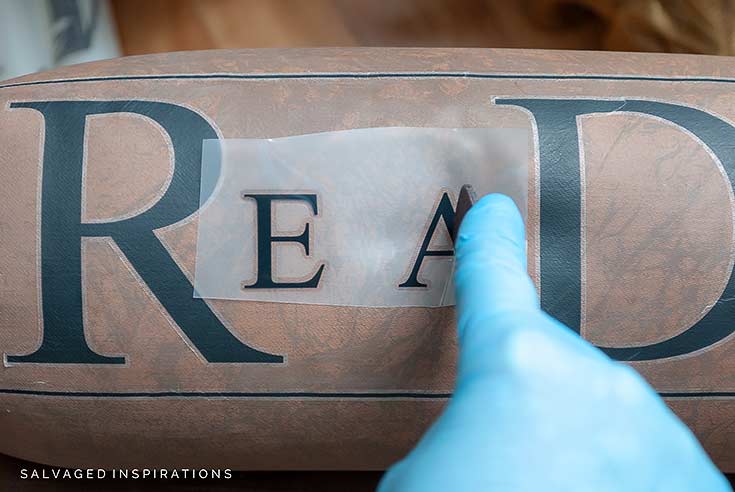
The transfers adhered perfectly BUT I couldn’t sand/distress them. It made a terrible mess and was ruining my faux leather finish. So the black font didn’t blend in the way I imagined.
Using transfers over wax is not recommended. This wax finish was 100% cured (and it’s my chair), so I thought I’d give it a go. I’ll be curious to see how it wears over time.
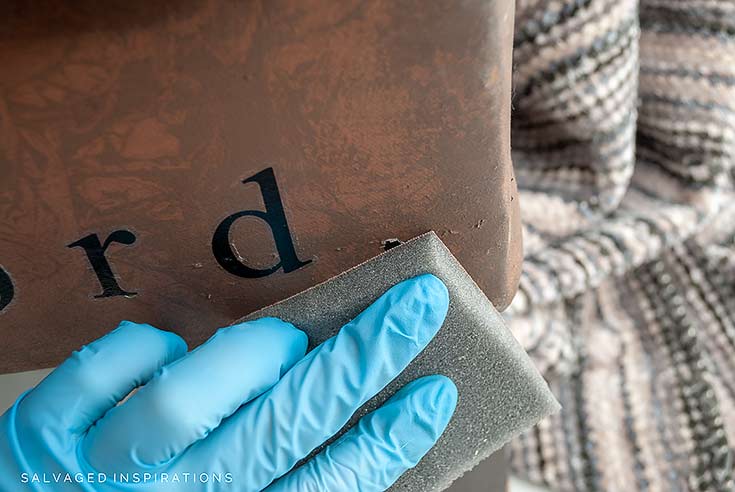
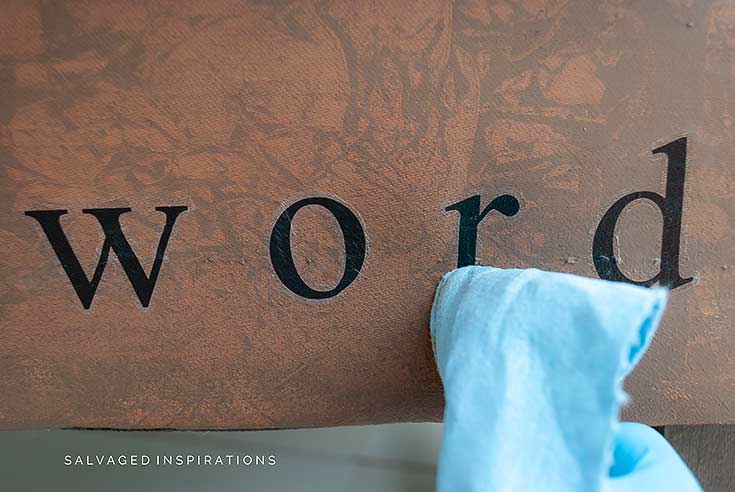
BURNISHING TRANSFERS
To get rid of the hallo lines around a design I like to burnish my transfers. Burnish is just a fancy word for rubbing or polishing. I used a shop towel to rub away the ghosting.
Below, you can see the “R” is being worked on and the “D” is done. The first two letters have not been burnished yet.
PROTECT/TOPCOAT
I was going to use this clear wax to protect and seal but I’m going to leave these transfers as-is and see if they wear away and distress naturally.
This didn’t turn out exactly as I envisioned but it was a GREAT learning experience and a lot of fun.
Here are my takeaways from this project.
- I CAN add furniture transfers over a waxed finish so long as the wax is 100% CURED!
- I CAN’T sand and distress a furniture transfer over a painted fabric that’s been waxed.
- Planning is key when mixing and matching transfers. Create and layout a design FIRST!
- Transfers CAN be burnished beautifully over a cured wax finish on painted fabric.
- Time will tell how these transfers will hold up after being applied over the cured wax finish.
I learned A LOT! Hopefully sharing this will help YOU out with any projects down the road. 🙂
And now for some FURNITURE FIXER UPPER FUN!
Below are their BEFORE photos – visit the links underneath to see the amazing AFTERS and to learn how they did it! I’m heading over to take a peek right now myself!
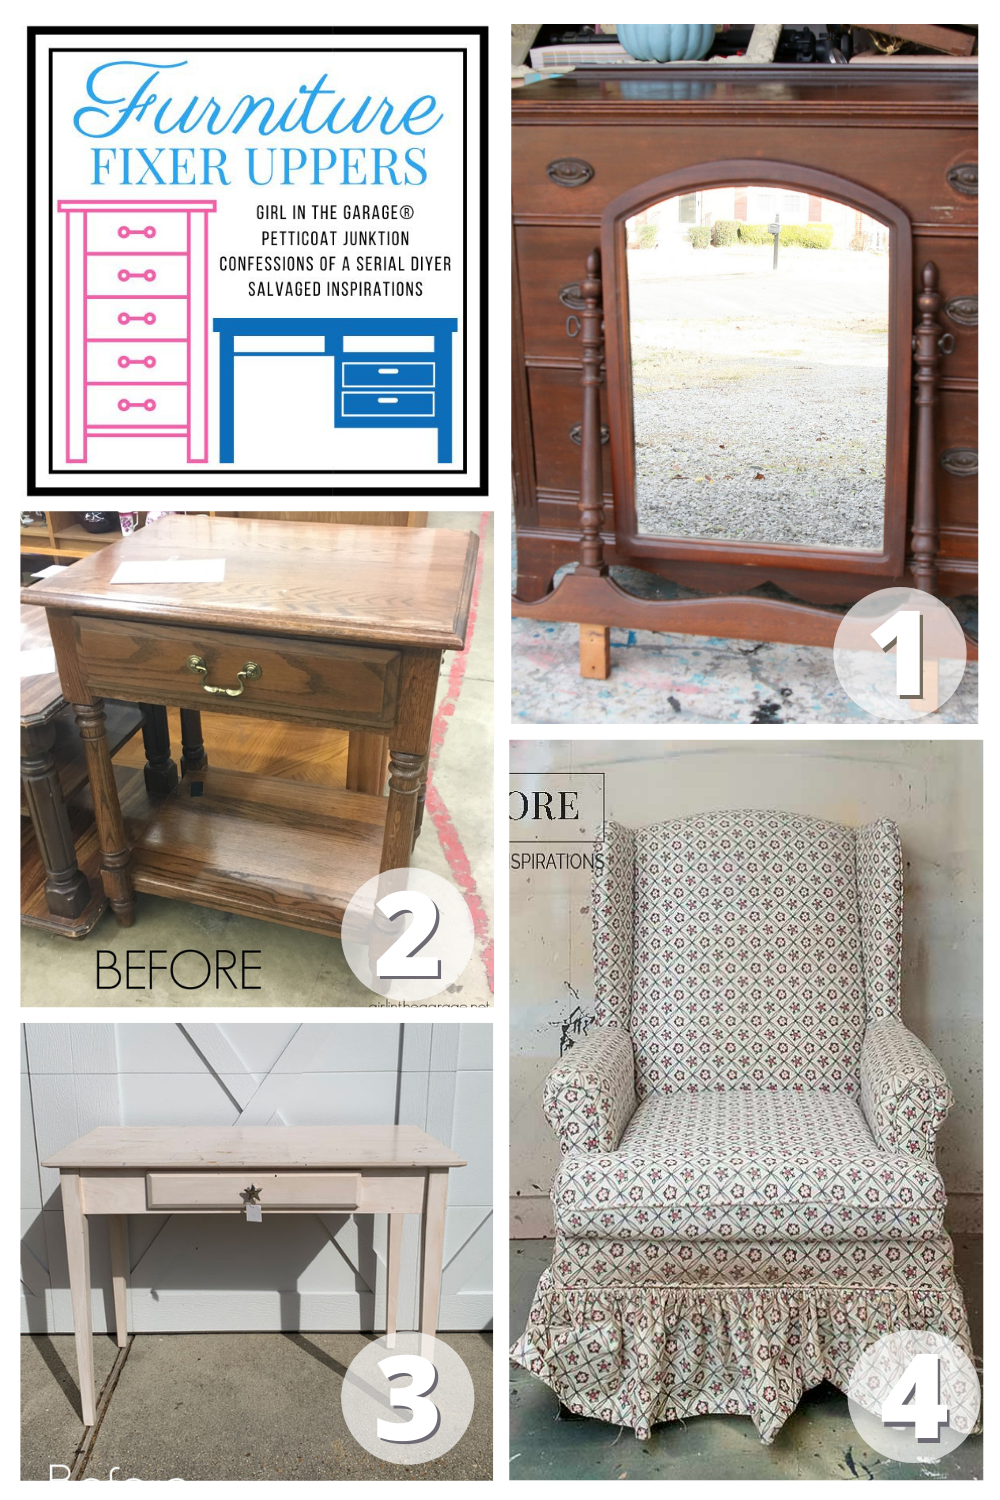
1. Petticoat JUNKtion
2. Girl In The Garage
3. Confessions Of A Serial DIYer
4. Salvaged Inspirations (so happy you’re here!)
Here’s another look at the before and after.
HAVE YOU EVER TRIED USING TRANSFERS ON PAINTED FABRIC? FEEL FREE TO ASK ANY QUESTIONS YOU MAY HAVE… I ALWAYS LOVE HEARING FROM YOU. IT MAKES MY DAY! 🙂
Happy furniture painting my friends!
Denise x
RELATED POSTS
How To Apply Furniture Transfers
How to Apply Prima Transfers
Furniture Transfers | 10 FAQ’s Answered
How To Layer Furniture Transfers
Transfers for Fabric
Floral Transfers For Furniture
PIN AND SHARE!

This is amazing, gonna try on some retro chairs❤️
Thanks so much, you are something else🌻
Aw, thanks Sharon! And if you give it a try, I’d love to hear how it works out for you! 🙂
Hi Denise you did it again! This is such an inventive way to use up furniture transfers and give this chair a fresh look! ~ Nicki
Thank you Nicki! XOXO
I love a gal who pushes the boundaries and you, my dear, bless my soul with your talent and courage. I would have never thought about burnishing letters onto a fake letter chair….LOL…..but here we are.
Now it’s on my radar. You did a great job with this chair and provided a wonderful tutorial. Thank you.
Now….off to review that fabulous leather technique.
Susie from Chelsea Project
Thanks Susie! I wish I had known about the mess sanding makes…lol… but that’s how it goes when I ‘play’ around with things. Hope you like the leather tutorial. 🙂
Such a fun makeover! I love that you were bold enough to try something new like this. And I’m interested to see how it holds up over time. Bravo! xo
Thanks Jen! And I’ll keep you updated with how it wears. I’m curious myself!
I love how the chair turned out, it looks exactly like leather. I have seen other painted fabric prices and was not all that impressed with them. I actually want to try this one!!! I have saved the tutorial so I will have the name of the products and how to do the project. Can’t wait to find a chair at a thrift store!!
Thanks, Sandra! Good luck finding your perfect thrift store chair and I’d love to hear how it turns out for you! 🙂
Thank you so very much for doing this tutorial on how to paint a chair! I have a couple of wing back chairs that I have been trying to figure out what I want to do with them and you have helped me with that dilemma! Again thank you for breaking it down, both chairs look absolutely beautiful love them love your work love your inspiration!
Thanks so much, Ronda! I’d love to hear how yours turn out! 🙂
I love that you try new things!! This chair is a real conversation piece now! Word. Ha ha! XOXO
LOL… it is a good conversation piece! Thank my friend! Hugs
I love how all your projects turn out.
I would love to paint my Wingback recliner chairs but I think the fabric on them has too much texture ,t is a woven fabric and not smooth. Have you ever painted woven fabric ? I would think it would pool and be difficult to wax.
I’ve tried a thicker velvet fabric here but didn’t have much luck. 🙁 I think you’re right, a thick woven fabric may need a different technique.
This chair belongs in my home! Phenomenal makeover my friend. xo 😘
Aww, thanks Do! XOXO
Beautiful!! Really does look like leather and thank you for the tutorial…you made it look easier than I thought it would be. Thank you for sharing and always giving giving inspiration!!
Thanks so much Karolyn! I found the painting part easier to do than the transfers…lol.
SOOOOOO COOL!! LOVE!!
Thanks Celeste! x
So cool!
Thank you!
Love this! Looks great!
Thank you Faye!
Absolutely Fabulous…LOVE LOVE LOVE
Thanks Jane!
Hi Denise. Thank you for sharing all of your tips on how to add transfers onto painted fabric. I especially like how you mix and match different transfers so seamlessly. I’m thinking of adding some transfer words to a pillow but am concerned that it may be too soft of a surface. Unfortunately, the pillow case can’t be removed.
Thanks my friend. And it can probably be done if you squish it down real good..lol. 😉