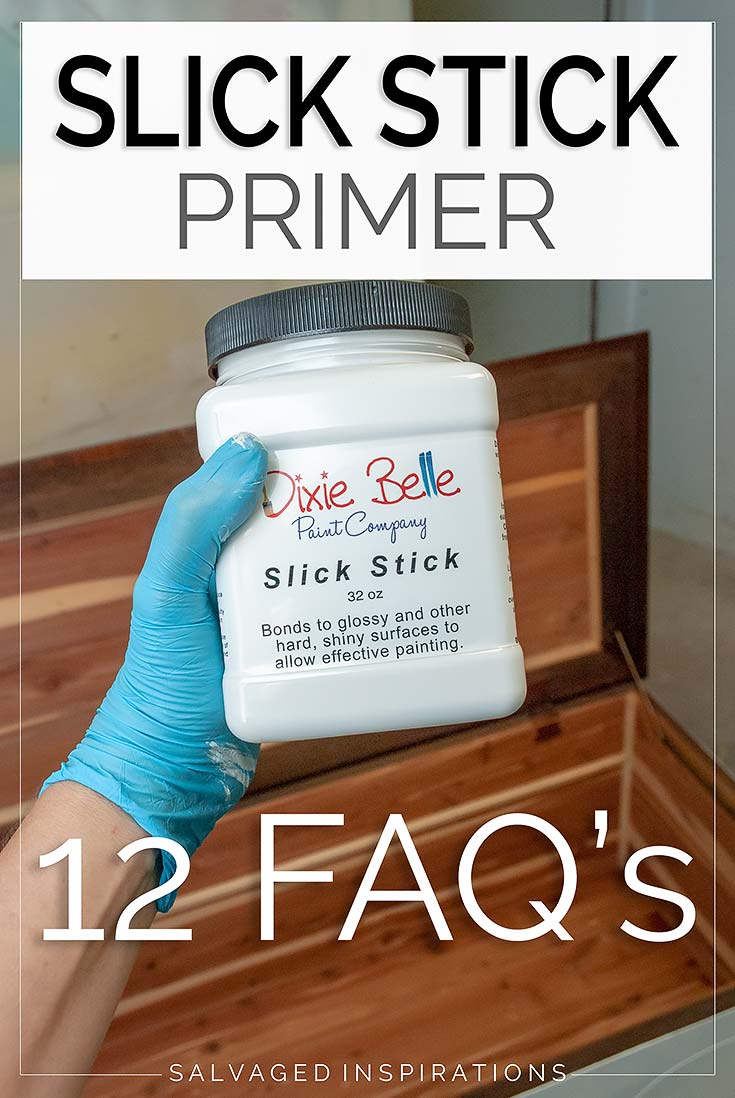
TODAY I’M SHARING HOW TO MAKE **ANY** GLOSSY-SHINY-NON-PORUS SURFACE PAINTABLE! [VIDEO]
Hi sweet SI family! Thanks for joining me on one of my favorite days of the month – Furniture Fixer Upper Day! I’ll be sharing links to the before and after makeovers from my talented FFU crew at the bottom of today’s post but first…
I’m so excited to share this makeover and problem solver with you!
If you’ve ever had an issue with paint NOT sticking to glossy furniture OR slick surfaces like glass, mirrors, plastics, tiles, countertops, builders grade cabinets, laminate, melamine, linoleum floors, particle board, metal, ceramics, vinyl, PVC, Formica, varnish, shellac or ANYTHING with a non-porous-slick-surface — this product is the fix!
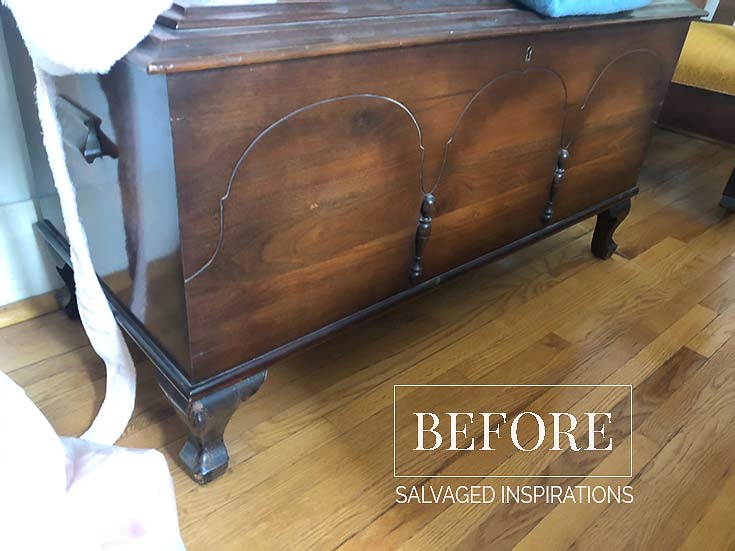
Here’s what I started with. A vintage cedar chest with a high gloss finish. This pic doesn’t show much gloss (Nick texted me this pic asking if I was interested) but you can really see the shiny finish in the video tutorial I’ve included below.
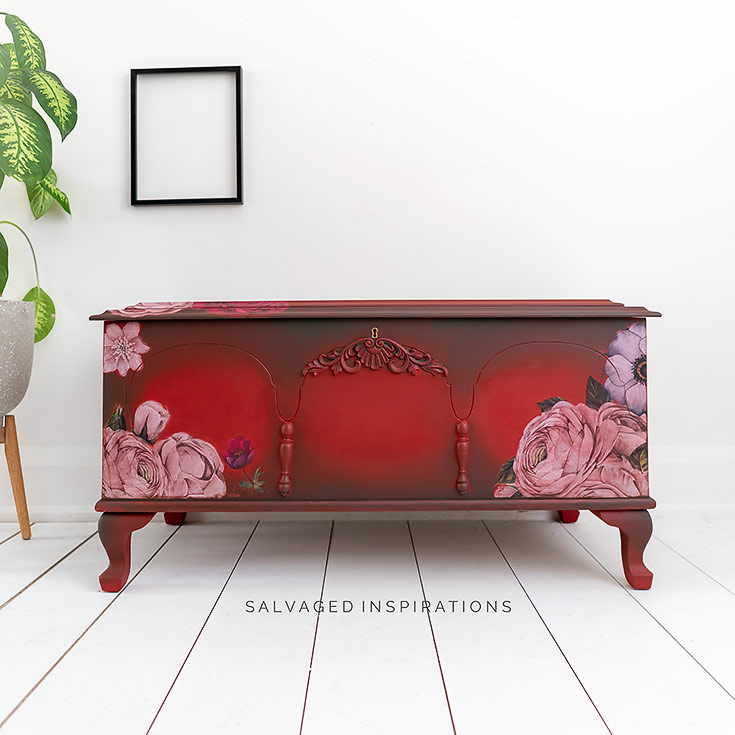
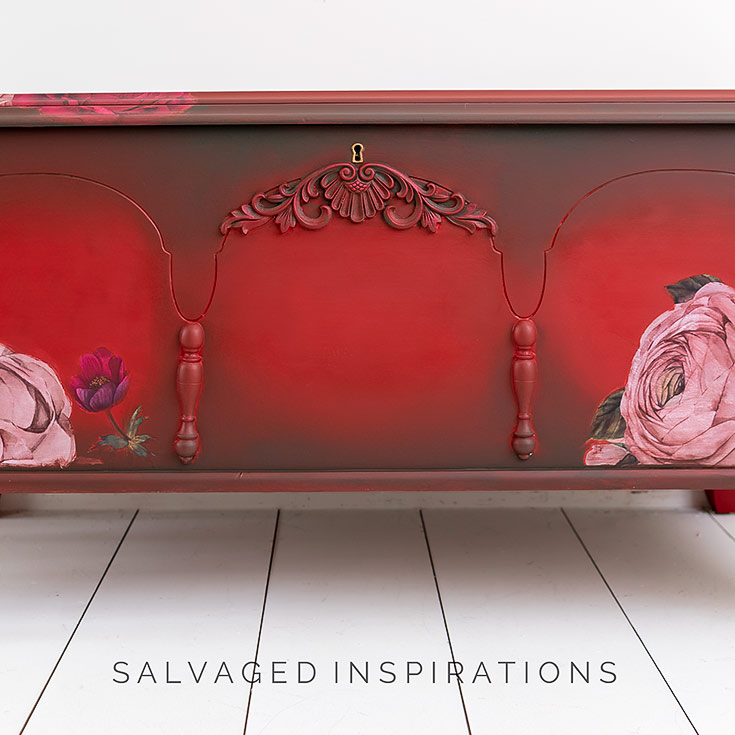
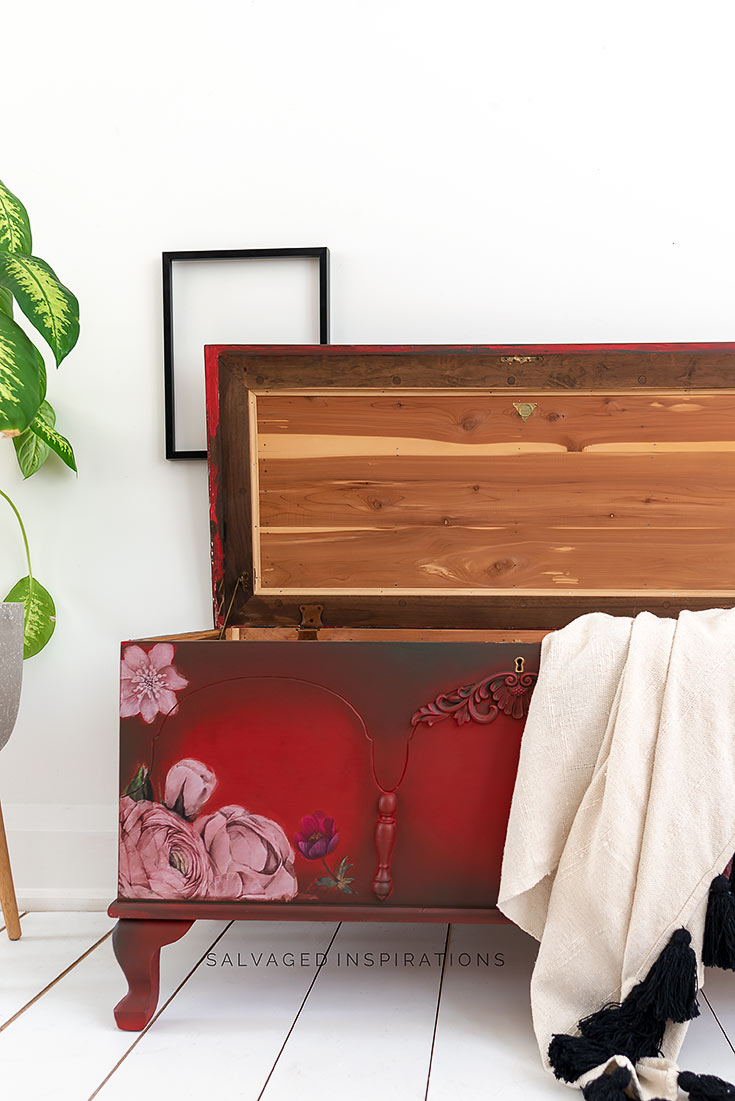
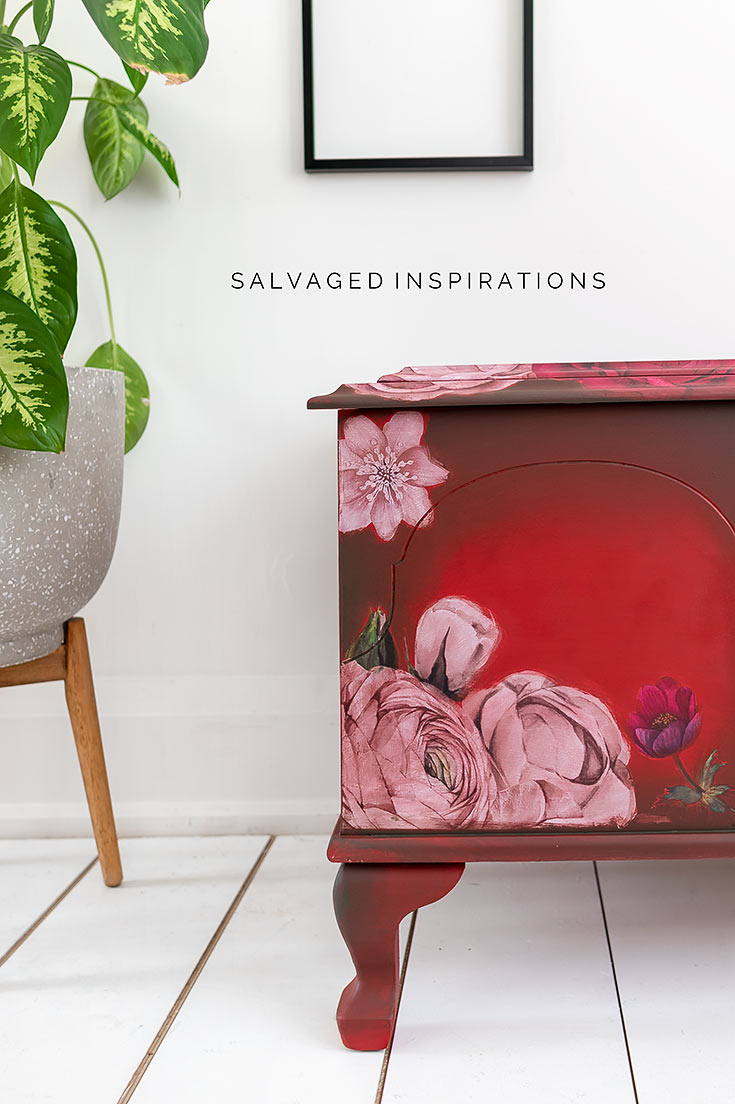
Here’s what she looks like now. NO sanding required and the paint adhered 100% to the slick topcoat – no problem.

THIS POST IS SPONSORED/CONTAINS AFFILIATE LINKS TO PRODUCTS I USE. YOU CAN SEE MY FULL DISCLOSURE HERE.
SOURCE LIST
CEDAR CHEST MAKEOVER
I’ll start with the 411 on this cedar chest. I’ve also included 12 FAQ’s about this primer down below. Here’s a video How To Apply The Slick Stick, what surfaces it works on, and a few tips and tricks. If you’re having an issue watching it below, here is the direct link to my Youtube.
STEP #1 Clean and Prime
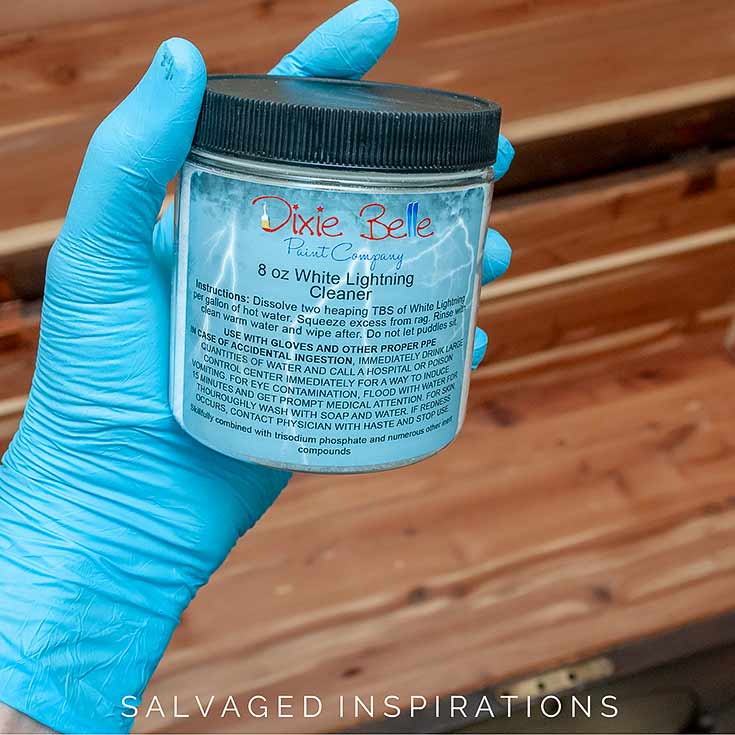
I started by giving this piece a good cleaning with this White Lightning Cleaner. Any good cleaner will work. Just be sure to wipe off any residue before using the primer.
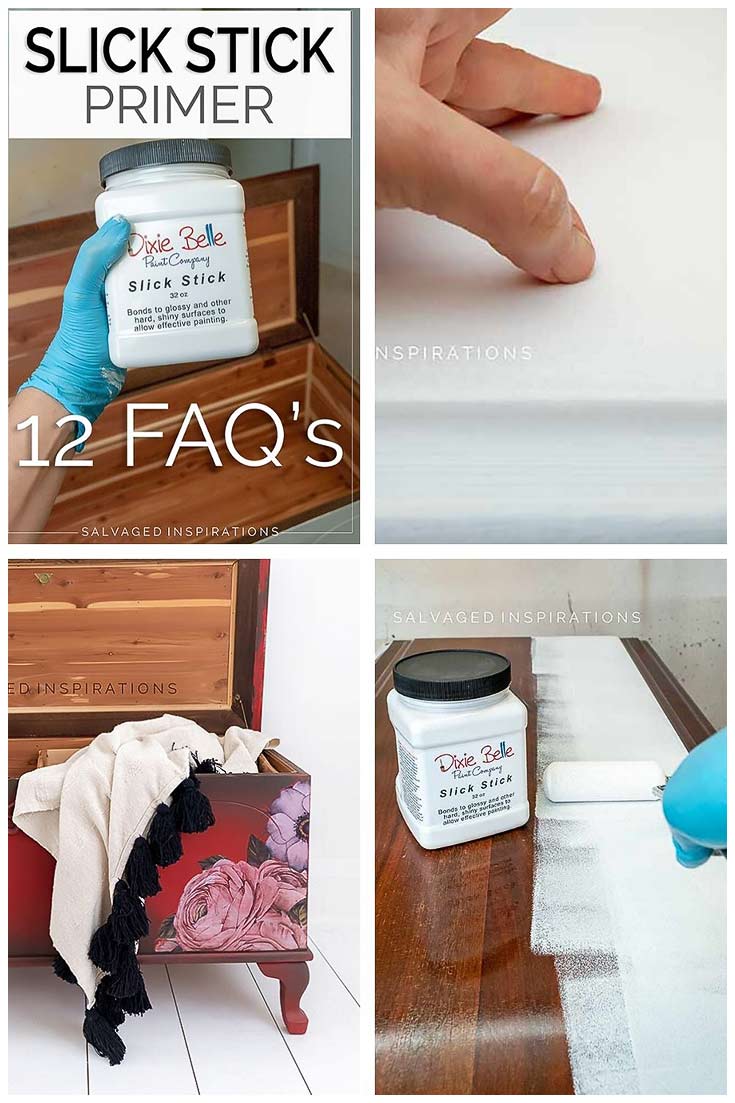
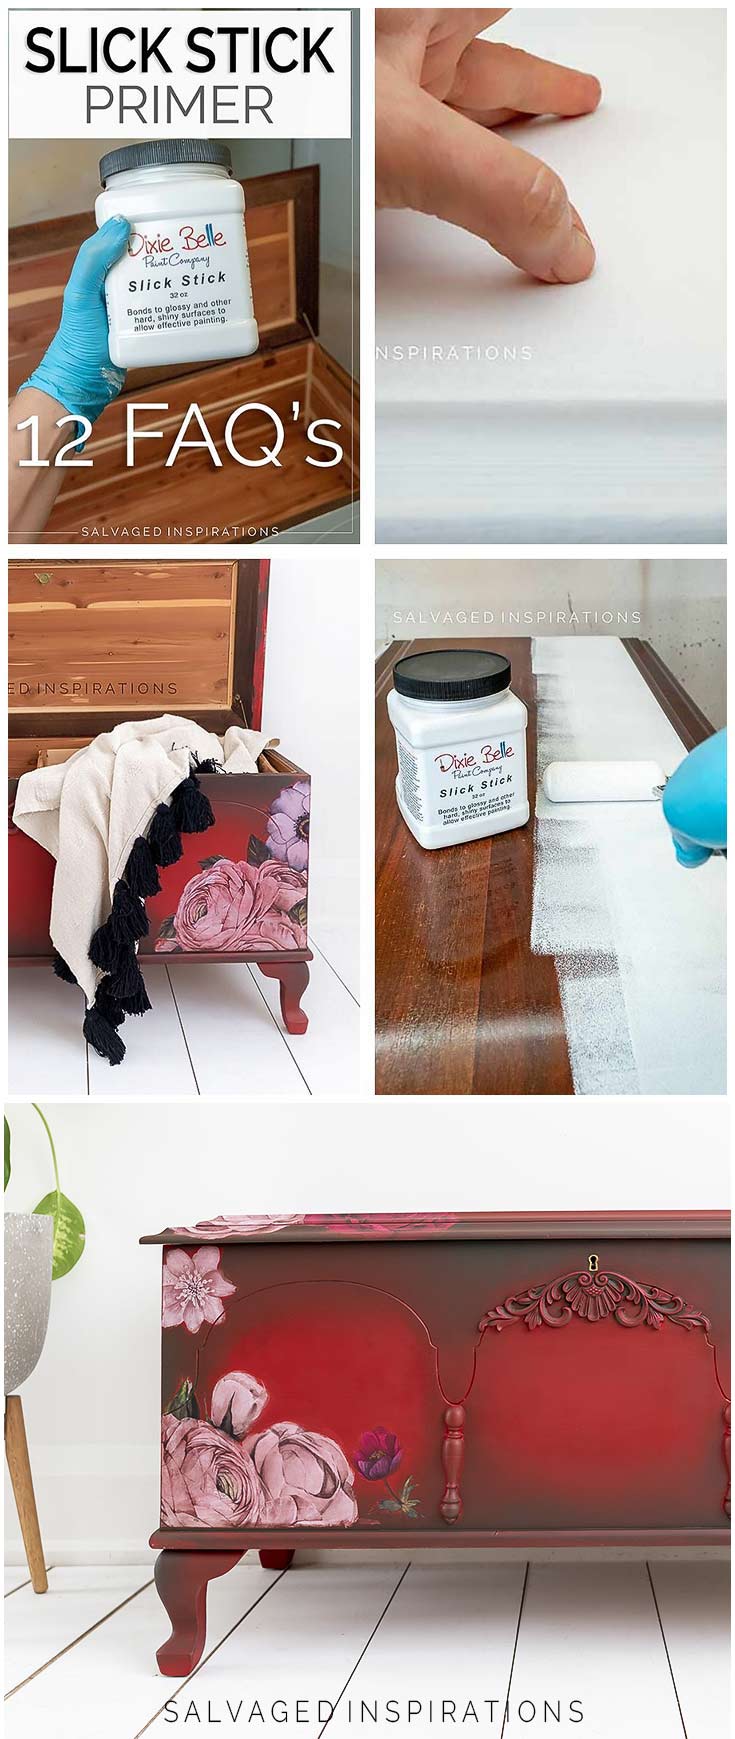
Once the chest was clean and dry, I applied 1 coat of Slick Stick Primer. After letting the first coat dry for 2 hours, I applied a second coat and let it dry overnight. You can’t rush this. This primer requires an overnight dry time to adhere 100%.

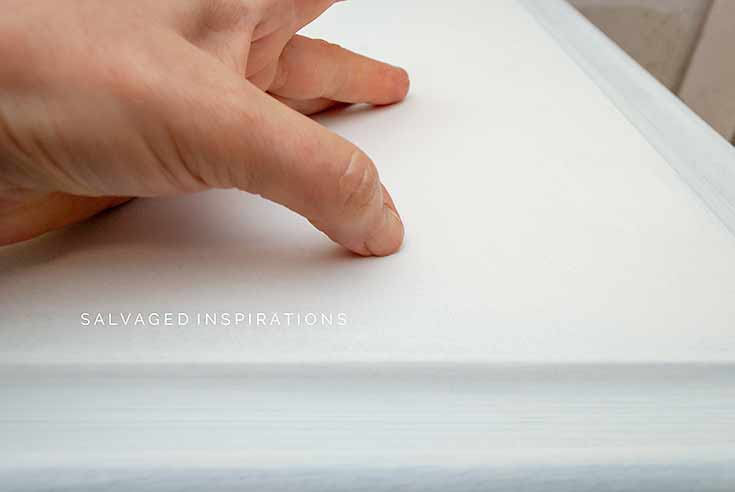
STEP #2 Scratch TEST
Once the primer has dried overnight, I like to do a scratch test to make sure it has adhered to the slick surface. If you use your fingernail to scratch the surface and it stays put, it’s perfectly fine to start painting. If any of the primer scratches off, it requires more time to dry/cure before painting.
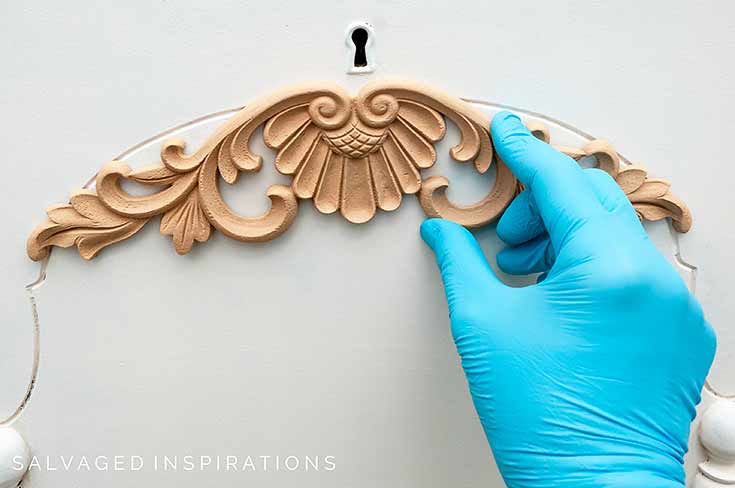
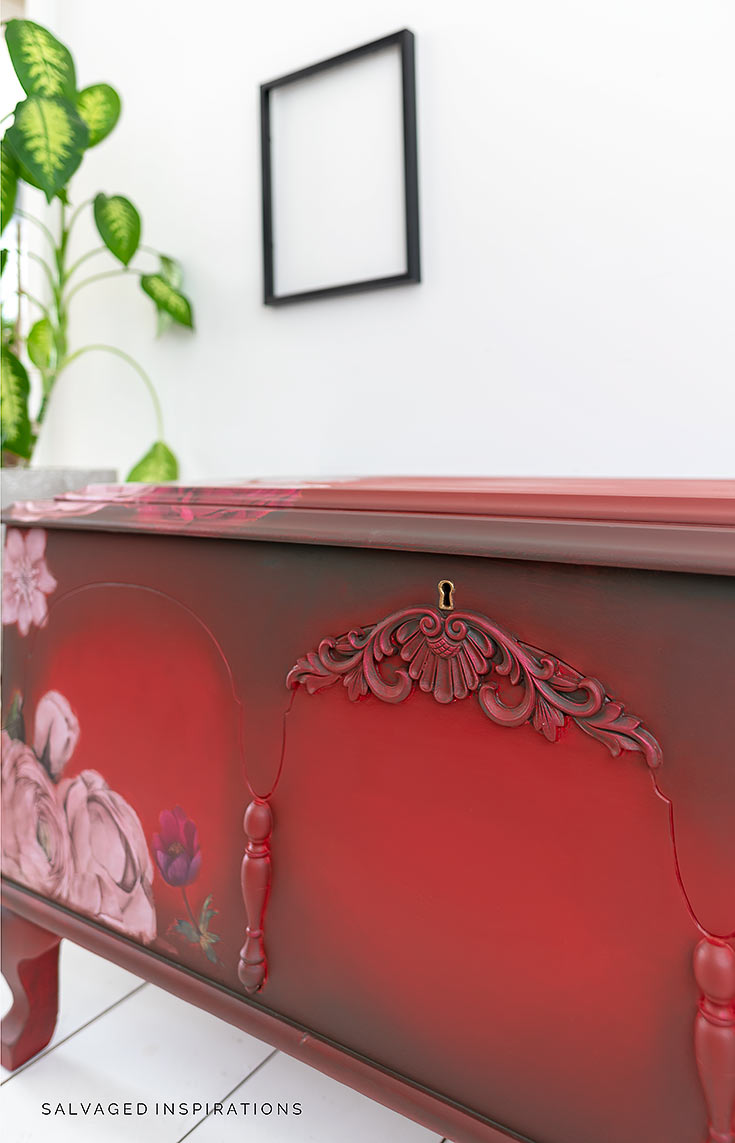
STEP #3 WoodUbend Applique
To add some more character to the piece I added a WoodUBend appliqué. This is a really fun way to fancy up a plain piece of furniture.

STEP #4 Paint
I chose this Barn Red for the body of this chest and smoked and blended with this Collard Green. If you missed my blending tutorial, you can check it out here.
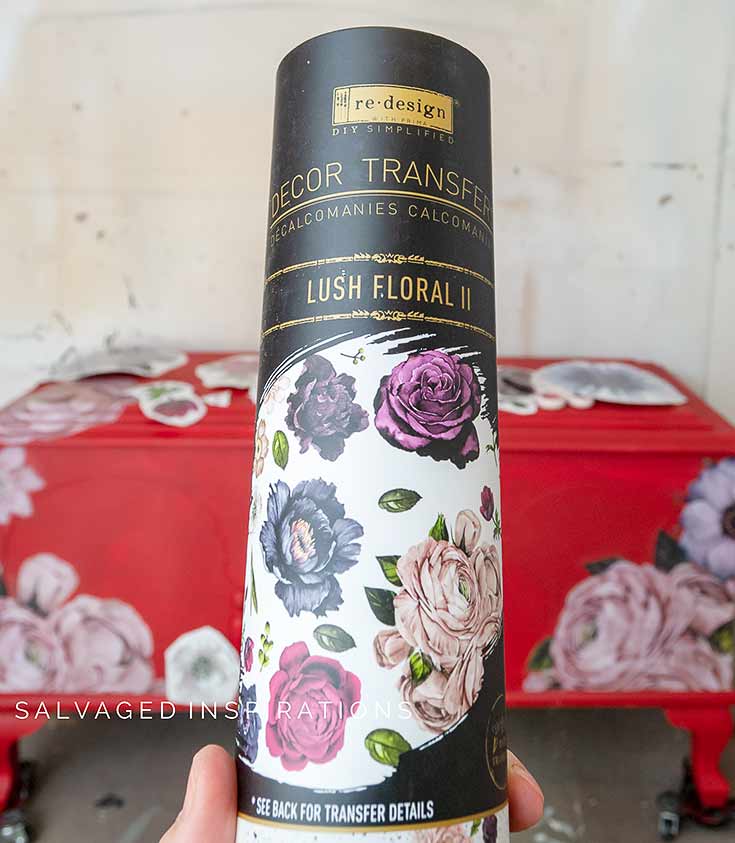
STEP #5 Furniture Transfers
After the first coat (red) was painted, I used this rub on method to apply Lush Floral furniture transfer by Redesign by Prima.
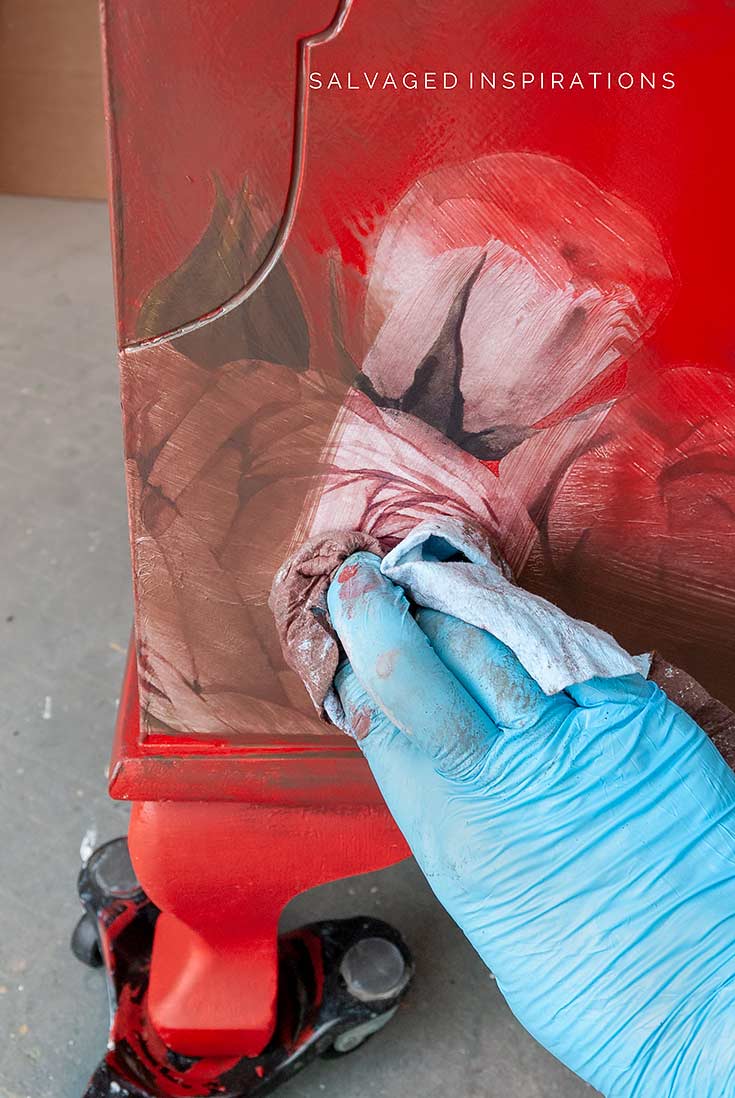
STEP #6 Blending Paint
With the floral transfers in place, I used red and green to blend in the transfers and create a vintage aged look with color. I paint right over the transfer and then while the paint is still wet, wipe it off the design. This works nicely because it slightly tints the transfer to blend in with the rest of the piece.
STEP #7 Protect With Topcoat/Sealer
This cedar chest will be sprayed with this Satin Clear Coat for a durable finish.
SLICK STICK PRIMER – 12 FAQ’s
1. Is there any prep before using Slick Stick?
Yes. The piece your working on does need to be free of dirt, dust, and grease. Using White Lightening or any good cleaning product is recommended before applying this primer. Also wiping off any cleaner residue for good adhesion is a must.
2. How Do I know WHEN to use Slick Stick?
Slick Stick is a problem-solving primer. It’s not required for most pieces of furniture. But when you have a piece of furniture (or ANY slick surface) that has a shiny-slick-non-porous surface that you can’t or don’t want to sand, this is the perfect solution.
If you’re not sure whether to use Slick Stick or not, I would lean on the side of caution and use it! You don’t want to put in all that hard work painting only to have the paint not stick.
WHEN NOT to use Slick Stick
I never use Slick Stick if I have sanded a piece of furniture. Why? Slick Stick does NOT cover stains or bleed through which can occur after sanding. Also, this primer is meant for non-porous surfaces. Once wood is sanded or scuffed up, a stain-blocking primer is a much better choice.
3. Can I use Woodfill or Bondo OVER Slick Stick?
Yes. There are many times I prime and THEN see the flaws. If you use a wood filler or Bondo over this primer, make sure to add another coat over the repair so it takes the paint the same.
4. Is Slick Stick Water Based?
Yes. Slick Stick Primer is a water-based product. This makes for a much better smelling product (although good ventilation is still suggested) along with much easier cleanup.
5. What colors does it come in?
Slick Stick comes in white. It goes on white and remains white once dry.
6. Can I Tint This Primer?
Yes. You can tint Slick Stick with water-based paint. To keep the slick formula intact, I would start by adding a only few teaspoons or tablespoons depending on the size of your project. Just like with any other bonding primer, you don’t want to dilute the adhesion qualities.
Tinting the primer is a great idea when using dark colors because it will help you use less paint with full coverage.
7. What sizes does it come in?
Slick Stick comes in jars of 8oz, 16oz, and 32 oz. I like the 32oz because its the best bang for your buck and its good to have on hand for those hard to paint projects.
8. How do I apply it?
This primer can be applied with a brush or roller and goes on exactly like paint. I prefer to lay my primers with a foam roller. I find it a lot faster and it gives a smooth base to work with.
Use a mister to dampen your brush to help it glide a little better. But again, very little because you don’t want to disrupt the recipe of Slick Stick.
You apply a coat of Dixie Belle Slick Stick. Wait 2 hours and apply another coat. Wait 24 hours (or overnight) and you’re ready to paint.
9. Do I need to sand it?
No. There’s no need to sand in-between coats of this primer or before painting.
10. Does It Cover Stains and Bleedthrough?
No. Slick stick is NOT to be used when a piece has been sanded because it won’t cover bleed through or stains. That’s when you need a product like BOSS or BIN Shellac Primer or a STAIN blocking primer. when you want your paint to STICK to a SLICK non-porous surface, this primer is great.
11. How Much Area Does Slick Stick Cover?
A 16oz jar of Slick Stick will cover approximately 100 square feet. 32oz jar will cover 200 approximately square feet.
12. How Do I know it’s Sticking?
After painting 2 coats and waiting overnight (the required dry/cure time) I like to do a scratch test with my fingernail before painting. I take my nail and run it over the primer with considerable pressure. WARNING – it feels like nails on a chalkboard… UGGGHG… but if nothing scratches off, you know you’re good to start painting.

And now for some FURNITURE FIXER UPPER FUN!
Below are my FFU crews BEFORE photos – visit the links underneath to see the amazing AFTERS and to learn how they did it! I’m heading over to take a peek right now myself! x
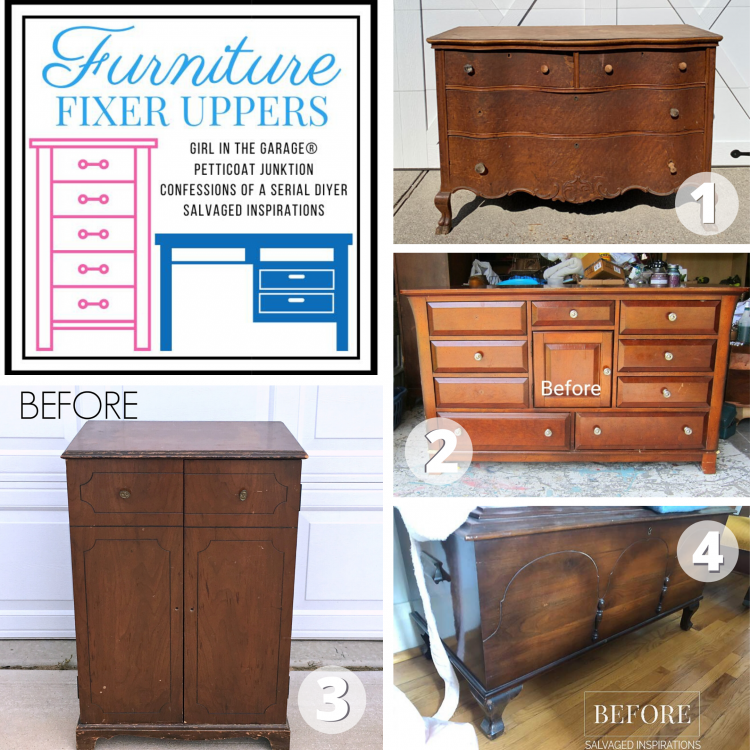
1. Confessions Of A Serial DIYer
2. Petticoat JUNKtion
3. Girl In The Garage
4. Salvaged Inspirations – I’m SO happy you’re here!
Here’s one more look at the before and after! What do you think?

LET ME KNOW WHAT YOU THINK OF THIS CEDAR CHEST MAKEOVER… OR FEEL FREE TO ASK ANY QUESTIONS YOU MAY HAVE ABOUT SLICK STICK. I’D ALSO LOVE TO HEAR WHAT PRIMER YOU USE TO GRIP PAINT!
Happy furniture painting my friends!
Denise x
RELATED POSTS::
5 Ways To Paint Furniture WITHOUT Sanding
2 BEST Ways to Paint Laminate Furniture
Painting Over Laminate – The EASY Way
How To Use B-I-N Shellac Primer
How To Paint Furniture The PERFECT White
PIN AND SHARE!

So pretty! Do I have to use chalk paint with this product? Thanks
Thanks Lulu! I believe ANY waterbased paint will stick to Slick Stick. https://www.amazon.com/ask/questions/asin/B07DTYQN9T
Your work is amazing! One question- can I put latex paint on top of this primer?
Awesome, amazing, crazy good – as always! Thank you for continuing to inspire me. xo
I think you awesome Carol… thank YOU! xo
Love it,the red/green and flowers turned this chest into a stunner. Great tip on blending with the tranfers.
Cynthia
Thanks Cynthia! XOXO
Love your work and howto’s, you mentioned two things in your reply’s regarding blending I’d like to ask about. The first is the word “smoked”. Is that a process you do? Also using “glaze and dry brush? I’m very interested in getting better at blending so want to learn all I can.
Denise, I audibly gasped when I saw the red. You know how much I love me some red furniture! LOL Absolutely stunning makeover on this cedar chest! Yup, slick stick is my go-to primer for non-porous surfaces, its an amazing product.
Aw, thank Marie! I’m so glad you like it. 🤗 I hope you enjoy your weekend my friend. XOXO
Very pretty bravoooooo
Thank you!! XOXO
This is stunning Denise! Thank you for all the information. I’ve never heard of this so I will have to give it a try! ~ Nicki
Thanks Nicki! If you give it a go I’d love to hear how it works for you! 🙂
Oh my gosh, I LOVE this!!! I have a tall chest in my basement that was my mother’s which I sanded about 2 years ago and that’s as far as I got. Maybe now I can get up enough nerve to try something like this.
You have such a talent and I love everything you do.
Thank you so much, Janice! And if/when you decide to give your mothers’ tall chest a makeover have fun!😊
This is just gorgeous! Your blending is flawless and so much great info on the Slick Stick! XOXO
Thanks my friend! XOXO
While I would never buy or paint something red, this is amazing work. Thanks for the tips. I will use them!
Thanks, Lizzy! XOXO And my sister is the same. She says RED scares her.😆
This makeover is bold and beautiful, Denise! Thanks for sharing all your tips about painting glossy surfaces. I was not aware of this product. xo
My pleasure and thank, you Jen! 💕🤗
Holy Cow! This cedar chest is fantastic! I love the red and the flowers, it’s just so gorgeous!
Thank you Janet! 🙂
Wow, so different from the original. I love how you blended the paint and I have to try the Slick Stick Primer..
Thanks my friend! If you give it a try, I’d love to hear what YOU think. 🙂
Oh my goodness!!! What a stunner! You knocked it out of the park👏👏👏
Thanks so much Marsha! XOXO
Very pretty. I love the transfers. They add so much to the chest. The blended colors turned out beautifully. Thanks for sharing.
Thank you, Sue! XOXO
Very pretty. I love the transfers. They add so much to the chest. Thanks for sharing.
Thanks, Sue! XOXO
Simply stunning Denise- the colors, the blooms and the appliqué! The color blending is so pretty, this is advanced stuff though, unsure if I could replicate it. Instead of blending 2 colors can you achieve this look with red or cranberry and dark wax? And, Nick sure has a good eye for picking furniture doesn’t he!
He really does and I’m lucky in that he always keeps his eyes peeled for me. 🙂 And YES, for sure! There are many ways to achieve a blended look so a red or cranberry with dark wax would look beautiful. Glaze and dry brushing work really well too!
Is Slick Stick the best choice to prime old wood kitchen cabinets if I do not want to sand them? It is easy for paint to chip from heavy usage areas and I am trying to avoid touch-ups. Can it also be used for the hinges?
Hi Lori! Yes, it can be used on kitchen cabinets without sanding and it does stick to metal so it will stick to hinges. I’m not sure if it would disrupt the open/closing of a hinge though. And just a warning about kitchen cabinets, depending on what type of finish they have, applying Slick Stick could cause bleed through because it’s not a stain blocker. This could possibly be an issue if you were wanting to paint them white or a very light color. It’s always good to test in an inconspicuous area first. Hope this helps. 🙂
Hi Denise! Very informative and such a beautiful makeover. I didn’t know you could tint Slick Stick or use wood filler over it. Thank you so much .
Hi Cheryl… thanks and my pleasure! XO
Hi Denise. What a gorgeous makeover. I love how you make the transfers look blended in. Absolutely gorgeous work.
Thanks so much! XOXO