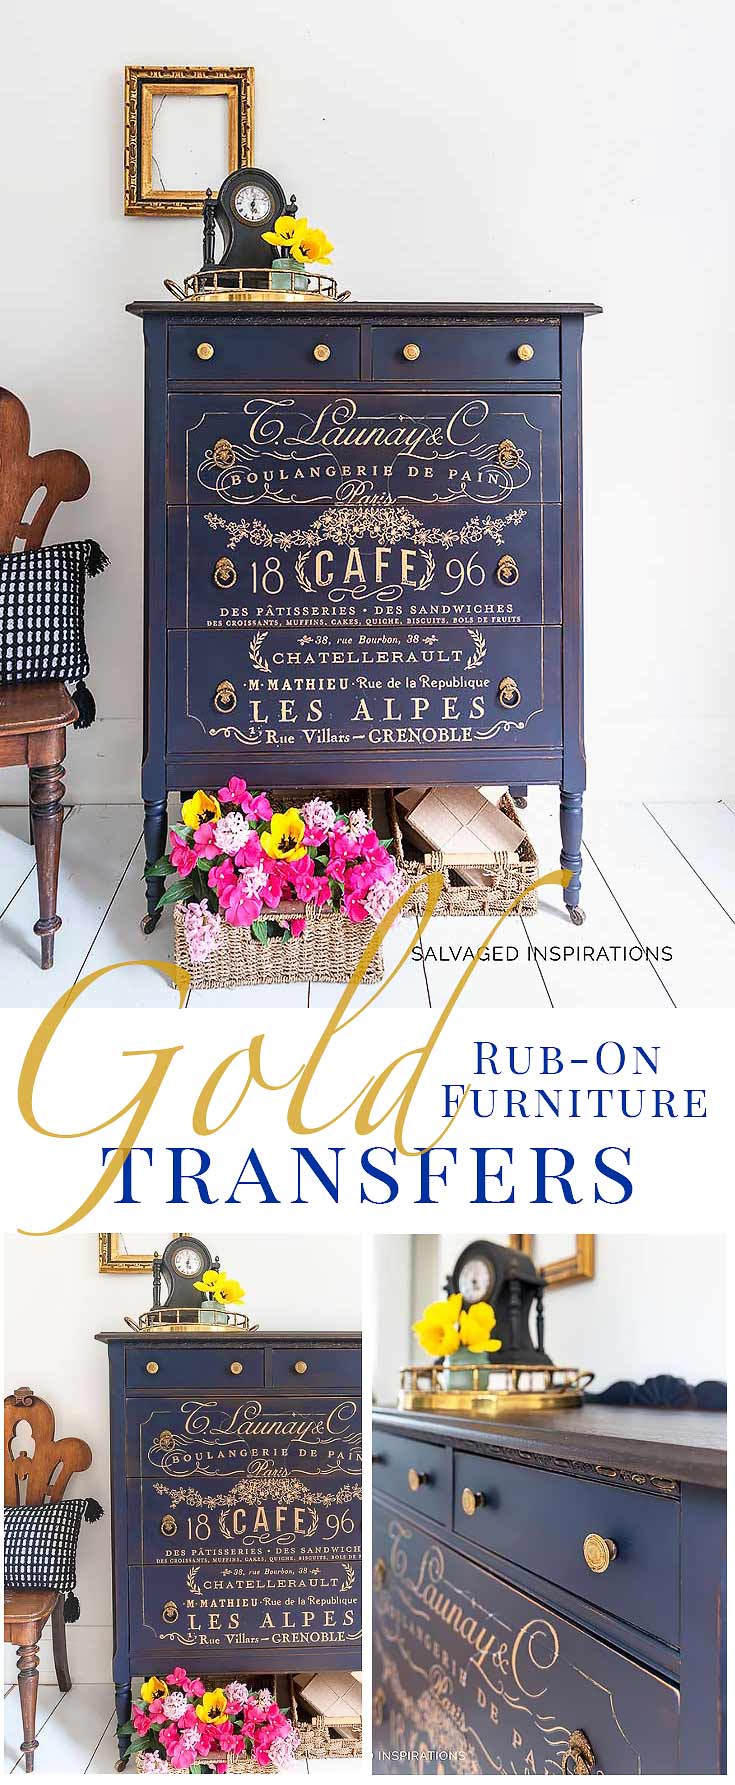
AN EASY WAY TO ADD GOLD-GLAM TO YOUR MAKEOVERS INCLUDING RUB ON TRANSFERS FOR FURNITURE.
Hi guys! Well, I have to say this teaching gig coming up at the end of September is definitely pulling me out of my comfort zone. Last week I did my VERY FIRST Facebook Live. For some reason, I was more nervous about going live on FB than I am teaching LIVE! Explain that one???!!
I had 2 people on my ‘live’ broadcast (thank you Roz and Crys’Dawna) but I was still nervous as can be. But I guess like anything, the more you do something the easier it gets, right? Thinking back, the first time I hit publish on my first blog post my heart went pitter-patter. Now it’s second nature to me.
Anyway, I’ve included the actual FB LIVE at the bottom of this post if you’re interested in seeing me be nervous nelly. 😉 And if you have any suggestions on how I can improve… kindhearted suggestions are welcome. 🙂
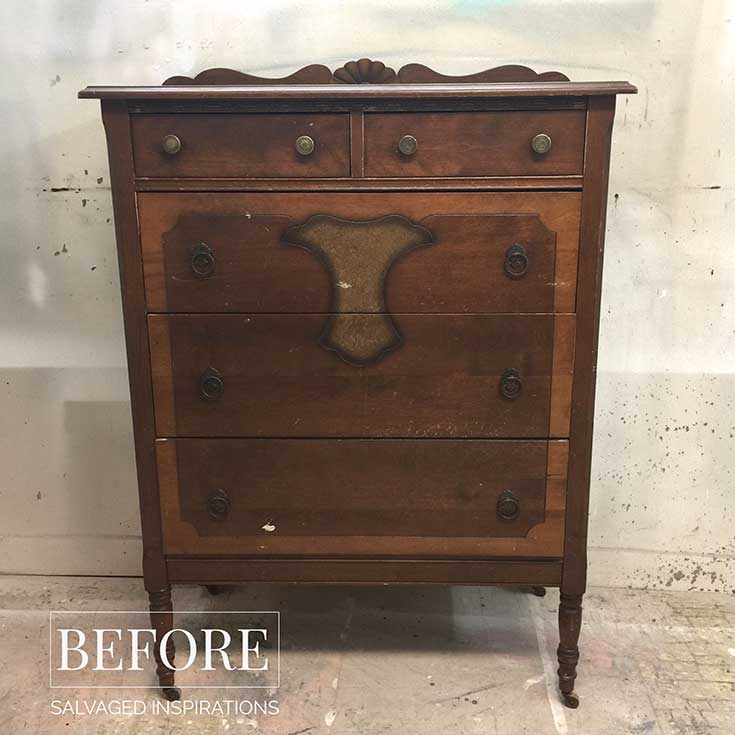
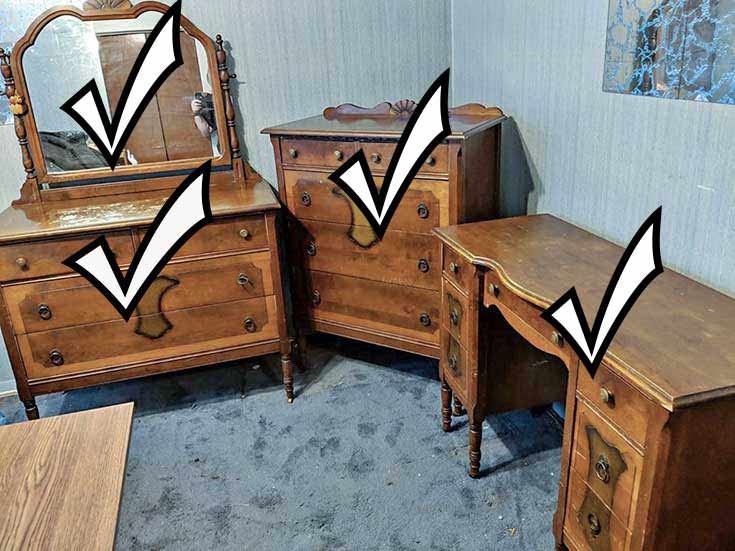
So, onto today’s makeover. This is the last piece in the estate sale bedroom set I picked up a month ago. It was such a pleasure creating individual looks for each piece, I’m kind of bummed they’re all finished.

Here’s a peek at the before and after. What do you think?

THIS POST IS SPONSORED/CONTAINS AFFILIATE LINKS TO PRODUCTS I USE. YOU CAN SEE MY FULL DISCLOSURE HERE.
SOURCE LIST::
GOLD RUB ON TRANSFERS FOR FURNITURE::
I won’t get into a long how-to because these gold furniture transfers are applied the exact same way as the florals. If you missed last week’s video on how to rub on transfers you can see it here and I also wrote a step by step post here.
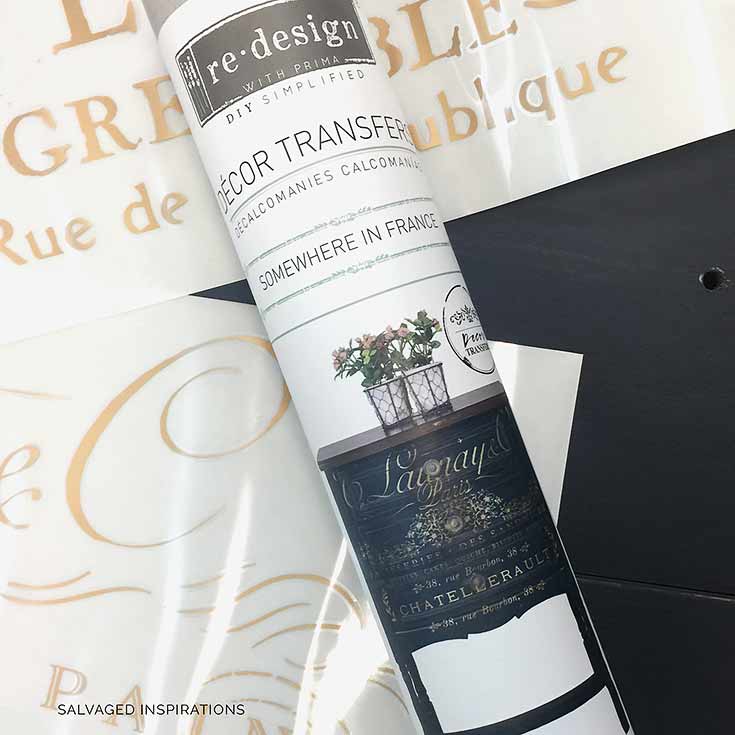
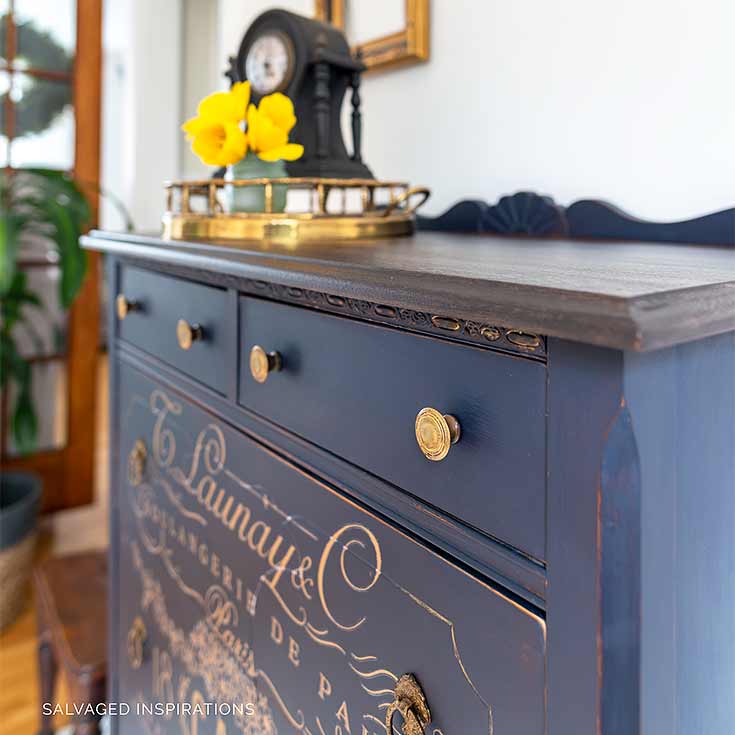
I LOVE that these transfers come in gold! Adding gold-glam to a piece really steps it up a notch.
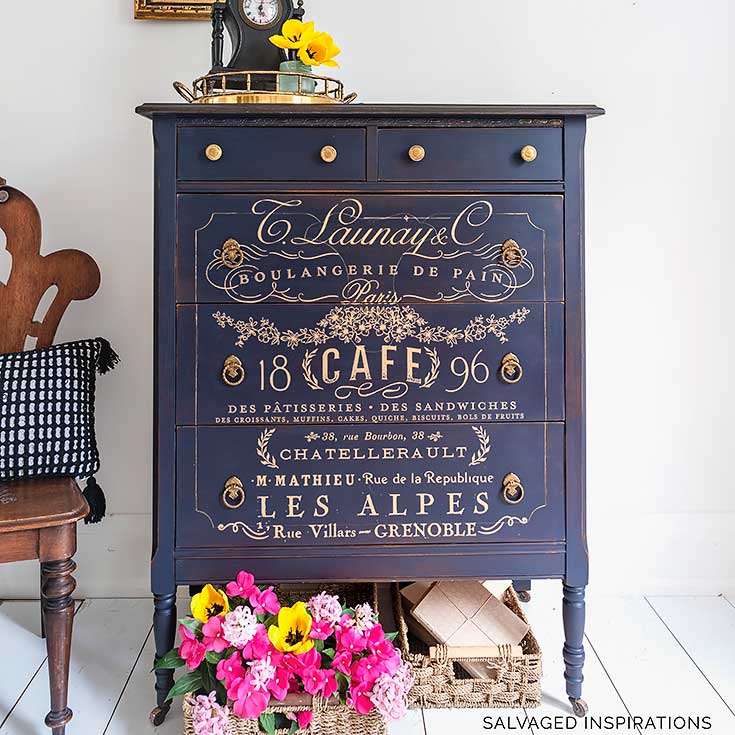
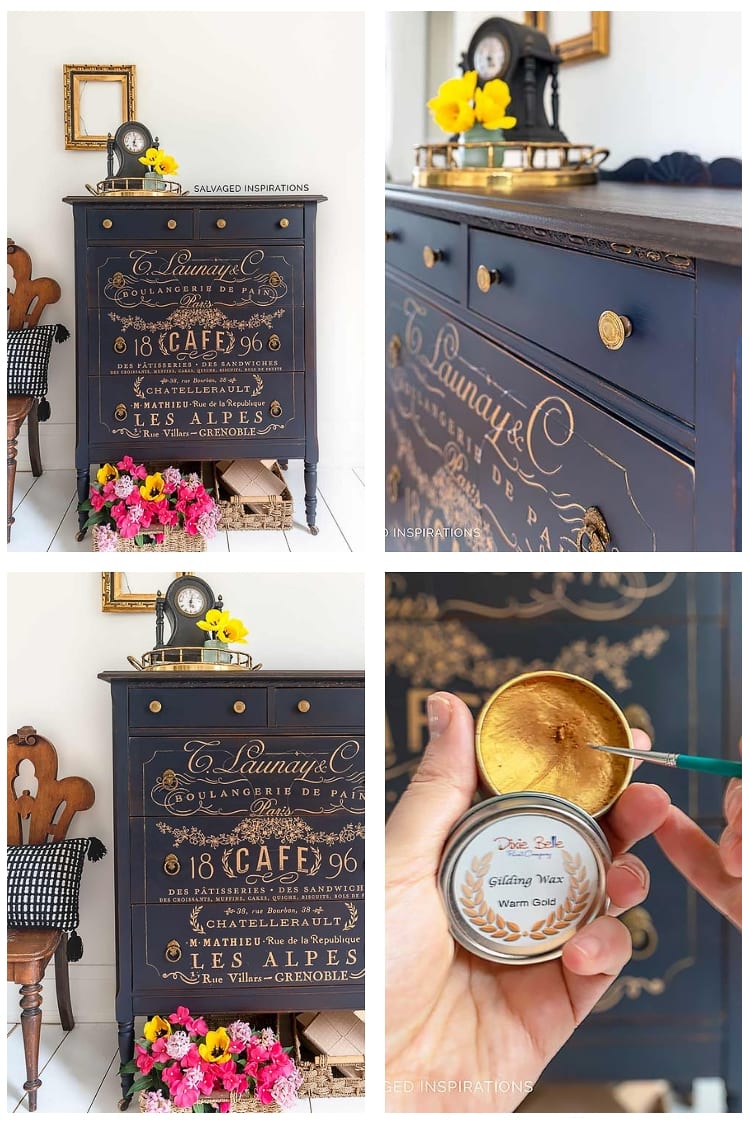
Check out the contrast between this rich blue-black “In The Navy” and this “Somewhere In France” furniture transfer!
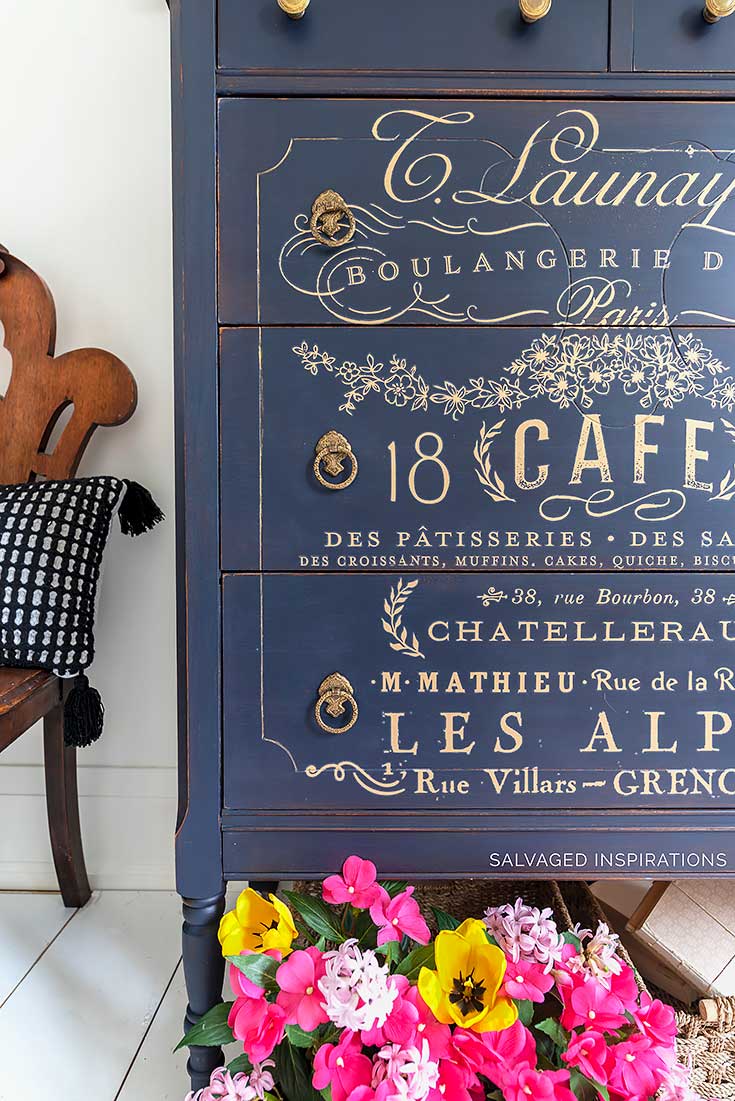
It was challenging to catch on camera but when the light hits the gold details just right, it really does sparkle!
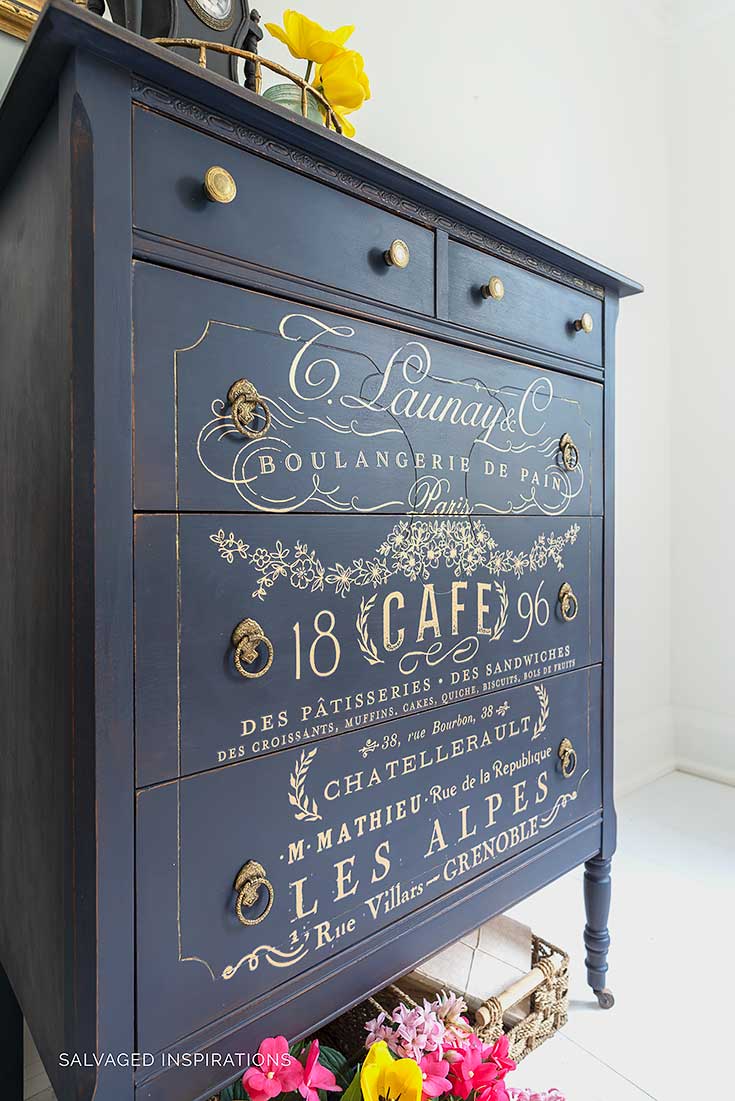
To tie everything in, I used this Warm Gold Gilding Wax to freshen up the hardware and also fill in the line details in the drawers. It was really easy to stay in the lines by applying the gilding wax with a small paint brush. The gold gilding wax in the routered detail creates a ‘frame’ around the transfer to keep it the focal point.
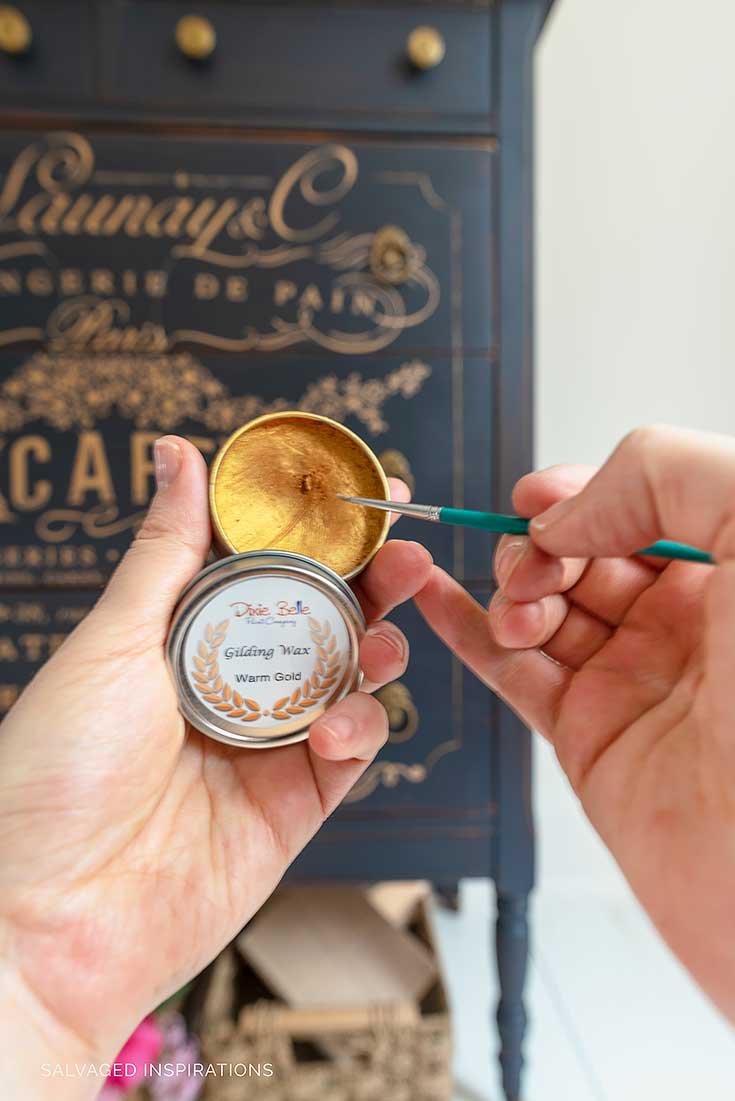
And check out the difference in the knobs! Rubbing on the Warm Gold Gilding Wax really helps revive them too!
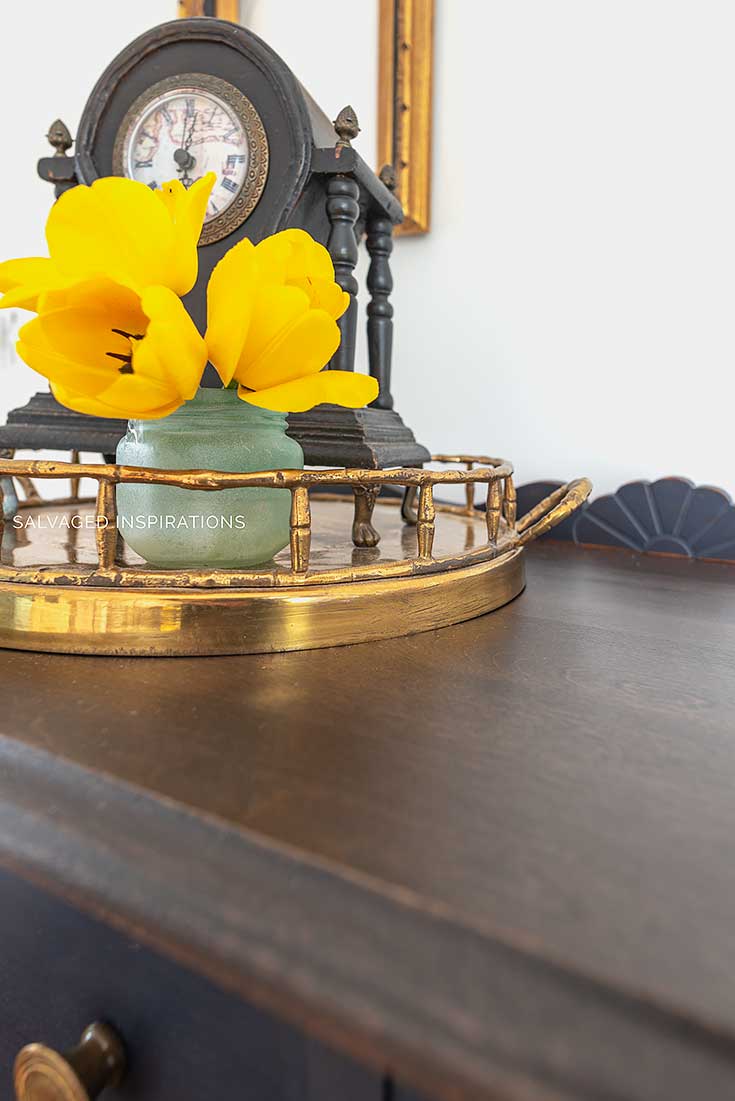
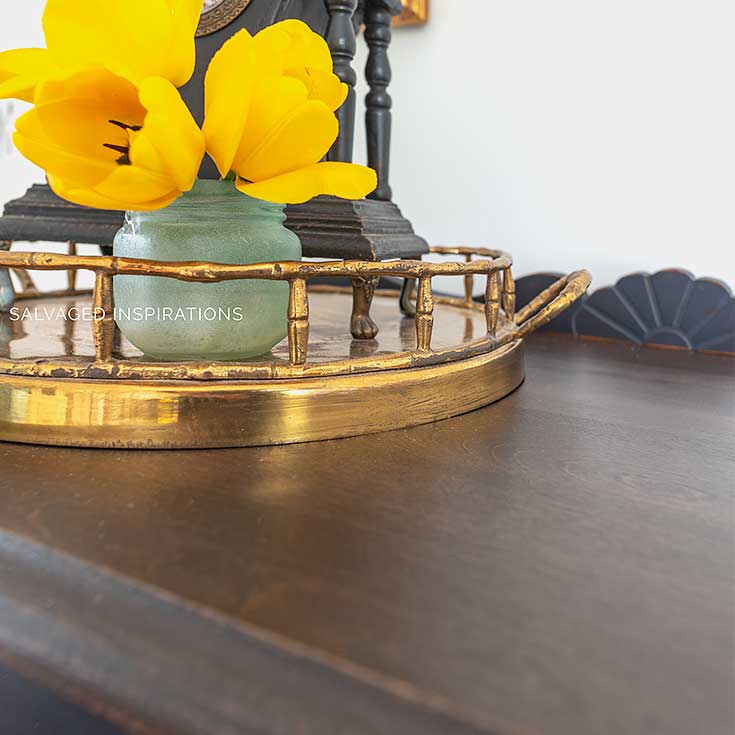
To complete this tallboy’s French makeover, I stained the top with this rich Expresso Gel Stain. If you’re looking for a dark warm stain without a lot of red undertones, this Expresso is perfect.
So all four complete!
LET ME KNOW WHAT YOU THINK OF THIS IN THE NAVY TALLBOY ‘GOLD’ MAKEOVER… OR FEEL FREE TO ASK ANY QUESTIONS YOU MAY HAVE… I ALWAYS LOVE HEARING FROM YOU.
Also, as promised here is my VERY first FB LIVE. 🙂
https://www.facebook.com/SalvagedInspirationsBlog/posts/1966663636807409?__xts__[0]=68.ARB43QV7DsK3n-jmwGdVC1pNRdPFdKwUkYe2Gf5XaDNeWigL3Ipl7z7eoPX1l7wmz3c_OLvI9dMSRsla10BUVfxLyQypE-qA4E2wMfHCepmLUzAGHlpGw6AFtc6ZPK0eERjjGvYKESzMQCiwzbxuXYVOSpLfWbPL9Z_NrHB35B_3vOccEfainDm72H-XQ8HzpfT1mer7VXppfLvgAXwc7YXuMhGrb-TB-4YjCP-hrYIPJFqp9MYVst4PPaHOYcjMF49IbM4DGCbz-52jXk_XtmPcB2lD0JoFydbn5dv3oKFBZByytl4Oe9s6iCzgKywDS0RAzXP8cTIlkPb7keDiPsVg-hGQRzqxg5Y&__tn__=-R
And if you missed the other pieces in this estate sale bedroom set, I’ve included the link to the other 3 restyled pieces in the RELATED POST links below.
Happy furniture painting my friends!
Denise x
RELATED POSTS::
Lilac Desk Makeover | BEST Sander
How To Apply Prima Transfers | Mirror Makeover
Spring Vintage Dresser Makeover
PIN AND SHARE!

This doesn’t have to do with the gorgeous Gold Transfer dresser tutorial. Since it is your most recent post, I figured you may see & reply sooner than if I messaged on one of your older ones. I have finally started my yellow wash dining room set project, kinda big for a starter. I did a sample of the grey wash I want which came out good, not perfect, want a very light grey wash over white base.. And wouldn’t ya know I blew it with the 1st chair. I cleaned all the chairs with a degrease liquid, rinsed, sanded lightly and let dry. Last night I started painting with water base latex, but forgot, I probably should use primer first so paint will adhere better, correct? Is there a tutorial on just the basic color wash steps and techniques. I don’t plant to use chalk paint, it’s quite expensive. Was going to email this, but if any of your other followers want this info, I thought I’d share.
All your works and even the staging is absolutely professionally STUNNING.
Hi Mary… great project!:) yes, if you’re using a water-based latex, a light sanding and stain blocking primer will be beneficial. This will prevent any blotching to show through once you topcoat… because sometimes you can’t see the stains until you topcoat! Dining room sets can be high traffic, so doing it right the first time so its nice and durable and can be easily cleaned etc is always a good idea. You didn’t ‘blow’ anything. 🙂 You can give the paint you applied a sanding (to rough it up and create some tooth) and then apply primer. After, carry on exactly as you did your table with white base paint and grey wash. Here’s an example with whitewash over green. Hope it this helps. 🙂
Thanks so much, I looked through many of your tutorials but could not find one that matched my project.
I know I didn’t completely blow it, I just felt like “duh! ya know ya gotta prime 1st dummy” I’ve painted a lot over the past years, but not furniture makeovers. A look at the bright side, thank God I didn’t paint all 6 chairs 😉 Bless you
Hi Denise. I thought your live was fantastic. You are a natural. I have looked at this transfer and did not see the beauty until upu put it on this tall boy. I love love love it. My wish is to be able to go to the conference and meet all of my heroes. Maybe my fairy Godmother will hear my wish and make it come true. I always look forward to your blog. Thank you
I hope your fairy godmother hears your wish 🙂 … I’d love to meet you Cheryl. And thanks for the support re the FB live… much appreciated. XO
Denise, I LOVED the Tall Gold accented Highboy; – Gorgeous!! You looked like a PRO on your Facebook live; no one would have known it was your first – you were amazing.!! Would love to attend the conference but can’t make it this year
Jackie – THANK YOU! So glad you like the highboy and so sweet of you to say re the FB LIVE. Boosts my confidence for the next one. XOXO 🙂
Loved it! One of my favourites!
Hi Josepfina… my sister is sitting here with me and she told me to say she agrees with you! 🙂 She’s probably trying to butter me up so she can take it home…lol. 😉 Anyway, thanks so much! xo
Wow! wow! and WOW! Such a work of art…and the navy and gold. Genius combo. In the South, we’d say you made a silk purse out of a sow’s ear…. Do you know what that old-Southern saying means? LOL…. It’s means you worked a miracle. XOXO
We have that saying here too… so thank you so much my friend. Heading on over to check out your OWC. 🙂
Love that blue & gold, and the way some original wood comes through. It’s stunning!
Thanks so much, Tracy! I’m liking the combo too. 🙂
I’m a sucker for these “TALL” boys. Gorgeous makeover, friend. Loved getting to hear your sweet voice. xo, Do
So sweet, thanks Do! And I like the ‘tall’ boys too…lol 😉
This piece turned out absolutely magical! I love love love love the dark navy with the gold! You find the prettiest pieces of furniture to work on. As for the Facebook live, you were amazing! It was so fun to see you in action! Can’t wait to meet you in October! I know you’ll rock at your conference in California! XOXO
Thanks! AndI’m super excited to meet YOU, Christy! I’ve followed you for so long it will be such a treat to see you ‘live’ and give you a big hug! XO
Hi Denise. What a pleasure to see your video! I feel like I know you! Thank you for sharing your first Facebook live with all of us readers. 🙂
This dresser is TO DIE FOR….I ABSOLUTELY LOVE IT! The gold graphics on the dark blue background is soooo stunning. You knocked it out of the park (as always).
Aw thanks, Monique! I’m so glad you like the dresser and the video. Sometimes I find it hard to put myself ‘out there’ but I’m glad I did. 🙂
Wow! Gorgeous!
Thanks Norma! 🙂
LOVE! Very nicely done. Thanks for sharing.
Thanks Marcia… thanks for dropping by! 🙂
Stunning! Your work always rocks! Well done.
Thanks so much Janina! 🙂
Denise, I saw the replay of your FB Live and thought you were a pro. Honestly, one would never know it was your first FB Live! As for this tallboy makeover, gosh, I love how the navy and gold play so well off each other. And like you said, the gold in the ridges frame the transfer so beautifully. But the way you painted the navy so some of the original wood shows add even more charm. Gorgeous!
Marie, you’re a sweetheart…lol. Thanks for watching and being so kind. XOX 🙂 And ya, I really like the rich blue with the gold too. I’ll probably do this combo on another piece down the road. 🙂
I really LOVE what you did here! How pretty is that! I’m going to re-read the post to see how you sealed it all in, especially the knobs so all that beauty doesn’t wear off. This is a keeper. Thanks!
Thanks Cate! I sealed the body with clear wax and the stained top with Gator Hide. No need to seal the Gold Gilding Wax on the knobs. I’ve used this technique before, and it stays on there. 🙂
Amazing!
Thanks Mimi! xo
You are a visionary
Thanks Justina! 🙂
What is the name of the conference in Ontario, California in September? Love to go! Thanks!
It’s the ReDesign and Dixie Belle Workshop 2019. I’d LOVE to see you there Kathy!! 🙂 Here’s a link to FB Page with all the info.
Love your little video chat! Enjoying your inspiration!
Thanks so much Kathy! XO
Beautifully done Denise! I love your tutorials. They are so easy to follow, and now, video tutorials… FANTASTIC!
I didn’t know about your FB Live Video. I’m sorry that I missed it., but you did great! It takes a lot of guts to do one. I did see your nervousness in the beginning, but once you got going you were EXCELLENT! Then I saw the real Denise coming through.
Carole
Ya, I was nervous as can be but I can see how it might be fun once you get comfortable. It’s pretty amazing to interact with whoever is watching in ‘live’ time. So glad you like the dresser makeover and thanks so much for sharing on your Toronto Shabby Chic Facebook Page Carole.
Loved your Facebook Live. You did a great job! Very enthusiastic and your passion for painting was quite obvious.
I love how you take ordinary, but interesting pieces of furniture and turn them into beautiful works of art! I have been following your blog for nearly a year. I look forward to getting a notice in my email regarding your next project. Pardon the pun, but your projects are so “inspiring”!
I have yet to begin a major project myself. But I am getting enough nerve to try out a piece of furniture that belonged to my mother-in-law. I am still trying to decide the color! Wish I could attend the conference this September, but I cannot. Perhaps next year. Thanks for sharing and for being such as inspiration!
I LOVE your pun Sue…lol. 😉 … and thank you! XOXO
Wow! That’s quite the showstopper, love it! So fun to see your work, enjoy following your blog,
Thank you Pat… I enjoy having you here! 😀
Absolutely gorgeous!!!
Thanks Jane!! xo
Wow Denise that turned out beautiful !! I love it ! Wonderful idea and style.
Thanks my friend… and congrats on your WIN! 🙂