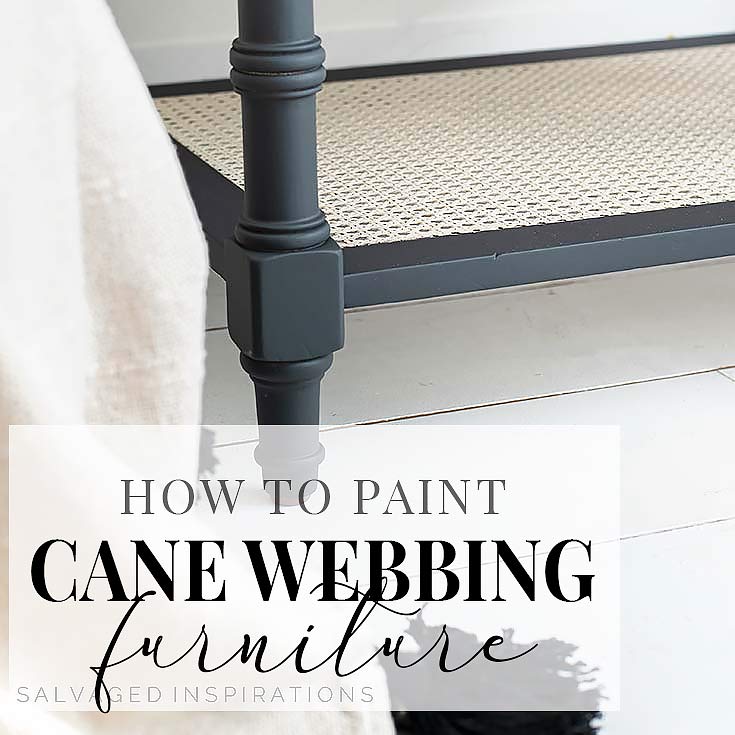
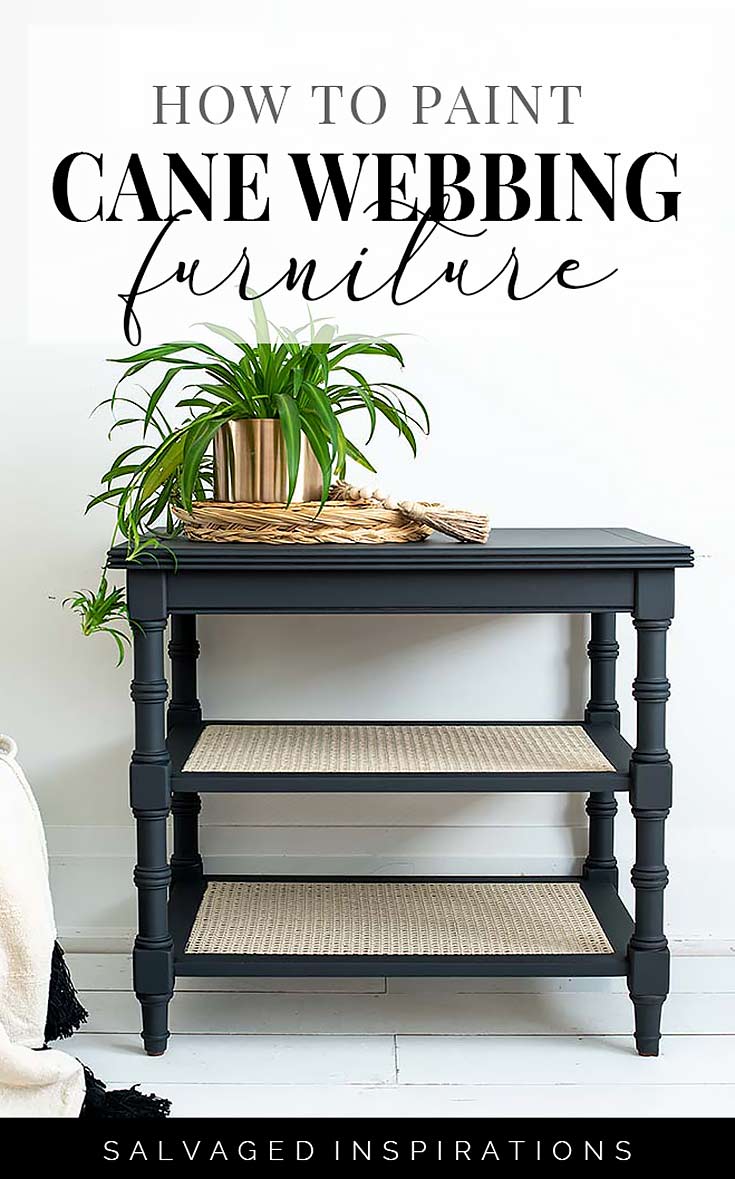
THIS ETHAN ALLEN END TABLE GETS A FRESH NEW LOOK WITH PAINTED CANE WEBBING! | STEP BY STEP TUTORIAL + VIDEO
 If you’ve ever passed up a dated cane webbing piece of furniture because it looks tricky to paint… this post is for you! Today I’m sharing how to turn a dark and sad Ethan Allen Cane Side table into a sleek statement piece that apparently sells for upwards of $800! Here’s the back story. Before everything went into lockdown again, my sister Andrea spotted this dreary-looking table at our local ReStore. I wouldn’t have given it a second look. But she reminded me I’ve been wanting to try cane webbing and this might be a good opportunity to work with some!
Pssst… before I get into this makeover, it’s also one of my favorite days of the month – Furniture Fixer Upper Day! If you’re new here, on the fourth Thursday of every month I join a few of my fellow bloggers to share our before and afters’ plus the step-by-step tutorials. I’ll be linking to their projects down below and I know you’re going to luv what they do!
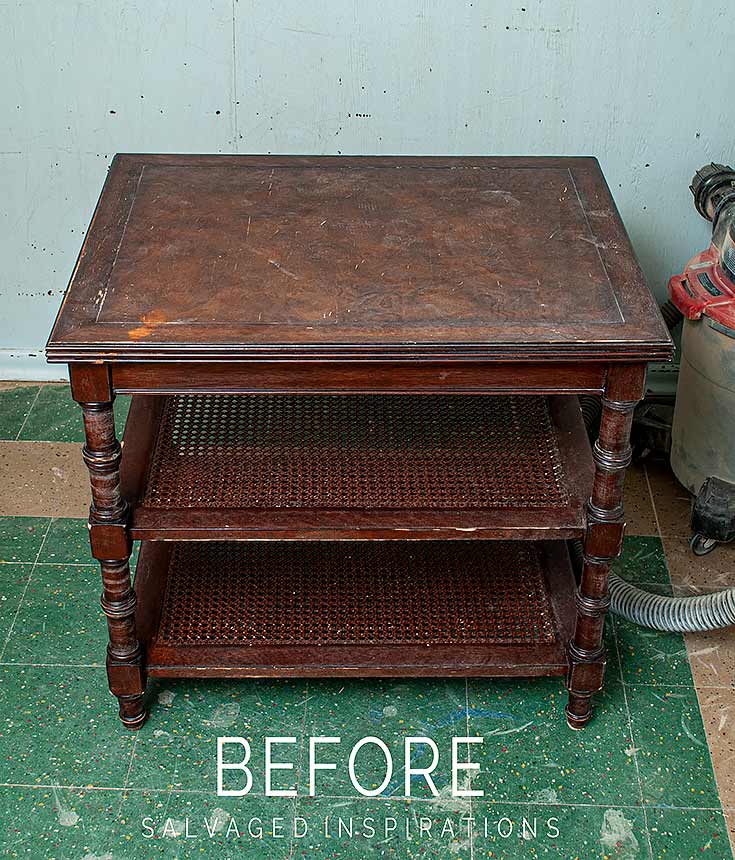
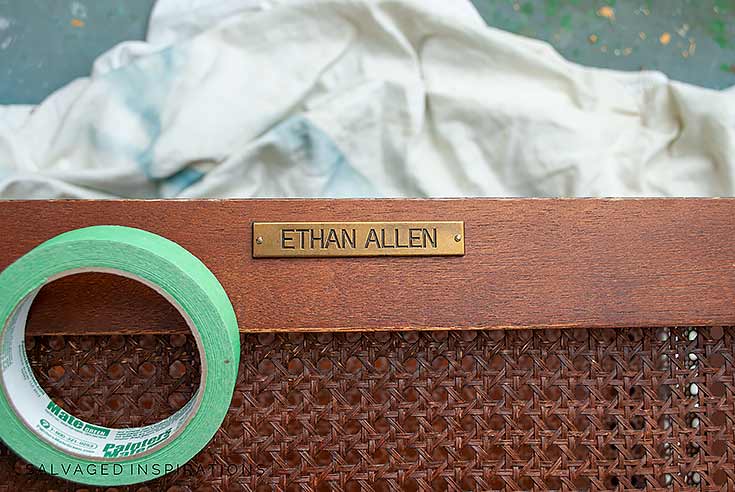
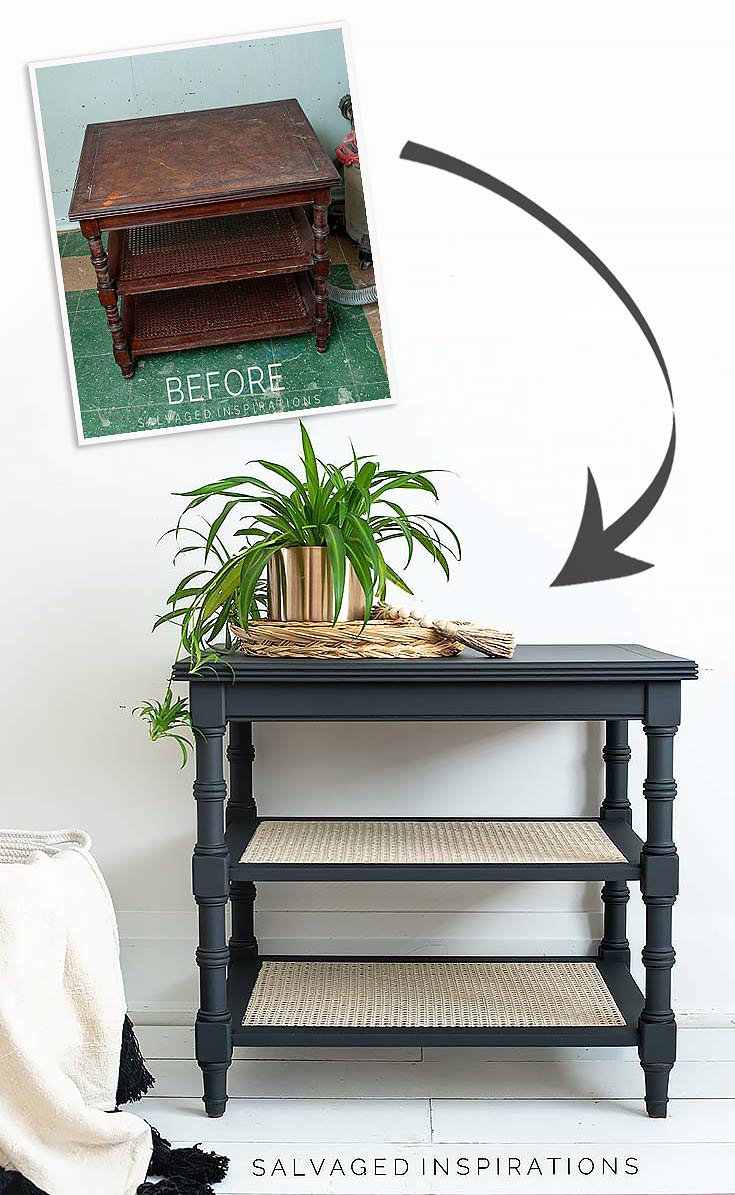
Here’s the Ethan Allen Cane Side Table I started with…
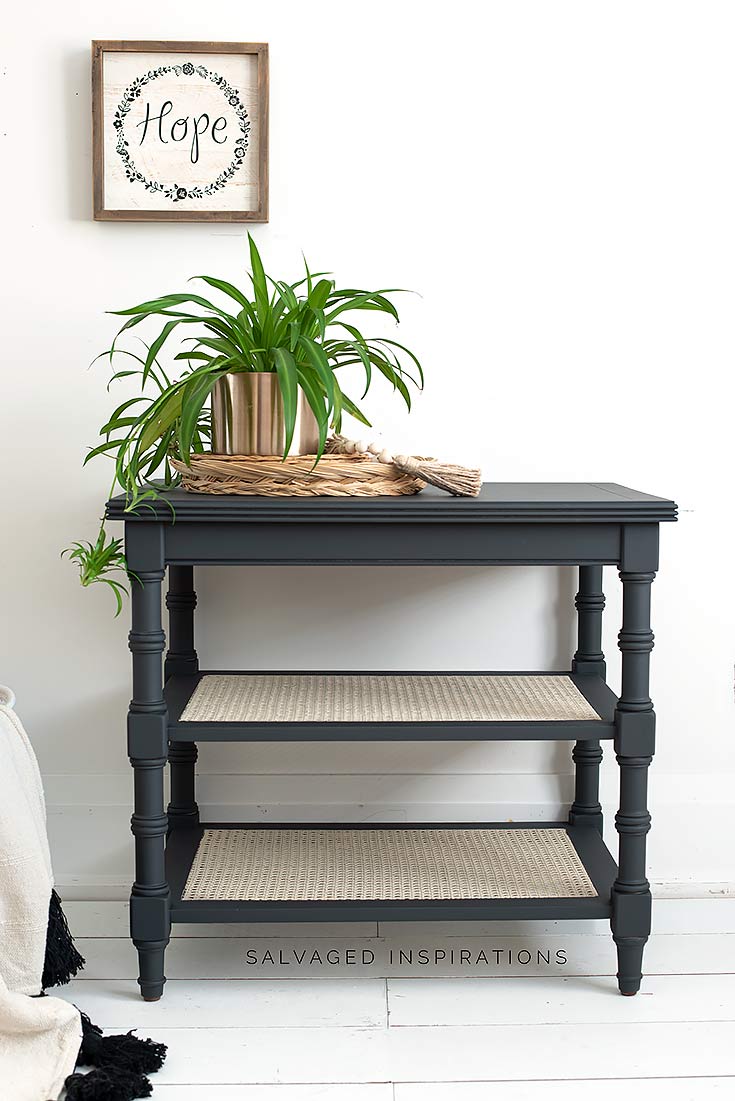
My original plan was to paint it ALL one color but it looked washed out as you’ll see later in the tutorial. So classic black to the rescue!
What do you think? Are you into this cane webbing trend or not so much?
I’m always amazed at what a little paint can do!

THIS POST IS SPONSORED/CONTAINS AFFILIATE LINKS TO PRODUCTS I USE. YOU CAN SEE MY FULL DISCLOSURE HERE.
SOURCE LIST
-
- Ethan Allen Side Table – SALVAGED
- Paint Sprayer
- Orbital Sander
- Sand Sponge | Shop Towels
- White Lightning Cleaner
- Green Painters Tape + Newspaper
- Black Sands
- Sand Castle
CANE WEBBING SIDE TABLE MAKEOVER
Here’s a quick step-by-step video. If you have any issues viewing it, you can find it here on my Youtube Channel… and don’t forget to subscribe and hit the notification button!
STEP 1:: CLEAN AND SAND
Even though this side table looked dark and dreary, it was solid and no repairs were needed. I started by giving this piece a good cleaning with this White Lightning Cleaner. Then I gave it an overall scuff sanding with 120 grit sandpaper on my favorite orbital sander. For the cane webbing, I used a 220 sanding sponge and gave it a light once over. Even though cane webbing is extremely durable, you don’t want to use an aggressive sander on it.

STEP 2:: MASKING OFF
Before painting this piece I masked off the Ethan Allen plaque with this green painters tape and removed the plastic furniture pads/foot buffers. I like taking time to mask off these small details because it’s the difference between a mediocre paint finish and a professional-looking finish.
STEP 3:: PRIME AND PAINT
The quickest and easiest way to paint cane webbing is to use an all-in-one paint and primer and SPRAY it on. This will save you so much time and give you REALLY nice results. I have a paint sprayer and used this Sand Castle Silk All-In-One Mineral Paint. But if you don’t have a sprayer you can easily use spray paint from Home Depot, Lowes, or Amazon — like this Rustoleum Ivory Silk Paint and Primer in One.

Another tip when painting cane webbing is to flip it over so you get full coverage on BOTH sides. The webbing has so many nooks and crannies and you don’t want to miss any spots.

Here’s what the table looked like sprayed in Sand Castle. Meh, it’s okay but the cane wasn’t popping enough for my liking.

I went online looking for inspiration and came across a few cane side tables I really liked. I found this Harbour Cane nightstand selling for almost $898 and this Flanders Cane Table selling for $980!
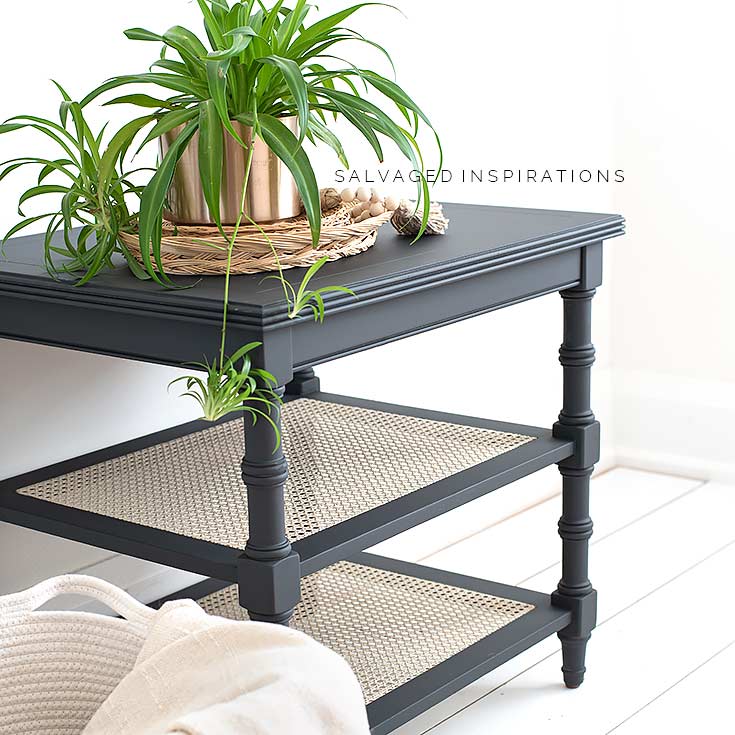
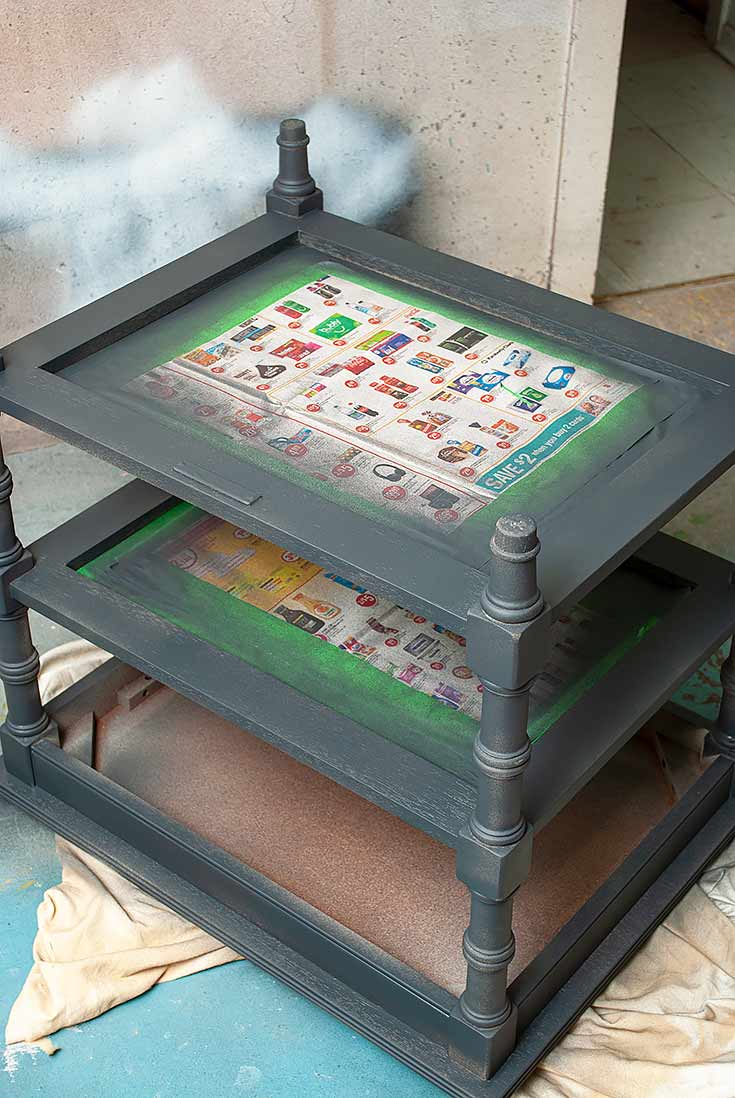
The black contrasted against the natural cane looked amazing so it was back to the drawing board. I masked off the natural painted cane with painters tape and newspaper.

Then I resprayed the wood sections with this Black Sands All-In-One Mineral Paint. I’ve used Silk on other pieces which I’ll link to down in the “Related Posts” section and it brushes on beautifully. It is self-leveling so if you don’t have a sprayer this paint will still give you a super smooth finish. As a bonus, it also has a built-in topcoat!
STEP 4:: TOP COAT AND PROTECT
The paint I used has a built-in topcoat but depending on what brand of paint you use, protecting and top coating your newly painted piece is always a good idea. You want your piece to look good for years to come.
Here’s the finished look…
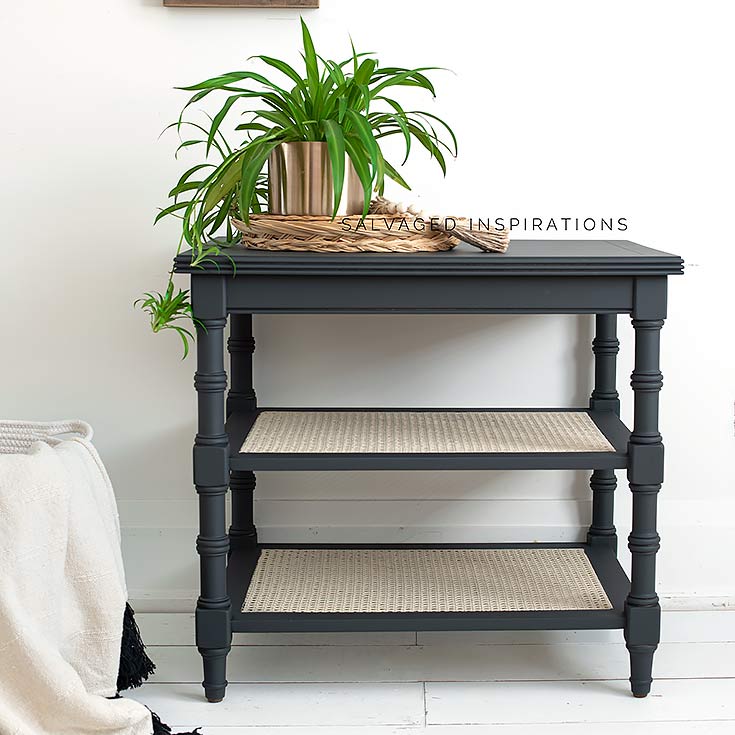
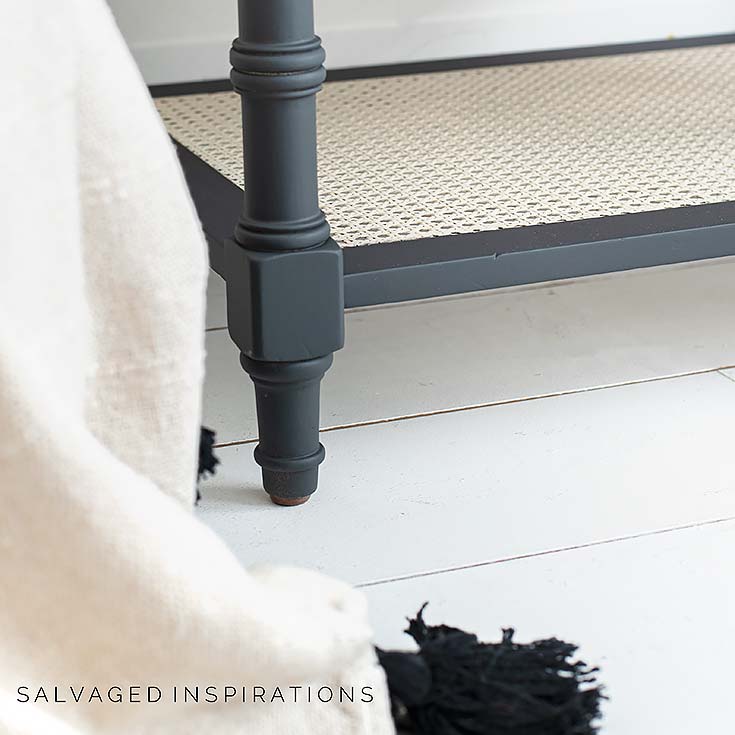
And a close-up of the cane. You’d NEVER know it was painted cane webbing, right? It looks so natural! Also, did you notice how good the foot guides look unpainted?!
I used Alexandra’s hair to help style this piece! … I better get it back on her asap! 😉

AND NOW FOR SOME FURNITURE FIXER-UPPER FUN!
You’re going to LOVE what my creative team of Furniture Fixer Upper girls do! Below are their BEFORE photos. Visit the links underneath to see the amazing AFTERS and learn how they did it! I’m heading over to take a peek as well! x
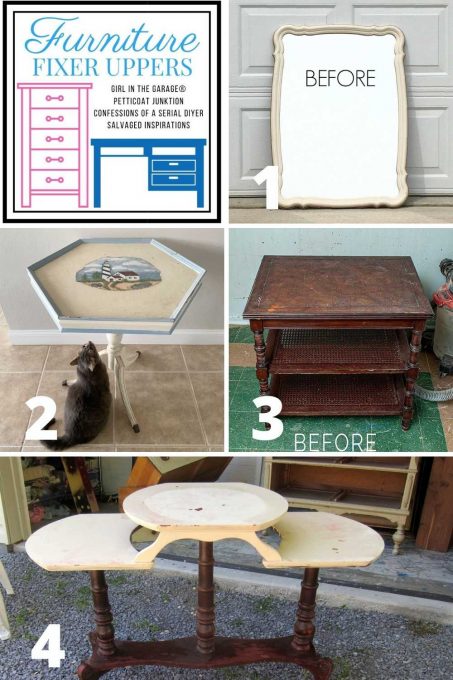
1. GIRL IN THE GARAGE
2. CONFESSIONS OF A SERIAL DIYER
3. SALVAGED INSPIRATIONS (HAPPY YOU’RE HERE!)
4. PETTICOAT JUNKTION
Here’s another look at this before and after. I hope it’s inspired you with some new ideas.
LET ME KNOW WHAT YOU THINK OF THIS PAINTED CANE TABLE OR FEEL FREE TO ASK ANY QUESTIONS YOU MAY HAVE… I ALWAYS LOVE HEARING FROM YOU. IT MAKES MY DAY! 🙂
Happy furniture painting my friends!
Denise x
RELATED POSTS::
Black Painted Furniture Ideas
ReStore Entry Hall Table Makeover
Pottery Barn Knock-Off Buffet Makeover
Stop Bleed Through When Painting
SILK Painted Tea Cart
PIN AND SHARE!

I stumbled upon your page and really appreciate your step-by-step and details for this project! I’m a newbie and trying to restore (for the first time ever!) a pair of cane club chairs. Do you recommend painting/spraying both sides of the cane? Thanks again!
Hi Guatam! Yes, for the best results, I would spray both sides. 🙂
Hi, have you ever used Frenchic chalk and mineral paint with the wax already in the paint. I’m wanting to paint dining room chairs with it? And if so, do you recommend putting on a topcoat anyway since the chairs will be used ?
Thank you ,
Debbie
Hi Debra! No, I haven’t tried that brand so I wouldn’t want to give my two cents because I’m not familiar. Hopefully, they can advise re a topcoat where you bought it and have fun with your chairs! 🙂
I love this, and it will be an inspiration for an Ethan Allen table with cane that I picked up a while ago! Can you tell me if you added water to the Silk paint when you sprayed it, and if so, what was the ratio? Thanks much! You always inspire me!
Hi Jackie! Depending on your sprayer and which color you use (each color has a different velocity) it may need a little thinning when spraying. I mixed in about an ounce of water to my 8oz jar as per directions. If you thin it too much, I’m guessing the primer/stain blocker will not work as well.
Good thought about the primer and thinning. Thanks so much, I so appreciate your generous and helpful heart!
I appreciate YOU, Jackie! XOXO
wow this turned out so good …wow..love it…
Thank you Madeline! x
Denise, I love it! I know you said you went online, where do you look for pieces like this? You did a great job!
Thanks Ranell! If you mean my inspiration pieces, I added links above but all I did was Google Cane Furniture and a variety came up. 🙂
I’m a fan of the Frenchy Parisian cane look…a cottage white shabby chic look that has character and a story to tell. These would be my dining chairs picked up at a thrift store. Also, my vintage white curly wicker with cane seat sewing rocker. Then there was the end table turned ottoman that had the cane bottom shelf that we turned into a white farmhouse chic piece. We did reinforce the bottom shelf with an underlining of thin board to protect the cane from anything heavy that might damage it. Work with the cane in whatever colour scheme will update it and match your colour palette to make it your own, I say!! Thanks for your inspirational posts, Denise! Take good care, Ally
Hi Ally! It sounds like you have some GORGEOUS pieces… lucky lady! 😉
Beautiful! I love the look of cane but dread the thought of keeping it clean. Too many nooks and crannies to capture dust and such. I also don’t think the trend is going to last long
Thanks Debbie! And I understand about the cleaning… I’m as low maintenance as possible..lol. 😉
What top coat did you use for added protection, table looks awesome – I have a 1980’s dining room set with 6 chairs with webbing, gives me a great idea to update them
Hi Margaret! No topcoat because with the Silk All-In-One Mineral Paint the primer and topcoat are built right in. It’s a huge time saver and surprisingly durable. I’ve used this paint on a few pieces. This white tea cart (MMM brought upstairs for me and his hands were…well let’s just say he’s a contractor… enough said..lol) got pretty filthy and it everything cleaned up and wiped off effortlessly.
Denise, this piece turned out beautifully! I’m so glad that you took a chance on it. I have a parlour set of sofa, chair and rocker that I bought with my c. 1873 house. They have cane backs. I have been going back and forth in my mind on how I wanted to refurbish them to keep their integrity but still give them a style lift-you have shown me how! Thank you!
Your parlour set sounds amazing… and I’m so happy it’s sparked some ideas for you Victoria! 🙂
They’re lovely, Denise! I’m impressed that you used your paint sprayer for both colors.
Thanks my friend! XOXO
This table looks amazing, Denise! And it’s so rare to find cane without any little broken pieces! xo
Thanks my friend! XOXO
That piece went from so sad to stunning! Thanks for the inspiration.
Thanks Tess!! 🙂
It’s beautiful and the paint’s finish is perfection.
Thanks Lizzy! Silk gives a really lovely finish. 🙂
So very pretty Denise!
Thanks so much Teri! XOXO
It looks fantastic ❤ Awesome job!
Thanks for always taking the time to share your treasures.
Aw, thanks so much Annie! I appreciate you. x
Wow!! What a beautiful piece of furniture. I’m just getting back into rehabbing furniture. Truly an inspiration.
Thanks Kathy and yaay! Have fun! 🙂
Everything you do is Beautiful and you make it look so easy! I’ve just started painting some of my own furniture and it is a challenge. But I am loving it.
Thanks Janice…and I get it. I STILL feel challenged on some pieces…even after all these years. But it’s super fun, isn’t it?!🤗
I have to say, I like yours better than the inspo pieces! Beautiful work as always Denise! Thanks for sharing I always learn so much from your posts! ~ Nicki
Thanks so much, Nicki! XOXO
Hi Denise. Oh my gosh…I am absolutely in LOVE with this gorgeous little side table. Your sister has a good eye. Good thing you didn’t pass this gem up. You turned a sad, beat up table into a beautiful, updated, bohemian inspired jewel. I had no idea cane could be painted so easily. I’m kicking myself for all the cute pieces of furniture I’ve overlooked in my local Goodwill because I didn’t know how to paint cane! This is a game changer for me. Thank-you:)
Yaaay, Thanks Monique! I’m going to be keeping my eyes peeled for these types cane pieces as well! XOXO
It is gorgeous, great job.👏🏻👏🏻👏🏻👏🏻
Thanks Annette! x
Amazing how much different this piece looks now !!
After seeing what you’ve done, I think I Do like a bit of caning. 😉
The flat black surely finished it well.
As always, your attention to detail makes all the difference.
Thanks for sharing !!
p
Thanks so much P! XOXO
This is GORGEOUS! I always pass on things with cane, but now I’ll have to grab them. Thanks for the inspiration!
My pleasure and thanks Dana! So happy it sparked a few “cane” ideas!
It’s perfect. Just the tips I’ve been looking for.. Beautiful. Love the trash to treasures day. See you Tuesday.
Thanks Kathy and see you Tuesday! XOXO
This is super cute! It always amazes me how paint changes everything. Beautiful makeover my friend. 🙂 xo
Thanks my friend! Paint is magic, right?!…lol
Beautiful transformation!
Thank you Nancy!
As usual you created a work of art! I’m a fan of everything you do and look forward to all your posts! Updating an old piece of furniture with decent “bones” is far superior than most pieces made today.
Thanks Lana and SO true! They don’t build furniture like they use to… I sound so old!🤣
I love the finished table. How long did you have to let the first coat dry before you decided to paint over it with the black paint? Because it has a topcoat built in the silk paint did you have to scuff it up a little bit before you sprayed it with the black paint? What would you recommend for a person who doesn’t have a sprayer and has to use a brush, what do you lightly sand between coats?
It looks like you took newspaper and tape off of just the top of the caning. You must’ve painted the underside of the table as well so did you have to put newspaper on the underside as well?
Always looking forward to your emails with your projects.
Hi Mary Jo! Great questions! I’m so in the habit of giving a light sanding between coats sometimes I forget to mention it. So yes. For the smoothest finish, a light sanding – you can’t go wrong! It was the next morning I came down and looked at the table and thought no, too washed out. I gave it a light sanding (wood portion only) and then sprayed the Black Sands. If you don’t have a sander, I would recommend a Rustoleum or Krylon spray paint for the cane, and then SILK brushed on for the wood. It is self-leveling and has such a gorgeous smooth finish! And yes, I did mask off the underside cane as well but it fell off on its own. I guess because I have a little humidity in my basement. 🙂
Wonderful; I always enjoy your tutorials. Hubs convinced me to get rid of some cane chairs because he didn’t like them. I so wish I had kept them now – lol!
Thanks Sara! You can always freak him out and bring home a ‘new’ thrift set of cane chairs!😉😆🤣
Love it!!!
Thanks Jane! x
Love it, especially the contrast. I am picturing the dark areas in navy blue, crimson or even a medium-toned colour. Great job!
Thanks… and I like all those ideas Robin!
WOW!!! This little table is stunning. I’m never quite fortunate enough to find pieces like this. Having the desire to become more minimalist; but with a little more stylistic flare, I appreciate pieces like this. I really like caned furniture for the airy qualities it affords and it can fit it to many styles making an “ on trend” statement that can hold some longevity.
Totally agree. Cane webbing furniture is super on trend but not over the top, right?! Thanks Niki! 🙂
This cane looks amazing! I have ladder-back chairs with cane seats at out Farm House and can’t wait to refresh them. Thanks for the idea!
Thanks and have fun Cecilia! XOXO
Absolutely stunning, Denise! I love that the Sand Castle gives the cane a brand new feel and mixed with the Black is just perfection! XOXO
Thanks my friend! XOXO