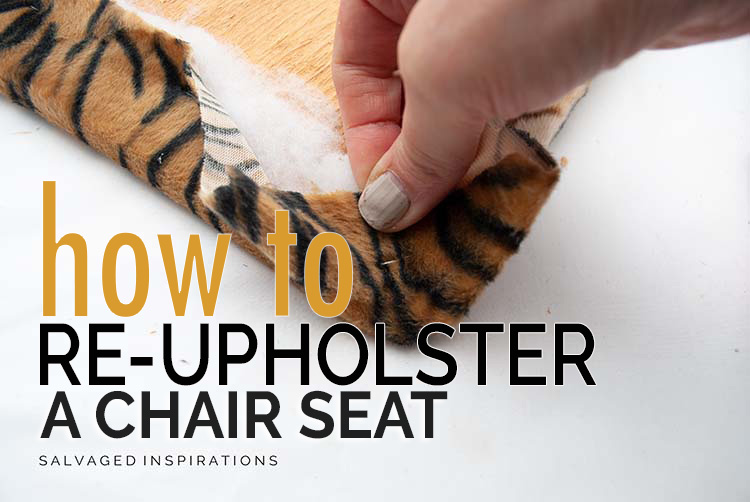
HERE’S AN EASY WAY TO GIVE YOUR CHAIRS A FRESH NEW LOOK ON A BUDGET | HOW TO REUPHOLSTER A CHAIR SEAT TUTORIAL + VIDEO
Hi, creative #sifamily! Here’s a simple and inexpensive way to freshen up your chairs by reupholstering the chair seat! I find fabric projects intimidating so believe me if I can do this YOU can do this!
It’s also Trash To Treasure Tuesday of my favorite days of the month! I’m joining my blogger besties and linking to their T2T makeovers below… so be sure to check them out as well.
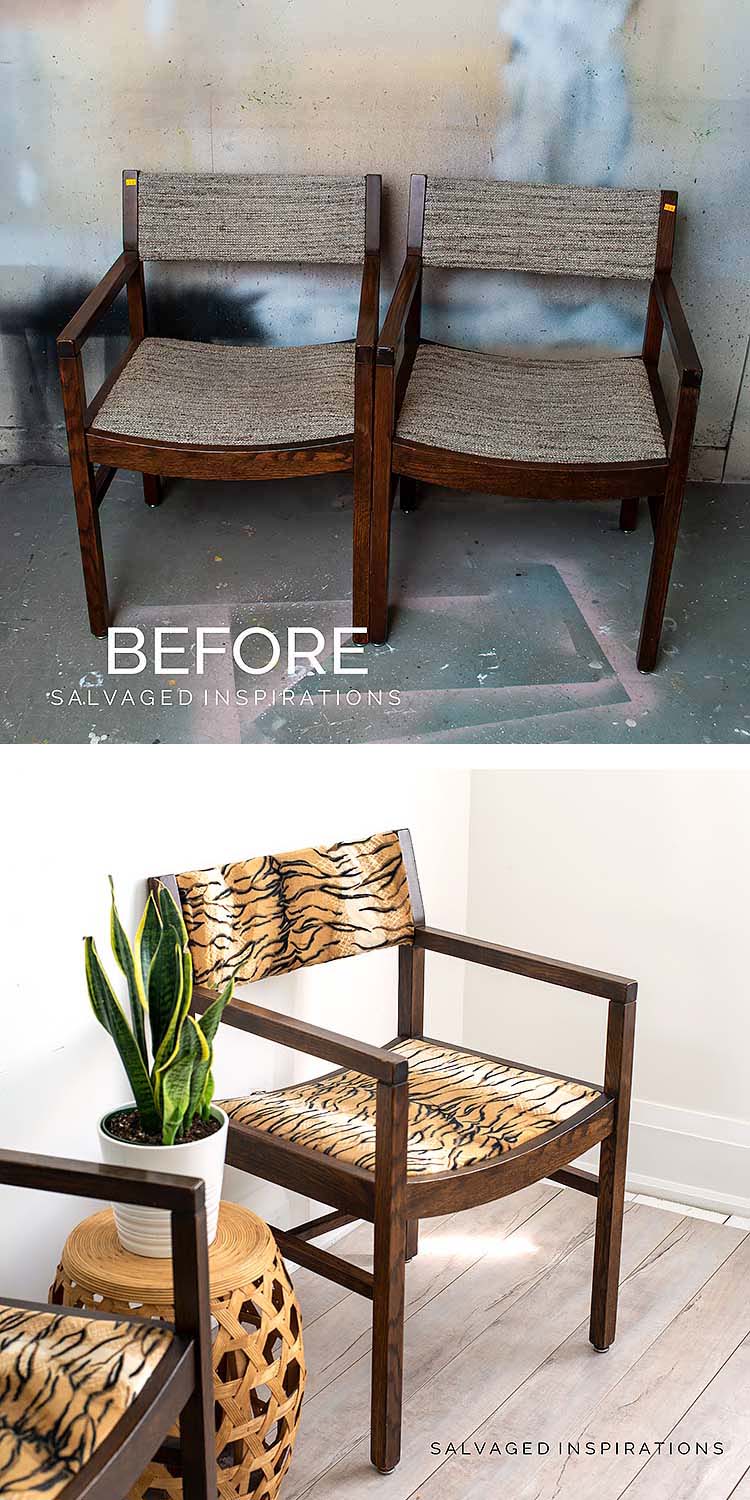
Here are the two accent chairs I started with. They might have been waiting room chairs in their previous life. I found them at a Restore for $15 and loved the clean lines but hated the fabric.

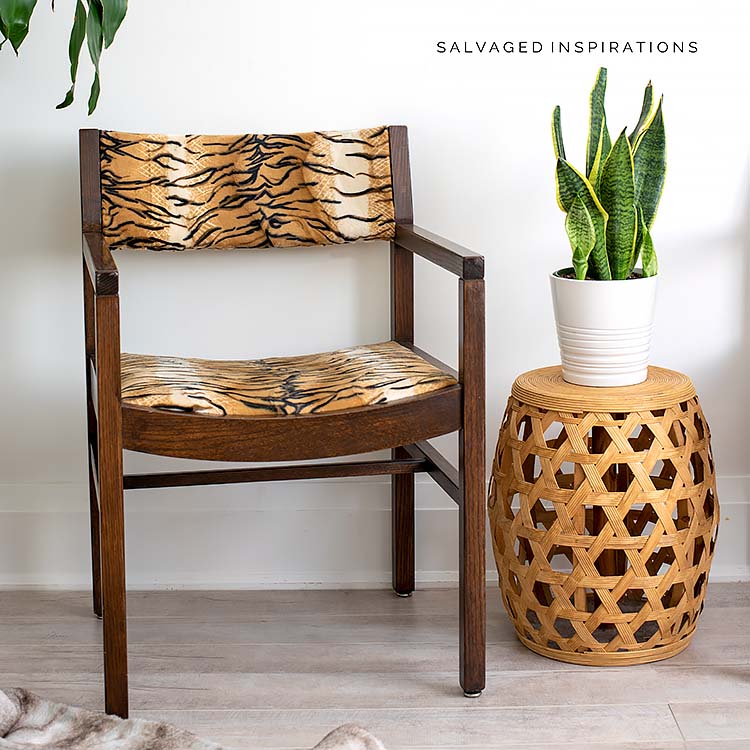
Okay, get ready for this one – I went a little bold and out of my comfort zone with an animal print! I couldn’t help myself because it ties in with the wood and style of these chairs so perfectly.
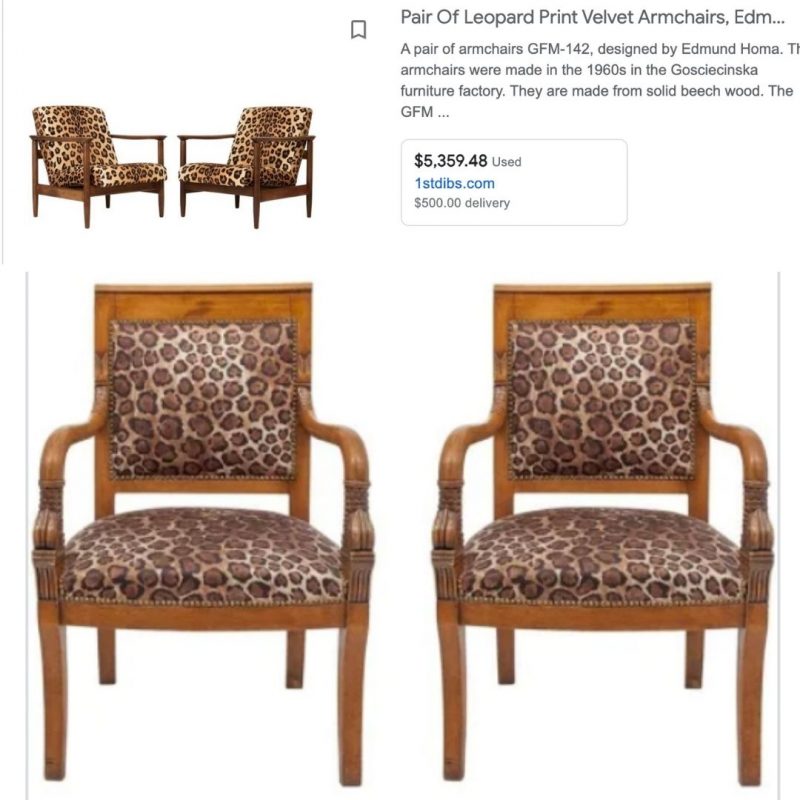
I’ll share my inspo image down below and you won’t believe what these animal print side chairs are selling for. I’m sticker shocked and I’ll bet you will be too.
THIS POST IS SPONSORED/CONTAINS AFFILIATE LINKS TO PRODUCTS I USE. YOU CAN SEE MY FULL DISCLOSURE HERE.
SOURCE LIST
Occasional Chairs – SALVAGED
Shop Towel
White Lightning (Cleaner)
Scissors
Cotton Batting (Optional)
Pneumatic Staple Gun
Manual Upholstery Gun
Fabric
HOW TO REUPHOLSTER A CHAIR SEAT
I’m not sure why but anything to do with fabric intimidates me. I’m always so excited to go fabric shopping. And then with SO many choices, I inevitably get overwhelmed and have a hard time making a decision. It gets worse. When I get it home, I always second guess myself thinking I should have gotten the other one. For once, I’m happy with my choice, and here’s how it all came together…
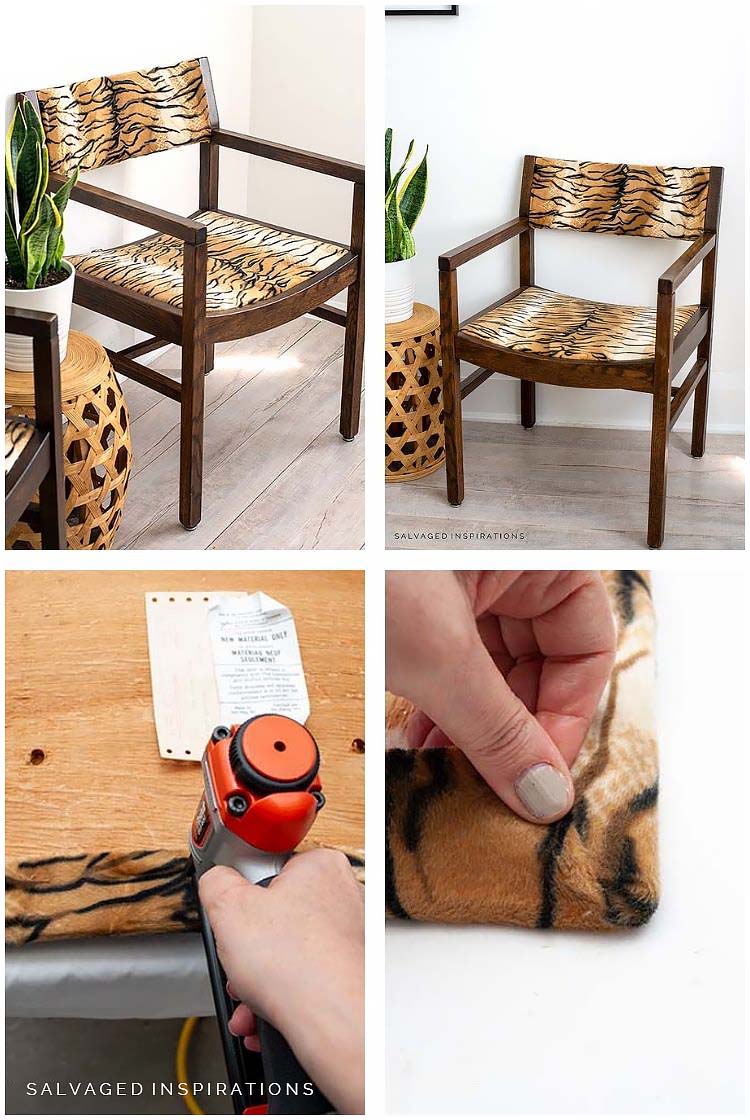
REMOVING THE SEAT
Can you see what I see underneath this chair? Do kids still do that or is this piece from the ’80s…lol. Anyway, before I cleaned this chair I removed the seat. Most seats are simple and straightforward to remove. They are usually held in by four long screws – one in each corner as shown below. When the four screws are removed, the seat pops right out.

REMOVE OLD FABRIC
This is optional. I decided to remove the seat fabric and add additional batting but I reupholstered it right over the back fabric. To remove the fabric on the seat, I used a screwdriver to pry up the staples then I used pliers to pull them out.

ADD COTTON BATTING
These chairs aren’t meant to have a lot of padding but to create a layer between the old foam and the new fabric, I used batting.
- I laid the batting over the seat top and cut an additional 4 ” all around. (4″ is generous!)
- Then I flipped it over and pulled each side around the back and stapled it into place.
- Then removed the excess with a pair of scissors.

CUT CHAIR SEAT FABRIC TO SIZE
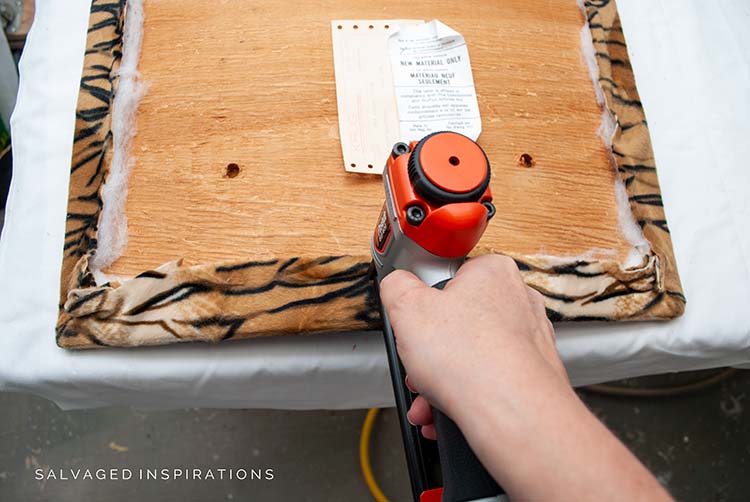
For this velvet chair fabric, I took the same steps as above. The only difference is I paid attention to centering the pattern on the chair seat and back. I laid the fabric flat on the table, put the chair seat on top, and cut around leaving a four-inch (4″) allowance.

I used a pneumatic staple gun and adhered the fabric all around making sure it was taut all the way around. If you don’t own a compressor to hook up to a pneumatic staple gun, you can get a heavy-duty manual staple gun for under $15 that works just as well.
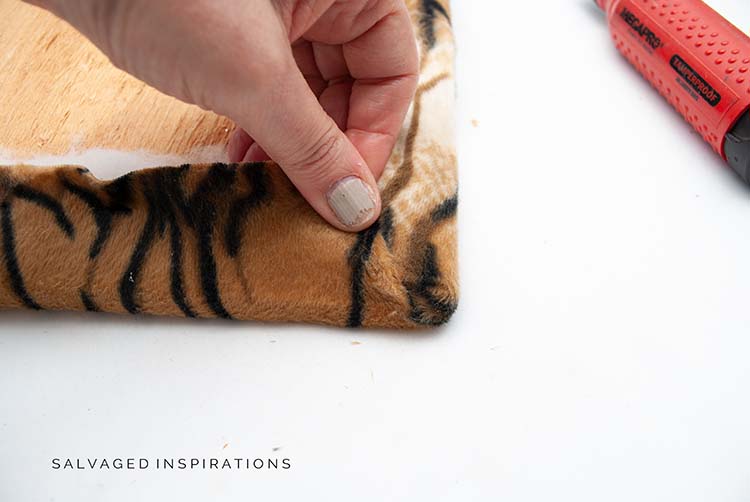
STAPLING THE CORNERS
I don’t know if this is how professional upholster’s do it, but I treat corners like wrapping a present. I first pull up the middle and use one staple to hold the fabric in place.
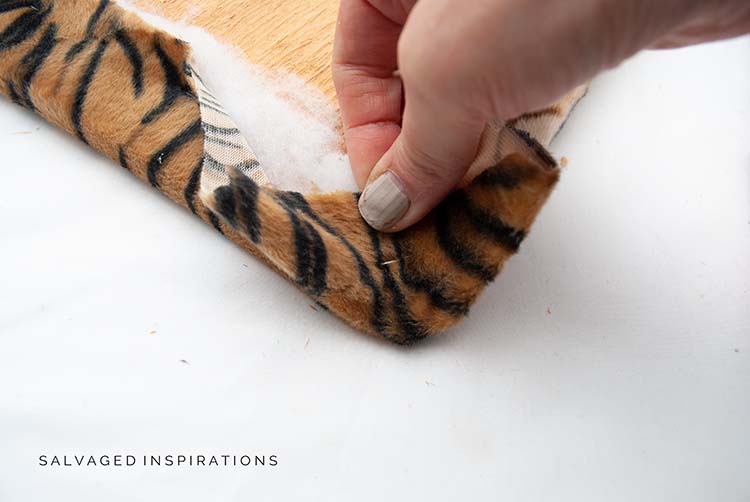
Then I fold over one side of the fabric.
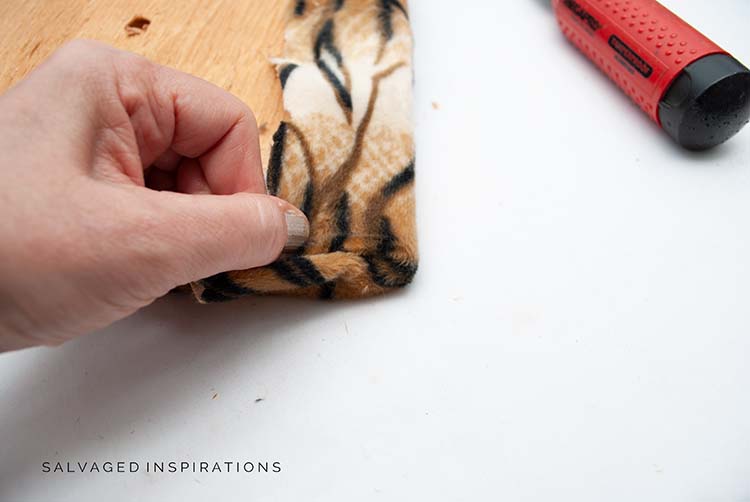
And then I fold the other side over the first fold. Once this double fold is made, I use two staples to hold it in place. This makes for a clean unbulky corner.
BONUS: CHAIRBACK
For the chair back I totally winged it. I didn’t want to remove the entire back so I reupholstered over the existing fabric.

- I centered the fabric to match the upholstered seat
- I cut the fabric leaving a good few inches of overhang on the front and back
- I adhered the fabric underneath (this is how the original was also upholstered)
- For the edges, I folded the fabric over
- Pulled taut and stapled underneath
- For a cleaner look under the back, I folded the fabric over before stapling

YOUTUBE TUTORIAL
Here’s a step-by-step in action on Youtube. If you have any problems viewing below, feel free to watch it on my Youtube Channel here… and don’t forget to subscribe! I can’t believe I hit 10K Subs! Woot woot, thank YOU! 🙂
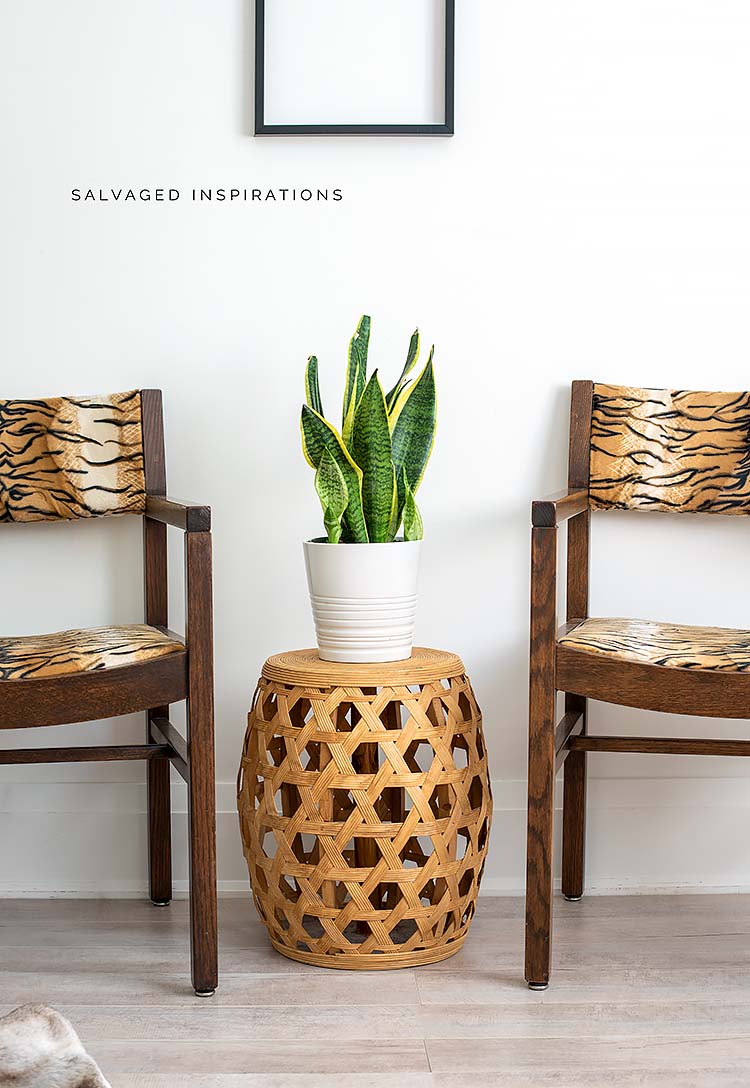
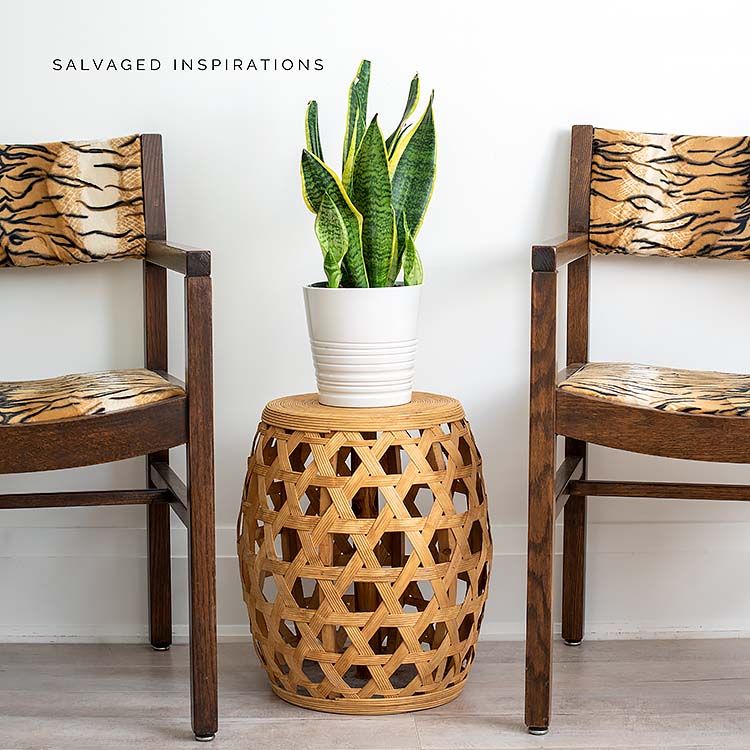
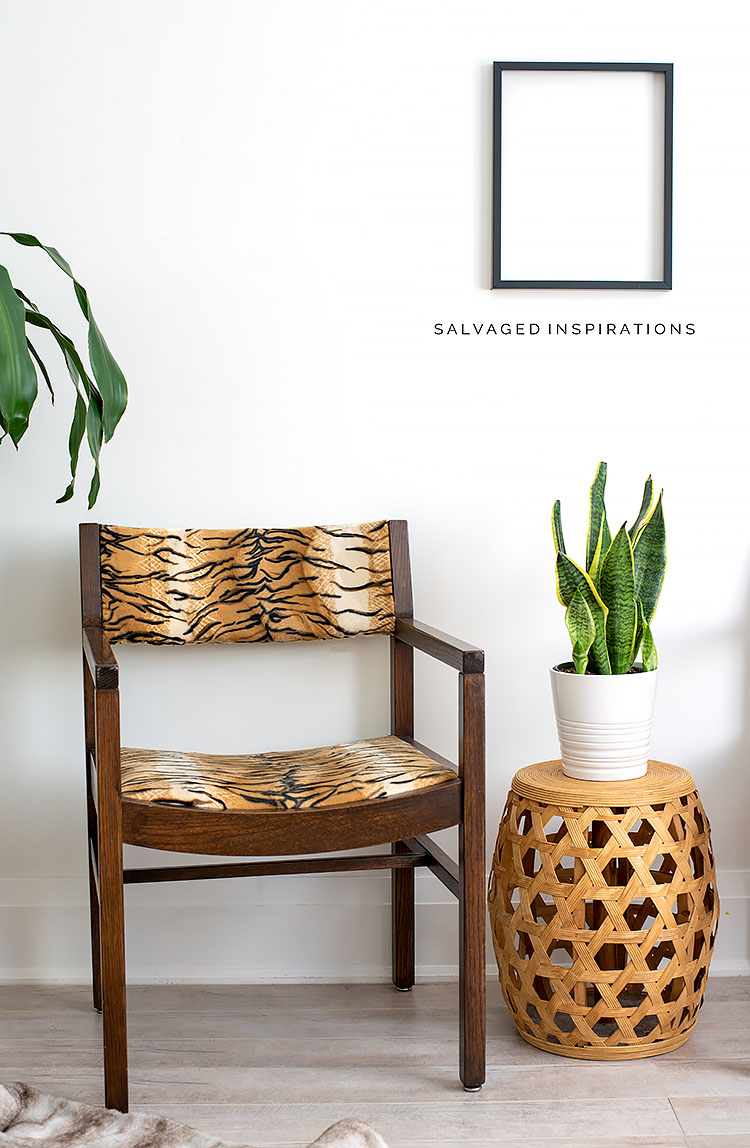
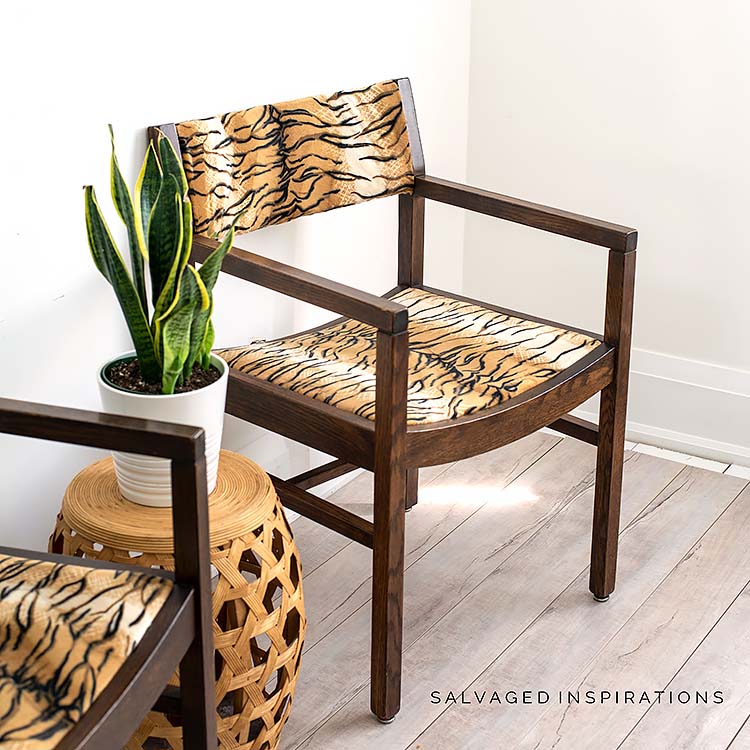
THE FINISHED LOOK
I can’t wait to hear what you think about these chairs.
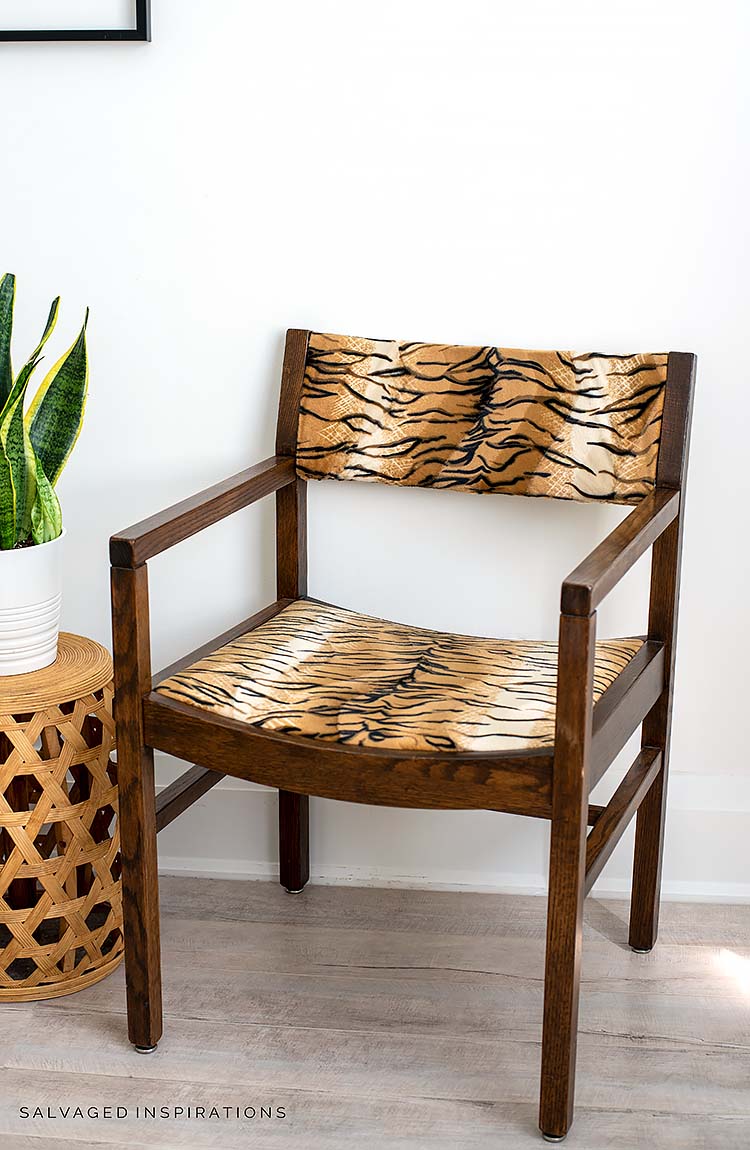
I like them so much I might use them in my bedroom on either side of my dresser.
And after doing a little “Googling”, I think I’m going to attach the folded sides down with a few stitches. I read if you use a matching thread or an invisible thread, it will hold it in place beautifully.
INSPO CHAIRS
Below are the inspo chairs that gave me the animal print idea. I really like the top two! The bottom set are selling for over $4k!
AND NOW FOR SOME TRASH TO TREASURE FUN!
You’re going to LOVE what my creative team of ladies do! Below are their BEFORE photos. Visit the links underneath to see the amazing AFTERS and learn how they did it! I’m heading over to take a peek as well! x

1. ARTSY CHICKS RULE
2. GIRL IN THE GARAGE
3. PRODIGAL PIECES
4. CONFESSIONS OF A SERIAL DIYER
5. SALVAGED INSPIRATIONS (HAPPY YOU’RE HERE!)
Here’s one last look at this before and after. I hope it’s inspired you and given you some new ideas for your chair projects.
LET ME KNOW WHAT YOU THINK OF THESE CHAIRS OR IF ANIMAL PRINT IS A YAY OR NAY FOR YOU. FEEL FREE TO ASK ANY QUESTIONS YOU MAY HAVE… I ALWAYS LOVE HEARING FROM YOU. IT MAKES MY DAY! 🙂
Happy furniture restyling friends!
Denise x
RELATED POSTS::
DIY CHAIR UPHOLSTERY
TRANSFERS FOR FABRIC
HOW TO MAKE FABRIC LOOK LIKE LEATHER
SINGER SEWING TABLE MAKEOVER
SALVAGED CHAIRS INTO DIY FRAMES
GOLD AND VELVET ACCENT CHAIR
DO’S AND DONT’S WHEN DYING FABRIC W CHALK PAINT
PIN AND SHARE!


You called the animal print and you were more than 100% right! Those Grrrrrr-eat! I cannot believe how well it took those chairs from Drab to fab. Congrats!
Thanks Marietta!
I’ve never been a fan of animal print, but this is fantastic! Your chairs now look sleek and sophisticated. They’re so much better than your inspiration pieces. I wouldn’t be able to part with them either.
Thanks so much Chris! I think those inspo chairs are pretty darn spiffy so again, thank YOU!😀
I absolutely love these, Denise!! xo
Thank you Nancy! XOXO
They’re gorgeous! I like them better than the expensive inspiration chairs! Great makeover!
I think those inspo chairs are pretty darn spiffy so this is such a HUGE compliment, thanks so much, Donna!🤗
Love it !!!!
Denise, you are my go to person for my crafting. You are so thorough
and fun to watch~
Aw thank you Carli… that means a lot!!!💕🤗 I’m working on a video showing the full tutorial on how I reupholstered these chairs. I’ll have it finished and published for you on Youtube this weekend!😊
These look fantastic, Denise! I say YES to the animal print! xo
Yaaay, thanks Jen!!!🤗 XOXO
Your recovered chairs are absolutely awesome. I love them. I can’t believe how different they look! You are so talented, I love seeing your projects. Thank you. Sue
Thank you Sue…so glad you love them! 🤗
Your chairs are much better than the ones in the store. Love the clean lines of the chairs and richness of the wood; but the fabric is the star! You did a great job of recovering them. Sometimes it’s fun to take the plunge into new territory!
You’re super sweet – thanks my friend! And this was fun from start to finish. My sister and I went shopping for this fabric and she’s always so encouraging me to try something new. Sisters are the BEST, aren’t they?!😊
I want those chairs soooooo bad!Bravo to you! Take a bow!
awww, thank Sandra! So glad you like them!💙
All I can ay is WOW! Just WOW! You never cease to amaze me with you God given talent! Well done Denise
awwww, thank my friend! It always means so much coming from you! HUGS XOXO
I like your chairs much more than the expensive ones. I’m not a fan of animal prints but you were spot on when you chose to use it on these chairs. They look so rich & expensive! Great job, Denise. 😊 xx
That’s such a huge compliment Lisa, thank YOU!💕
These DID look like waiting room chairs- just dismal! Now, va va voom! Great job.
Thanks Ruth and ya, I think they were! The date on the back is from the 80’s so they’re pretty old! Well, not as old as me but you know what I mean…lol.
The animal print looks gorgeous on these chairs and you make it look so easy. I have a few chairs I’d like to try this on!
Thanks, Nicki and if you try it on any of your chairs, I’d LOVE to hear how it all works out! XOXO
These turned out fabulous Denise!! I love the animal print! XOXO
Thanks so much! I’m loving it on these chairs as well… even though I had some doubts. 🙂
GORGEOUS!
Thanks, Rebecca! XOXO
I absolutely adore your reupholstered chairs, Denise! The fabric is absolutely beautiful and just the right touch for the split backs! Great job!!!
Thanks, Raylene… I absolutely adore your name! So unique and beautiful! 🙂
Breath taking gorgeous! Turned out nothing like I was expecting!
Thanks Vicki… I even surprised myself on this one. It’s not a fabric I would usually buy!
Denise, I think your animal print chairs are fabulous!
From a technical standpoint, I’m glad you went back and added some stitching for the sides of the top section. Leaving those edges just folded would have made me nervous thinking long-term.
From an aesthetic point of view I think they are perfect. A decorator friend of mine, a great designer, once told me to treat oriental rugs and animal prints in a room as neutrals- they don’t have to match a color scheme. I hope I’m expressing it as she did, because I have taken that to heart. I have used my animal print covered seat dining chairs for 40 years in all kinds of evolutions of my dining room and I still think they look so sophisticated!
Thank you for a great furniture transformation reveal!
Hi Shelley! I haven’t gone ahead with the invisible stitches yet, but I will! I totally agree. I think it will hold down those folded edges nicely and I won’t have to worry about them pulling up down the road. And a NEUTRAL eh!? How interesting! I have to admit I LOVE the look of animal print in decor (your dining chairs sound amazing!) I’ve just never known how to use it in my home. Thanks for the insider tip!
Hey Denise, the chairs look great!
But dipping my feet now into upholstery I can give you a few more tips if you don’t mind
Next time take everything boff the seat and cut new foam. Foam disintegrates and becomes rock hard and crumbly over the years. Imagine you did all this work with putting new fabric on and in 3 years you have to redo everything again because the foundation is not right. But if you reuse the existing foam because it looks good still, steam it first to kill existing germs and to rejuvenate it. Your batting (we call it dacron, a layer of cotton is what we call batting) was a great idea because this is the right way to do it! Fabric should not be placed directly on foam, always have a barrier of batting in between! Just try to staple the batting right on the edge of the plywood, not underneath. Makes for a cleaner look with fabric when you screw the seats back on. You learn with every piece and if you want to keep them I have to say you did great, the chairs look great, the fabric looks fantastic and you had a great eye in grabbing those!! All my best!
I love this Marion! I wouldn’t have thought to steam the foam… or staple the batting onto the edge, so brilliant – thank YOU! XOXO
Wow! Gorgeous! I love them! The inspo you found sure was pricey! Shows how much better it is to do it yourself if you are willing to put in the time! Great job!
Thanks Karen! And SO pricey, right?!😯
The tiger fabric coordinates with the wood grain in the chairs perfectly!!! I would not have envisioned the tiger print on these chairs, but it is fabulous! I think I need to find some chairs to reupholster and sell!!!
I really like the fabric with the wood as well! Thanks so much Sherry and have fun with your chair project(s)!
Love them..so wild…lol. did a lively job reupholsering these chairs 😍
Yaay, thanks so much Lorri!
Hi Denise. Oh my heart. I’m LOVING these animal print chairs. The pattern you chose goes perfectly with the dark wood. I don’t have any animal print in my house, but seeing how a small amount can make a big impact I’m tempted to buy a cushion or two. Btw: The gum stuck to the bottom of the chair gave me a good chuckle:)
The gum gave me a chuckle as well until I had to remove it.🤣 So glad you like the chairs Monique, thank YOU!!!
Beautiful now. Love that you kept the wood.
Thanks my friend! XOXO